You guys!! I’m so excited to be participating in Remodelaholic’s #PlywoodPretty Challenge along with several other super talented bloggers! (How I got included in a list of super talented bloggers, I’m still not sure…) So, what’s the #PlywoodPretty Challenge? Basically, Remodelaholic challenged us to make something…ANYTHING…from plywood and you won’t believe the super cool ideas we all came up with! Who knew you could do so much with a simple sheet of plywood?!

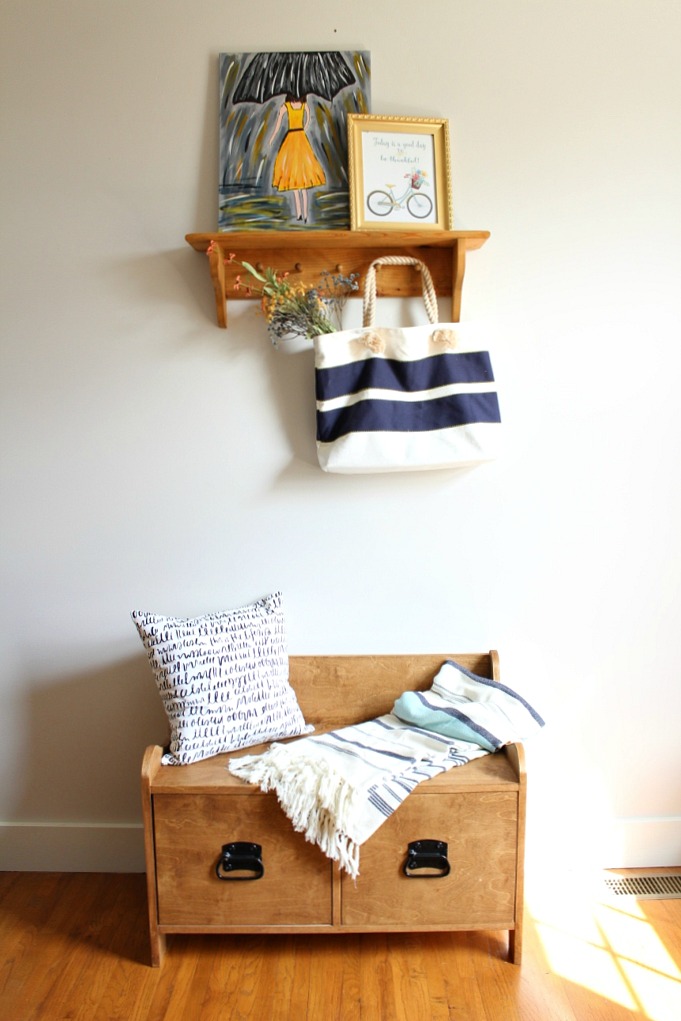
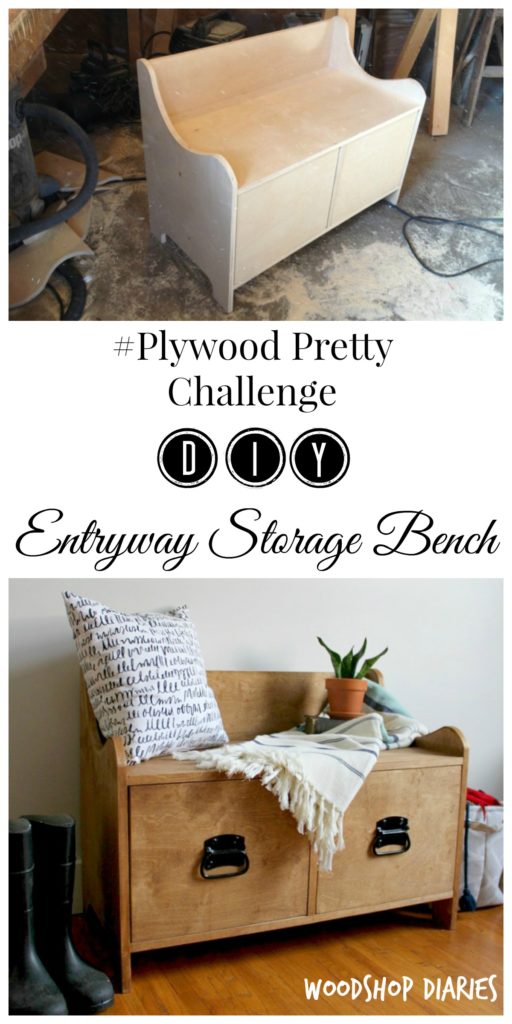
You can scroll down to check out links to all the awesome projects (and videos!!) from the image above, but first, let me show you which one I came up with for the challenge. It’s a DIY Entryway Storage Bench!
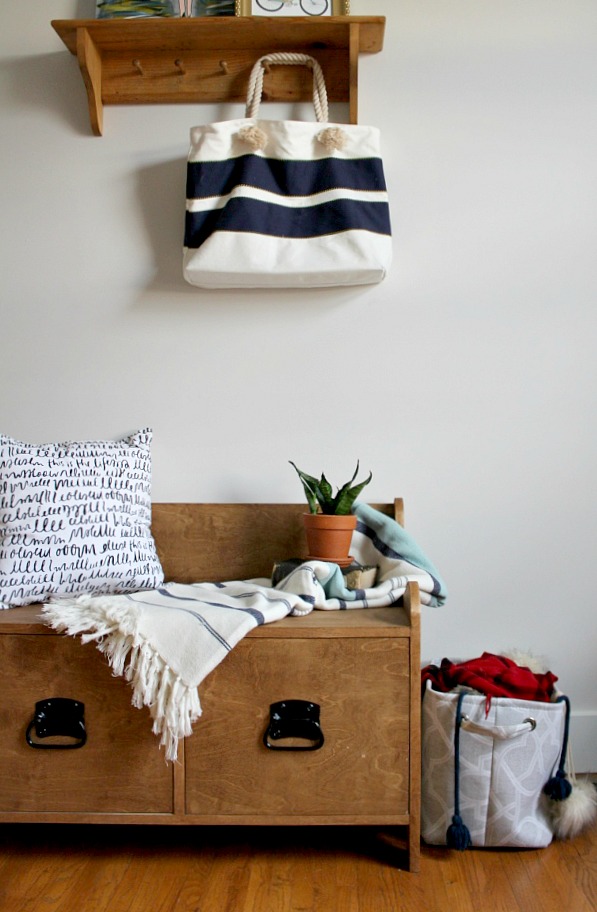
And, what do you know, it’s also another knock off project. Do you guys recognize this entryway storage bench from the Pottery Barn catalog?? I have no shame in knock offs. Knock off purses, knock off clothes, knock off furniture and decor. (If you’re a fan of the knock off, too, be sure to check out some of my other knock offs like the PB Grinch Pillow and the Ballard Inspired Pantry Cabinet.) #noshame #imcheap
.
But, I mean, what’s there to be ashamed of when you spend a tenth of the price tag to make your own version and it looks EXACTLY. THE. SAME?? For real.
.
So, I’m going to show you how to make this DIY entryway storage bench “tutorial style”, as usual, but this time, I have an extra special surprise for you. I made my first “build” video for this project (check it out below)!! I’m sure it’s terrible, so take it easy on me in the comments 🙂 I’ll get better…I hope… (PS Danny says I’ve got to stop saying “super” so much…do you guys agree??)
.
Now, let’s do this thing.
.
This post contains affiliate links for your convenience. If you purchase from one of these links, I may receive a small commission at NO extra cost to you. Please see disclosure policy for more details. Thank you for supporting this site so I can continue to bring you great content!
Materials:
1 sheet ¾” plywood (I used birch)
¼ sheet ¼” plywood
2 pair 16” ball bearing drawer slides
Edge Banding (optional)
Tools Needed:
Kreg Rip Cut (optional, but helpful)
Table saw (also optional, but helpful)
Sander (again, optional, but who in their right mind wants to hand sand everything?!)
Step 1: Cut plywood down to manageable pieces
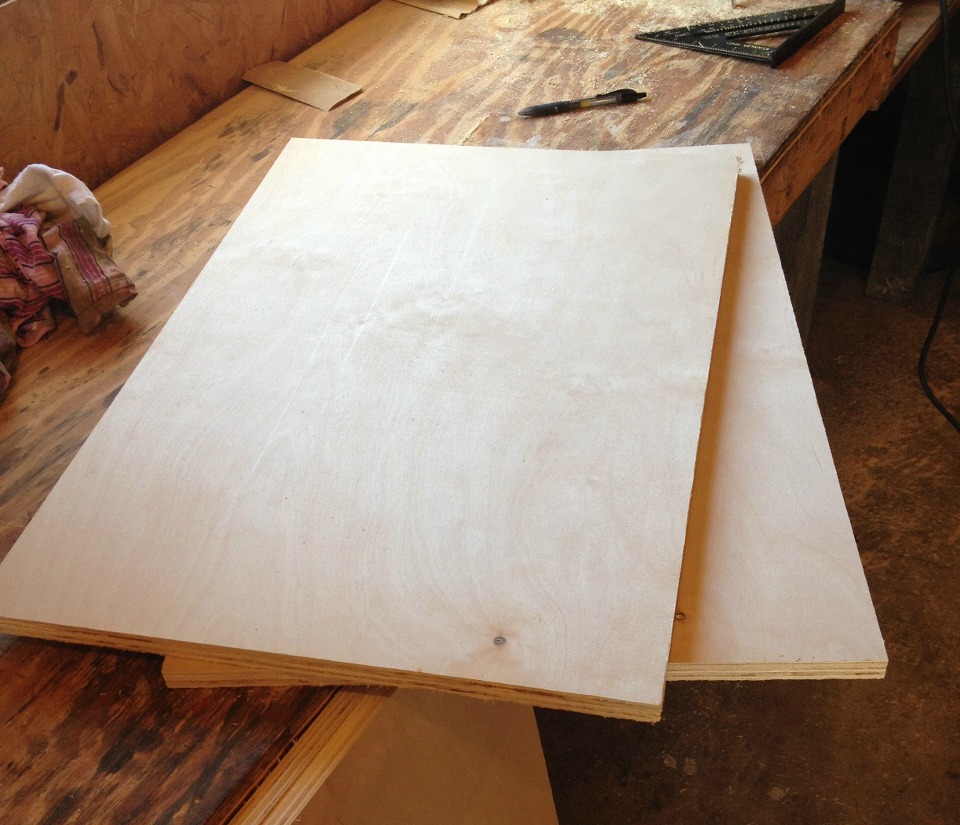
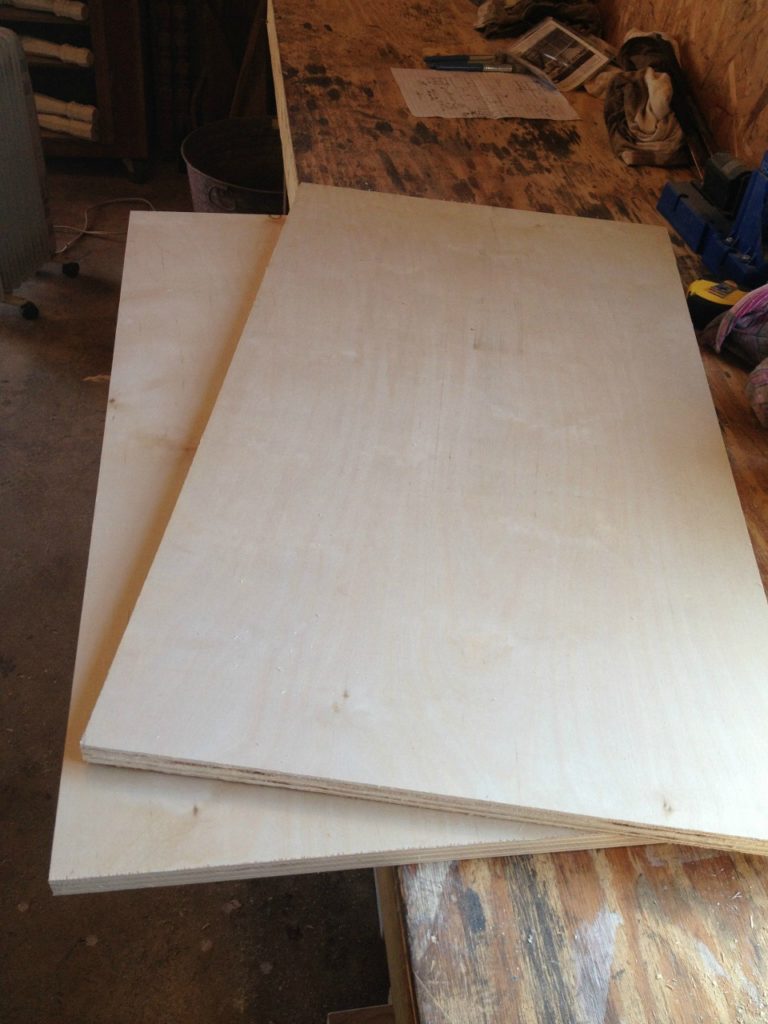
I’m scrawny. The first thing I do when I get plywood is cut it down to pieces I can manage on my own. Those are pretty small pieces haha.
.
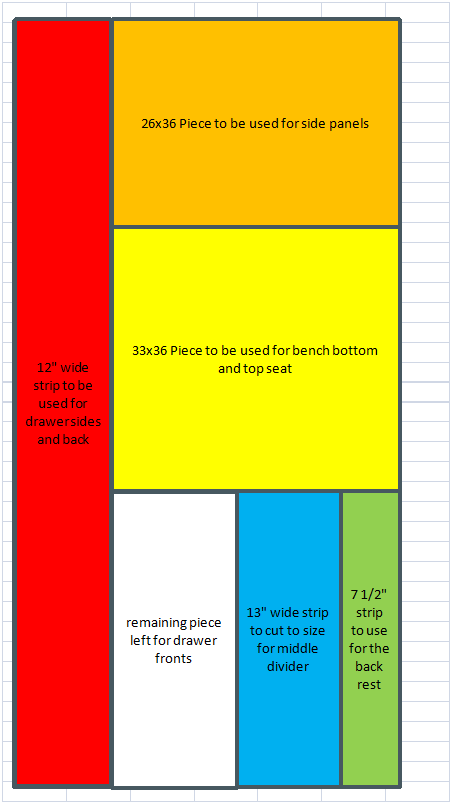
You can make this whole bench from a single sheet of ¾” plywood, but you have to be smart on how you cut it. Here’s a diagram to help you out. You’ll cut in the order of the rainbow colors. Since I just realized how confusing that last sentence is, let me make it a little more clear: red first, orange second, then yellow, green, blue, and the white part remaining will be left to cut to fit the openings for the drawer fronts.
I used my circular saw to remove the 12” strip first, then used it to cut off the 26” and 33” pieces. I cut the rest on my table saw, but you could use a circular saw and a straight edge instead. (You can see me cutting these in the video below 😉 )
Step 2: Make the side panels
After I cut the 26×36 piece from the plywood, I ripped it in half using my table saw (to make two 26×18” pieces). Make sure both halves are the same width!!
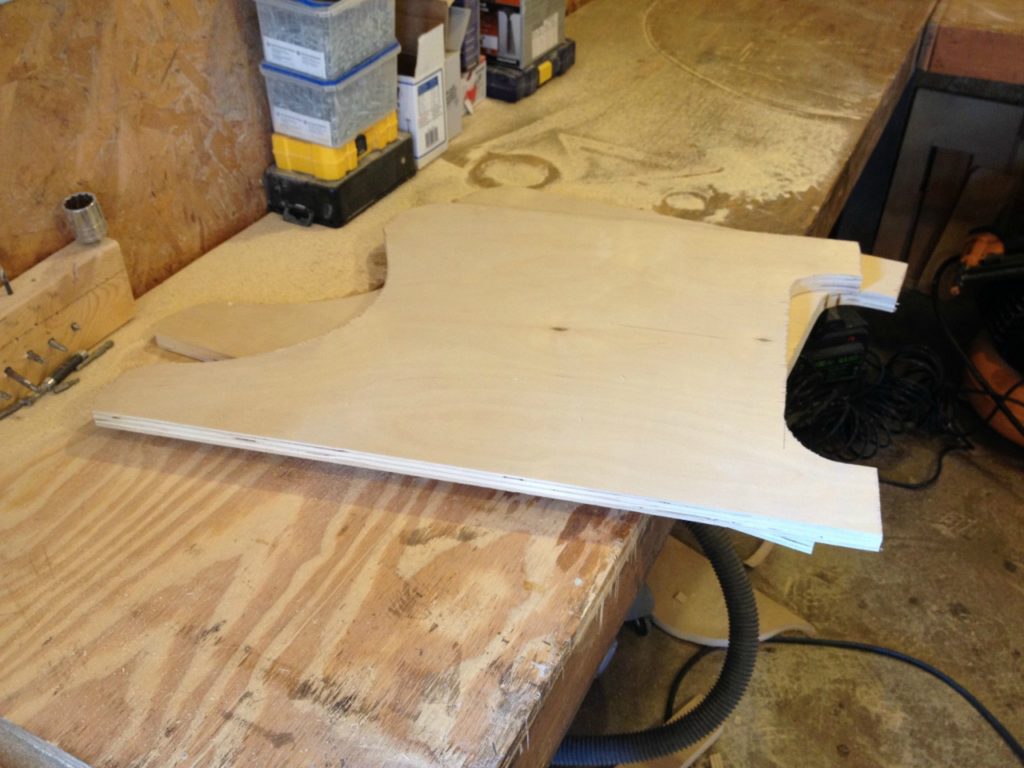
Once the panels were cut, I made a mark 8” from the top on both pieces. That’s where the top of the bench seat will be attached. I cut out a decorative curve shape on the two side panels making sure not to cut below the 8” line. I tried to use some paint/stain cans to help me draw nice curves, but ended up mostly free handing it. (You can see this in the video below as well 🙂 Can you tell I’m really pushing you to watch it??)
..
Once the design was drawn, I used a jig saw to cut out the shape on each piece.
I also cut out a design along the bottom of each side panel making sure not to cut further than 3 ½” higher than the bottom.
.
The designs are totally optional, they just add some character to the bench. But after you cut them, be sure to sand the crap out of them to smooth everything out 🙂
Step 3: Cut and attach the bench seat
I ran the 33×36” through the table saw just like the side panels to make two 33×18” pieces.
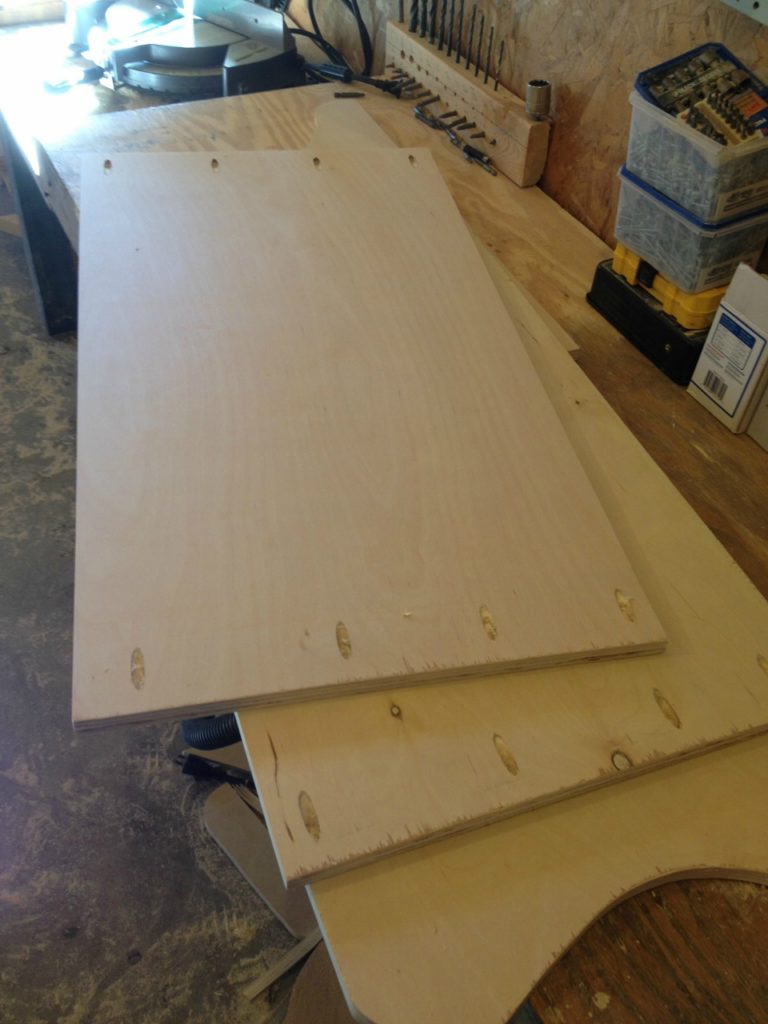
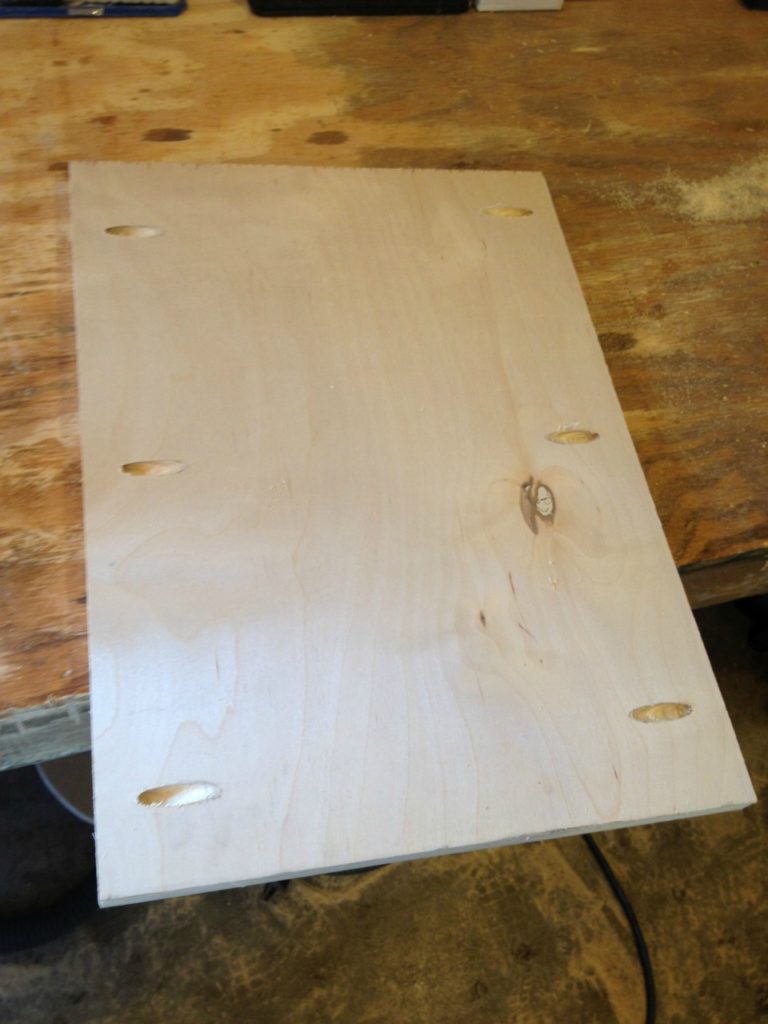
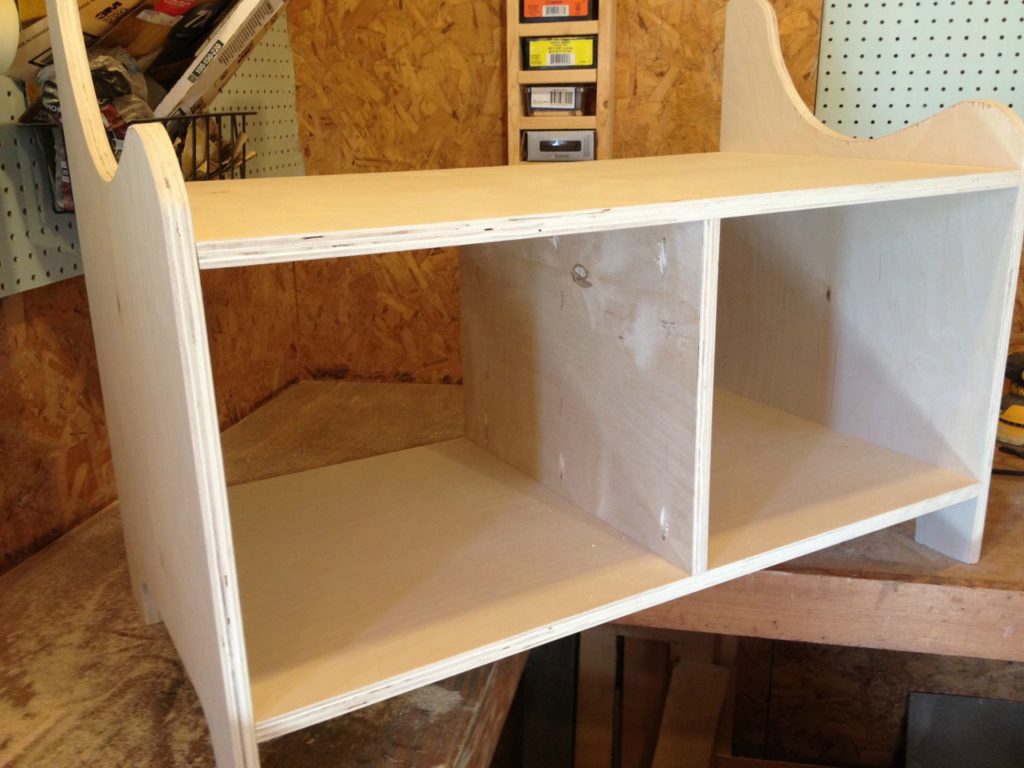
Once they were ripped to size, I drilled pocket holes in both ends of each piece and attached them to the side panels with pocket hole screws.
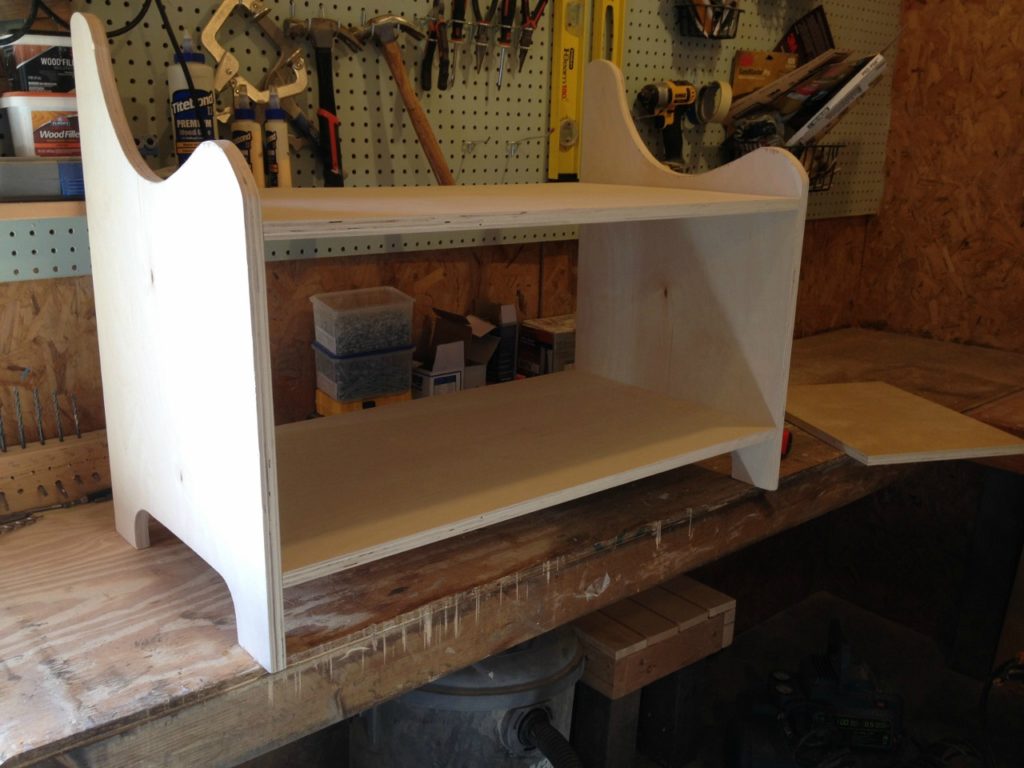
I attached the bottom piece 3 ½” from the bottom of the side panel and attached the top bench seat piece 13” above the bottom.
Step 4: Add the bench seat divider
I used the blue piece from the plywood drawing and cut a piece of 13×18 to fit between the top and bottom bench seat. I drilled pocket holes and attached using pocket hole screws making sure it was perfectly centered.
Step 5: Add back rest
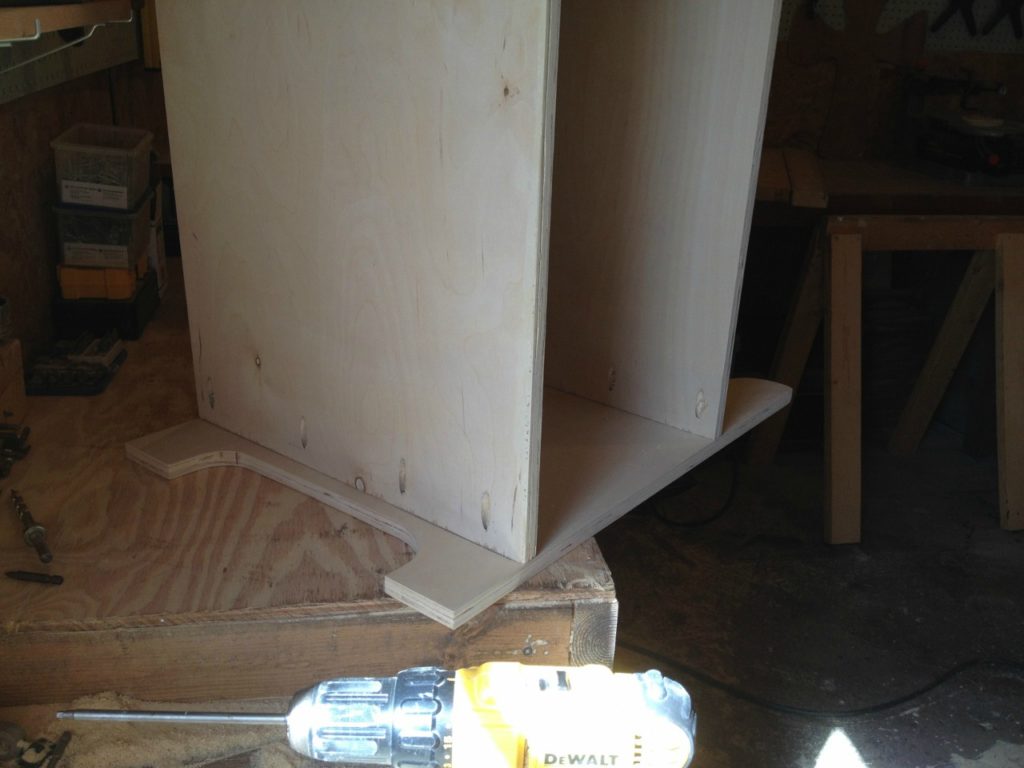
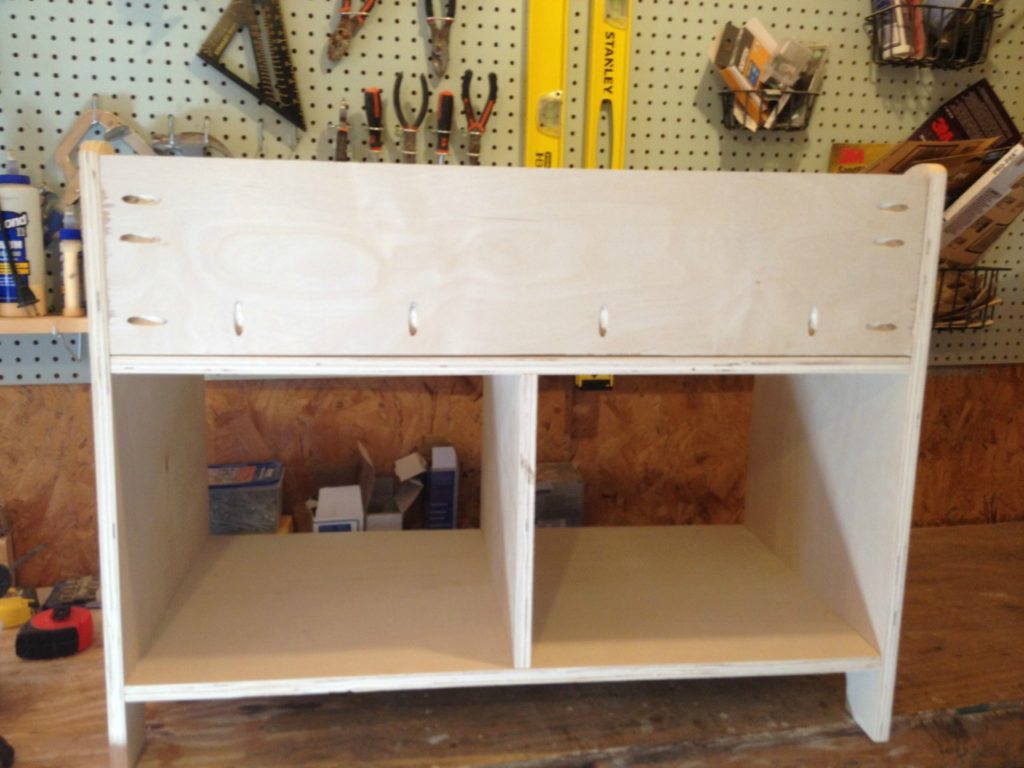
I cut the 7 ½” green piece from the plywood diagram down to 33” long and drilled pocket holes on both ends and along the bottom. I attached it to the bench sides and top seat using pocket hole screws like the picture below.
Step 6: Add Drawers
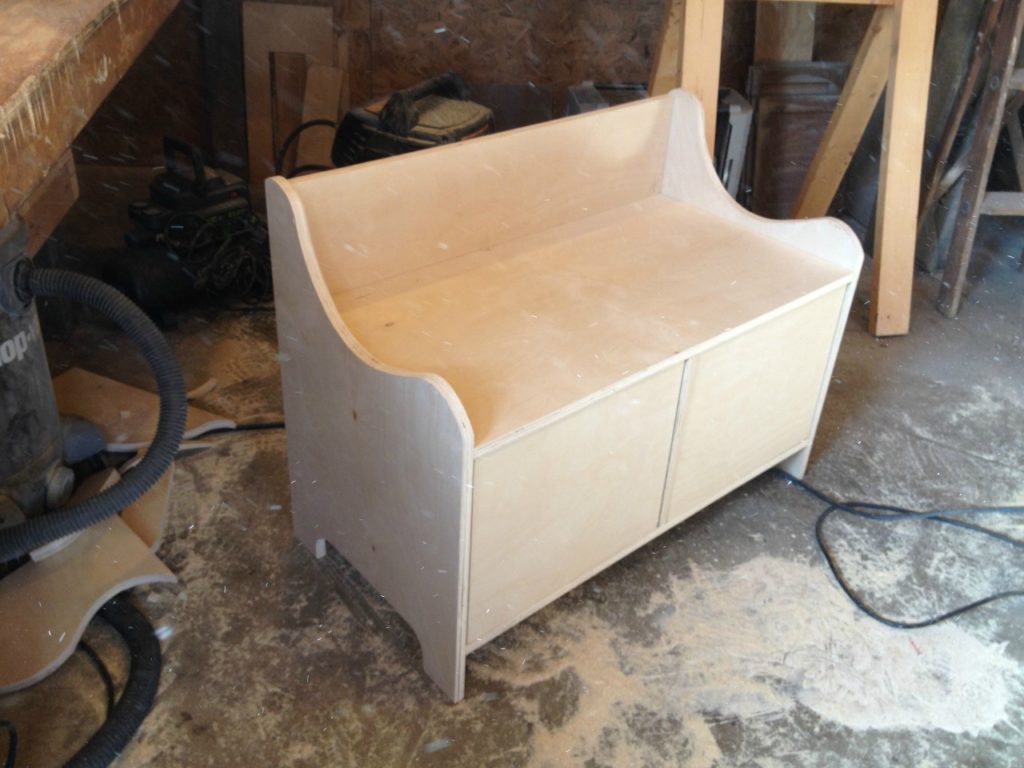
This step is optional. If you wanted, you could leave this open for storage, or use storage baskets. I liked the large drawers from the original Pottery Barn version, though, so I made drawers. You can see my post here about how to make drawers.
.
Basically, I used the table saw to cut grooves in the 12” red piece from the plywood diagram above to accommodate ¼” plywood drawer bottom. Once the groove was cut, I trimmed it down to size to make the drawers using my miter saw. I attached the drawer back to the drawer sides using pocket hole screws.
.
I used the white part of the plywood from the diagram to trim down two drawer fronts to fit the openings in the bench. Depending on how accurate your cuts are, it may vary slightly, so you will need to determine the size. I cut grooves in the drawer fronts just like I did with the drawer sides and attached them to the drawer body using pocket holes and screws.
.
Then I installed ball bearing drawer slides and attached the drawers. You can see more details on this process in the video 🙂
Step 7: Finish
I added iron on edge banding (which is the devil if you don’t already know) to cover the plywood edges. I need a lot of practice with attaching it, but it looks good once it’s on (just don’t look at mine too close). I puttied and sanded as needed, then stained the entire piece in Minwax Early American. (You can see all this in the video below, too!!)
.
I attached these large chest handles (that I spray painted black) to the drawers. I need to add a few coats of polycrylic, but first, I had to bring it inside to take pictures…because, you know….priorities.
Not bad for a knock off, huh? Looks just like the real deal…AND it’s not even MDF like the original. Plywood > MDF every time.
I’m loving these huge storage drawers. They are perfect for winter gloves, scarves, extra shoes, purses, whatever you want to shove in there right before guests come over so they don’t know that your house is really a train wreck 🙂 Not that I have any experience with that.
So what do you think?? Don’t forget to check out my first ever build video for this project and all the other super awesome projects in the #PlywoodPretty Challenge below!! Tell me what you think in the comments! But, quick! Before you do that, don’t forget to pin this 🙂
Now, find even more inspiration from these awesome #plywoodpretty projects! This is just the start to Remodelaholic’s #PlywoodPretty week, so go join in on the fun all week long and link up your own projects!
outdoor sectional sofa | Remodelaholic
mini barn door for a crawl space | The Cofran Home
handlettered “hello” sign | Lemon Thistle
easy TV tray | Practical and Pretty
rolling storage drawers | Happy Go Lucky
mid-century modular lego table | The Created Home
farmhouse sign | Our Crafty Mom
mid-century daybed | Paper Daisy Design
produce bins | Anika’s DIY Life
plywood accent wall | Diva of DIY
kids chairs with storage | Our House Now a Home
.
And find all the videos in the playlist:
And my video here:
Until next time, happy building 🙂





You are like a woodworking wizard! I cannot believe you created this!! Seriously!
Thanks friend!! But, I’m far from a woodworking wizard. I guess I just fake it well 😉
This is such a gorgeous storage bench!!
Thank you so much!! 🙂
Wow, what a nice job you did. I love this.
Thank you so much!! 🙂