Three things occurred to me this weekend:
.
- It’s been almost two years since we remodeled our kitchen and many of you have followed only within the last several months. So likely, you’ve never seen it before.
- I’ve never told the story on my blog about getting a tetanus shot after an incident related to that remodel.
- I have several tips to share that will benefit those of you who are considering doing a kitchen remodel in the future.
.
So, let’s kill three birds with one stone and take care of all the above with one blog post packed full of before and afters, funny stories, and helpful tips. By the way, I don’t advocate killing birds with stones. I just let my cats take care of them…
.
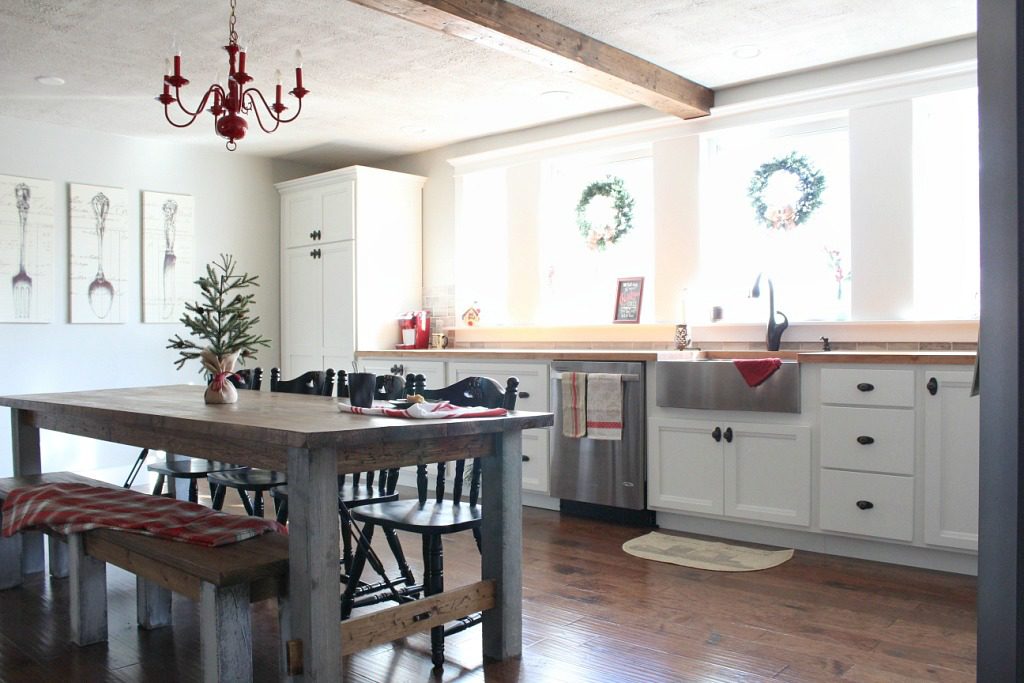
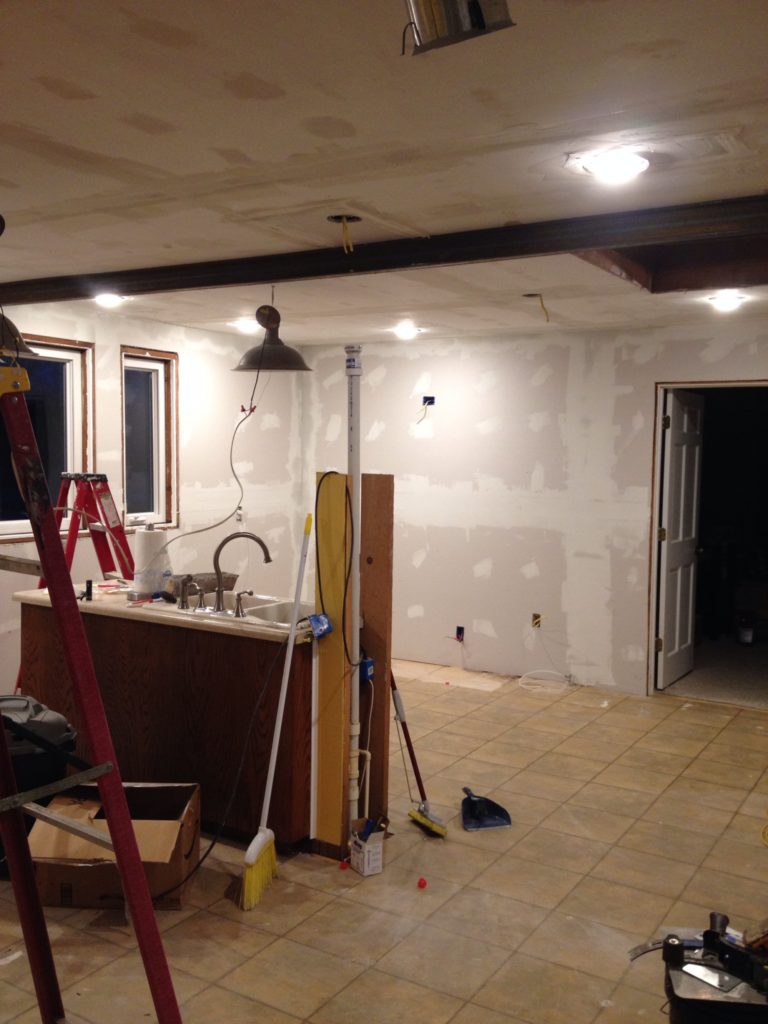
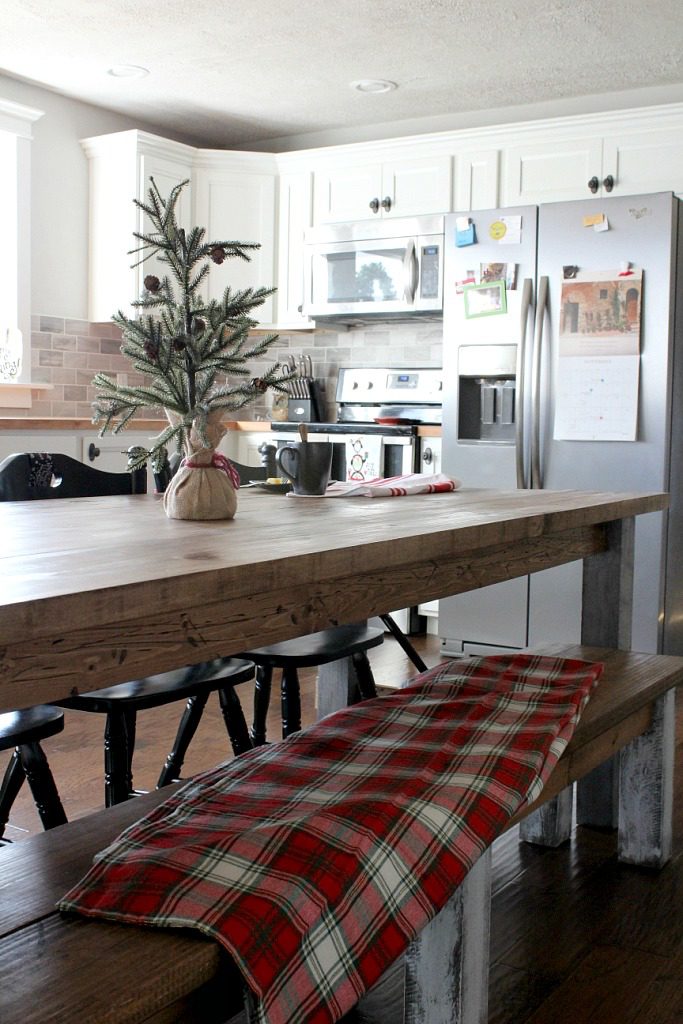
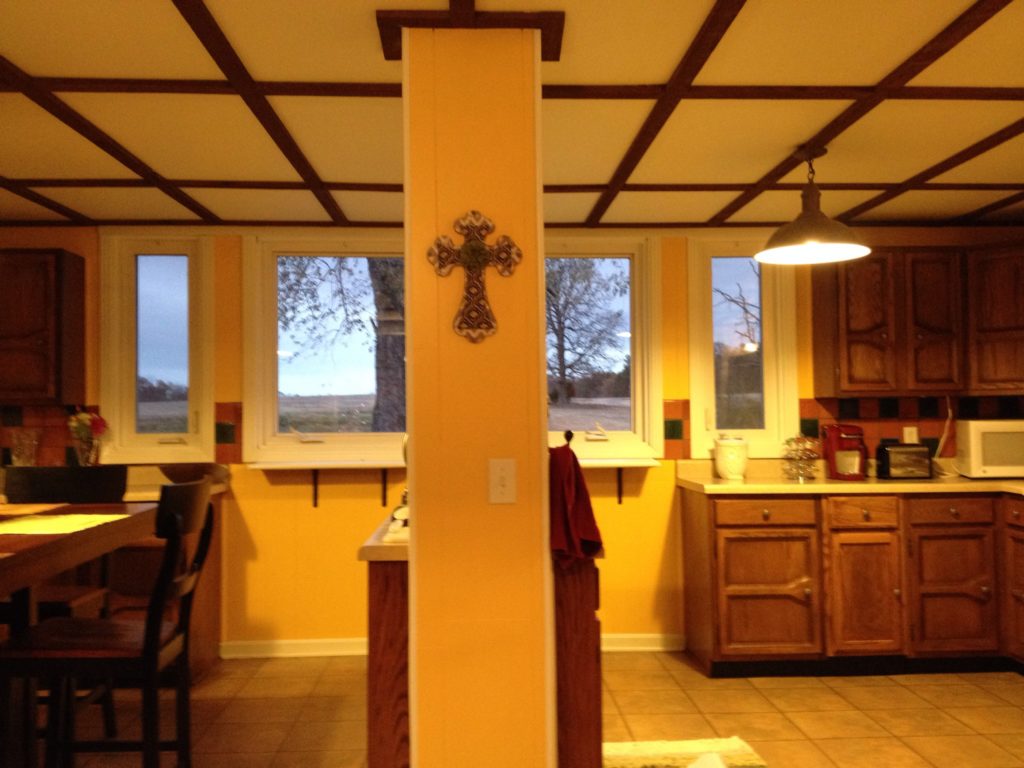
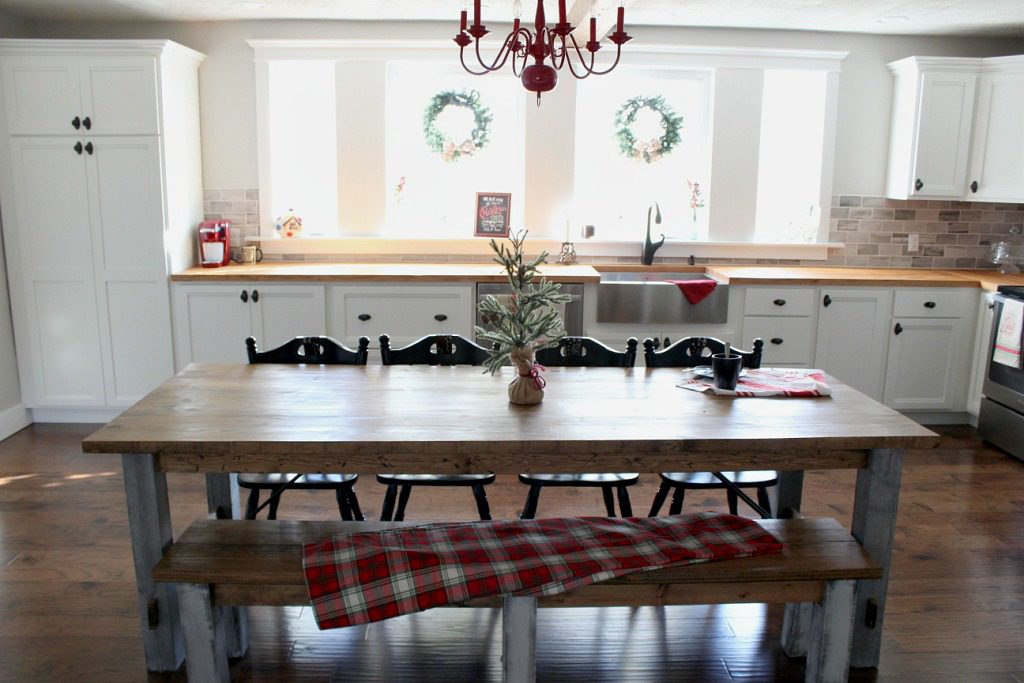
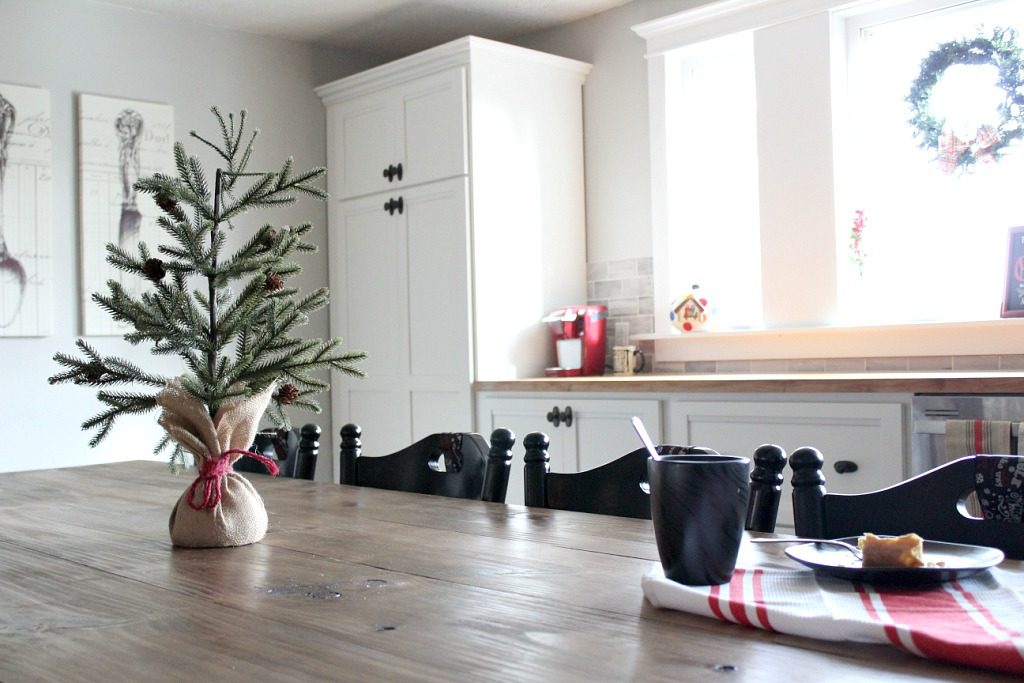
Okay, so…let me first show you the before and after…just so you can’t say you haven’t seen it. And I’ll sprinkle some more pictures throughout…because I love it so. Also, if you want to check out the final reveal post of it, you can see it here.
.
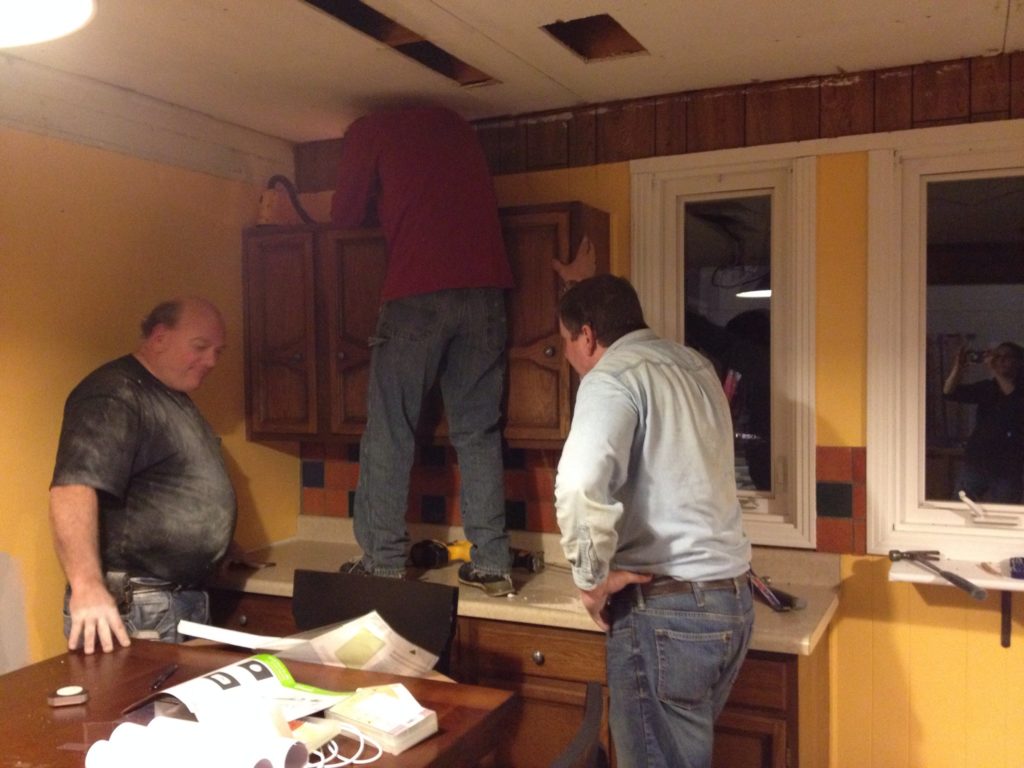
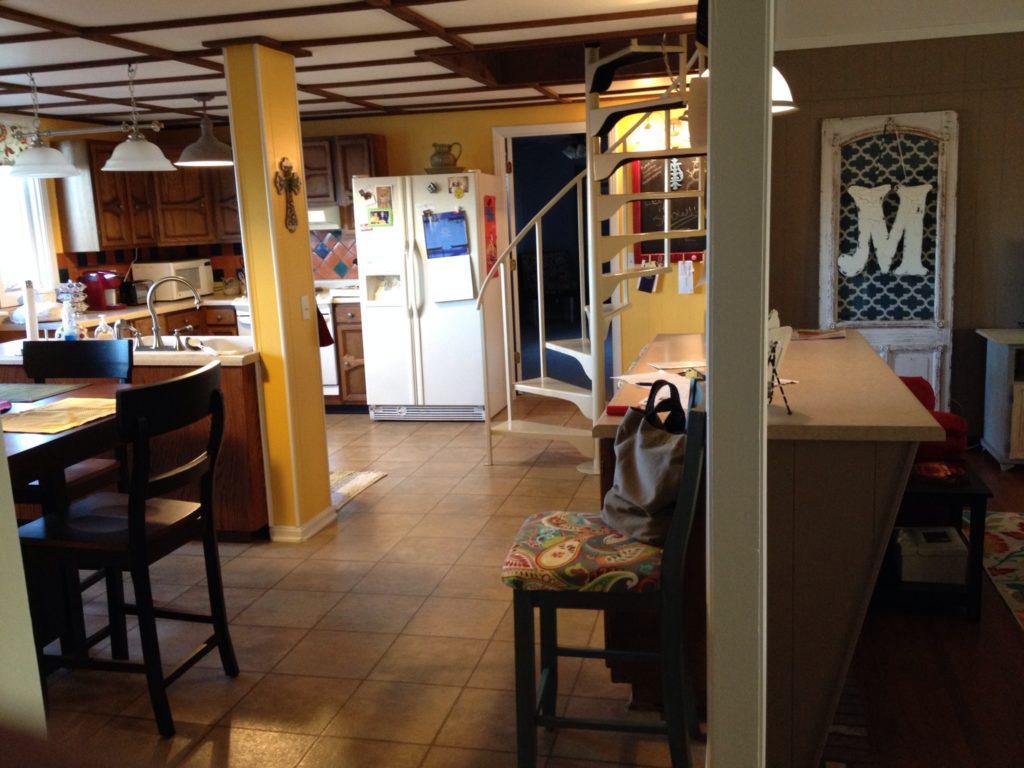
This was before. Complete with nacho cheese wall color, Spanish style wall tile, and 7 foot ceilings.
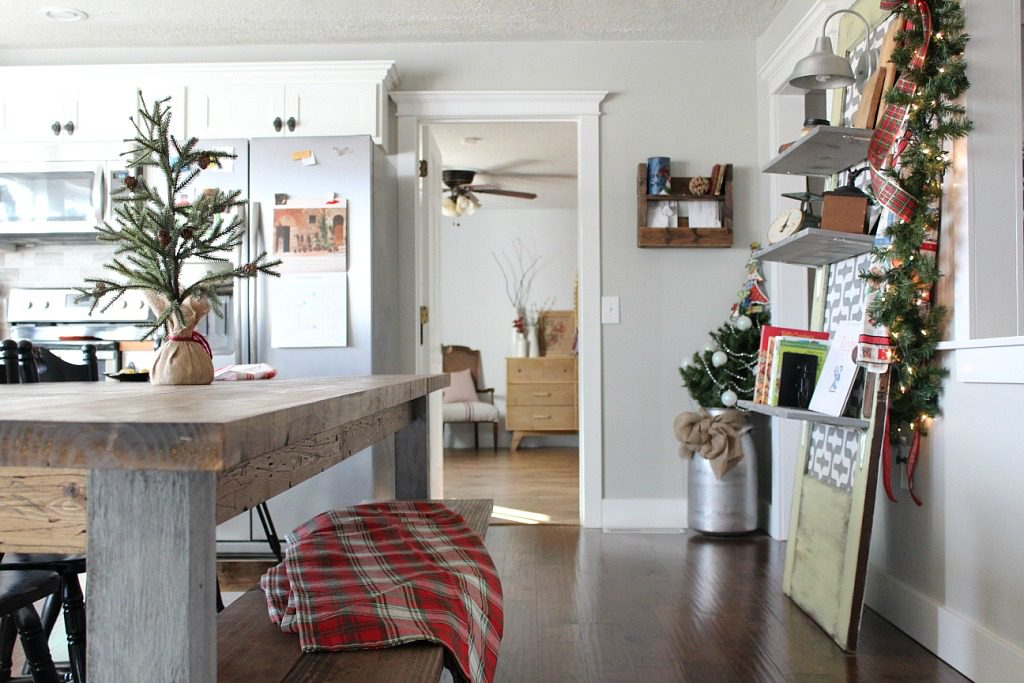
And here is after:
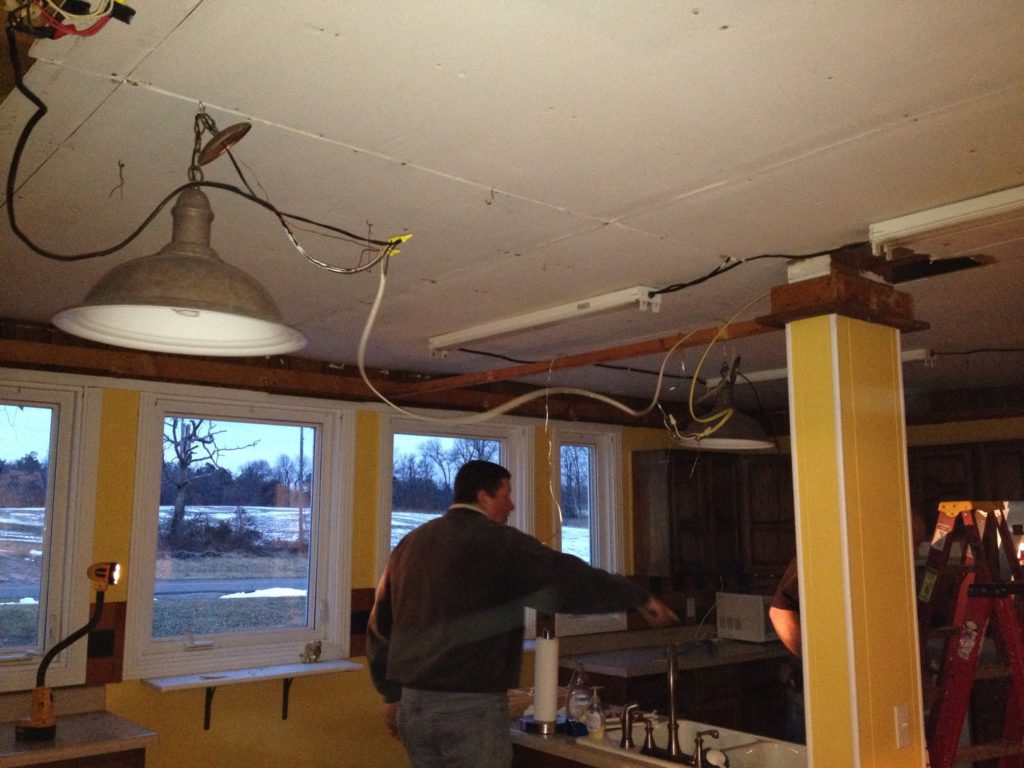
Now that we’ve seen the power of a remodel, let me give you the important stuff, the tips for surviving one. We learned MANY MANY things during our first ever remodel and several of them may be helpful to you…most will still apply even if you aren’t DIYing your remodel. So here we go:
TIP #1: Have a plan
Now, I know this is like “thank you, captain obvious.” But, I mean it. PLAN THIS THING. About a month before we actually took a hammer to the walls, I had a list of EVERYTHING I knew of that we were doing to the kitchen and organized it into an order that made sense.
That really helped us when we kept getting to the point of asking “what do we do next?” Well, check the list…we have a plan.
.
For Example: you have to replace/repair drywall BEFORE you can install new cabinets. You want the ceiling to be finished BEFORE you put anything back in the room. List out every detail and every step then order it.
TIP #2: List (and buy) tools/supplies before starting demo
Once you have a general “plan” for what you’re doing and in what order, make a list of everything needed to purchase for the remodel. YOU CANNOT POSSIBLY PLAN FOR EVERY SINGLE PURCHASE, but making a list of most everything you need and having it purchased and ready to go is a HUGE help.
We bought our new appliances, sink, faucets, light fixtures, cabinets, countertop and flooring about a month to a couple weeks before the remodel and stored them in a spare room. This saved time, stress, money, the chance that what you want is sold out when you need it, and it gives you time to research and make the best decision BEFOREHAND instead of buying something when you are desperate and tired and ready for this thing to be over with. Because, trust me, you will be to that point very quickly after starting.
TIP #3: Make a budget
See how this is working? You made your plan, then used your plan to make your list of supplies, and now you use your list of supplies to make your budget.
.
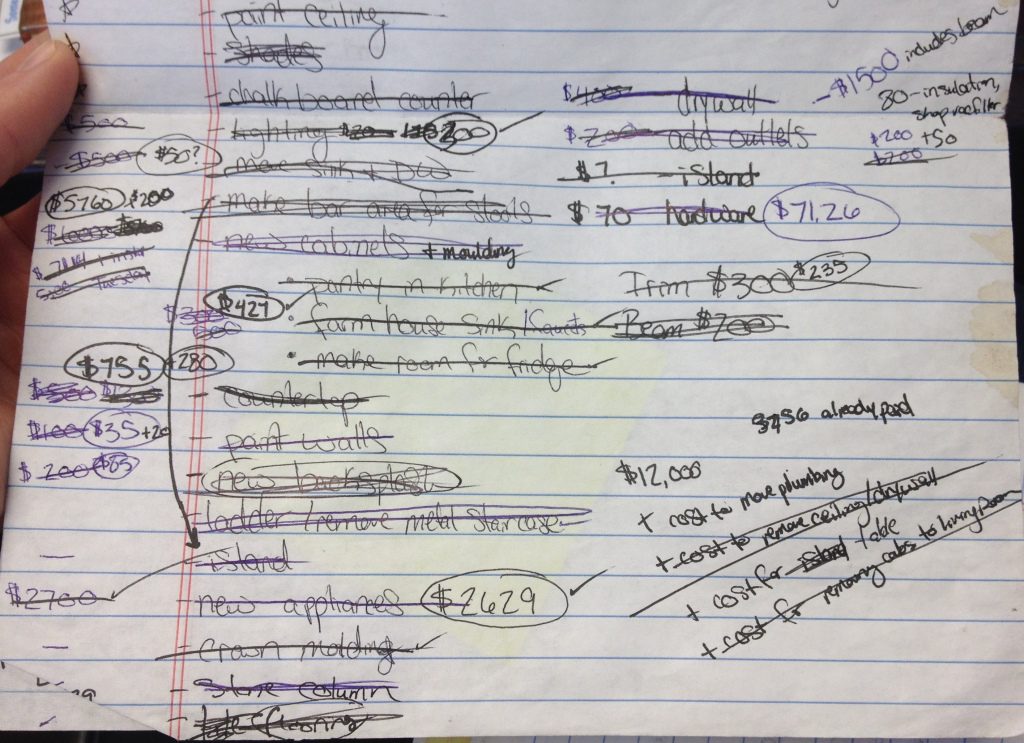
Here is an example of mine…it’s a complete jumbled mess (and some of the things we didn’t actually do), but I listed out everything we needed and put a price next to it that was our “budgeted” amount for said item. At the end, I added it all up and got our total. (PS when you get a total, add at least 10% to that for that random miscellaneous stuff you forgot…because you WILL FORGET) If it’s more than you are okay with spending, go through your items again and see where you can adjust…maybe find a cheaper sink, or maybe choose to keep your existing appliances a little longer.
Start purchasing and searching for those items from #2 that match your listed budget. Every time you buy one of those items, mark out the budgeted amount and write in the exact amount…so at the end you can see if your exact matched the budget. I did a much better job at this during our recent bathroom remodel and it was so easy to stay on budget…so take my advice…this is so helpful.
TIP #4: Sell your old appliances and cabinets–and anything else you want to get rid of
This is self explanatory. If you’re having a hard time making your budget, this may help pay for some of that extra. Post your old cabinets and appliances (after you remove them) on Facebook or Craigslist or wherever you can sell locally. I promise people will buy this stuff. We made $650 off our old cabinets and appliances and another $500 from a metal staircase we removed from the kitchen that accessed out attic. It was a win win because these people needed some cheap shop cabinets (and a metal staircase) and I didn’t want to pay to take it to the dump.
TIP #5: Precook your meals
Speaking of budgets…don’t blow your budget on eating meals out while your kitchen is out of commission. Precook some meals and freeze them to eat while working on your kitchen.
.
Luckily, we were without a kitchen for just two to three weeks and we survived off a casserole I made five minutes before we took out our old stove (for the first week), some frozen leftovers, and a crockpot. Crockpots are your best friend during remodels. Just remember that you may have to wash it in the tub since you don’t have a kitchen sink. 🙂 I know from experience.
.
But, take my word for it. Prepare this food before you get to the I’m-so-exhausted-I-just-want-a-cheeseburger phase. Once you get to that point, you will have no will to do this part and your “food” budget will be blown. Oh and you’ll feel like crap from eating fast food at 11PM every night.
TIP #6: Stock the Band-Aid cabinet
Demo is rough. So is drywall. Keep bandaids handy. Trust me…you will need far more than you think. My Dad required AT LEAST two per hour of demo.
 TIP #7: Watch out for rusty nails
And this is the part where I tell you my tetanus shot story. So, let’s start at the beginning…I stepped on a really big, really rusty, really painful nail during this remodel process. Because I am a clumsy idiot who wears worn out sneakers everywhere and doesn’t pay attention.
After some Neosporin and a couple band-aids (see tip #6), I asked Google what to do. Google said to get the tetanus shot or die. Google also said the shot was painful–like it’s trying to talk me out of it or something. What’s up with that? Silly Google, don’t you know I give blood on a regular basis? You think I’m going to think a little shot is painful?
So on my morning work break, I find myself in the waiting room of the little doctors office down the road from my work. The sweet little old lady doctor gave me the shot and a cute little bandaid and I laughed at Google for it’s false information. That shot was painless, Google. Quit lying just to scare people. Silly Google.
.
Until a few minutes later when I got to my car.
.
I couldn’t raise my arm. My shoulder was on fire. I THOUGHT. I WAS GOING. TO DIE. I went back to work and couldn’t lift my arm to the keyboard to type…I couldn’t even answer the phone. My arm was going to fall off any minute, I was sure of it. THE PAIN. It felt like I had gotten stung by a 100 wasps and been repeatedly punched in the shoulder for hours. Okay, Google. You win.
.
This was a Tuesday.
.
That weekend we went to a wedding and I wore a sleeveless dress despite my (STILL…after five days) very red and very swollen shoulder and spent the reception trying to strategically place my hair over the shoulder to avoid questions from strangers asking what bit me. Resisting the urge to say something inappropriate…or make up some story about how I fought off the beast of LBL, I simply told them I got a tetanus shot and then they looked at me like I had cooties.
So that, kids, is why you watch out for rusted nails when remodeling 🙂 Because then you will go to a wedding and people will think you have cooties.
.
So, if you are planning on doing a kitchen remodel (or any remodel for that matter) any time soon, hopefully these tips will come in handy for you. And hopefully you can avoid the tetanus shot fiasco 🙂
.
Don’t forget to pin for later so you can easily find these tips again when you need them 🙂
Until next time, watch out for rusted nails 🙂 and happy DIYing!




 TIP #7: Watch out for rusty nails


Shara,
The last tetanus shot I had was to get ready for college. My arm swelled up, the pores in my skin actually dimpled, and turned purple. I was so sick I spent two or three days on the couch due to a spinning head. And the best part? At the height of my misery, my brother punched me in that arm. Almost puked from the pain and nausea. Good Times!
Your remodel is amazing and it makes you wonder what were people thinking when they set up the layout of the kitchen originally. Yours is bright, clean and streamlined. Thumbs up to you and your planning!
Maureen
Thank you so much! We LOVE our new kitchen. Totally worth all the work…and the shot haha. Between remodels, woodworking, and my day job, I think I’m going to have to stay up to date on my tetanus shots because I’m ALWAYS getting a cut or scratch from metal. I think those are every ten years? I’ve still got 7 more to go, so I don’t want to think about it again yet haha.
Thanks for sharing these helpful tips! I am a fellow Building a Framework member and found your work to be super fun and informative. Also signed up for your mailing list:)
Thank you Briana!! So fun to “meet” fellow members 🙂 I am so glad you signed up and enjoyed my tips! I hope you keep in touch!
We are getting ready to remodel our kitchen this spring so this is a super helpful list!
If you are okay sharing, how much space is around your kitchen table? We are trying to determine a layout and are having trouble deciding how much space we need around our table.
Love the blog!
Hi! Good luck with your remodel!! They are fun, but they are tiring! Our kitchen was about 22′ long and 14′ deep. Our table is 8’x3′ so there are a few feet around all sides of the table. Plenty of room to walk around and pull chairs out. I believe standard practice is to have at least 30″ of space between the edge of a table and the next closest object (wall, console, cabinets, etc). I hope that helps!
Ahhhh, I was reading your about page. That’s why I missed it. Sorry, your house is beautiful!!!!
Thank you!! 🙂