Sanding is one of the MOST important parts of every DIY project that is often overlooked.
In this post, I’m sharing how, when, and why to properly sand your DIY woodworking projects.
*This post contains affiliate links. See website policies.
Why is sanding important?
Before we talk about HOW to sand, I feel like you need to first know WHY it’s worth doing.
Most people (myself included) do not enjoy the task of sanding–it’s boring, it’s dusty, it makes a project take longer to build. However, sanding is the number one thing that will take your project from “that was definitely DIYed” to “wow–that’s a nice piece!”
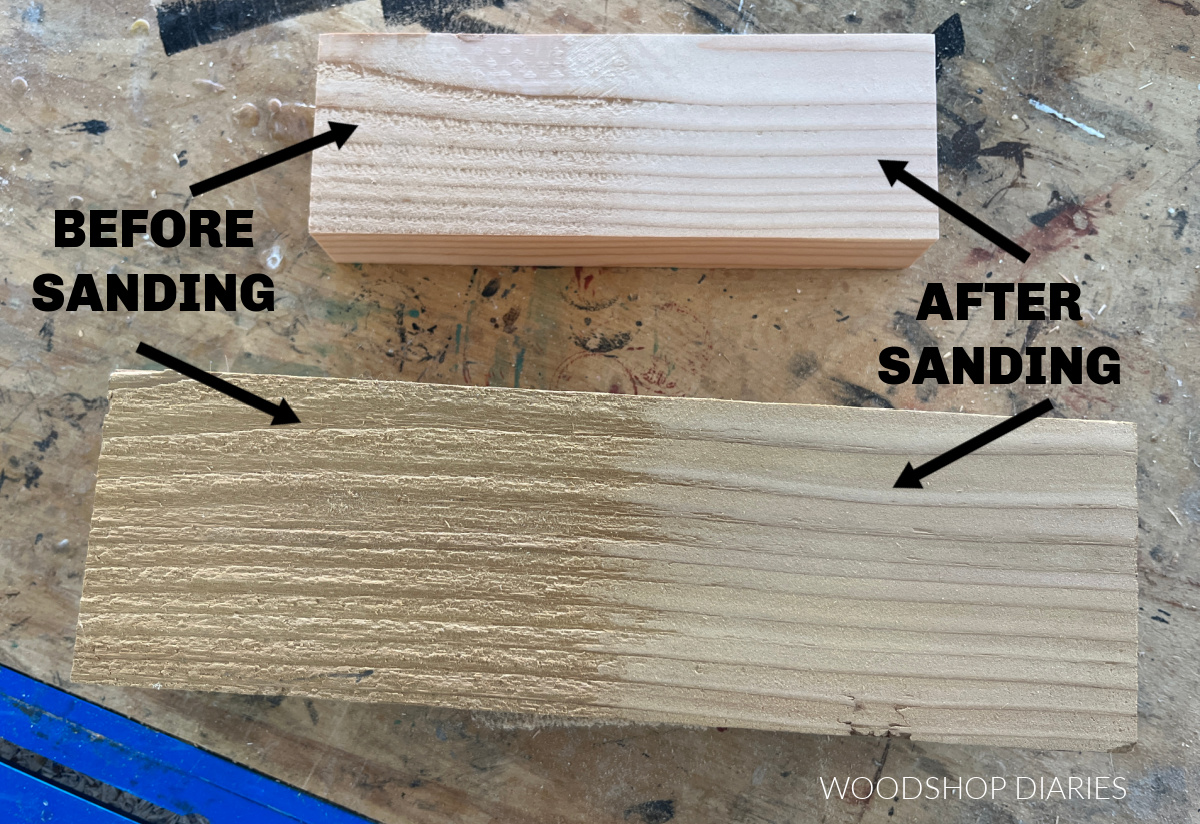
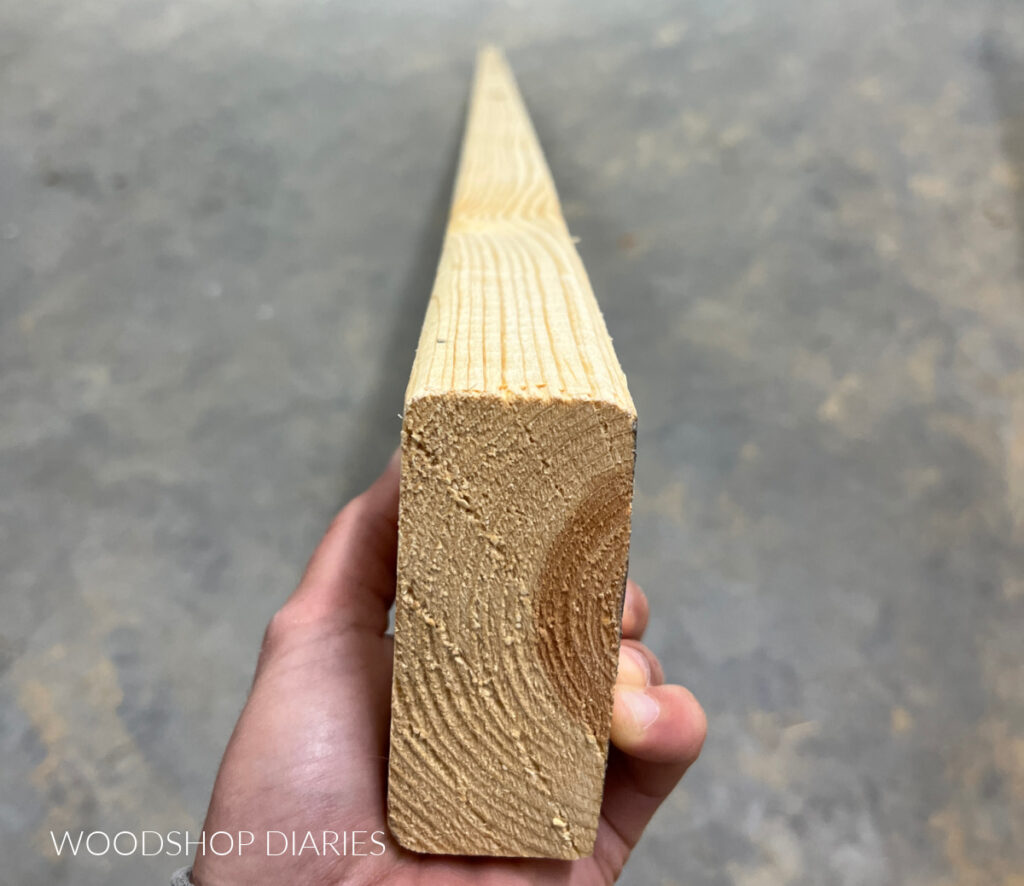
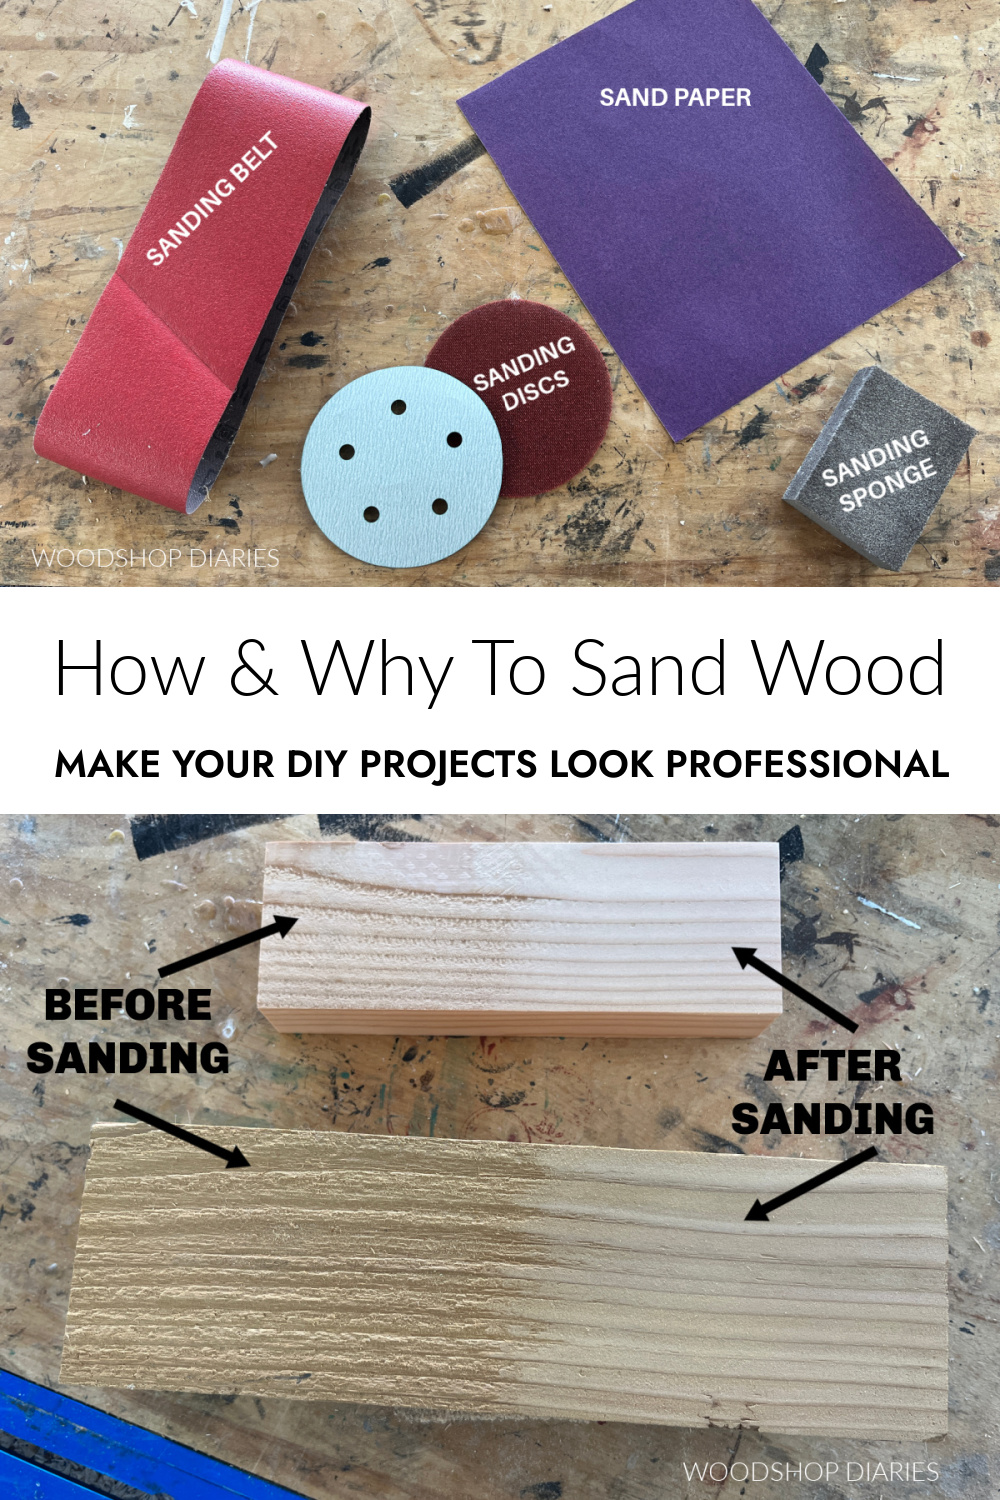
Sanding helps smooth out rough material (see image above) so your finish will go on nicer. It can level out uneven joints, so that your projects look seamless and more professionally built.
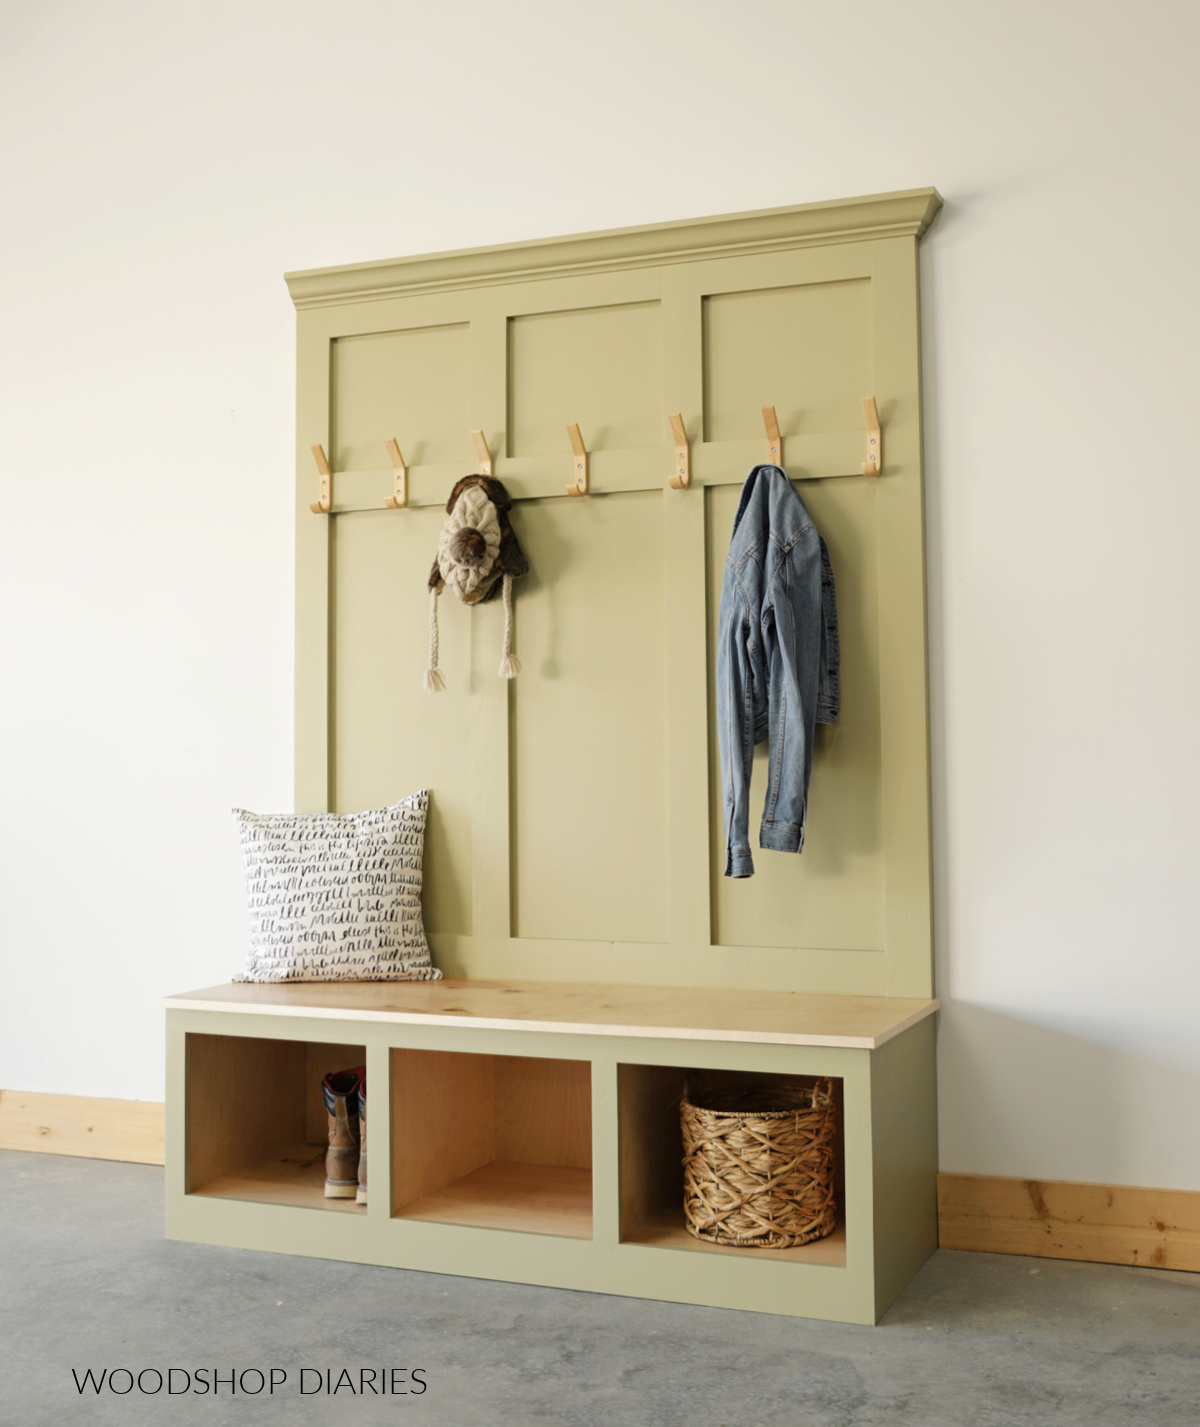
And it can sand away imperfections as if they were never there. It’s like a literal magic eraser!
What tools do you need to sand wood?
Theoretically, all you need to sand is some sandpaper and your hands. Hand sanding is better than no sanding at all and will still make a huge difference in your project quality.
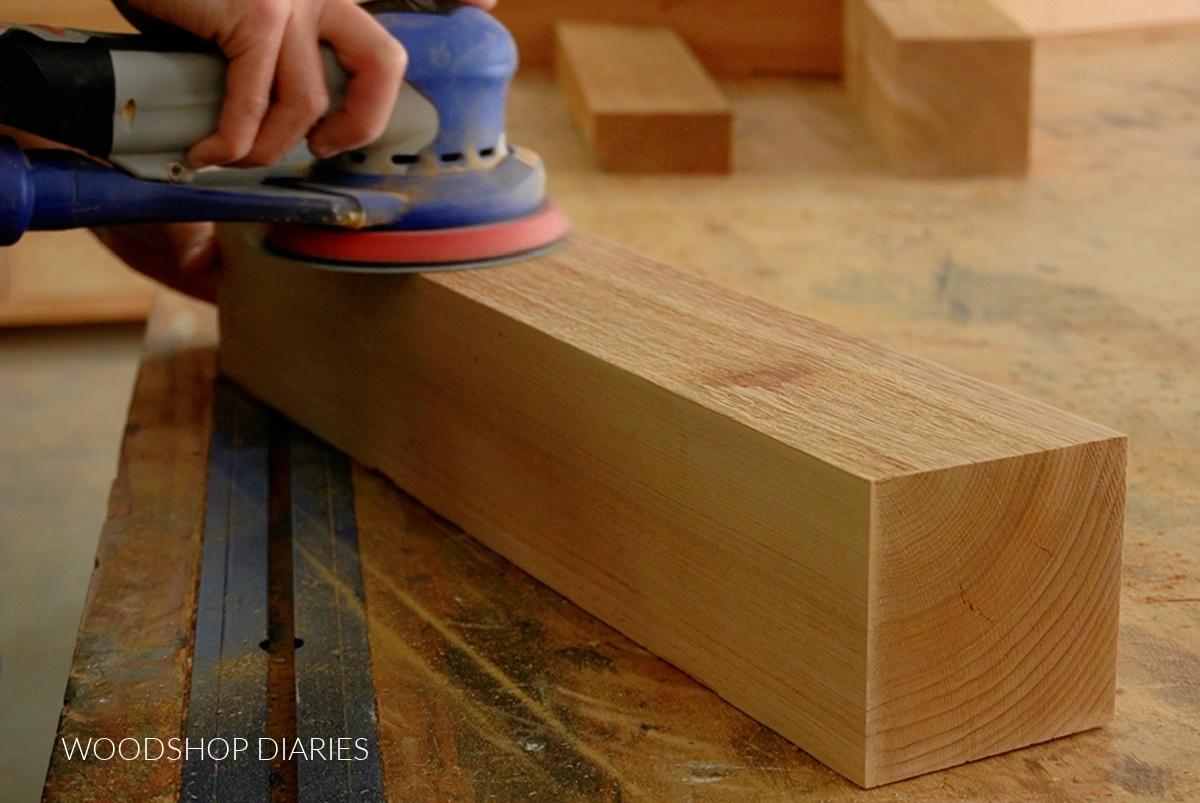
But to save (a LOT of) time and wear on your elbows, a power sander is kind of essential.
Sanders come in various sizes and types. Common sanders in most woodworking shops are belt sanders, orbital sanders, and palm sanders.
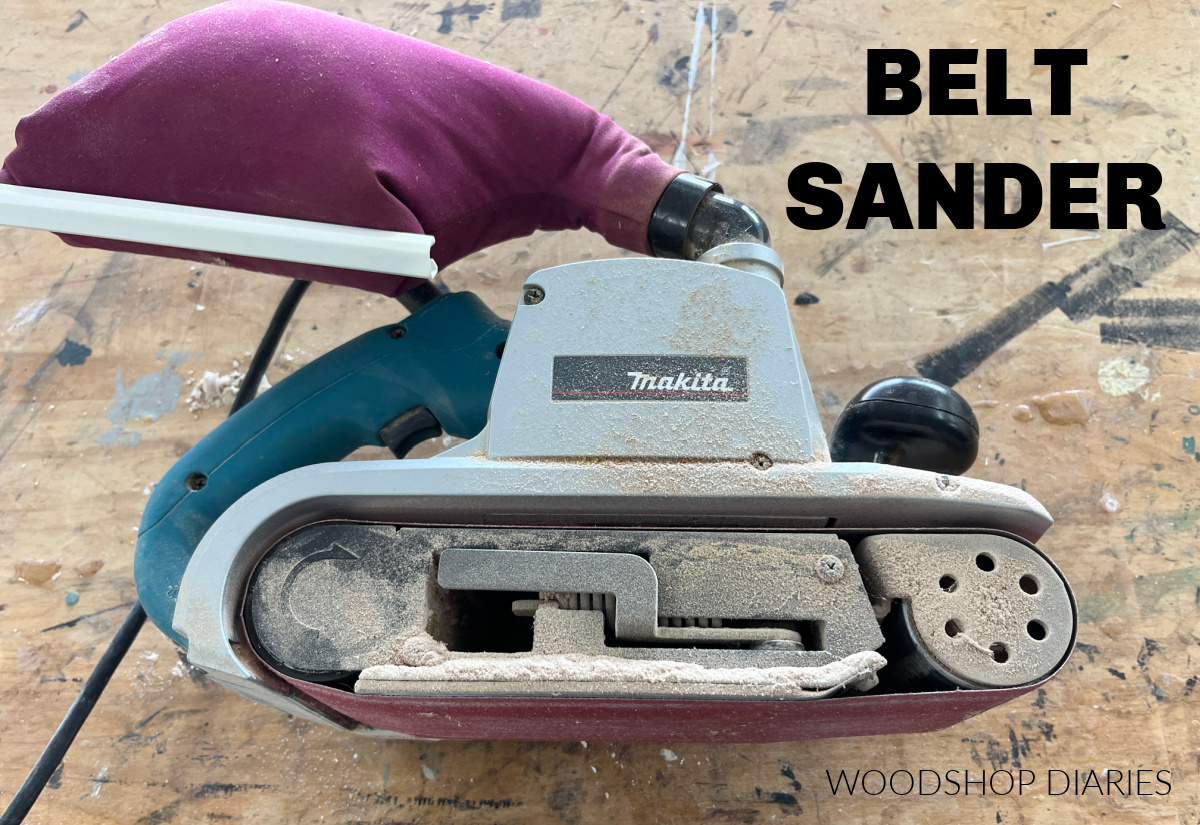
Types of sanders:
- Belt sanders are typically used for aggressive sanding.
- They are great for large surfaces and for flattening. This type of sander spins a sandpaper belt along it’s rollers to sand wood in one direction. I usually use my belt sander when sanding large panels like table tops.
- Orbital sanders are versatile and are used for both aggressive and delicate sanding.
- These sanders spin round sandpaper discs in a random orbit to sand the wood. These are the most common every-day-use sanders and are what I use most often.
- Palm sanders are more of a specialty type sander used for small, delicate pieces.
- I personally don’t have one as I don’t see the need. However, people often buy them in place of an orbital sander because they are typically cheaper–but they’ll take a lot longer to get the job done.
I personally use my orbital sander for about 95% of all my sanding and my belt sander for the other 5%. So if you’re trying to decide which one you need to get started with, I highly recommend starting with an orbital sander.
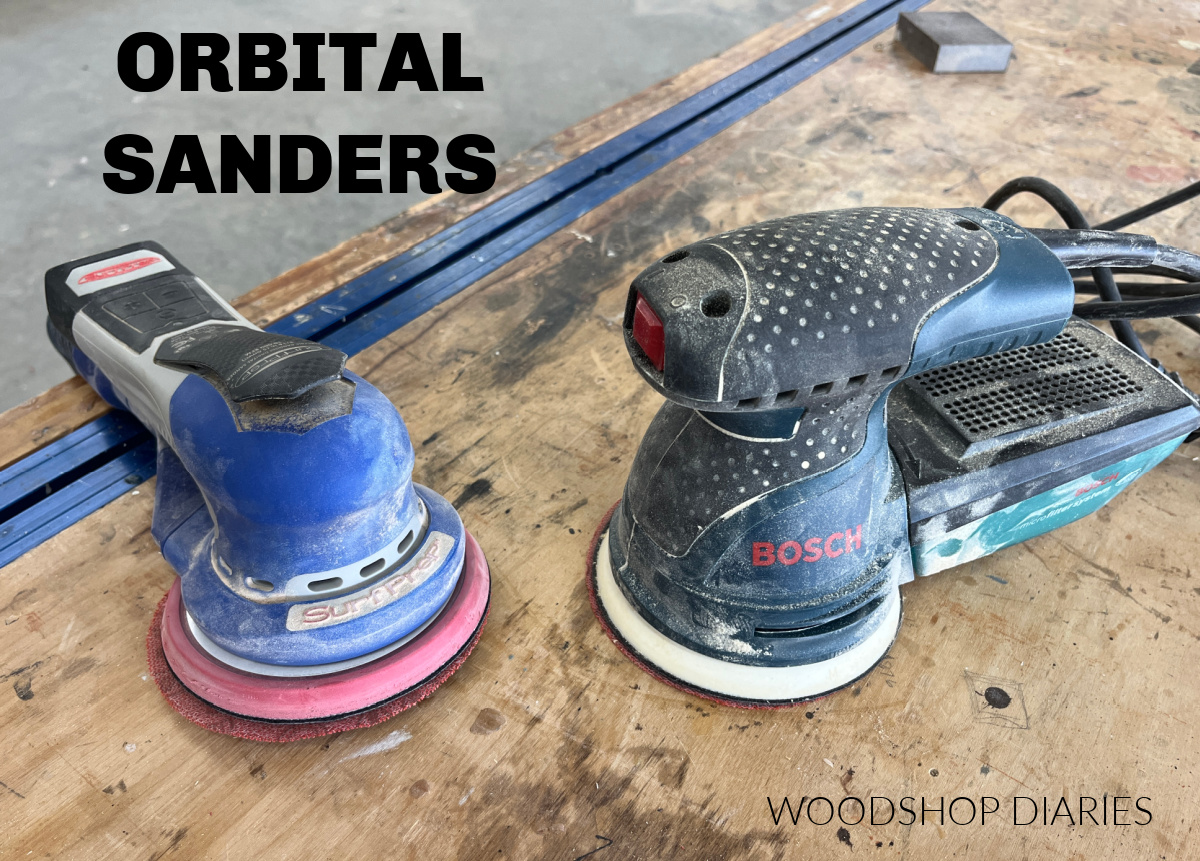
My recommended sanders:
- Orbital Sanders
- I’m currently using a SurfPrep sander. It’s a little pricey, but works great. However, I also have this Bosch orbital sander and highly recommend it if you’re looking for a more budget friendly option.
- Belt Sanders:
- I’ve had a few belt sanders over the years and I’m currently using this Makita belt sander. It’s a little pricey as well, but I’ve also used this belt sander in the past and loved it.
For what it’s worth, the cheaper sanders I’ve used over the years have worked just as well as the more expensive ones. BUT, in my experience, they do not last nearly as long.
Understanding sandpaper grits
Sandpaper comes in various grits labeled by numbers. You can think of “grit” as the “roughness” of sandpaper. The lower the grit number, the rougher the paper. The higher the grit number, the smoother the paper.
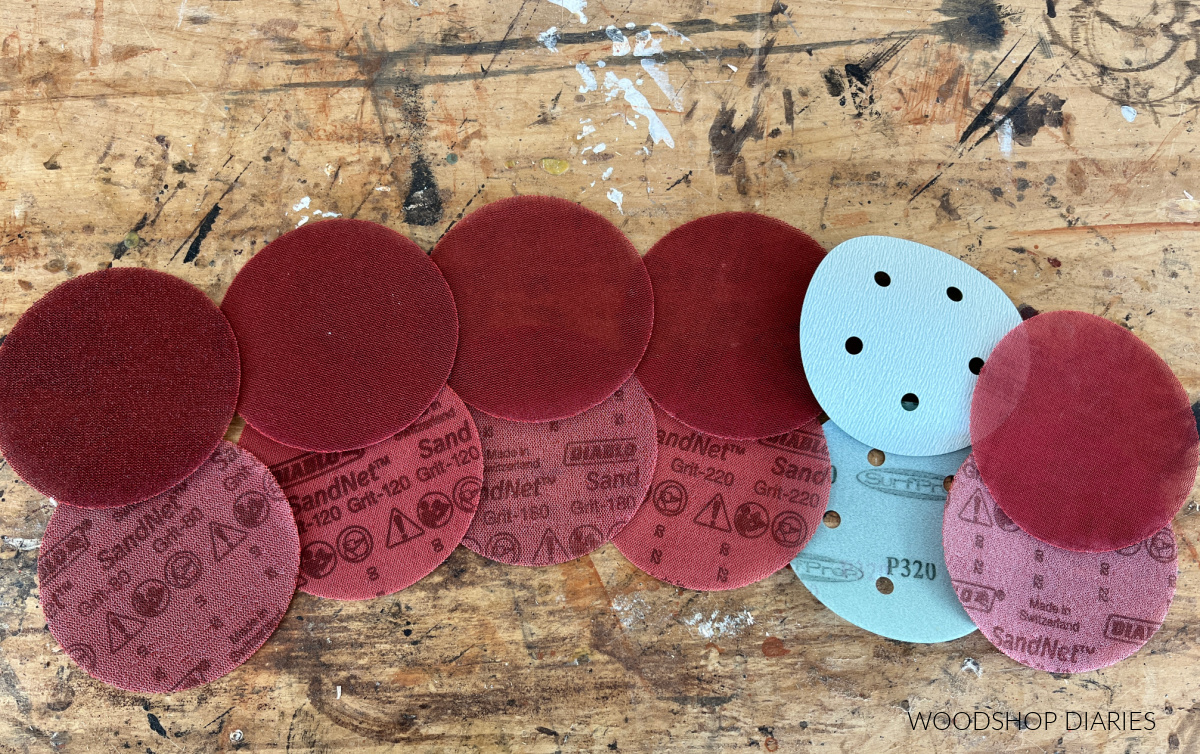
Common sandpaper grits used in woodworking range from 60-400. Of course, you’ll find sandpaper grits available outside that range, but this is what’s most commonly used for wood.
Sandpaper grits and their general uses:
- 60-100 grit: Used for aggressive sanding and when you need to remove a lot of material quickly.
- These grits are used to sand very rough material, to level uneven surfaces, and to remove existing finish (like paint or stain).
- 120-180 grit: Used for general purpose sanding.
- These grits are great for sanding semi-smooth material (like a 2×4) prior to assembly and for smoothing out uneven joints after assembly. Sandpaper in this grit range will remove material, but not as quickly or as aggressively as a lower grit, so it’s much easier to control.
- 220-400 grit: Used for finish sanding.
- These grits are what you use to give your piece a final sanding before finish and what you’d use between finish coats. They will remove minimal material, but leave a piece feeling super smooth.
Sandpaper comes in belts (for belt sanders), discs (for orbital sanders), sheets (for hand sanding or palm sanders), and sponges or blocks (for hand sanding).
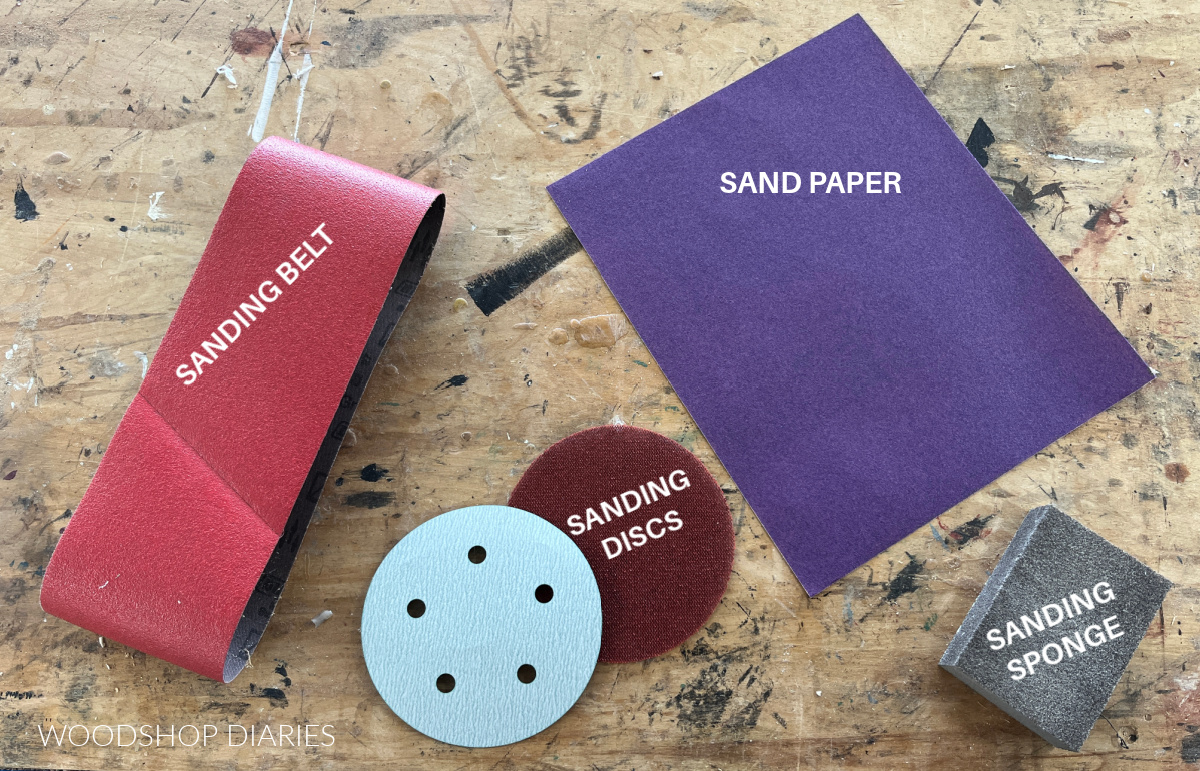
Personally, I love Diablo brand sandpaper and that’s what I use most in my shop.
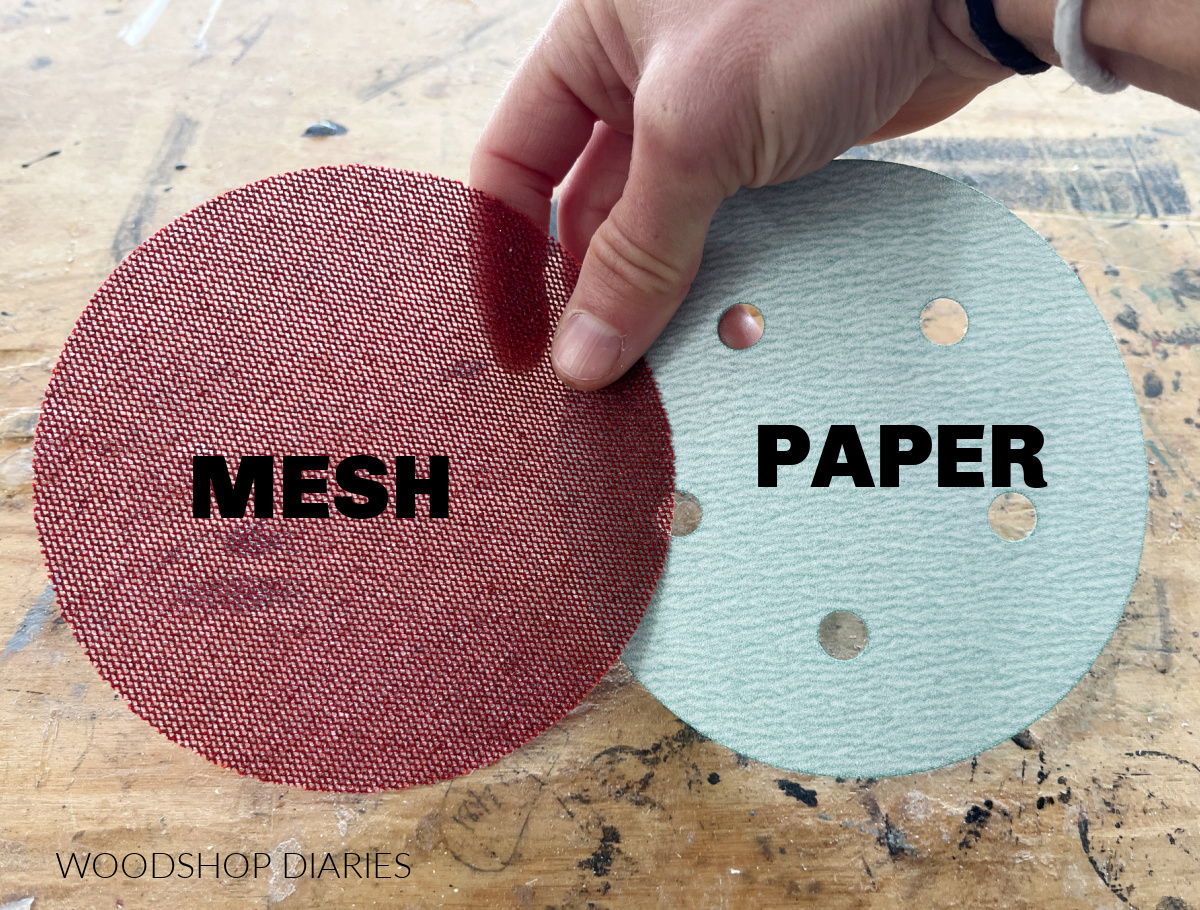
You can find orbital sanding discs as paper discs, or in a mesh-like material. Both work great. Paper discs are usually cheaper and in my experience work just as well.
Are DIY projects your thing? Sign up for our newsletter for priority access to the latest projects and build plans!
When should you sand wood?
This is a tricky question and many people may have differing opinions. Honestly, it will depend on what kind of project you’re working on and the materials you’re using.
However, I recommend sanding multiple times during a project.
When should you sand?
- After cutting/Before assembling
- After assembling
- After puttying/Before finish
- Between coats of finish
Of course, every project is a little different, so in some cases, it may not be necessary to sand in every instance. So, this is just a general guideline to help you get the hang of it.
Below, I’ll share my tips for how to sand in each of these situations.
How to sand your DIY Woodworking Projects
Before we dive into HOW to sand wood, keep in mind that every project, material, situation is different, so don’t stress about a RIGHT or WRONG way to sand.
Just remember the goal is to create smooth joints and a smooth finish. There are many ways to get there.
But, there are two “rules” to sanding:
- When hand sanding or belt sanding, sand WITH (or parallel to) the wood grain.
- When sanding, work your way from low grits to higher grits, skipping no more than 60 grits at a time.
Why should you sand with the wood grain? Sandpaper is literally scratching the wood’s surface. If these scratches go in the same direction as the wood grain, they will blend in. But if they go across the wood grain, they’ll be quite noticeable, especially if you apply a wood stain as you can see below.
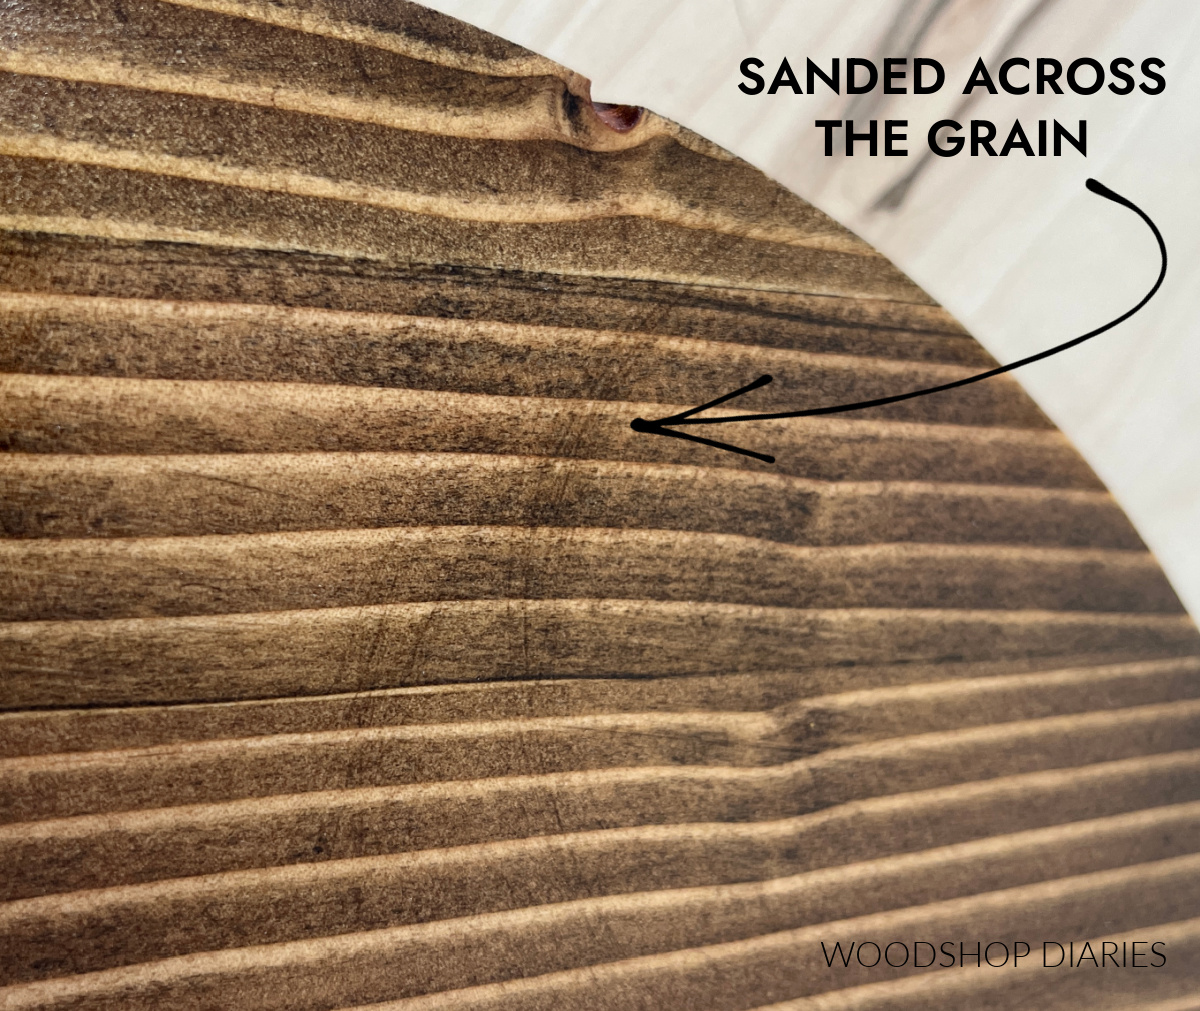
With orbital sanders, since the sanding direction is random, this isn’t so much a concern as much as it is with belt sanders or hand sanding.
Why should you work your way up the grits? I just mentioned that sandpaper scratches the surface. So, as you work your way up, each higher grit will remove the scratches left from the previous grit until the scratches are practically gone (at about 220 grit).
For example, if I’m working with some pretty rough lumber like you see below, I may start with 80 grit sandpaper to level it out.
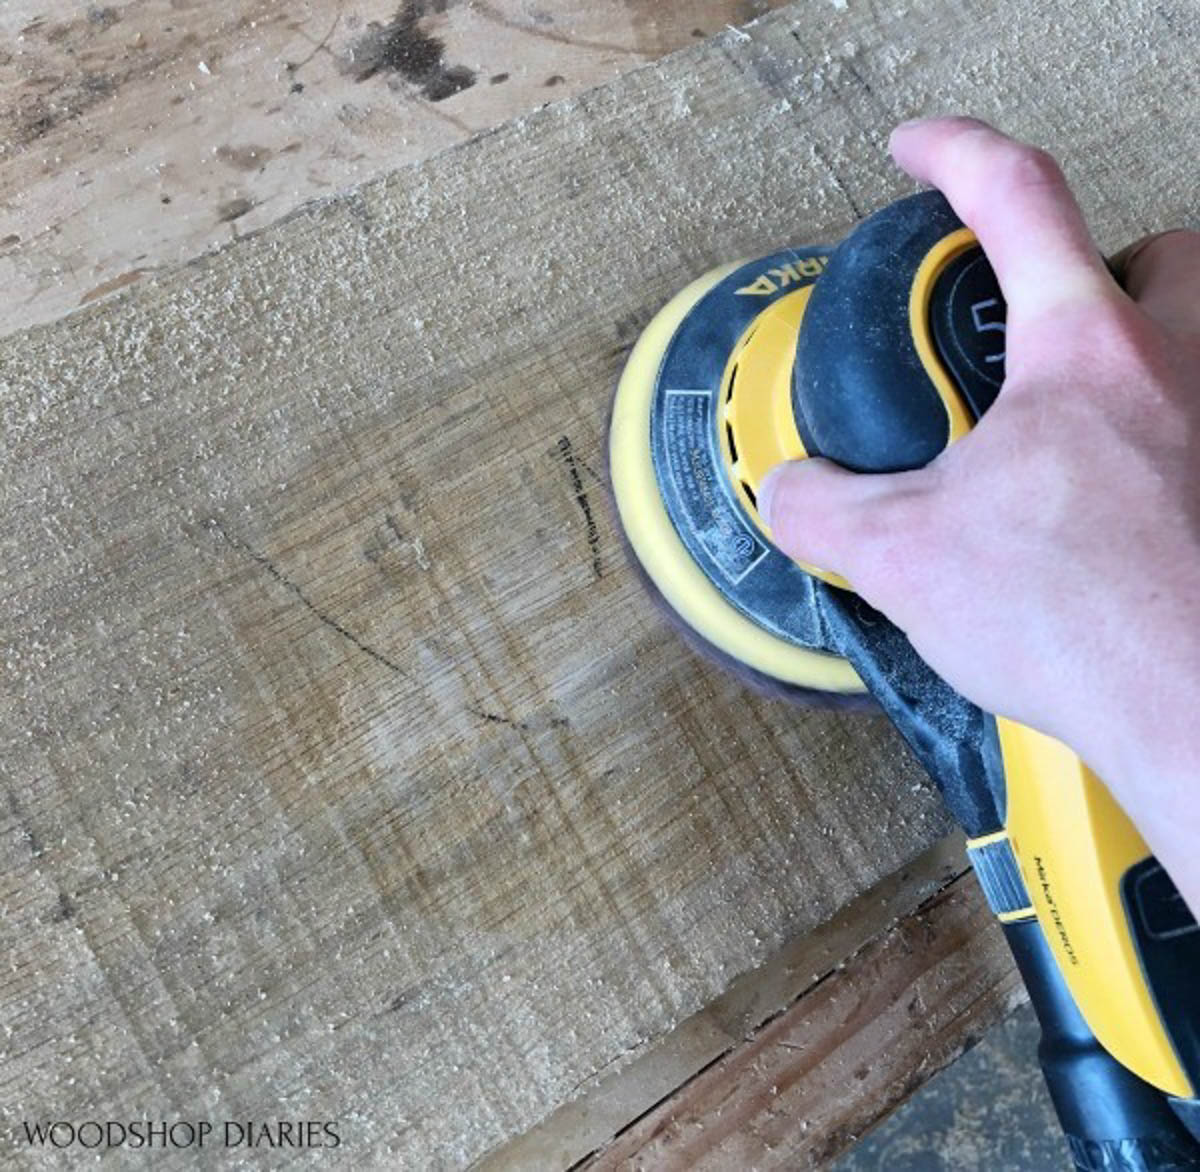
That will leave some pretty big surface scratches on the wood. So, next I’ll go over it with 120 grit which will sand away those big scratches, and leave smaller ones.
So I’ll follow up with 180 grit, which will remove those small scratches and leave even smaller ones. Then, I’ll finish up with 220 grit which will remove those scratches and leave the wood smooth enough for finish.
Usually, the last grit I sand with before applying a finish is 220. Not every material needs to be sanded with lower grits. If they’re already pretty smooth, you can skip directly to 220. I’ll explain more below.
Sanding wood before assembling
Personally, this is the “main” sanding I do for every project, no matter what.
I like to sand all of my pieces before assembling because after it’s assembled, it may be challenging to get into all the little corners and surfaces.
Sanding before assembling allows me to make sure every surface is sanded at least once. I use an orbital sander for this.
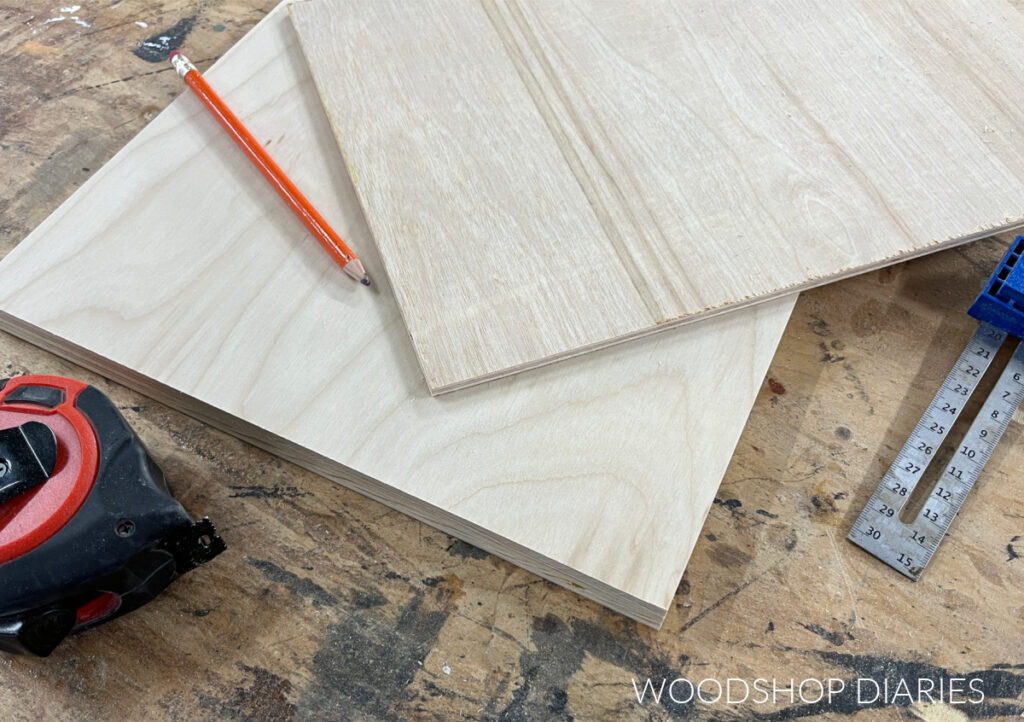
Generally, for cabinet grade plywood, I skip straight to sanding with 220 grit sandpaper. You don’t want to sand plywood too aggressively because you can accidentally remove the top veneer layer since it’s so thin.
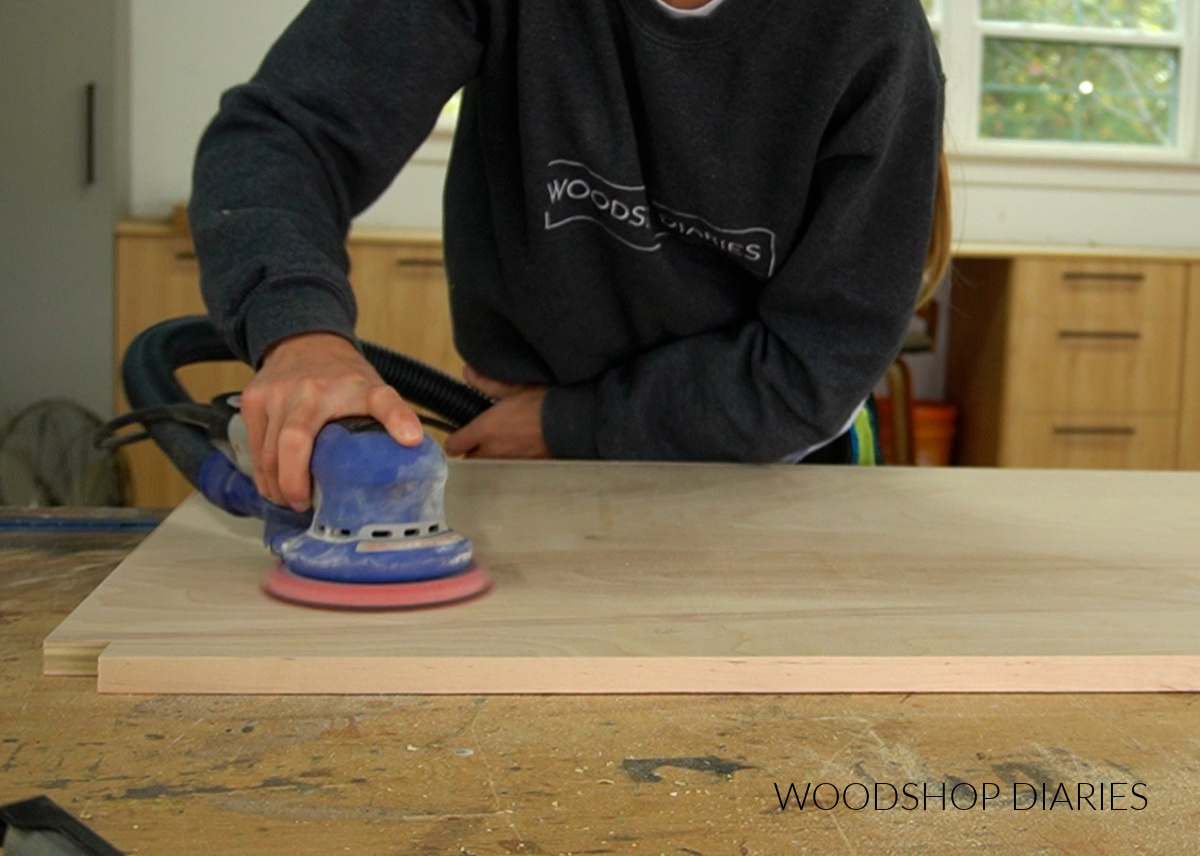
Stick with higher grits when sanding plywood. It’s usually pretty smooth anyway, so a light 220 grit sanding is all it needs.
For solid woods or rougher materials, I do sometimes sand initially with a lower grit–like 120, 150, or 180–if the material isn’t very smooth already. You can run your hand over it and if you feel bumps, or rough spots, make sure to smooth those out.
Then, I work my way to 220 before assembling. Or, if you prefer, you can just wait until final sanding. (I think doing it before assembling is easier.)
Sanding wood after assembling
Sanding after assembling isn’t always necessary. I usually only sand after assembling if I need to clean up any “not so perfect” joints.
I examine all my joints and if I see any that are uneven, I’ll smooth these out with some 120 or 150 grit sandpaper with my orbital sander, and work up to 220.
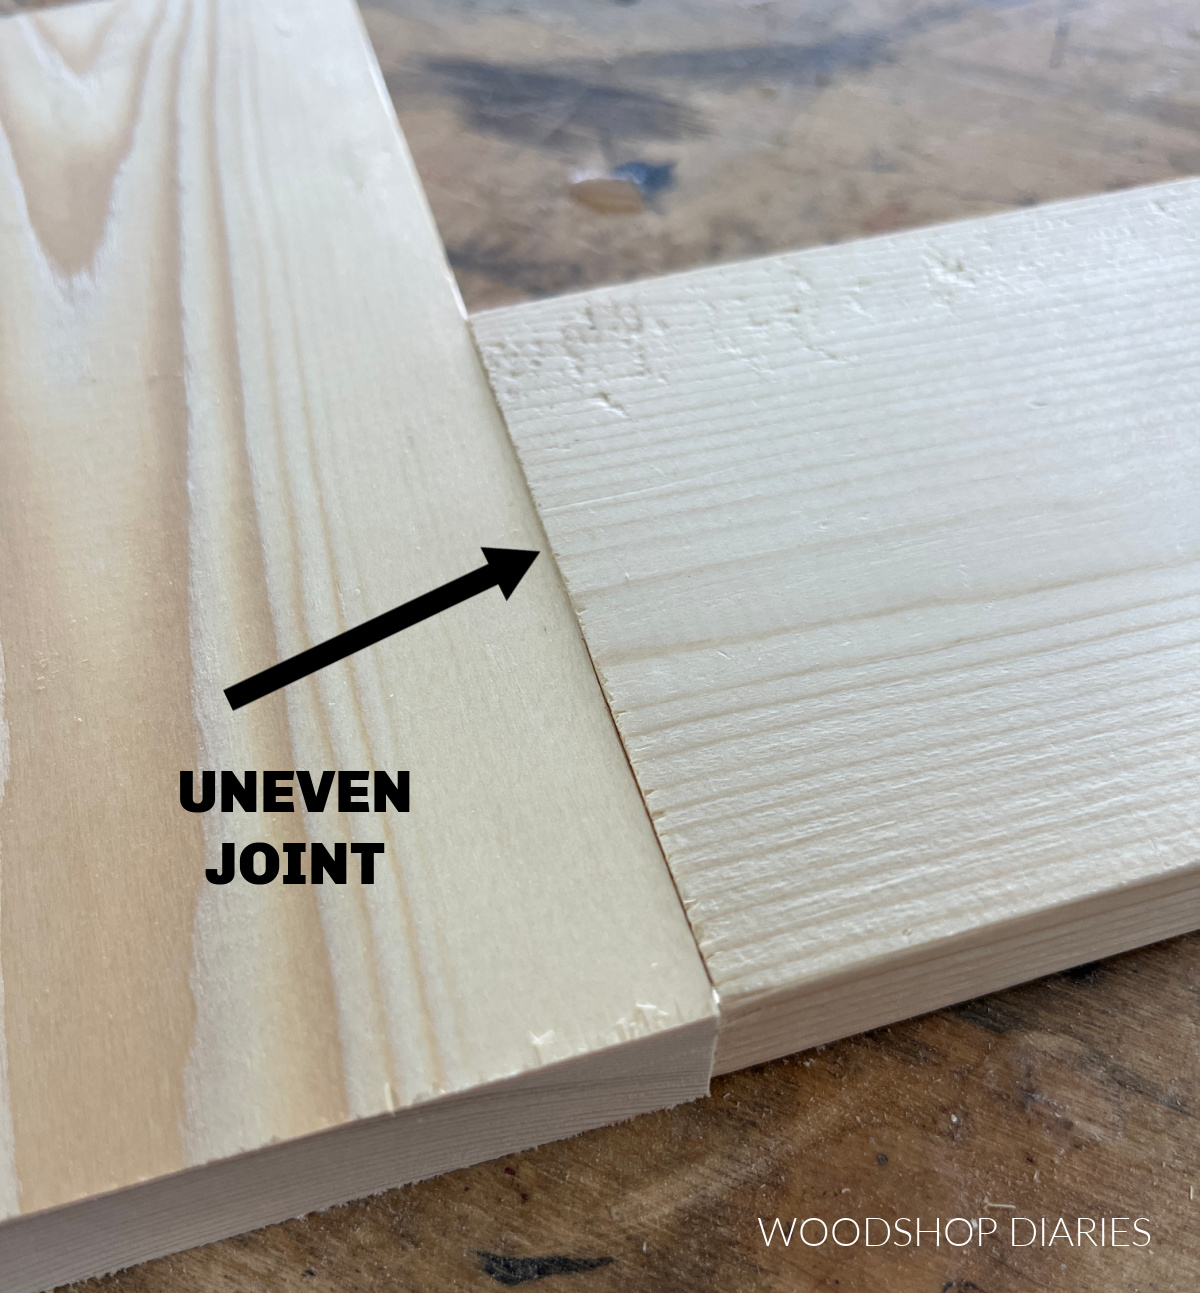
Smoothing out uneven joints will make a WORLD of difference in your finished project–especially when painting. Flat joints makes your build look much more professional and seamless.
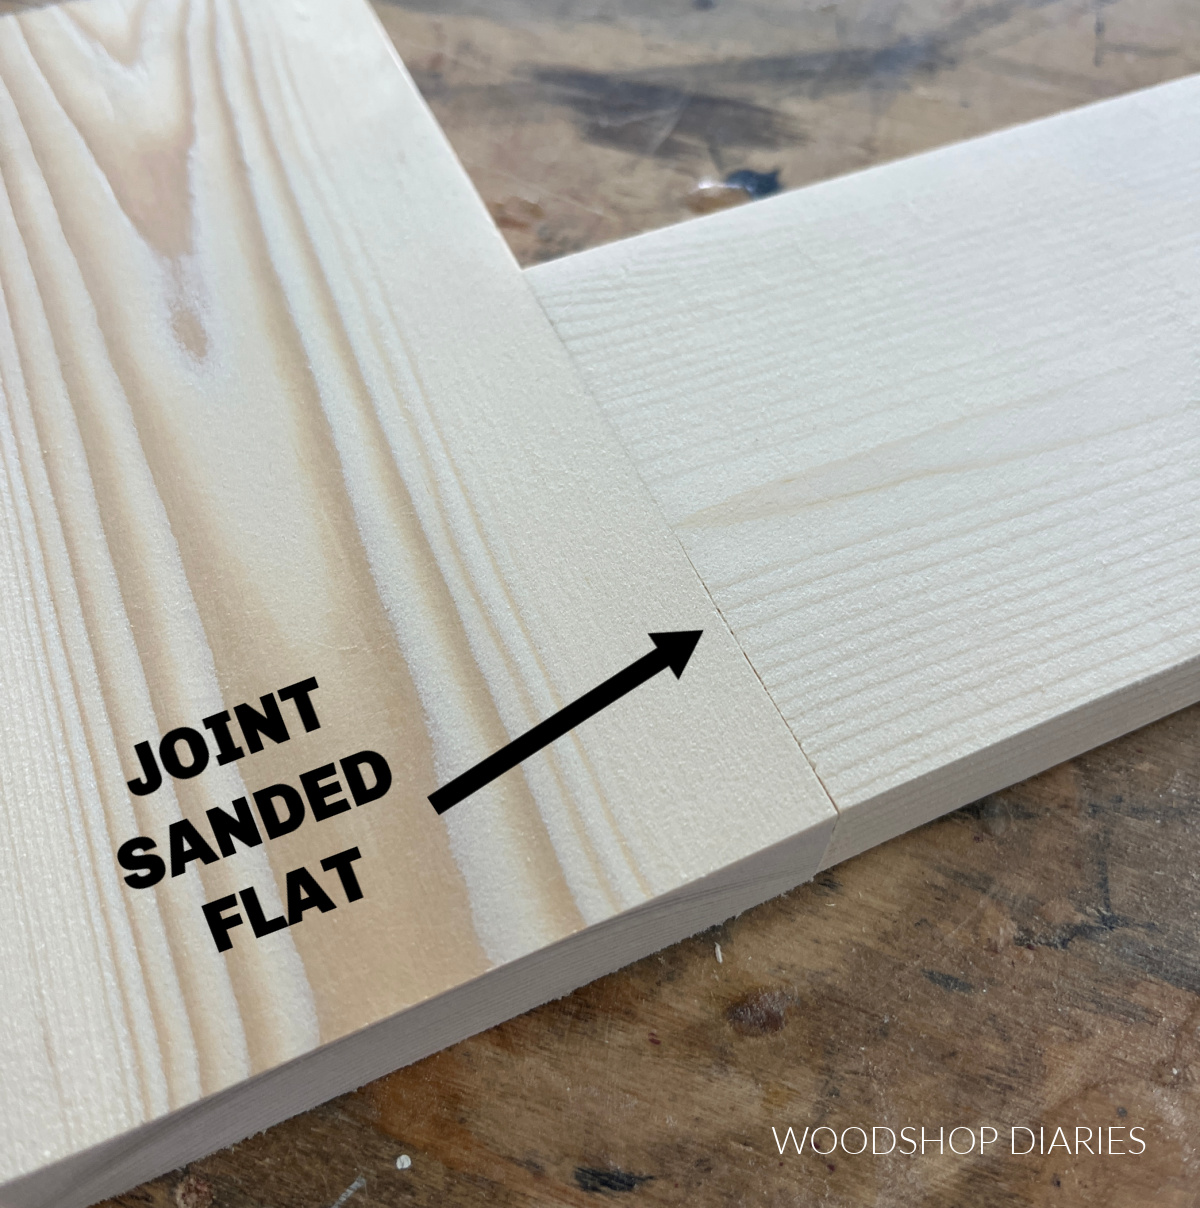
Just be careful to sand EVENLY. If you concentrate the sander in one area, you can create a divot or dip in the wood that’s just as noticeable as an uneven joint. Move the sander over the whole area evenly so it’s flat and smooth.
If I’m assembling a large glue up, like a table top, once it’s dry, I’ll often use a belt sander first to remove the glue squeeze out and flatten out the surface.
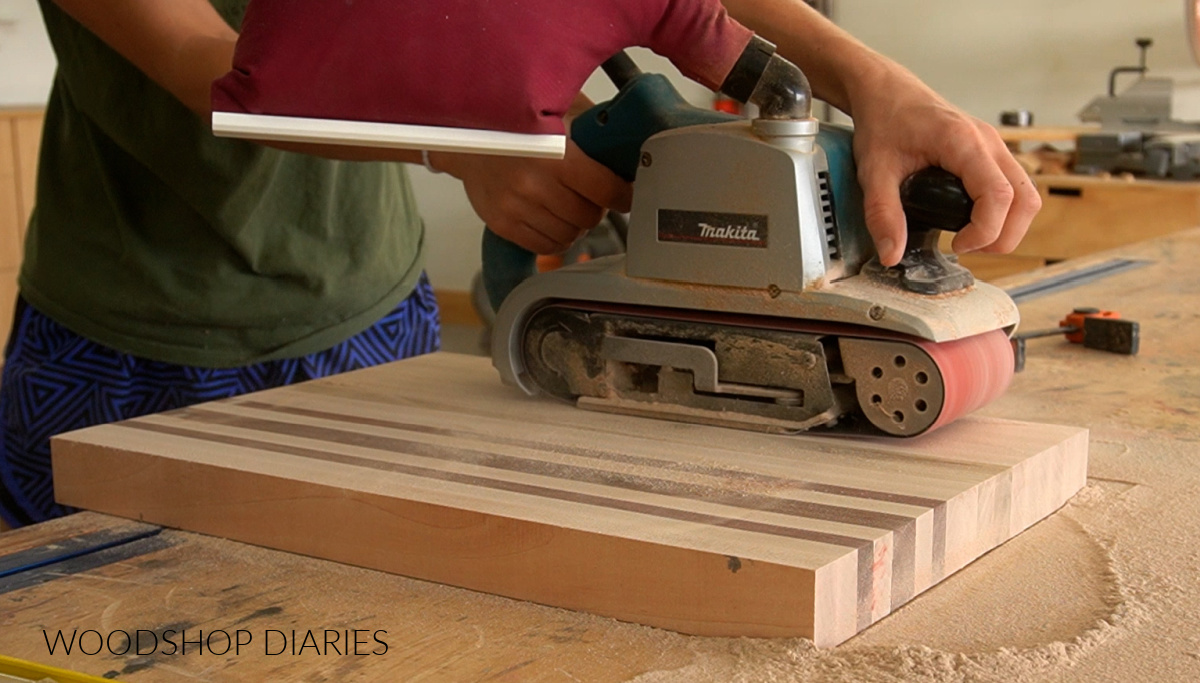
Normally, I use 80 or 100 grit sandpaper on my belt sander. Then, I’ll follow up with my orbital sander to work my way through the grits up to 220.
Sanding wood before finish
Sanding before finish is similar to sanding after assembly–it’s not always necessary. If everything has already been sanded in the build process, another sanding now isn’t required.
However, if you’ve applied any wood filler, have some glue residue left on the surface, or haven’t sanded everything to a high grit (220 or higher), now is the time to sand that down to give you the best smooth surface for applying a finish.
I like to take a close look at the entire build and give it a light hand sanding with 220 grit paper while running my hands along the surface. If you can feel an uneven spot or imperfection, it’ll likely show up with finish, so make sure to smooth it out now.
Sanding wood between finish coats
Make sure to sand lightly between finish coats IF USING A WATER BASED FINISH.
Water based finishes cause the wood grain to raise as it soaks in. To test this out, apply a water based primer to a raw wood surface, and once it’s dry, run your hand across it. It will feel very rough.
To smooth this out, I hand sand every surface with 320 or 400 grit sand paper between coats of water based finish. The grain won’t really raise after the first coat since the first coat of finish kind of “seals” it.
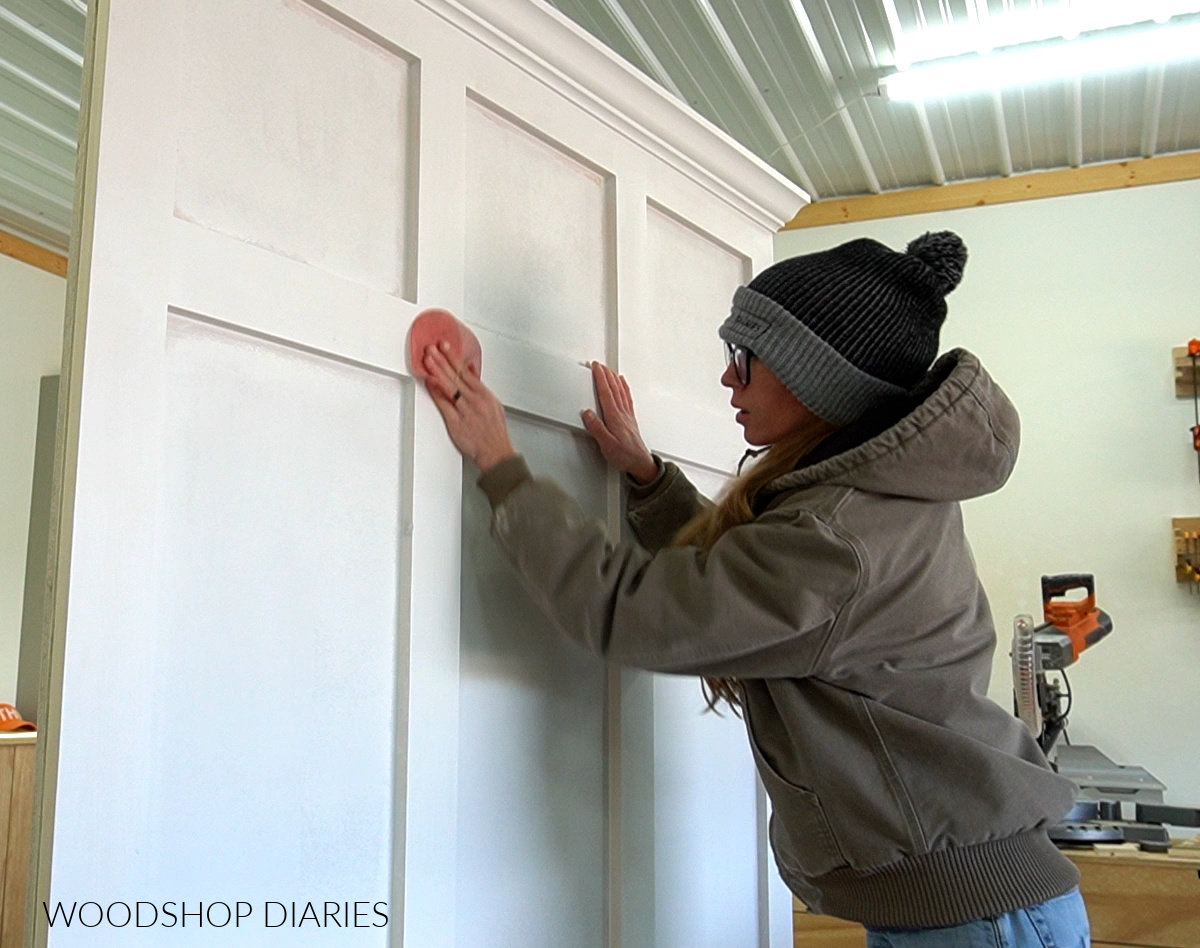
However, sanding between all coats will smooth out any brush strokes or uneven application to give you the smoothest finish possible.
So make sure to sand between primer and paint, between coats of paint, and between coats of poly or clear coat.
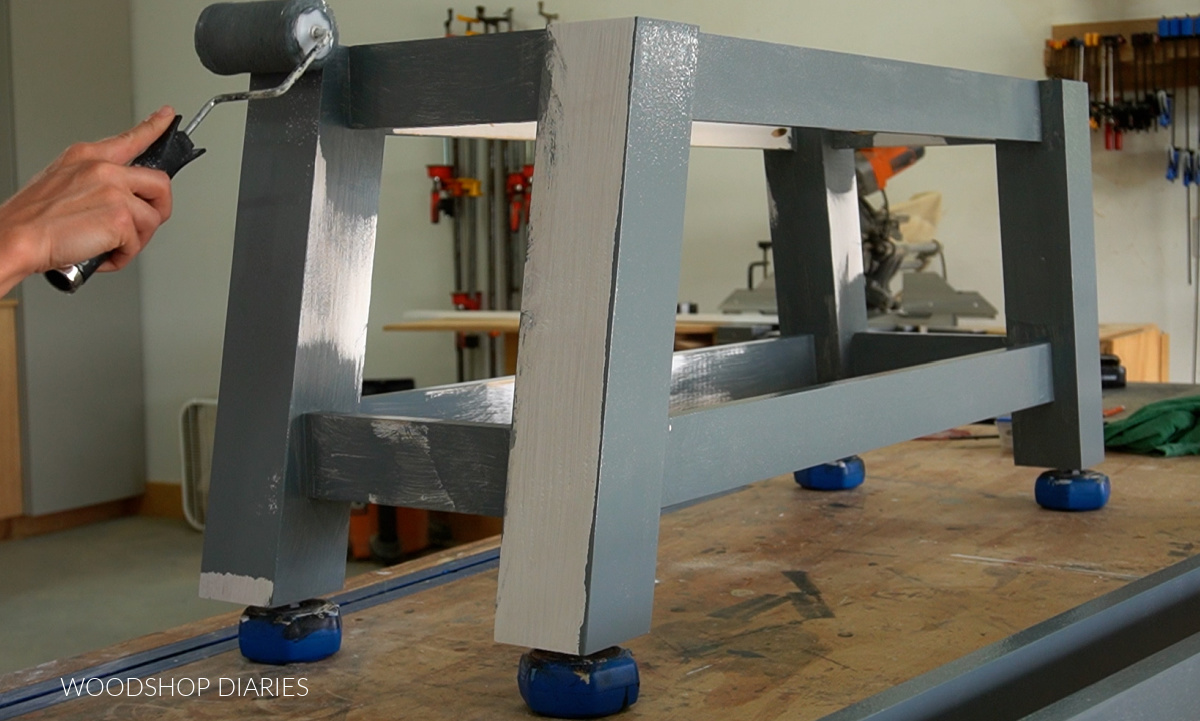
An exception is for finishes that wipe on or soak into the wood–like stains and oils. Sanding between coats of this type of finish aren’t really required.
**Make sure to read application instructions for your specific finish to see if they recommend sanding between coats.
Looking for more DIY and woodworking tips?
Looking for more tips to get started woodworking? Here are some helpful guides you’ll enjoy! Or check out the Getting Started Page Here for more information!
If you want to save this post for later, be sure to pin it or share it to your favorite social channel!
Until next time, friends, happy building!


