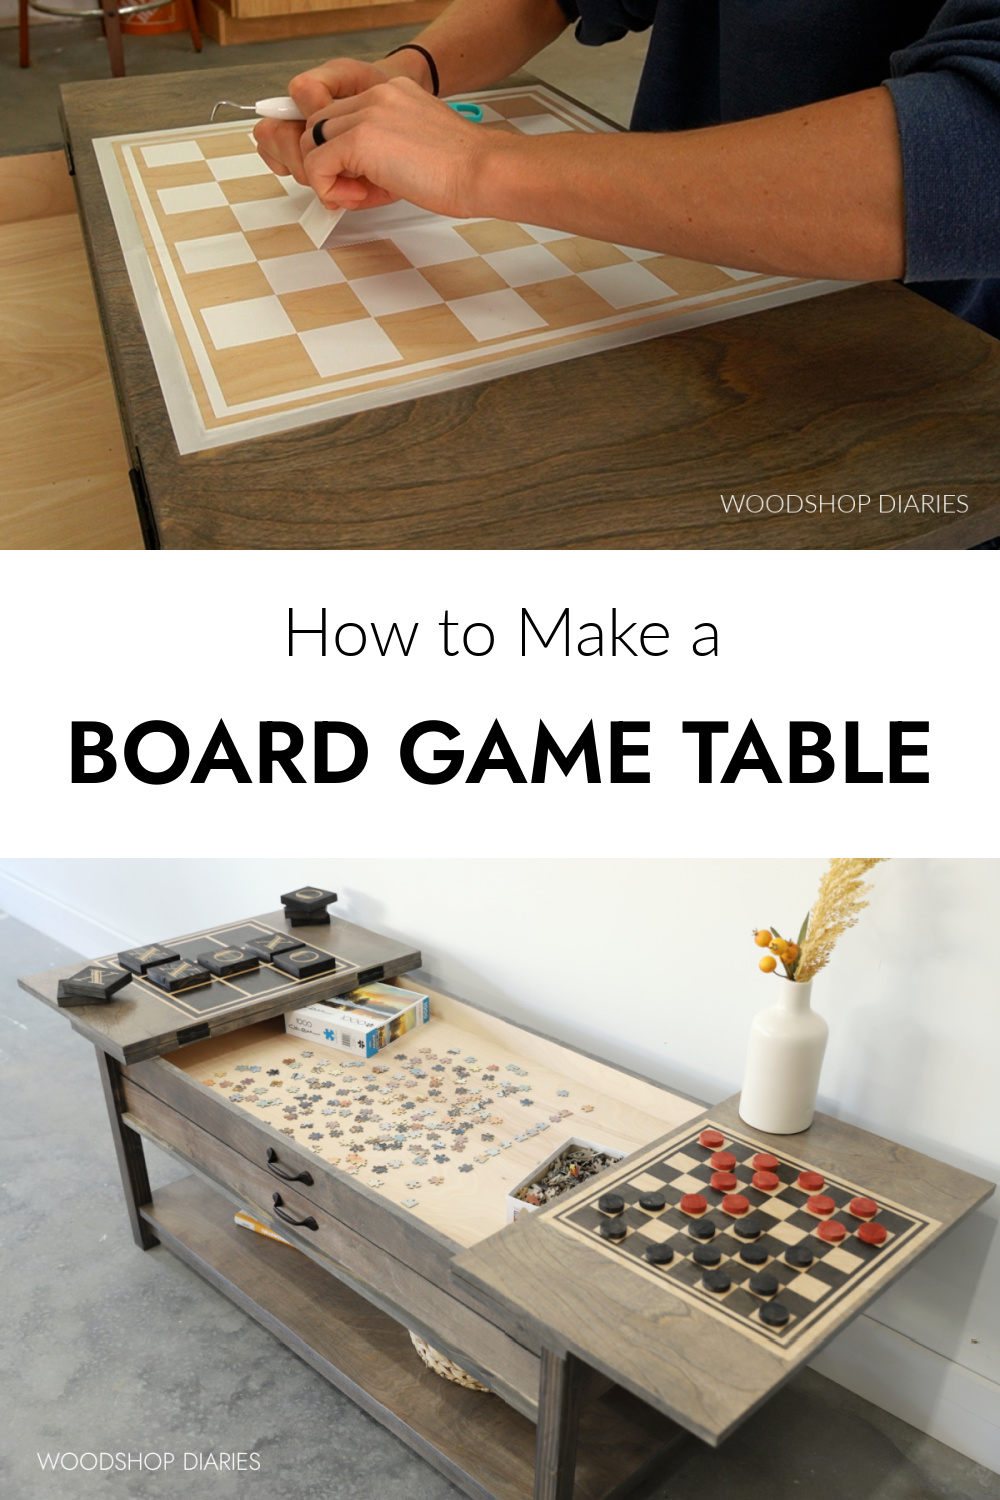
In this post, I’m sharing how to make a board game table with storage!
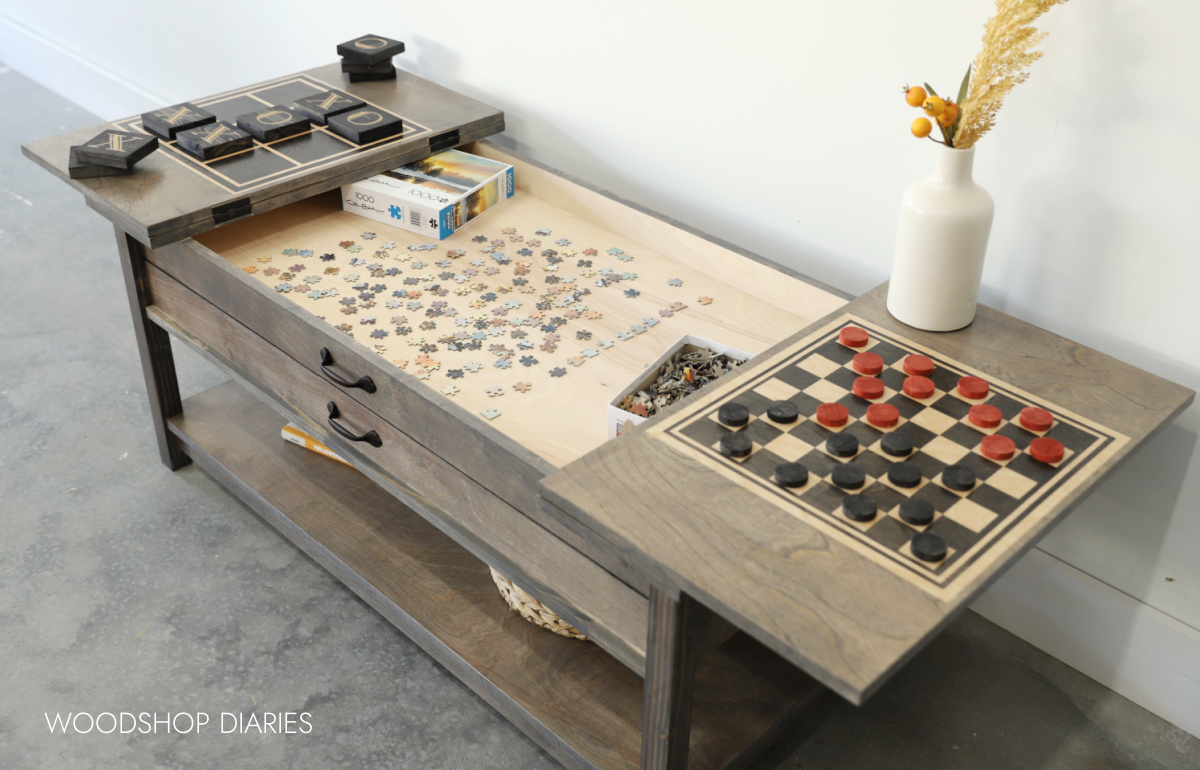
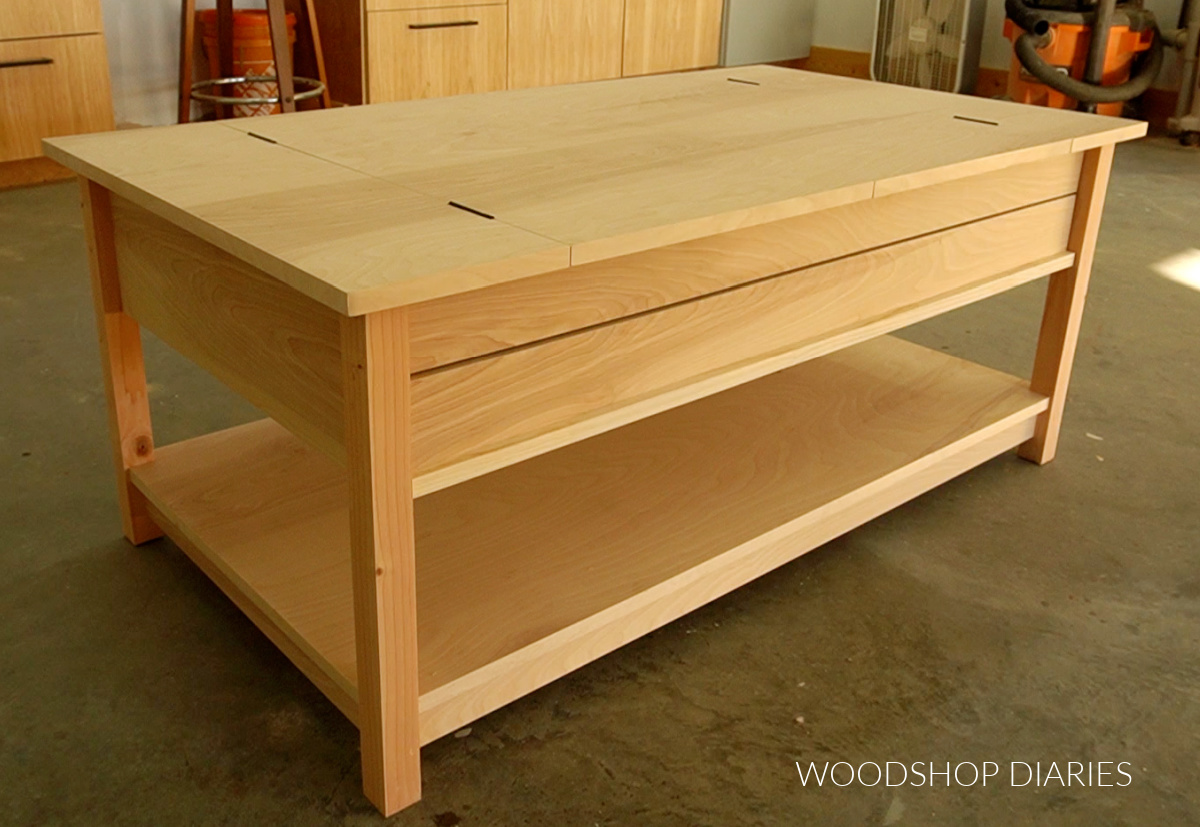
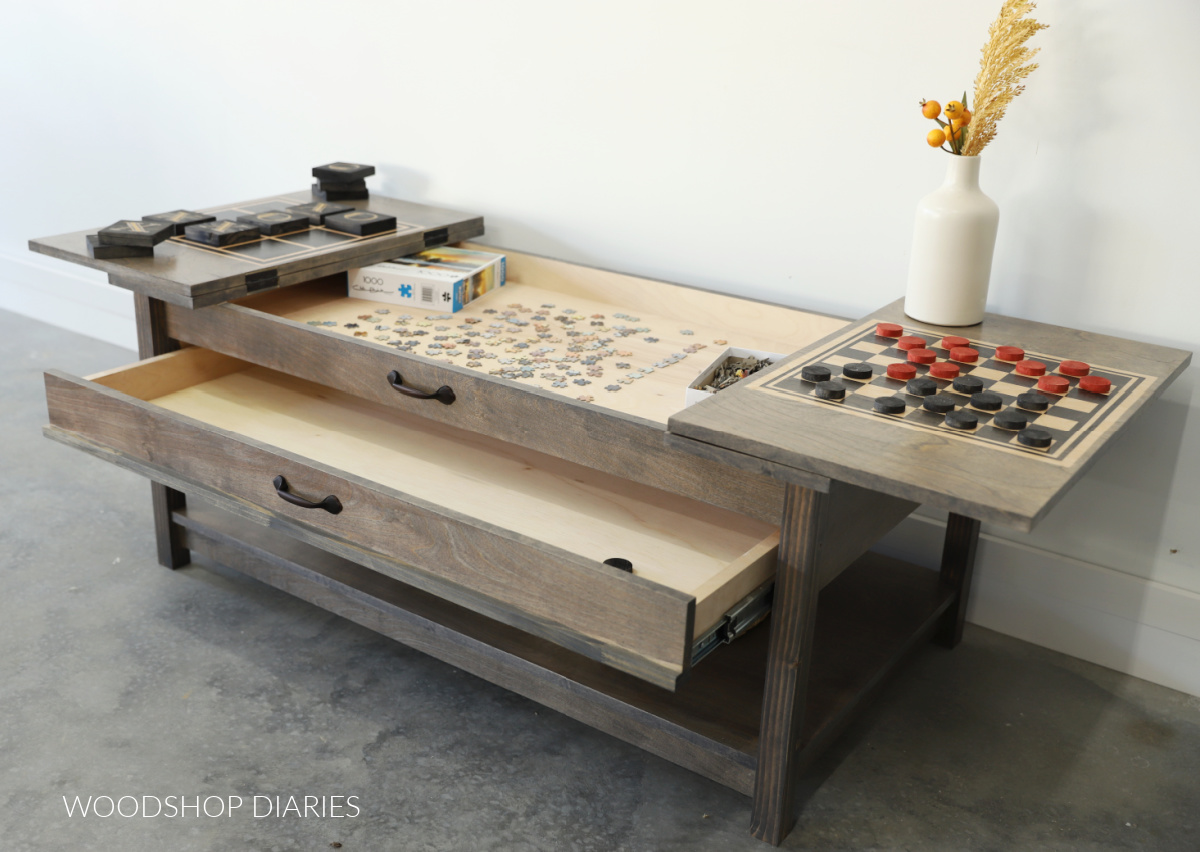
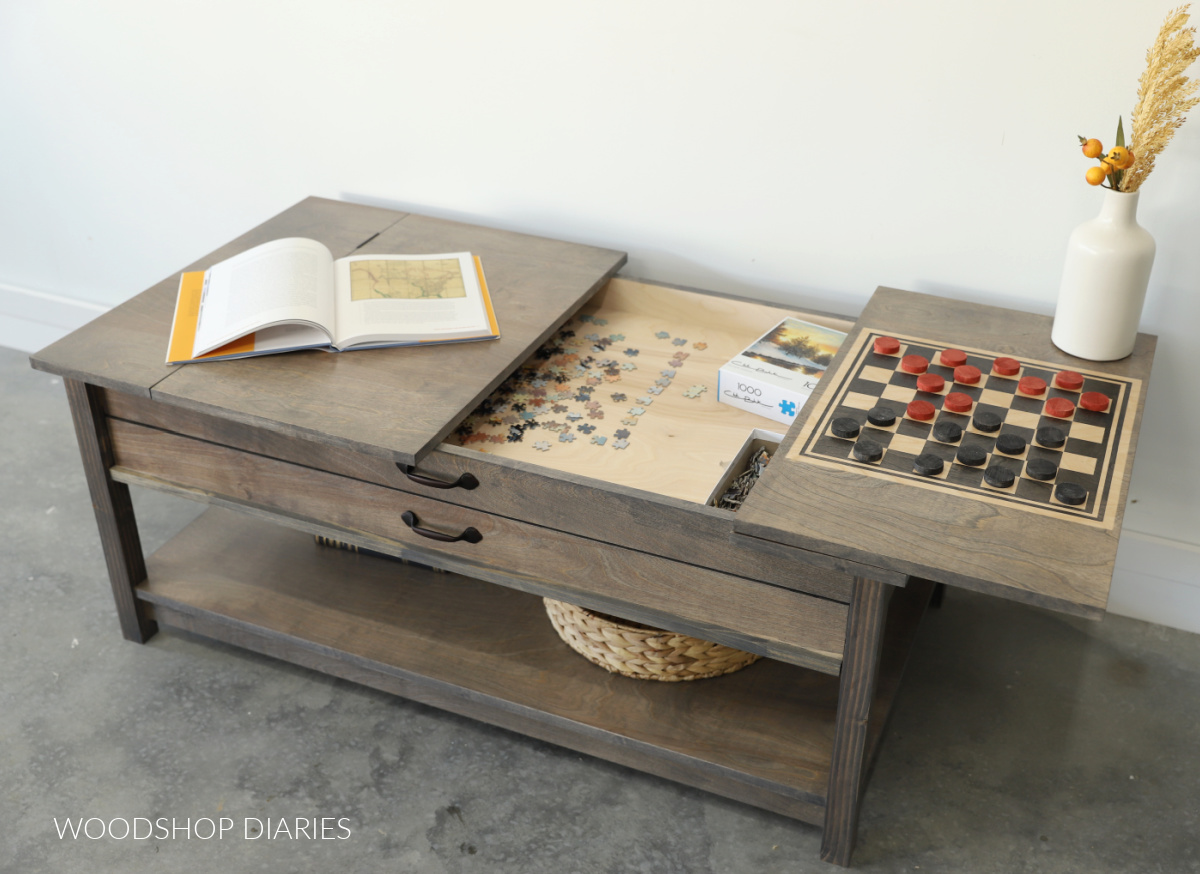
This flip top coffee table opens up for puzzles or playing board games inside, but the flip tops also have built in game boards for tic tac toe and chess/checkers.
I love playing board games. But often, it’s a pain to get them out and set up because there just never seems to be a great place for it.
The dining table and kitchen island seem to always be occupied, and I’m too old to play sitting in the floor (too hard on these old knees ha!).
So I decided to build a coffee table designed specifically to host board games. If you flip the top open, chess/checkers and tic tac toe are built directly into the wood.
But, there’s also space inside to work a puzzle or set up a different board game, too. And when you’re finished, close it back up for a classy looking coffee table that looks great in any living room.
If you’re ready to learn how to build your own, I’m sharing all the details below.
Building the Board Game Table
I actually shared how to build the table in a previous post. Check out this post to grab the building plans for the flip top coffee table.
To keep that post from being super long, I broke this project into two parts–building the table and adding the board games.
The table can stand alone without the game boards and makes the perfect puzzle table. But if you wanted to add some extra fun to it, I’ve detailed how to add the board games to the flip tops in this post.
KEEP IN MIND: You can add these game boards to your own existing table if you didn’t want to build one, or you can simply put them on a piece of plywood. These don’t have to be added to the table design shown here.
How to Add Game Boards to the Table
I’m sharing how to add a tic tac toe and checker board to wood below as well as how to create your own playing pieces. I did this using stencils I made using my Cricut.
If you’re new to using a Cricut to create stencils, I HIGHLY recommend checking out the video to get a better visual of the process. If you don’t want to see the whole build, you can skip straight to adding the game boards at 4:11.

Love watching how-to videos? Subscribe to my YouTube channel for plenty more where that came from!
Tools & Materials
*This post contains affiliate links. See website polices.
Tools listed below are what you need to create the game boards and game pieces. For tools and materials for the flip top table, see this post.
Tools:
- Cricut Joy Xtra (or other Cricut machine)
- Cricut Starter Toolset
- Cricut Easy Press Mini (or small iron)
Materials:
- Cricut Smart Vinyl (3 ft per game board–in any color in either permanent or removeable)
- Cricut Smart Iron On (Gold)
- Transfer Tape (3 ft per game board)
- 1 ¼″ dowel rod
- 1×4 scraps
- Stain or finish of your choosing
- Painter’s Tape
- Foam Brush
Are DIY projects your thing? Sign up for our newsletter for priority access to the latest projects and build plans!
Step 1: Build the Board Game Table
First, build the flip top coffee table according to these plans, but don’t apply a finish yet.
Or, if you prefer to add these game boards to your own table or a simple piece of plywood and not to a table at all, that is fine, too!
Make sure whatever surface you’re applying this too is sanded well, all dust is removed, and if you plan to stain it, make sure all previous finish (if applicable) is removed as well.
Step 2: Cut and Apply Board Game Stencils to Table Top
I used vinyl stencil to create the game boards on the table and used contrasting stain colors to make them stand out.
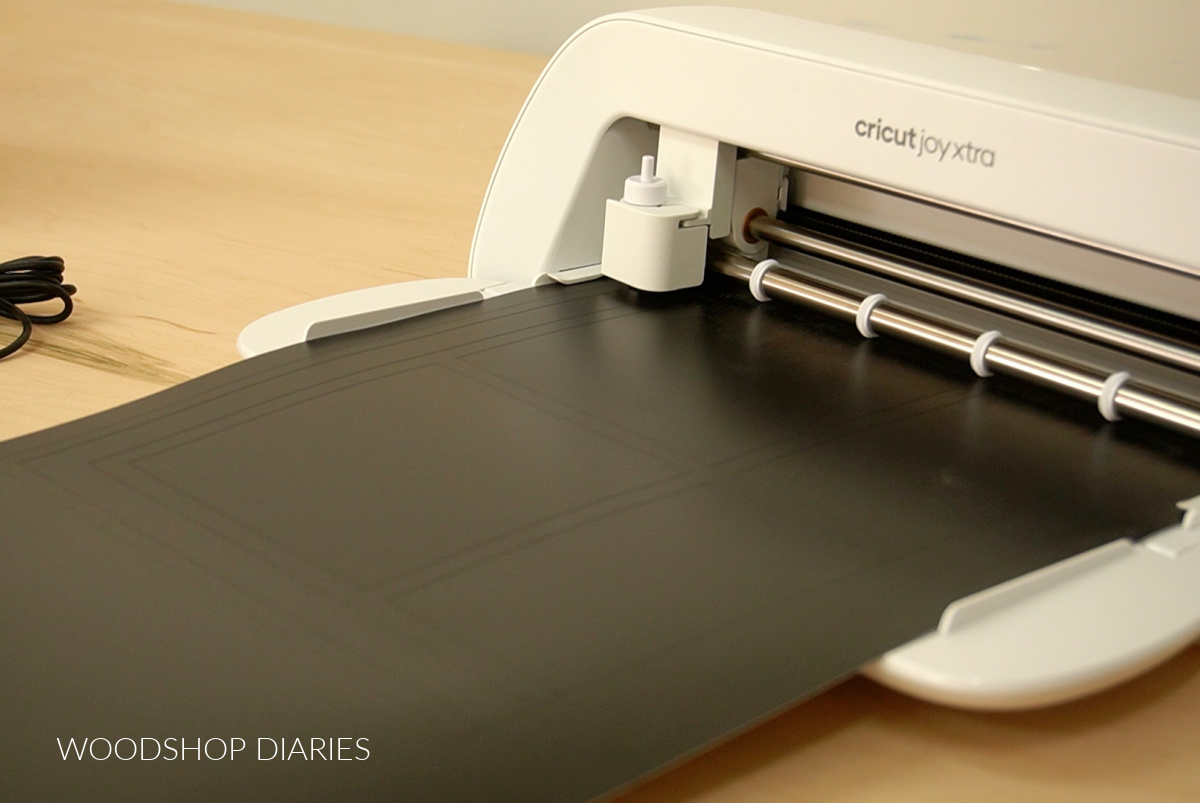
I used the Cricut Joy Xtra machine to cut my vinyl. And, this machine will only cut up to 8 ½″ wide, so I did have to cut the game board designs in half and apply them to the wood in two pieces since they were about 15″ x 15″.
When working with a Cricut machine, you design your projects in Cricut Design Space. It’s an easy to use software so you can certainly design your own game boards if you’d like.
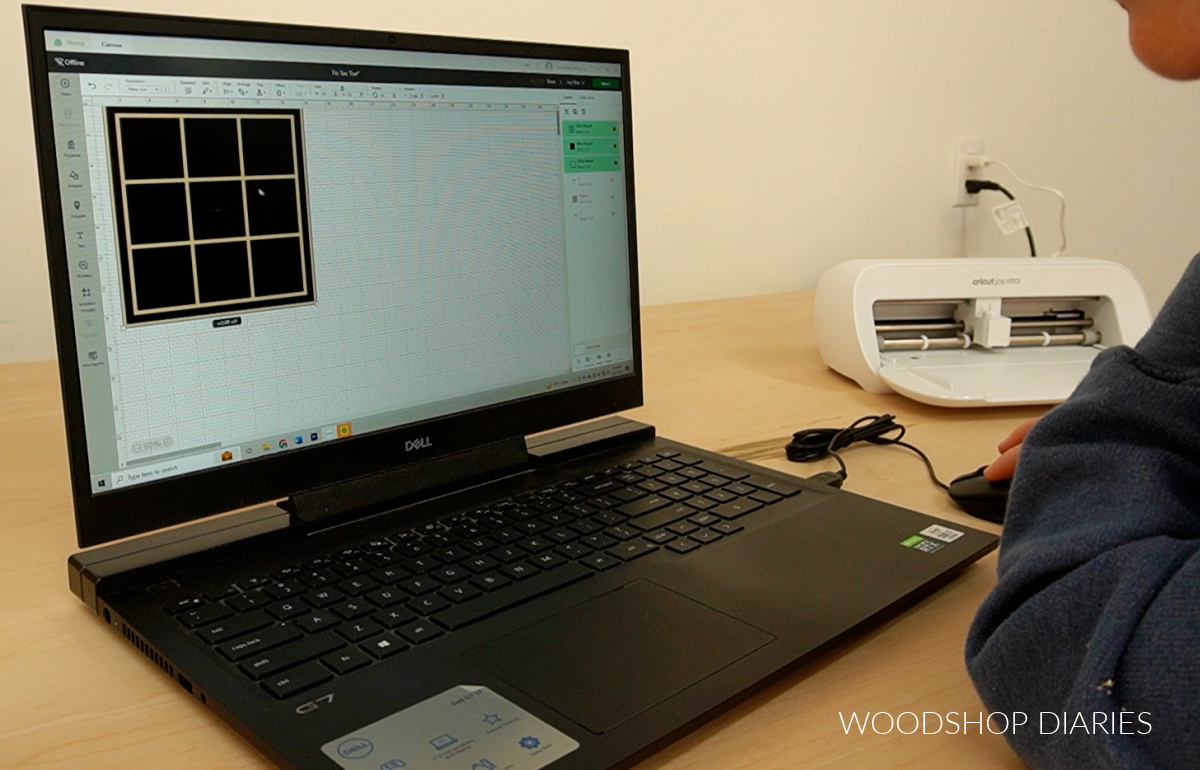
However, to make things easy for you, I’ve shared my designs for the Tic Tac Toe board and the checker board publicly so you can open them and use the exact template as I did (and they’re already cut in half for you for easy cutting) with your Cricut.
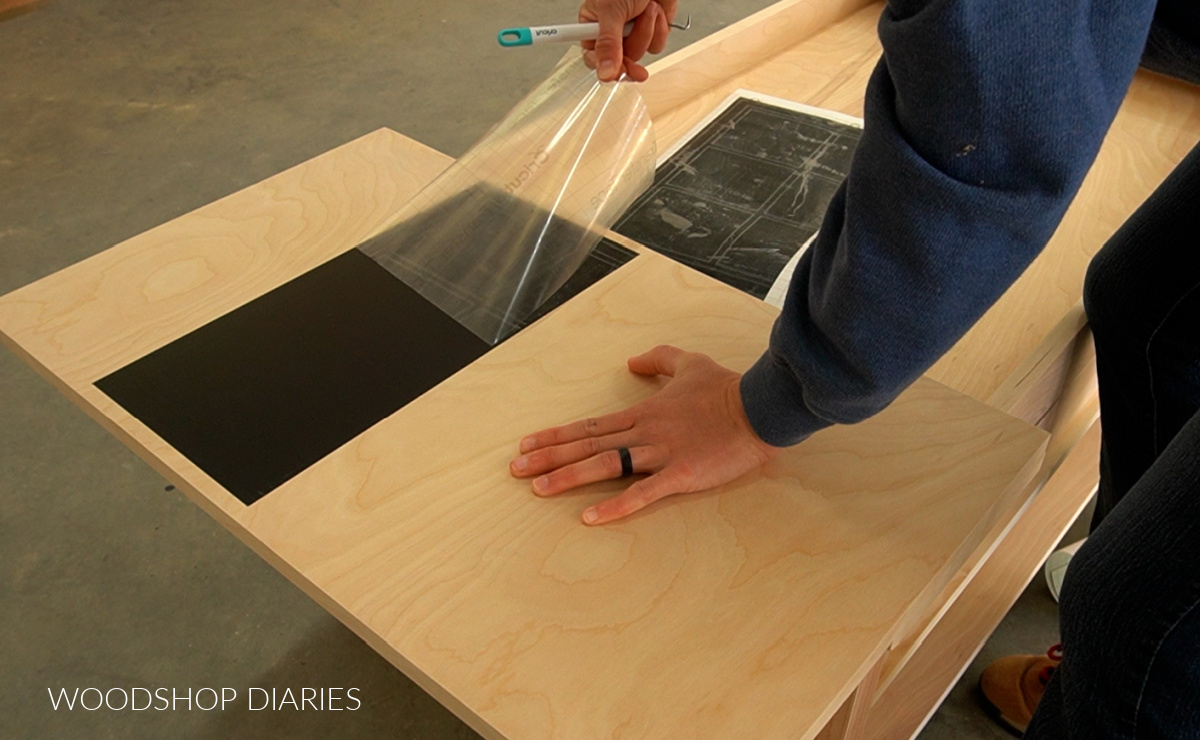
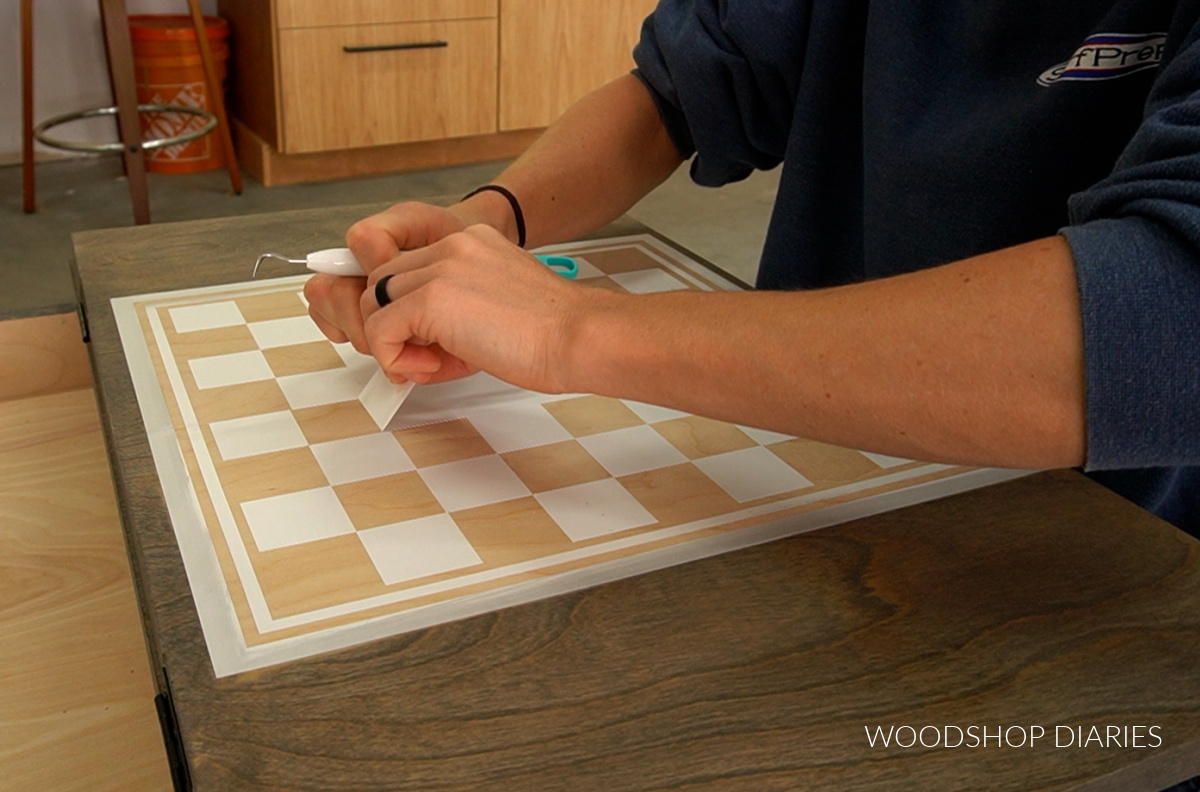
I cut out my Tic Tac Toe design on black permanent vinyl (but any color in EITHER permanent or removeable would work fine), weeded away the outside pieces, then applied transfer tape to it.
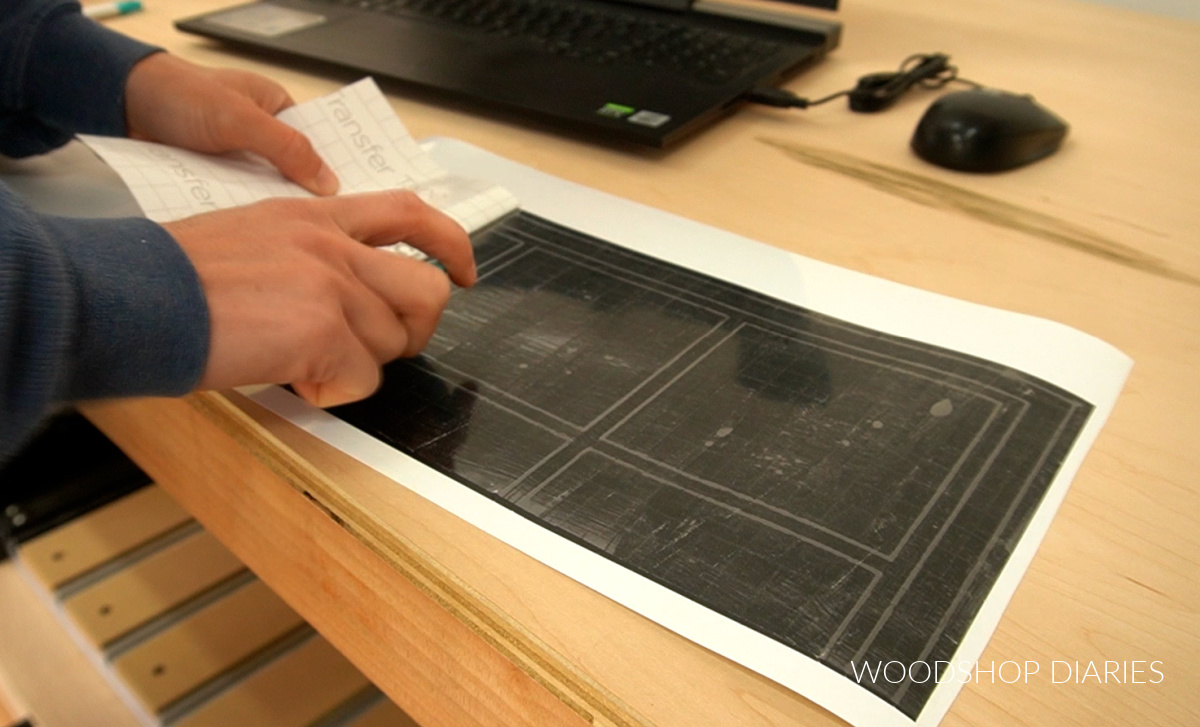
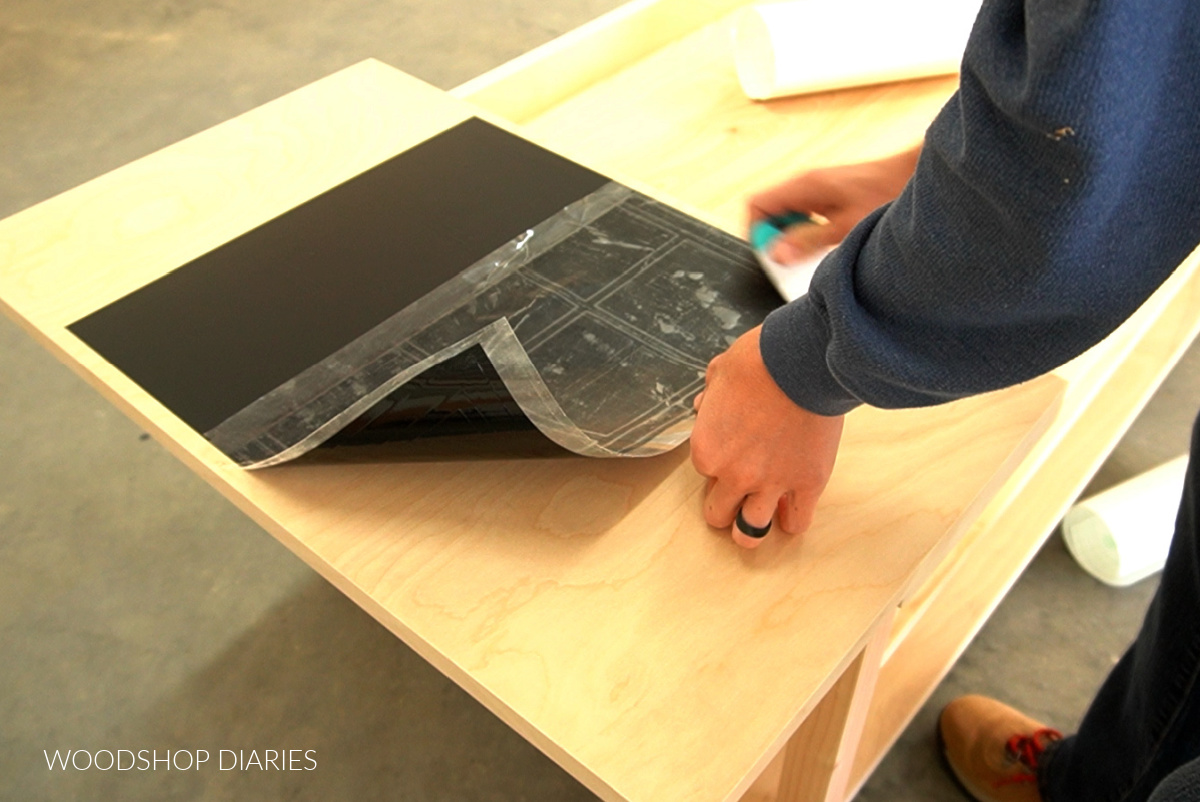
Transfer tape allows me to transfer the vinyl stencil to the wood without losing the design. I mentioned that I had to cut this design in two sections, so I applied the first section to the table making sure it was straight, then removed the transfer tape.
Then, I applied the second part of the stencil making sure to line up the edges with the first one and removed the transfer tape. The little scraper in the Cricut toolset is really helpful to smooth out the vinyl so you don’t get air bubbles.
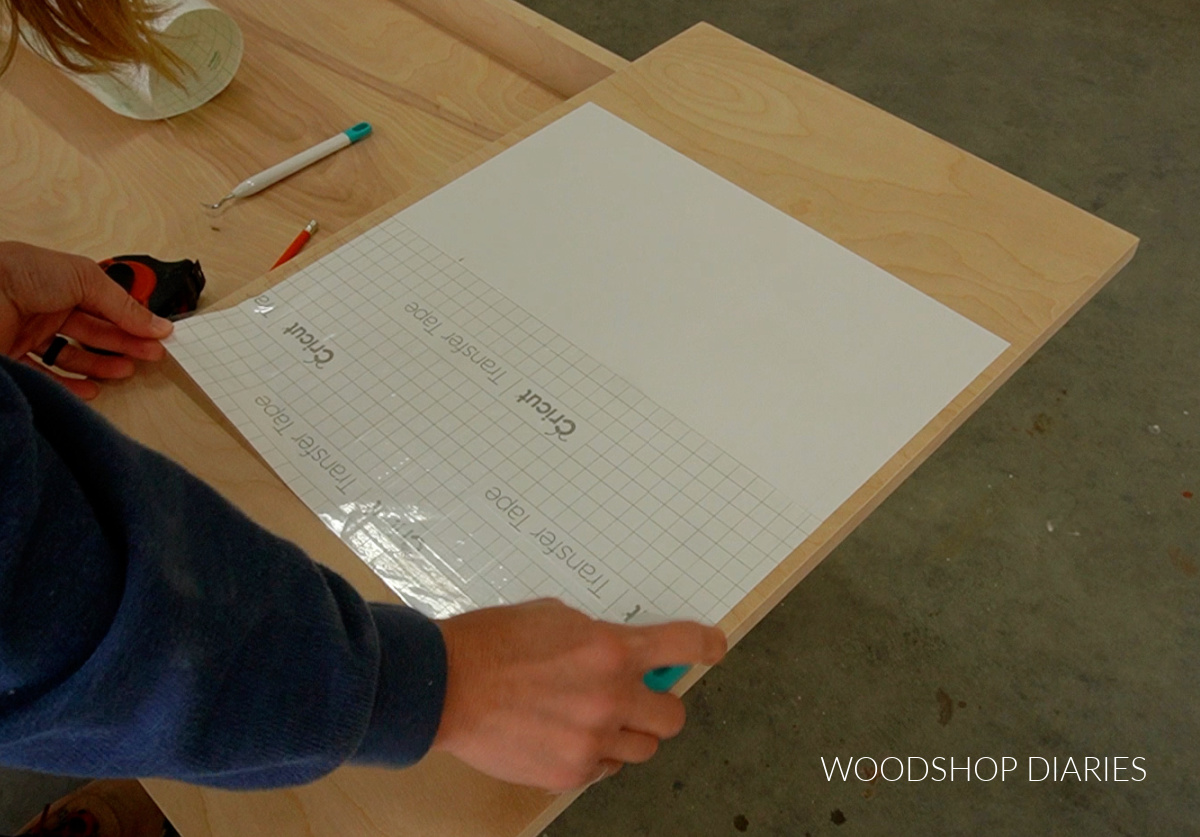
I repeated the same process for the checker board, only this time, I used white vinyl. Since these are just stencils, the color doesn’t matter. I’ve used both removeable and permanent vinyl for stencils in the past, and both work fine for this.
I didn’t remove any parts on the inside of the board game squares YET. Once applied, make sure the edges are nice and flat and pressed down all the way.
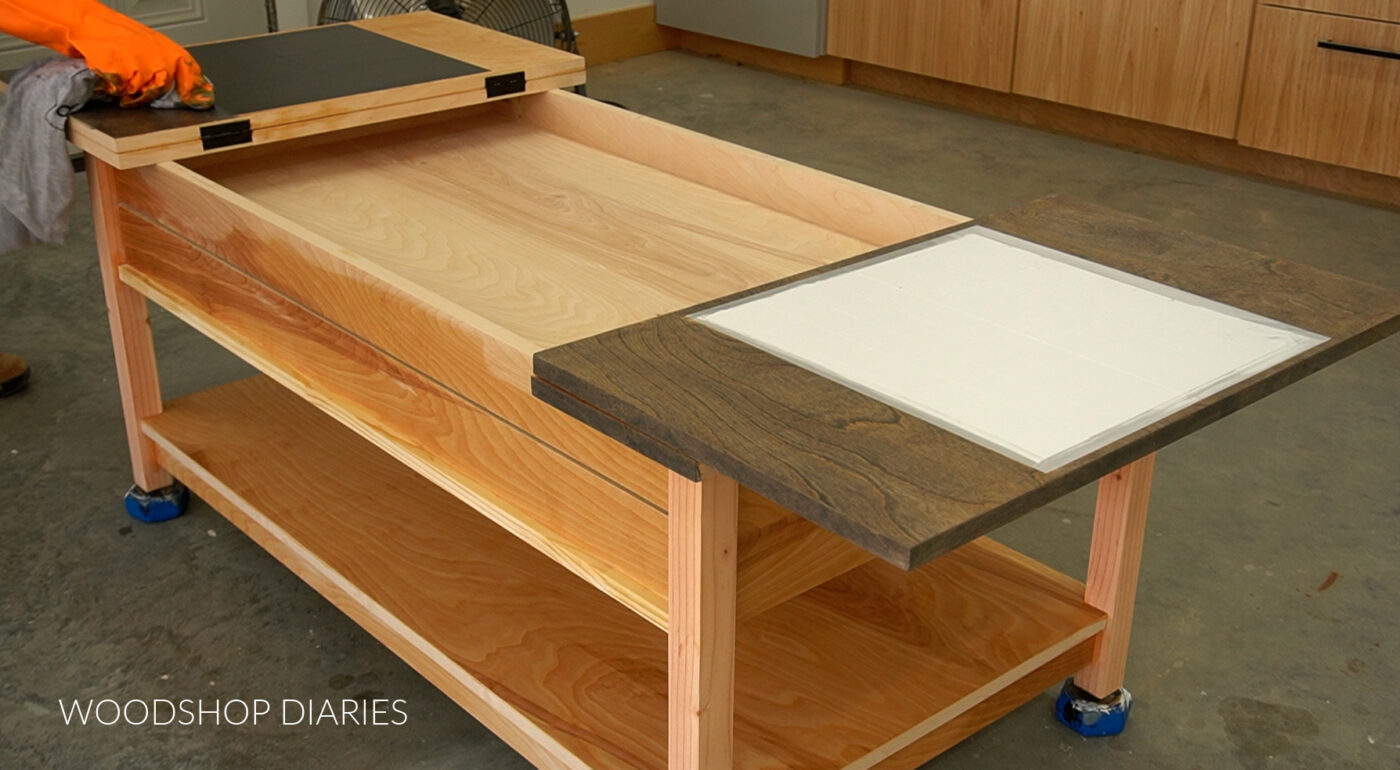
Step 3: Finish the Table
Then, I stained the table with Minwax Aged Barrel wood stain. I used a rag and carefully stained around the outside edges of the board games making sure not to apply the stain too heavily.
As strange as it might sound, oil based stains are actually quite a bit thinner than water based stains and can tend to “seep” into the wood grains underneath the stencils if applied too heavily.
I actually recommend using water based stains with stencils over oil based, but I already had this particular oil based stain on hand and I really wanted to use this color.
After carefully staining around my stencils, I stained the rest of the table and allowed to dry.
Once the stain had dried, I used a picking tool from the beginners toolset to pick out and remove the parts of the game boards I wanted to stain black.
I protect the surrounding area, I used some painters tape to tape off around the outside edge before applying a water based black wood stain to the game boards with a foam brush.
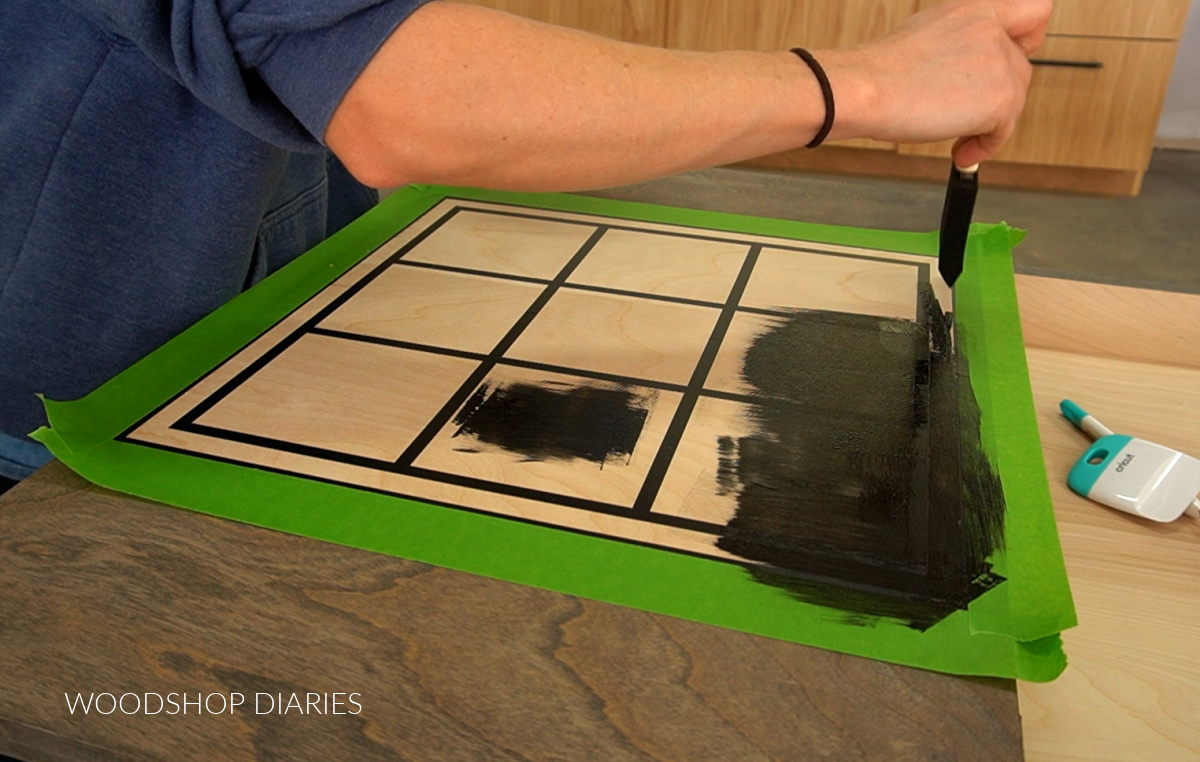
You want to make sure to wipe off the excess stain quickly as water based stains dry really fast.
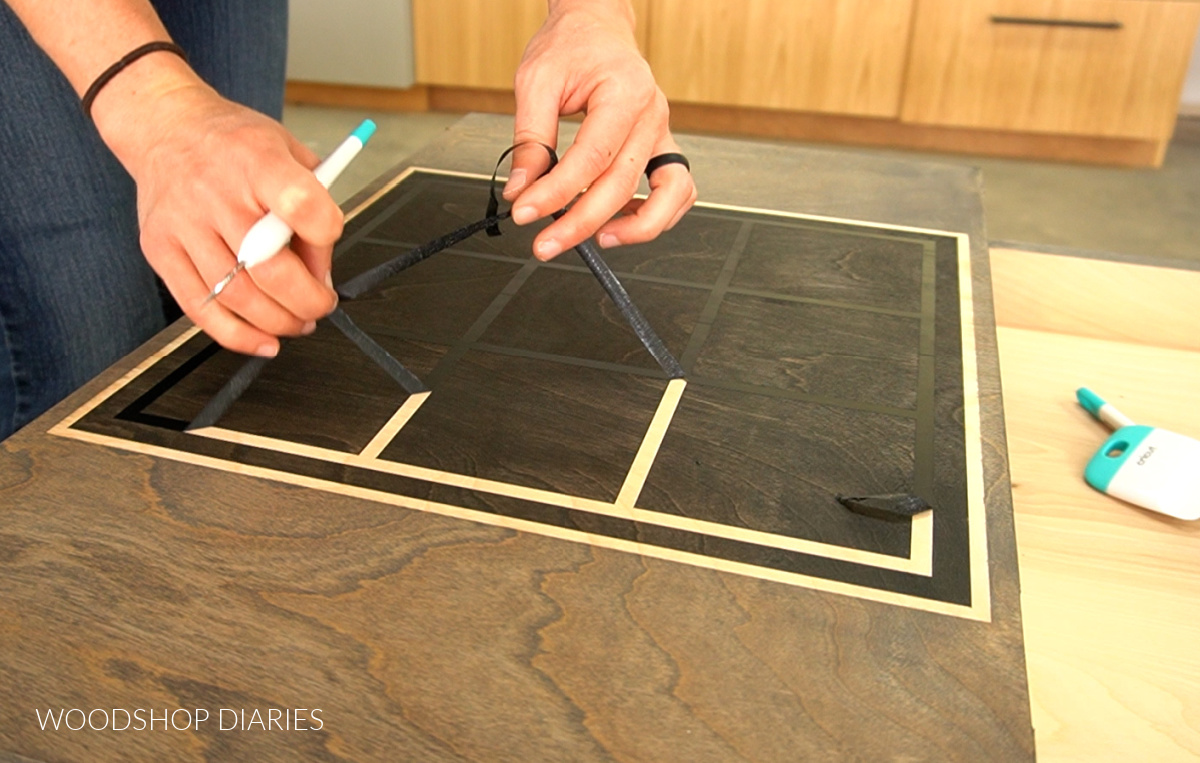
Once the game boards were stained, I carefully removed all the remaining vinyl on the table.
Step 4: Make the Board Game Pieces
Now the game boards are applied to the table, but they still need the game pieces.
How to Make Easy DIY Checkers
The checkers I made for this board game were cut from a 1 ¼″ diameter wooden dowel rod. I cut 26 pieces of dowel to about ⅜″ thick. These don’t have to be a specific thickness as long as they’re all the same.
TIP: Clamp a stop block on your miter saw to easily cut consistent thicknesses from the dowel.
Once the pieces were cut, I hand sanded them to remove any rough edges, then stained 13 of them with Minwax Water Based Stain in Spice and 13 Minwax Water Based Stain in True Black.
NOTE: You only need 12 of each color, but I made an extra of each so I had some spares.
I like water based stains here because they dry really quick, but you could also use spray paint, or another finish if you’d like.
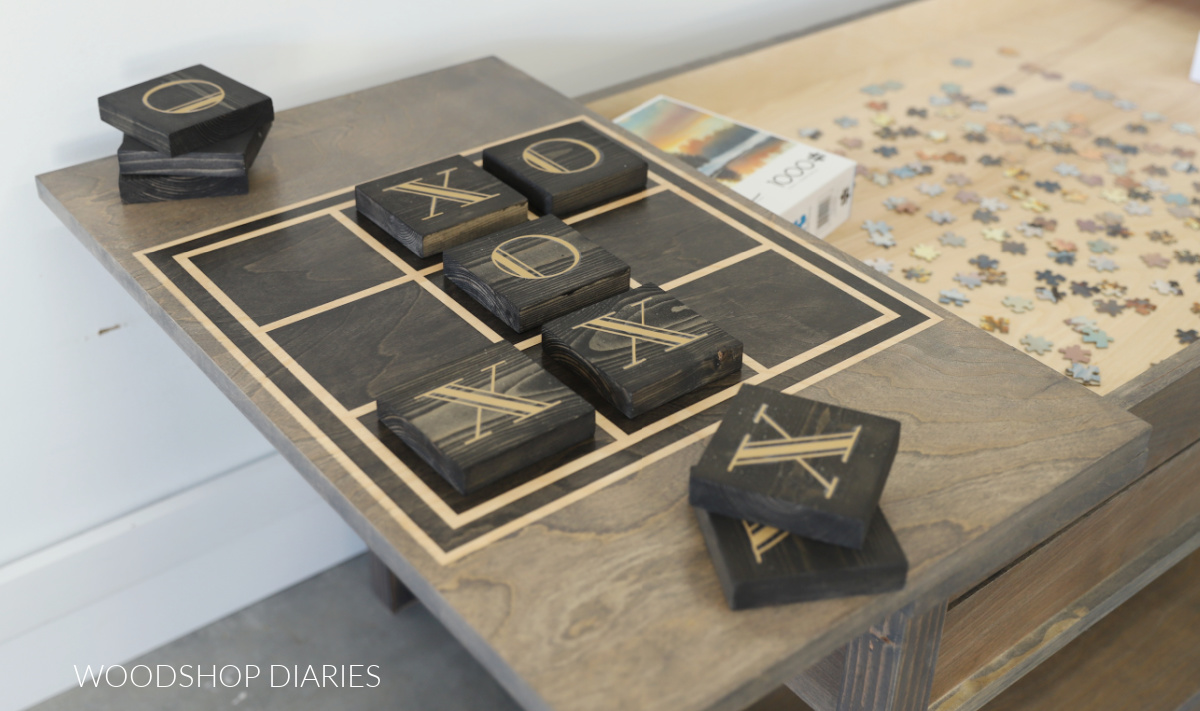
How to Make Easy Tic Tac Toe Pieces
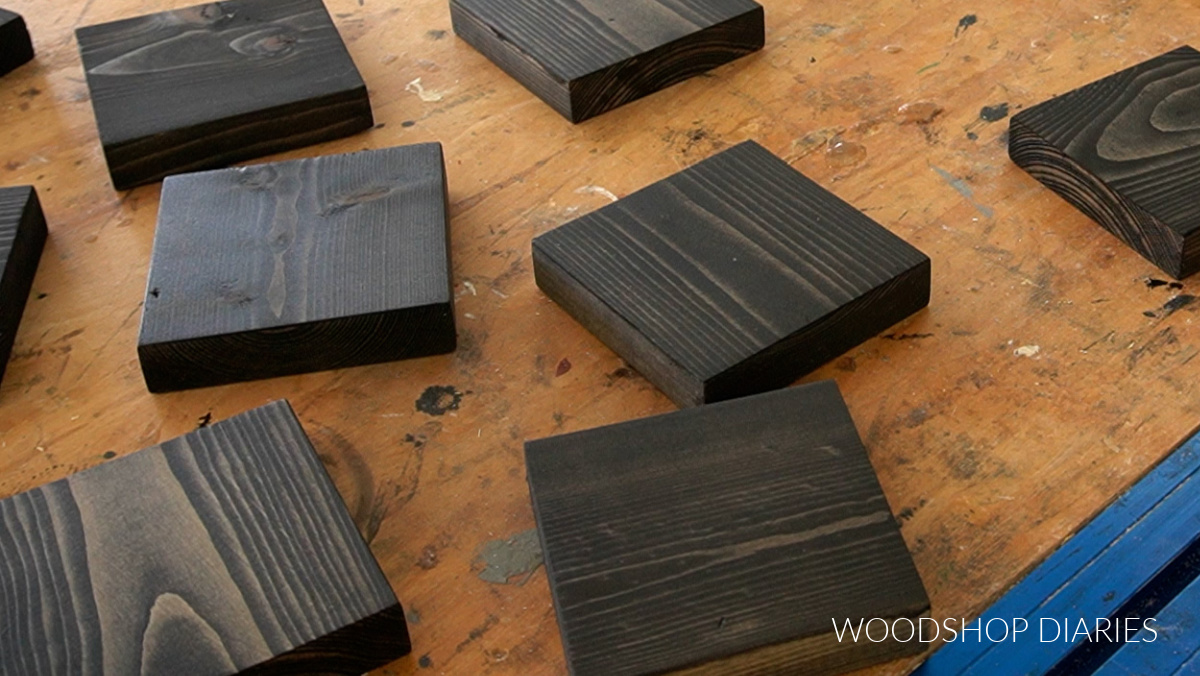
For the tic tac toe board pieces, I cut 10 pieces of 1×4 to 3 ½″ long (this makes them squares). OR, feel free to cut some plywood scraps to 3 ½″ x 3 ½″. Either works fine.
I stained these Minwax True Black (but you could stain or paint any color you’d like).
And once they dried, I headed back to my Cricut Joy Xtra to cut out some Xs and Os. These Xs and Os are included in the original Tic Tac Toe design I linked in step 2.
I cut these out on Cricut Smart Iron On in Gold. FYI: If you’d rather, you can simply use vinyl for the Xs and Os or create a stencil and paint them on. Iron on will kind of “melt” into the contours of the wood to adhere really smooth.
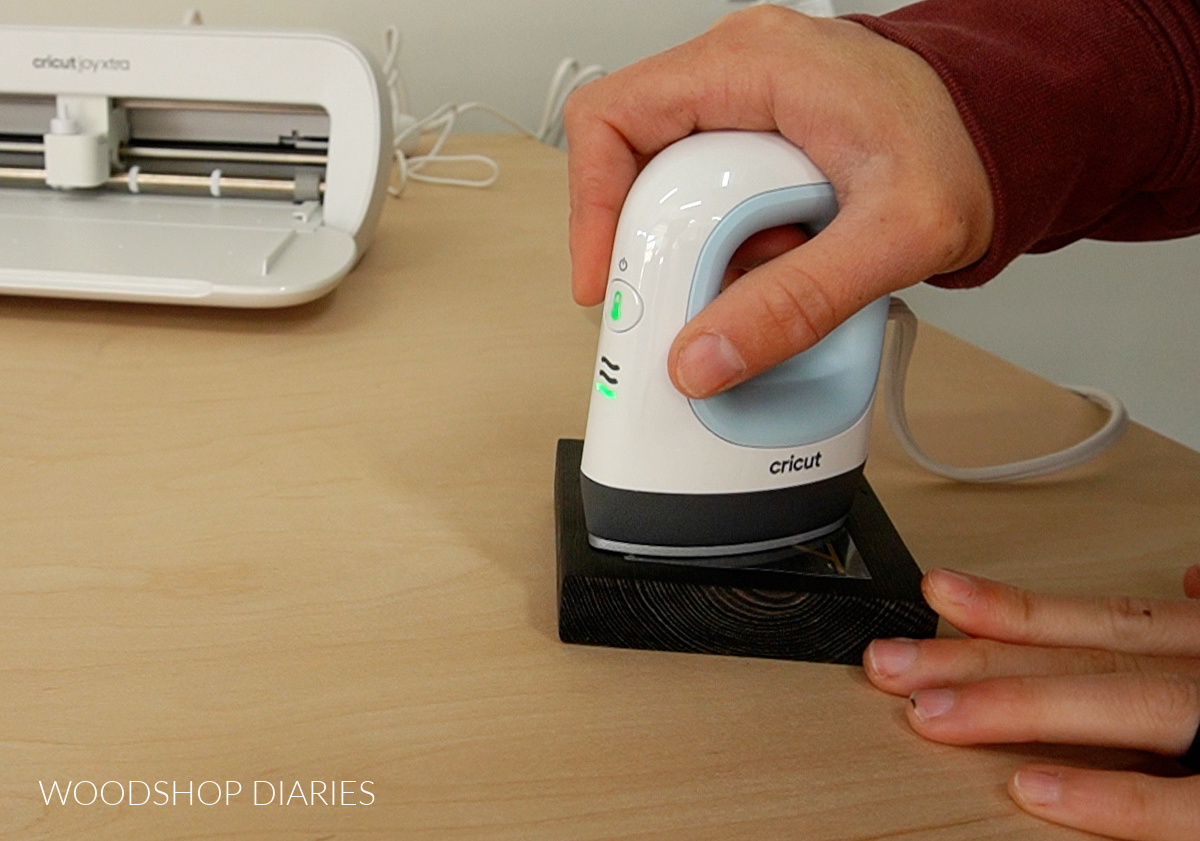
Once cut, I ironed them onto each piece–5 Xs and 5 Os–using my Cricut Easy Press Mini. But a small iron would work as well.
Step 5: Seal the Table
The final step is applying a sealer to the table, game boards, and game pieces to protect the surfaces. I used a couple coats of Minwax Water Based Helmsman to seal.
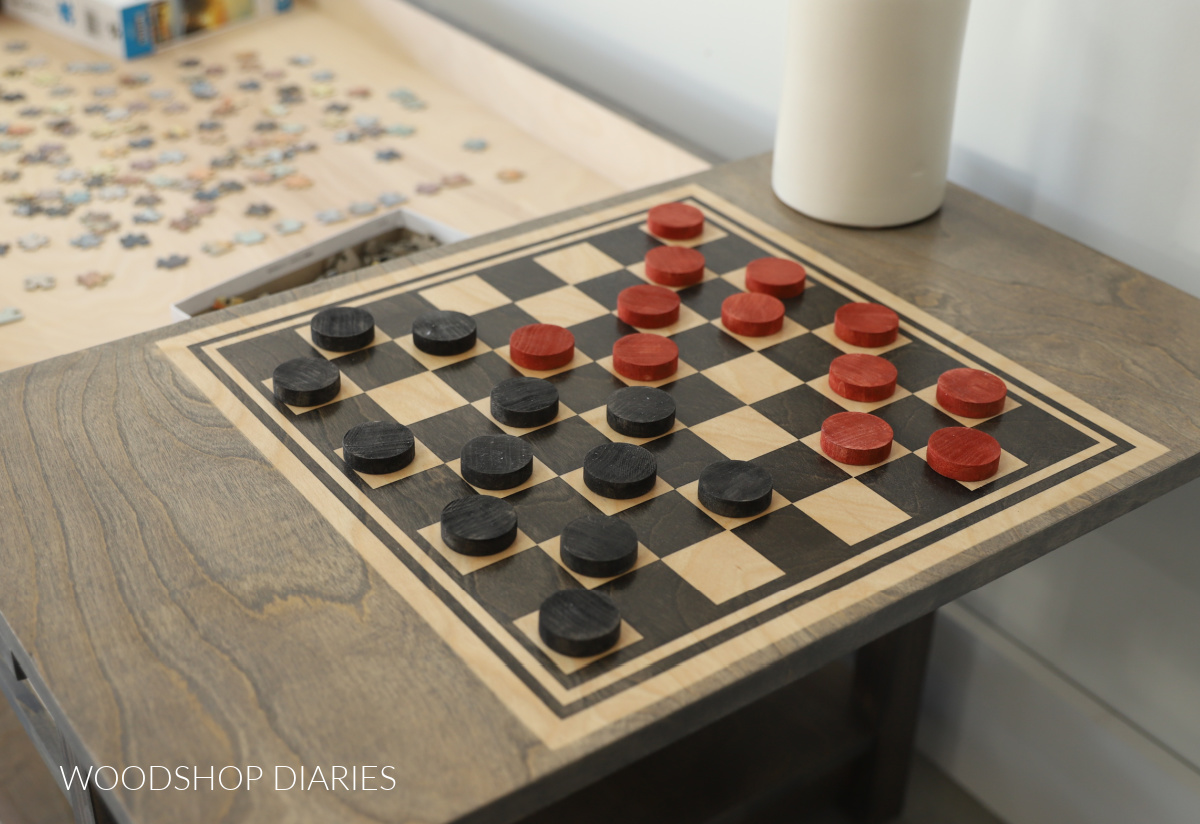
And with that, the table is ready for all the fun and games!
I love the contrasting stain colors on these boards and how much character they add to this table.
It’s the perfect place to gather around the living room and have a family game night.
Looking for more Cricut Projects?
If you’re looking for more fun ways to use a Cricut, here are a few projects you might enjoy!


If you enjoyed this project and want to save it for later, don’t forget to pin it or share to your favorite social channel!
Until next time, happy building!