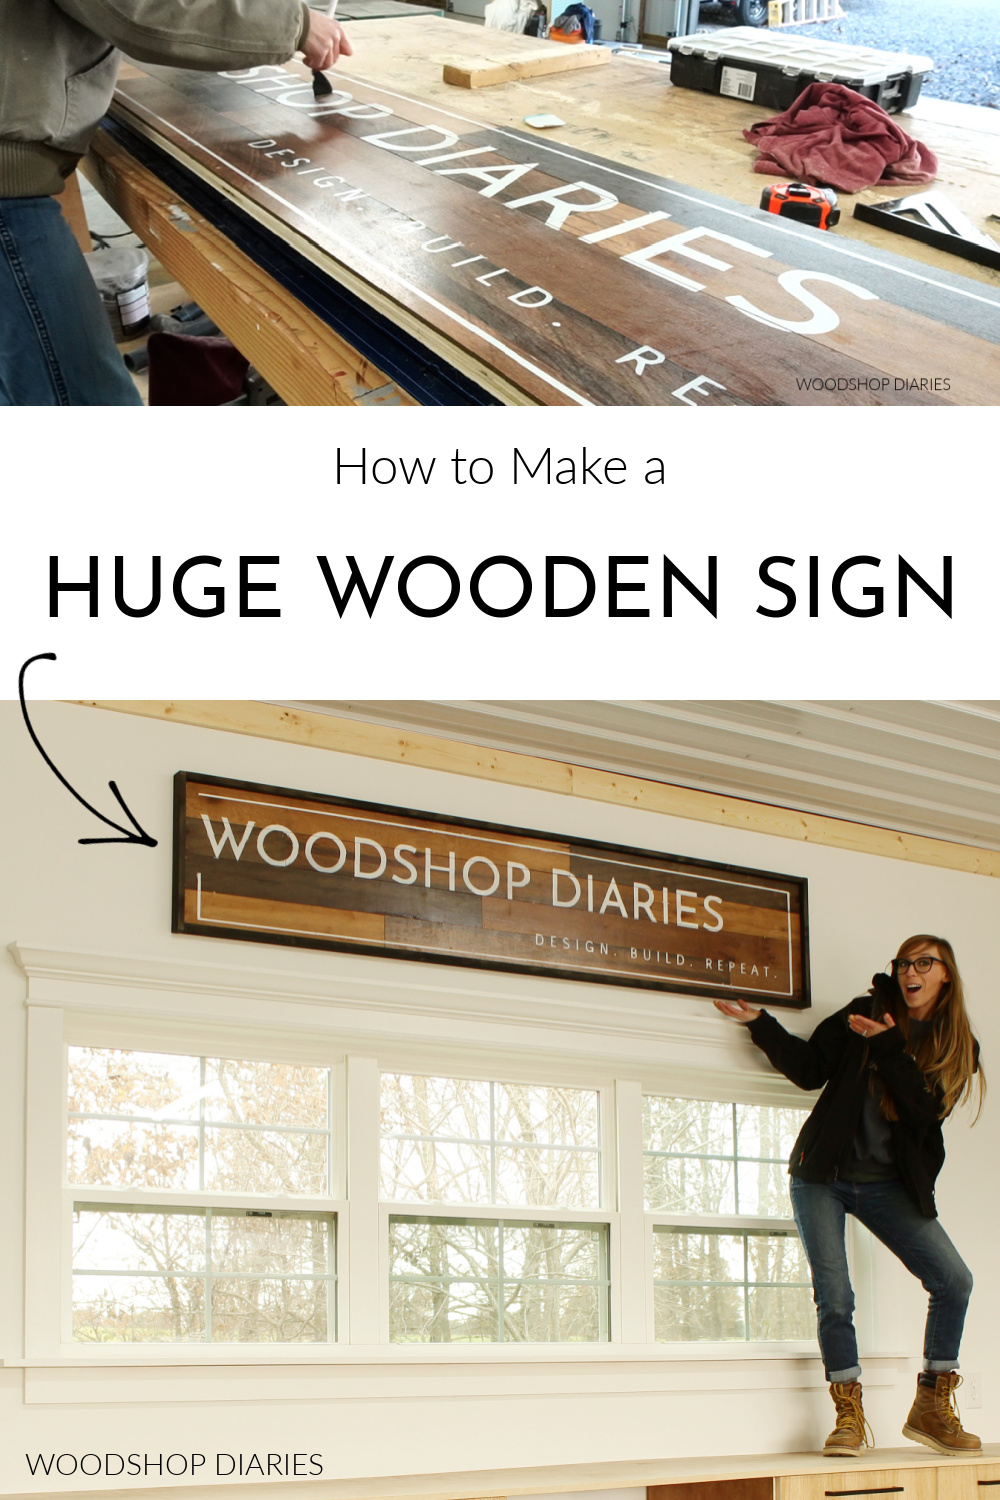
In this post, I’m sharing how to make a large wooden sign like this one I made for my workshop wall!
.
This is a project that is easy to customize to your own size, style, and design, so I hope you use this as inspiration for your own version!
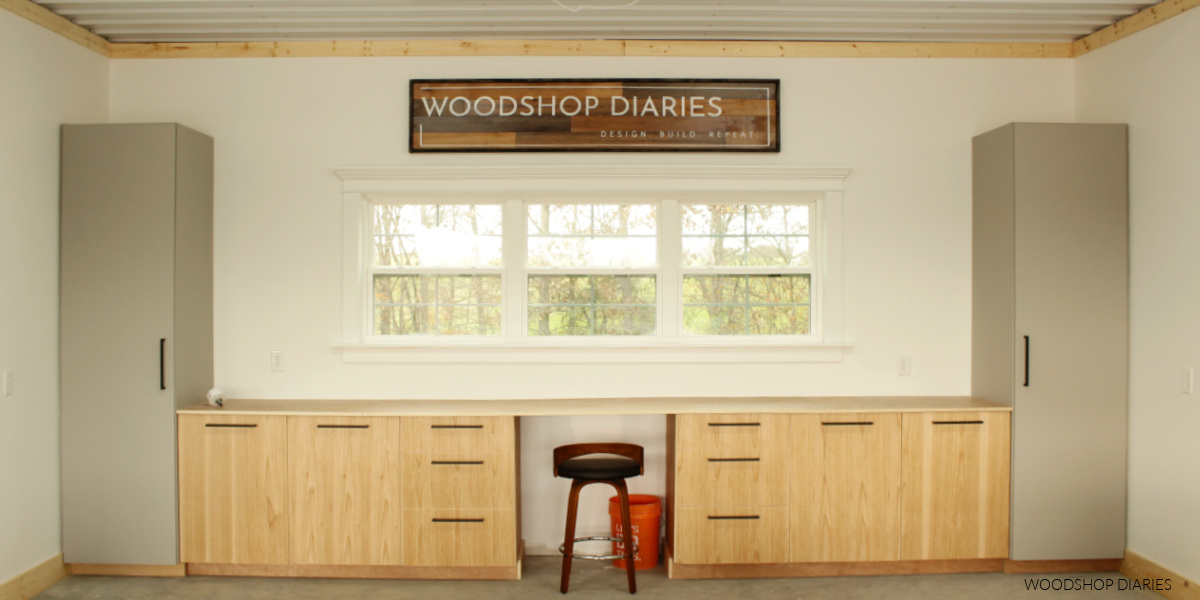
After setting up my new workshop and adding some shop cabinets on the back wall, I decided the back wall still needed a little something to go above the windows.
.
Since this will be the main background for my videos and workshop, I wanted to add a simple, but eye catching logo sign.
.
So I’m sharing how to make a large wooden sign plus another fun shop update in this video, and I’m listing out the step by step instructions and materials list to make your own below:
*This post contains affiliate links. See website policies.
Tools and Materials:
Tools:
- Circular saw (cutting guides optional)–to cut plywood
- Miter or jig saw–to cut planks
- Stapler and/or nail gun
- Cricut Joy (or another stencil cutter)
- Measuring tape
RELATED: What’s the difference in finish vs brad nailers vs staplers?
Materials:
- ¾″ plywood panel (for back–can use scraps for this if desired)
- 1×2 boards for frame
- PureBond Wall Planks (or other planking option)
- Spray Paint (optional)
- Cricut Joy Vinyl & Transfer Tape
- Wood Glue
- Stain (optional)
Some Notes About this Large Wooden Sign Project:
I made this large wooden sign pretty huge as my windows were about 9 foot long. It ended up being about 7 foot long and about 15 inches tall.
.
But this is SUPER easy to customize to whatever size you want.
.
Because this sign was so large, I had to cut the stencil out in sections and piece it together on the boards. I did this using a Cricut Joy Machine.
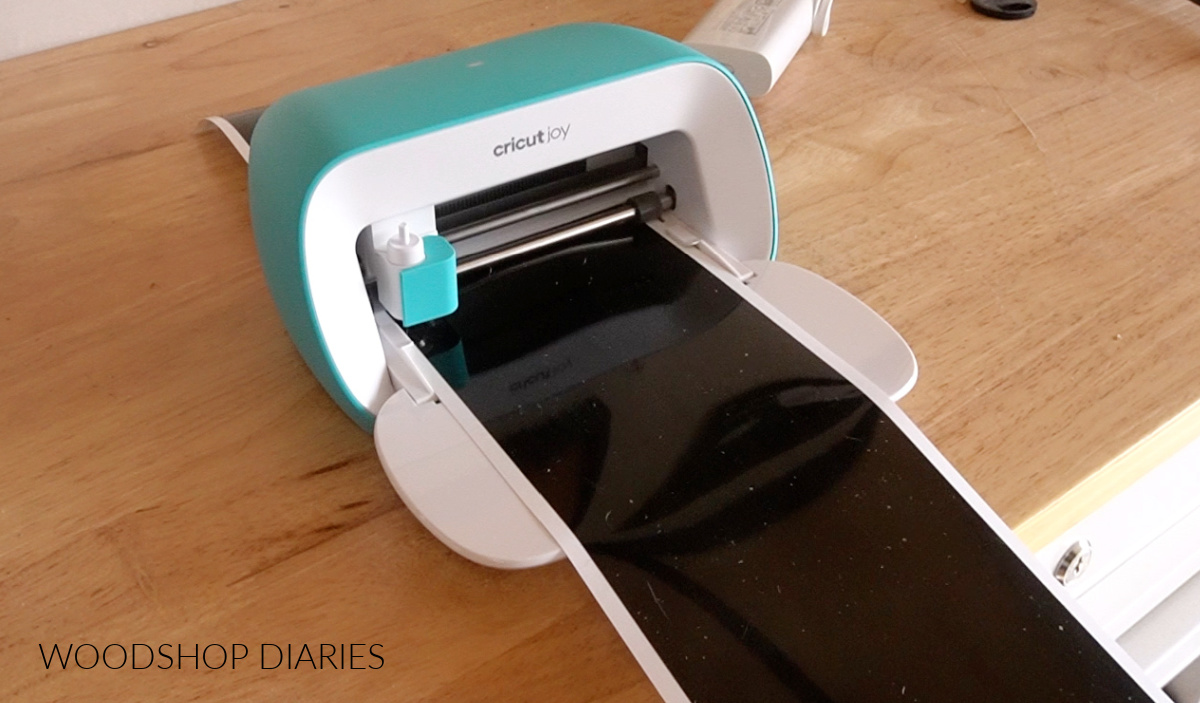
Cricut Joys are intended to use for small projects, but if you get creative, you can use them for larger ones, too!
.
I share more in detail how to use a Cricut Joy to cut a large stencil in sections in this post where I did it for a cool design on cabinet doors.
.
But if you have a larger Cricut or vinyl cutting machine, or another way to create stencils, that works, too 🙂
.
Some related posts/videos to check out:
Step 1: Cut Sign Backer Board
I began by cutting a piece of ¾″ plywood the size I wanted my sign to be. I was covering this sign with PureBond planks (see next step), so to keep it simple, I cut it the same width as four planks placed together.
.
These planks are 3 ¾″ wide, so four of them would be about 15″. So I cut my plywood 15″ wide and about 82″ long. But you can cut yours whatever size you’d like.
.
You can even use some plywood scraps for this if you have them–feel free to get creative 🙂
RELATED: How to cut plywood sheets
Step 2: Add Wood Planks to Sign Board
I covered this plywood panel with these PureBond planks. These are basically pieces of ¼″ plywood with one side finished and one side unfinished.
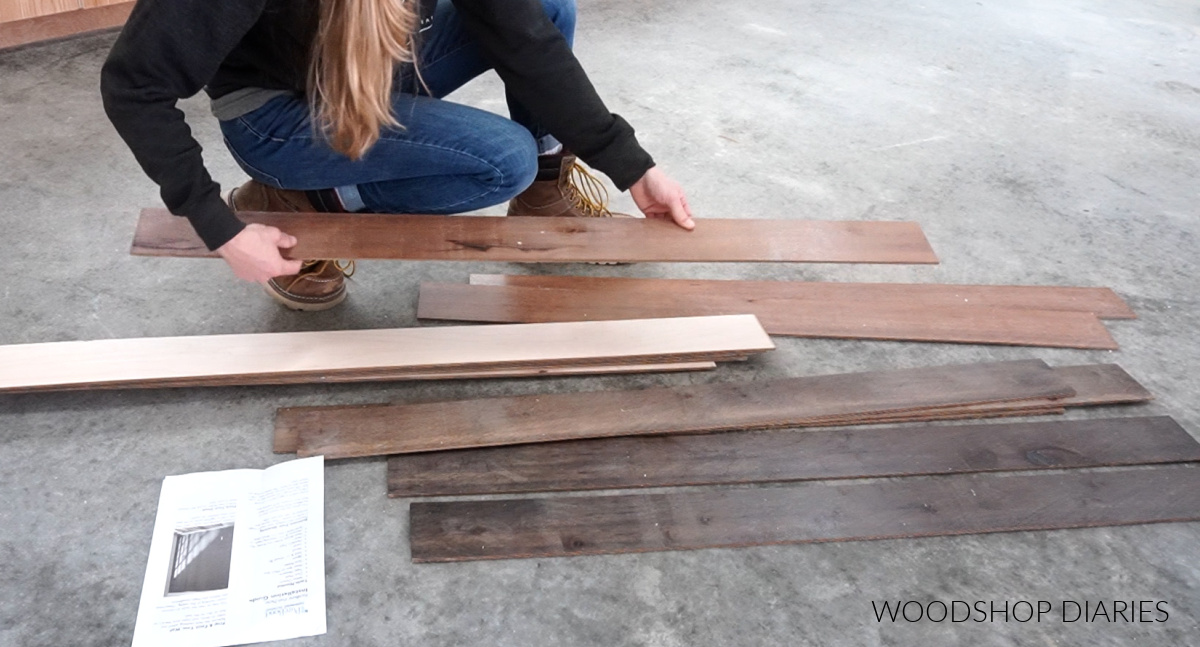
They come in a variety of colors (to mimic the look of rustic barn wood), so I dumped out a box and kind of separated the pieces out by color.
.
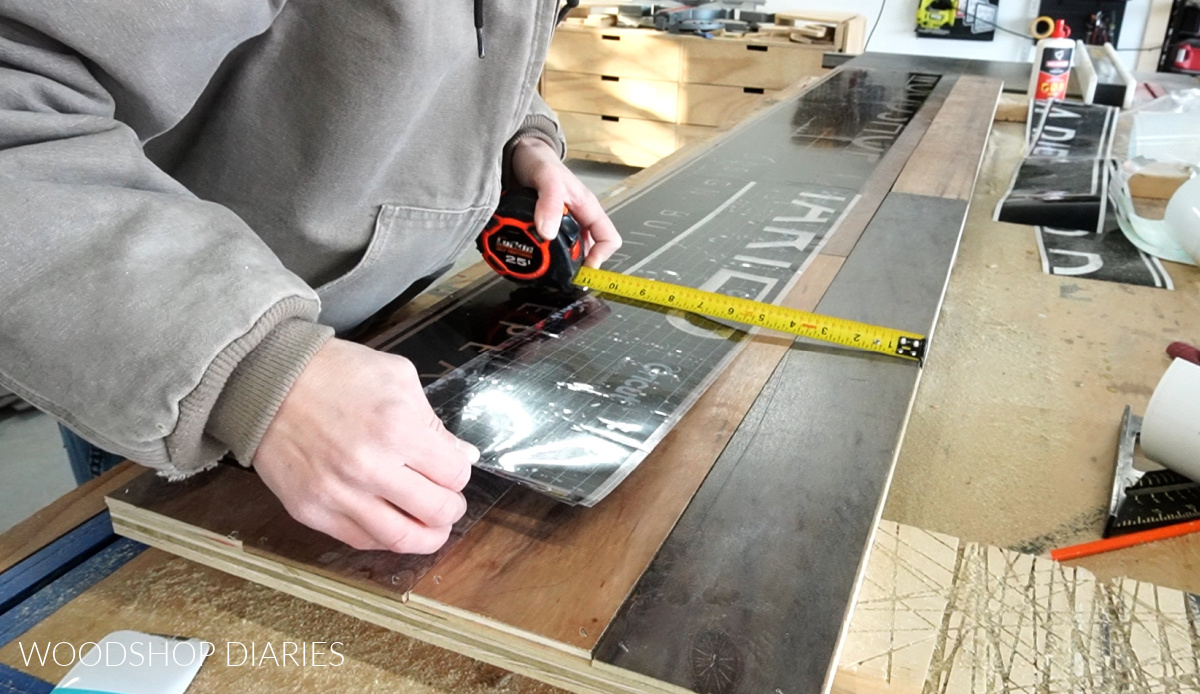
I picked a few of my favorite pieces to use for the sign and laid them out. I dry fit the pieces together and cut to fit the pieces to cover the whole top board making sure to stagger the ends so they didn’t all line up.
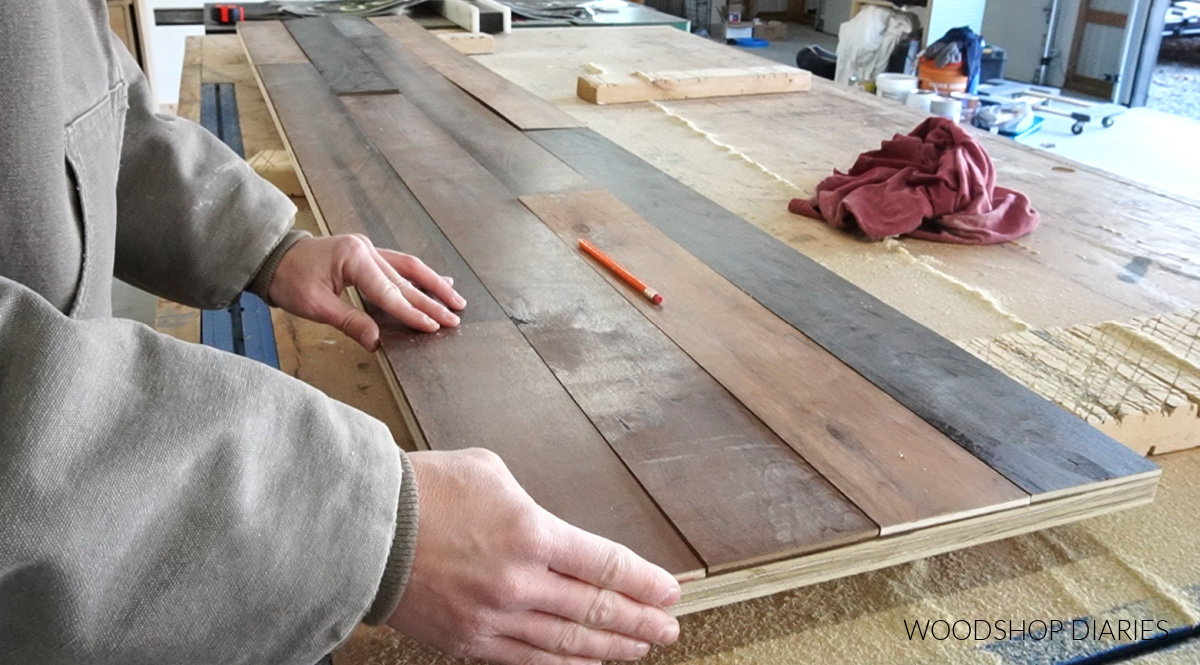
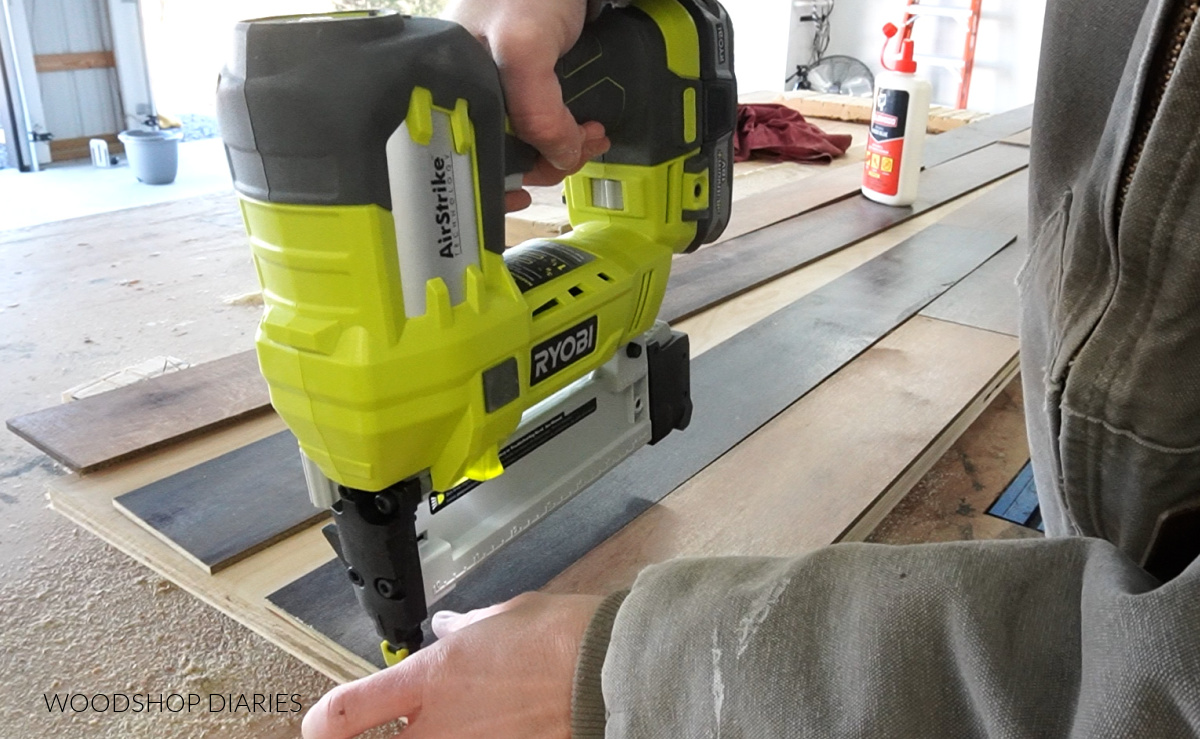
Then, I applied some glue and stapled these boards in place. I used ¾″ long staples, but you could also use some short brad, finish, or pin nails too.
Step 3: Apply Sign Stencil
Like I mentioned earlier in this post, I used a Cricut Joy to cut my logo stencil. I imported my logo into Cricut Design Space and cut it into six pieces and cut them all out separately.
.
Then, I pieced them together on my sign board. You can check out this video for details on how I did that on a different project. I followed those same steps with this logo.
.
And you can use that same method for whatever design you want to cut for your sign.
.
Or you can use a completely different method to get a stencil you like–use a larger machine to cut it out as one big piece, purchase a premade stencil, freehand it, etc.
.
Once my stencil was cut onto some vinyl, I removed the letters and applied transfer tape to transfer the vinyl to my sign. I pieced it together making sure to line everything up as best I could.
RELATED: How to make a small wood sign using vinyl
NOTE: I removed the letters because I wanted to paint these letters on, then remove the stencil. But if you wanted to just apply vinyl for the letters, you would remove everything EXCEPT the letters before applying transfer tape.
.
Once the vinyl was in place, I removed the transfer tape on top.
.
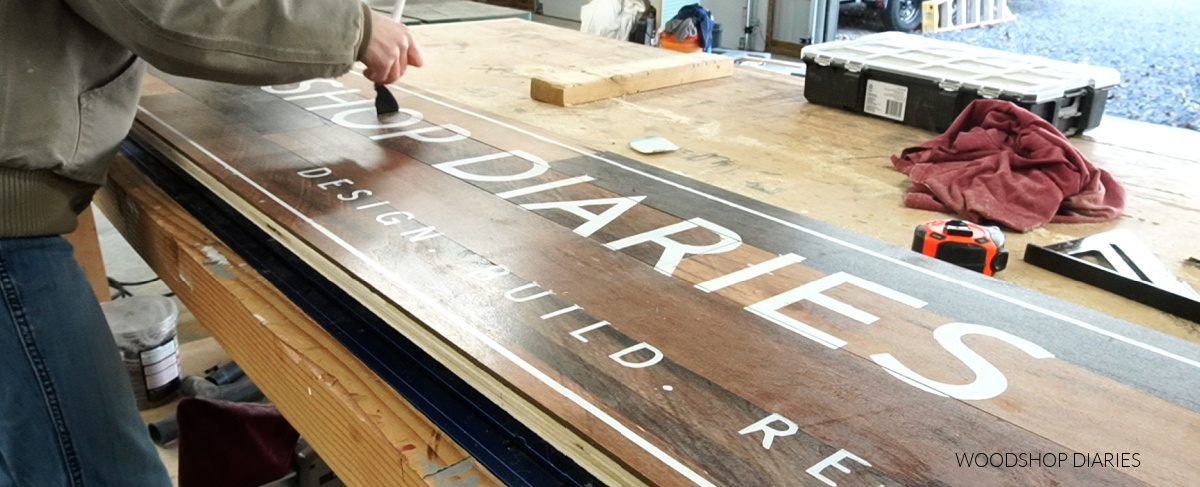
Then, I taped up any exposed edges that I didn’t want to get paint on, and spray painted the letters white.
After the paint was dry, I removed the stencil from the board to reveal the design. I was in love already haha.
Step 4: Add Frame
The last part is optional, but I think it adds a nice detail. I cut some pieces to line the outside edges of the sign to make a frame.
.
I cut to fit these pieces and stained them with an ebony stain. Of course, you can finish this however you wish.
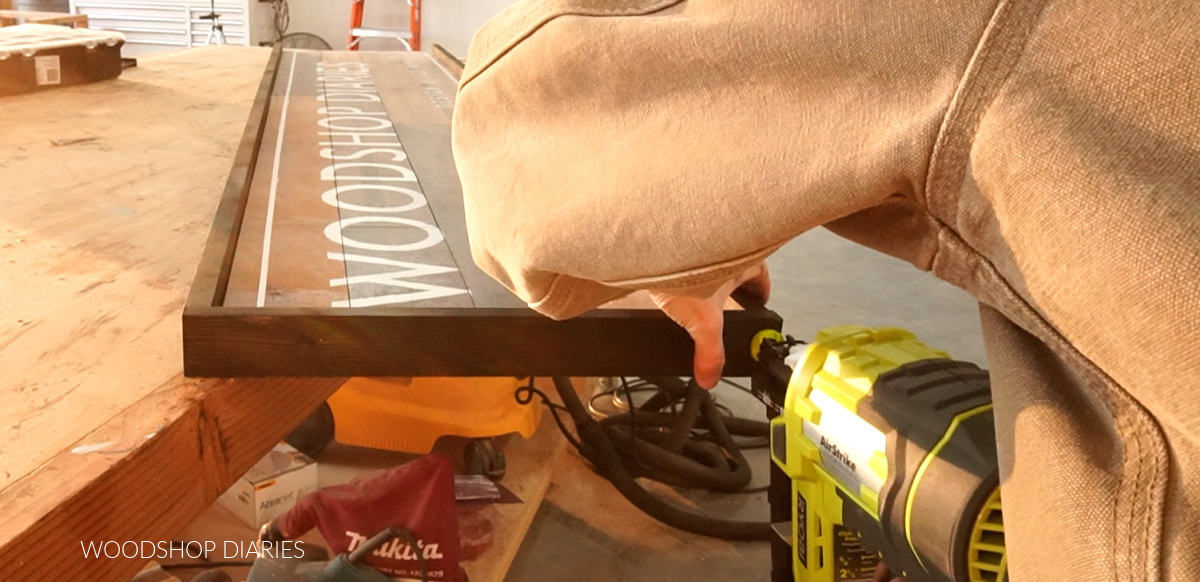
Then I nailed these pieces onto the sign around the edges keeping it flush across the back side.
Step 5: Hang Wood Sign
Depending on the size of this sign and where you’re hanging it, you can use several methods to hang. Sawtooth hangers would work well for small signs, some D-rings, or some wire would work as well.
.
But since mine was so large and it was going above a window, I just used a couple screws and screwed right through the sign into the header above my window.
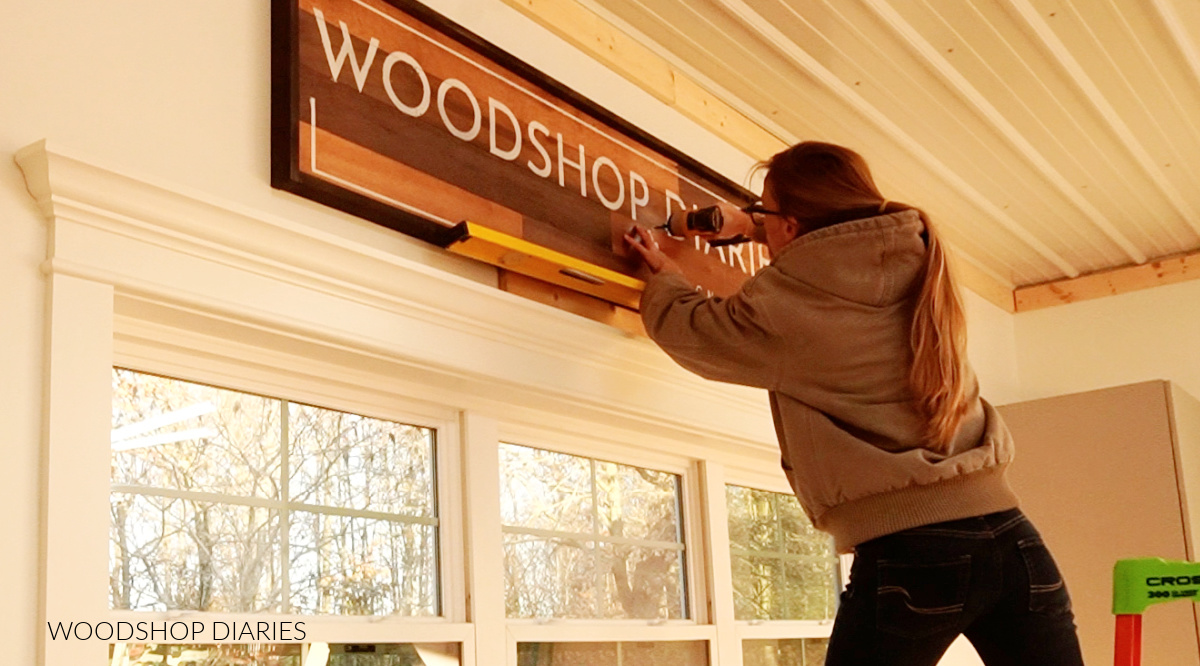
I used three screws–one on each side and one in the middle and used a level to make sure the sign didn’t go crooked.
.
And then, it was finished!! I’m literally SO excited about having this sign hanging on the back wall of my new shop.
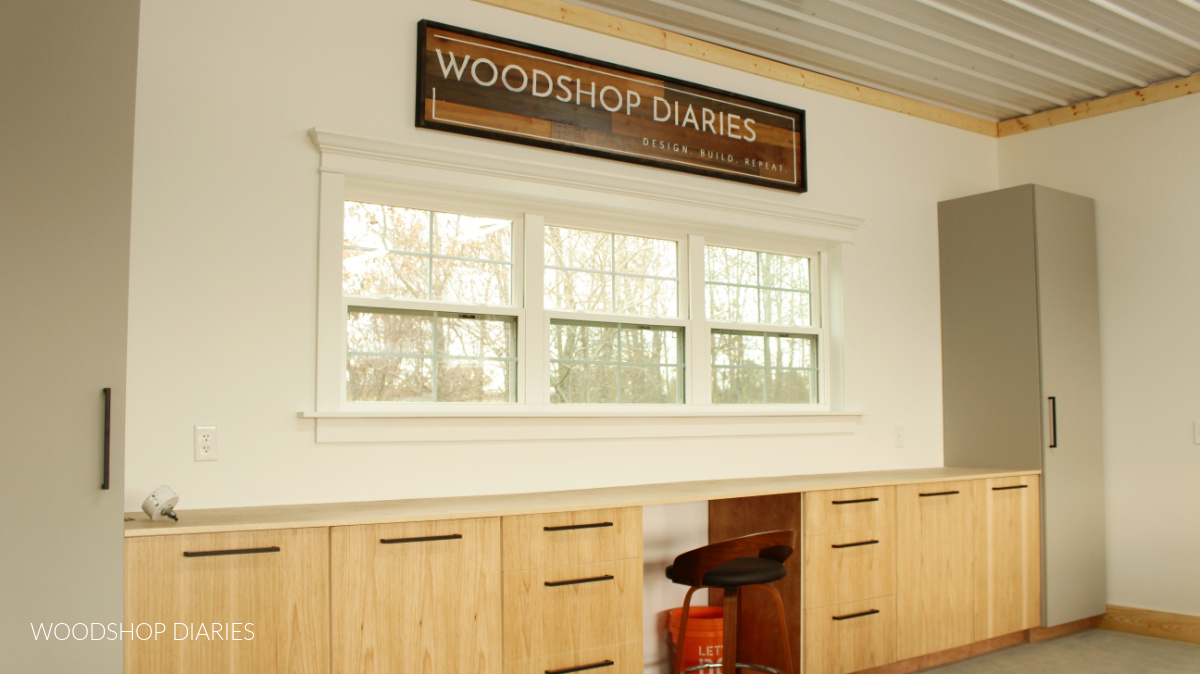
It makes it feel so legit haha. The barn wood look against the white wall really makes it pop and will be such a great background for future photos and videos.
.
I really hope this has given you some ideas for your shop or to make your own wood sign–for anywhere!
.
I’ve got plenty more projects to share from this space, so if you want to follow along and be the first to know about new projects, videos, and tutorials, be sure to subscribe to the newsletter here:
And if you want to save this for later, don’t forget to pin it!
Until next time, friends, happy building! 🙂