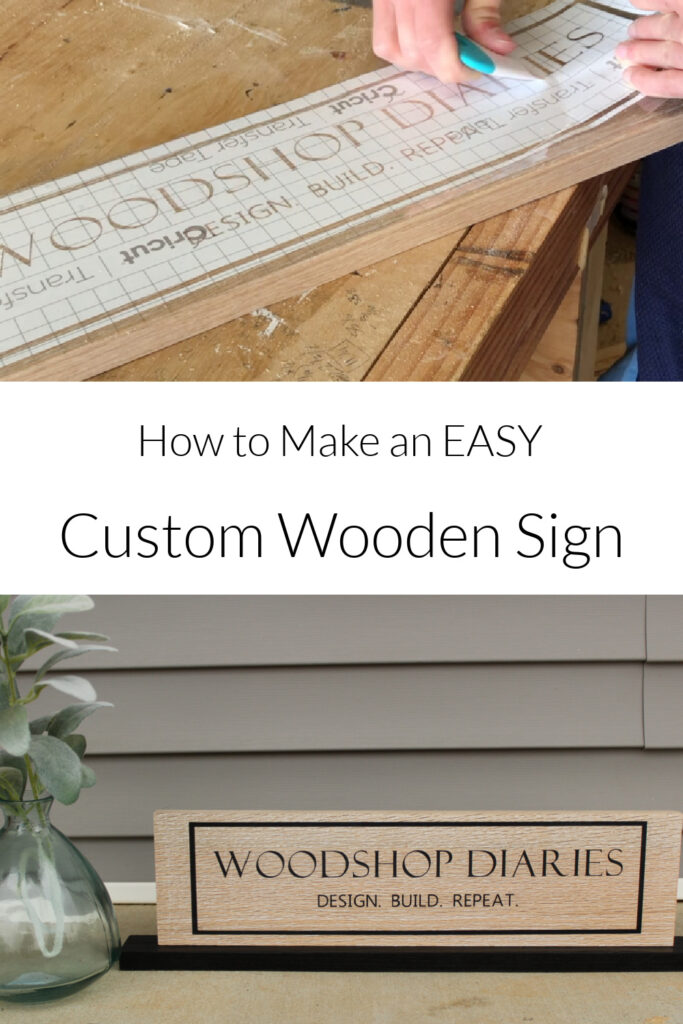
In this post, I’ll show you how to make an easy DIY wooden sign that you can customize however you want!
I made a new logo a while back and really wanted to put it on a sign to hang in the shop and/or one to sit on my desk. (Did you notice both in the picture above?? *wink wink*)
.
I wanted my new, modern logo to look clean and professional, so I pulled out the Cricut Joy for this one and used some vinyl stencil to create a crisp, clean line design I’m really proud of!
.
This post is NOT sponsored, but adding this little Circut Joy machine to my shop has been a game changer for customizations. If you do any type of sign making, or like to add decorative details, overlays, or stencils to your projects, I highly recommend checking it out.
.
Anyway, if you want to see how I made this custom DIY wooden sign, here’s what you need.
Tools & Materials:
*This post contains affiliate links. See policies.
- Scrap 1×6 and 1×2 board
- Spray paint in your desired letter color (I used black)
- Cricut Joy Machine
- Circut Joy Smart Vinyl (any color)
- Transfer Tape
- Cricut tool set (optional, but helpful with small letters)
- Painters tape
- Saw (to cut scraps to size)
- Super Glue
NOTES ABOUT THE PROJECT:
I made this simple DIY wooden sign from some scrap 1×6 oak wood I had in the shop. For the one that stands up, I used a 1×2 as a base plate, but that’s totally optional.
.
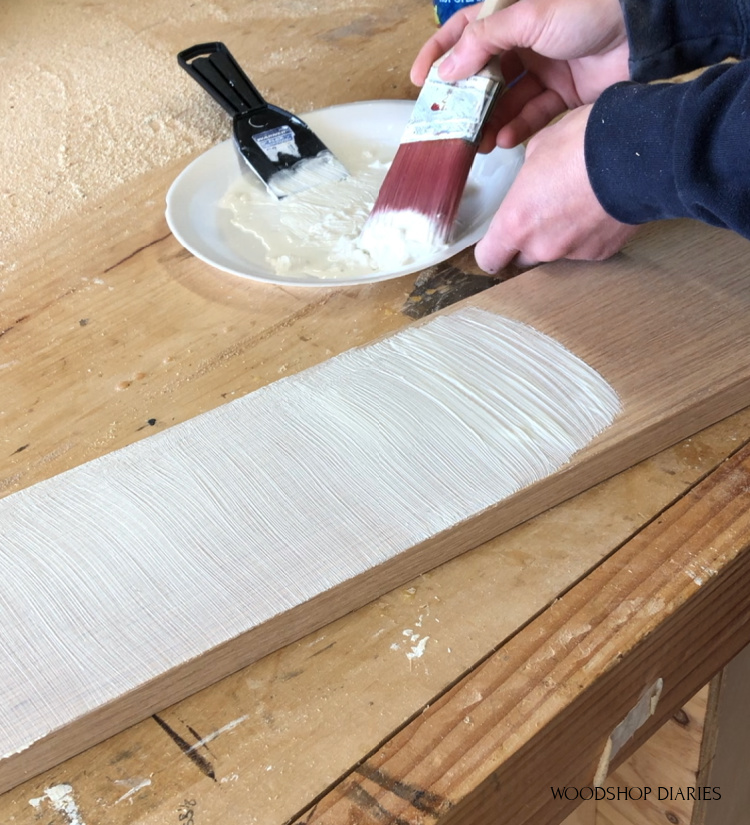
Because I was using oak, I thought it would be cool to fill the grain with grain filler like I share in this post. But again, this is totally optional and is just purely for looks.
Step 1: Design Your Wooden Sign
The first step was designing the sign. I wasn’t sure how large my design would be and wanted to make sure to cut my sign board long enough.
.
So I got onto Cricut Design Space and designed a simple logo with “Woodshop Diaries” and a box around it. I also added “Design. Build. Repeat.” as well.
You can customize and design your sign however you wish! Once I was finished designing, I checked the length of my design. It was about 19″ long total.
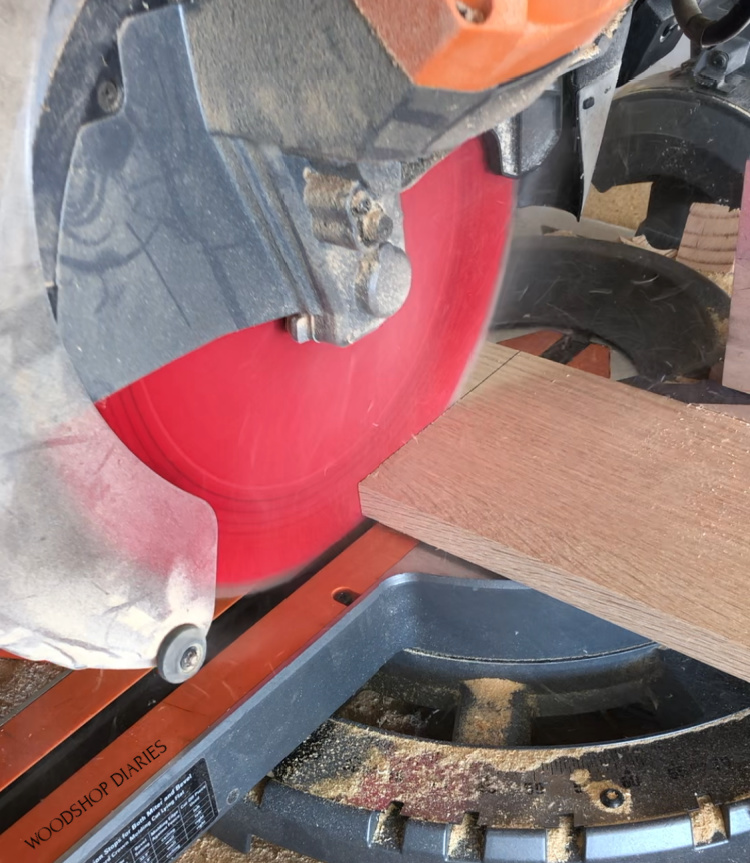
Step 2: Cut and Prep Wooden Sign Board
Now that I knew how long my logo was, I cut my 1×6 sign board to a little longer than my design–22″.
I recently played around with some grain filler in oak in this post about painting oak. And after it was sanded, the filler gave the oak a cool whitewashed effect.
.
In that post, I was showing how to paint over it, but I tried it again on this sign board and instead of painting it, I just left it as is after sanding. That is totally optional–I just thought it added a neat look to the board before I added the lettering.
If you wanted to hang this sign, you don’t need a “base plate.” But for the sign I was wanting to sit around and stand on its own, I also cut a 1×2 piece a little longer than the sign–about 24″–to glue onto the bottom later.
.
Once everything was sanded well, I grabbed my Cricut Joy and began cutting my stencil.
Step 3: Cut and Apply Stencil
I let my Cricut Joy cut out my logo design on some vinyl. Since I’m only using this for painting my logo, it doesn’t really matter what color vinyl I used.

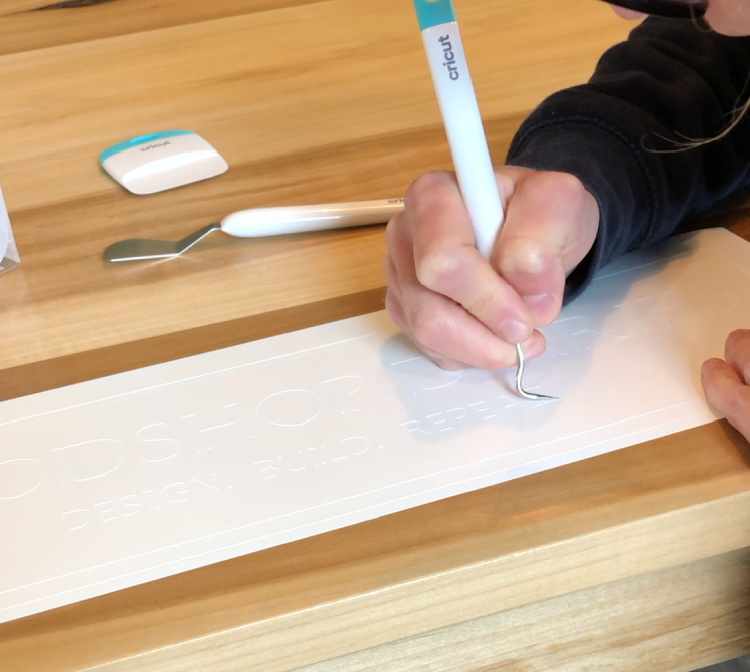
After it was cut, I used a little “pick” from the Cricut tool kit to carefully remove the lettering on this vinyl.
.
I removed everything that I wanted to paint from the stencil.
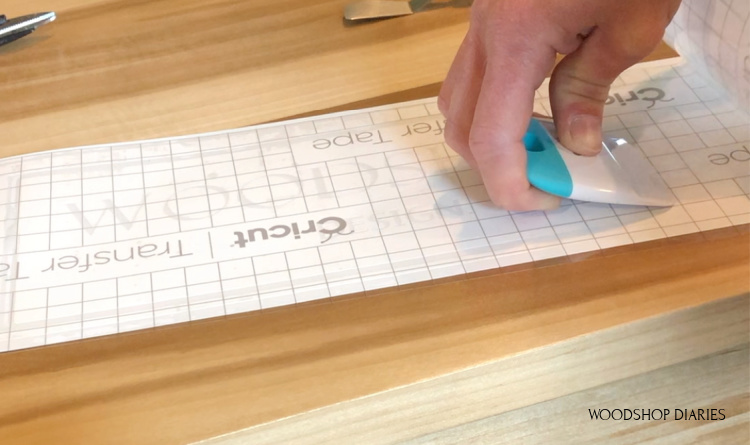
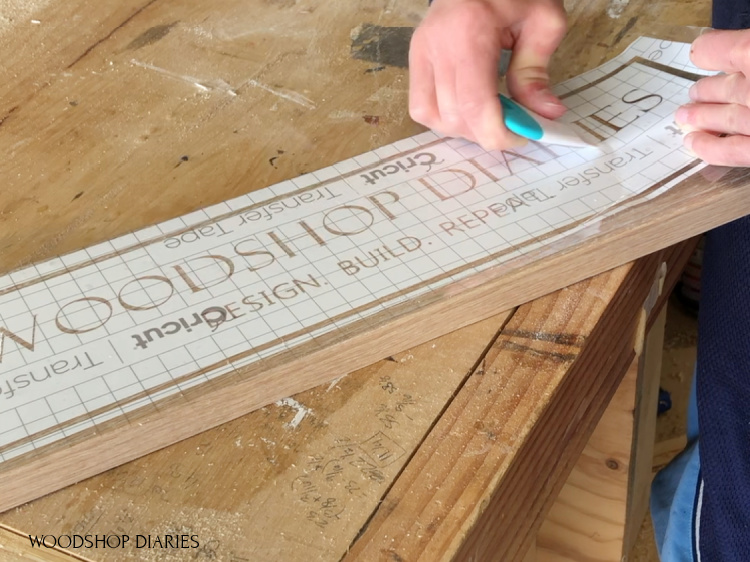
Then, I used transfer tape on top of this stencil to be able to transfer it to my board. The purpose of the transfer tape is to keep all the stencil in tact and in position while you remove the back of the vinyl.
.
It’s just a clear, sticky tape that you smooth out over the top of the vinyl.
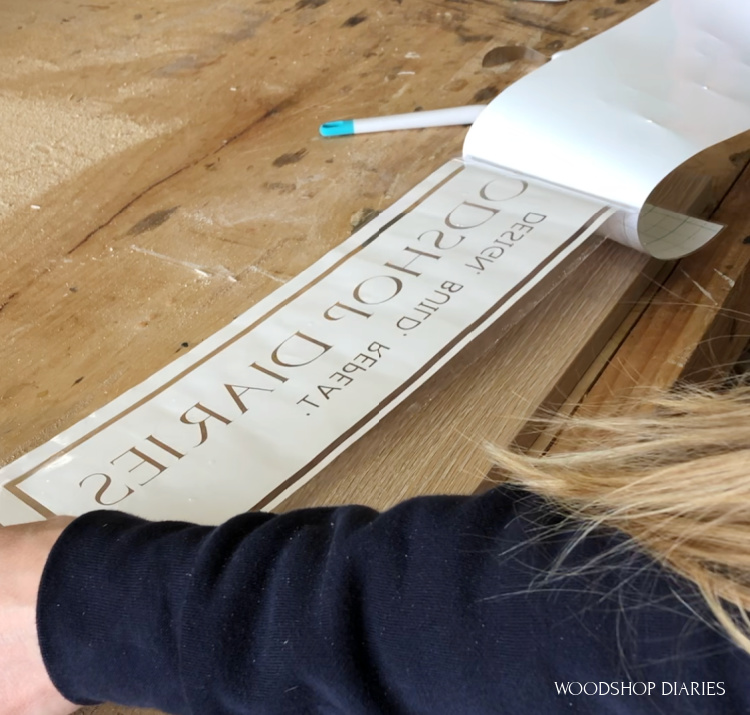
After the transfer tape was applied, I took it to the shop and removed the back of the vinyl.
.
I had to use the picker tool on some of the small pieces to carefully remove them from the backer and make sure they stuck to the transfer tape.
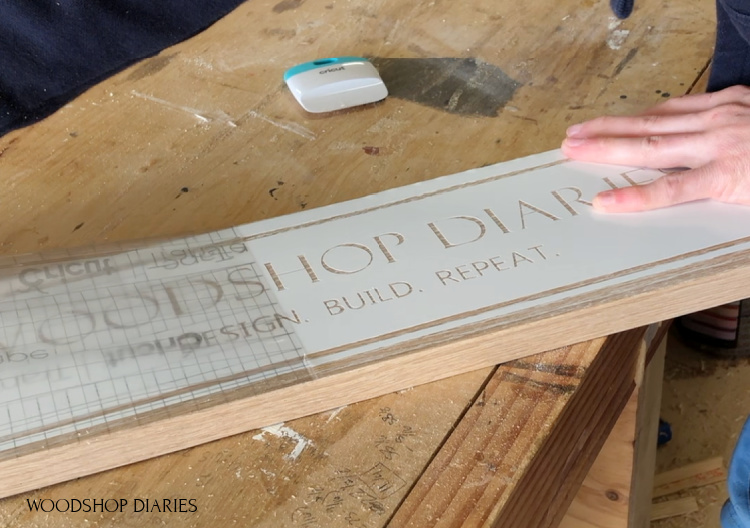
Then, I centered and stuck the stencil onto the board. Try to remove all the air bubbles and keep it centered. It’s not going to be easy to remove and reposition, so you need to get it in the right place the first time.
Once it was stuck, I removed the transfer tape from the top and covered the exposed edges with painters tape to get ready to paint the logo!
Step 4: Paint Wooden Sign and Base Plate
I placed the sign board into a box to contain the overspray and used some flat black spray paint to paint over the logo. Notice that I covered the edges and sides with tape so only the logo will get painted.
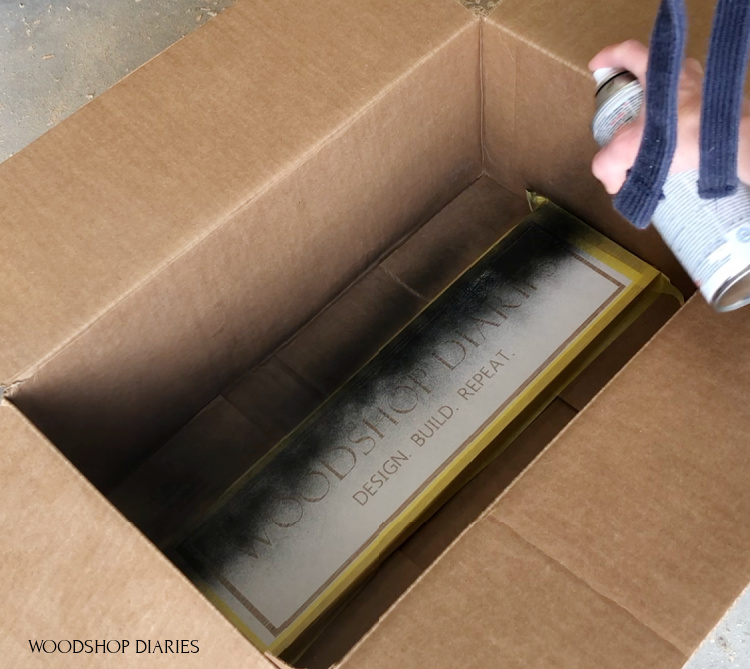
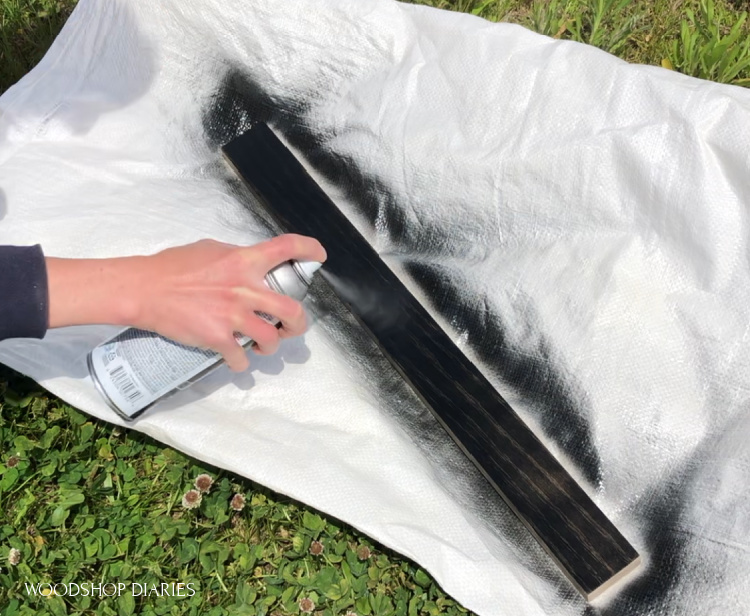
I also spray painted the base plate the same color. You could get creative here and paint (or not paint) the plate whatever color you wanted.
.
I just liked the simple black, white, and wood style 🙂
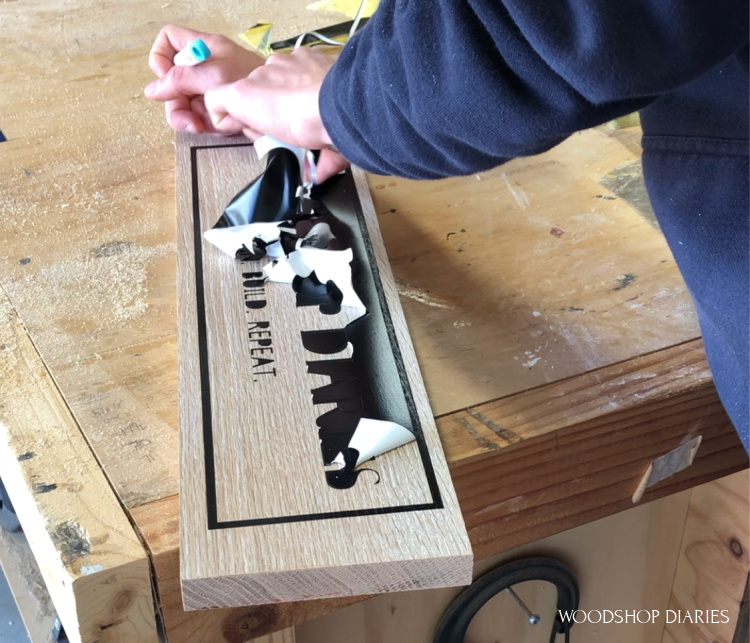
Step 5: Remove Stencil and Finish
After the paint was dry, I removed the stencil from the wooden sign board and revealed the logo!! This was the most satisfying part of the whole project–peeling away that vinyl to see the clean paint lines!
For the sign I hung on the wall, I just attached a little sawtooth hanger in the middle on the back side to hang it from.
.
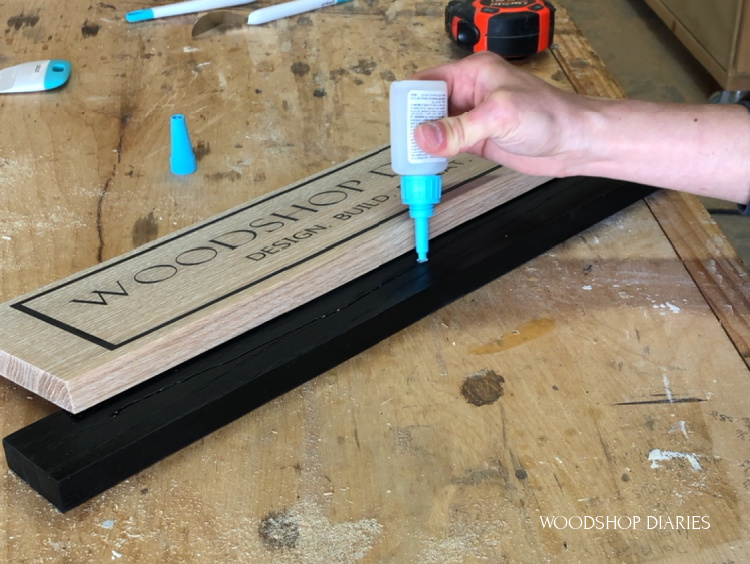
But for the one with the base plate, I used some RapidFuse glue (any quick drying super or wood glue would work as well) to attach it in the center.
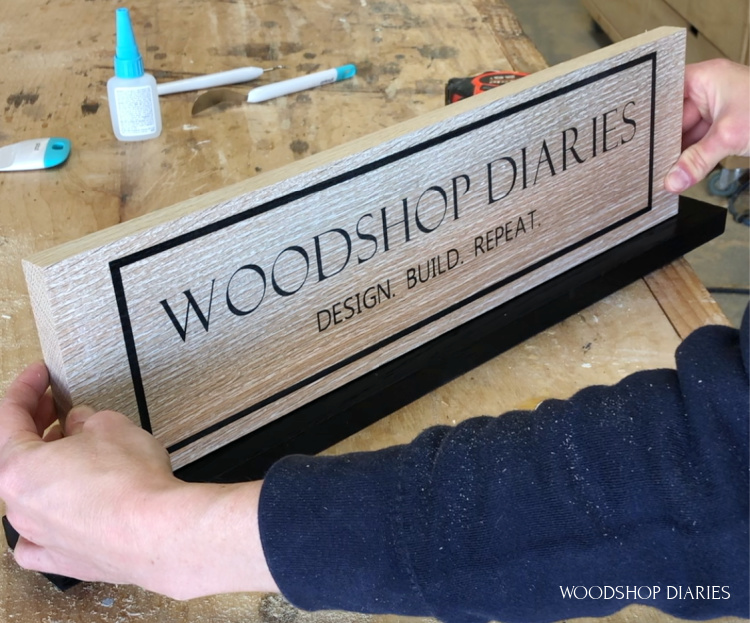
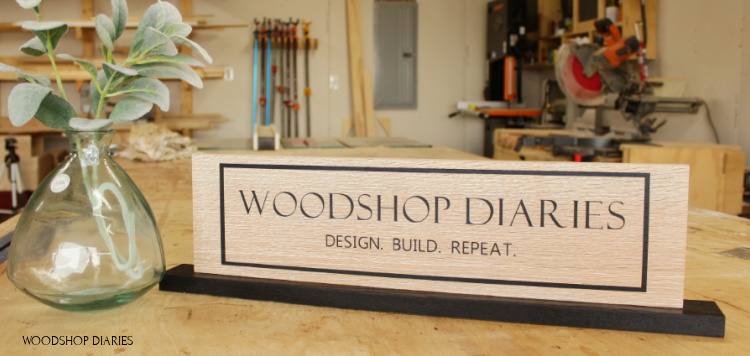
And now it’s ready for display on my desk or in my office or wherever I decide to put it!
.
I also made one without the base to hang over the window in my shop.
.
I love how simple this project was and now I’m brainstorming all kinds of ideas for little signs and customizations I can add to things!
These little DIY wooden signs would make really great gifts for weddings or baby showers–you can customize names and dates and designs a million ways.
.
So I hope you enjoyed this simple little project and inspires you to get creative with your scrap wood!
.
If you’d like to save this project for later, be sure to pin it or share it to your favorite social channel.
Thanks so much for following along, friends, and until next time, happy building 🙂