In this post, I’ll show you how to fill wood grain before painting to give you a smooth finish!
This is especially helpful when you are considering painting over oak cabinets.
.
Painting over old cabinets is a really popular DIY project that a lot of home owners have been tackling the last few years.
.
Oak was (and still is) a really popular wood to build cabinets out of so the majority of these older kitchens and bathrooms are filled with oak cabinets.

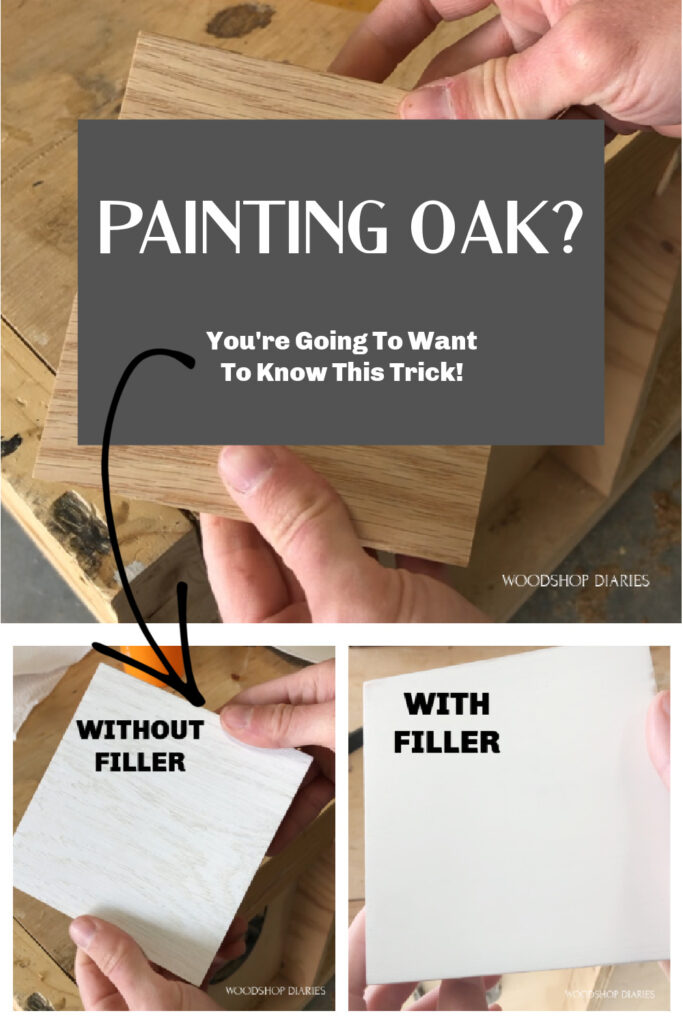
But, many people tackle a project like painting their old oak cabinets and don’t realize until after the fact that oak has a very deep grain. And even though you can’t see the color through the paint, you can still see the wood grain.
.
Sometimes people like that…and sometimes they don’t.
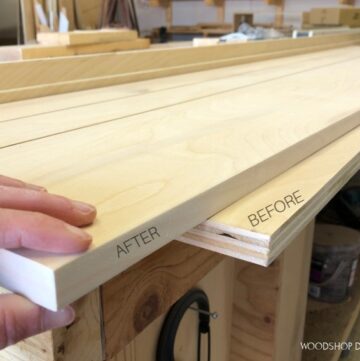
So if you prefer a smooth painted surface (like the one on the right above), here’s an easy way to fill the grain (in cabinets, furniture, and even door/window trim) before you paint!
Two Quick Notes About Filling Wood Grain:
ONE: This doesn’t apply to ONLY oak. That’s just a common application. You can use this method to fill grain, blemishes, and uneven spots in any wood.
.
TWO: Normally I don’t recommend painting over nice hardwoods with deep grain (like oak) just because they’re pretty in their natural state and are usually expensive for that reason.
.
However, if you have an orange 90s kitchen you just aren’t feeling anymore and want to refresh without replacing, I don’t blame you in the least for painting it 🙂 Make your home what YOU want. YOU live there.
To Fill Deep Wood Grain, Here’s What You Need:
This post contains affiliate links. See policies.
- DAP Premium Wood Filler
- Water
- Putty knife
- Paint brush
- Sandpaper (a sander makes the job easier, but you can hand sand as well)
- Disposable plate or something to mix on
- Primer, Paint and Finishing Supplies
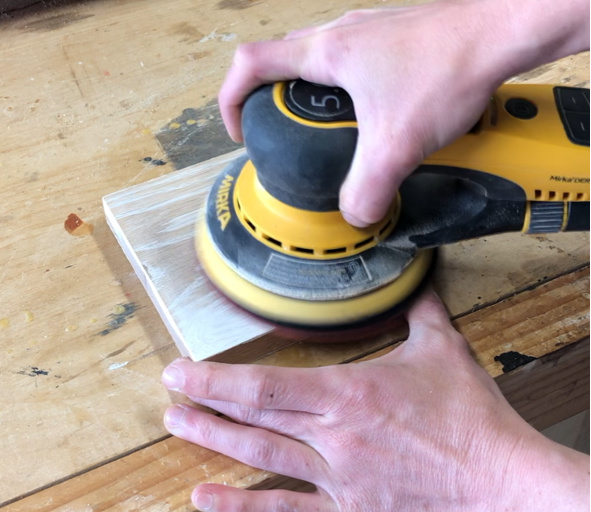
Step 1: Prep Wood Surface
In this example, I’m using a small red oak scrap block that is unfinished. If your surface is unfinished as well, move to step 2.
.
However, if you are working with a surface that already has a finish (paint, stain, clear coat, etc.) on it, you will need to sand the surface to scuff it up a little. I’d recommend using 120-180 grit sandpaper over the whole surface.
.
Remove all oils, dirt, debris, and dust leftover after sanding.
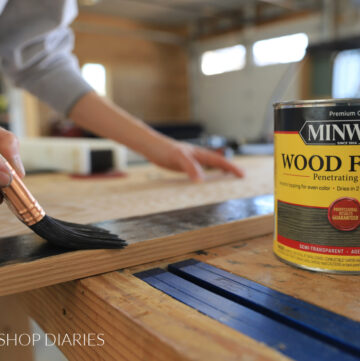
Step 2: Mix and Apply Grain Filler
Once the surface is smooth, dry, and dust free, grab some DAP Premium Wood Filler.
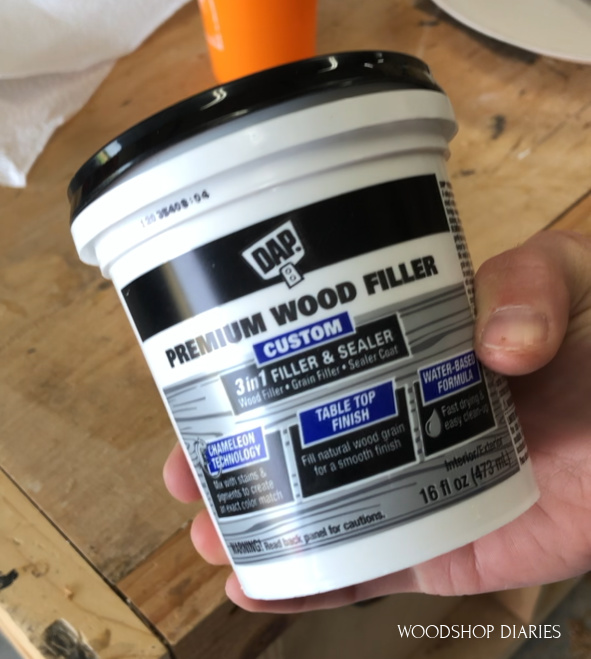
NOTE: This product is made specifically for filling grain. Not all wood fillers will work for this. But, there are other brands, methods, and products that will. I’m just sharing one way I’ve found to work well. It’s not the ONLY way.
.
Be sure to read the label on the filler as it gives more specific instructions.
.
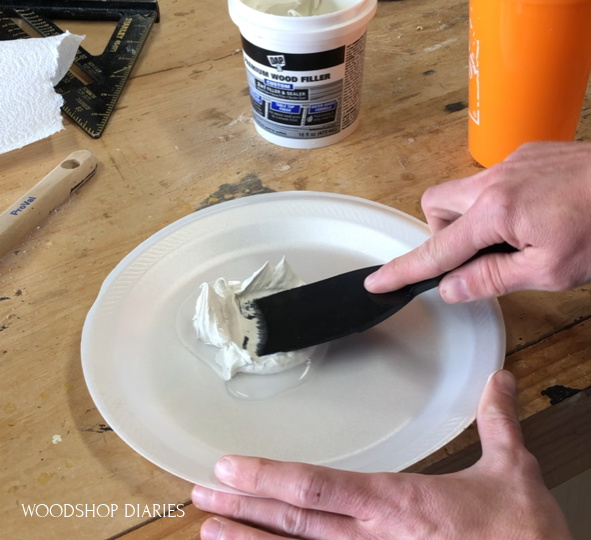
I used a putty knife to scoop out the filler onto a Styrofoam plate. The amount you need will depend on the size of your project. If you’re doing a lot, you may want to use a small bucket or large cup instead of a plate.
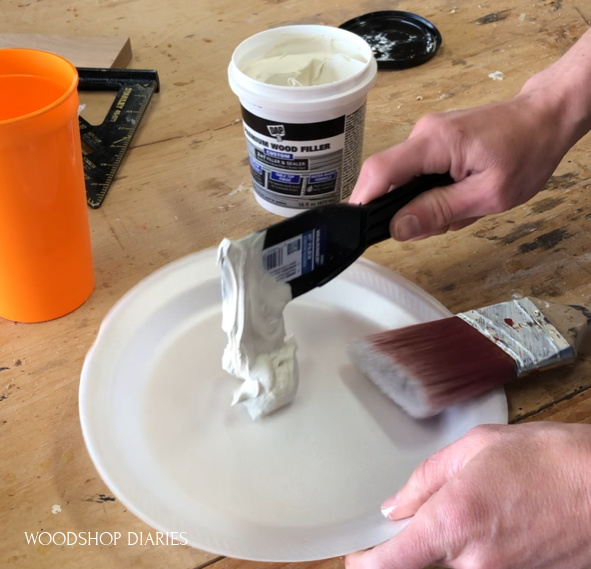
I mixed in some water and stirred it into a thin paste using my putty knife. Just mix a little at a time until you get the consistency of thick paint.
Step 3: Apply Grain Filler to Wood
I used a paint brush (this stuff is water based, so it’s easy to clean up–you can use a good paint brush if you want since it won’t be ruined) to brush the filler paste AGAINST THE GRAIN.
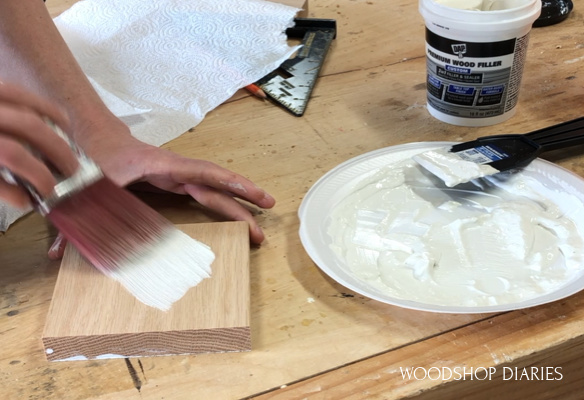
Normally, when you apply a finish, like paint, you want to apply it WITH the grain. But in this case, applying this paste against the grain gets it deeper into the grain to fill it better.
.
You want to apply a somewhat thick coat and brush it around well so it gets good into all the pores. Don’t worry about smoothing it out–focus on working it down into the grain.
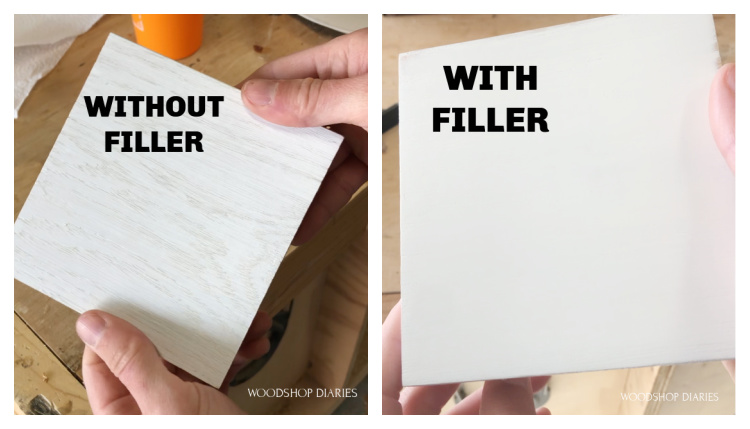
Step 4: Sand Smooth
I let the filler coat get good and dry (a few hours) then sanded it smooth using 120 grit, then 220 grit. You can see below where the filler stays stuck in the grain.
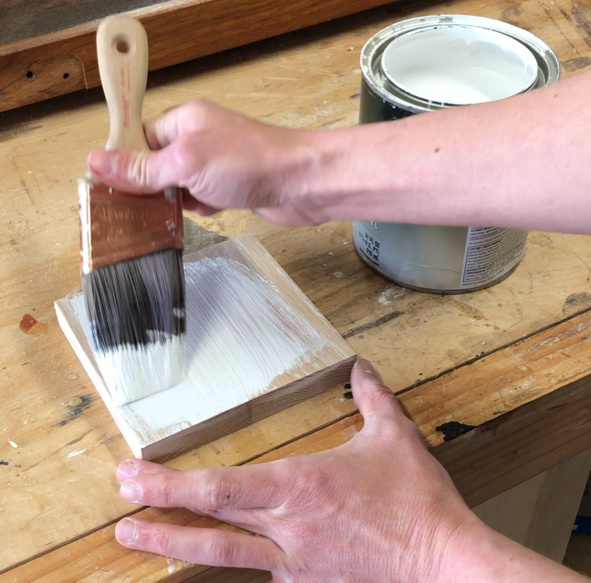
Step 5: Apply Final Finish
Once the surface is sanded, you can apply primer and paint as normal.
.
I only used one filler coat in this example, but if you aren’t happy with the results, you can do another coat.
Check out my furniture finishing tips here for more information on finishing raw wood and getting professional results.
.
This was just a super quick example and I skipped primer (not recommended!!) and used a paint brush to apply the paint over the piece, so it’s not the best possible results. BUT, even so, it’s clearly a huge difference!
.
Imagine how it would look if I didn’t skip primer and used a roller vs a brush in this example!
This post wasn’t sponsored, I purchased the wood filler to use in the shop and noticed that it said it worked as a grain filler, too. So, I gave it a try because I was skeptical about how well it actually worked.
.
Honestly, I was pretty impressed with the results so I wanted to share with you! I know painting oak cabinets is pretty common, so I hope this helps you get the results you want.
.
For a super quick video showing this process, check out this video I put together here:
If you want to save this for later, don’t forget to pin it or share it on your favorite social channel!
Until next time, happy building 🙂