In this post, I’ll show you how to make the easiest picture frame ever!
I’ve built a few pictures frames throughout the years, but this is by far the easiest way I’ve tried! If you need a super quick floating frame, this is the tutorial for you!
.
But if you want to browse some other options, you can check out three more picture frame building tutorials I’ve shared here:

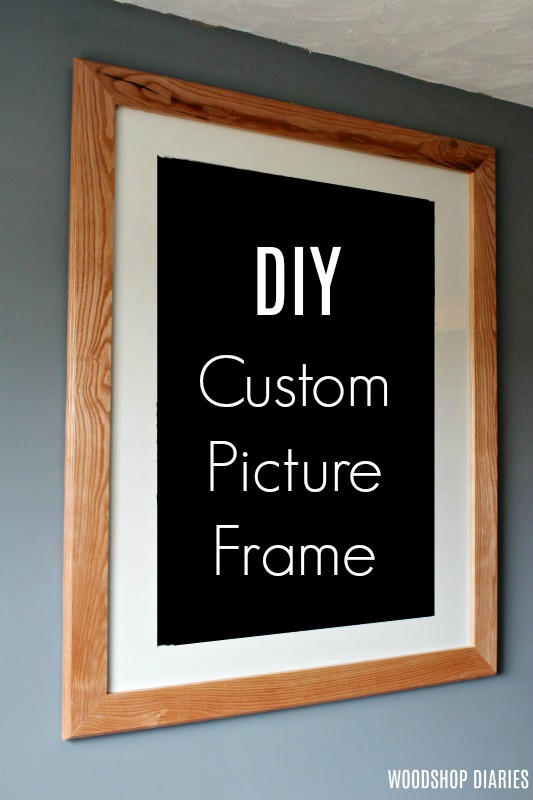
DIY Large Custom Picture Frame 
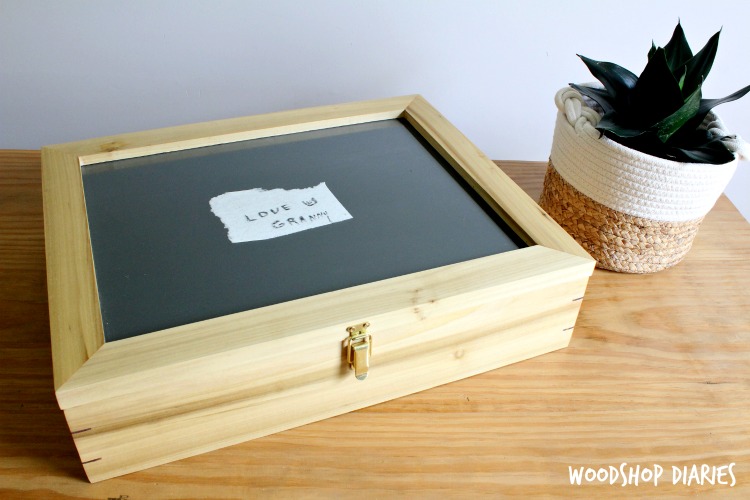
DIY Picture Frame Keepsake Box 
3 Easy DIY Floating Picture Frame Ideas {And how to cut plexiglass}
But for the EASIEST picture frame ever–the one I’m sharing with you in this post–here’s what you’ll need!
Tools and Materials:
*This post contains affiliate links. See policies.
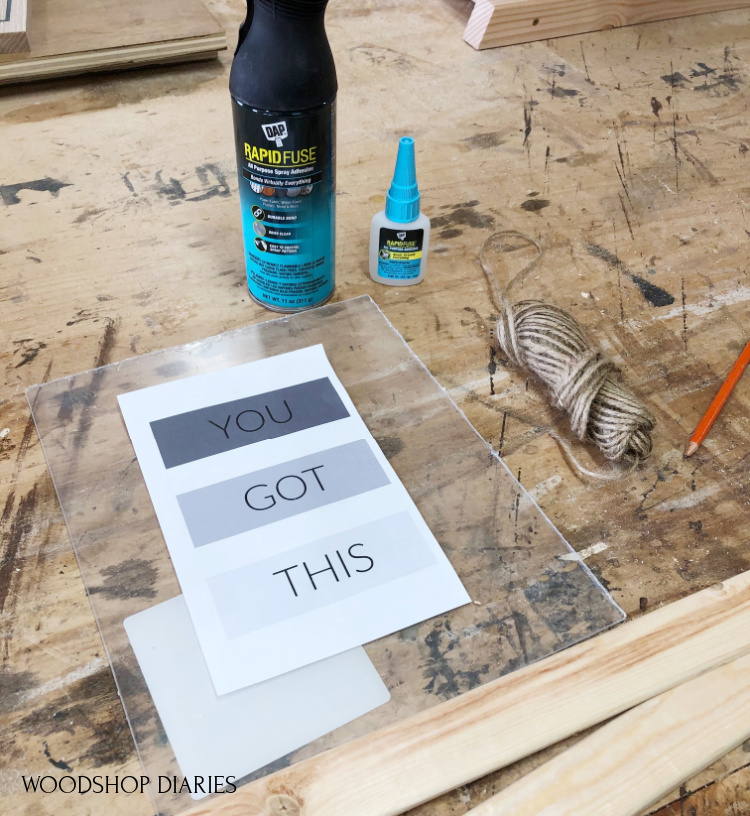
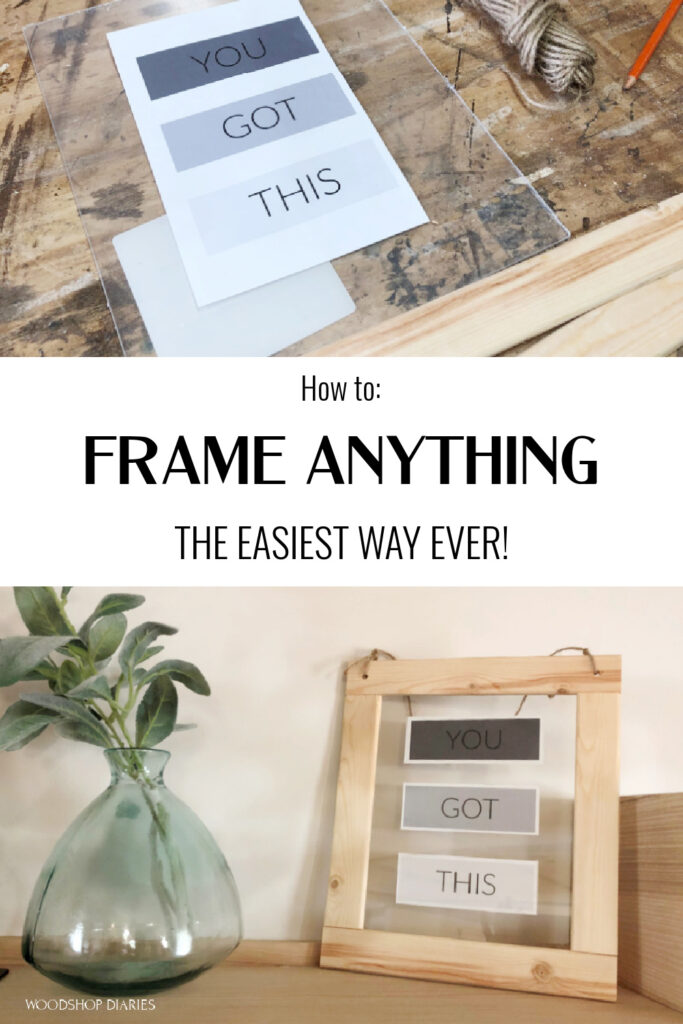
- Something to frame (I designed a simple “You Got This” design and printed it out on regular copy paper)
- A piece of plexiglass (You can buy these in precut sizes, have it cut for you at your local glass shop, or cut it yourself with this tutorial)
- Wood shims or scrap wood
- Clear Spray Adhesive
- Quick drying all purpose glue
- Saw to cut the shims (any saw that can cut a straight line works fine)
- Drill (optional)
- Jute Rope (optional)
A NOTE ABOUT THE PROJECT:
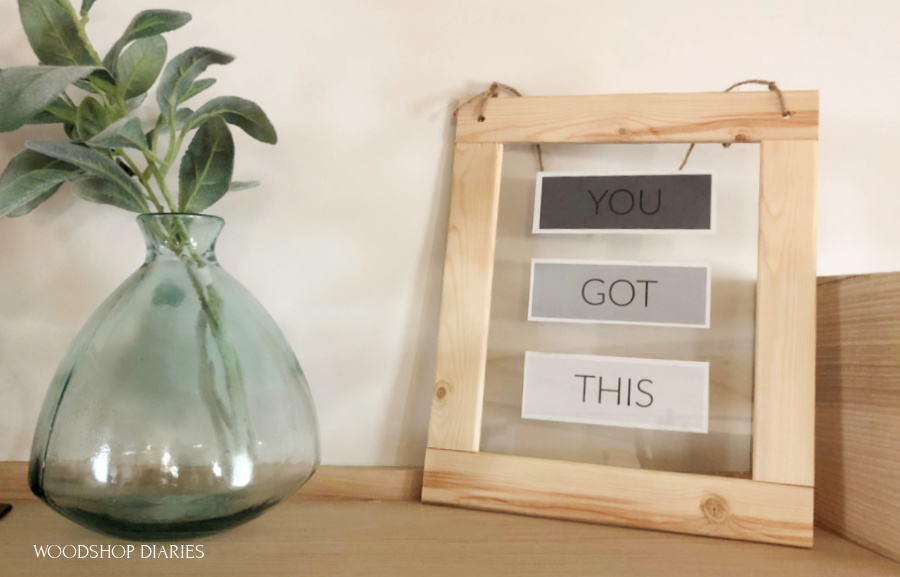
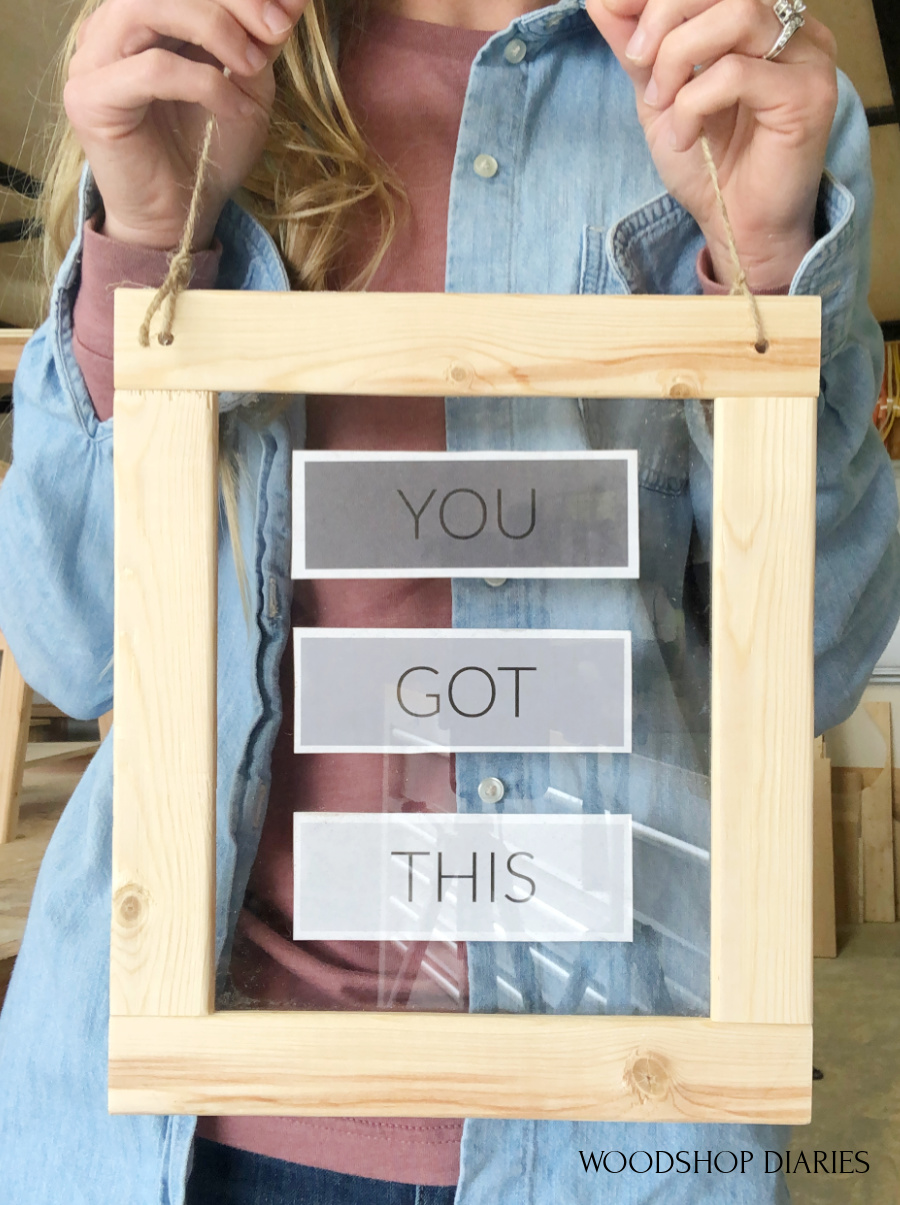
This project is completely customizable to any size you want. It’s designed to be a “floating frame” so the photo or picture “floats” on the plexiglass in the center of the frame.
.
But, you can get creative here and add a mat on the outside edges, cover the entire plexiglass space, or make your design as large or small as you wish. Get creative 🙂
Step 1: Cut Plexiglass and Picture to Size
I trimmed down my “You Got This” design into three pieces to attach them separately. Trim down whatever you’re planning to frame to the size you want it.
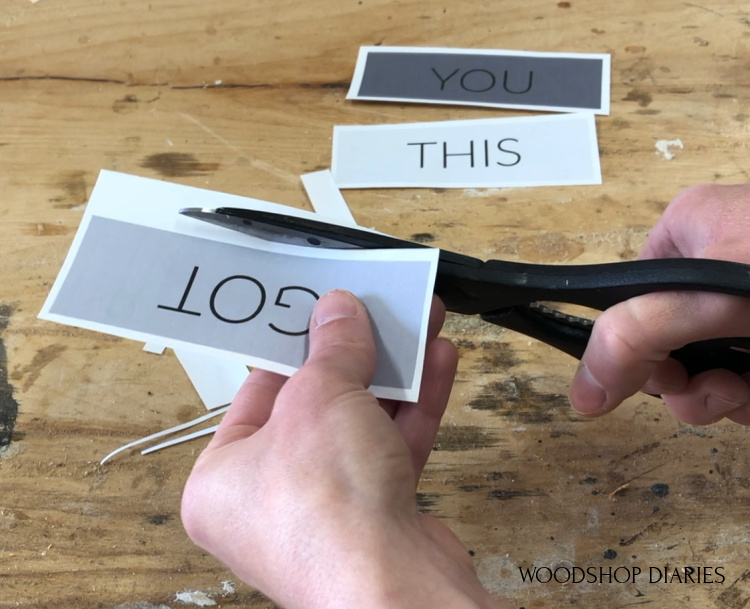
Once you have your picture cut to size, determine the size you want your plexiglass to be. You can buy plexiglass precut in several common sizes, get your local glass shop to cut you some or cut your own using this tutorial.
.
For this project, I used about ⅛″ thick plexiglass, but you can use thicker if you’d like.
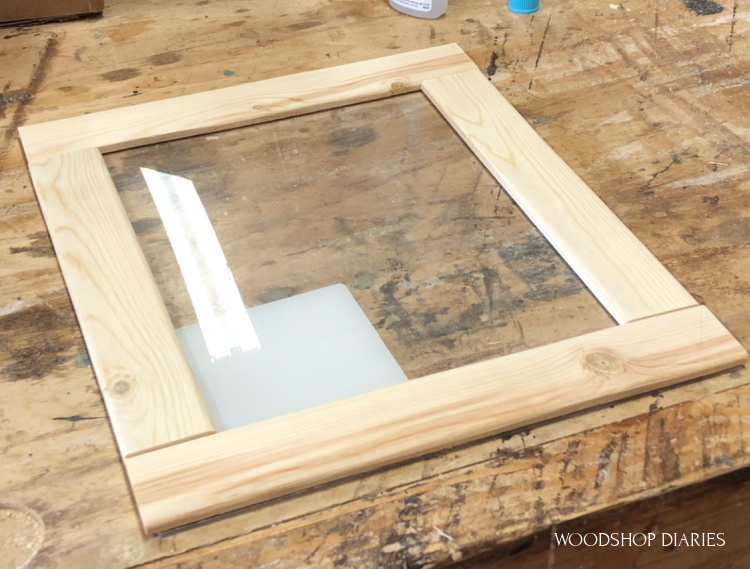
Step 2: Frame Out Plexiglass Sheet
Grab some scraps or wood shims. In this case, I used some thin leftover scraps I had leftover from cutting my own 2x2s for a different project.
.
They were about ¼″ thick and 1 ½″ wide. You could use 1x2s, wood shims, lattice trim, whatever you’d like for this.
.
I marked the pieces to frame out the outside edge of this plexiglass.
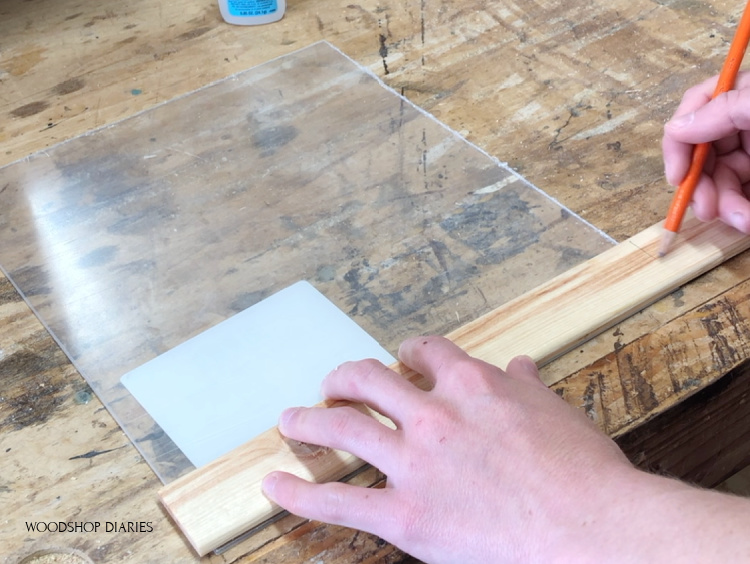
Then, I cut them down using a miter saw. Any saw that can cut a straight line would work fine for this.
.
Once I had all my pieces cut, I test fit them around the plexiglass to make sure they fit okay.
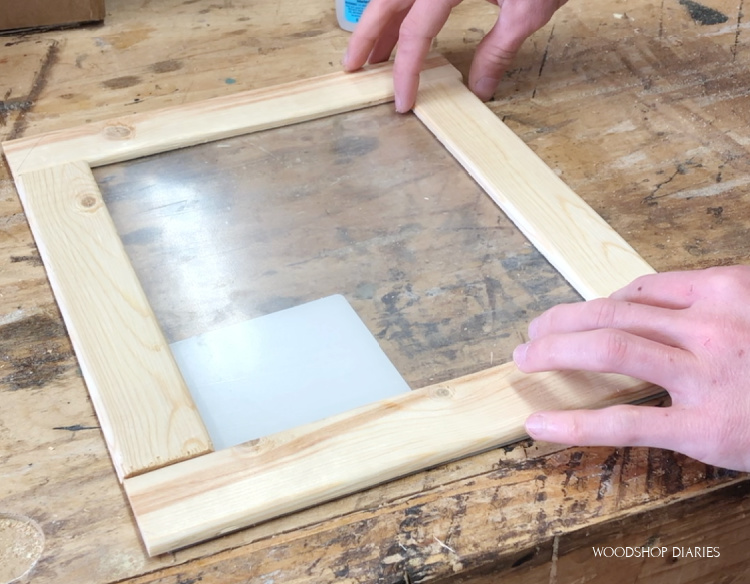
If you wanted to paint or stain them, go ahead and do so before attaching. I just left mine natural.
.
Then, I used some DAP RapidFuse to secure these pieces in place right on top of the plexiglass. This glue worked really well, but you can use other options…just make sure it works with both wood and plastics.
.
NOTE: Before attaching, make sure you remove the protective film layer on the top side of the plexiglass!!
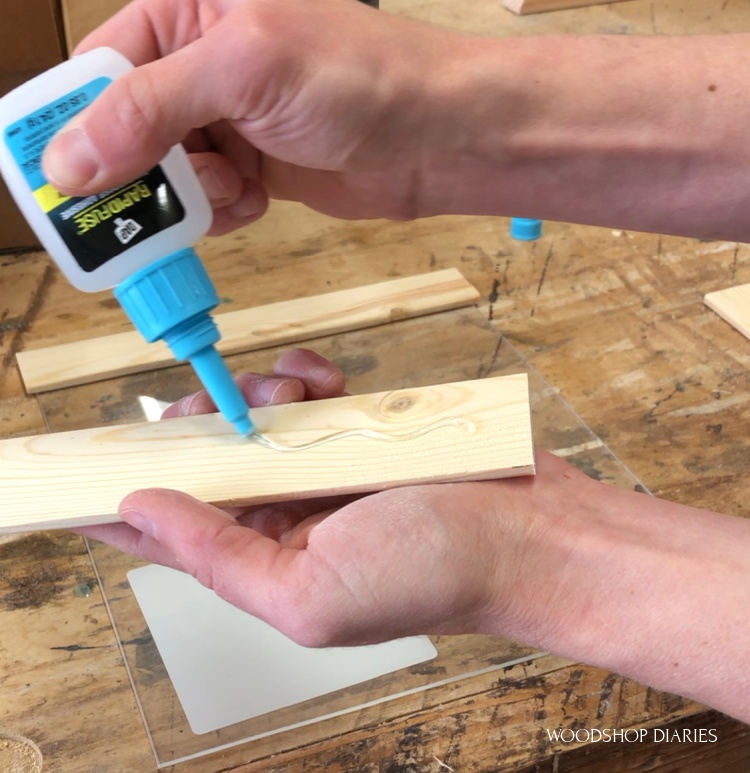
Allow the glue to dry well before moving on.
Step 3: Attach the Picture into the Frame
I placed the paper pieces I had planned to frame into a box and used some clear DAP RapidFuse spray adhesive to lightly coat the entire surface of all three pieces.
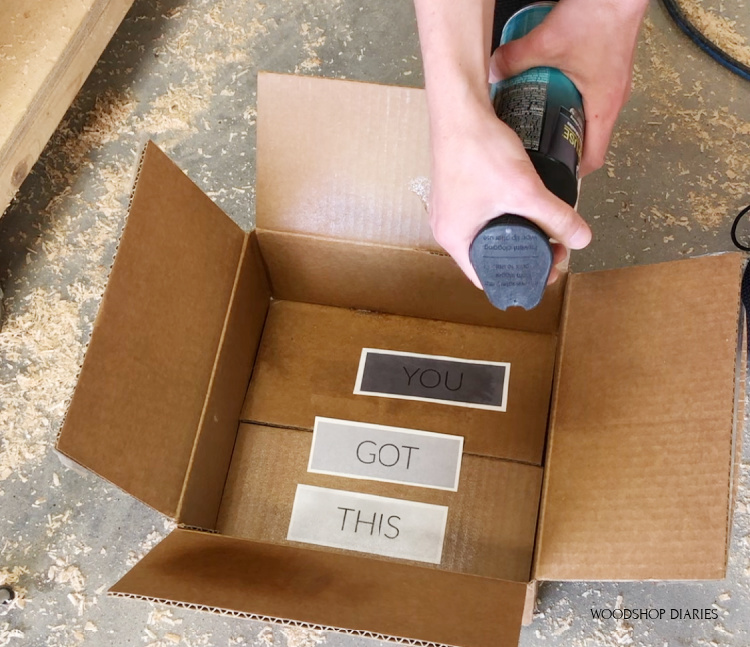
This worked PERFECT for this regular copy paper and dried completely clear, and I would imagine it would work well for picture paper as well.
.
BUT, I would advise testing a small section or use a spare first just to double check the adhesive won’t affect the colors if you’re using this for something other than paper. This RapidFuse spray adhesive dried clear, but not all spray adhesives do.
.
Follow the directions on the can. Once the adhesive was tacky, I flipped the framed plexiglass upside down, removed the protective film and placed the paper upside down on the glass.
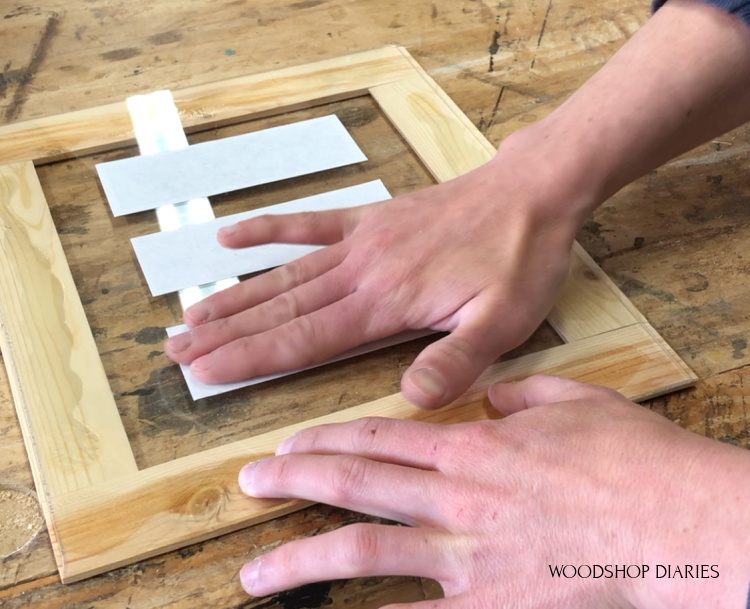
Make sure it’s centered and press firmly over the whole surface.
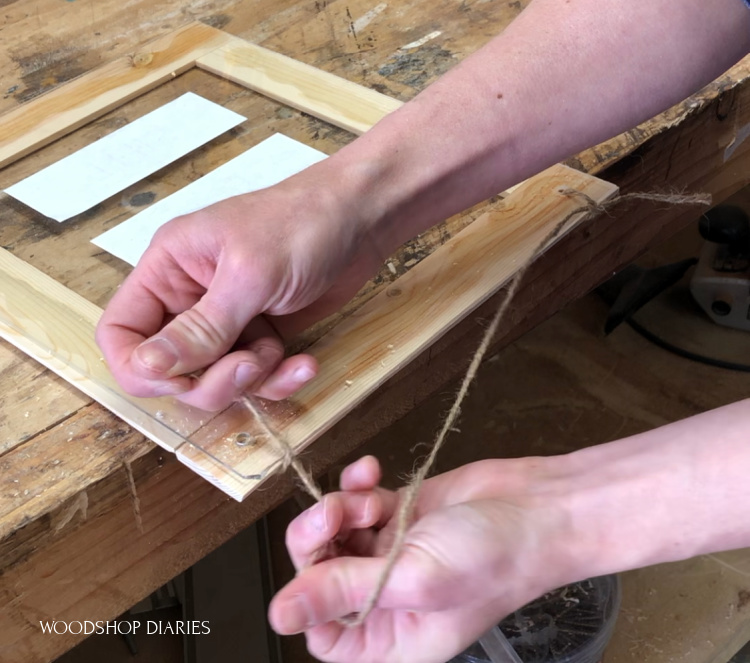
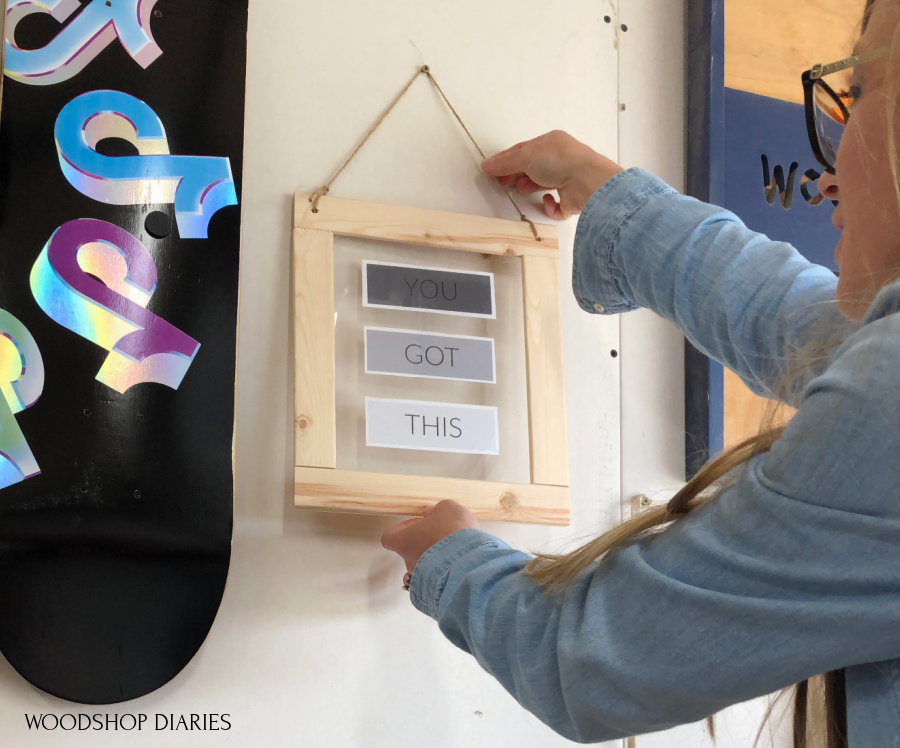
Step 4: Add Hanger to Frame
You can skip the hanger and simply place this on a shelf or desk, etc. Or, you can add a hanger on the back.
.
You can use a sawtooth hanger, or drill some small holes at the top corner and tie some jute or twine through it and hang it that way.
And that’s how to make the easiest DIY picture frame ever 🙂
.
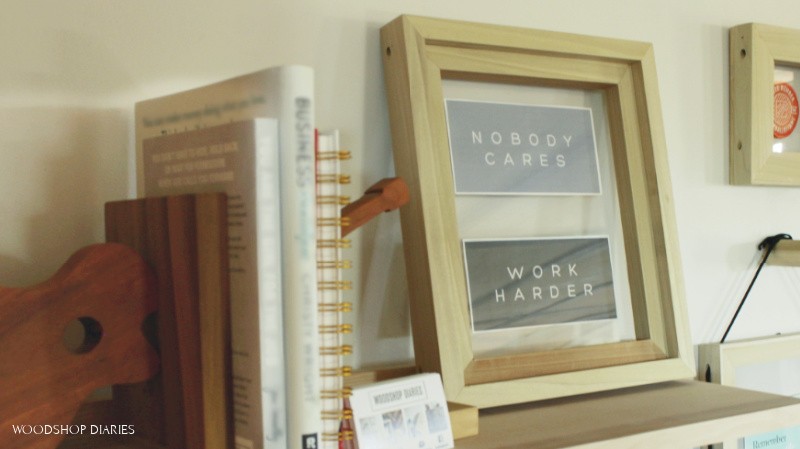
I hung it up in my shop for a little extra motivation and to add something cute to the walls. But this would be perfect for making various sizes to hang on a floating shelf or picture frame ledge.
You could even make larger ones for a gallery wall or to hang down a hallway.
.
You can frame some of your favorite sayings, recipe cards, photos, even flower petals, preserved leaves, post cards, etc. This is such a simple and quick way to custom frame almost anything you can think of!
I hope you enjoyed this project and if you want more framing ideas, check them out here. And if you’re looking for more project ideas, check out these easy DIYs here.
If you want to save this for later, don’t forget to pin it or share it to your favorite social channel!
Until next time, friends, happy building 🙂