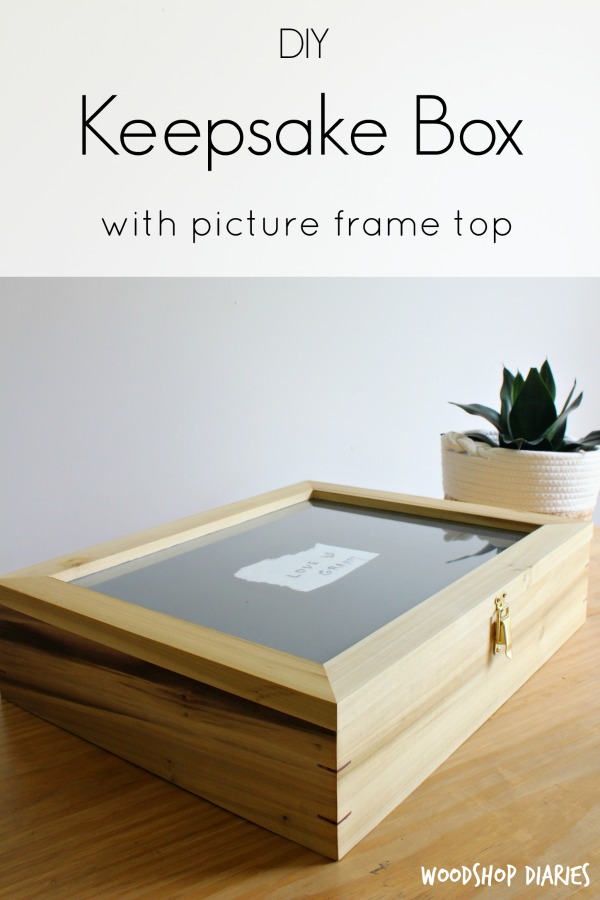
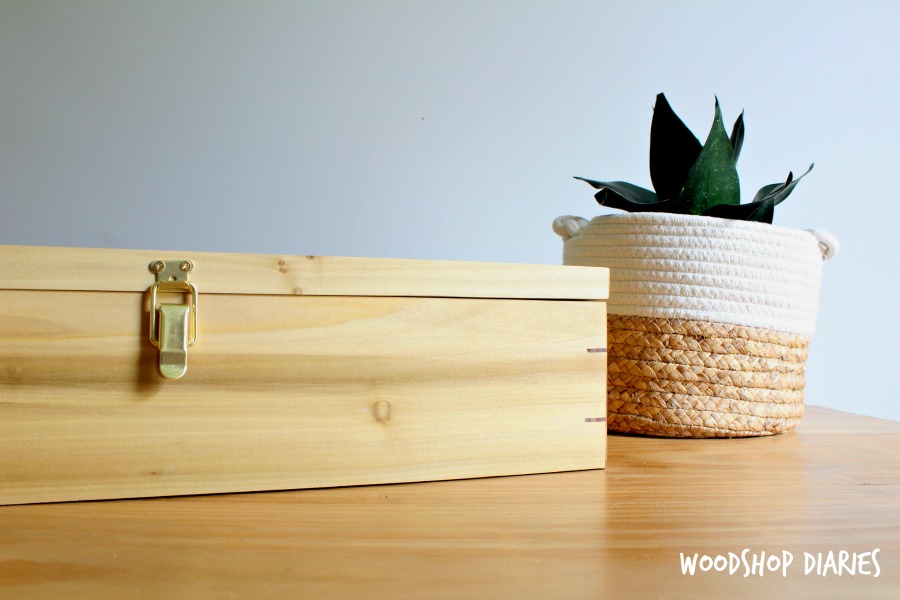
In this post, I’ll show you how to make a DIY Wooden Keepsake Box with Splines and Picture Frame Top!
I have the best Granny. She’s hilarious. But not in the slapstick comedy, or joke telling kind of way. She just makes me laugh because of how predictable…and yet,unpredictable…she can be.
.
For example, for every birthday and Christmas gift, she will ALWAYS throw in some sort of weird, random trinket. BUT, there’s no telling what it might be.
.
One year, she got me and my sister these fat, round figurines. Mine was a fat owl, and hers was a fat squirrel. I have no idea where she found them…or what made her think to buy them for us, but that’s just how Granny is. It’s almost become comical to see what she will give us next.
.
But, obviously, this isn’t something I want to display around the house. (And neither is most of the other random trinkets she gives me.) But they’ve got sentimental value, so I want to keep them.
.
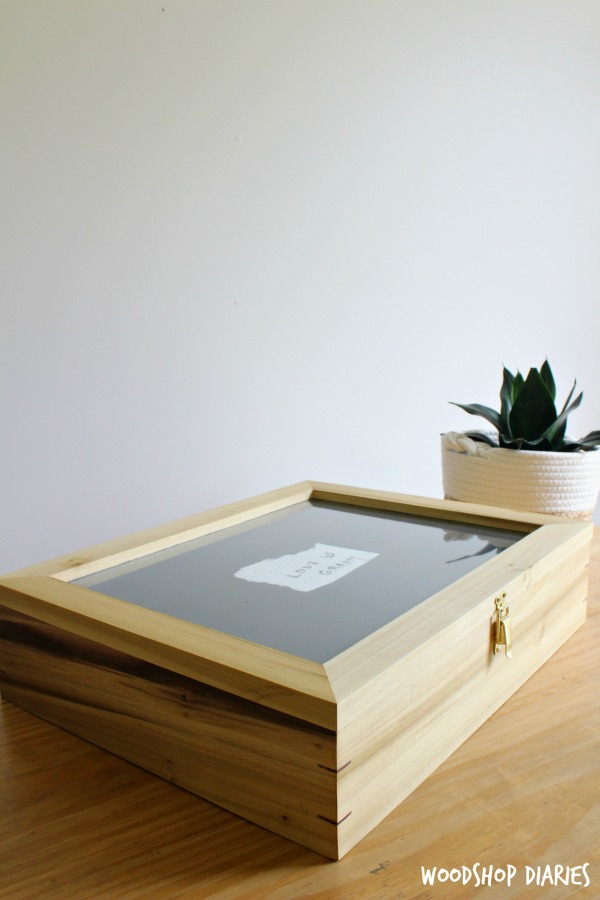
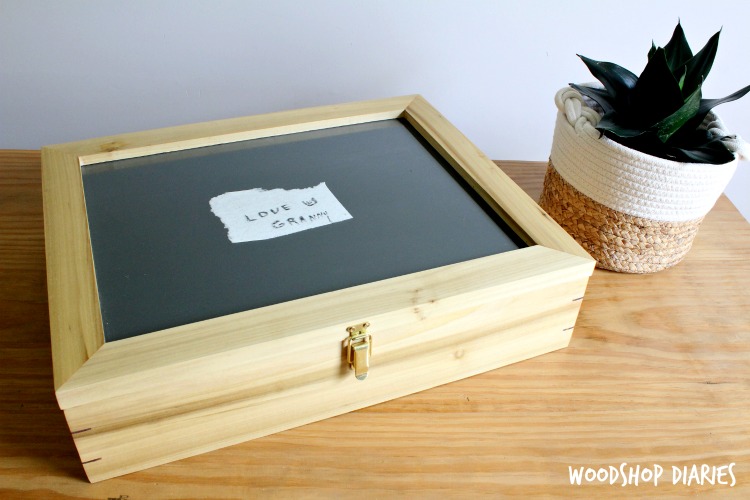
So I started thinking about how to keep these items together, hidden, but not just collecting dust in some forgotten cardboard box in the back of the closet. That’s when I decided on a DIY wooden keepsake box with a picture frame top. I can display the box, without having to display what’s inside 🙂
Side note: That little piece of paper towel I framed on the box was from the first day I moved into my first apartment. She came over to help me clean and she brought lots of goodies.
.
One thing she brought was a roll of paper towels and she wrote “Love U, Granny” with her signature smiley face in the “U” on the corner of the top towel. I tore it off and have kept it ever since. It’s been almost 8 years! It was the perfect piece to frame 🙂
.
So if you need a DIY keepsake box to keep all your random Granny trinkets in, let’s get to the how to. I’ve got a YouTube video tutorial here and the written instructions below.
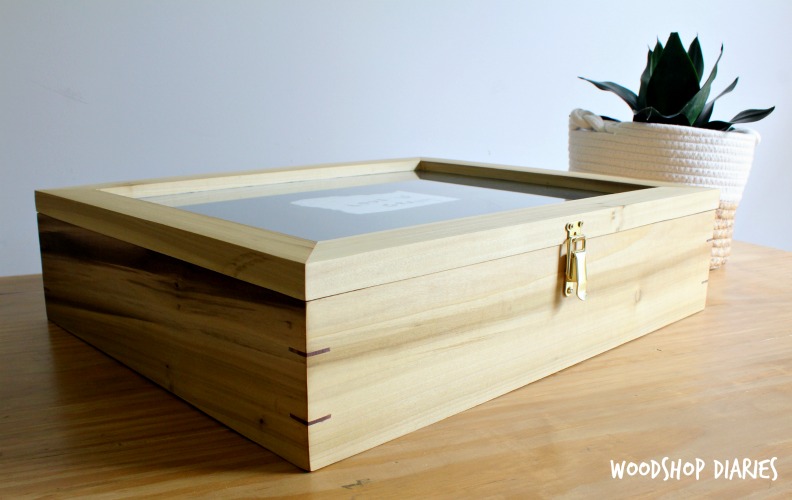
For this box, to make the corners nice and clean, I mitered the corners and to add a little strength and detail, I added splines. This is totally optional, but made it look really nice. It was my first time trying splines and they turned out better than I expected. So let’s get building.
.
This post contains affiliate links. Please see disclosure policy for details.
.
For this DIY Wooden Keepsake Box, you’ll need:
- 1x4x8 for the box sides (I cut this from some poplar wood I had on hand)
- 1x2x8 for the top (I also cut these from some poplar I had)
- 2×4 piece of ¼″ plywood
- ⅛″ glass panel (cut to fit)
- Wood scraps for splines
- Wood Glue
- Picture Frame Tabs
- 2 small hinges
- 1 small latch
- Table Saw (optional)
- Miter Saw
- Sander
- Router
- Rabbet Bit
- Picture Frame Clamp
- Drill
- Hand saw
.
Step 1: Cut boards for DIY Wooden Keepsake Box Sides to Size
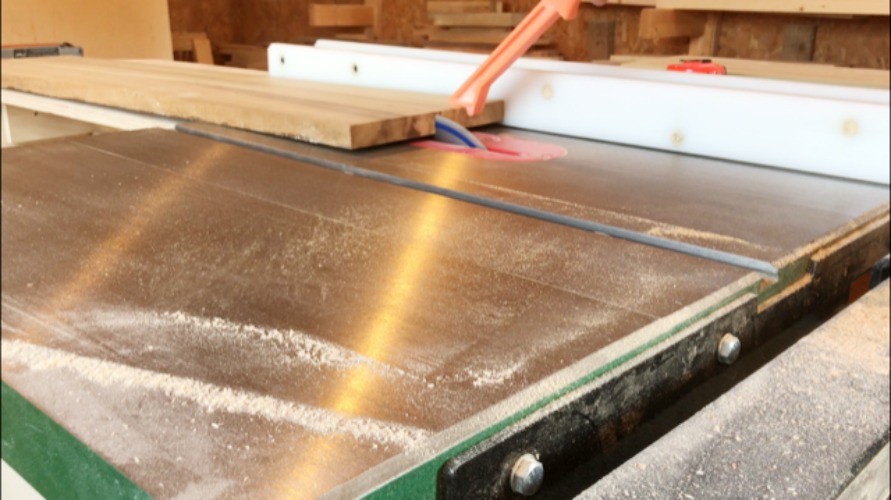
First, I ripped my boards to 3 ½″ wide on the table saw. I used poplar I had in the shop. But, you can also use an off the shelf piece of pine or oak or whatever wood species 1×4 for this.
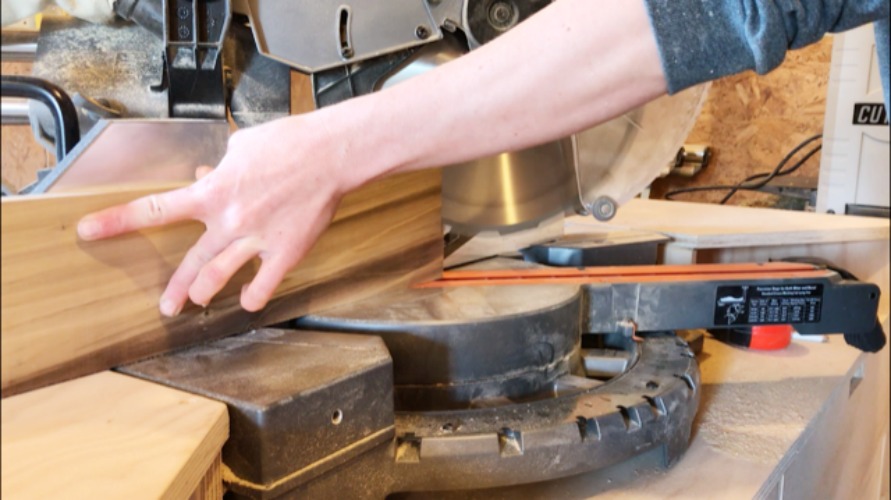
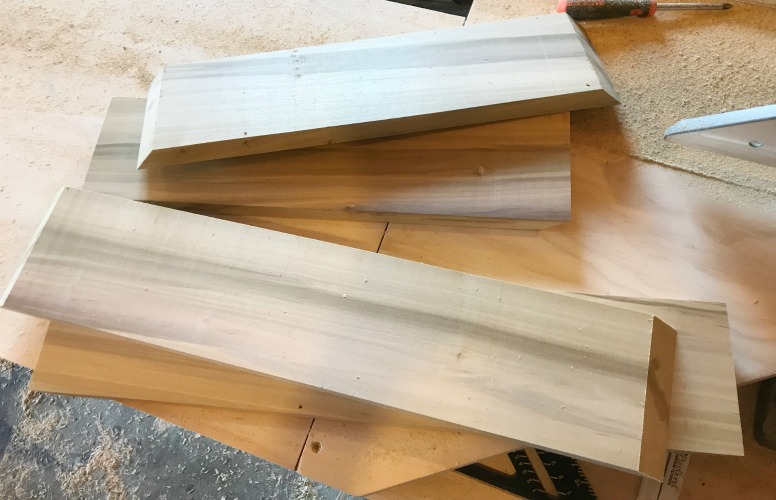
I cut two pieces from these boards 20″ long and two pieces 17″ long. I mitered the ends of each board at 45 degrees not parallel to each other.
.
You can modify these dimensions, I just picked a size I liked. By the way, if you’d like to build your miter saw a new stand, check out these plans for this one 🙂
Step 2: Cut Dadoes into DIY Keepsake Box Sides
I used the table saw to cut some ¼″ dado grooves along the bottom of these boards to accommodate the ¼″ plywood bottom. However, if you don’t want to cut the dadoes, you could also just staple or glue and nail the plywood bottom onto the box once it’s glued together.
.
I cut my dadoes about ¼″ deep, so I cut a piece of ¼″ plywood 16″ x 19″ to fit into the grooves for the bottom.
Step 3: Glue Wooden Keepsake Box Boards Together
I applied glue to the corners and clamped the corners together using this picture frame clamp.
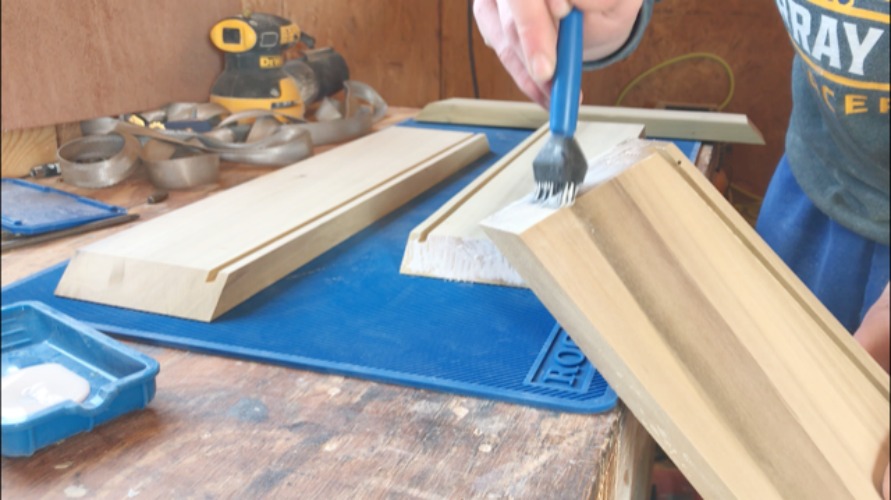
I inserted the ¼″ plywood bottom before gluing the last side on.
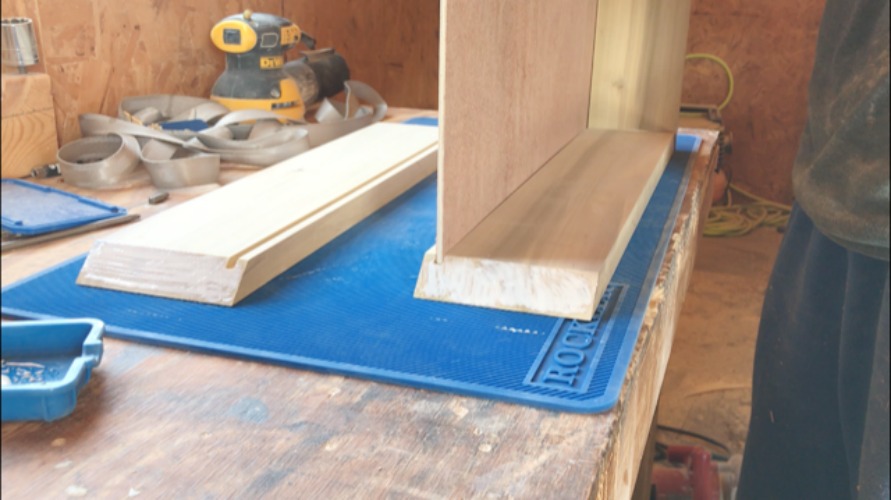
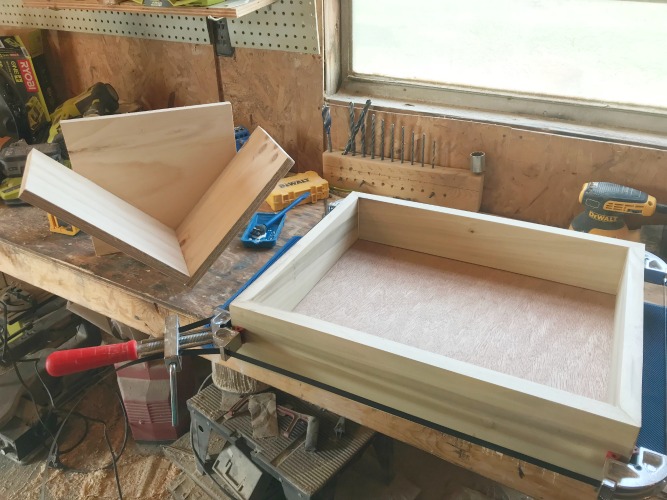
I let the glue get good and dry. While it was drying, I built that simple spline jig you see in the top left of the picture above to cut the splines for the next step.
.
I followed Mad Raven’s tutorial here to build it from some plywood scraps I had in the shop.
Step 4: Cut Splines in Keepsake Box Corners
Basically, a spline is just a groove cut in the corner of a box. Using the jig shown above, I simply placed the box corner into the jig and cut a groove on the table saw like shown.
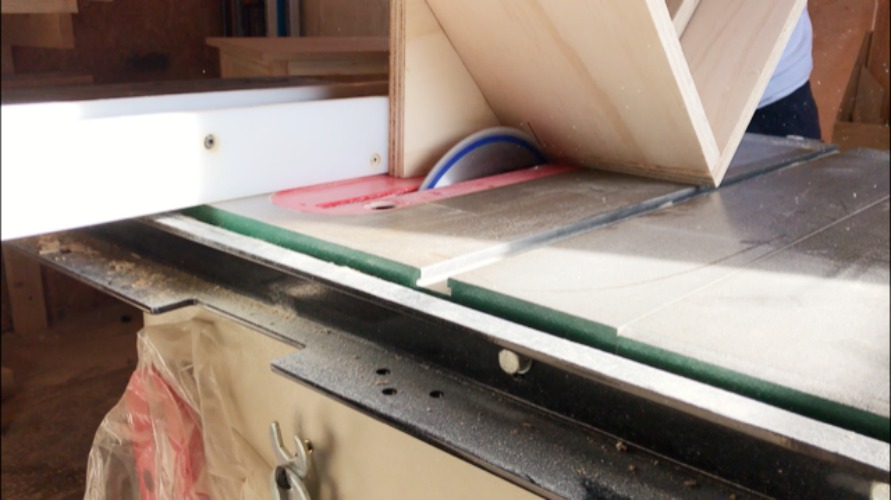
I played with the blade height to get it where it was cutting the corner, of the box, but not cutting all the way through to the inside of the box. I also played with the left to right spacing of the spline, too.
.
There’s no right or wrong spacing (or maybe there is, but I don’t know the rules haha), just get it however far apart you like.
.
I placed the box into the jig with the bottom side facing the rip fence, ran it through the saw, then turned it around so the top was now facing the rip fence and cut again.
.
I did this for all four sides. That way, I cut two splines in the box and both splines were cut the same distance from the top and from the bottom.
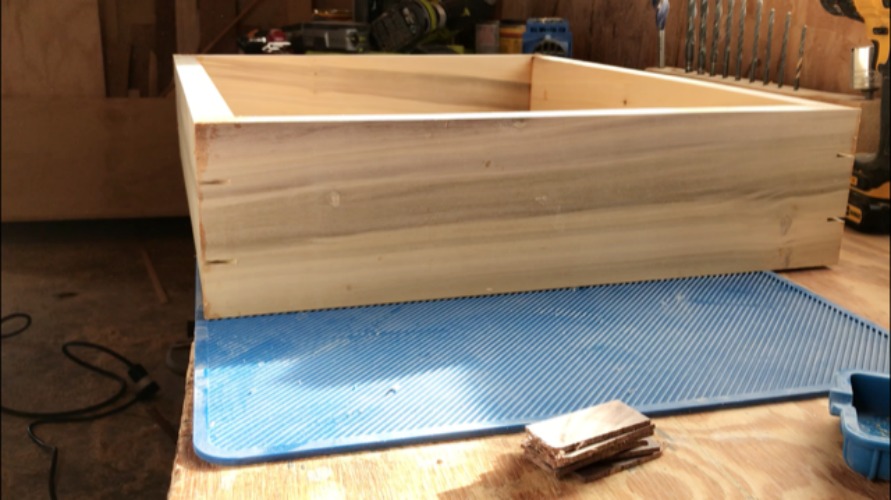
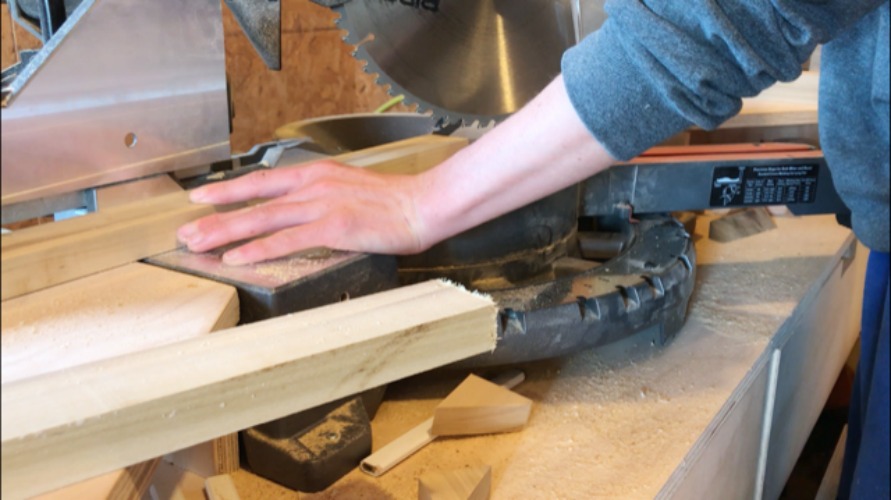
For the actual spline pieces, I used a scrap piece of walnut and cut very thin pieces on the miter saw. You want to cut these pieces about the same thickness as your saw blade so they will fit into the grooves. I applied glue and placed them into the grooves.
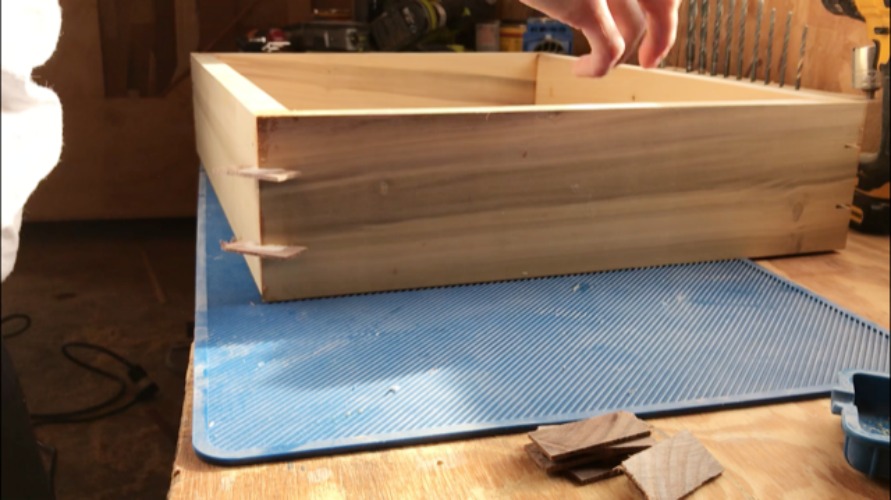
Once the glue was good and dry, I cut off the excess with a hand saw (you could also use an oscillating saw and a flush cut blade) and sanded until it was nice and smooth.
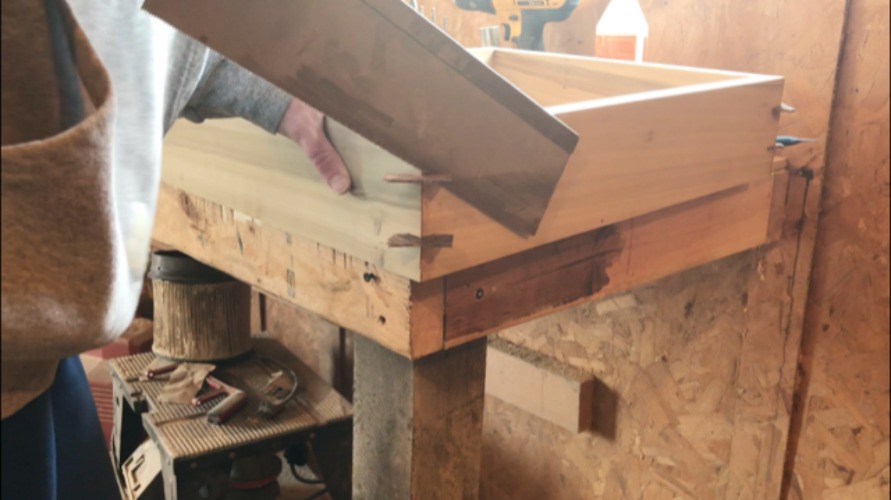
Now the box is done, and it’s time for the top frame.
Step 5: Assemble the Picture Frame Keepsake Box Top
I cut my own 1x2s from poplar to match the bottom of the box, but again, off the shelf 1x2s would work fine here. I cut two pieces 20″ long and two 17″ long with mitered corners at 45 degrees not parallel to each other.
Then, I applied glue and clamped with my picture frame clamp.
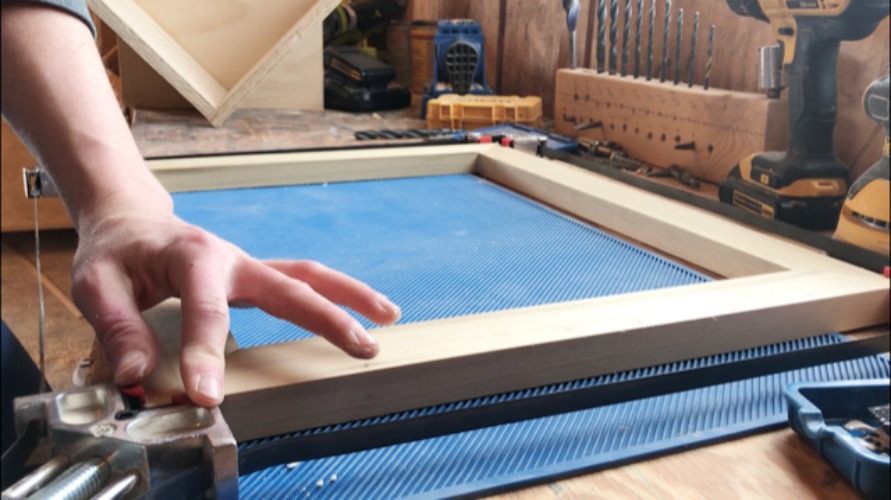
Step 6: Route Groove for Picture Frame Glass and Backing
I wanted my picture frame glass and backing to sit down in the frame so that it is flush across the underside of the frame. So since the glass is ⅛″ thick and I used ¼″ plywood backing, I needed to route out a ⅜″ deep rabbet.
.
I used my router and a ⅜″ rabbet bit set to ⅜″ deep and routed along the underside of the frame once the glue was good and dry.
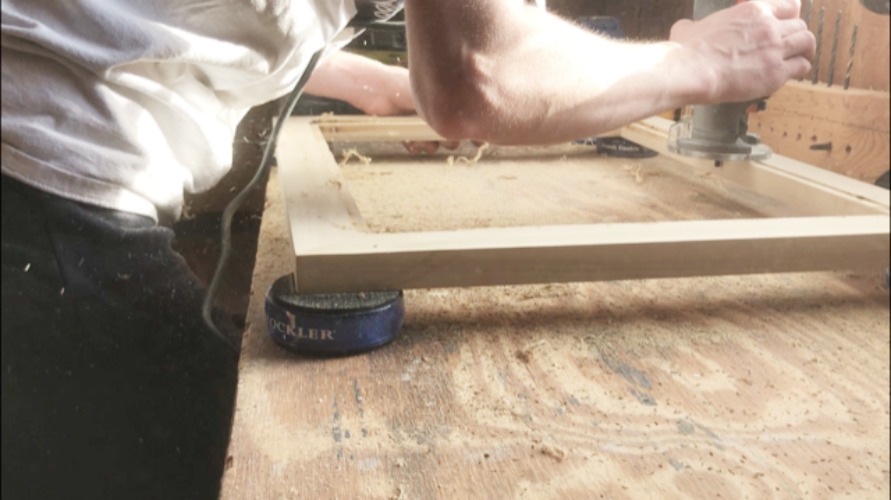
Once I had the rabbet cut, I used a chisel and hammer to carefully square up the corners.
Step 7: Finish and Attach Top
Once the box and top was complete, I finished them both with Danish oil. It was my first time using Danish oil, and I really liked the finish. It’s a natural finish that really made the grain pop.
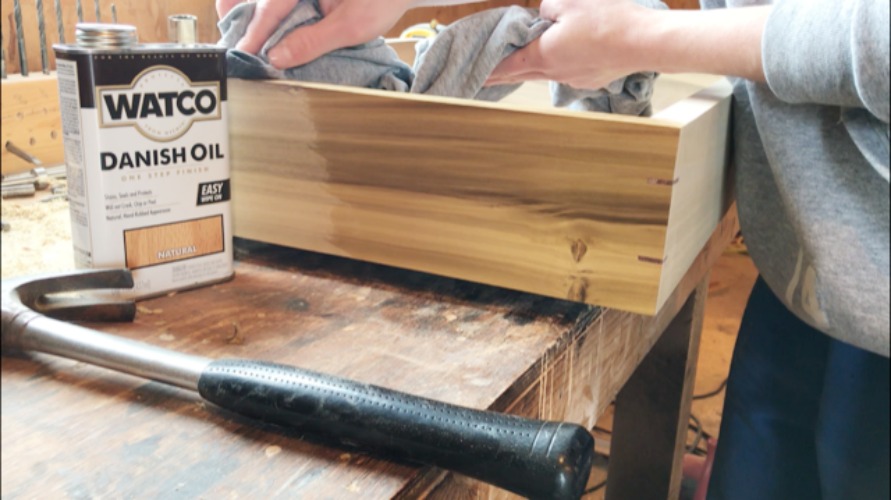
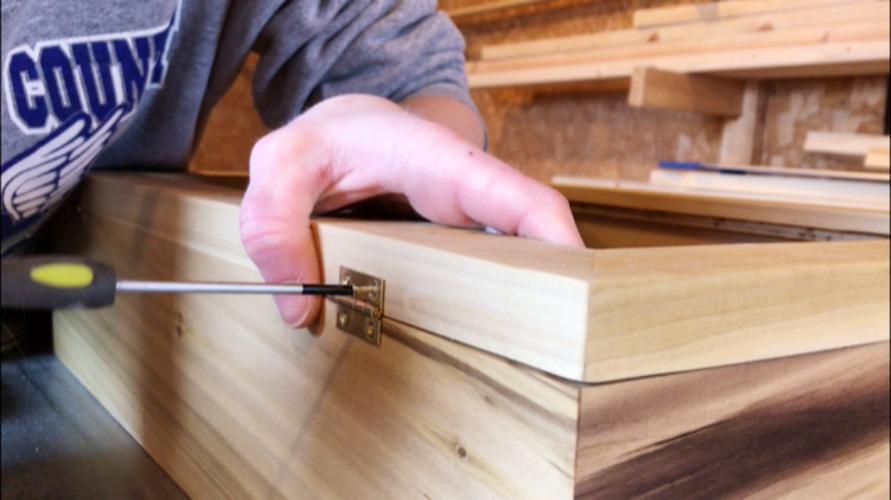
Once the oil was dry, I attached the top to the box with two small brass hinges and added a latch.
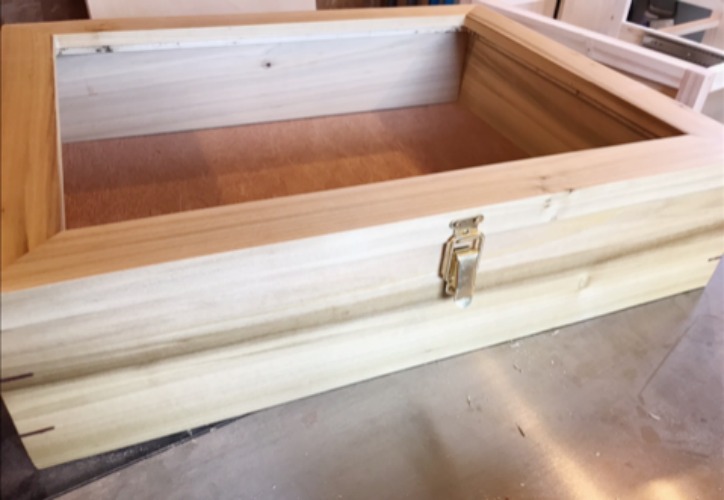
Finally, I got a piece of glass cut to fit in my rabbet groove and framed my paper towel 🙂
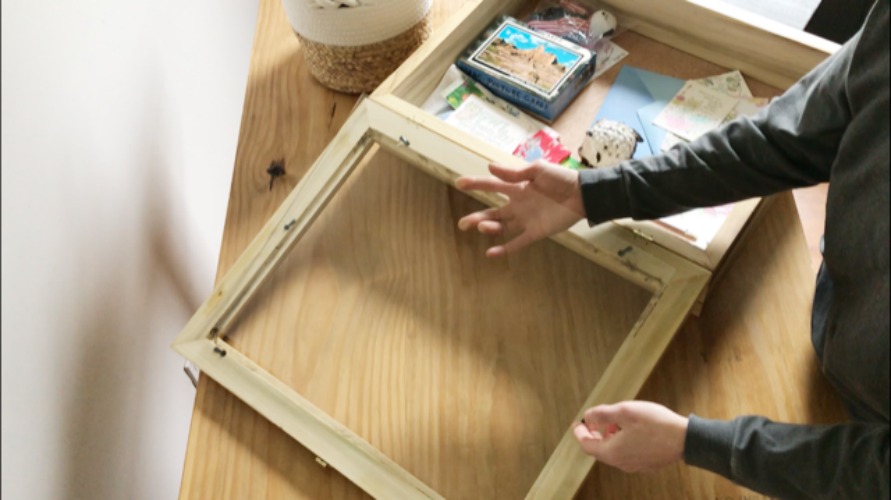
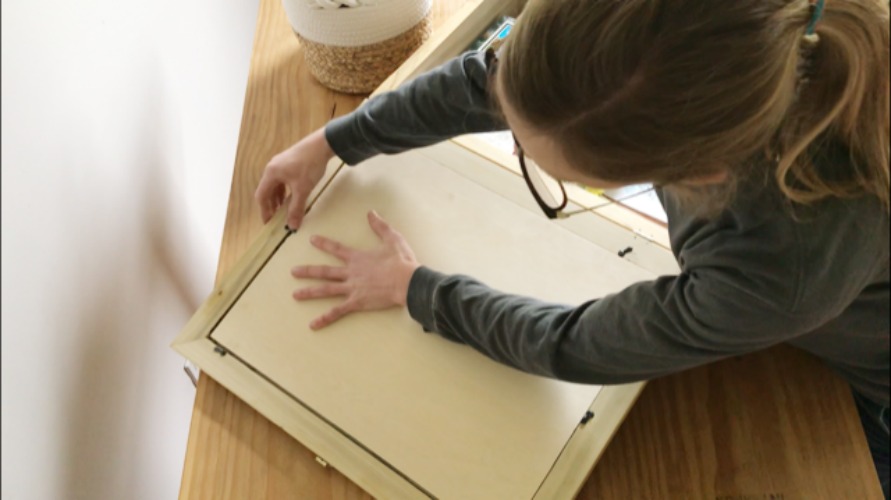
I placed the glass in first, then I used a painted piece of ¼″ plywood as a backing and put my paper towel between the two. I used these simple swiveling picture frame tabs to hold it in place.
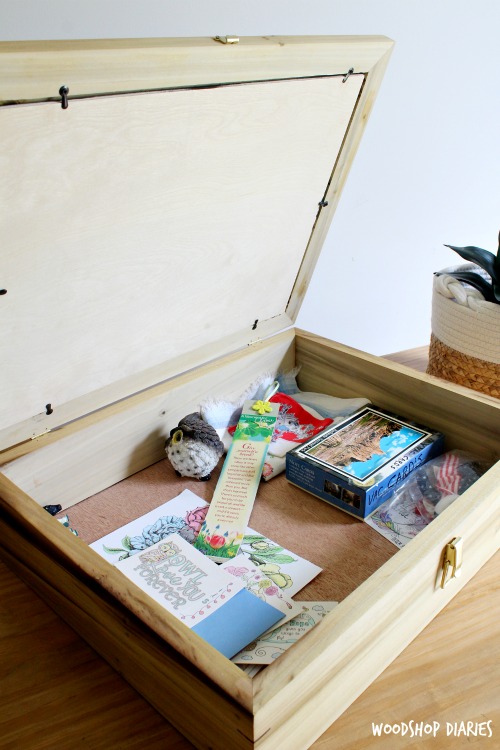
Then, I filled it with all the trinkets, post cards, birthday cards, bookmarks, and figurines I’ve been hoarding and closed it up.
It’s such a simple project, but I really loved how it turned out and I really love the backstory for it. And I’m glad I finally have a place to store all my keepsakes that’s pretty enough to display, too 🙂
If you haven’t already subscribed to my YouTube channel, I would love if you would! I’m posting new videos every couple weeks!
.
Thanks for following along! If you’re looking for more fun box projects, check these out:
.
Stay tuned for plenty more project coming soon! Until next time, happy building! 🙂


[…] Speaking of mixing woods, check out how I mixed poplar and walnut in this simple keepsake box ? […]