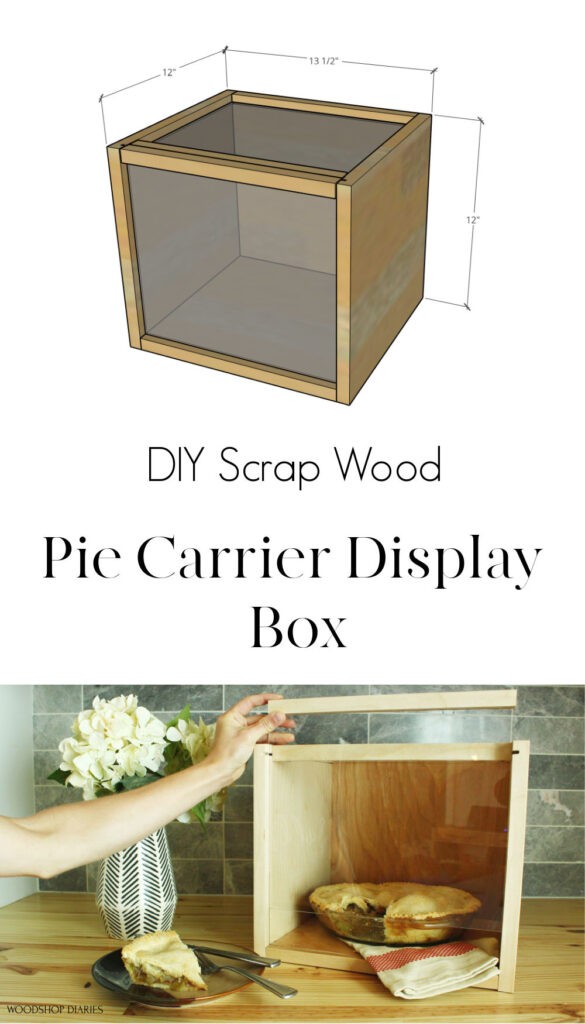
Hey friends! Today, I’m sharing something a little different than usual. It’s a fun little project that combines a little bit of scrap wood with a little bit of plexiglass to make a DIY Pie Box!
.
This post is sponsored by Build Something and contains affiliate links. See policies page.
Build Something is Kreg Tool’s website for hundreds of free building plans and you can find the free plans for this project on their website here.
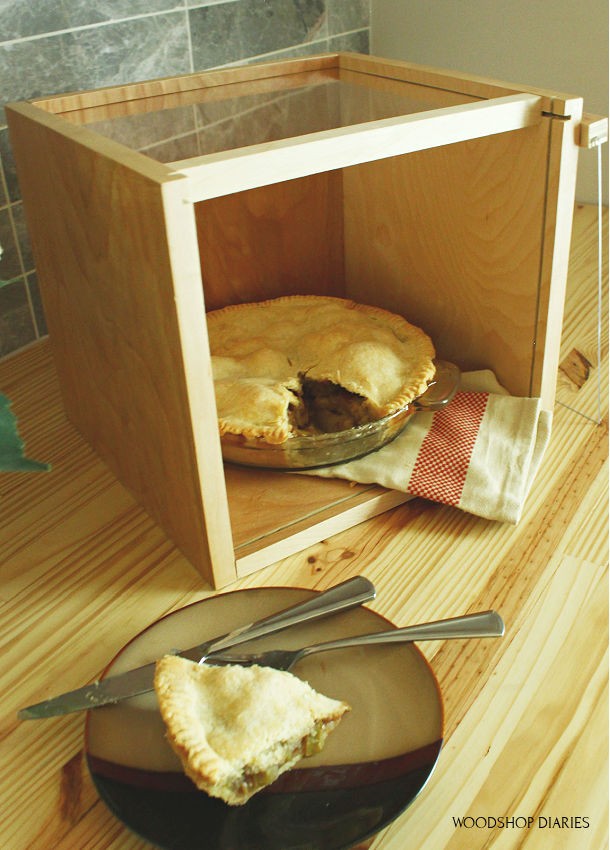
This simple scrap wood project would make a great display case for a trophy or keepsake. But I actually made it to be used as a DIY cake or pie carrier box to use when I bring food to family get togethers.
.
I’m not much of a chef, so when I bring food to family get togethers, I prefer to wow them with my projects rather than my cooking haha. Side note: I always bring desserts because they’re hard to mess up *wink wink*
.
But, whatever you choose to use it for, it’s a really fun project that only requires a few tools.
.
I’ve provided a quick video tutorial below, and a written tutorial following with some additional info. All the dimensions and the free printable plans can be found on BuildSomething.com here.
.
So if you’re ready to get building, let’s go 😊
For this DIY Pie Carrier Box, You Will Need:
- Scrap Plywood
- Plexiglass
- Circular Saw
- Drill (optional)
- Nail gun OR hammer and finish nails
- Kreg AccuCut
- Kreg Pocket Hole Jig (optional)
- Kreg MultiMark
- Wood Glue
- Clear Gorilla Glue
Check out a few other easy projects great for the season!

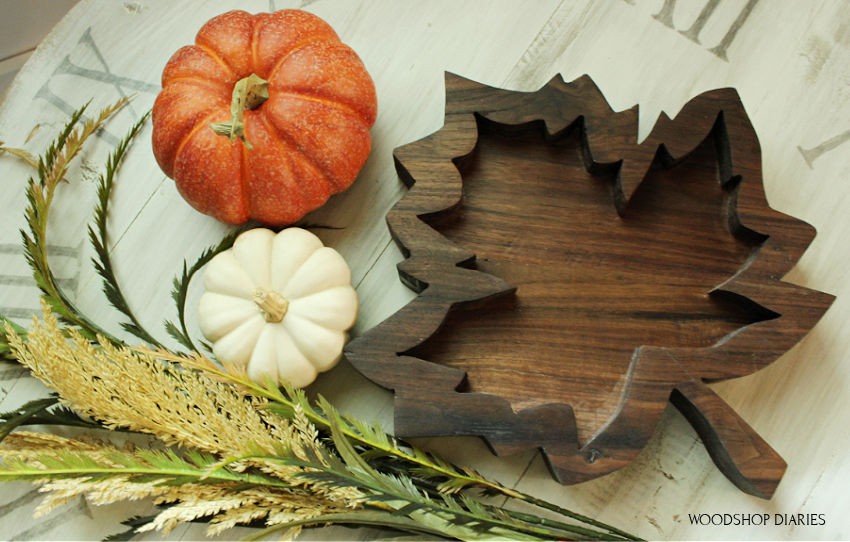
Fall Leaf Tray 
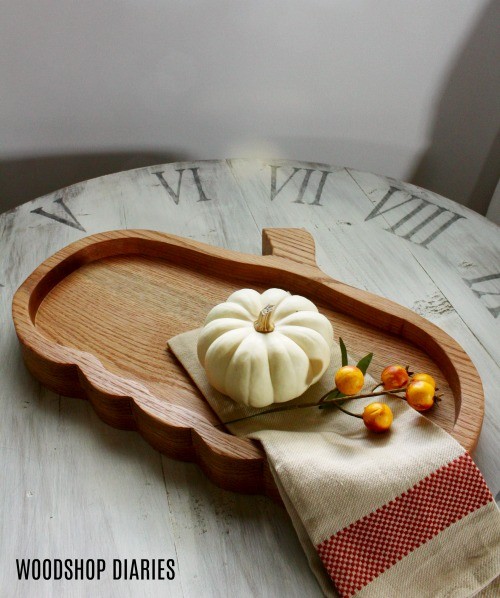
DIY Pumpkin Tray 
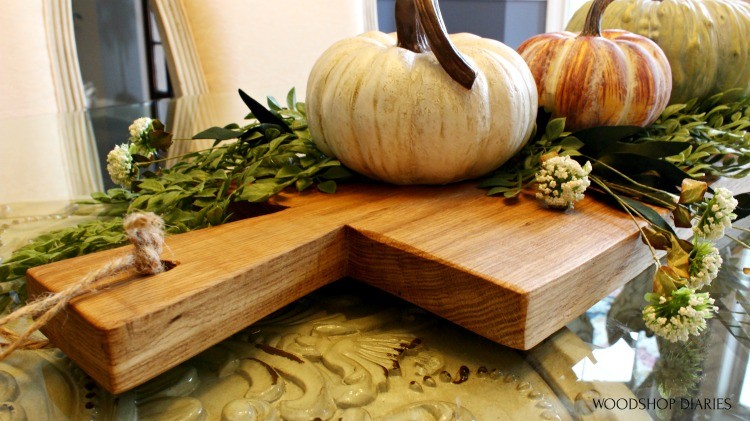
Easy Charcuterie Board 
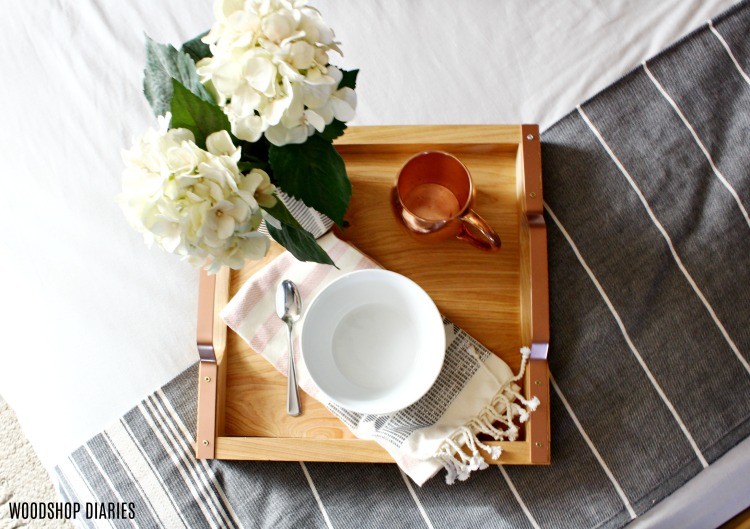
Rose Gold Handle Serving Tray
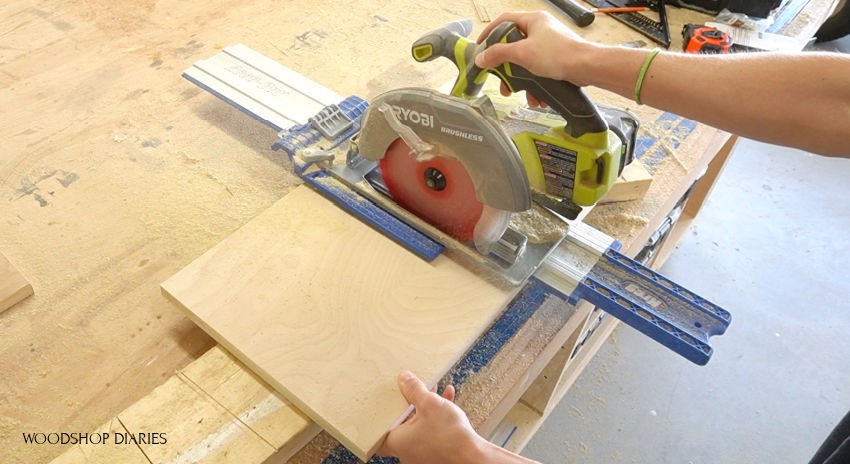
Step 1: Cut Plywood Pieces for Carrier Box
A few projects ago, you may remember I built myself a new desk. I had to remove the old desk in order to put in the new one and I brought those scrap pieces out to the shop to reuse them eventually.
.
Turns out, I didn’t have to wait too long to find the perfect use for some of those scraps. I used the ¾” plywood top from my old desk to cut all the pieces for this project. If you don’t have scraps, you can purchase a quarter sheet of plywood because you won’t need much for this.
.
I’ve detailed all the dimensions in the plans linked here, but I first trimmed this top down to a 12” strip using my circular saw and Kreg Rip Cut.
RELATED: Check out this guide for How to Easily Cut Down Plywood
.
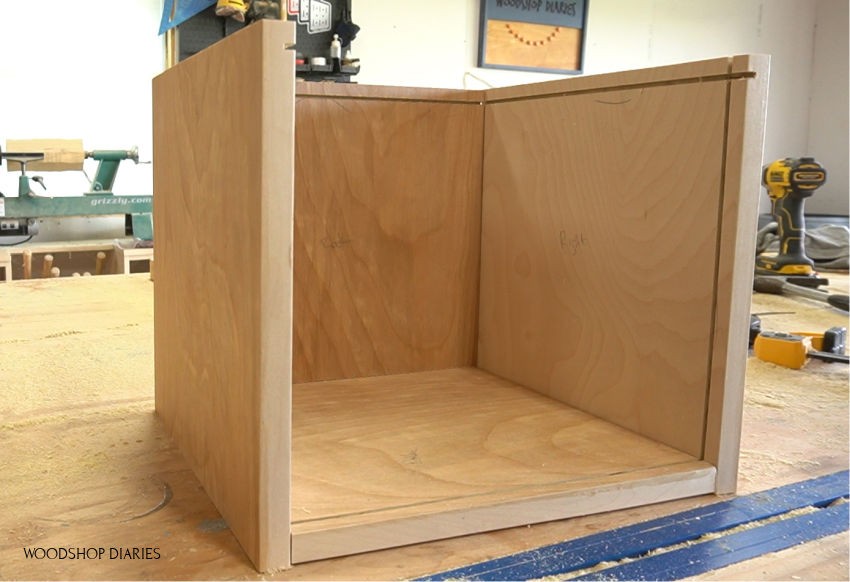
Once I had the 12” strip cut, I used my Kreg AccuCut to make the rest of the cuts. I cut a bottom, a back, and 2 sides large enough to fit a pie dish into and tall enough to be able to fit a cake, too.
Obviously, if you are using this for a display case, you can easily modify the size here to fit whatever you’re wanting to display.
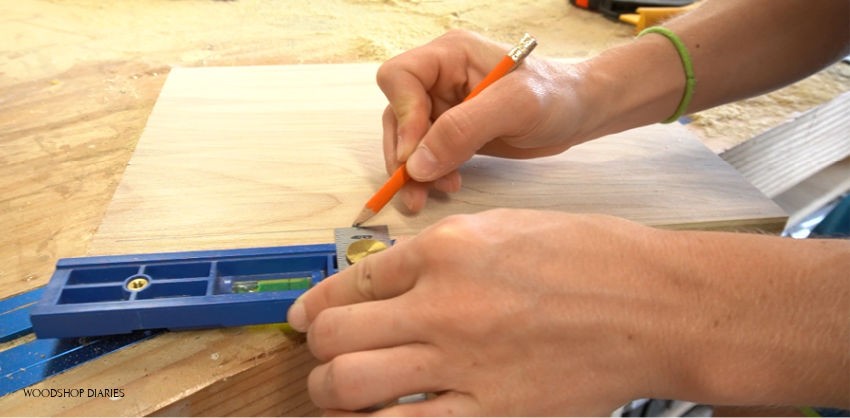
Step 2: Cut Dado Grooves for Plexiglass Panels
Then, I dry fit all the pieces together and made a mark along the edges that I wanted the plexiglass to go so that I could cut some dado grooves for the plexiglass to slide into. I also labeled each piece to make sure I knew which was which.

The first thing I did was use my Kreg Multimark tool set to ½” to make a straight mark along ½″ from all the edges I needed to cut.
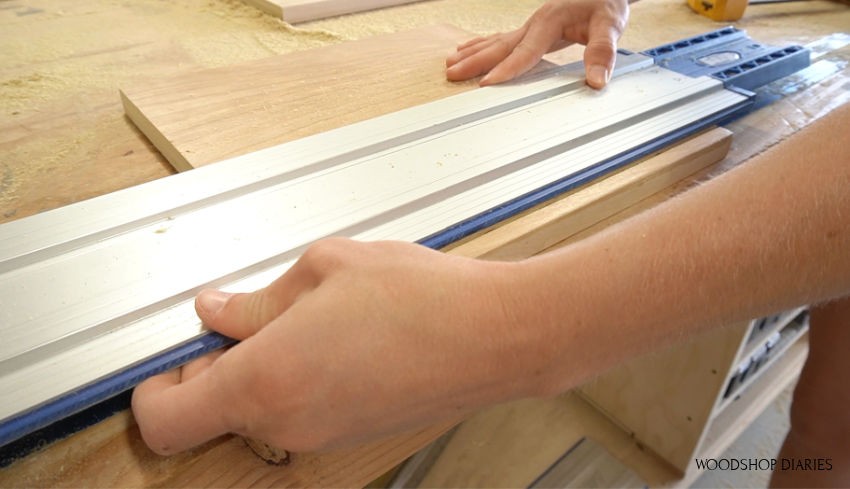
Then, I lined up my AccuCut along this line on one of the pieces and adjusted my circular saw depth so that it barely cut into the wood. I gradually dropped the depth and repeated the cut until it was just a little deeper than ¼”. I used my MultiMark tool again (this time, set to ¼″) to check it.
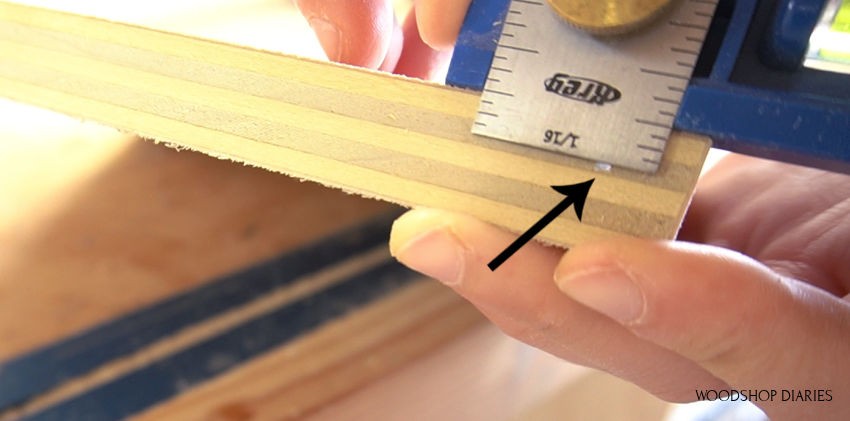
After I had my blade depth set right, I adjusted my AccuCut over just to the edge of the cut and cut again. This would give me a dado thickness of about 2 blade widths, which is a little over ⅛”.
.
I was using ⅛” thick plexiglass for this, so I just needed the groove to be slightly wider, so it could easily slide in place.
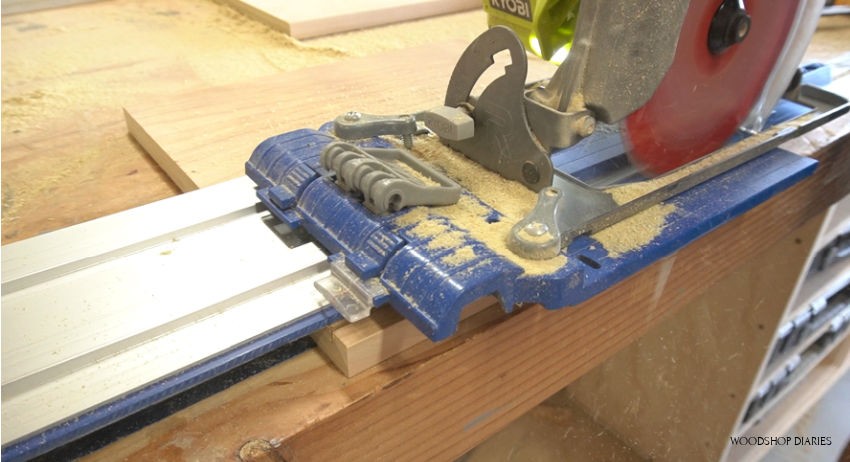
Once I had my first dado cut, I repeated this process on all the lines I had drawn where I needed dadoes–at the front of the bottom piece, the top of the back piece, and at the front and top of both side pieces.
.
Then, I dry fit everything to make sure it all lined up properly.
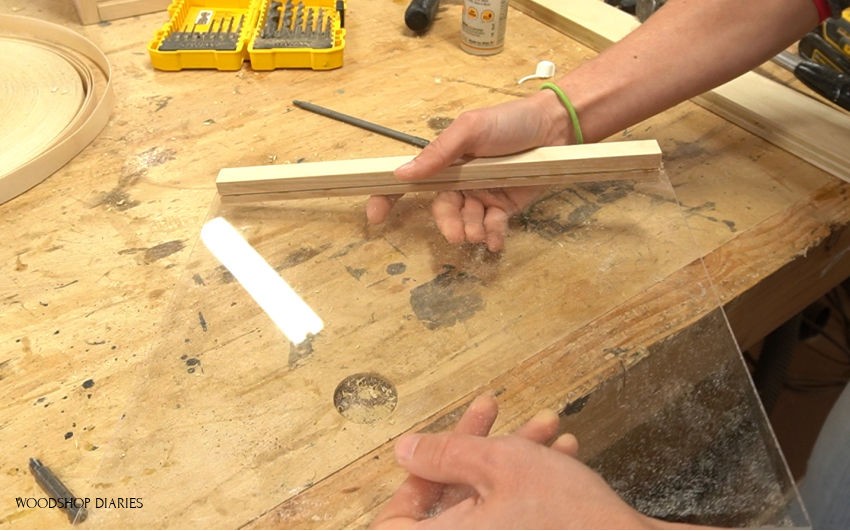
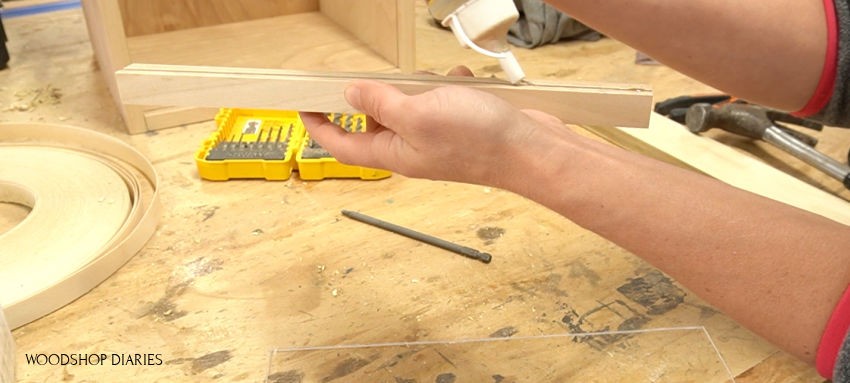
Step 3: Cut Handles for Pie Carrier Box
The last thing I needed to cut were the “handles” that will hold the plexiglass.
.
I used another piece of scrap plywood and made a mark on opposite sides ½” from the edge like I did on the other pieces previously. I cut dadoes on these lines just like before as well.
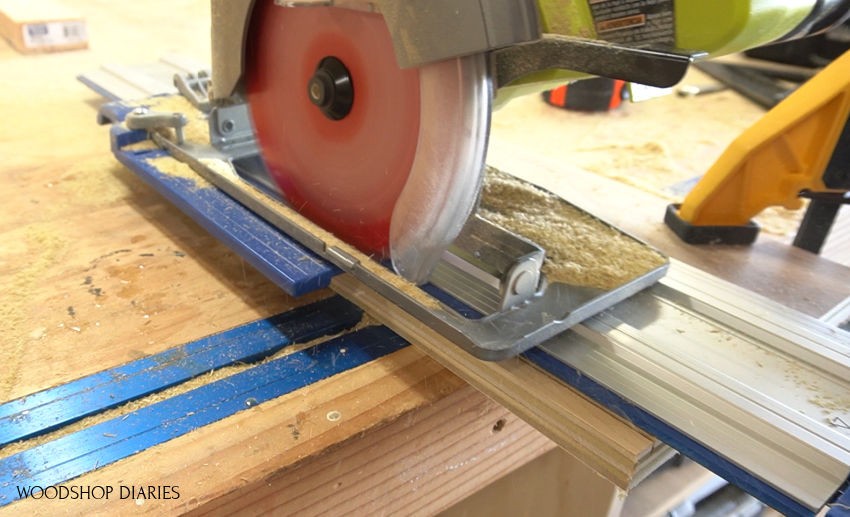
Then, I dropped my blade depth to cut through the plywood and cut ¾” in from the edge to give me a ¾” square dowel with a dado.
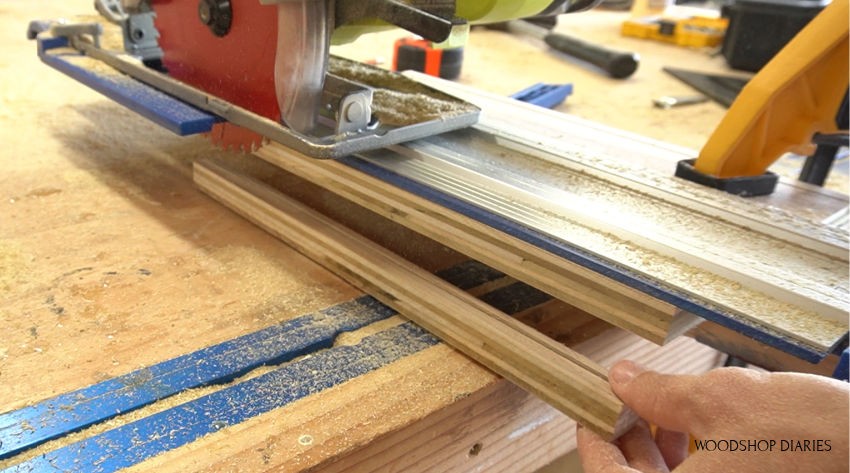
Once both were cut, I trimmed them to length to fit at the top corner of the box. I basically cut them about ⅛″ shorter than the inside width so there was some room to slide in and out.
Step 4: Cut and Test Fit Glass
I called my local glass shop to cut me two plexiglass pieces for the top and the front of this box. I just placed the handles where they needed to go at the top front corner and measured both openings (top and front) and added ½” to each side so they’d slide into the ¼″ deep dadoes.
Also, if you don’t know of a local glass shop, you can usually buy sheets from your local big box store and cut them yourself OR sometimes they will cut it for you as well.
.
I test fit the pieces to make sure everything would work before gluing it together, then applied edge banding to all the exposed edges for a cleaner look.
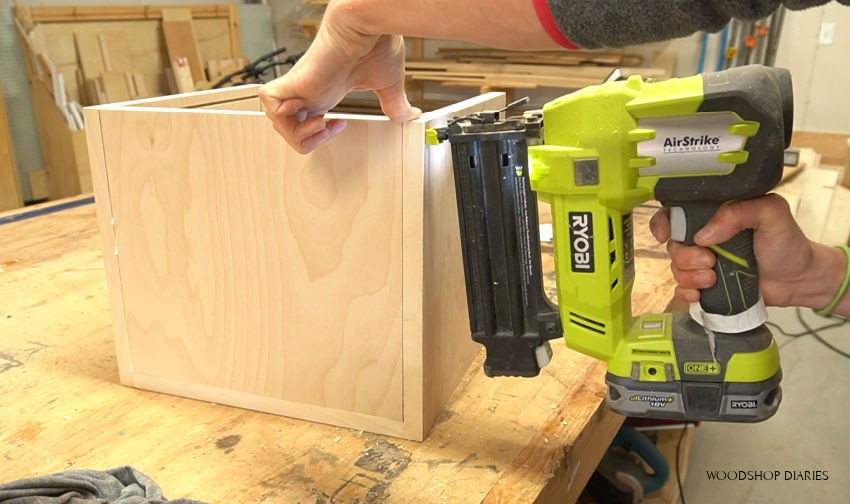
Step 5: Assemble the Pie Carrier Box
Because the bottom of the box will be holding the weight and they’ll be hidden, I chose to use ¾″ pocket holes and 1 ¼″ pocket hole screws on the bottom side. BUT, you would probably be fine with just glue and nails, if you didn’t want to use pocket holes.
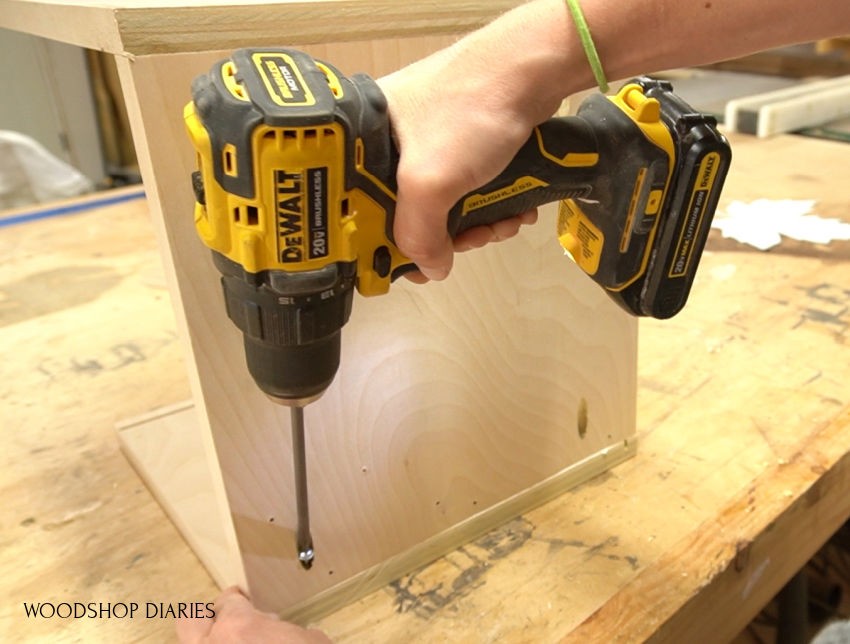
I assembled the bottom between the sides using wood glue and pocket hole screws, then used wood glue and nails to secure the back panel.
While the glue dried on those, I used some clear Gorilla Glue in the dadoes on the handles and centered the plexiglass panels into the grooves.
Then, I VERY CAREFULLY predrilled holes for some small ⅝” wood screws.
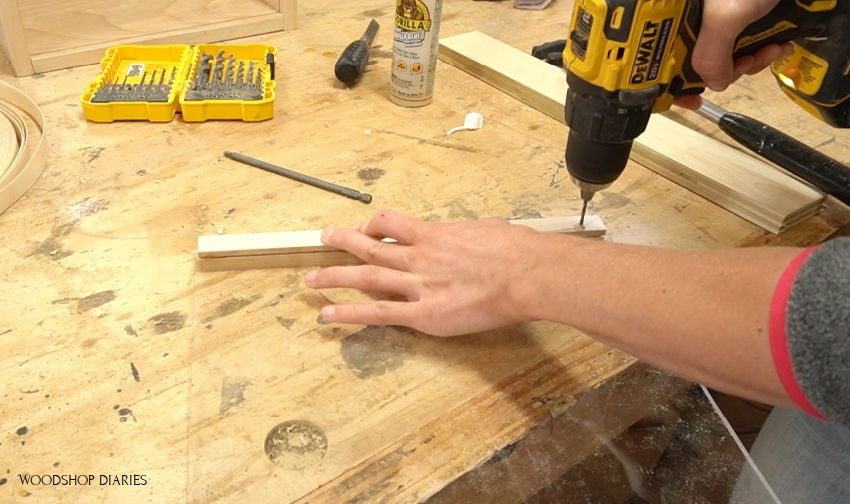
I tried to get as close to the edge as I could so the screw would still hold. Honestly, I think the clear Gorilla Glue would have held it just fine once it was dry, but a couple added screws don’t hurt. So those are optional. I think if I was doing it over, I’d skip them.
.
I gave the wood components a couple coats of clear poly (food safe, if you’re using for food–note: MOST polys are food safe once they’re dry and cured), and headed inside to make a pie to stage this with haha.
Step 6: OPTIONAL: Make Apple Pie
Cooking and food are not really an interest of mine, but, for kicks and giggles, here is my recipe for EASY apple pie.
Ingredients:
- Double pie crust (one for bottom, one for top)
- 6 cups sliced apples
- 1 Tbsp lemon juice
- 1 cup sugar
- 2 Tbsp all-purpose flour
- ½-1 tsp ground cinnamon
- Dash nutmeg
- 1 Tbsp butter
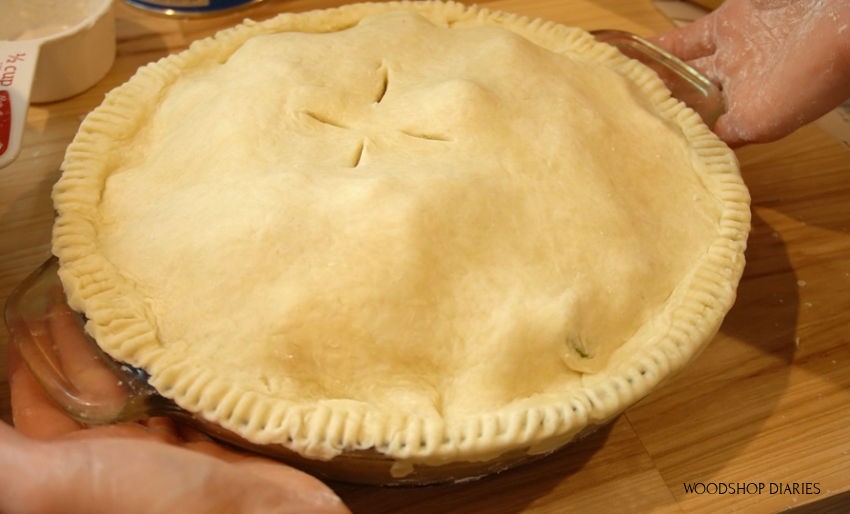
First, prepare one pie crust to line the bottom of the dish. Then, slice apples and sprinkle with lemon juice.
.
Combine sugar, flour, cinnamon, and nutmeg, then add to apples and mix well. Pour apple mixture into pie dish and dot with butter.
.
Cover with second pie crust and trim and flute edges. Cut slits in top pie crust and sprinkle with sugar.
.
Cover crust edges with foil and bake at 350 degrees F for 25-30 minutes. Remove foil and bake another 25-30 minutes.
Cool before serving.
.
Once the pie is done, just place it inside the DIY pie box, and carry it to the party 😉
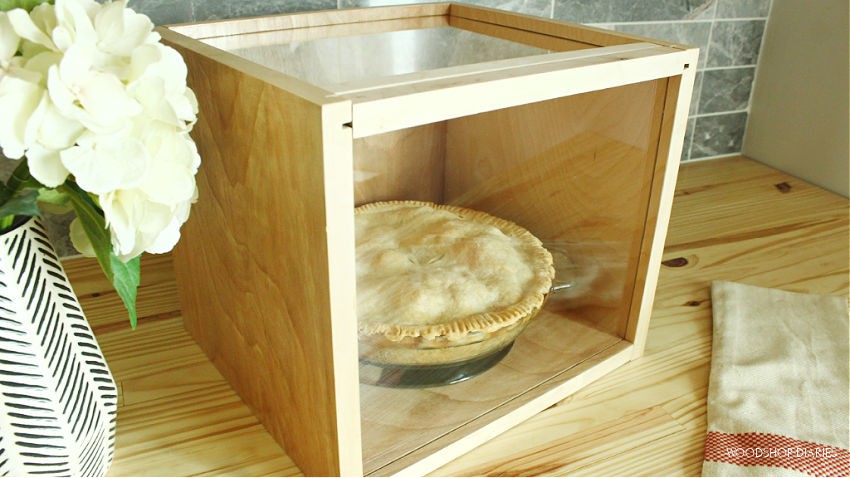
It’s definitely not your typical pie or cake carrier, but if you haven’t noticed, I don’t prefer the typical stuff 🙂
.
This project was really fun to make and I’m honestly excited to use it for the upcoming holidays.

If you’d like to build your own DIY pie box, be sure to check out the free plans here and if you want to save this for later, be sure to pin it!
Want more creative and unexpected DIY projects?? Be sure to subscribe to the newsletter below so you don’t miss out on what’s coming next!
.
Until next time, friends, happy building 😊