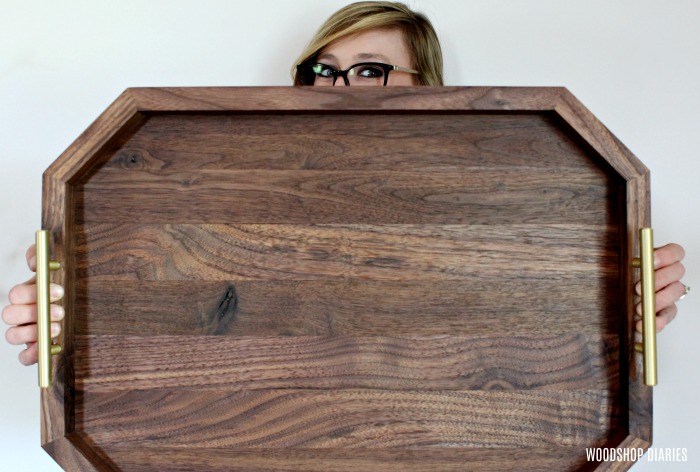
I’ve been making a lot of serving trays lately…have you noticed? Today I’m going to share just one more…because this one’s my FAVORITE, then I’m back to some bigger builds…promise. But today, I’m sharing this super simple DIY breakfast tray.
This post is sponsored by Build Something It also contains affiliate links. See polcies.

If you’ve been loving the smaller builds lately, I’m glad. But if you’re ready for bigger stuff, don’t worry. I’ve got plenty of bigger builds lined up soon.
.
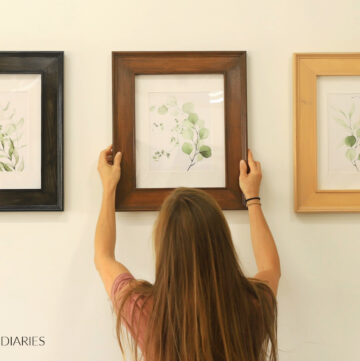
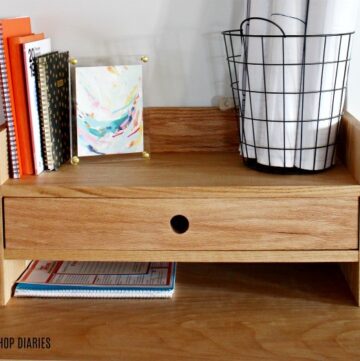
I’ve been really obsessed with building smaller décor items lately because with us living in a small garage apartment, I don’t have a lot of room for big pieces of furniture. So I’ve been making lots of serving trays to tide me over. PS if you haven’t seen them, here’s a few you may want to check out!
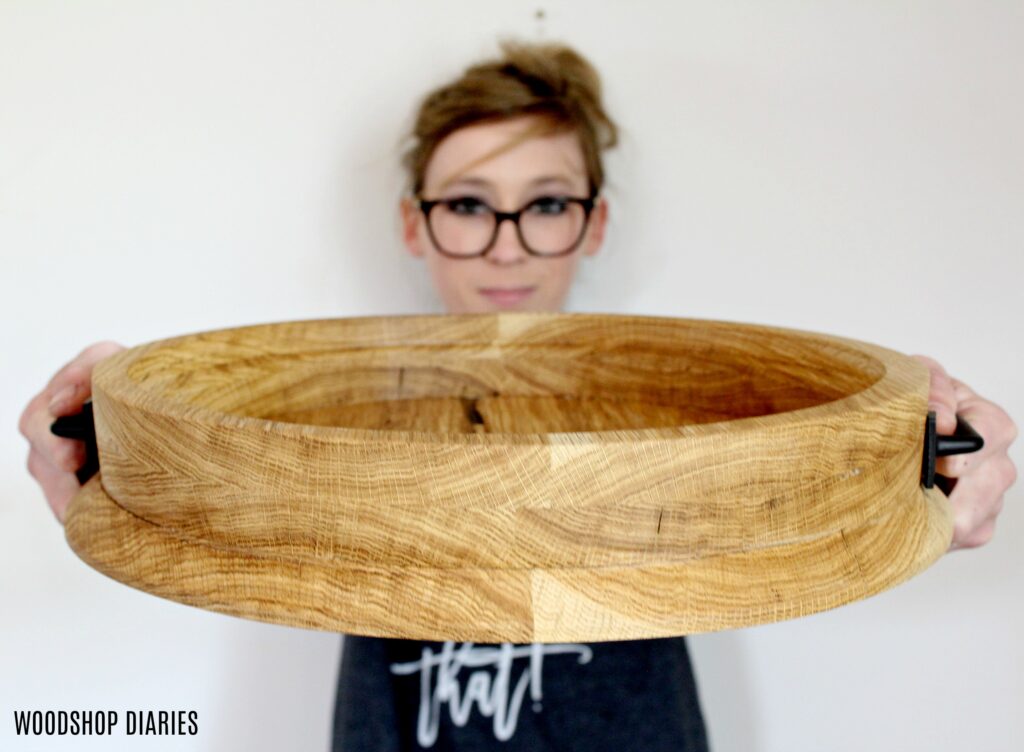

Honestly, I’ve loved it. They’re so fun and quick to make and they’re so useful around the house and there’s a thousand ways to customize them with different sizes, shapes and styles.
.
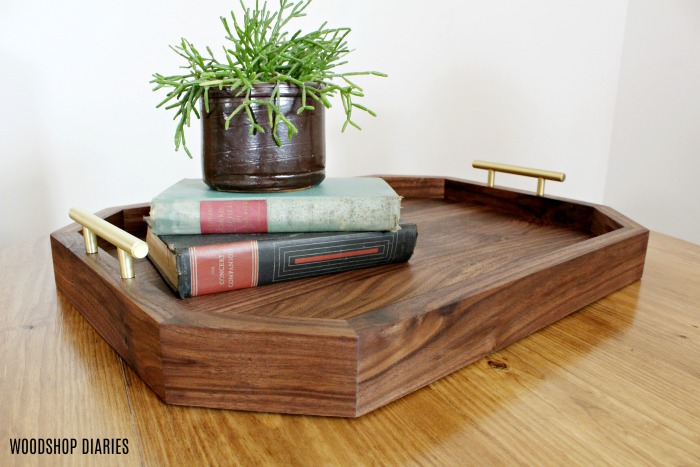
But this one is my favorite for three reasons: it uses metal AND wood, it’s easy to build, and it’s versatile. I’ll explain below. But first…the plans.

If you want the free building plans for this simple DIY breakfast tray, head over to BuildSomething.com to check them out. While you’re there, be sure to browse around other plans as well. If you didn’t already know, Build Something has hundreds of free building plans from storage beds to dressers to simple serving trays like this project.
.
I’ve got the video tutorial here for you as well:
Now let’s talk about this metal and wood combo!
So I recently took a field trip to a local hardwood place and picked up a piece of cypress. I’ve never worked with cypress before, but it was really pretty so I thought I’d give it a shot.

I also recently made this flatware caddy and made my own metal handles and spray painted them rose gold.

I thought the light, warm color of the cypress looked really good with the rose gold, too, so I mixed the two on this project.

I made my handles from ⅛” x ¾” wide steel flat stock and it was SO EASY. No special tools required, you just need a way to cut the metal. You can use a simple hacksaw, a jig saw with a metal cutting blade OR a circular saw and a metal cutting blade (I used the circular saw and metal blade method). Check out the details in the video or here in this post.

Making your own handles can save a ton on hardware costs and it’s really fun to shape them however you want. Plus in this case, they’re hiding something I didn’t want to show on the final project 😉 Check out the video or plans to see what I’m talking about.
Ease of Building
A few of my recent serving tray options required a unique tool or two. And while I’m always a fan of picking up a new tool for a project, I’m also a fan of making good use of the tools I already have.
.
This tray was SO easy to make with just a miter saw, Kreg Pocket Hole Jig, Drill, Jig Saw, and a metal cutting blade (whether a hacksaw or a circular saw with a metal cutting blade).

I love building with pocket holes and screws because it makes for quick and easy assembly and is great for beginners and experts alike. However, my only issue with pocket holes and screws is I don’t like seeing the holes in the finished project. With this project, all the holes are hidden underneath the tray OR underneath the handles. Sneaky sneaky 😉

Check out how I snuck in holes in the top of the project and creatively hid them in the plans here.
.
PS, if you haven’t already seen the Kreg 320 Pocket Hole Jig, it’s definitely worth checking out. It’s SUPER easy to adjust between different board thicknesses and it’s really versatile.

You can check it out in action in this DIY little porch wagon post here.
Now let’s talk versatility.
I love this square shaped DIY breakfast tray. Most of my other trays have been rectangles, but for this one I opted for a square shape to accommodate more tray surface and better stability when actually carrying plates, cups, etc.

Since I may actually be using this tray for serving and not just decoration, I really wanted it to be USEFUL for serving and allow me to carry, say, breakfast, with me to the couch or the desk and eat while working at my computer (because literally, I live at my computer, sooooo……).
.
Also, because I’m a math nerd…did you know that you can use the least amount of lumber while making the most area of tray by making it square vs rectangle? Math tip of the day—square > rectangle 😊 HAHA
Anyway, that’s enough math jokes for the day. Let’s just get back to the wood stuff.
.
Don’t forget to check out these free plans to make this DIY breakfast tray here and be sure to watch the video tutorial as well. If you aren’t already subscribed to my YouTube channel, I’d LOVE it if you’d subscribe so you don’t miss out on what’s coming next 😊

Be sure to pin this for later and if you’d like more DIY serving tray ideas, check out a few more of my favorites here:
Until next time, friends, happy building 😊