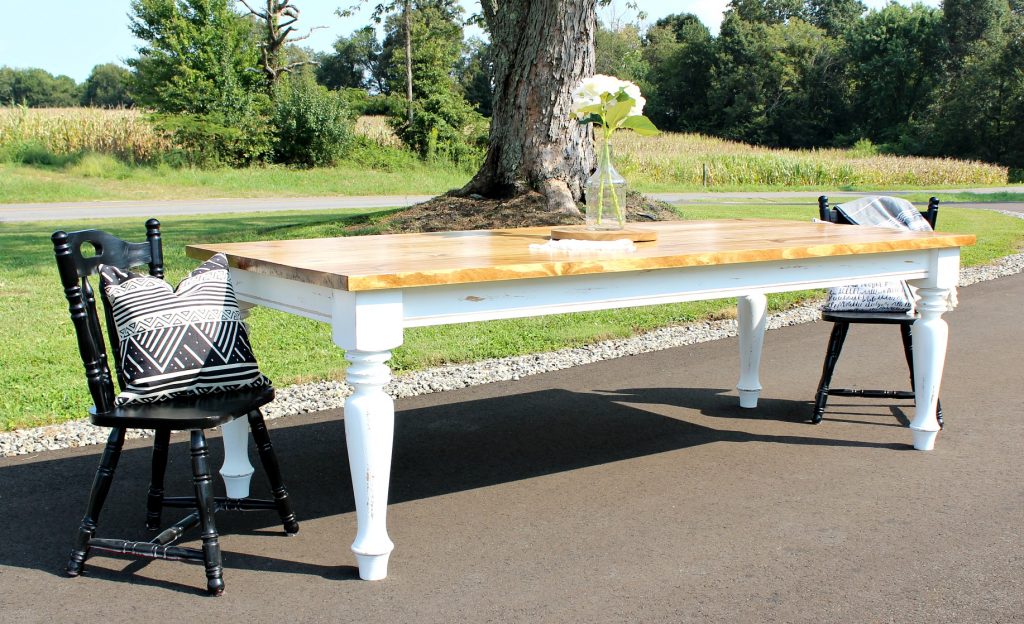
Looking for a quick and easy DIY Outdoor Dining Table tutorial? I’ve got you covered with everything you need below 🙂

I love my mom, but sometimes she gets these ideas and I just roll my eyes and I assume she will change her mind pretty quickly, so I don’t get in a hurry to start on any projects she has for me. (Does that make me a terrible daughter or an insightful business owner?? HA!)
.
I know her well…she passed on a lot of those indecisive traits to me haha.

Anyway, I digress. So this outdoor dining table was one of mom’s projects she wanted me to do and I assumed she would change her mind so I put off starting on it until I realized she was serious. Hence, that’s why I’m just finishing it here at the end of the outdoor season haha. Oops.
.
Hey! By the way…see that walnut serving tray on the table pictures? You can build your own with this tutorial here 😉
.
But better late than never, right? This DIY outdoor dining table turned out better than I expected and it’s such a quick and easy assembly.
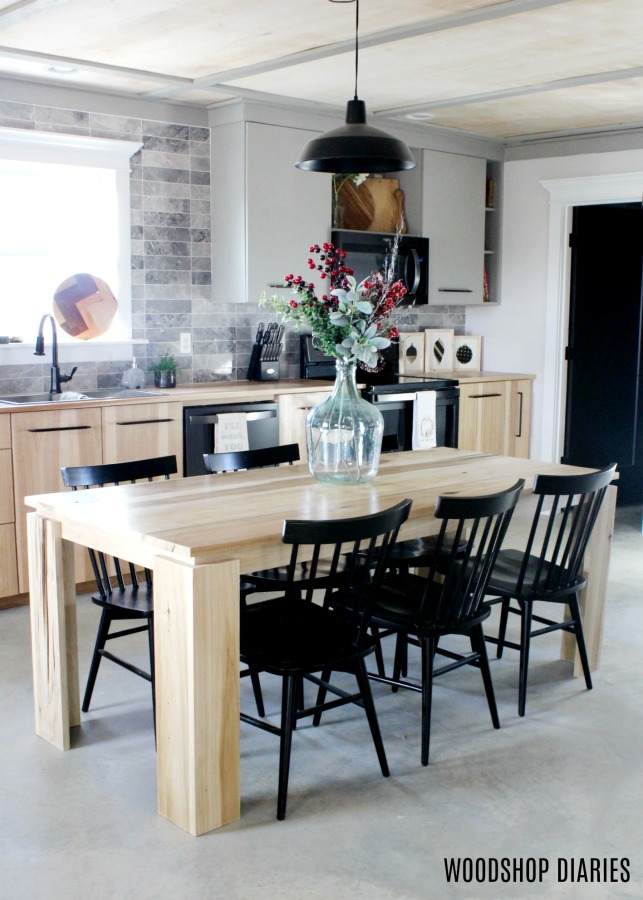
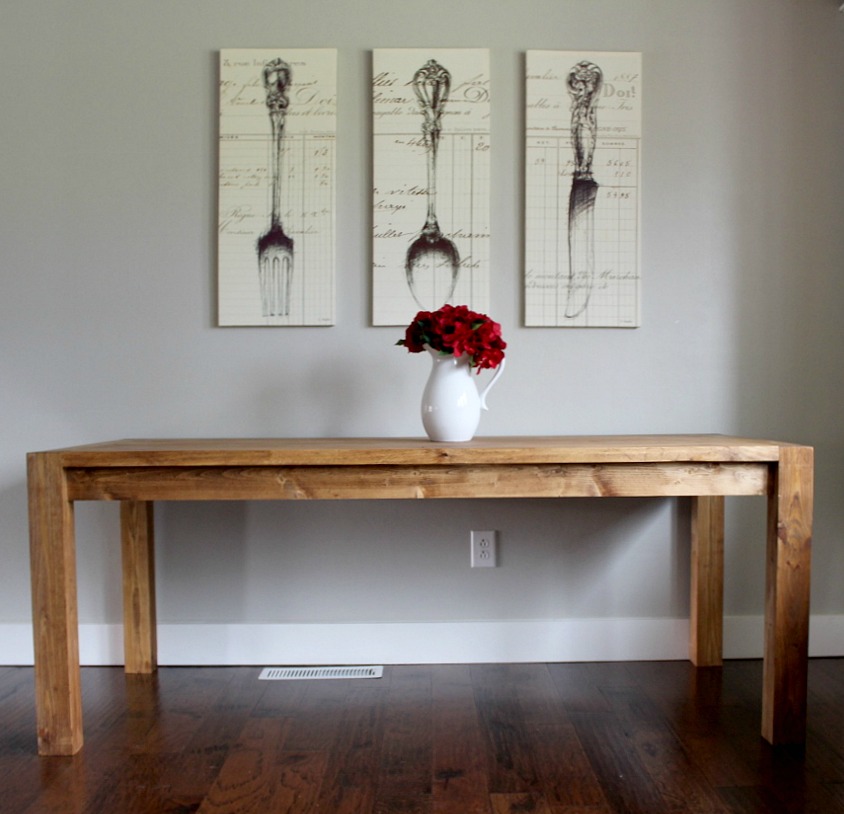
Looking for more DIY Dining Table inspiration? Check out one of these!
So if you’re ready to get to the build, let’s go. I’ve got the video tutorial below and the plans following 🙂
This post contains affiliate links. See policies.
For this build, you will need:
(5) 2x4x8 boards
(6) 2x6x8 boards
(4) Table legs (use coupon code WSD10 for free shipping on these!)
2 ½″ exterior pocket hole screws
Kreg Clamp
Router and Chamfer Bit (optional)
.
A while back, Highland Manor Wood Products sent me a leg to build this pedestal coffee table and four legs to build a dining table. I’ve been eager to use these dining table legs all summer, but again…mom changes her mind quickly so I didn’t want to use them, then she decide she wanted something different.

So here we are finally putting them to good use. If you’re interested in these particular legs, here’s a link to them. They have a bunch of other leg options as well if this isn’t your cup of tea. But if you decide to purchase any, be sure to use coupon code WSD10 for free shipping!
.
To get started, I grabbed these legs and started figuring some dimensions. My mom wanted an 8 ft long and 3 ft wide table. I actually ended up making it ABOUT 34 ¼” wide and 94” long…so close enough.

Step 1: Assemble the Sides of DIY Outdoor Dining Table Base
I cut four pieces of 2×4 to 24” long to make two sides of the table base. By the way, I used standard construction lumber for this table. I could have used treated lumber, but as long as my mom keeps it painted and sealed on all sides, it should last her a long while.
.
I assembled this table with an exterior wood glue and exterior grade pocket holes and screws. So I drilled 1 ½” pocket holes into the ends of these 2×4 pieces and attached between the legs like shown using 2 ½” pocket hole screws.

Because these legs had this flat spot at the top and the bottom, I decided to add these pieces on the bottom to dress it up a bit. It would have been fine without them, BUT they do add a little sturdiness to it…and make it look a little cooler.

Step 2: Assemble DIY Dining Table Base
Once my two sides were assembled, I cut three pieces of 2×4 to 84” long and drilled pocket holes into the ends. I attached these between the two sides like shown using 2 ½” pocket hole screws and wood glue. Two at the top for the apron, and one centered at the bottom between the stretchers.


There were better ways to put these pieces together than what I was doing in the video, but I didn’t think of them until after the fact…as is usually the case haha. By the way, I attached all the apron pieces flush to the INSIDE of the legs like shown in the image above.
Step 3: Attach Table Top Supports
Once the main base of the table was together, I added two top supports between the long aprons with pocket holes and screws. These are to help support the table top and give me somewhere to screw the top pieces into.

Step 4: Trim and Route Dining Table Top Boards
Speaking of the top pieces, I trimmed them down to 94” long (the reason I trimmed them vs just leaving them 96” was because a couple of the tops had a crack on the ends I wanted to get rid of).

Outdoor table tops need some gaps to allow rain or snow to fall through so it doesn’t just puddle up on the table.
.
I allowed ¼” gaps between the boards on this top, but to add a decorative touch and help the water roll off the sides better, I used a router and a chamfer bit to route an edge along all the boards for the top. This is totally optional, but it did make it look a little fancier…which my mom is always a fan of haha.

Once the edges were routed, I spaced the boards out with ¼” gap between them and an overhang on the long sides of 1 ½” from the leg. The spacing worked out to allow a 1 ⅝” overhang on the short sides from the leg instead of 1 ½”. It’s close, but slightly more than the long sides.

To make this easy, I just toe nail screwed these boards in place through the four short table supports at the top of the base. I could have used pocket holes and screws, or L brackets. But simply driving screws at an angle through the supports and into the boards was quick and easy and will work just fine. I did as many from the top as I could, then crawled underneath and screwed the rest from the bottom. I’m getting too old for that haha.


I brought it over to my mom and dad’s house to let my mom paint it because I hate painting and she insisted on it being painted white. And it was finished. (PS, she used an exterior grade latex primer and an exterior grade latex paint for this and simply brushed it on.)

By the way, this is sitting on her paver patio during every day use so it’s not sitting directly on the grass. I just moved it here to take a few pretty photos.

To help prolong its life, I suggest putting a small washer underneath the legs and setting it on a patio or flat surface (not grass) to keep it slightly off the ground. This will prevent it sitting in puddles of water and damaging the legs over time.

I’m glad to have this project completed and my mom is glad to have a place for her and dad to hang out in the back yard…after winter haha. Win win 😊

So if you’re looking to build your own hangout place in your back yard, this DIY outdoor dining table design is super simple, but with the fancy legs, it looks really high-end! Be sure to check out the video tutorial for this project before you get started AND if you aren’t already subscribed to my YouTube channel, head over and subscribe now so you don’t miss out on the upcoming shenanigans projects 😉
.
And before you go, be sure to pin this for later!

Until next time, happy building!
JENNI HOEFFEL
Love the table! It turned out great!
Thank you for the tutorial. How much did the table cost in materials?
Shara, Woodshop Diaries
Cost would vary a little based on your location, but it cost me about $300 I think–that includes the legs.
Charleigh Ann Lee
Hi Shara,
I love your YT channel and this table is great. I have a couple of questions. If I will be using this indoors is it okay to skip the spaces in the tabletop? If I don’t have a miter saw can these cuts be made at Home Depot? Very excited and I look forward to your content.
Shara, Woodshop Diaries
Yes, if this is indoors, you can skip the gaps between the boards. And you can have Home Depot cut these boards for you (if your local store cuts), just make sure the dimensions are pretty accurate.