
I’m not a magician, but how about I show you a quick magic trick anyway?

Are you ready? I’m going to make this DIY resin desk…..FLOAT. One…
Two…
Three…HA!

You didn’t believe me did you? Okay, so my magic trick is a little rough around the edges, but this floating broken leg DIY resin desk is pretty slick.
.
If you’re interested in other desk designs, check out one of these:

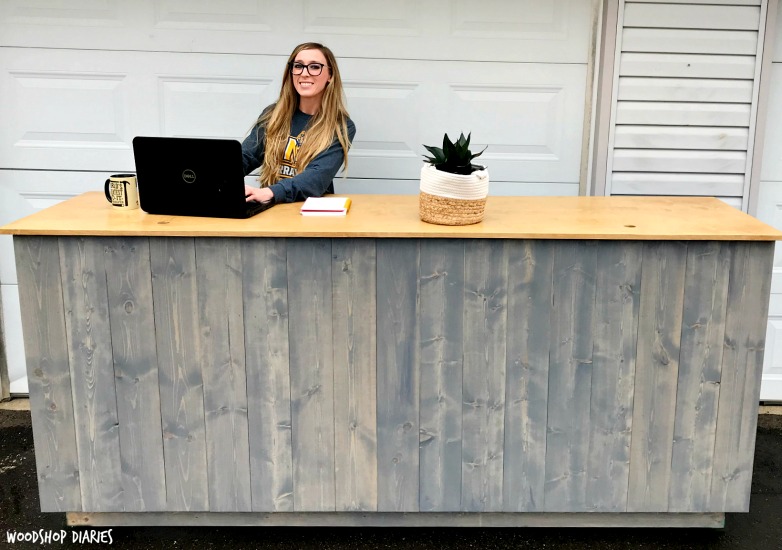
Standing Kiosk Desk 
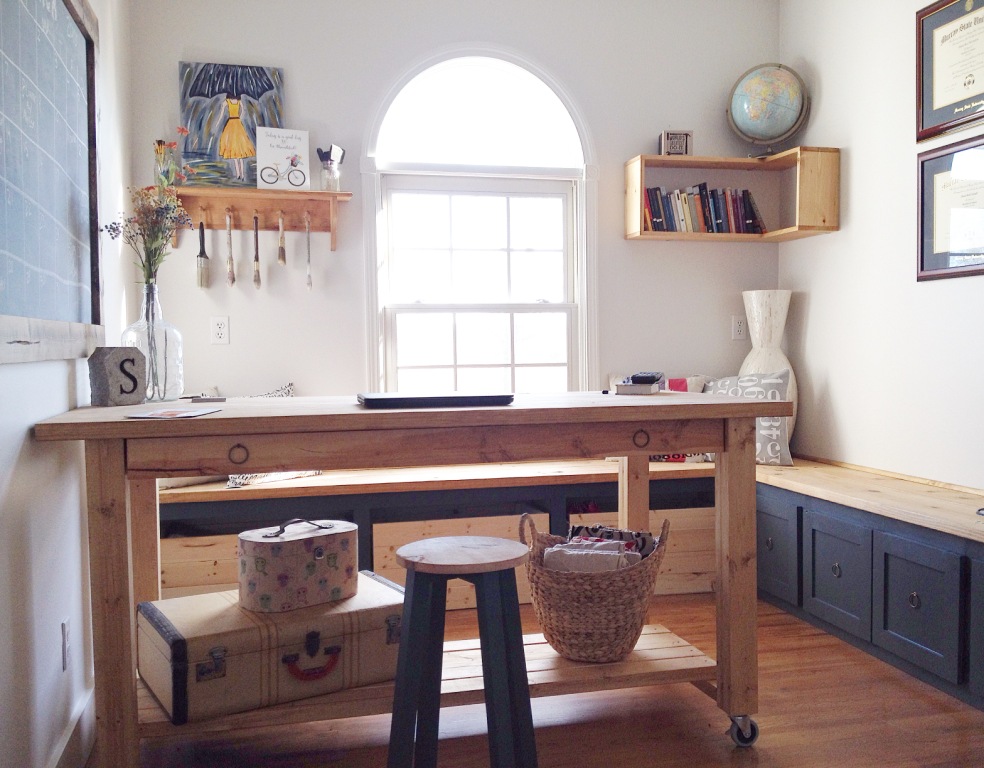
Simple Mobile Workbench Desk 
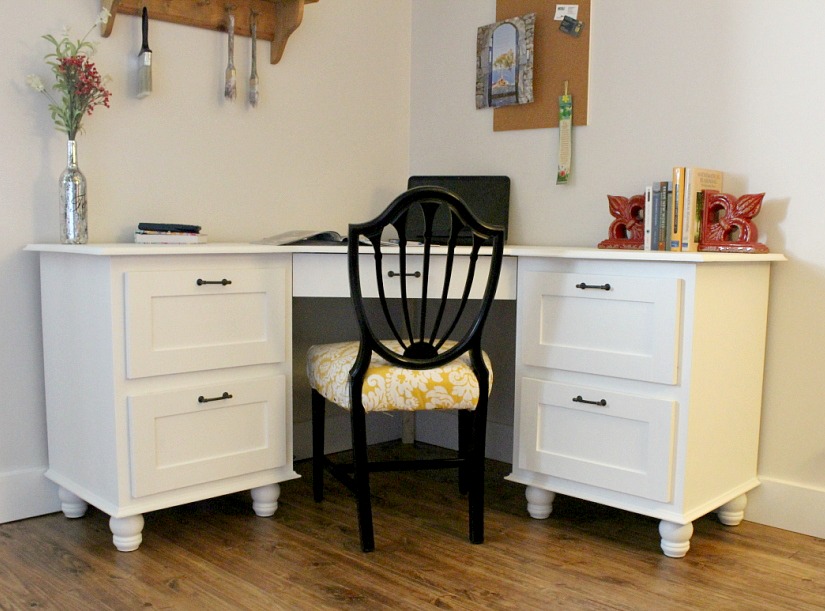
DIY Corner Desk 
DIY Storage Desk

This desk is super simple in design. I really wanted something kind of plain in overall design so that the legs would be the cool factor. It’s made of white oak and has a single drawer in the front. Oh, and if you didn’t notice, the legs are made with MAS deep pour clear resin.

I’m sharing the tutorial and plans below for this DIY Resin Desk and have some additional info in the video here as well:
This post contains affiliate links. See policies.
For this build, you will need:
(3) 1x8x8 Boards (desk top)
(3-4) 1x3x8 boards (desk legs)
(4) 1x4x8 boards (desk apron and drawer)
¼ sheet ¼″ plywood (drawer bottom)
(1-2) Gallon MAS Deep Pour Resin
(1) 16″ Drawer Slide
Scrap plywood to build forms
Wood screws to assemble forms
Wood Dowels OR 1 ¼″ pocket hole screws
L-Brackets to attach top
Sander and sandpaper (various grits)
Table Saw (to cut dadoes in drawer bottom)
Step 1: Break DIY Floating Desk Legs
Because white oak posts are hard to find, I made my own “post style” legs by laminating a few layers of the wood. I ripped them down to about 2 ½” wide (which is what a standard 1×3 measures) to get started so that when I glued three layers together, it would be ALMOST a square post. (Almost = 2 ¼″ x 2 ½″…so it’s almost square 🙂 )
.
Next was the hardest part of the entire project…Breaking these oak boards. Oak is harder than I thought it was. I originally wanted to glue up these posts and break them as one piece to make the legs, but I’m glad I didn’t because there’s no way I could have broken a 2 ½” thick piece of oak.

My alternative idea was to score and break each board individually and glue them together. This worked okay, but did have a few challenges…like that it was still really hard to break.
.
I cut my 1x3s to about 4 foot long and used my miter saw to “score” a line in the middle of the board like shown. The shallower the line, the messier the break (which is what I was going for), but the harder it was to crack. About ¼” deep score cut seemed to be the happy medium.

NOTE: In order to score these, I needed to put some scrap wood spacer blocks between the board and the back fence to push them off the fence and allow the blade to slide across the top. DO NOT JUST CUT THIS FREEHAND. The board needs to be securely pushed up against the back fence with spacer blocks.

Once I scored my boards, I broke them along that line. Basically I leaned them up on a concrete block and jumped until they split, then I broke the pieces apart haha.

Once I had 12 boards broken, I beat any that weren’t quite as jagged as I wanted with a hammer to split the ends a little more. I really wanted them to look BROKEN, not just cut.
Step 2: Glue “Broken Legs” Together
Then, I matched them together as best I could to make it look like a natural break and glued up four legs of three boards each.

Step 3: Build Forms to Pour DIY Resin Desk Legs
Now, it was time to build the forms to pour the resin. I used some scrap ¾″ plywood and cut down pieces to build a form that would make a 2 ½” square x 32” long leg. I lined the plywood pieces with Tyvek tape to prevent the resin from sticking to the form, then I screwed them together using wood screws.

And once all the forms were assembled, I caulked the joints to prevent any resin leaks during the pouring process. Now, here is where I messed up—I used regular white caulk for this. And during the pour, this caulk wrinkled up and folded up into my mold. Since it was clear, this was a problem. I recommend using a clear caulk for this, not white.

Step 4: Pour Broken Leg Resin Legs
I unclamped the legs and trimmed the unbroken ends flush. Each leg was a slightly different length once I trimmed them varying between 18-22 ish inches long. Then, I sanded them smooth on the sides. I vacuumed up any lose particles or dust from the broken ends…and while I was at it, I vacuumed any dust from the forms as well.

Before I started the pour, I applied some MAS penetrating epoxy to the legs. I got this into every nook and cranny and crack and all over the broken ends to seal off the wood to help prevent air bubbles when I did the deep pour. I just mixed according to the instructions and brushed on with a cheap paintbrush.

I gave it a day to dry, then placed the legs into the molds and clamped them flat. Because the legs were 2 ½” thick, I poured this in three steps—about ⅞” thick at a time.

I mixed the deep pour epoxy in small batches according to the instructions and poured until I had the first layer about ⅞″ thick on all four legs. One thing to note if doing a clear pour is that you should mix REALLY WELL. I didn’t mix that great on the first layer and you could see some “swirlies” in the resin where it wasn’t uniform.

Because this cures so slow, most of the air bubbles came to the top and busted before it cured, BUT I did brush over it lightly with a torch to get the surface bubbles gone before walking away.
.
I let each layer cure to the point where it was hard, but still a little tacky, and had cooled down to room temperature, then poured the next layer. It took several hours depending on the temperature before it was ready for the next layer. SEVERAL. So be patient 🙂

Once the third layer was poured, I did a little happy dance and slowly backed out of the shop and turned out the lights to let it cure for a good 36 hours before taking them out of the molds.
Step 5: Clean Up and Sand Resin Desk Legs
After about 36 hours, I removed all the screws from the forms and used a rubber mallet and a chisel to help pry the form away from the leg. It broke away pretty easily, but I was pretty careful not to damage anything.

Because of the caulk issue, I planed these legs to remove as much caulk from the edges as I could. This was a messy process. You could also trim down on a table saw. But, if you don’t have caulk to remove in the corners of your molds, I would skip planing and sawing if at all possible and just go straight to sanding. PS wear a dust mask when cutting and sanding resin.
.
I trimmed a little of the ends off the legs as well on the miter saw because…again with the caulk issue. (Also note…when I trimmed them, I trimmed them all EQUALLY so the legs stayed the same length)

Then I moved to sanding. Sanding resin is a process. Wear a dust mask and get comfortable…you’ll be there a while. I sanded everything smooth with 120, then moved to 220, 400, and eventually wet sanded by hand with 800 and 1500 to get it at clear as possible. LOTS OF SANDING!

Step 6: Assemble the Floating Broken Leg Desk Base
Once I had the legs ready to go, it was time to assemble the rest of the desk. I used 1x4s for the desk aprons. I’ve got the plans shown below with all the dimensions for this build. You can assemble this using ¾″ pocket holes and 1 ¼″ pocket hole screws to make things easy, but I used wood glue and dowels.

Because I was installing a drawer in the front, I cut these front apron pieces only about a foot long so I could put the drawer between them. When I cut these, I cut them off the ends of one of the oak boards so that when I put the drawer front on, it will be the middle piece of the board and will make a continuous grain pattern across the front.
Step 7: Glue Up Desk Top
While the glue dried on the base, I started gluing up the top. I used three 1×8 oak boards a little over 60″ long for this and simply edge glued them together and clamped. Overall, I made this desk top 21 ¾″” deep and I’ll trim it down to 60″ long later.

Step 8: Install Drawer to Floating Resin Desk
While the glue was drying on the top, I moved back to the base. I cut a couple scrap plywood pieces and drilled pocket holes into the ends. I attached between the front aprons and the back aprons to give me somewhere to mount the drawer slides to.

Then I installed a pair of drawer slides onto these pieces and started working on the drawer.

I made the drawer from 1x4s that I ripped down slightly to 3 ¼″ wide and cut dadoes in. I installed a piece of ¼” plywood as the bottom into these dadoes and assembled the drawer using pocket holes and screws.

I installed the drawer into the desk and moved back to the top.

Step 9: Attach Desk Top
Once the glue was dry on the top, I trimmed it down to 60″ long and sanded it smooth. I attached the top using some L brackets from underneath. I screwed four in each side like shown, then placed the top on and screwed it on from the underside.

Step 10: Add Drawer Front and Finish
After the top was installed, I screwed the drawer front on from the inside of the drawer and moved onto finishing.

So I attempted to finish this DIY Resin Desk with a clear coat poly. And when I brushed it onto the resin, it looked terrible. So I sanded. And I sanded. And I sanded again to get all the poly off. I went from 220 to 400 to 800 to 1500 AGAIN, and then tried a wax. Much better.

I ended up finishing the desk in Walrus Oil Furniture Wax and I was really happy with how it turned out.

Although, I’m a super amateur with this stuff, so maybe there’s a better option to finish resin with…too late. I’m tired of sanding so I’m leaving it as is haha.

I was really going for desk that looked like it was floating…and being realistic, I knew you’d still see the clear resin so it’s not like it would be completely invisible. But, with a quick glance, you may think it’s floating and do a double take before you realize the truth. And I mean, I’m happy with a double take haha.

If you’d like more details on this DIY Resin Desk project, I highly recommend checking out the video here on my YouTube channel. And if you aren’t already subscribed to my channel, be sure to subscribe so you don’t miss out on what’s coming next…it could be another magic trick, you never know haha.
And if you liked this project, I’d love if you’d pin this for later 🙂

Until next time, happy building! 😊

AmandaKB says
This desk is so awesome! I found your blog recently, and I’ve been reading through tons of posts like a total creeper. Ha,ha. Thanks for sharing the tutorial! I’ve never worked with resin, but it’s on my list.
Shara, Woodshop Diaries says
I’m glad you enjoyed the project! Resin is really fun to work with, but can be intimidating. This project was a really simple one to try out!
Darlene says
Thanks for taking us through the process. I enjoy learning why something is created as well as how. I find that creativity tends to inspire more of the same.
Shara, Woodshop Diaries says
Thanks so much for checking it out!