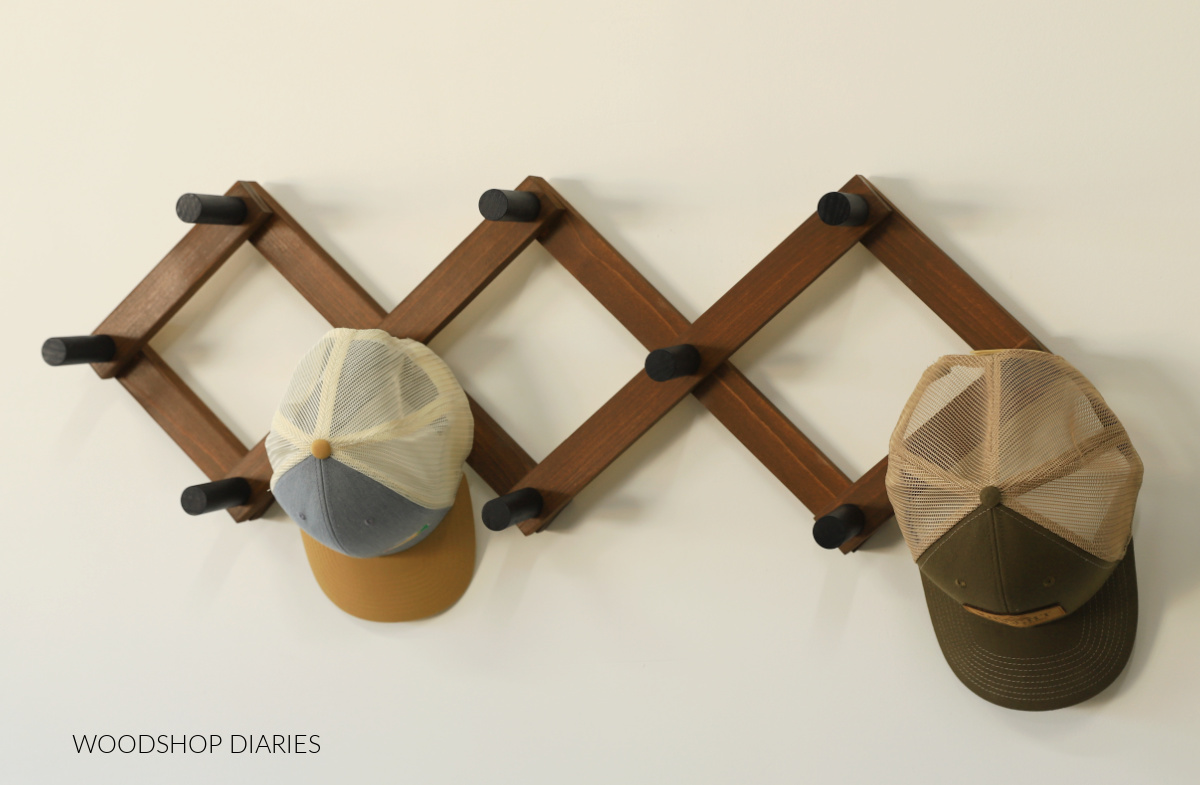
In this post, I’m sharing how to build a simple DIY accordion style rack from a single board and a dowel!
This simple, but unique rack is perfect for hats, coats, umbrellas, dog leashes, or even for stockings to hang during the holiday season.
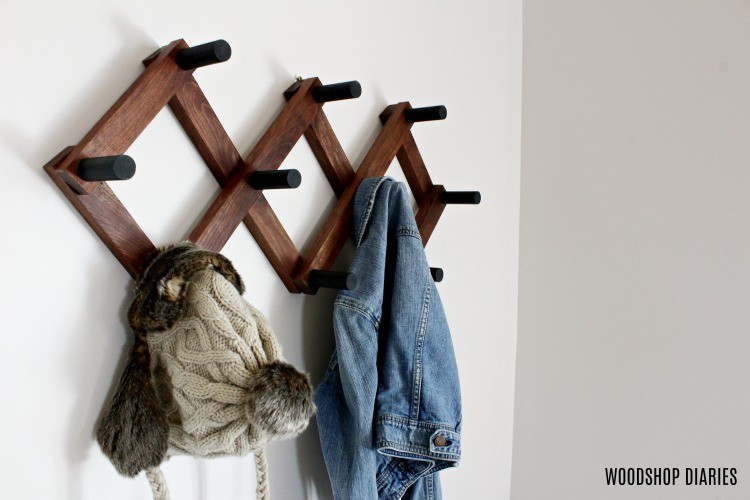
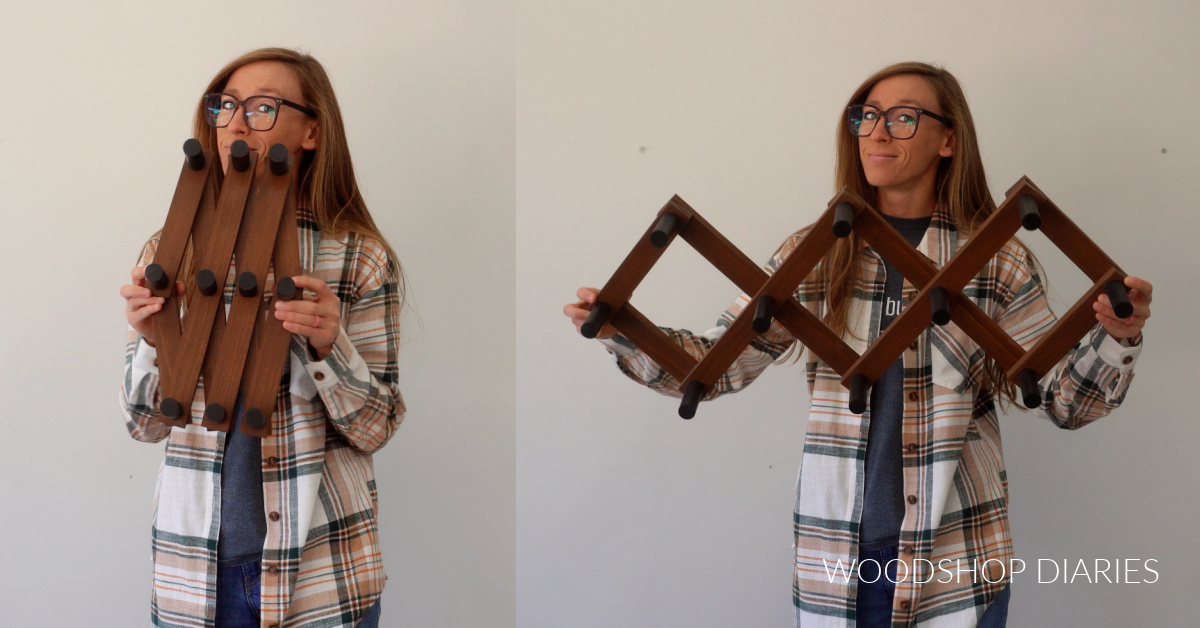
My favorite part about it is that it’s adjustable, so it actually moves like an accordion! So it can expand or contract to fit just about any size space.
And this accordion rack can make a great gift idea, too, especially for the hat collector in your life.
If you’re ready to build your own, grab your drill and a saw (that’s all the tools you need!) and I’ll show you how below!
*This post contains affiliate links. See website policies.
What to consider before building
I originally built this accordion style rack back in November 2019. And it’s been by my front door ever since (even after we moved!).
The original one was built out of scrap walnut 1x2s. But the one I’m sharing in the updated tutorial below is made out of scrap pine 1x2s (stained in Minwax Semi Transparent Water Based Stain in Pecan to look like walnut).
So you can use any wood type you’d like for this. You can build it from a single 1x2x10 or just use some 1×2 wood scraps as the pieces needed are fairly small.
This rack can be added onto with more sections if you’d like to make a longer one. As is, this can extend to 36″+ wide.
Want to be the first to know about new projects and plans? Subscribe to the newsletter for priority access!
How to make an Accordion Style Coat Rack
I’ve included the step by step instructions below. But, if you prefer to watch, I’ve also included a build video as well.
Love watching how-to videos? Subscribe to my YouTube channel for plenty more where that came from!
Prefer to print? Grab the printable DIY hat rack building plans here:
Tools & Materials:
Tools:
Materials:
- (1) 1x2x10 board (or scraps)
- ⅞″ poplar dowel 36″ long (or other size dowel as desired)
- (10) 2 ½″ wood screws
- Wood Glue
- D Ring hangers
Step 1: Cut 1×2 Accordion Rack Pieces
First, I used my miter saw to cut down 1×2 board into four long and four short pieces.

You can make these longer or shorter if you want a bigger or smaller coat rack, but I cut mine into pieces:
- (4) 16″ long
- (4) 8 ¾″ long
I actually cut these down from a scrap piece of wood that I took off a previous project. It was already stained, so that’s why my pieces are partially stained.
After cutting, I sanded and stained the edges and ends (in Minwax Water Based Semi-Transparent in Pecan) to match the existing color.
If you want your hat/coat rack to have a two toned look, I recommend finishing (paint, stain, poly) these pieces before adding the pegs in step 3.
Step 2: Drill Pilot Holes in Bottom Set of Boards
I divided my pieces in half–two long and two short pieces will go on the top and the other two long and two short pieces will go on the bottom of the rack.
So set two long and two short pieces for the top to the side to deal with later.
On the four BOTTOM pieces, I measured and marked ten locations–this is where the pegs will go.
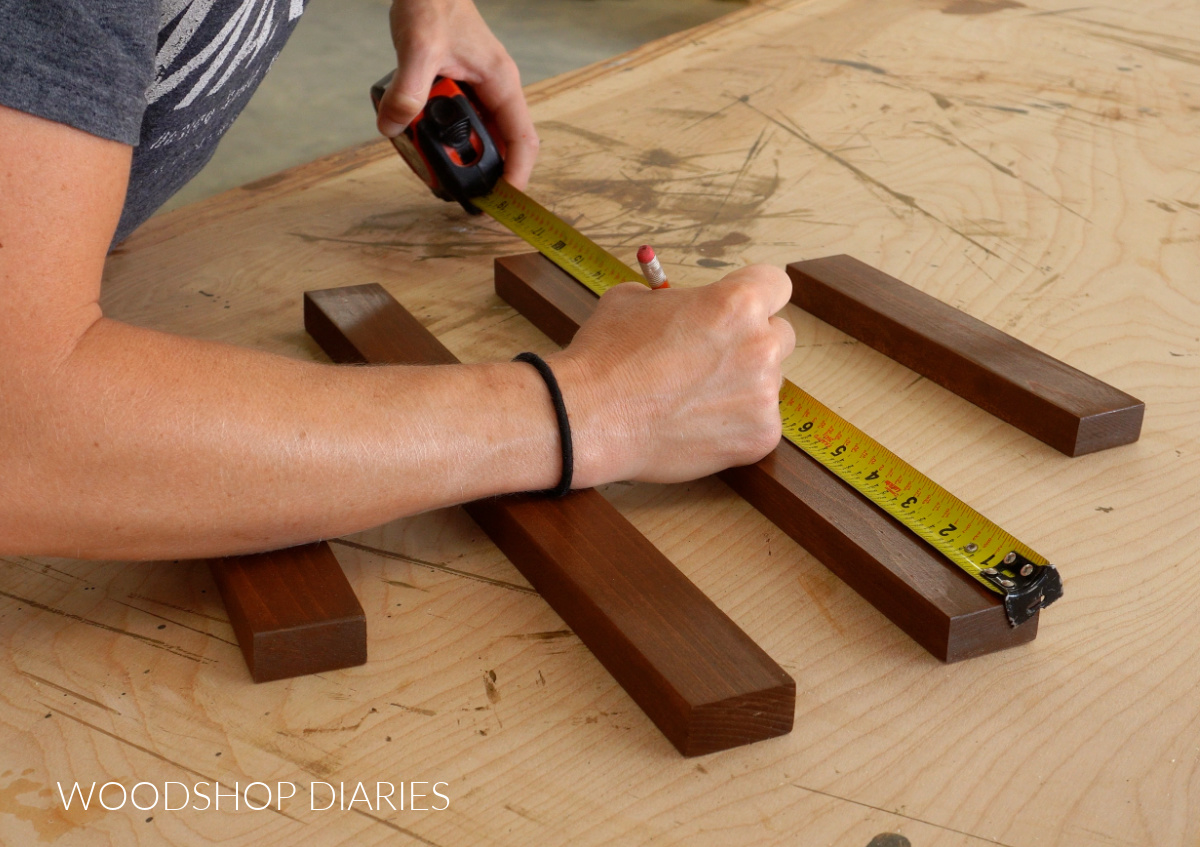
Each board should be marked ¾″ in from each end and the long boards should also be marked in the center. Make sure all marks are ¾″ from the board edge so they’re centered on the 1×2.

Prefer to print? Grab the printable building plans for this DIY accordion coat rack here.
I planned to use 2 ½″ long wood screws to attach everything in a later step, so for now, I found a drill bit just slightly larger than the shank of my screws, but not bigger than the screw head.
Then, I used that bit and drilled a through hole at all ten marks on my bottom boards.
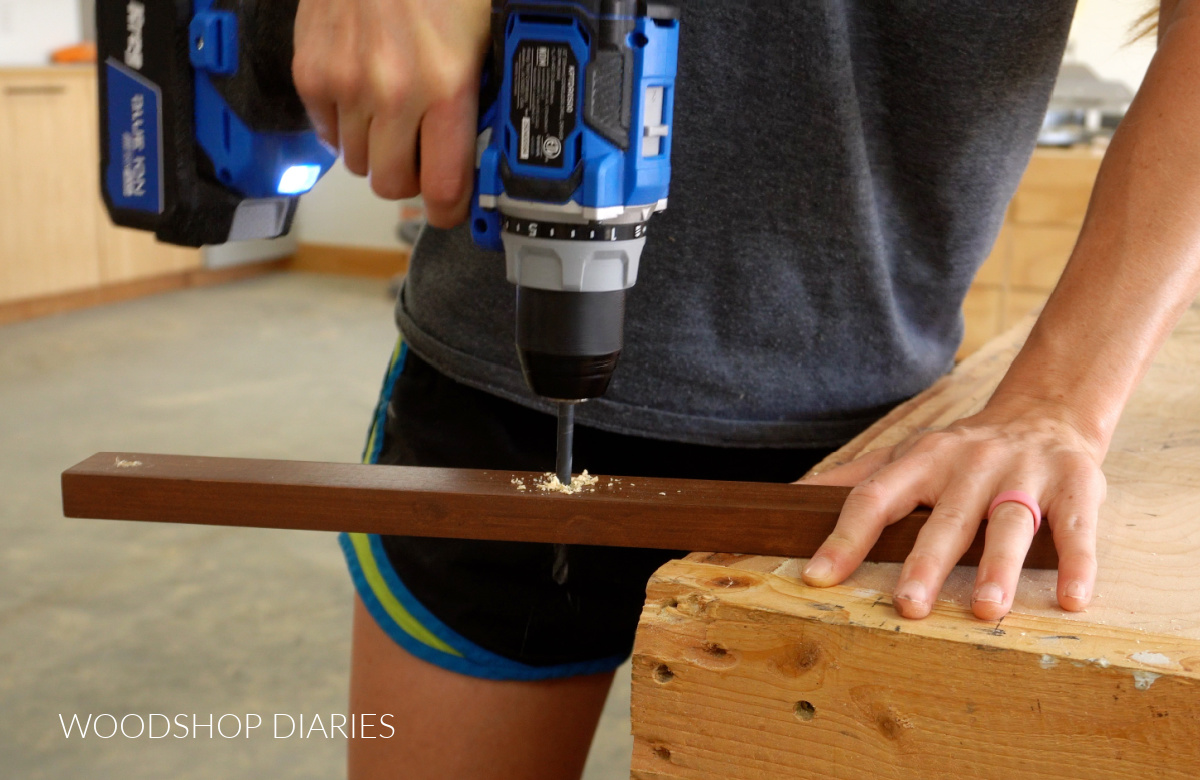
The screw should be able to drop into the holes, but the head should keep it from dropping all the way through the board.
WHY? Because, in order for the rack to move like an accordion, the holes on the back pieces need to be big enough that the screw, once installed, can freely pivot inside. But it needs to be small enough that the screw head holds the pieces together.
Step 3: Attach Pegs to DIY Accordion Coat Rack
I set my four bottom boards to the side for this step and pulled my top boards back out. I marked the exact same locations on my top boards as in step 2, but didn’t drill any holes.
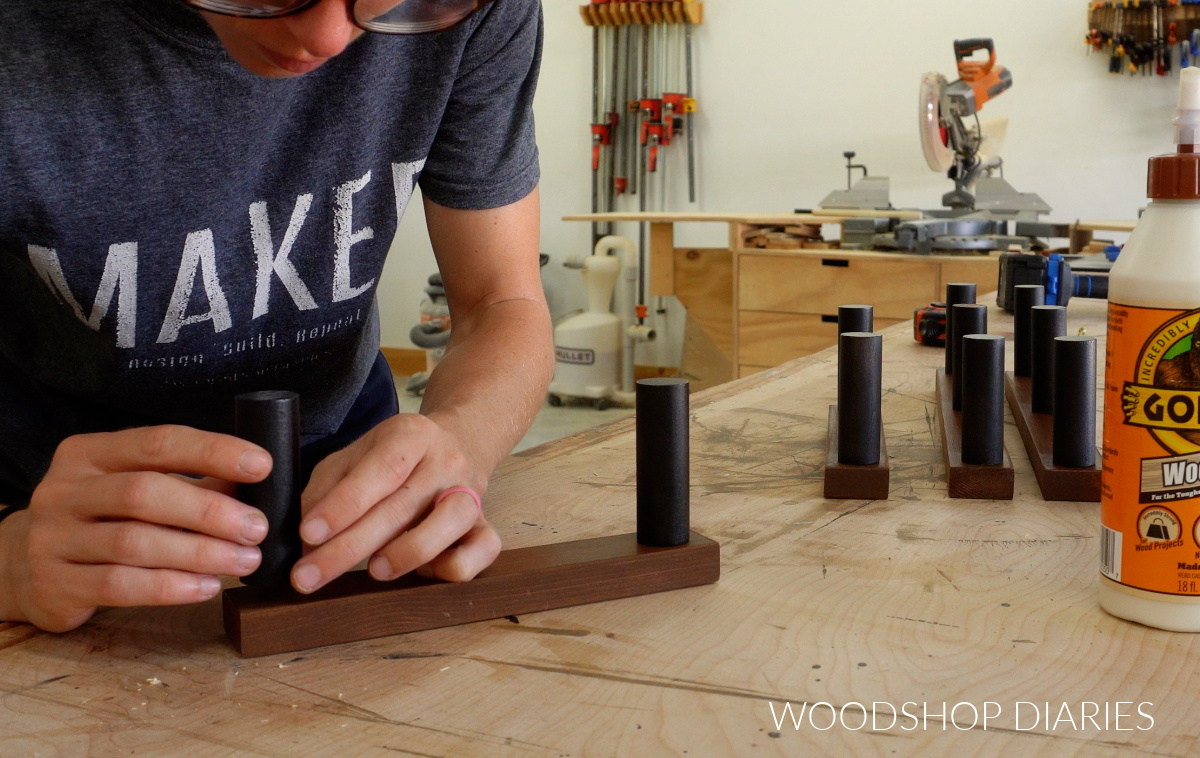
Instead, I cut ten pieces of ⅞″ diameter dowel to 3″ long and sanded them well. Since these pieces are so small, I just hand sanded them.

Then, I spray painted these dowel pegs black. If you wanted to stain them or paint them a different color, feel free. I liked the classic black and wood look for this project.

After the paint had dried, I CAREFULLY glued them to my top board pieces so that they were roughly centered on the marks from earlier.
They don’t have to be EXACTLY centered, but they should be pretty close. Be careful not to go overboard with the glue to prevent a lot of messy squeeze out around the sides.
NOTE: If you applied an oil based finish to the 1×2 boards, the glue may not stick very well.
The glue here just helps hold the pegs in place while you drive the screws in the next step. So if regular wood glue isn’t working, you can try a super glue instead.
Once all pegs were in position, I allowed them to dry well before moving on.
Step 4: Assemble DIY Accordion Coat Rack
Now that the holes are drilled in the bottom pieces and the pegs are glued onto the front pieces, it’s time to put them all together.
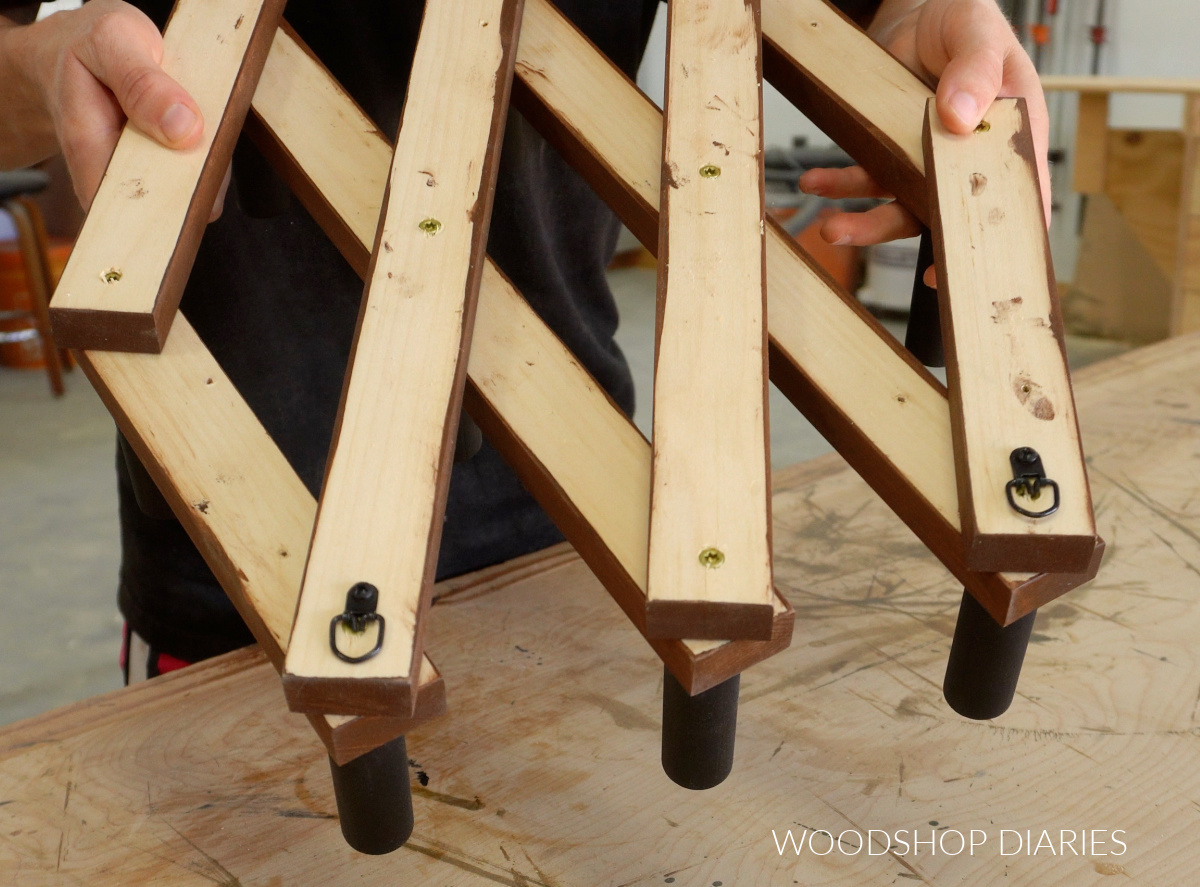
To attach, I flipped the top pieces upside down so the pegs were resting on the workbench. Then, I flipped the bottom pieces upside down on top of them and aligned the corners like shown below.
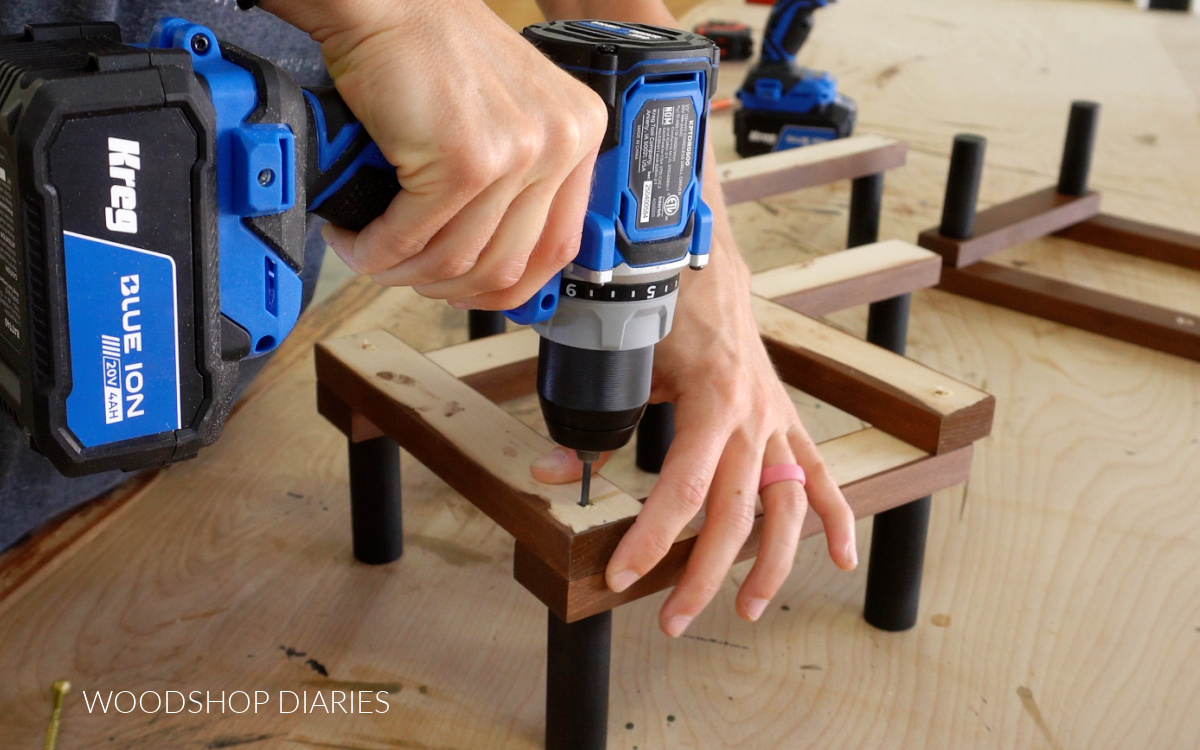
I found a drill bit just smaller than the shank of my screw and carefully drilled a pilot hole through one hole on the bottom piece.
After predrilling, I drove a 2 ½″ wood screw through the hole. This length screw will go through both 1x2s and about 1″ into the peg to help hold it in addition to the glue.
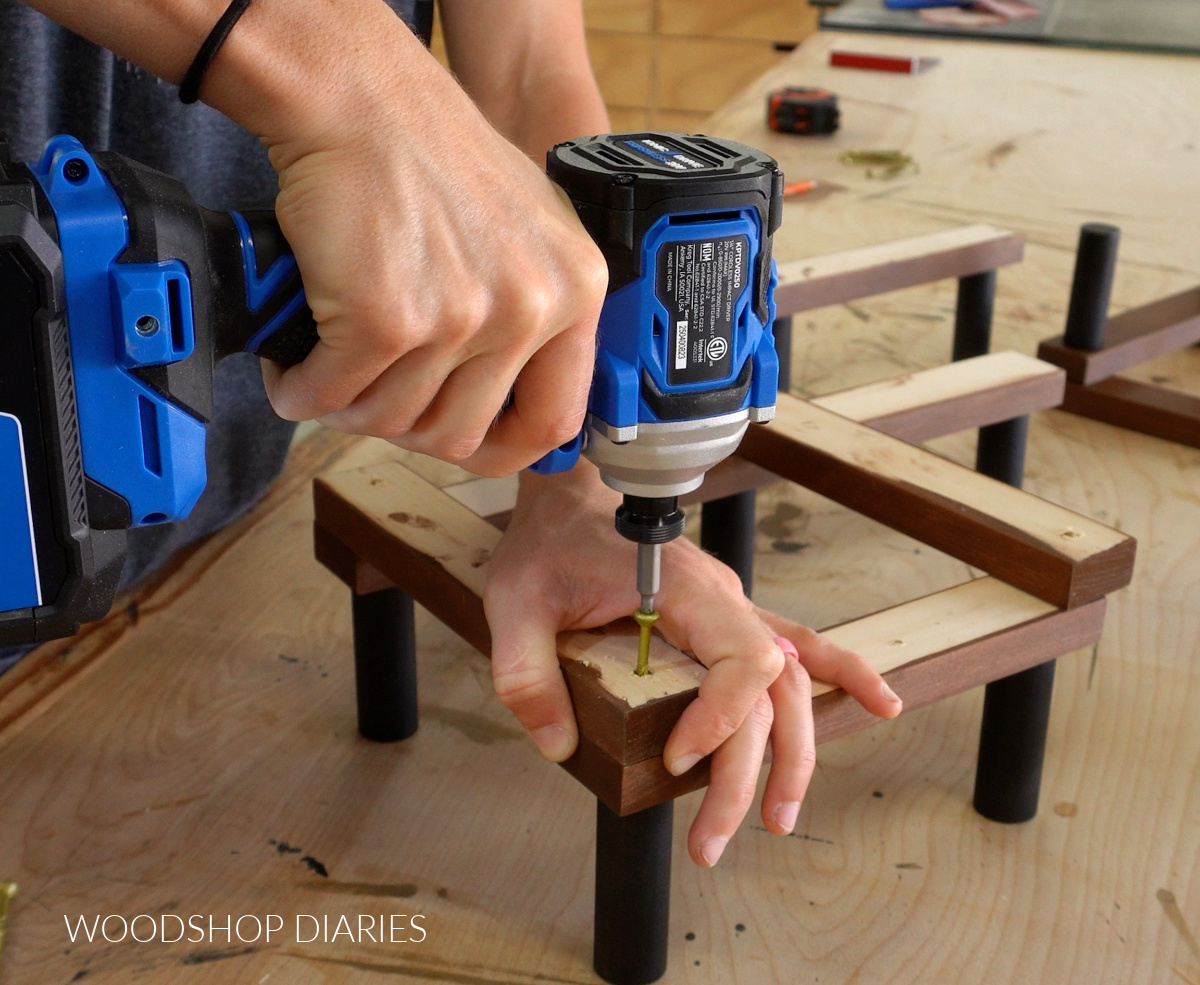
I tightened it snug, then backed it out JUST A LITTLE. This allows the rack to stay tight, but loose enough for the pieces to pivot.
Then, I repeated for all ten holes, lining up the corners, predrilling and driving the screws.
TIP: Drive all the screws on the ends first, then do the two center holes last.
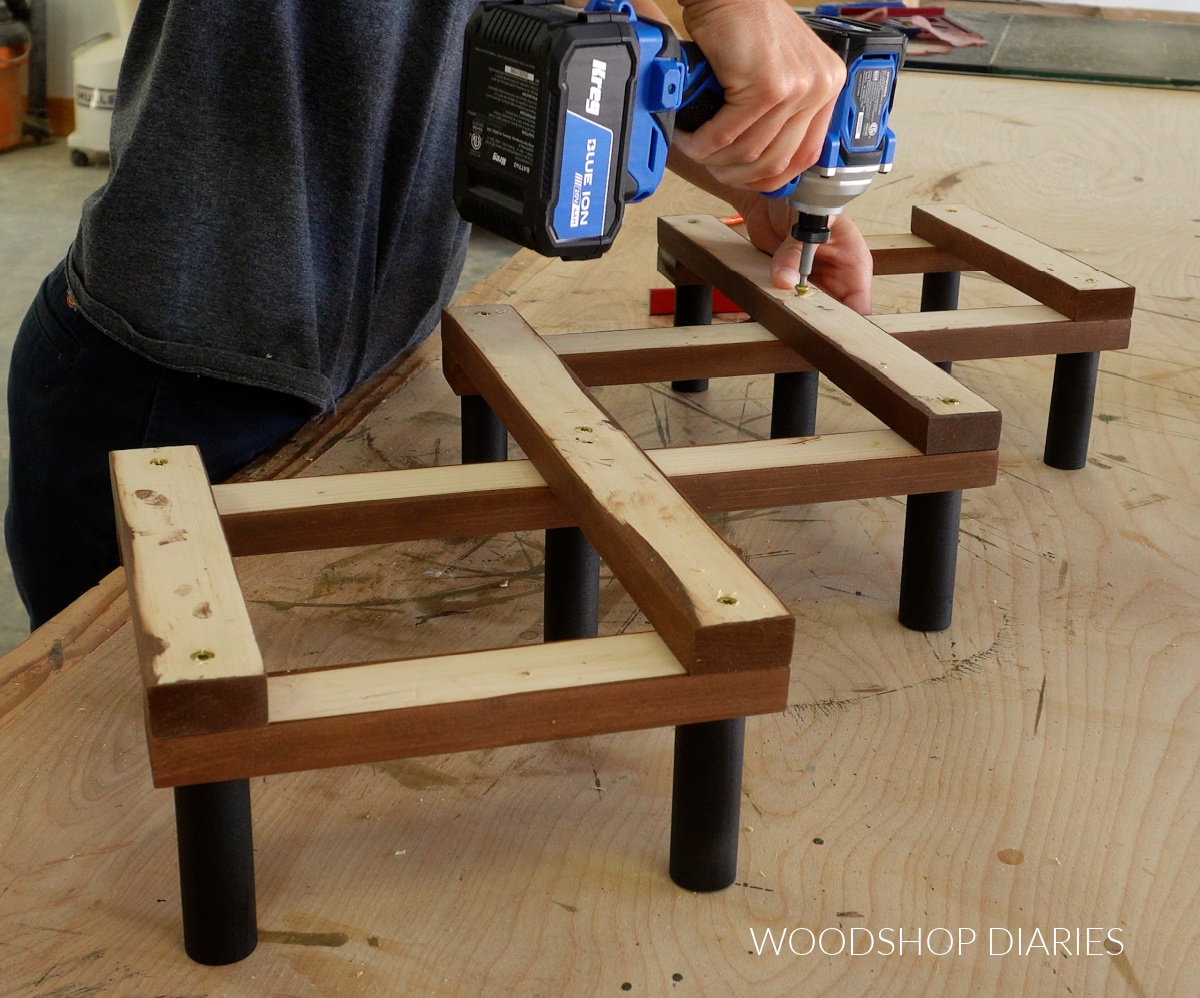
The accordion rack should be able to contract and expand freely.
Finally, to be able to hang it, I added some D ring hangers on the back toward the top. These simple hangers are rounded, so it makes it easy to hang no matter how wide or narrow you choose to hang it.
And with that, I tacked a couple nails into the wall studs and hung this accordion rack up.

It fits perfect right next to the front door and will be cute for stockings this Christmas and coats all winter long. And in the summer, I can swap it out for hats, or umbrellas, or whatever I can find to hang here.


Looking for More easy DIY projects?
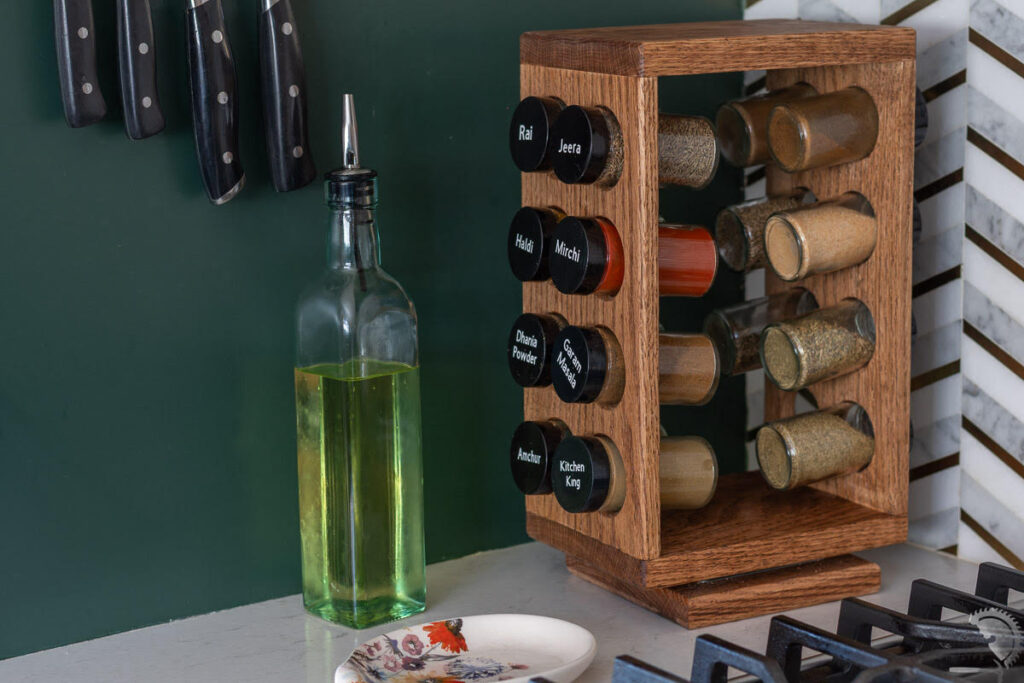
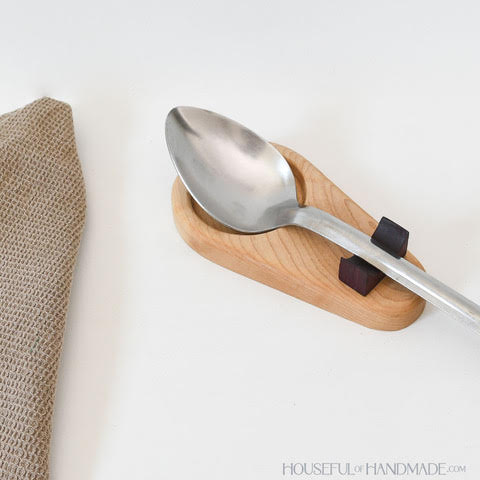
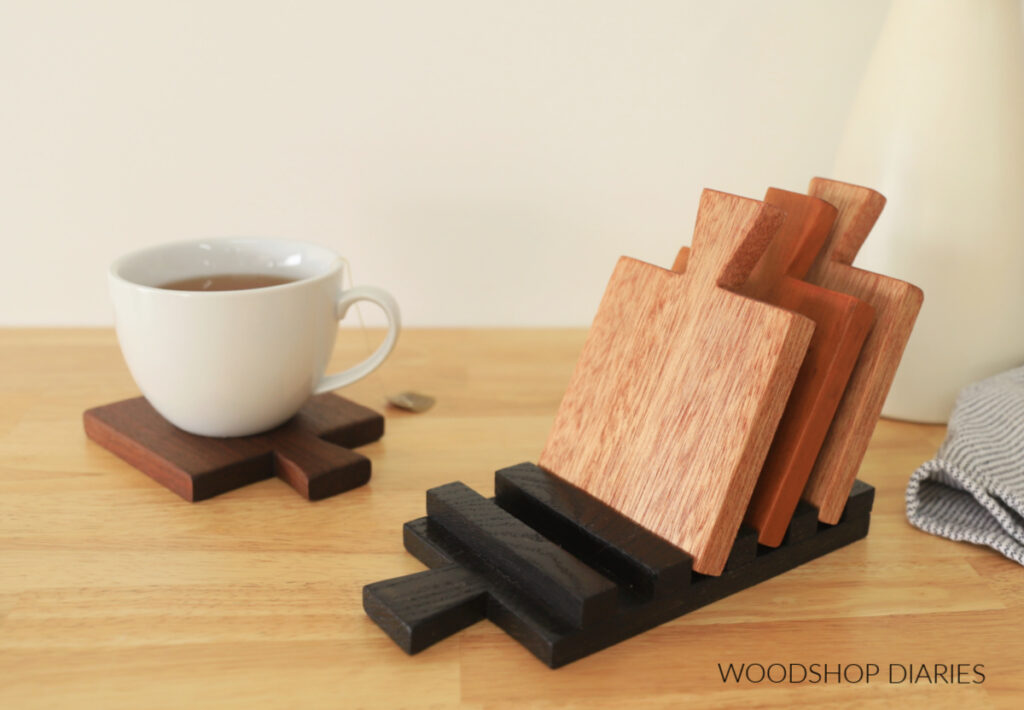
With the upcoming holidays, I’ve teamed up with my friend, Kati, from Houseful of Handmade and Anika, from Anika’s DIY Life to share some easy and fun gift ideas that you can make this season!
I’ve included their projects in the gallery below plus a few of my own (click on the images to see how to make each one).
Enjoyed this project and want to save it for later? Be sure to pin it or share it to your favorite social channel!

Until next time, happy building 🙂