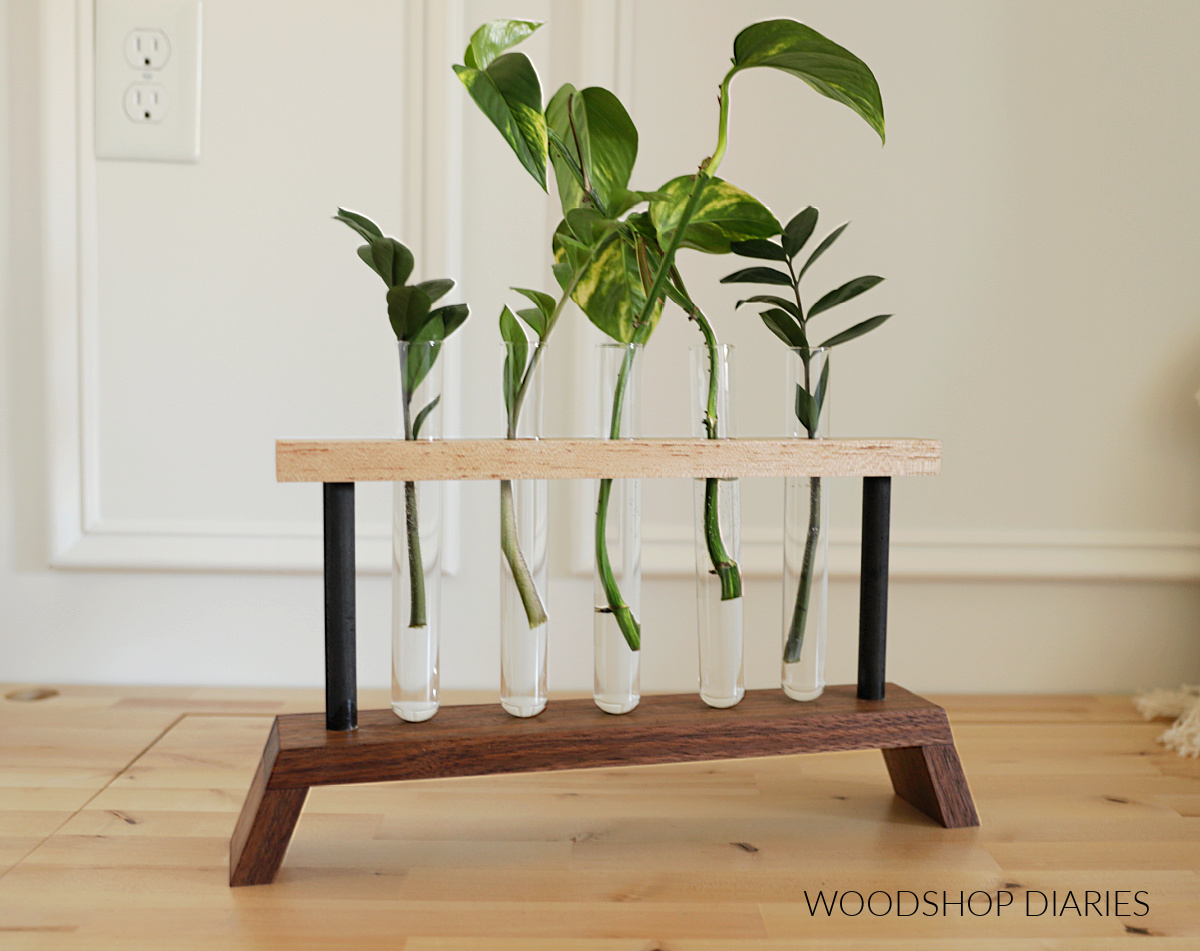
In this post, I’m sharing how to make a modern DIY propagation station from scrap wood!
I’d love to tell you that I’m an excellent green thumb and an expert with house plants.
But, I’d be lying! The only plants I can seem to keep alive are the ones they claim are impossible to kill–the snake plants, the ZZ plants, and the pothos.
These easy to grow plants are also easy to propagate and since they tend to grow pretty quickly, they make plenty of cuttings to practice with!
Now, while I can’t give you any great advice on propagating your plants–I’ll have to refer you to the experts on that one–I can show you how to make a simple, fun station to set up your cuttings!
Let’s dive into the wood scraps pile and get building! Here’s what you’ll need.
Tools & Materials:
*This post contains affiliate links. See policies page for details.
Tools:
- Miter Saw
- Drill
- Forstner Bits
- Clamp (optional)
Materials:
- Scrap 1×2 (approximately 15″ long)
- Scrap 1×3 (approximately 21″ long)
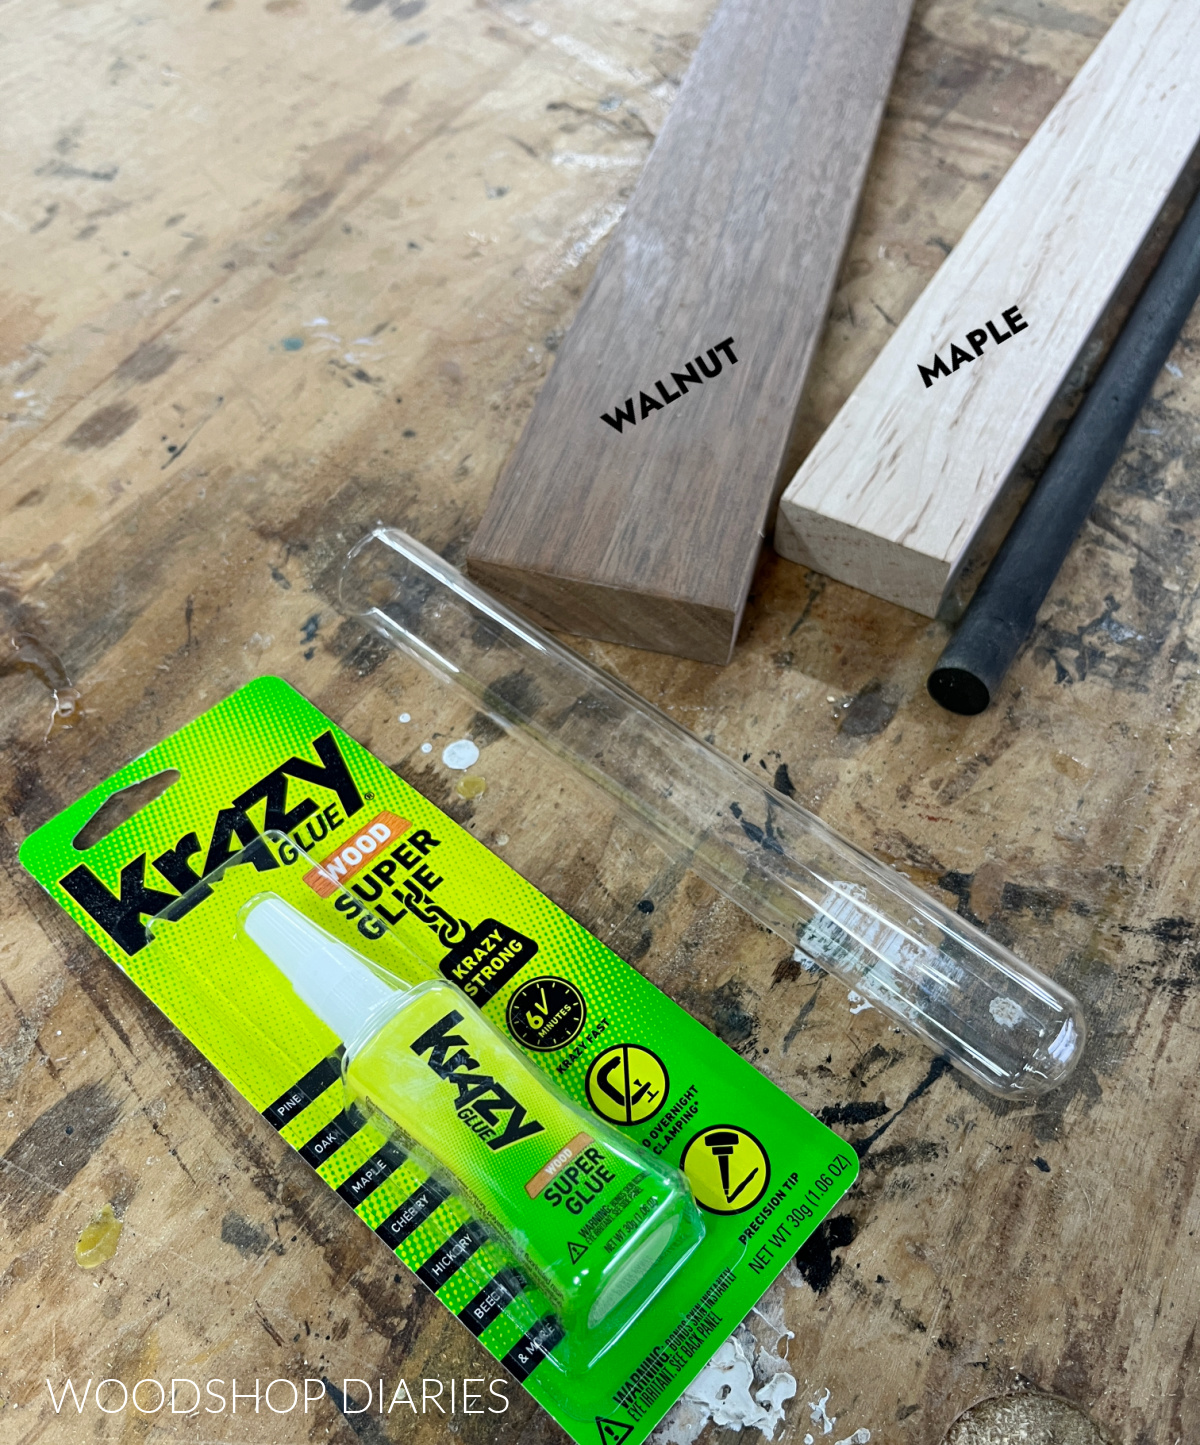
- Scrap dowel rod (½″ or ¾″ diameter work great)
- Wood Glue (I used Krazy Glue Fast Dry Wood Glue, but other glues can work as well)
- Test Tubes
How to Make a Scrap Wood Propagation Station
This fun little DIY propagation station only took about 15 minutes to assemble, and is a great option for a first time build or beginner project!
Feel free to customize the size if you’d like a few more or a few less propagation tubes in your project. This one fit 5 tubes.
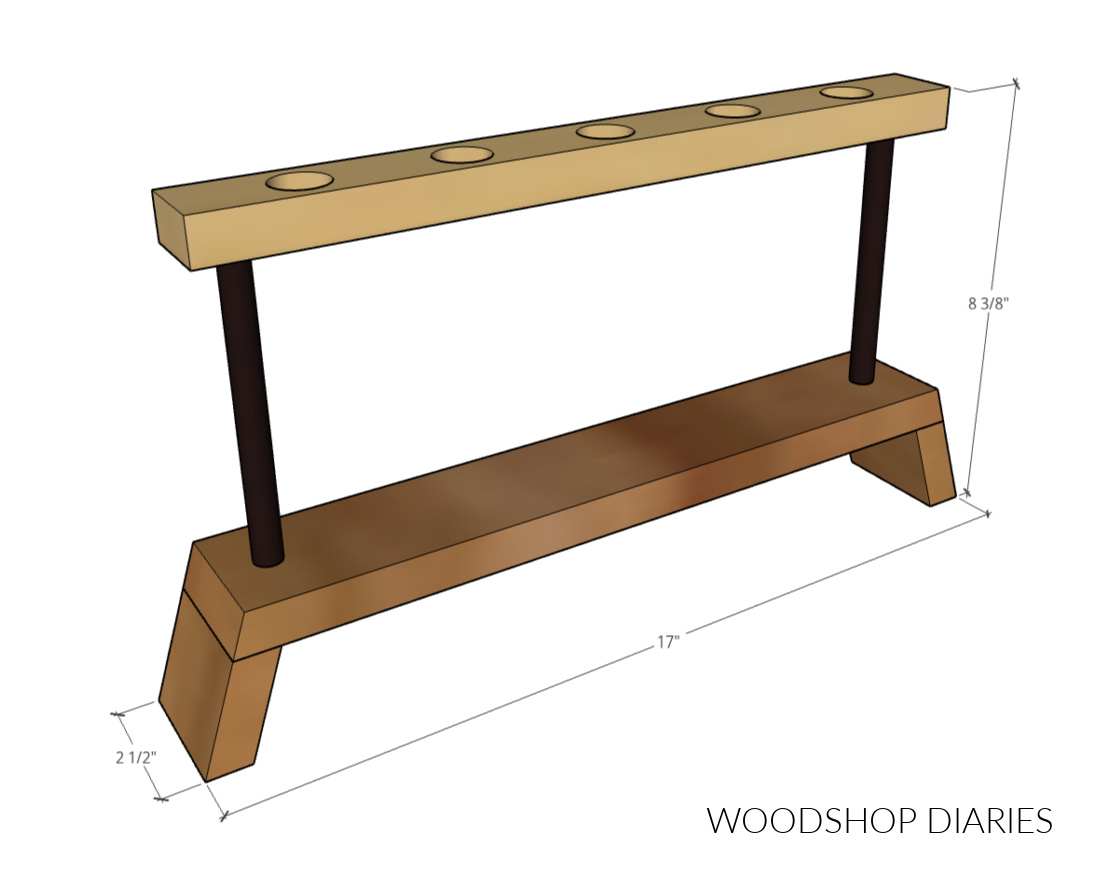
The overall dimensions of this DIY propagation station are 2 ½″ deep x 8 ⅜″ tall x 17″ wide.
Step 1: Cut Scrap Wood to Size
For this project, I used some scrap 1×2 for the top (mine was maple wood), scrap 1×3 for the bottom (mine was walnut wood), and some wood dowels to connect the two.
The dowels I used here were ½″ diameter, but you could use larger ones if you wanted.
I cut my top 1×2 piece to 15″ long with square ends. But for the bottom piece, I beveled the ends.
The 1×3 pieces for the base were cut with 20 degree bevels. The top piece was 15 ½″ long, and the two sides were about 2″ long. If you wanted it taller, you can cut these sides longer.
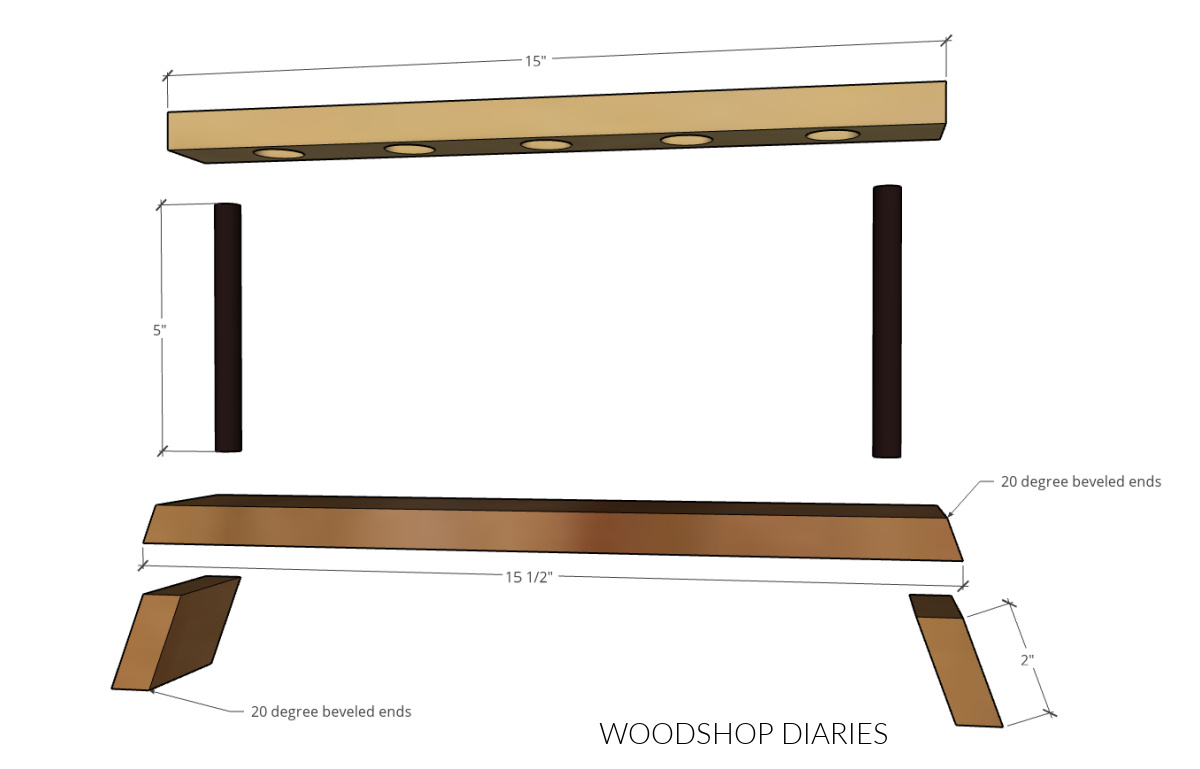
Then, I cut my dowels to 5″ long.
Step 2: Assemble the Base of Propagation Station
I sanded the 1×3 pieces before assembling. Then, I just used some Krazy Glue Fast Dry Wood Glue to glue the top onto the sides.
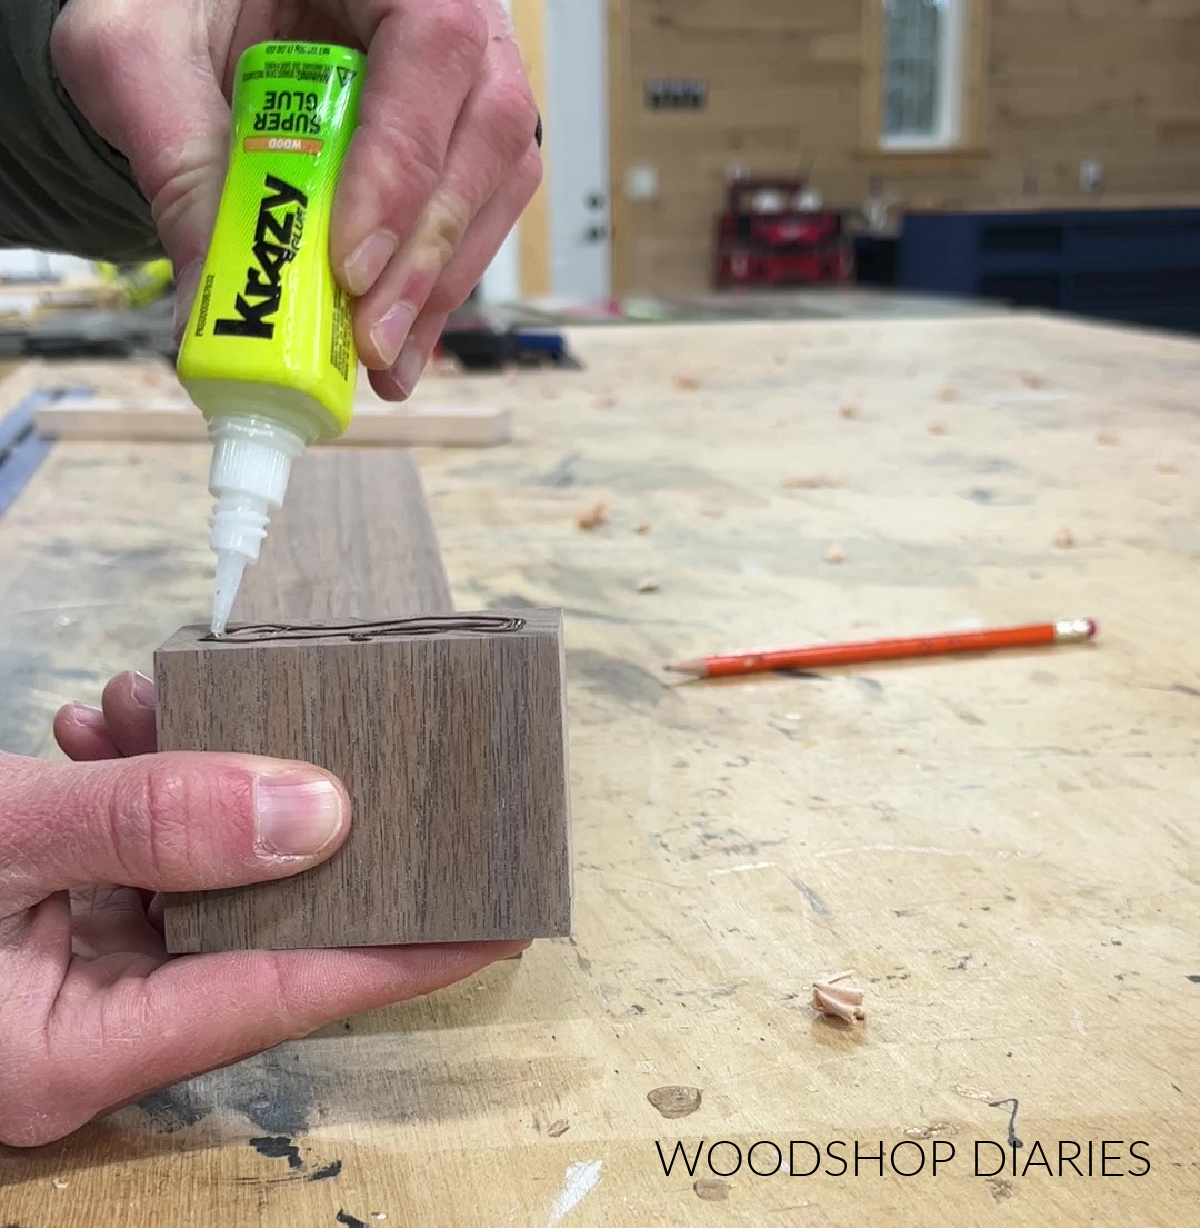
You can certainly use regular wood glue and/or brad nails to secure instead. But the fast dry wood glue was quick and easy. Since it dried quick (like, within seconds quick) I didn’t have to worry with clamps on these weird angles.
I could just hold the pieces together for about 10-20 seconds, then move on to gluing the next piece.
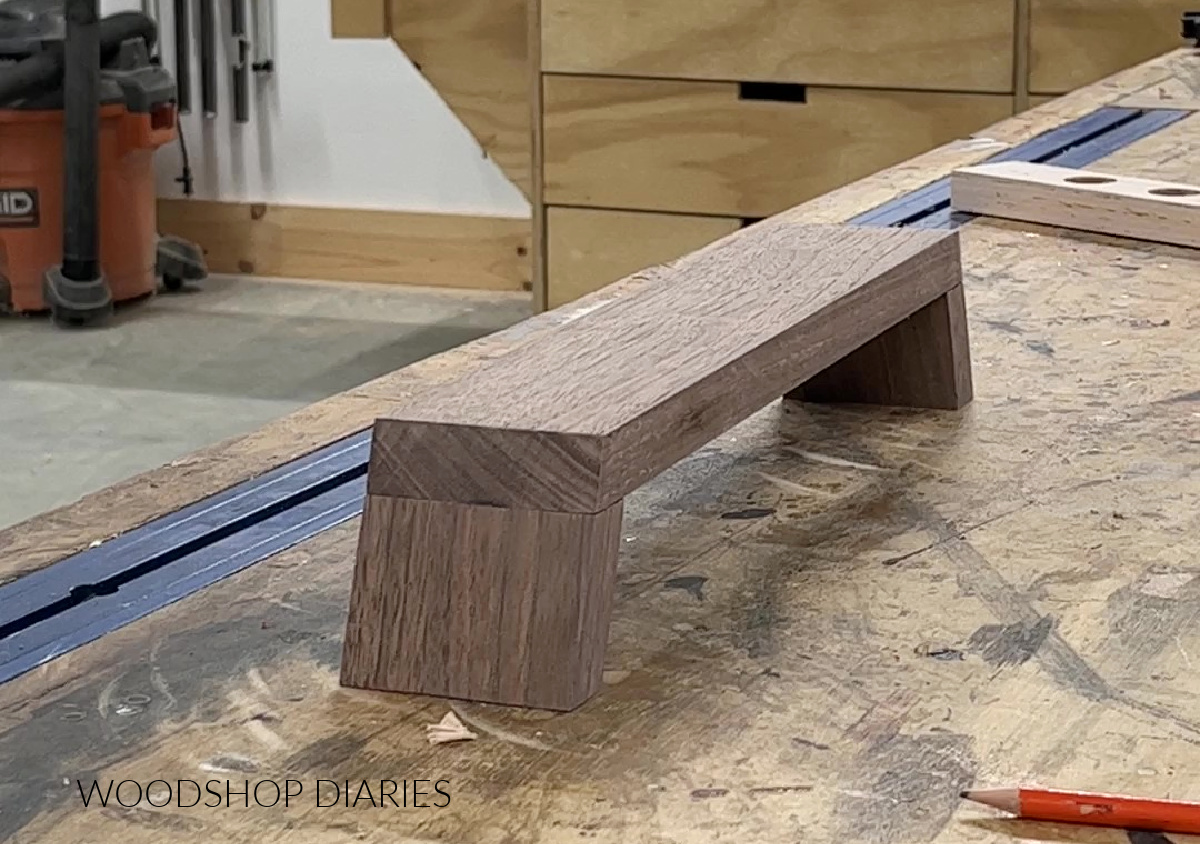
I made sure the sides would angle out on both sides before allowing the glue to dry.
Step 3: Drill Holes for Test Tubes
Once the base was together, I worked on the top half. In order for the test tubes to go into the propagation station, I needed to drill out holes in the top 1×2 piece.
First, I measured the diameter of my test tubes–mine were 1″ overall. So I grabbed a 1″ forstner bit and installed it into my drill.
I measured out 5 evenly spaced locations on my 1×2 leaving plenty of room on the ends to attach the dowels later.
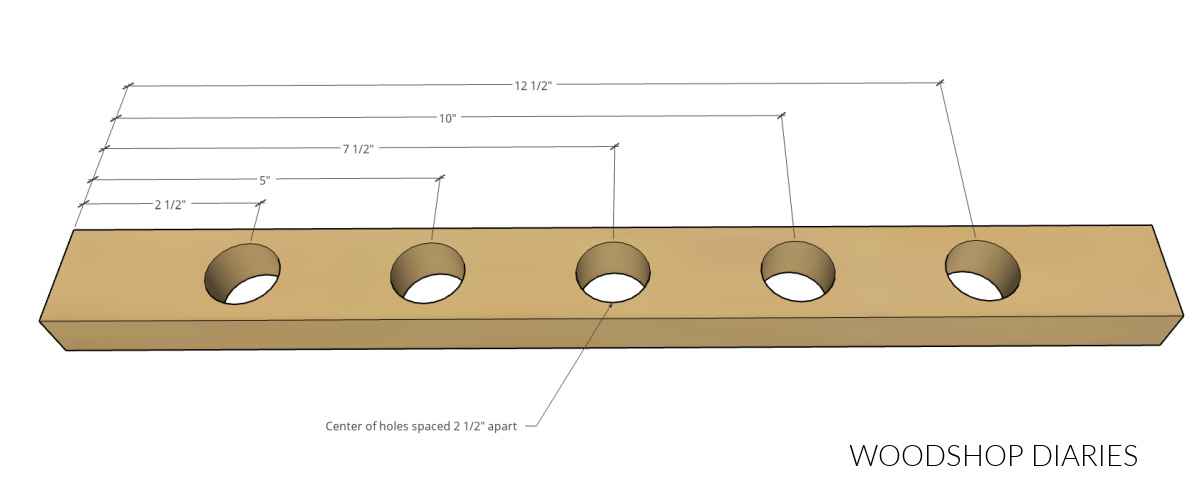
TIP: Draw a mark down the centerline of the board, then measure and mark your hole locations along this mark. That way, the holes stay straight down the length of the board.
Once the hole locations were marked, I used my drill with forstner bit to drill them out. Make sure to keep the drill as straight as possible so your test tubes will stand straight.
If you had a drilling guide or a drill press, that would be great to use here as well.
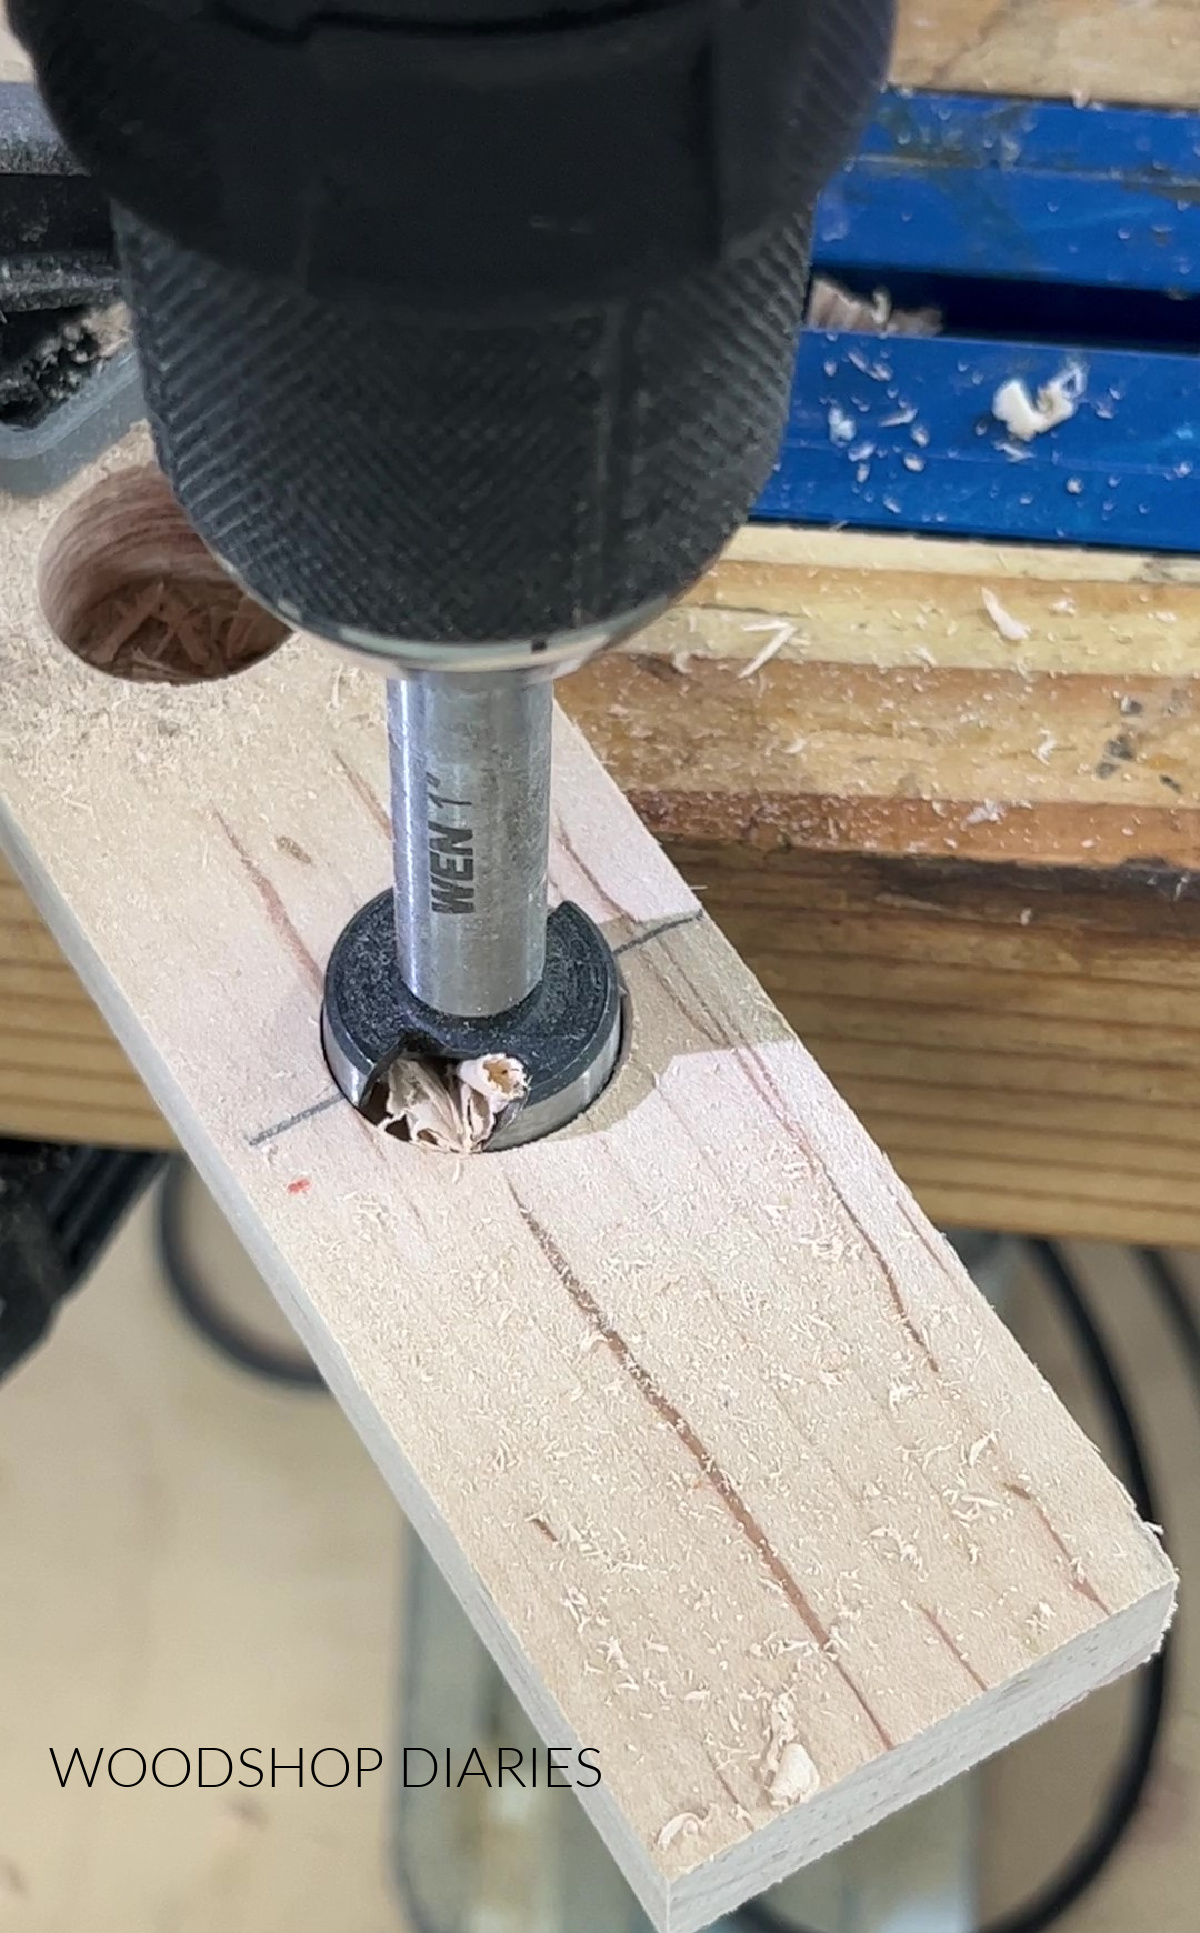
NOTE: Make sure to securely clamp the workpiece before drilling!
Step 4: Assemble Propagation Station
I used Krazy Glue Fast Dry Wood Glue again to assemble the dowels between the top and the base here. This held fine with just the glue.
However, in hindsight, I wish I had drilled out some holes for the dowels to go into just to give it a little more surface area for the glue to adhere to.
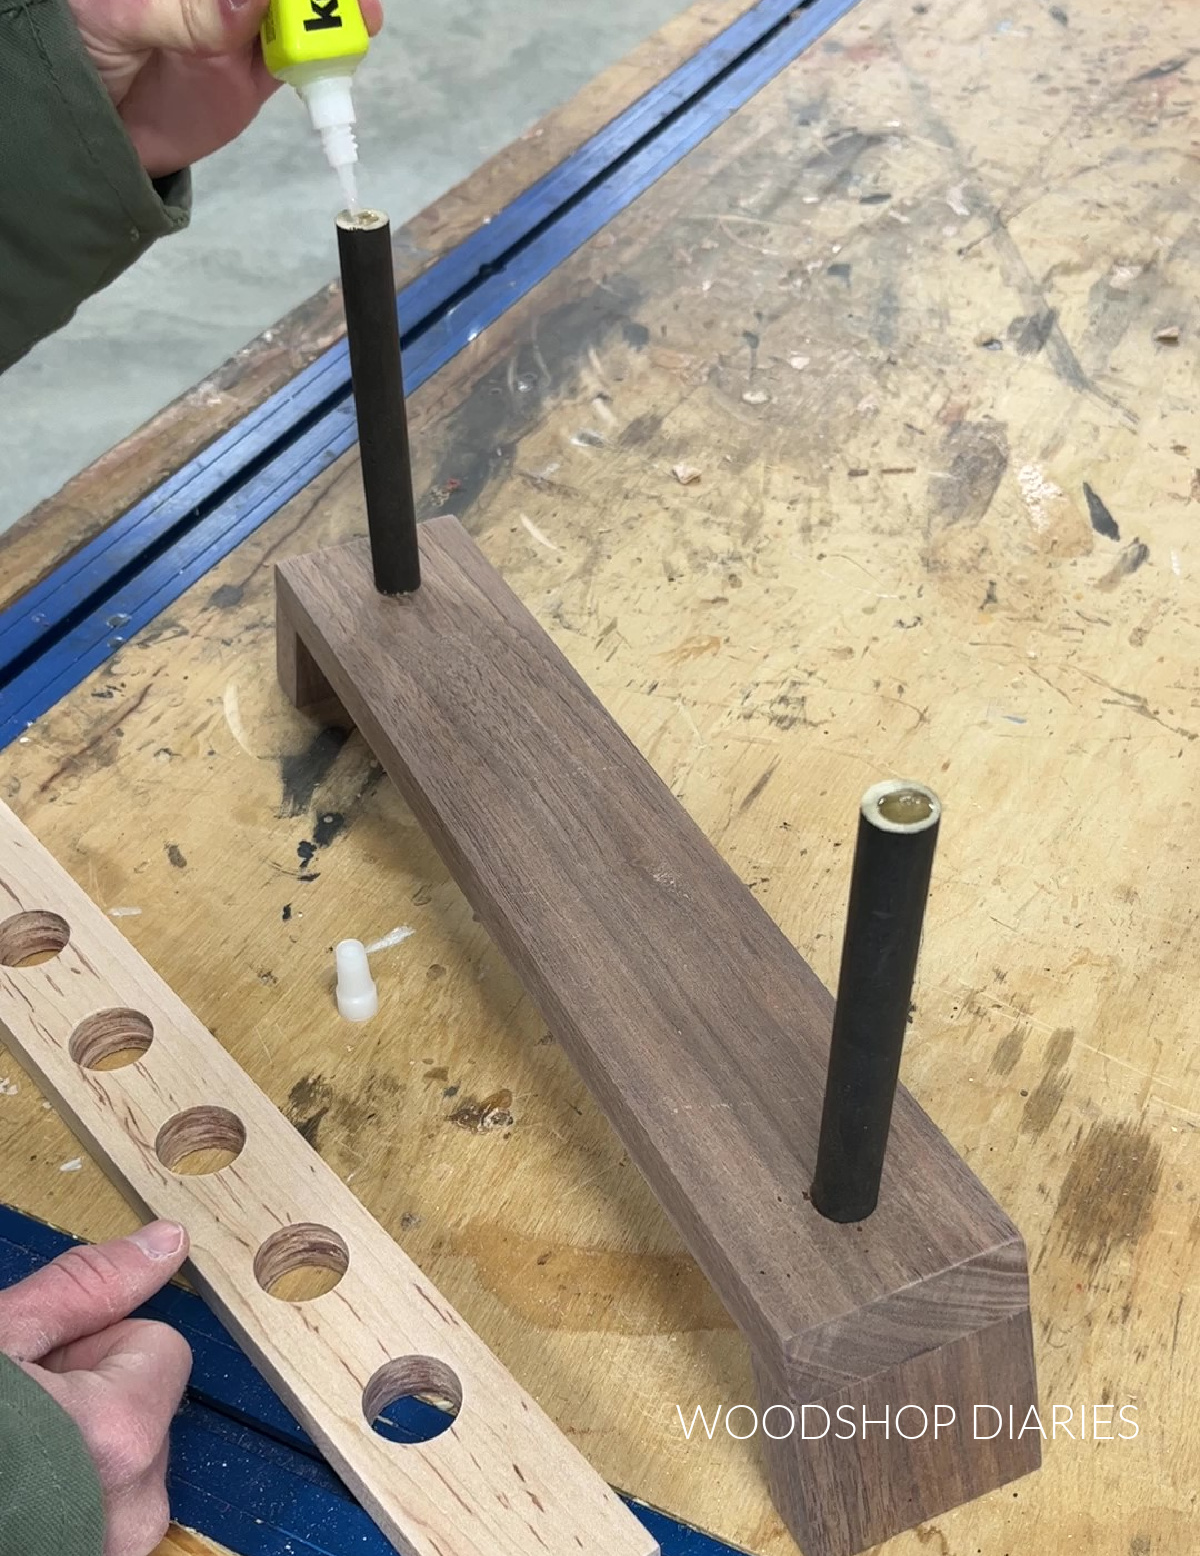
NOTE: If you want to paint or stain any of the pieces, do so now before assembling. I stained the dowels in Minwax True Black, making sure to avoid getting stain on the ends.
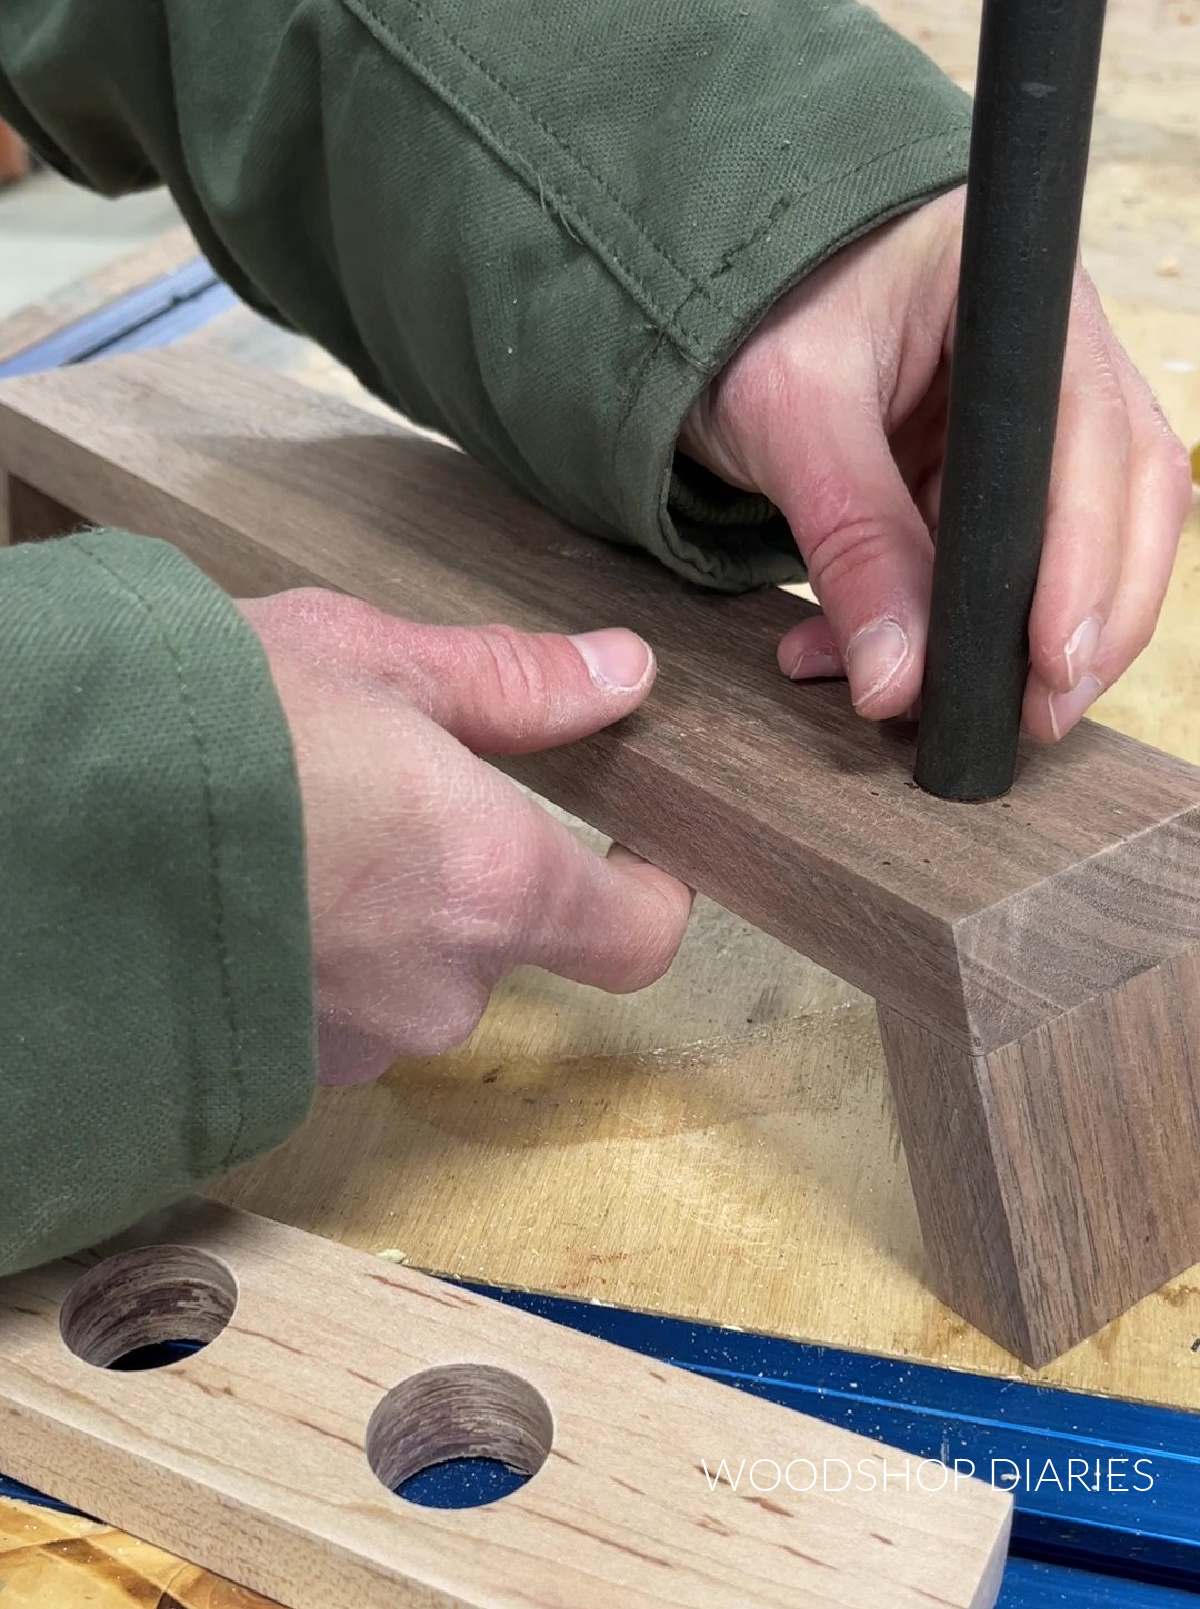
I applied some glue to the base on each end and held the end of the dowels on it until it dried (about 30 seconds).
NOTE: If you paint or apply an oil based stain to any of the pieces, keep in mind the glue may have a hard time sticking to it. So in those cases, I definitely recommend drilling out some holes in the base and the top to insert the dowels vs just gluing them onto the surface.
To make this a little more secure, use a forstener bit the same diameter as your dowels and drill out holes about ¼″ – ½″ deep in the top side of the base and the bottom side of the top piece where you want your dowels to go.
Add wood glue into the holes and insert the dowels. I used this method on this DIY wooden drink coaster project.
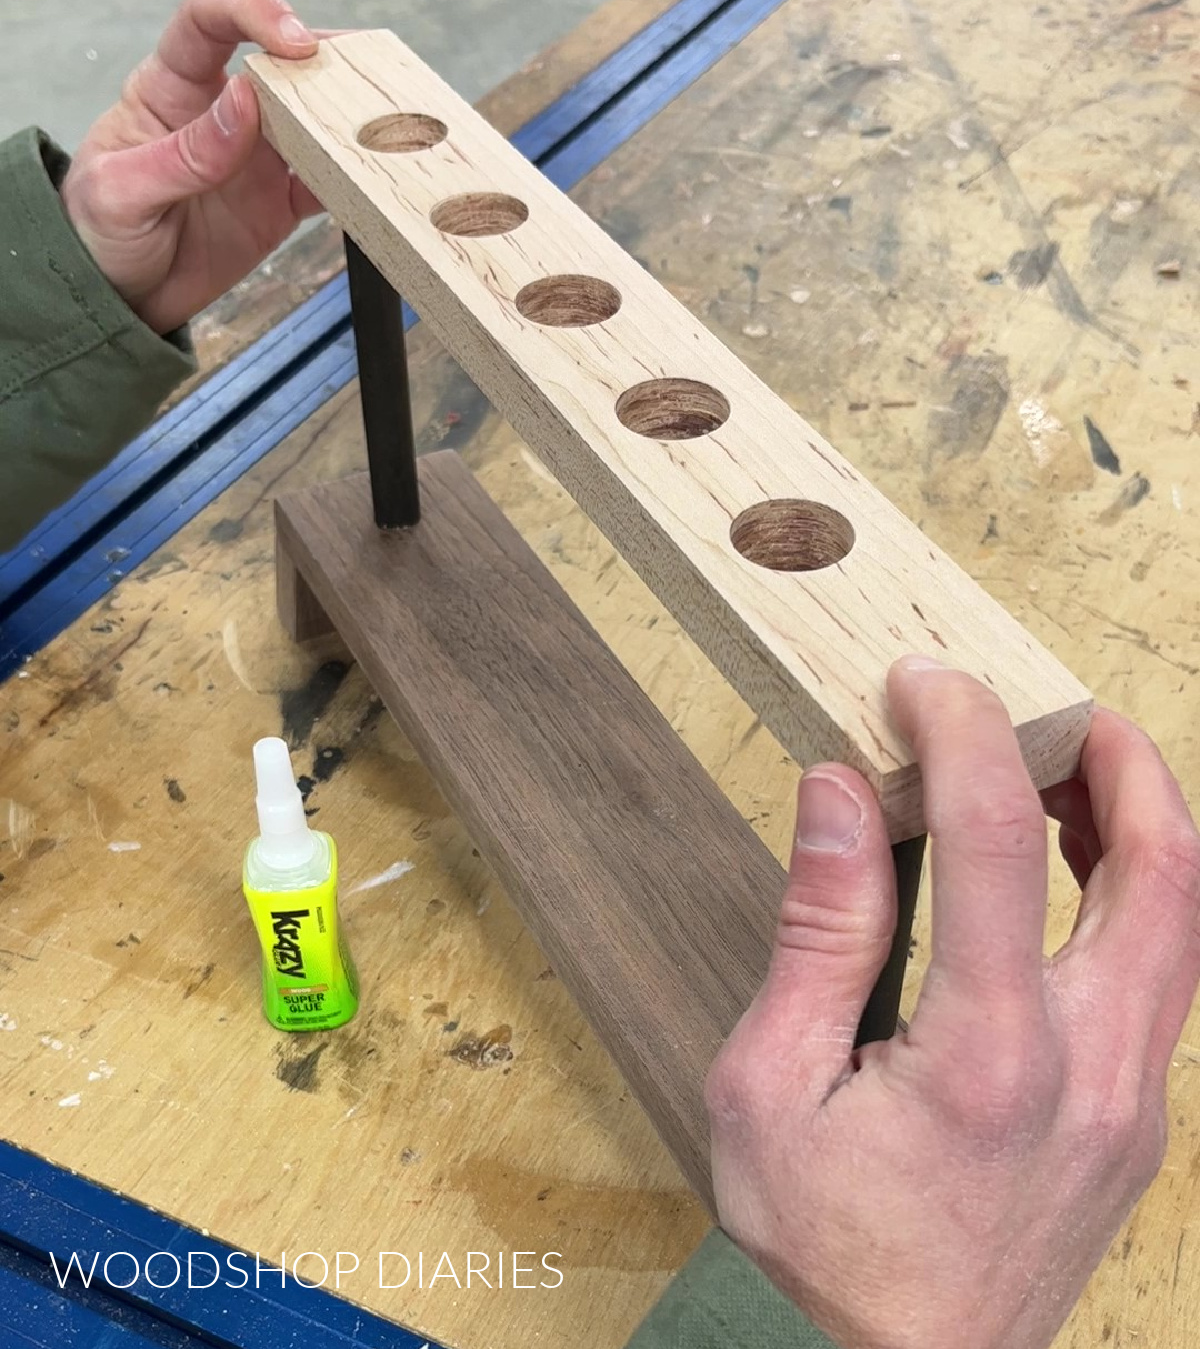
Once the dowels were secured to the base, I added some more Krazy Glue to the tops of each dowel and added the top.
I held the pieces together tight until it dried–about 30 seconds.
Then, I allowed the glue to fully cure for a few minutes according to the instructions.
Step 5: Finish and Add Propagation Tubes
Once the glue was completely cured, I applied some Walrus Oil Furniture butter to bring out the colors of this maple and walnut and give it a little protection.
Then, I slipped the test tubes in, added some water, and dropped in my plant cuttings.
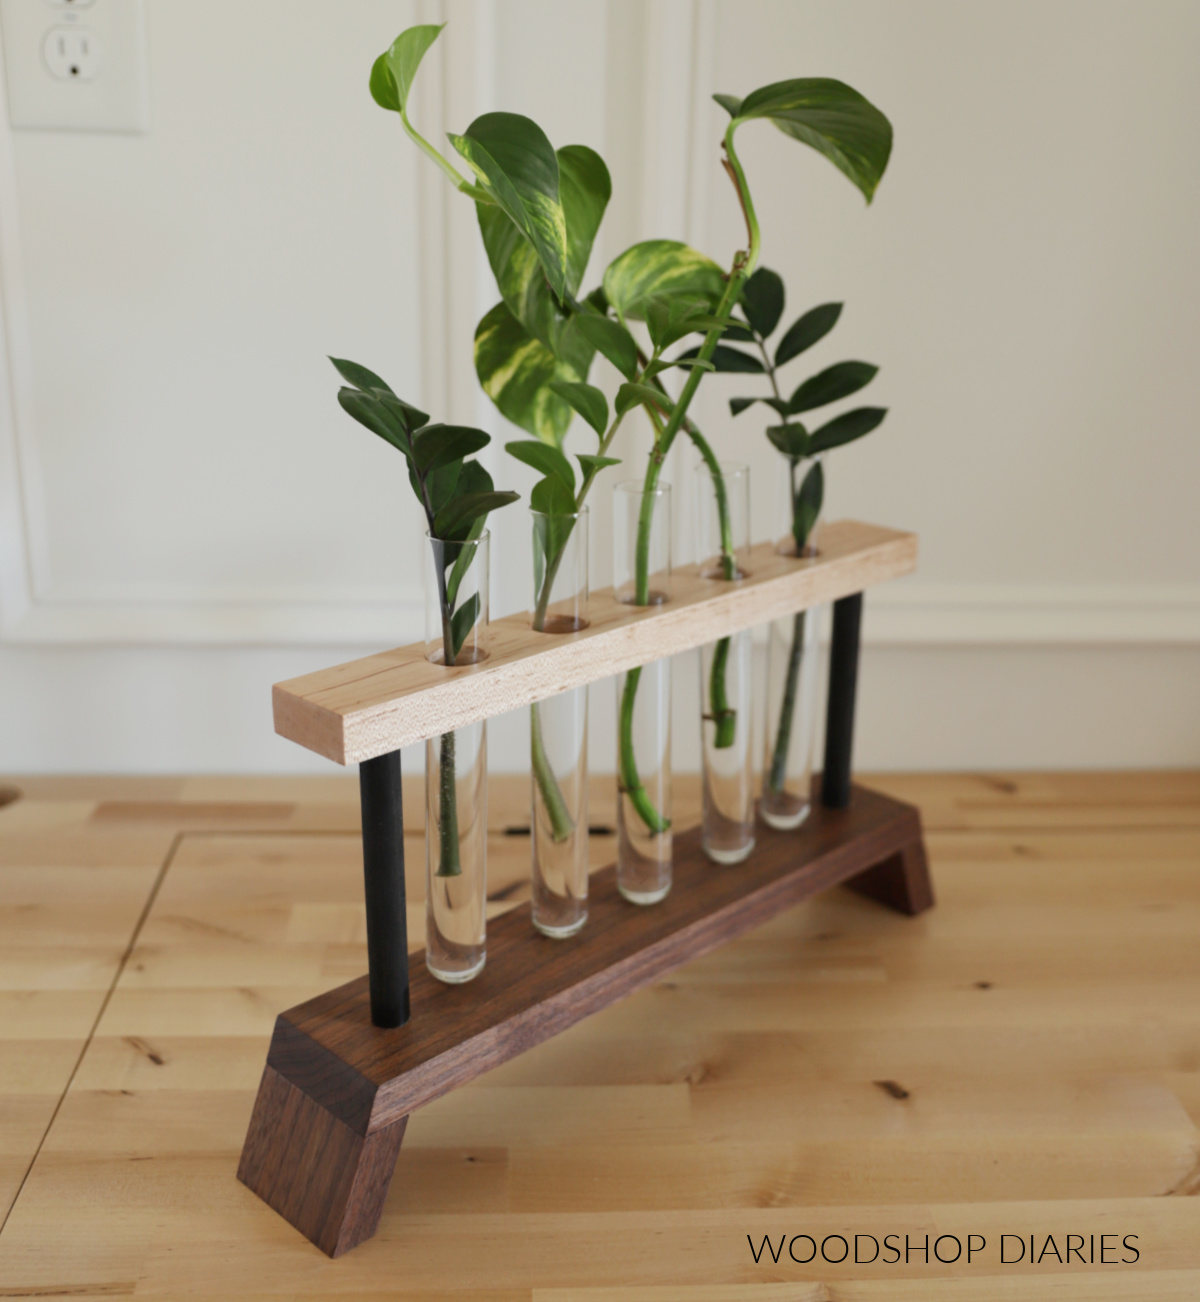
I love the simple, modern vibe of this project and am excited to watch my cuttings sprout roots and swap them out for new cuttings every few weeks.
If you didn’t want to use this as an actual propagation station, it would certainly make a cute vase as well. Just drop in a few flowers or some greenery and use it as a centerpiece.
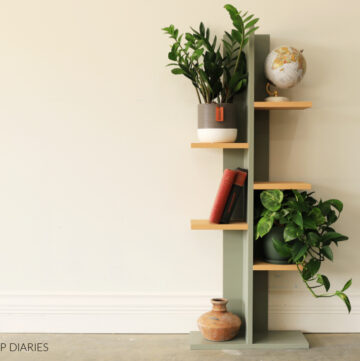
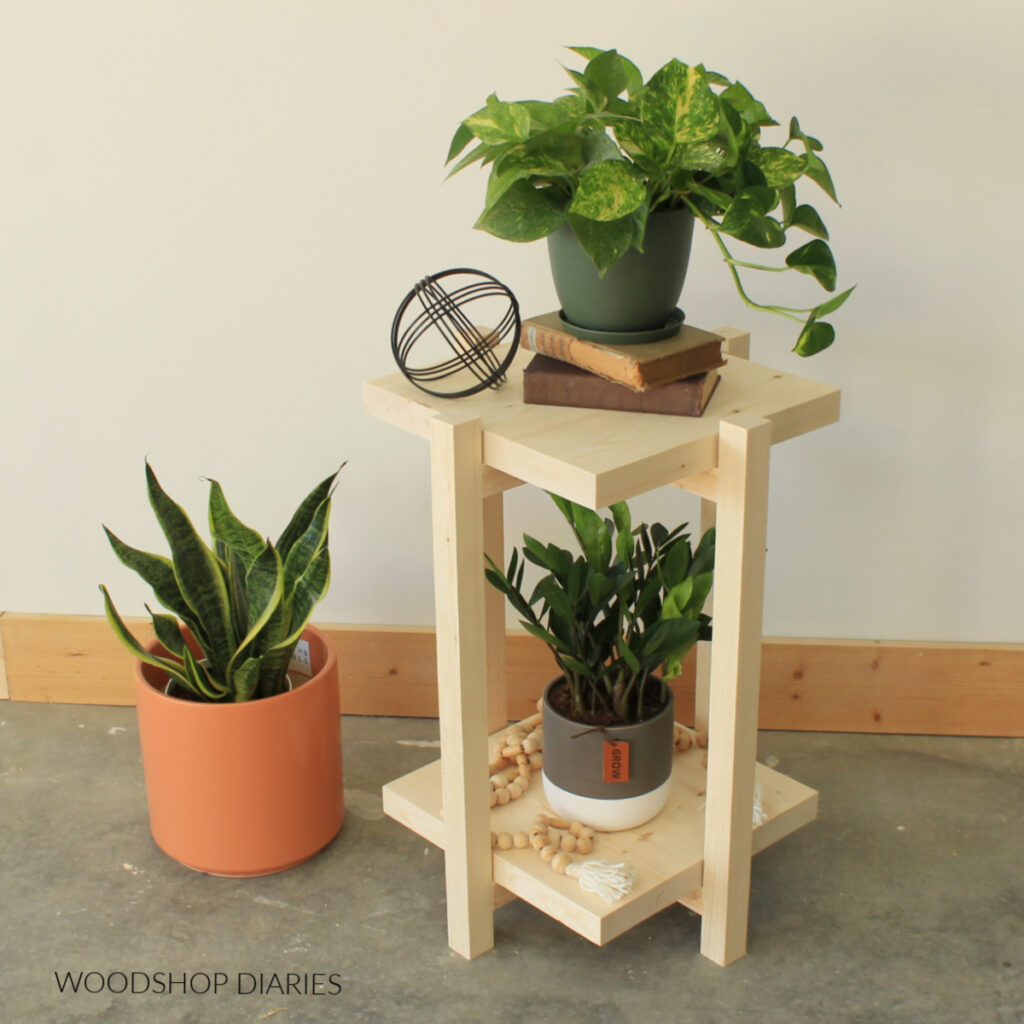
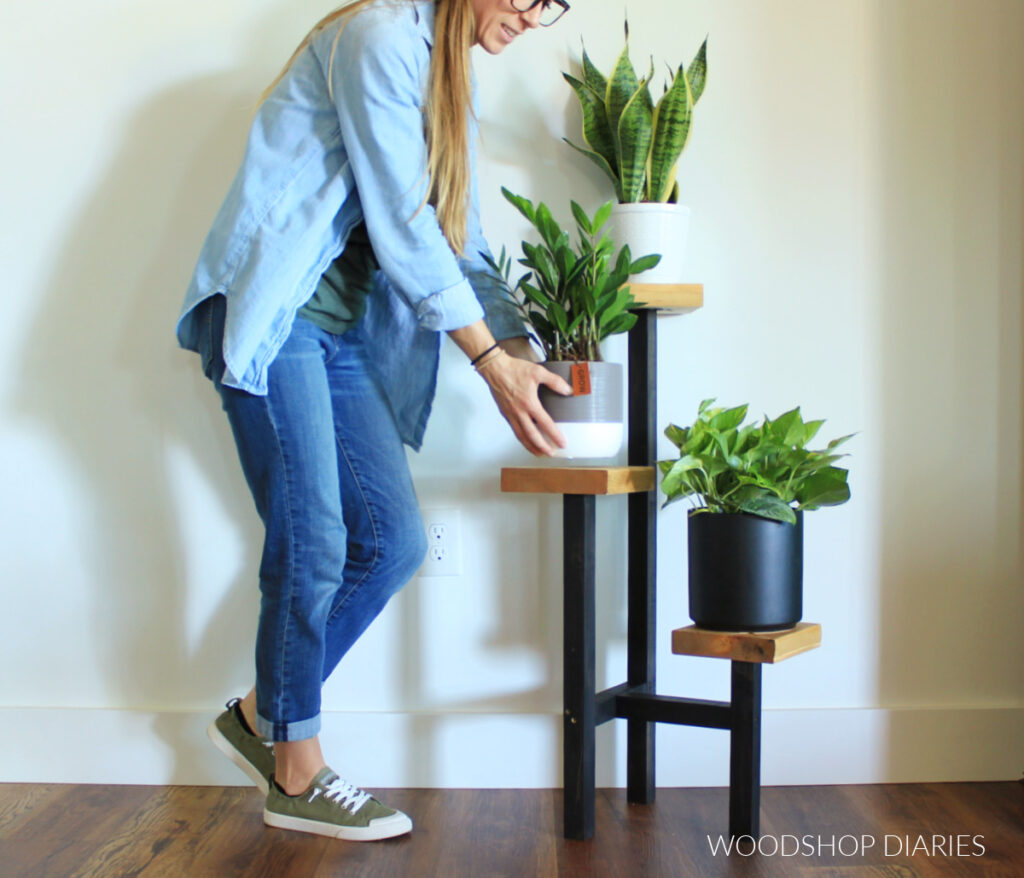
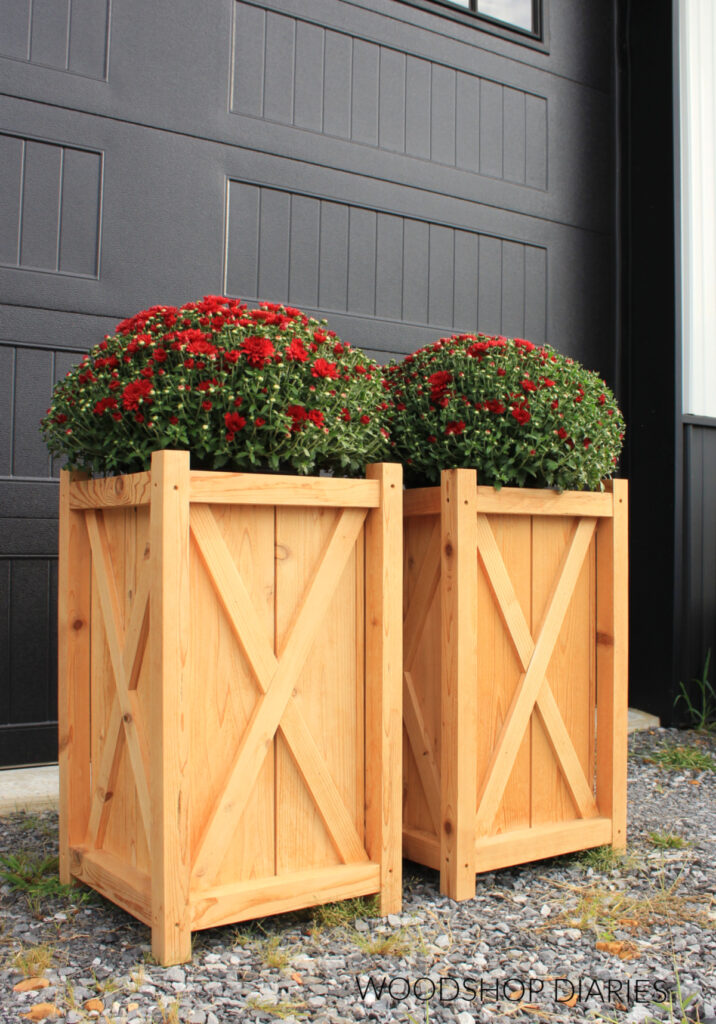
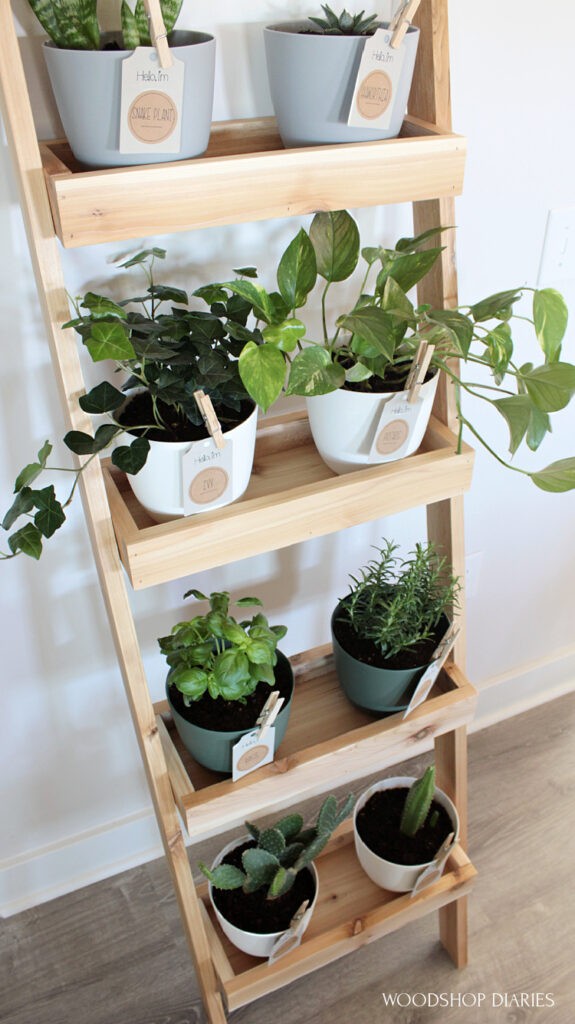
Looking for more DIY plant projects?
I hope you enjoyed this simple scrap wood propagation station project and if you’re looking for more DIY plant projects, here are a few fun ones!
Don’t miss out on all the latest projects and plans! Subscribe to the FREE newsletter for priority access to new content!
If you’d like to save this for later, be sure to pin it or share it to your favorite social channel!

Until next time, friends, happy building!