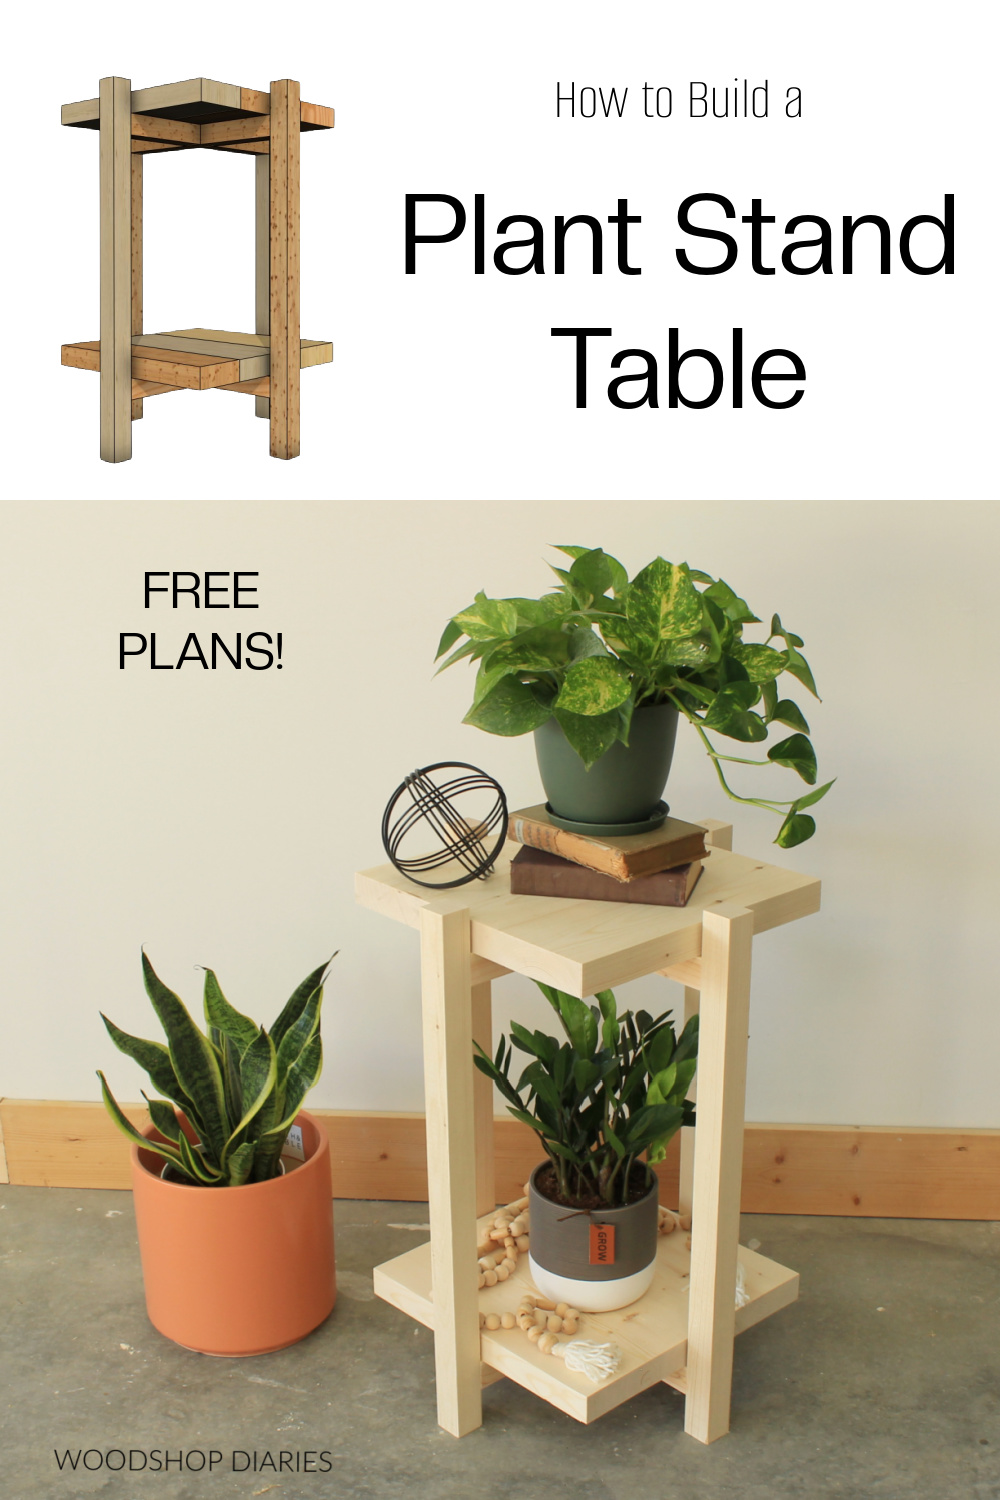
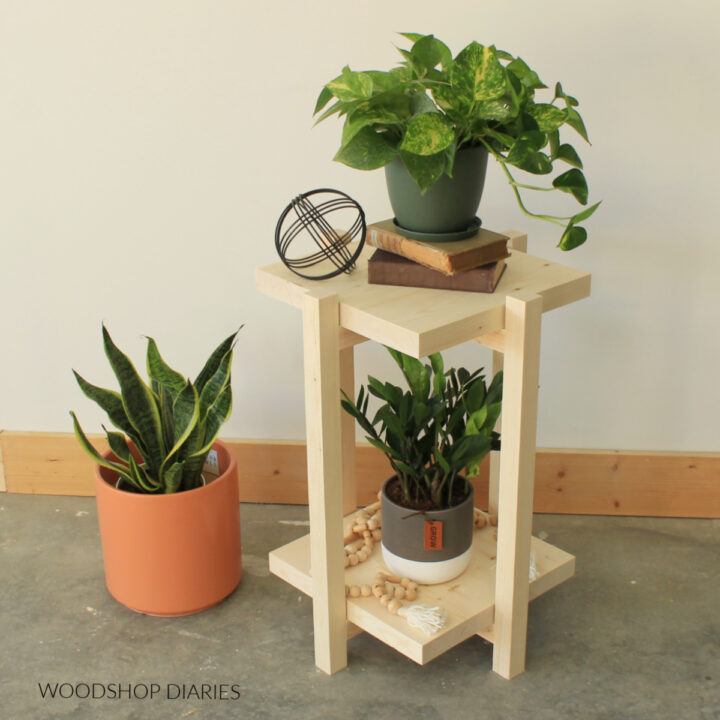
In this post, I’m sharing how to build a simple two-tiered DIY plant stand that also doubles as an end table!
*This post was sponsored by MakeByMe and also contains affiliate links. See website policies.
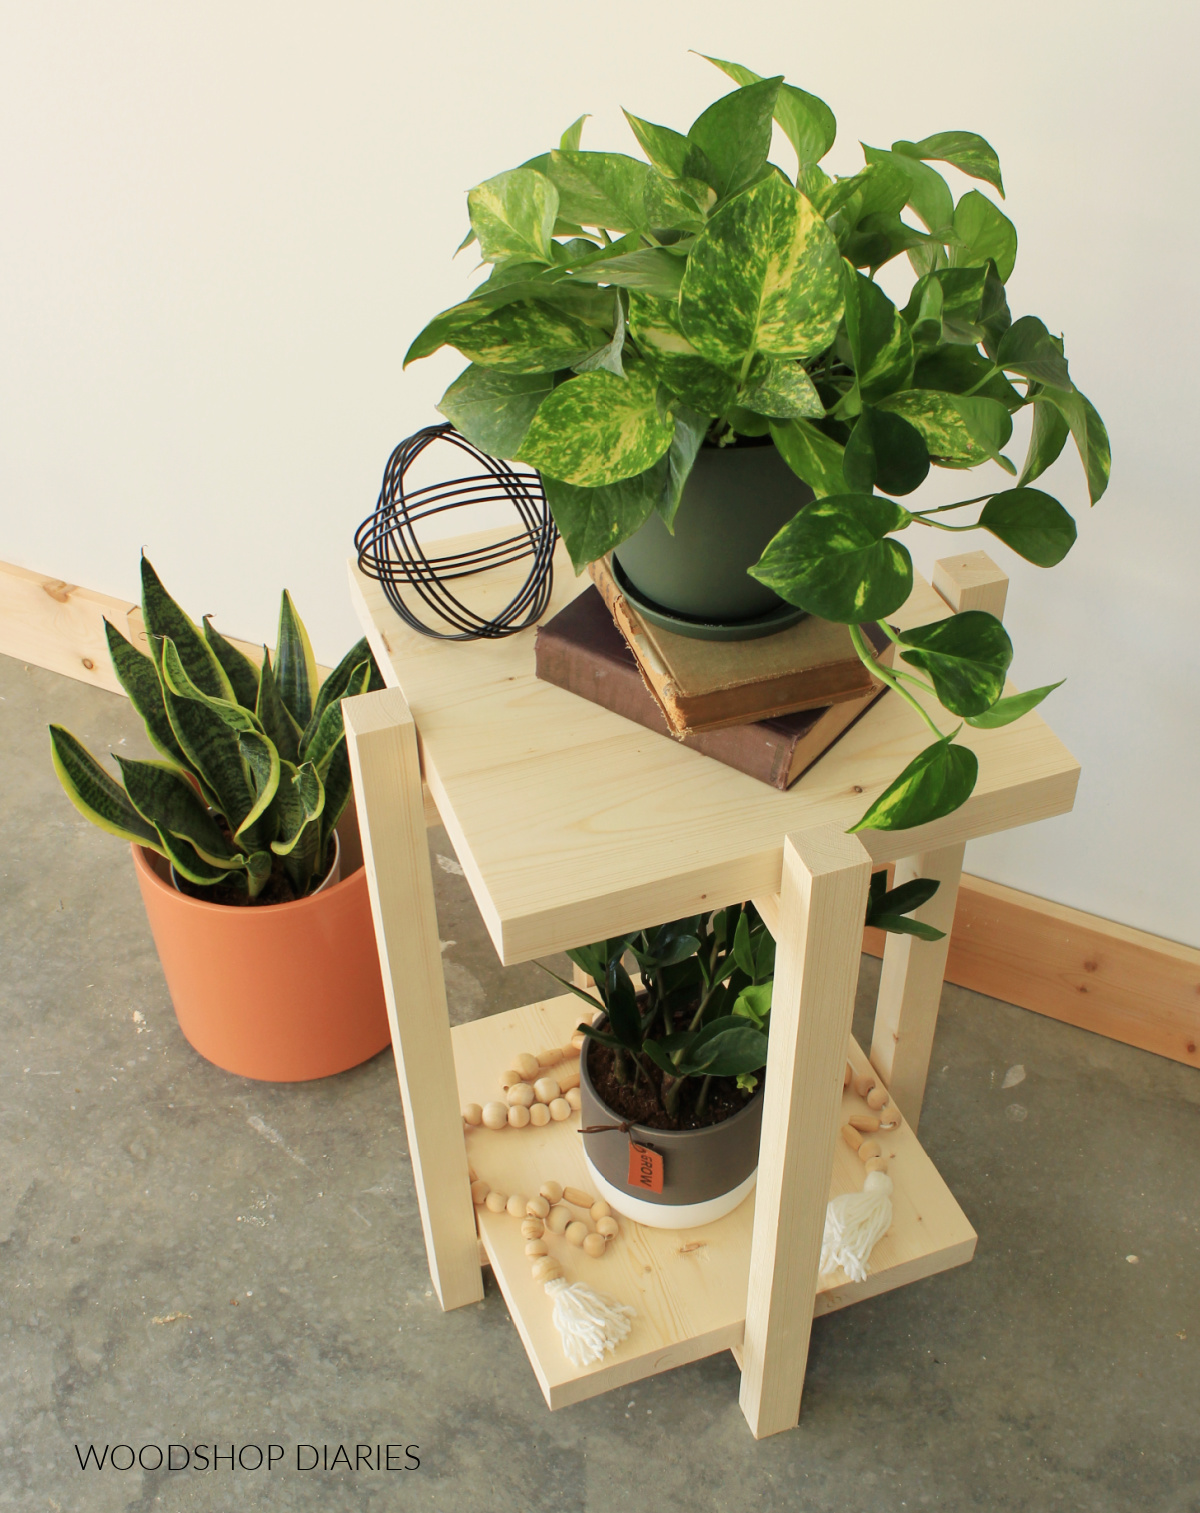
One can never have too many indoor plants, am I right?
However, if you keep adding to the collection, eventually you get to the point where you have to start storing them UP vs. OUT.
After all, there’s only so much room on the floor and the window sill.
So small tiered tables are a great option to store and display a few of those extra plants.
But, even if you aren’t a plant person, this easy DIY plant stand is also perfect as an end table next to your favorite chair or couch for books, a lamp, or a place to set your drink.
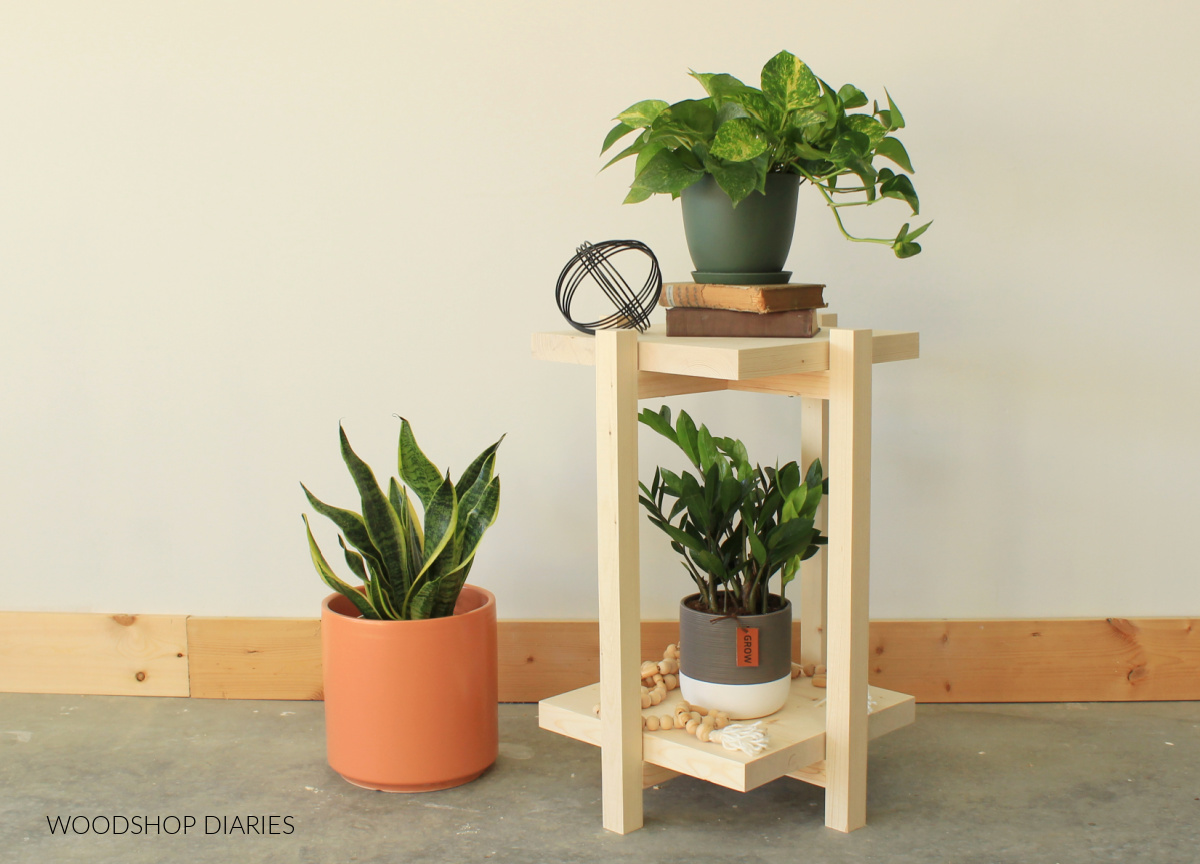
No matter what you use it for, it’s a great weekend woodworking project and also makes an excellent gift idea!
So let’s dive in and see how to build it!
Tools & Materials:
Tools:
- Miter Saw
- Jig Saw (optional)
- Circular Saw (optional)
- Drill/Driver
- Pocket Hole Jig
- Clamps
Materials:
- (1) 2x6x8 board
- (2) 1x2x8 boards
- 2 ½” pocket hole screws
- 2 ½” wood screws & washers
- Wood Glue
A Few Notes Before Building
This is a great beginner project build that should only take a couple hours (at the most) to build.
You may even be able to search your scrap pile and find everything you need to build it without buying any new lumber!
I used construction grade pine to build this end table and those boards typically come with rounded corners.
To make the joints look a little cleaner, I recommend removing the rounded corners if possible.
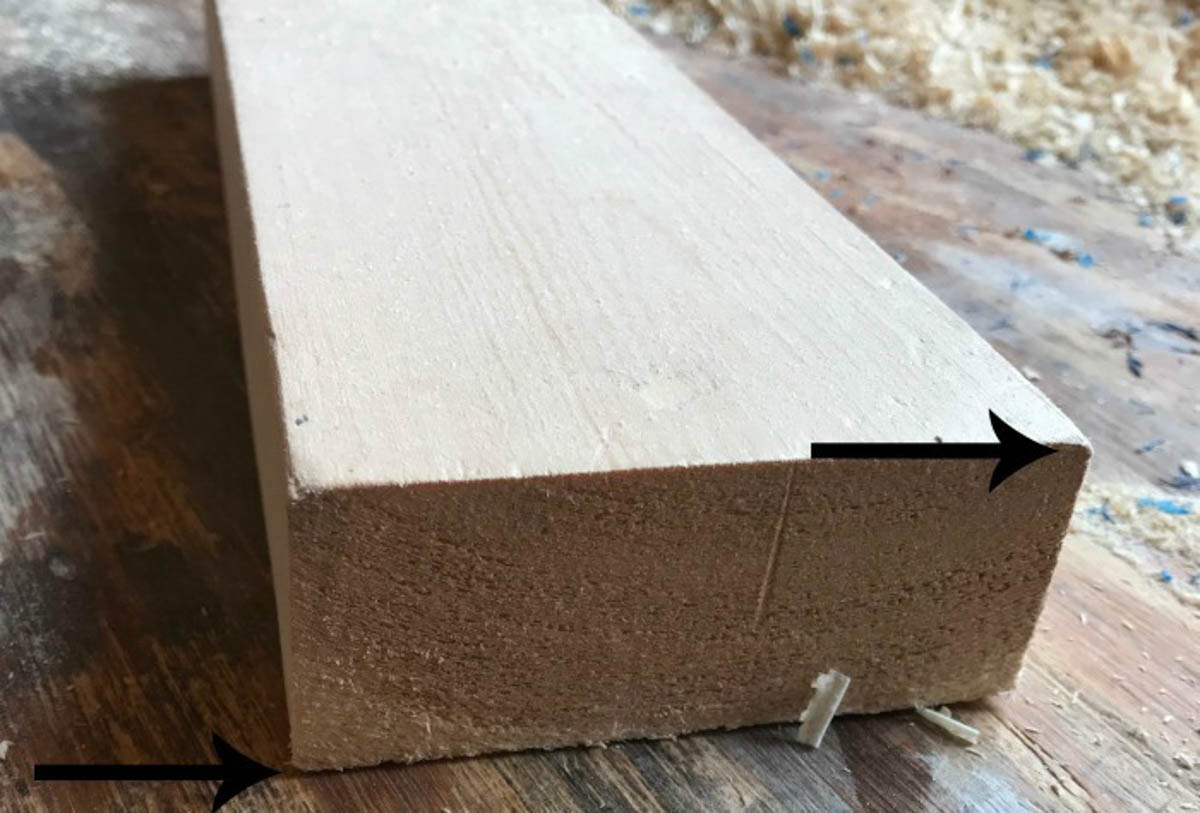
It’s not NECESSARY, but it does makes for a smoother looking project.
RELATED: 5 Secrets to Professional Looking DIY Projects
If you’re curious how to do that, check out this post for how to square board edges and how to make your own 2x2s.
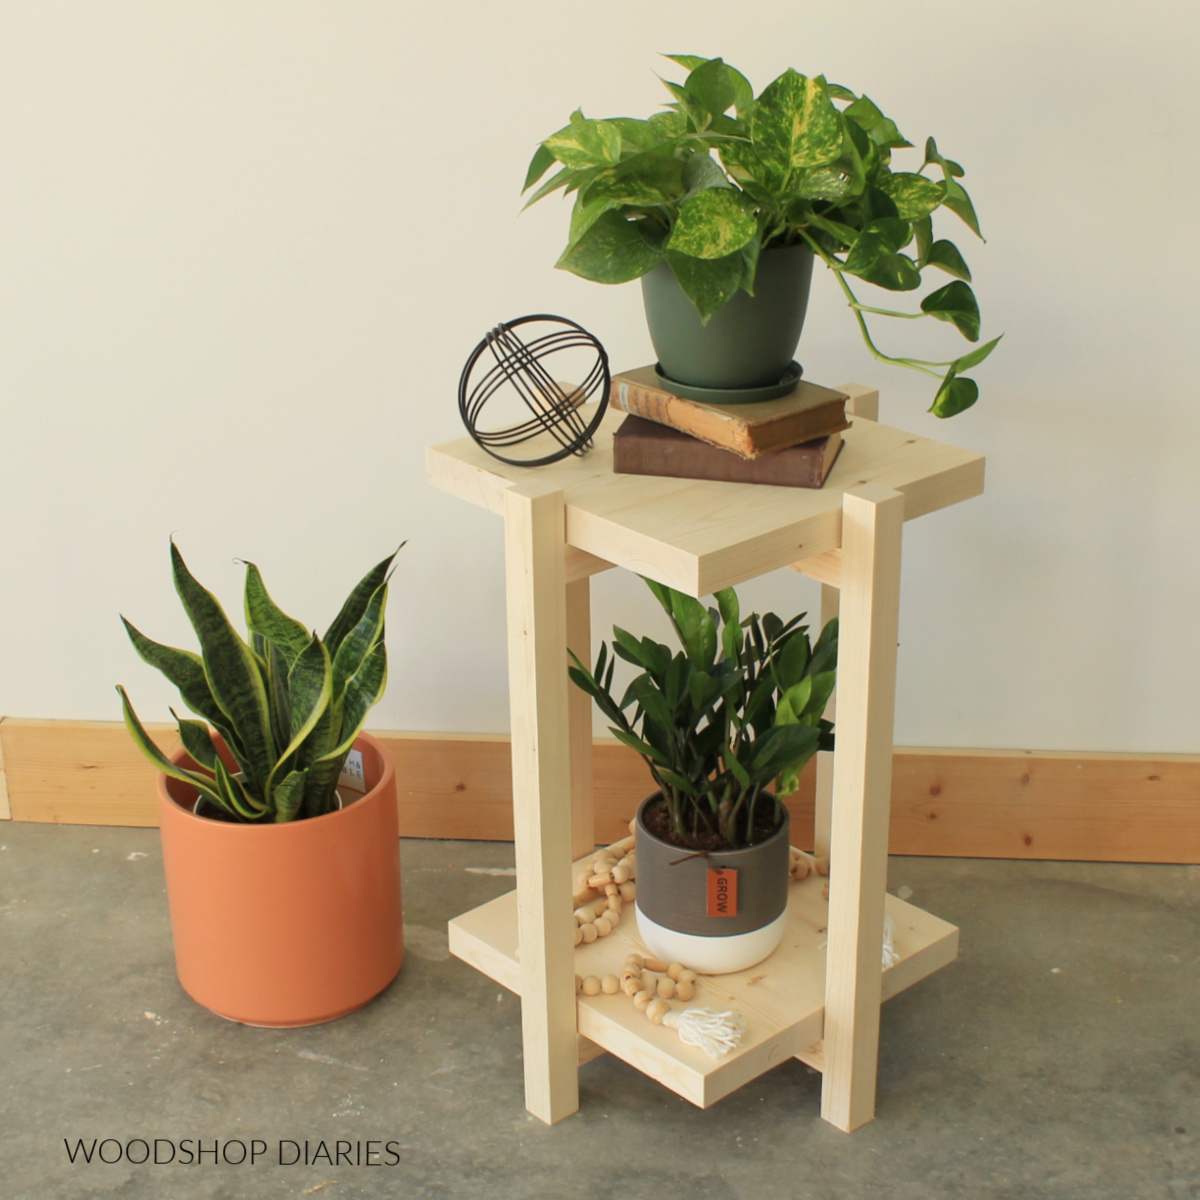
The overall dimensions of this DIY end table are 18″ wide x 18″ deep x 26″ tall.
Helpful Resources for This Project:
- How to glue up solid panels
- How to make your own 2x2s and square board edges
- How to use a pocket hole jig
Drawing the Building Plans
I partnered with MakeByMe to share the building plans for this plant stand/end table with you at the end of this post.
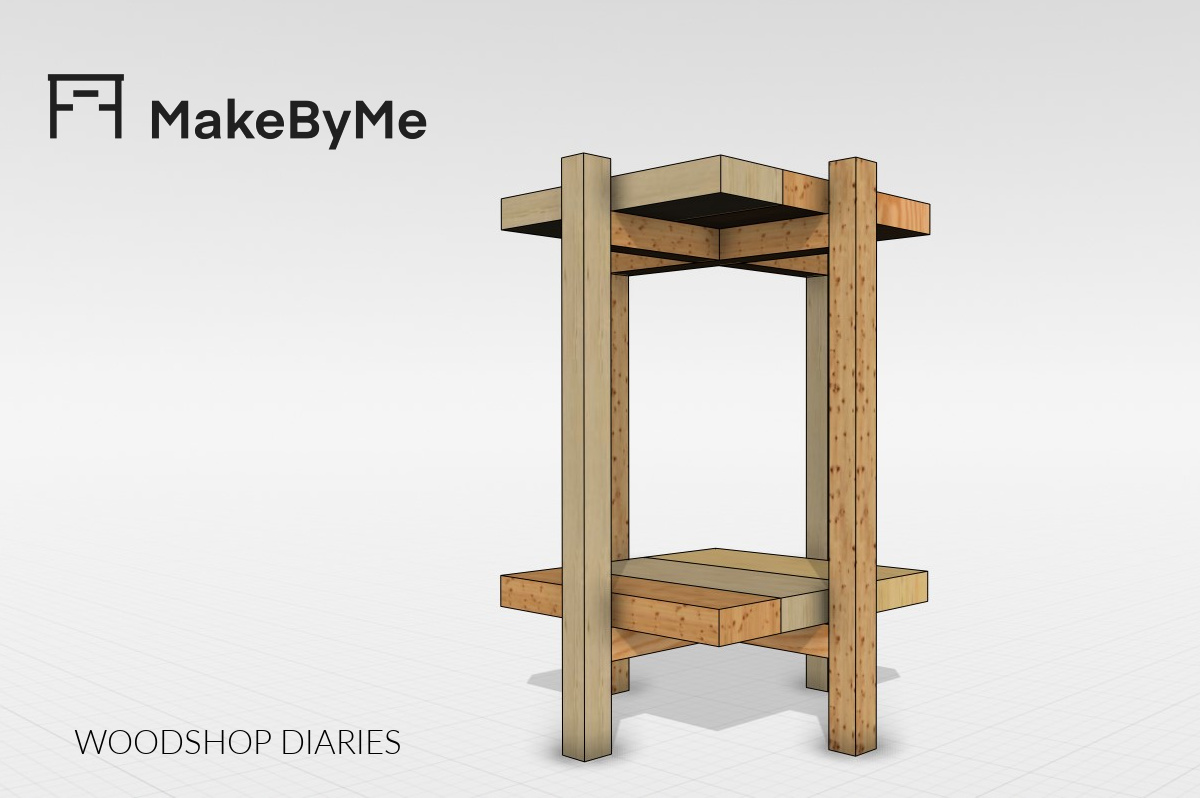
MakeByMe is a 3D modeling app that allows you to draw out your projects in a realistic looking digital environment before ever building anything.
One of my favorite features of the app is that once you’ve “built” your project digitally, the software automatically puts together a materials, tool, and cut list, along with a list of steps for assembling each joint.
Learn more about MakeByMe here.
How to Build a DIY Plant Stand End Table
If you’re ready to get building, let’s dive into the details.
This project should only take a couple of hours (at the most!) and just a few basic tools.
Step 1: Assemble X Braces
First, I cut down (2) 15″ long 2x2s and (4) 6 ¾″ long 2x2s to make two “X” shapes.
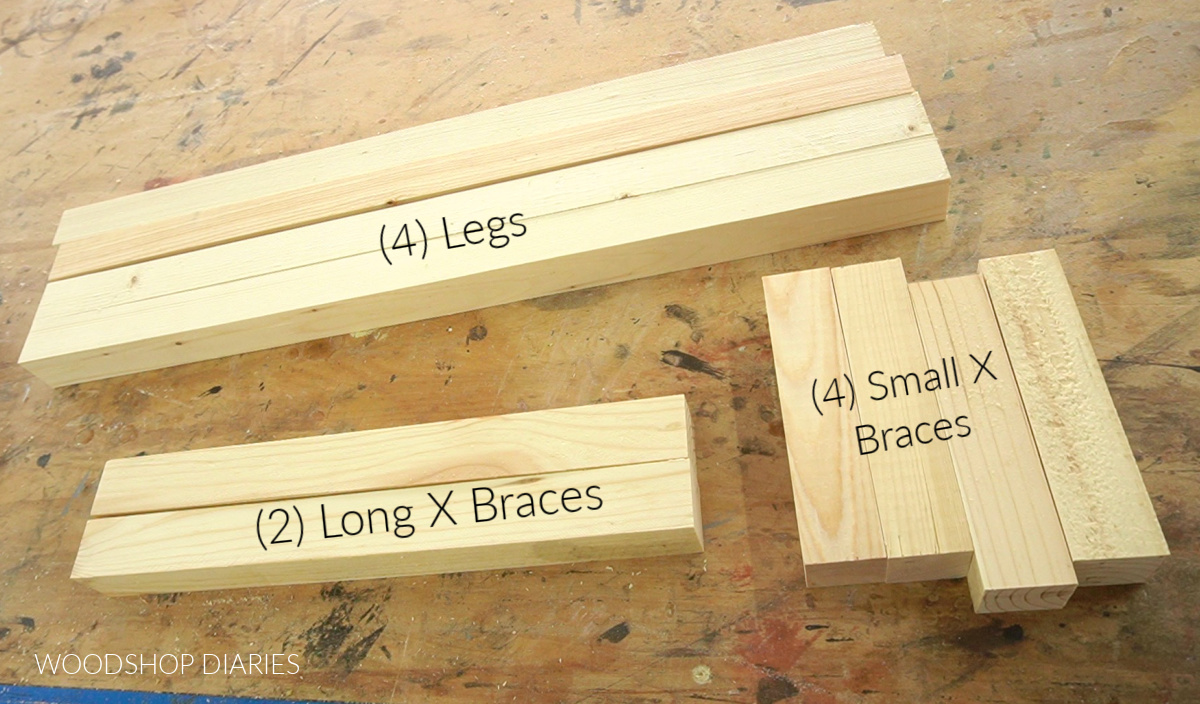
I drilled 1 ½″ pocket holes into the ends of each piece.
RELATED: How to use a pocket hole jig
Now, it’s usually recommended to use 2 screws per joint. However, when working with pocket holes on 2x2s, I’ve found that using 2 screws tends to cause splits.
So, I use 1 pocket hole on 2x2s and make sure to use plenty of wood glue.
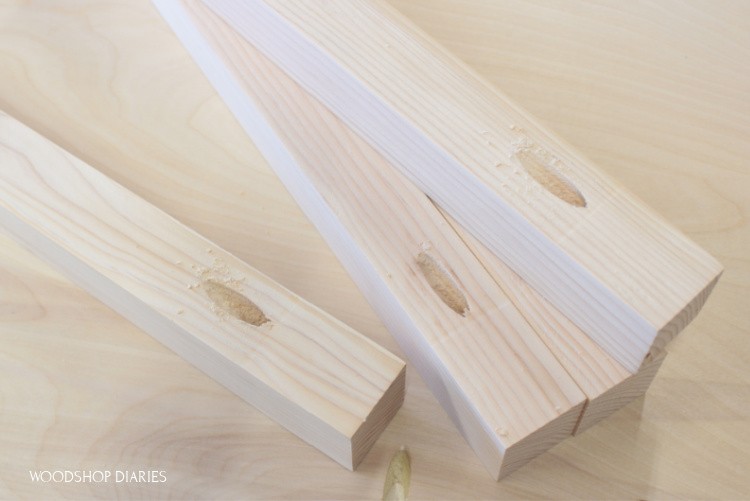
Once the pocket holes were drilled, I used wood glue and 2 ½″ pocket hole screws to assemble the 2 short pieces at the center of the long pieces to form two “X”s like shown below.
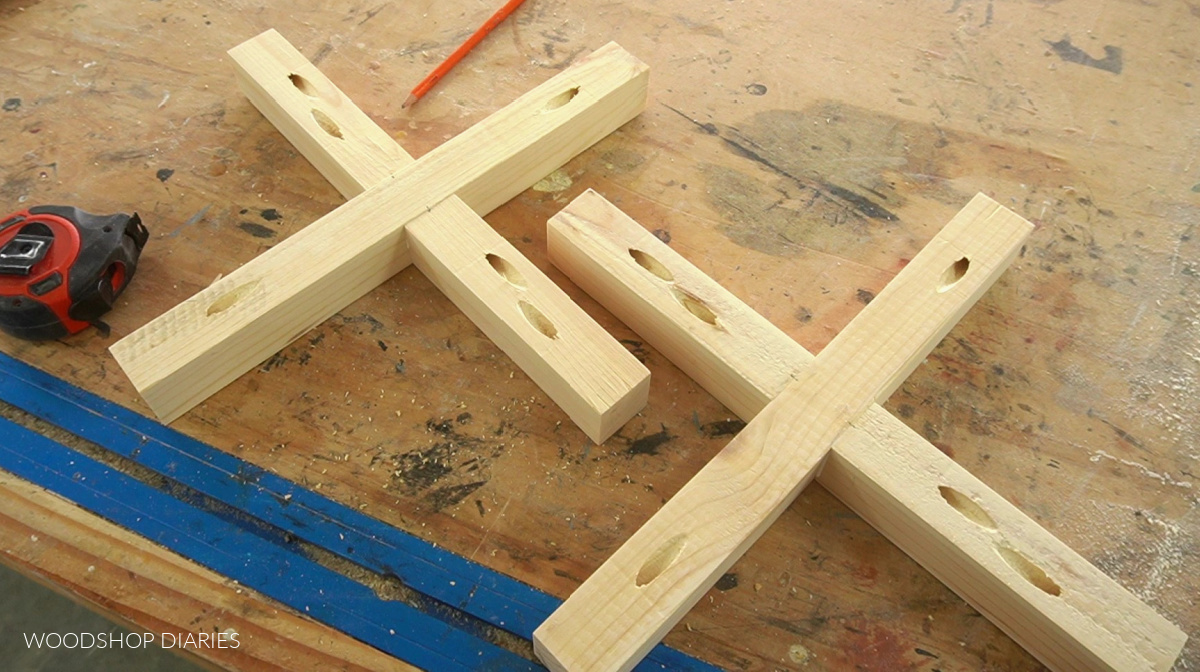
These braces will support the top panel and bottom shelf.
Step 2: Add Table Legs to Complete End Table Frame
I cut four 2×2 table legs to approximately 26″ long. If you prefer a taller or shorter table, feel free to modify this length.
Then, I used wood glue and 2 ½″ pocket hole screws to secure each branch of both X braces to each leg.
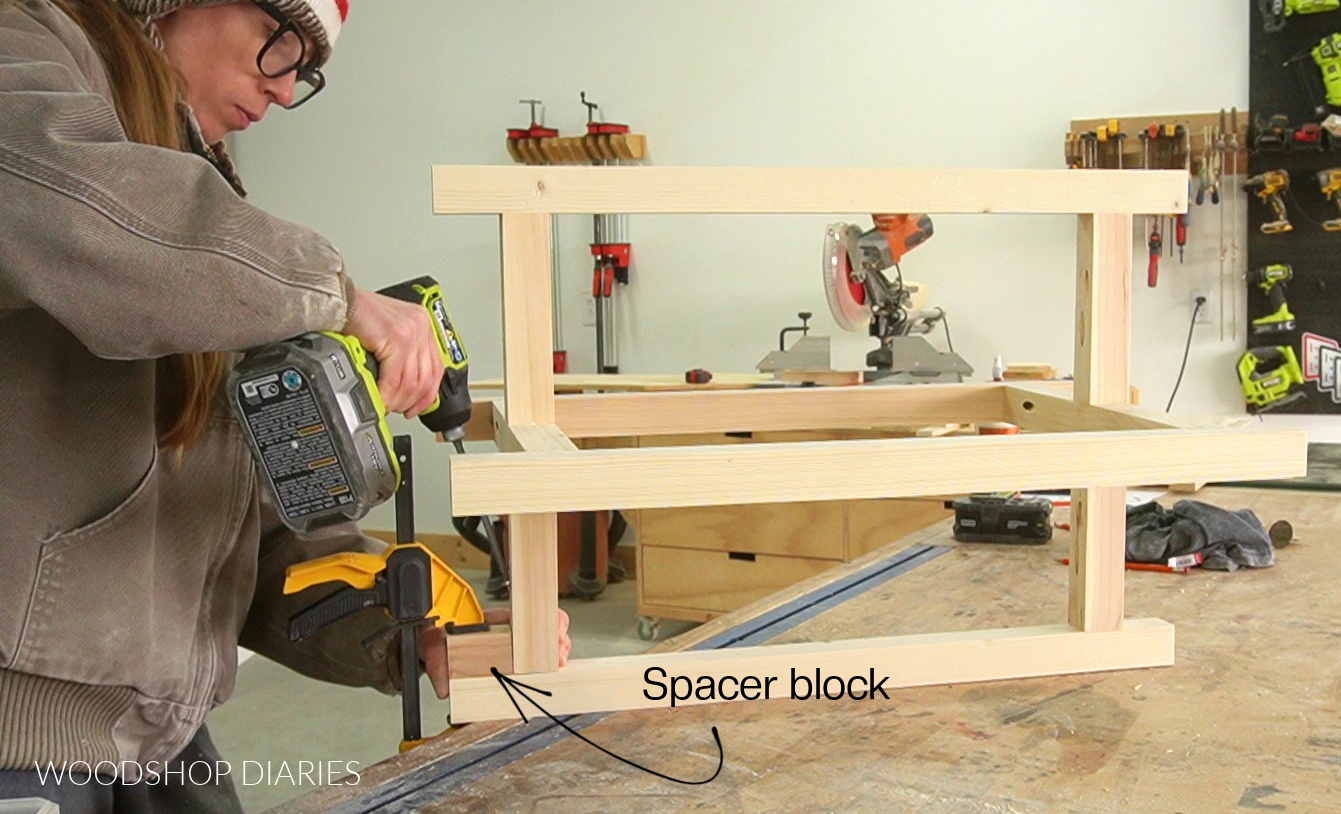
I used a 2″ scrap wood spacer block to help me keep the Xs consistently spaced 2″ from the top and bottom ends of the legs.
I made sure to face the pocket holes toward the TOP of the frame so that when the solid panels are added later, they’ll be covered.
Step 3: Assemble Table Top Panels
I cut 2×6 boards–6 total– to about 15″ long to glue up two solid wood panels for the top and bottom shelves.
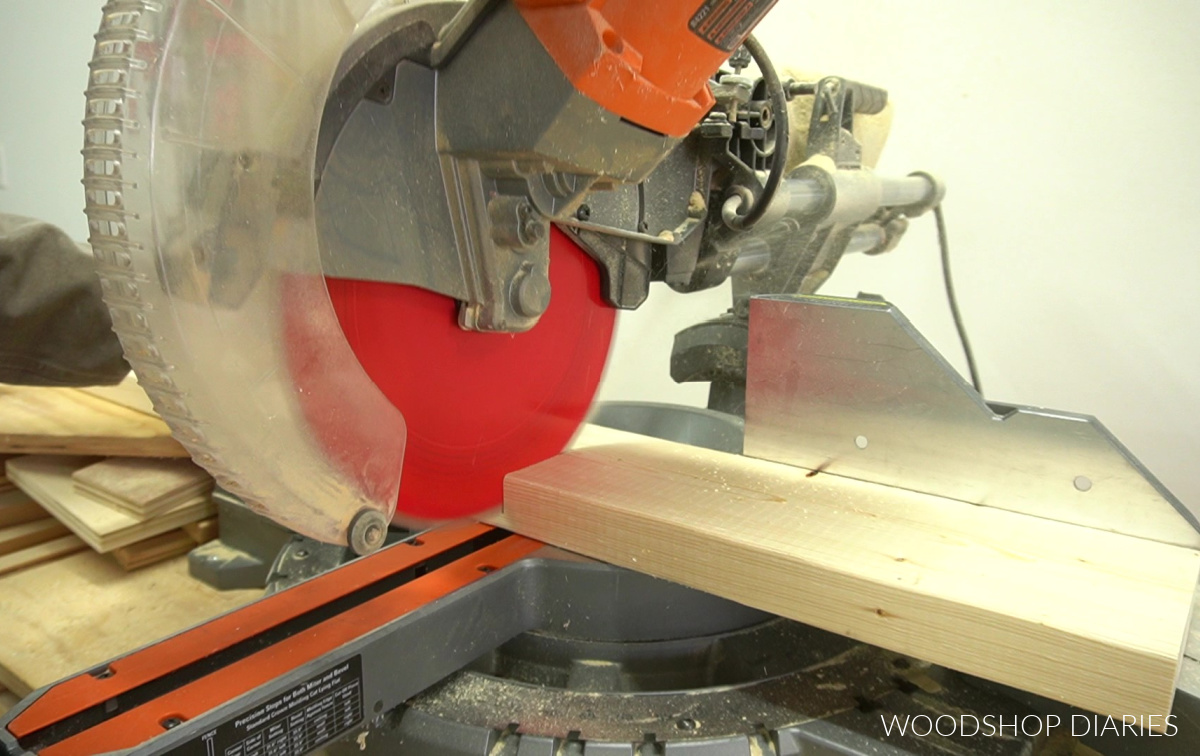
I removed the rounded edges of these pieces on the table saw to make a cleaner glue up.
I glued up two sets of 3 boards and allowed to dry. I just applied glue to the edges and clamped–no dowels or biscuits.
However, you can add dowels and/or biscuits if you’d like.
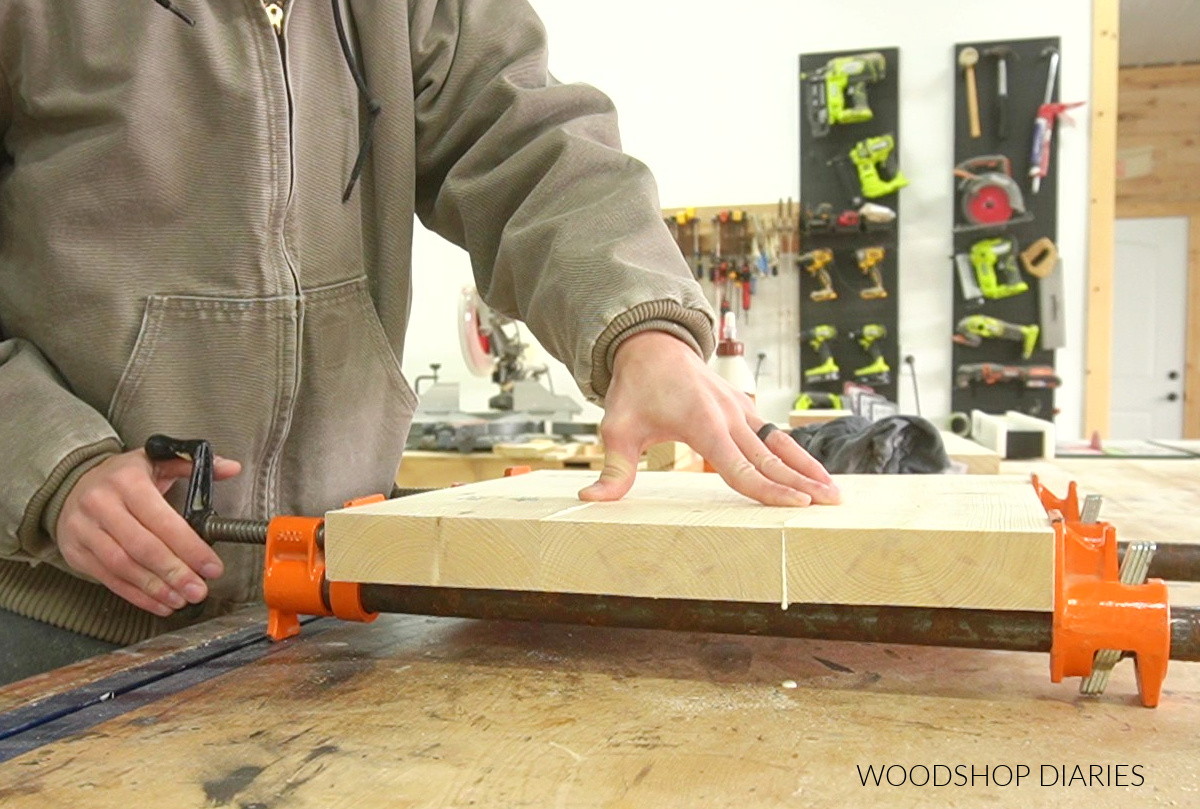
Once dry, I trimmed these panels down to 14 ¾″ square and sanded well.
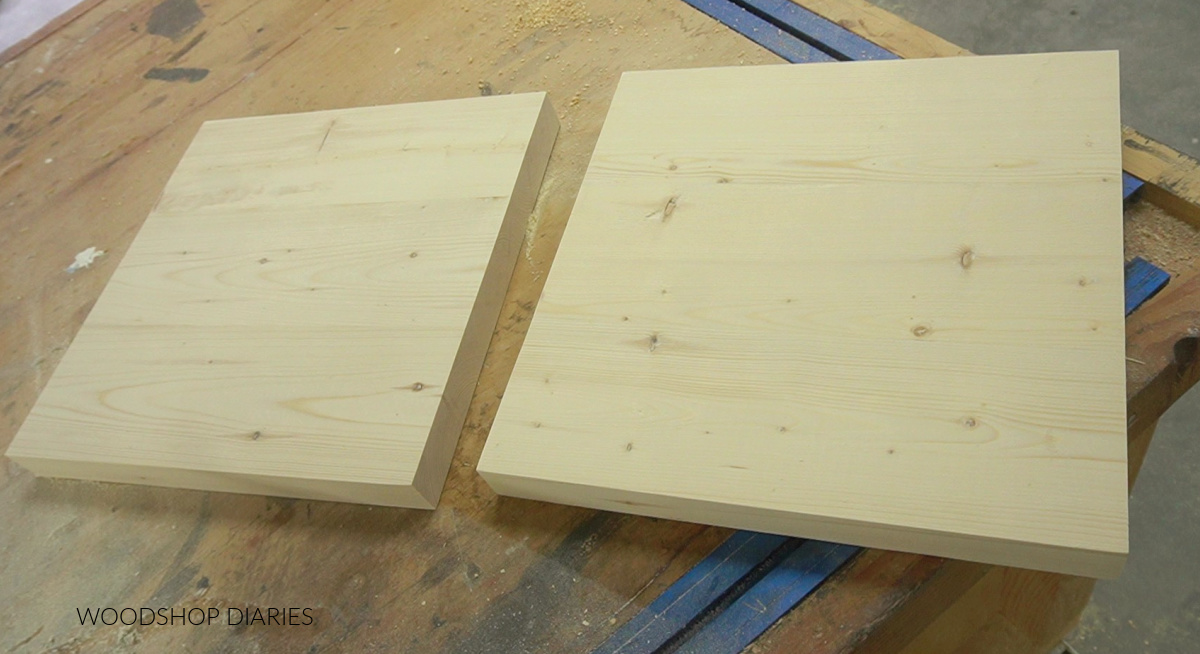
To trim, you can use a circular saw and straight edge, a table saw, or a miter saw–whichever you prefer.
NOTE: If you’d like, you can certainly use a jig saw or router to cut 14 ¾″ diameter circle tops instead of squares.
RELATED: How to cut a perfect wooden circle
Step 4: Attach Top and Shelf to Plant Stand
NOTE: It’s likely going to be easier to finish (stain or paint) these pieces before installing the tops.
If you’d like, go ahead and paint/stain the panels and the frame as desired before proceeding. I left this table natural for now because I prefer the lighter wood color.
Since these tops are made from solid wood, it’s best to allow for some movement as the seasons change and wood expands and contracts.
If you skip this, the table isn’t going to just fall apart and crumble, so don’t panic.
However, drilling some oversized holes through the Xs will allow for some movement and hopefully prevent the tops from splitting down the road.
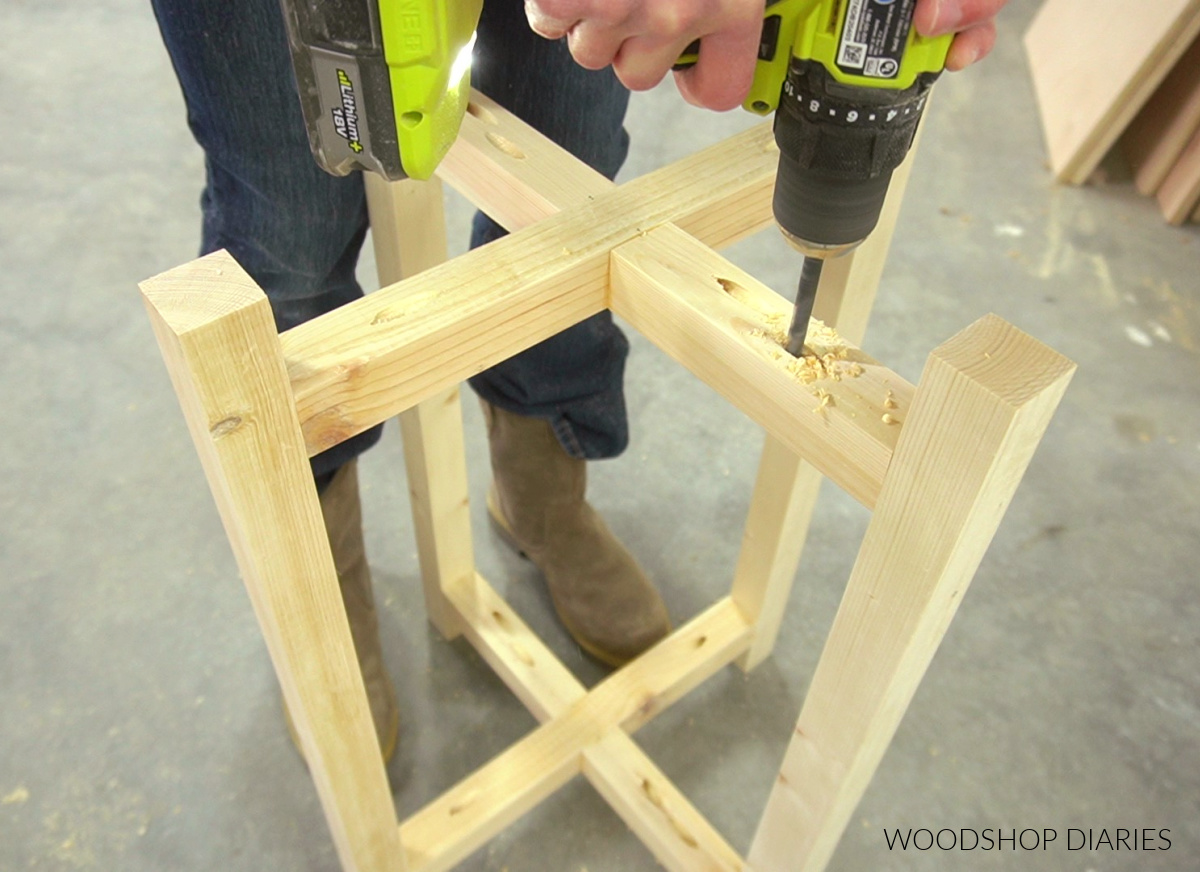
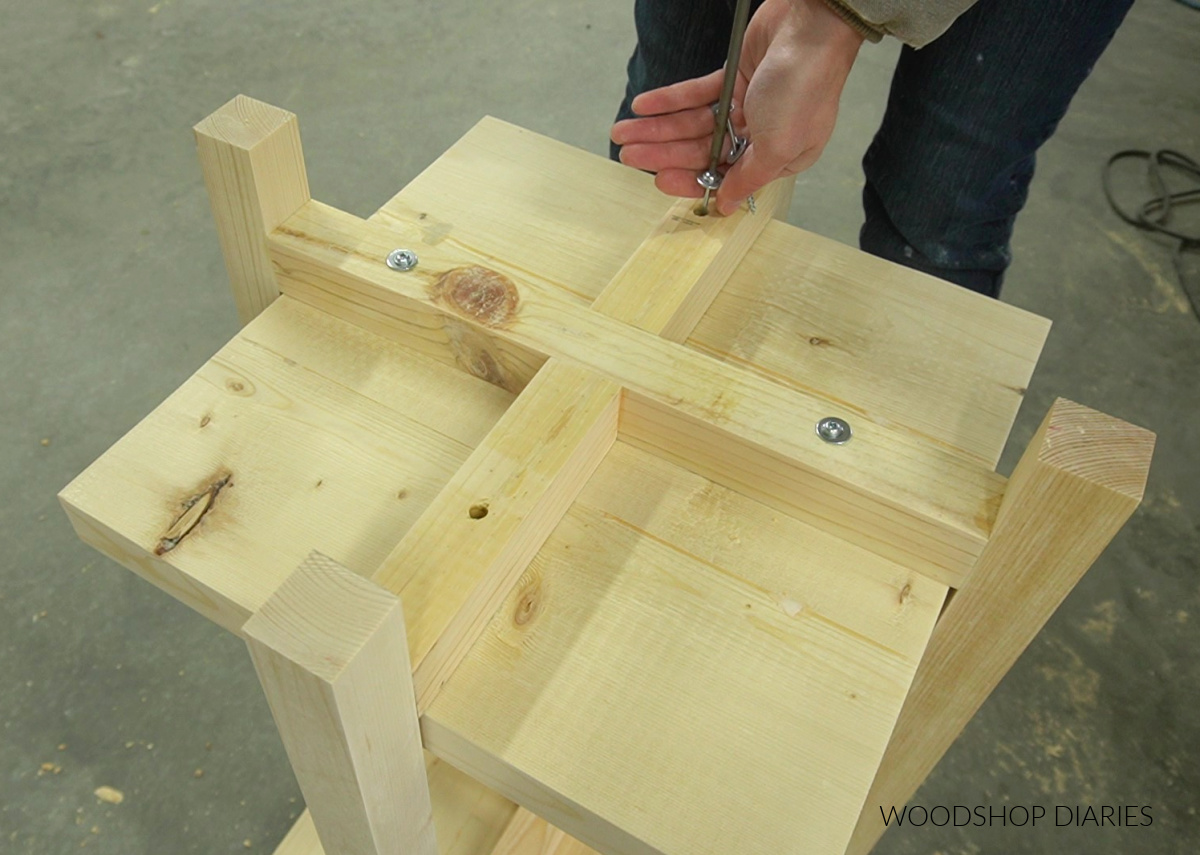
I drilled ⅜″ holes in each branch of both X braces, then used 2 ½″ screws with a washer through these holes to secure the top and bottom shelves from the underside.
NOTE: The table is upside down in the image below using screws from the underside to secure the bottom shelf.
Step 5: Enjoy Your New Table
And now it’s ready to be put to good use!
It’s the perfect size for next to your favorite chair for drinks and books or to set next to the window for plant display.
You can grab the building plans on MakeByMe here.
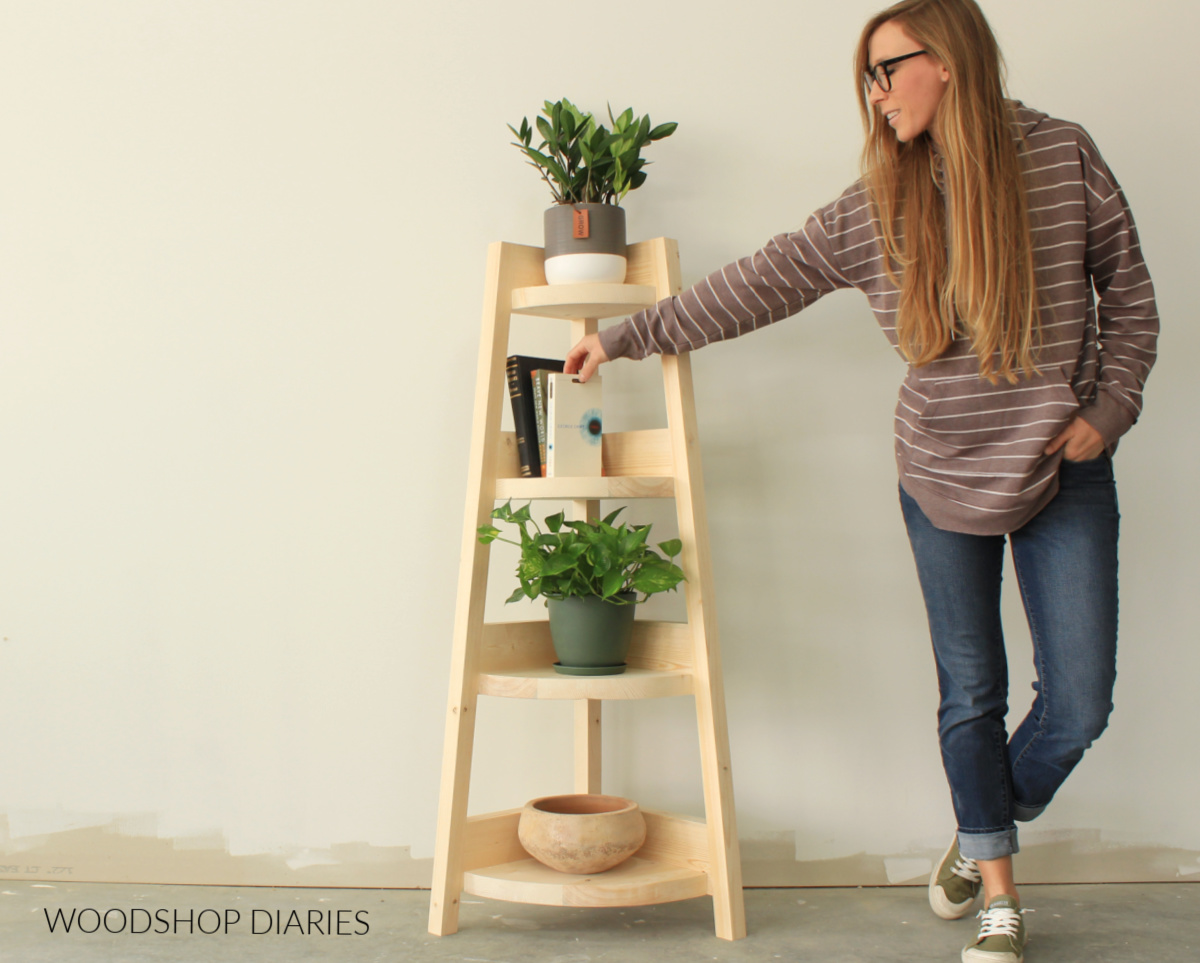
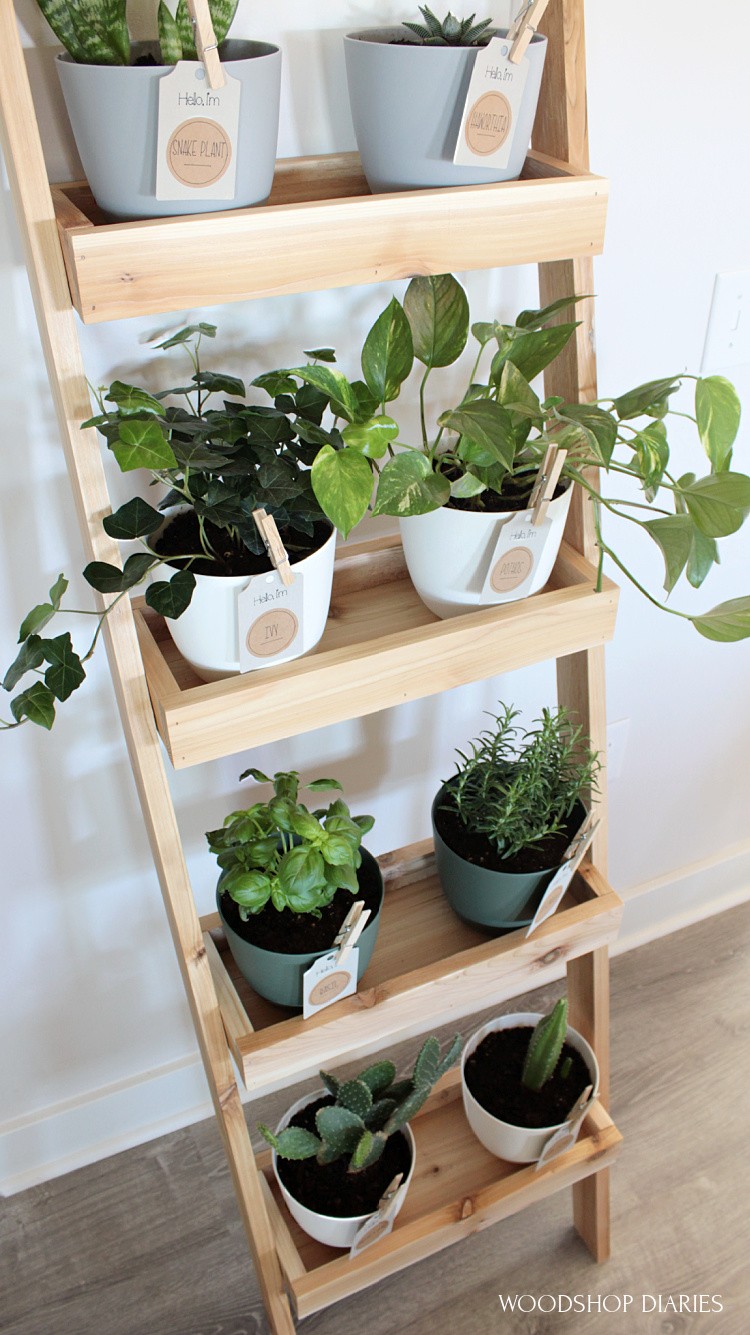
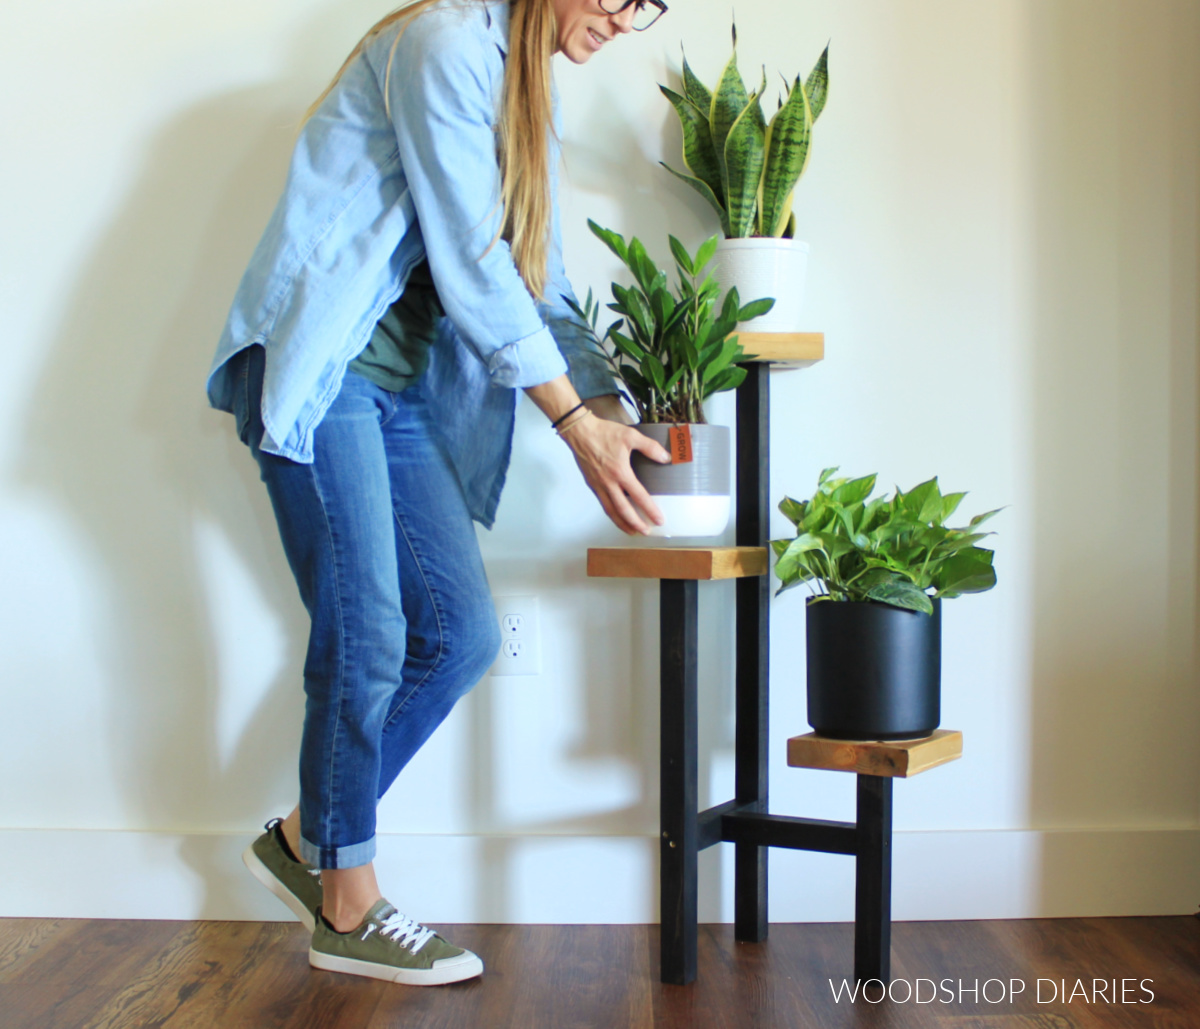
Looking for more Plant Stand Ideas?
If you or someone you know is in need of a few extra plant storage ideas, here are a few favorites that are easy to build!
Want some more DIY Gift Ideas?
With the upcoming holidays, I’ve teamed up with my friend, Kati, from Houseful of Handmade to share some easy and fun gift ideas you can make this season!
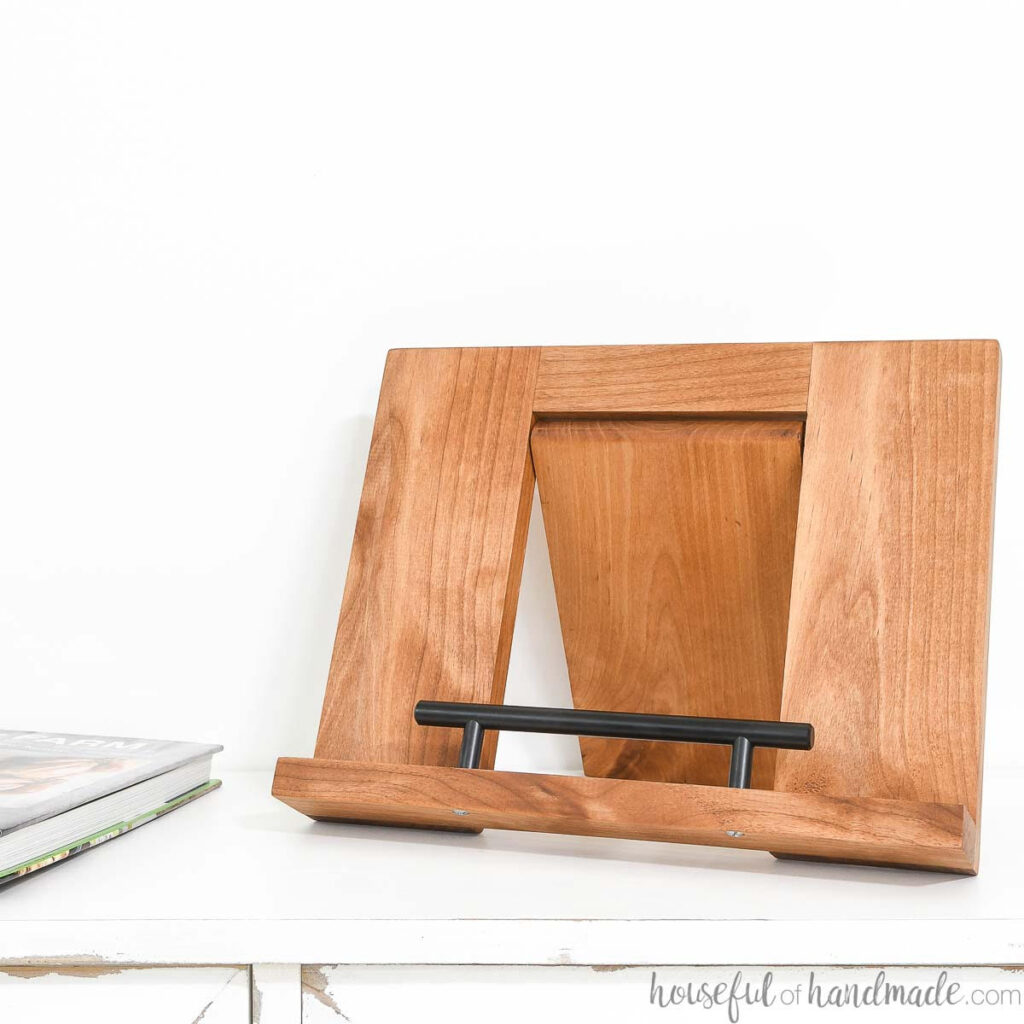
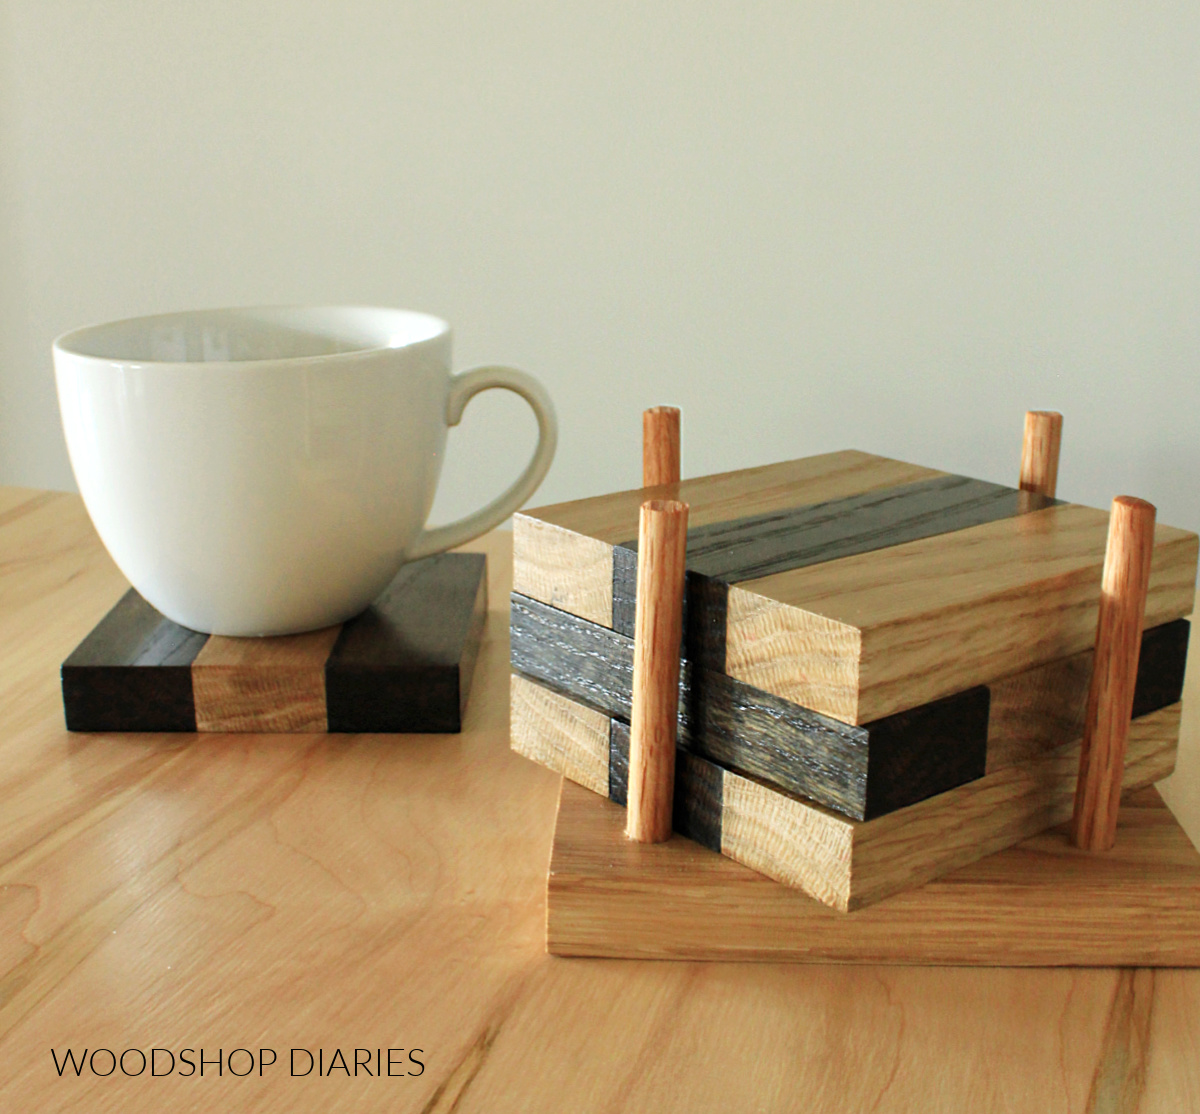
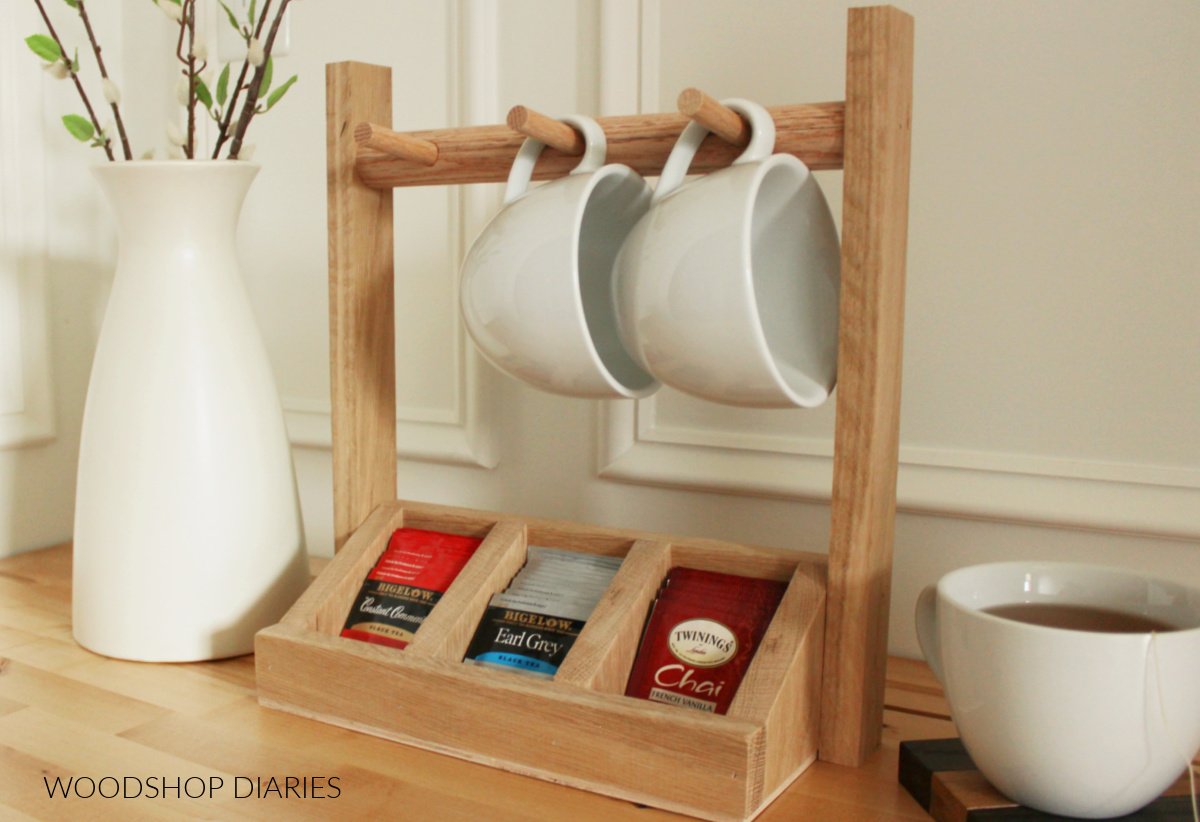
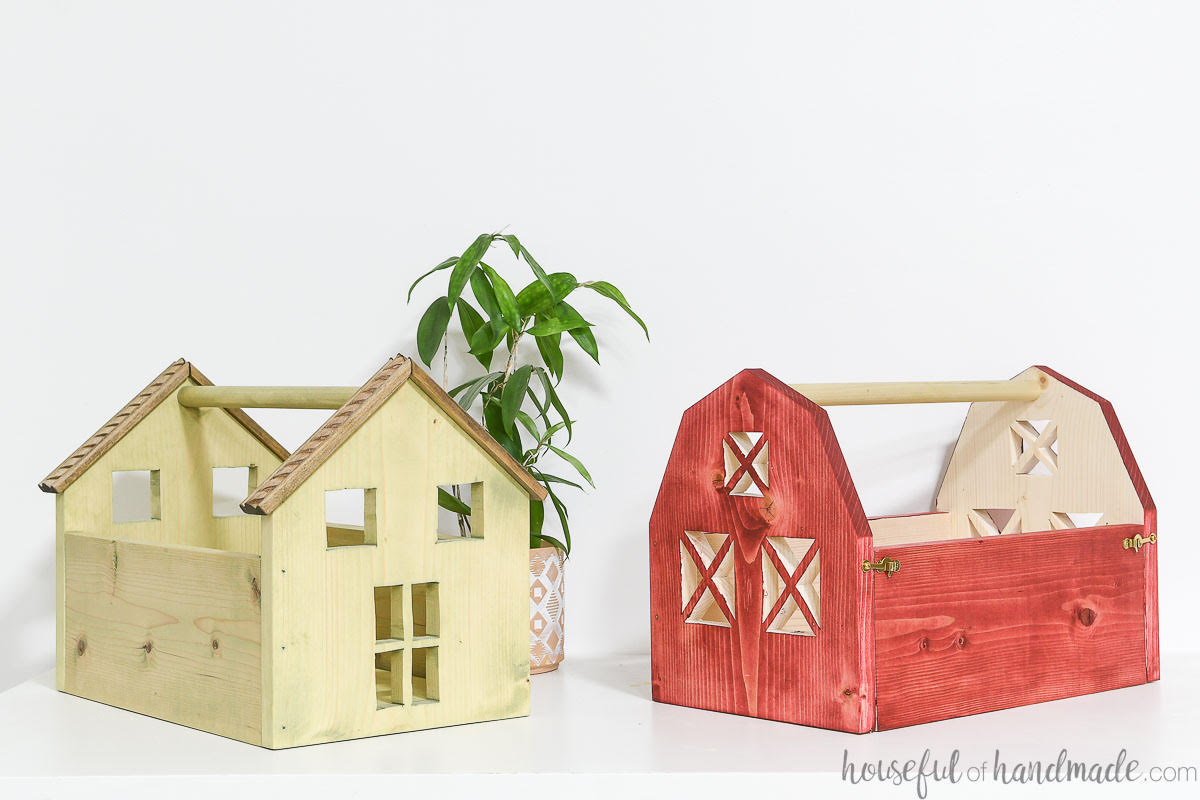
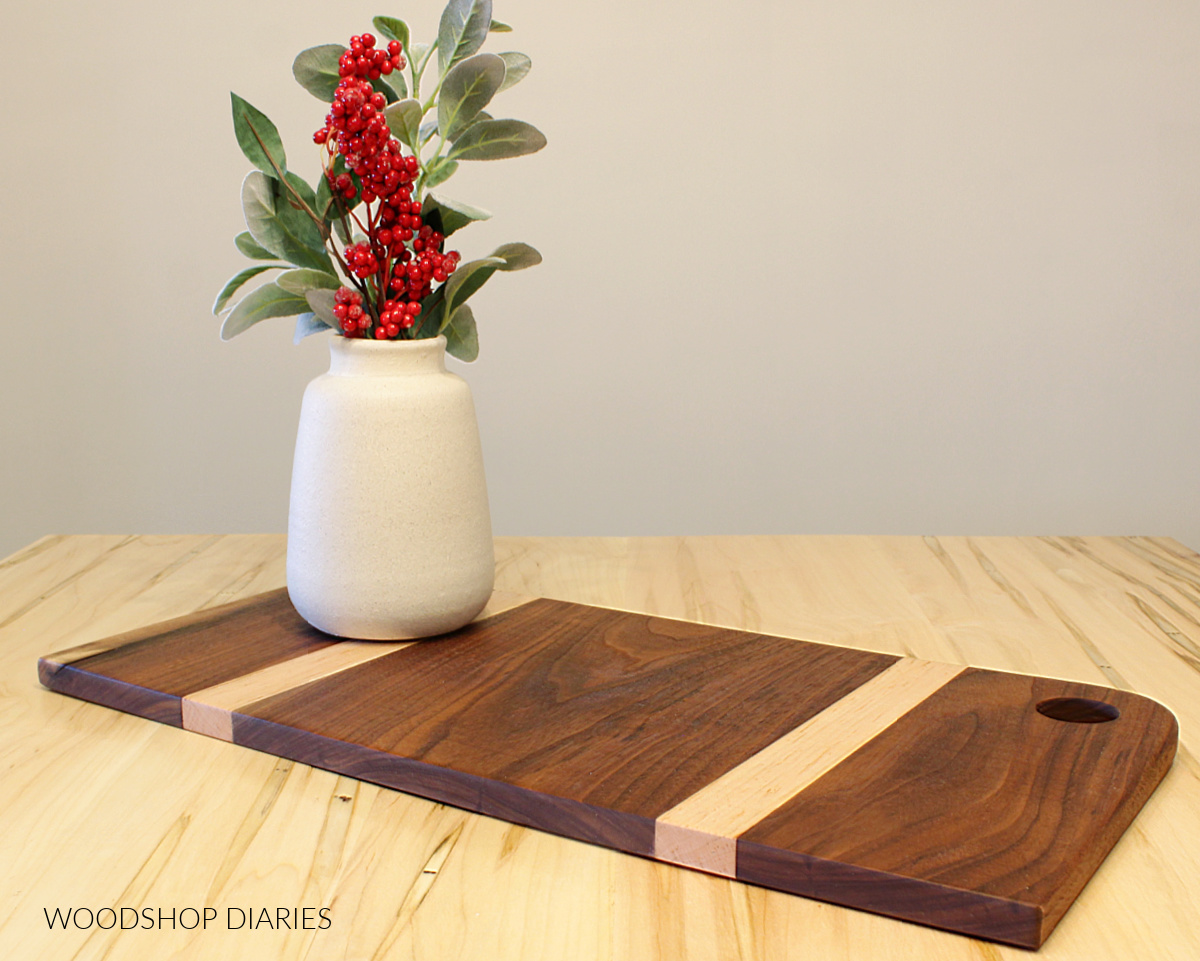
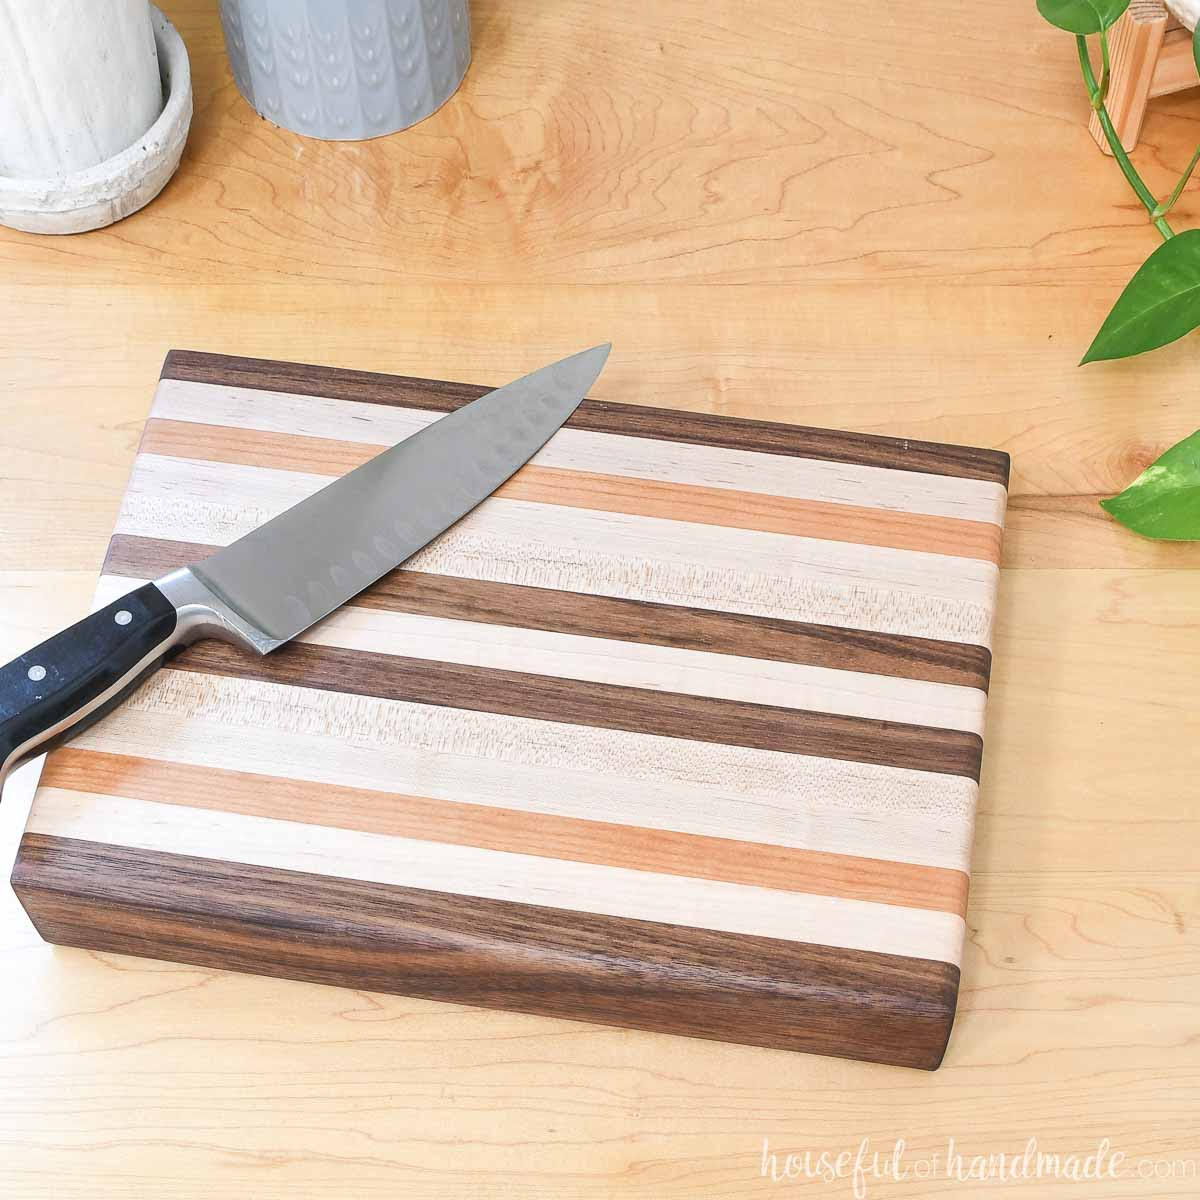

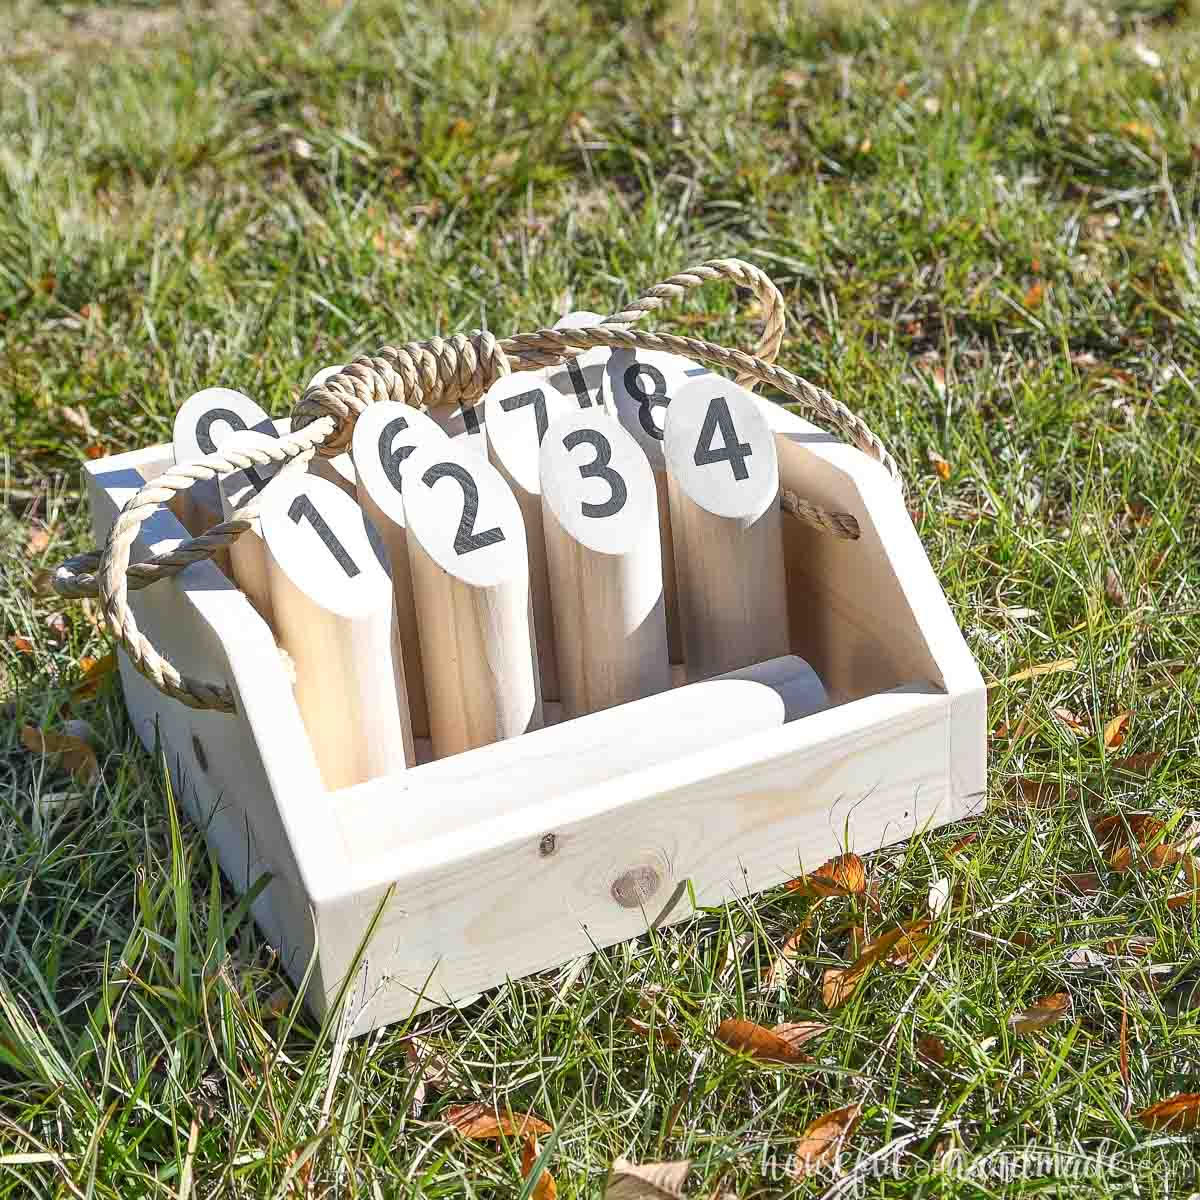
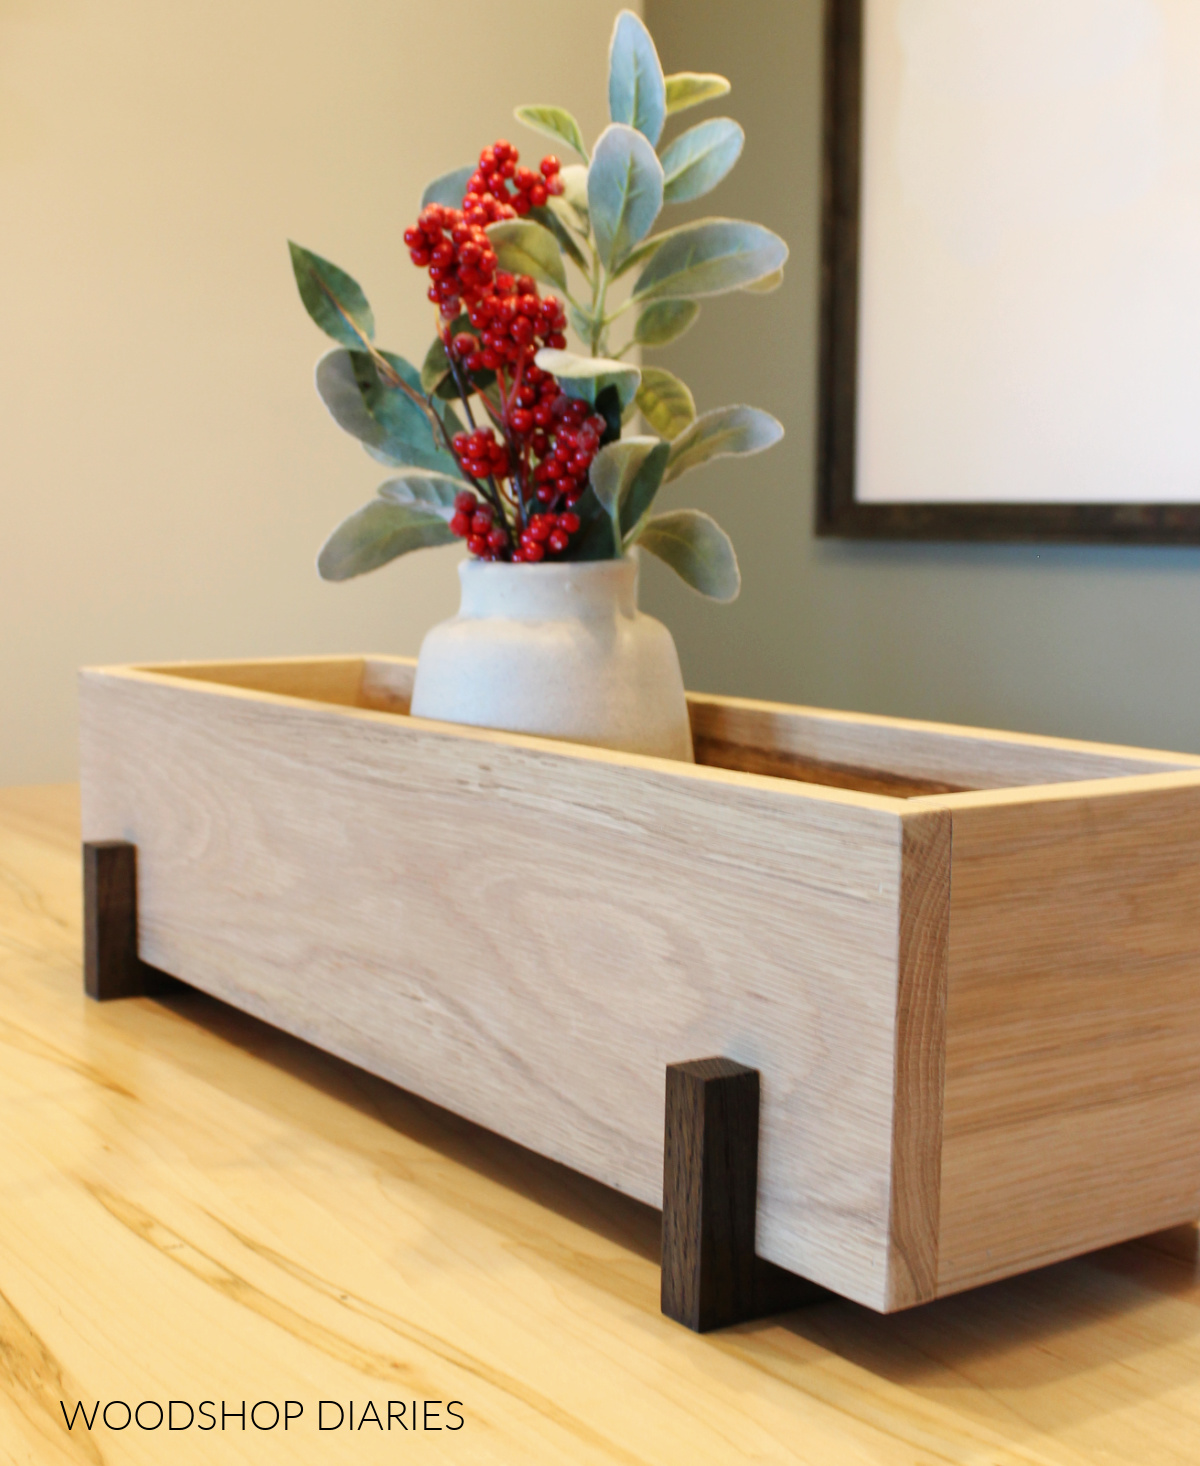
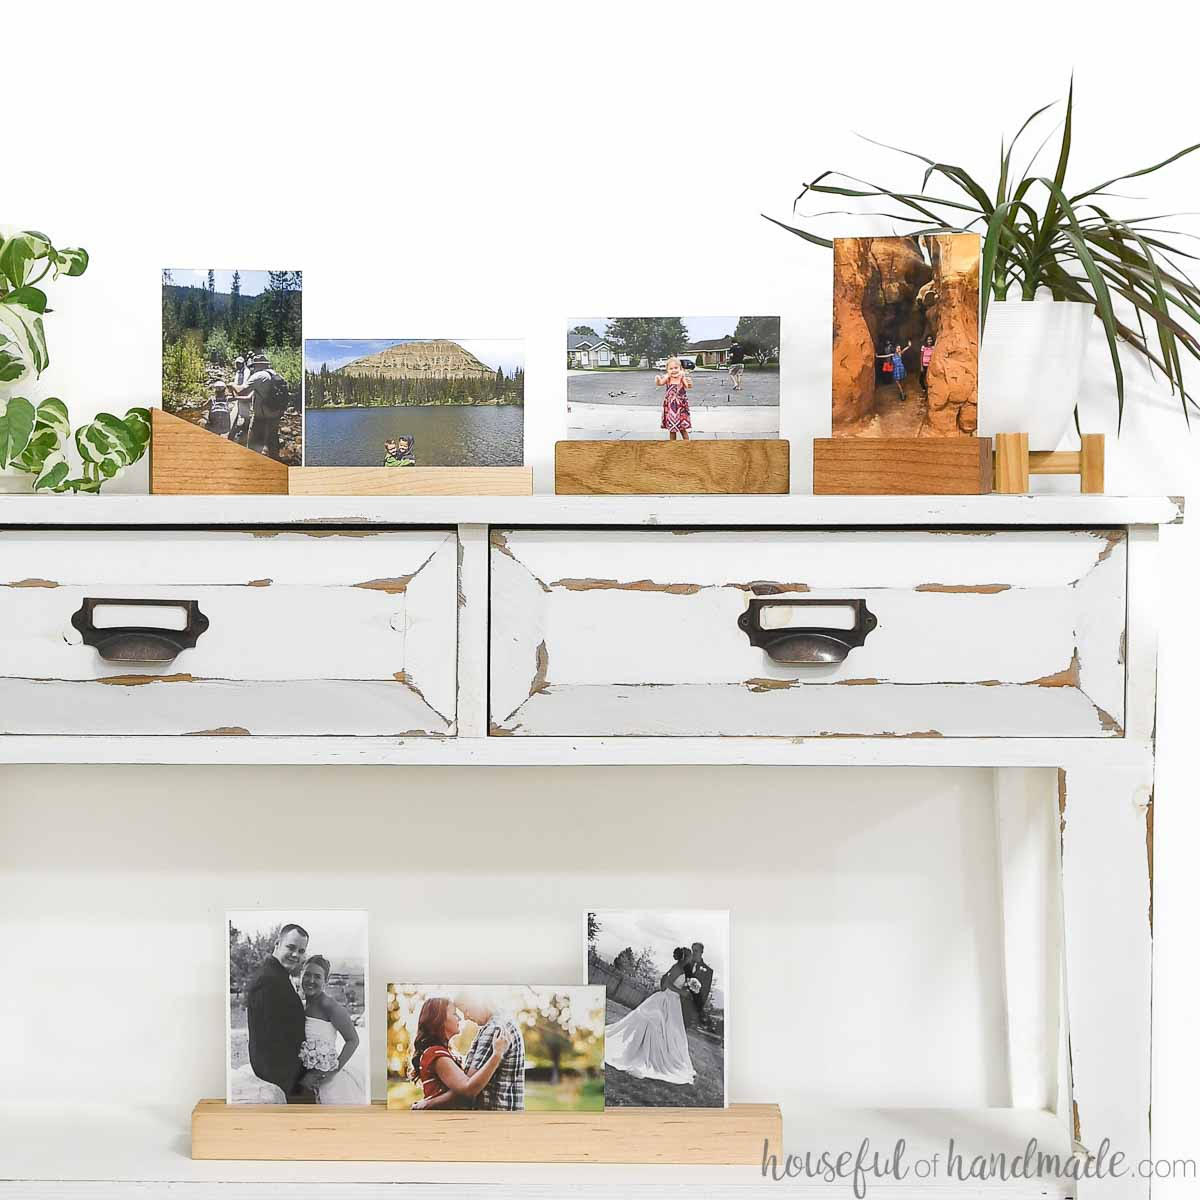
We are adding new projects to this list every day this week, so stay tuned for new ideas!
If you can’t wait to see what’s next, be sure to subscribe to the FREE newsletter below for priority access to all the latest projects and plans!
And if you enjoyed this project and want to save it for later, don’t forget to pin it and share it to your favorite social channel!
Until next time, happy building!
DIY Plant Stand End Table
How to build this easy two-tier DIY plant stand that also doubles as an end table.
Materials
- (1) 2x6x8 board
- (2) 1x2x8 boards
- 2 ½” pocket hole screws
- 2 ½” wood screws & washers
- Wood Glue
Instructions
- Assemble X braces using wood glue and pocket hole screws.
- Add table legs to complete end table frame.
- Assemble table top panels.
- Attach top and shelf to plant stand.
- Enjoy your new table!


