In this post, I’m showing you how easy it is to make your own DIY circle jig for your router with some scrap plywood!
Cutting circles in wood can be done plenty of ways. You can use a jig saw, a band saw, or a table saw.
But one of the most common ways is to use a router with a circle jig.
Using a router with a circle jig pretty much guarantees a perfect circle–which is nearly impossible using a jig saw or band saw.
You can buy circle jigs from many woodworking supply and tool companies, but it’s super easy (and much cheaper) to just make your own using scraps you’ve already got in your workshop.
I’ll share how to make your own circle jig for your router below.
Speaking of circles, check out three ways to draw a circle of any size in this post.
What you’ll need:
This post contains affiliate links. See policies page.
Materials:
- ¼″ plywood scraps
- Pencil
**It’s POSSIBLE you may also need a few longer screws/bolts than what you have on your existing router. See step 4.
How to Make a Circle Jig for Router
Making the jig is simple and it’s easy to customize it for whatever type, style, or size of router that you have.
This can work with both trim and fixed base routers.
In this case, I used my larger fixed base router. You can watch how easy it is to make in this video, and grab all the details about it below.
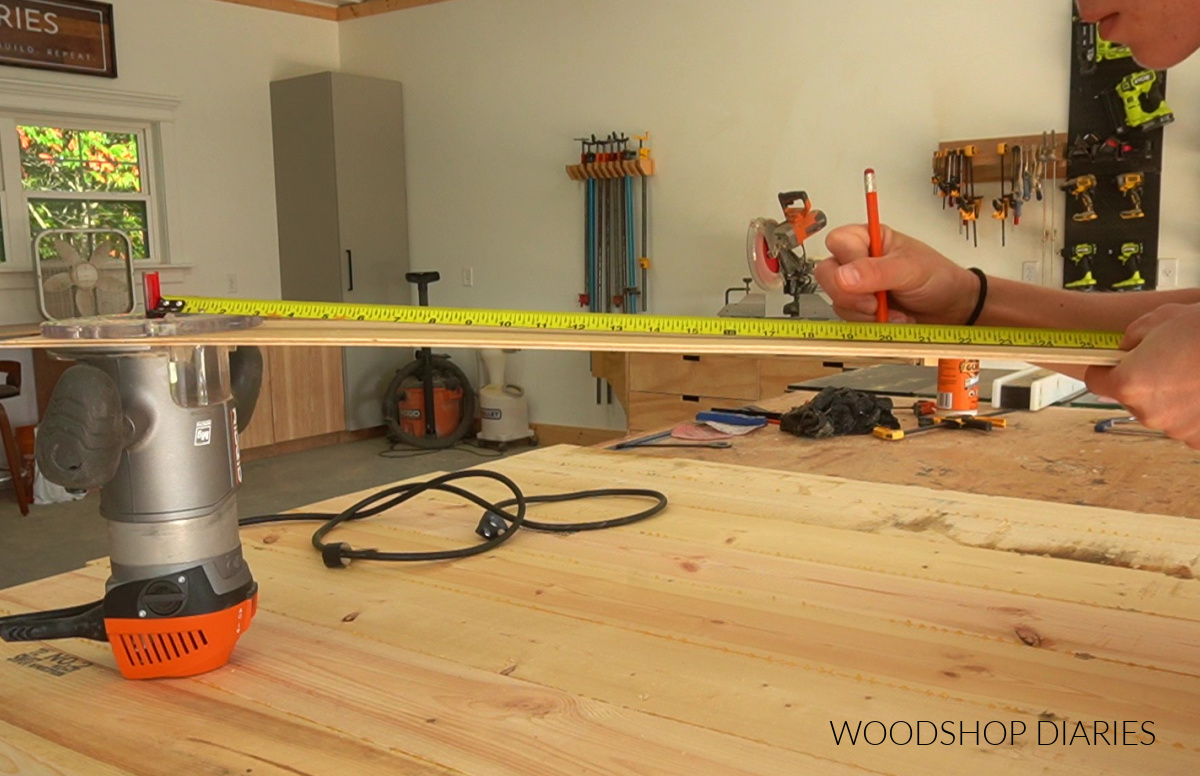
Step 1: Select Circle Jig Material
For this jig, I used some scrap ¼″ plywood. MDF material would also work great for this as well.
You can certainly use thicker material, but if you do, you may have to pick up some longer screws/bolts. See step 4.
I cut a piece that was about the same width as my router base, and about 36″ long.
NOTE: The length will determine the max size circle you can cut. So make sure you make it about 6″ or so longer than the max radius you plan to cut.
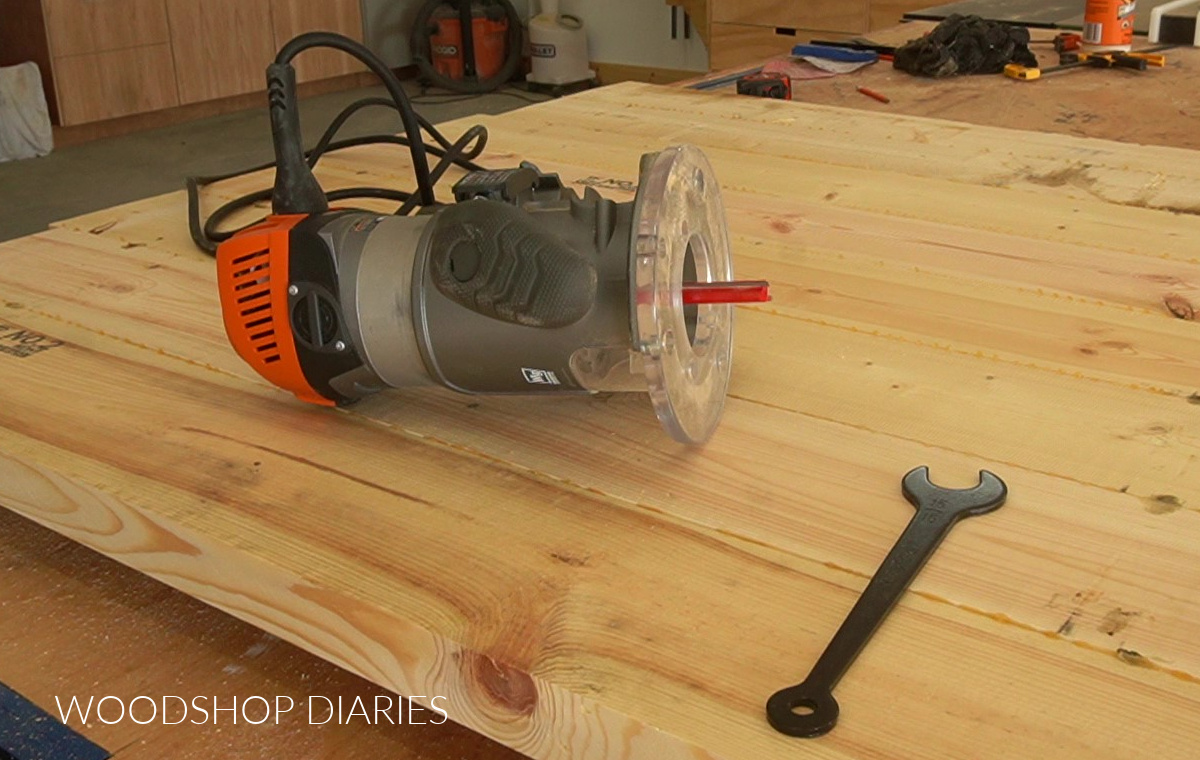
Step 2: Remove the Sub Base From Router
Make sure your router is not plugged in (for corded routers) and batteries are removed (for cordless routers).
I used a screwdriver to remove the clear sub base from my router.
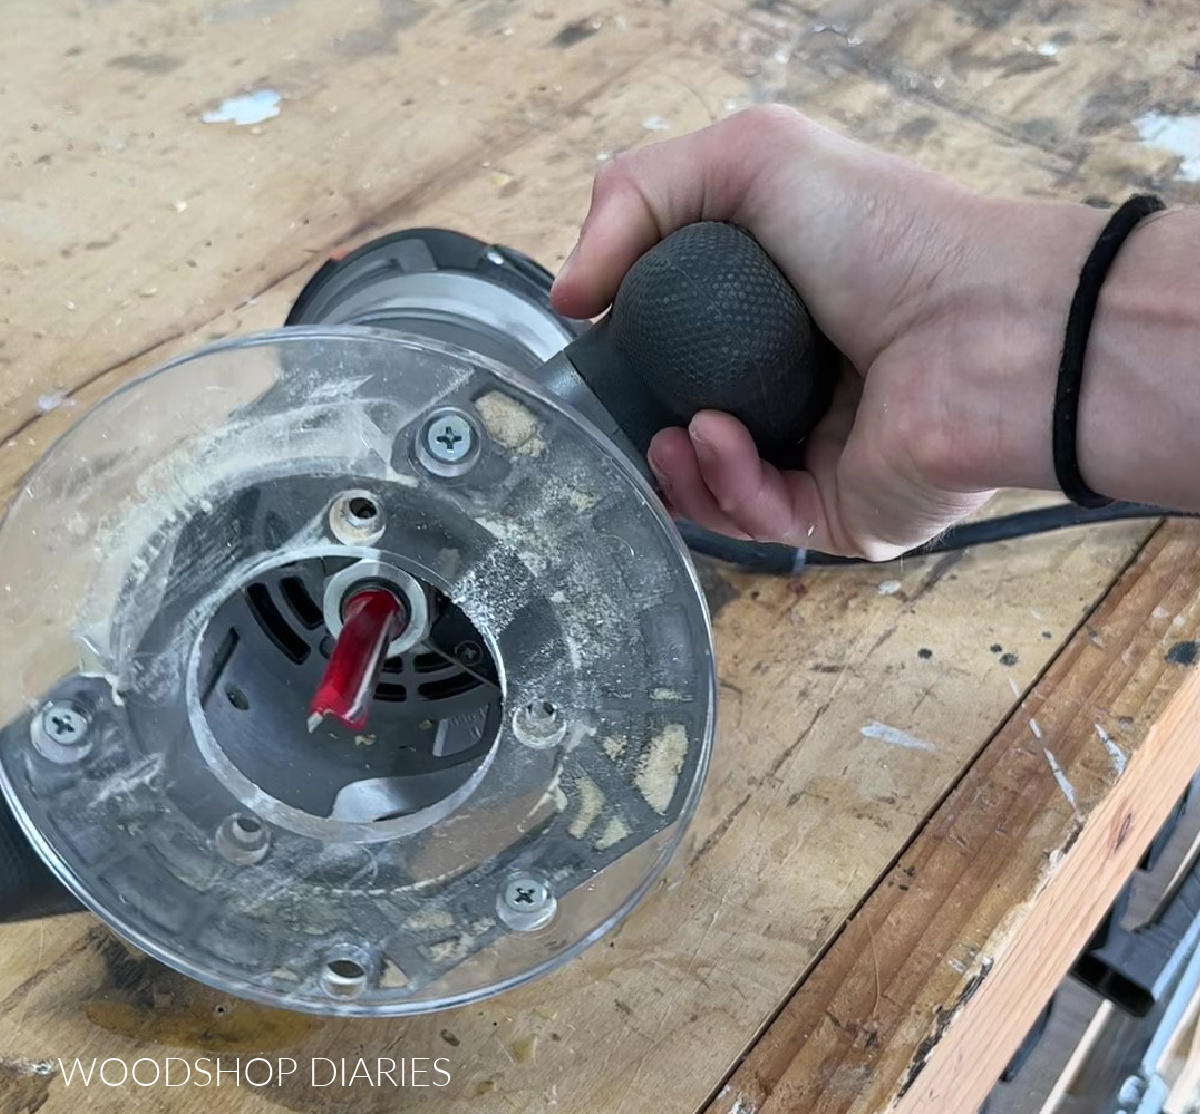
This is the plate that attaches to the very bottom of the router. These are usually attached with three screws.
NOTE: Check manufacturer’s instructions/manual before modifying/removing any parts from your tools. Different brands/styles may vary.
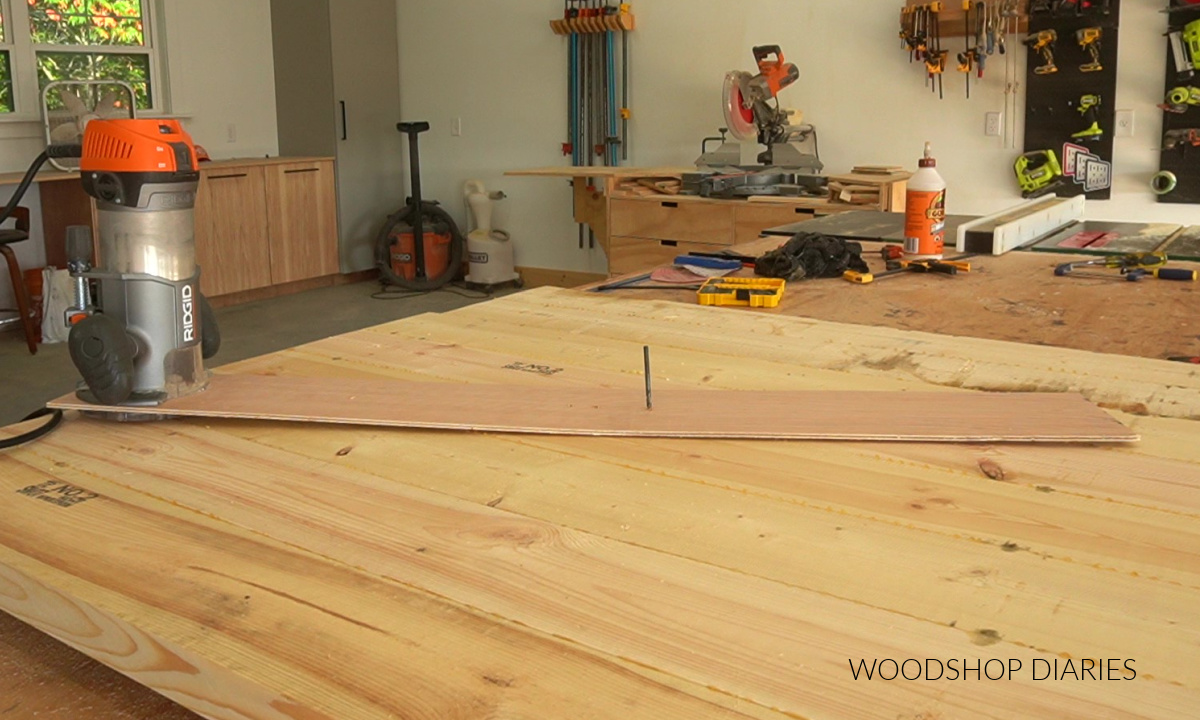
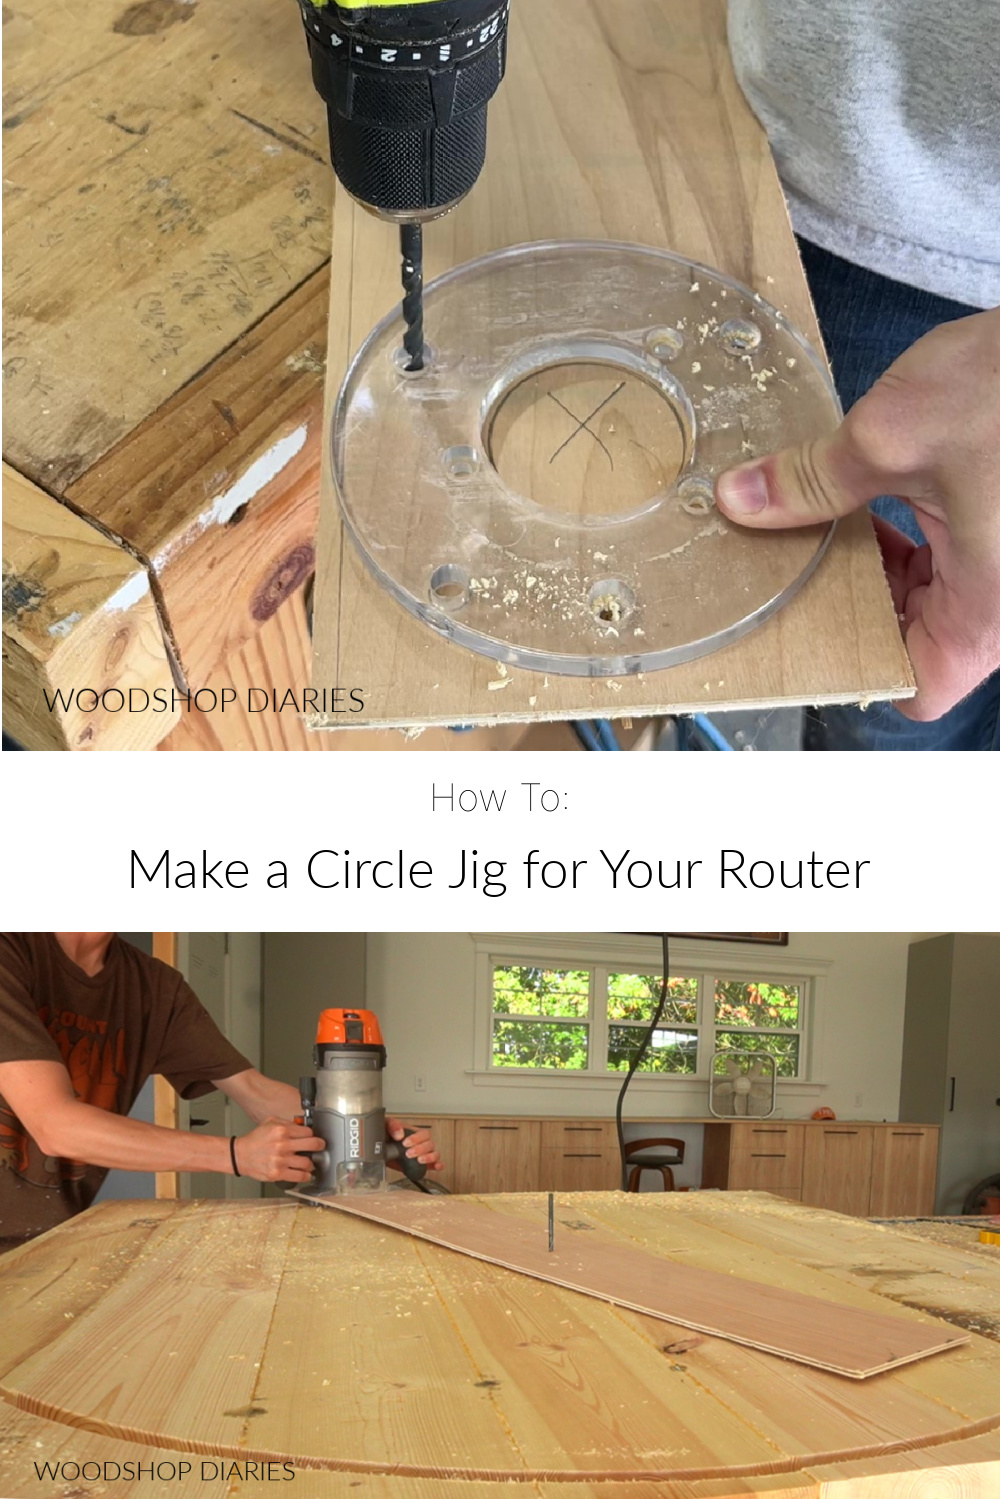
Step 3: Mark and Drill Hole Locations on Circle Jig
I placed the sub base on one end of my jig piece from step 1 and used this as a template.
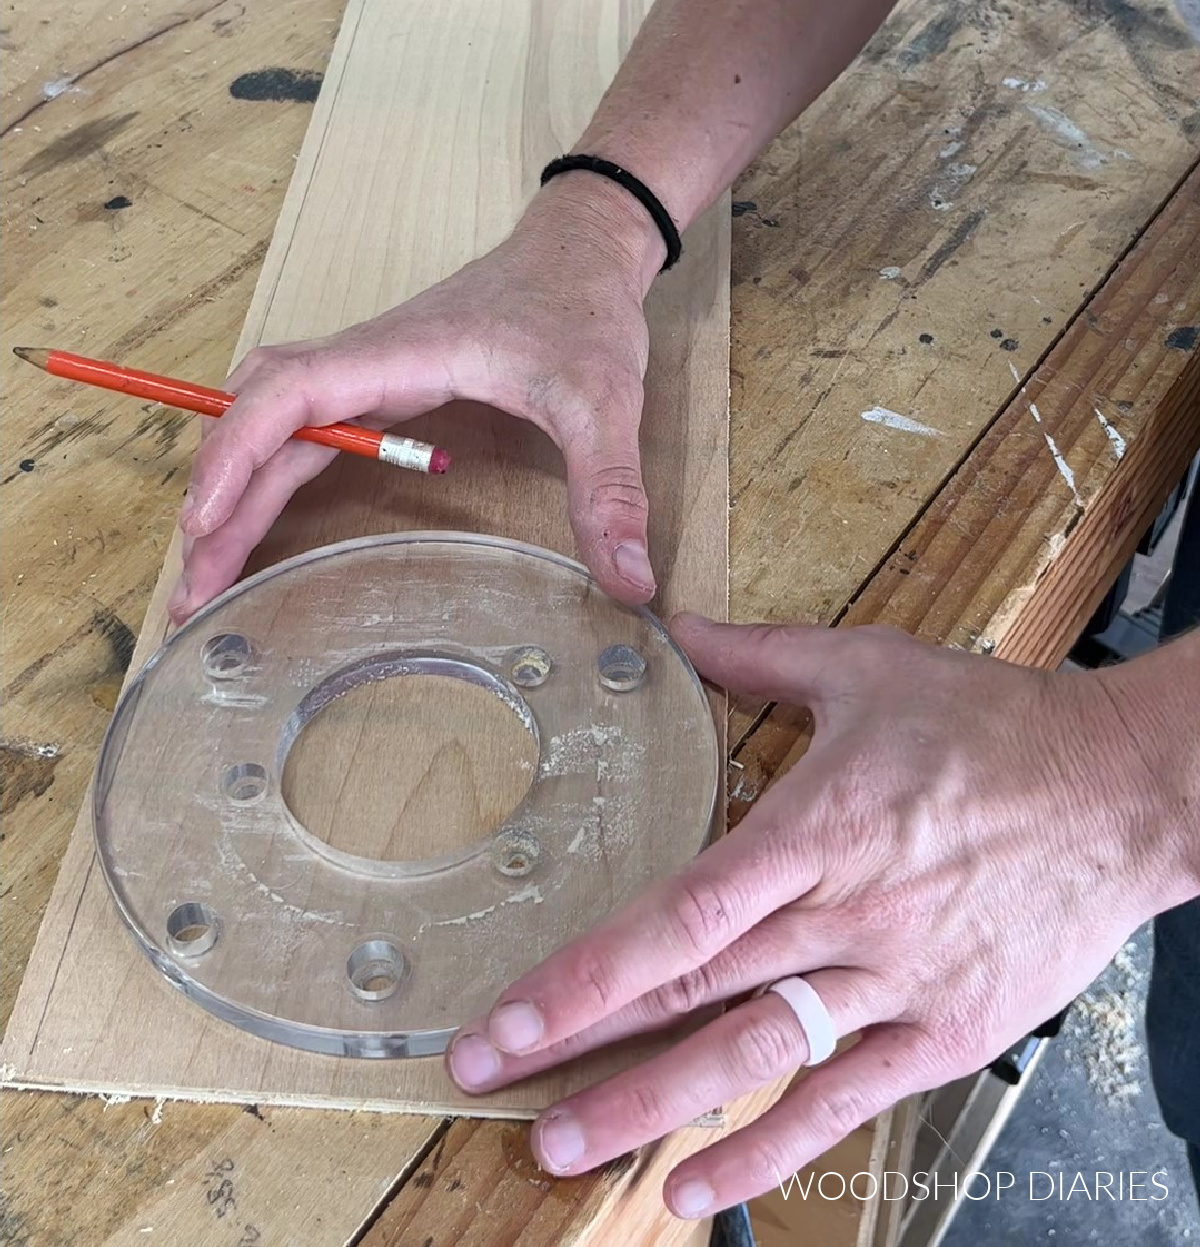
I found a drill bit the same size as the holes I removed the screws from in step 2, and drilled these holes out in the jig.

Then, I used a pencil to trace out the center hole where the router bit goes.
I used a jig saw to cut out this section. You could also use a large forstener bit or hole saw as well.

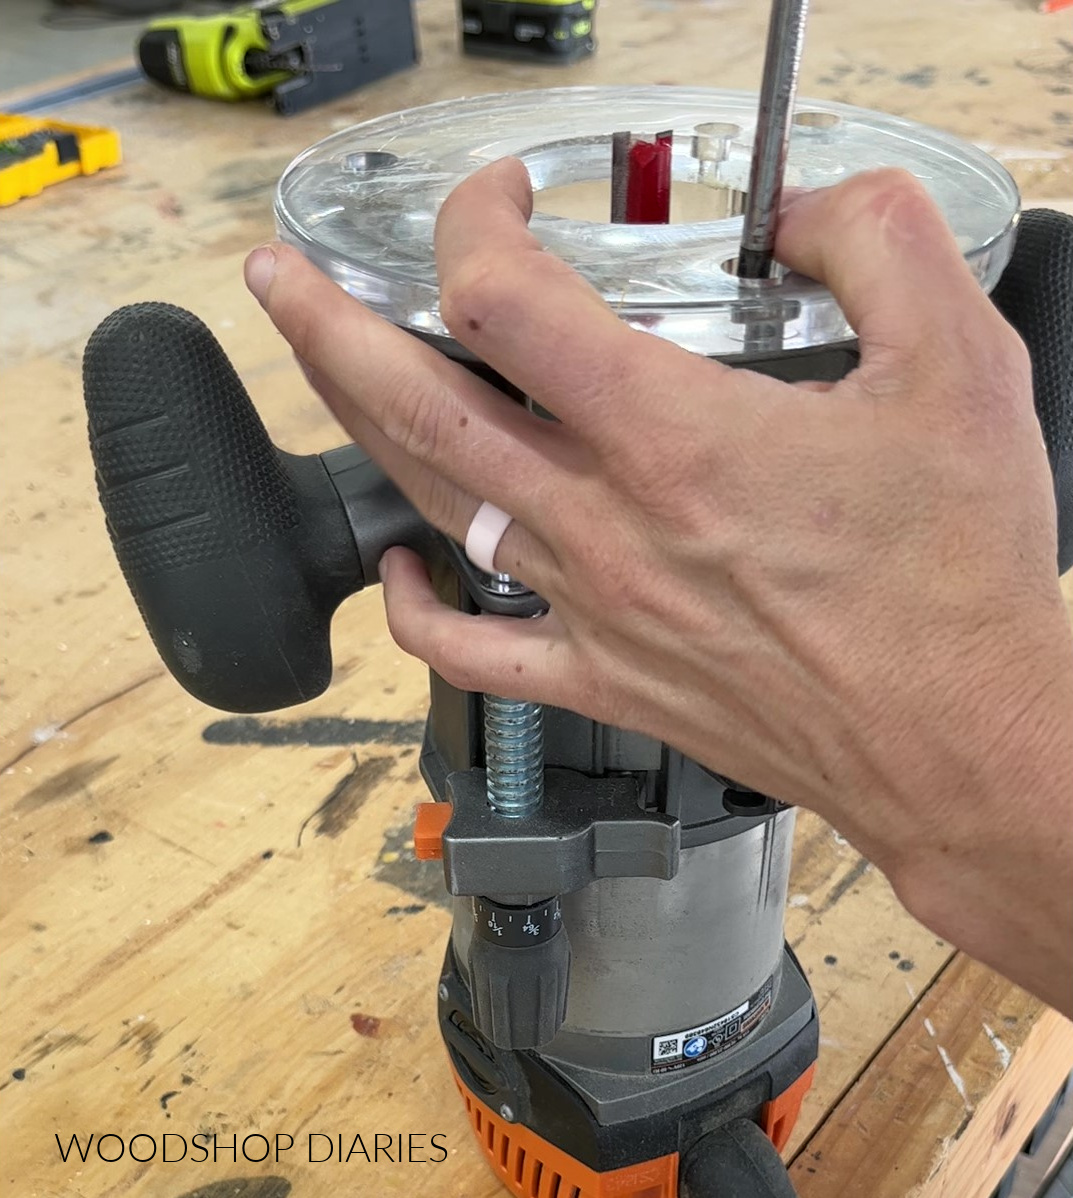
Step 4: Attach Circle Jig to Router Base
After the holes were drilled/removed, I replaced the sub base I removed in step 2 back onto my router, this time, adding the jig between the two.
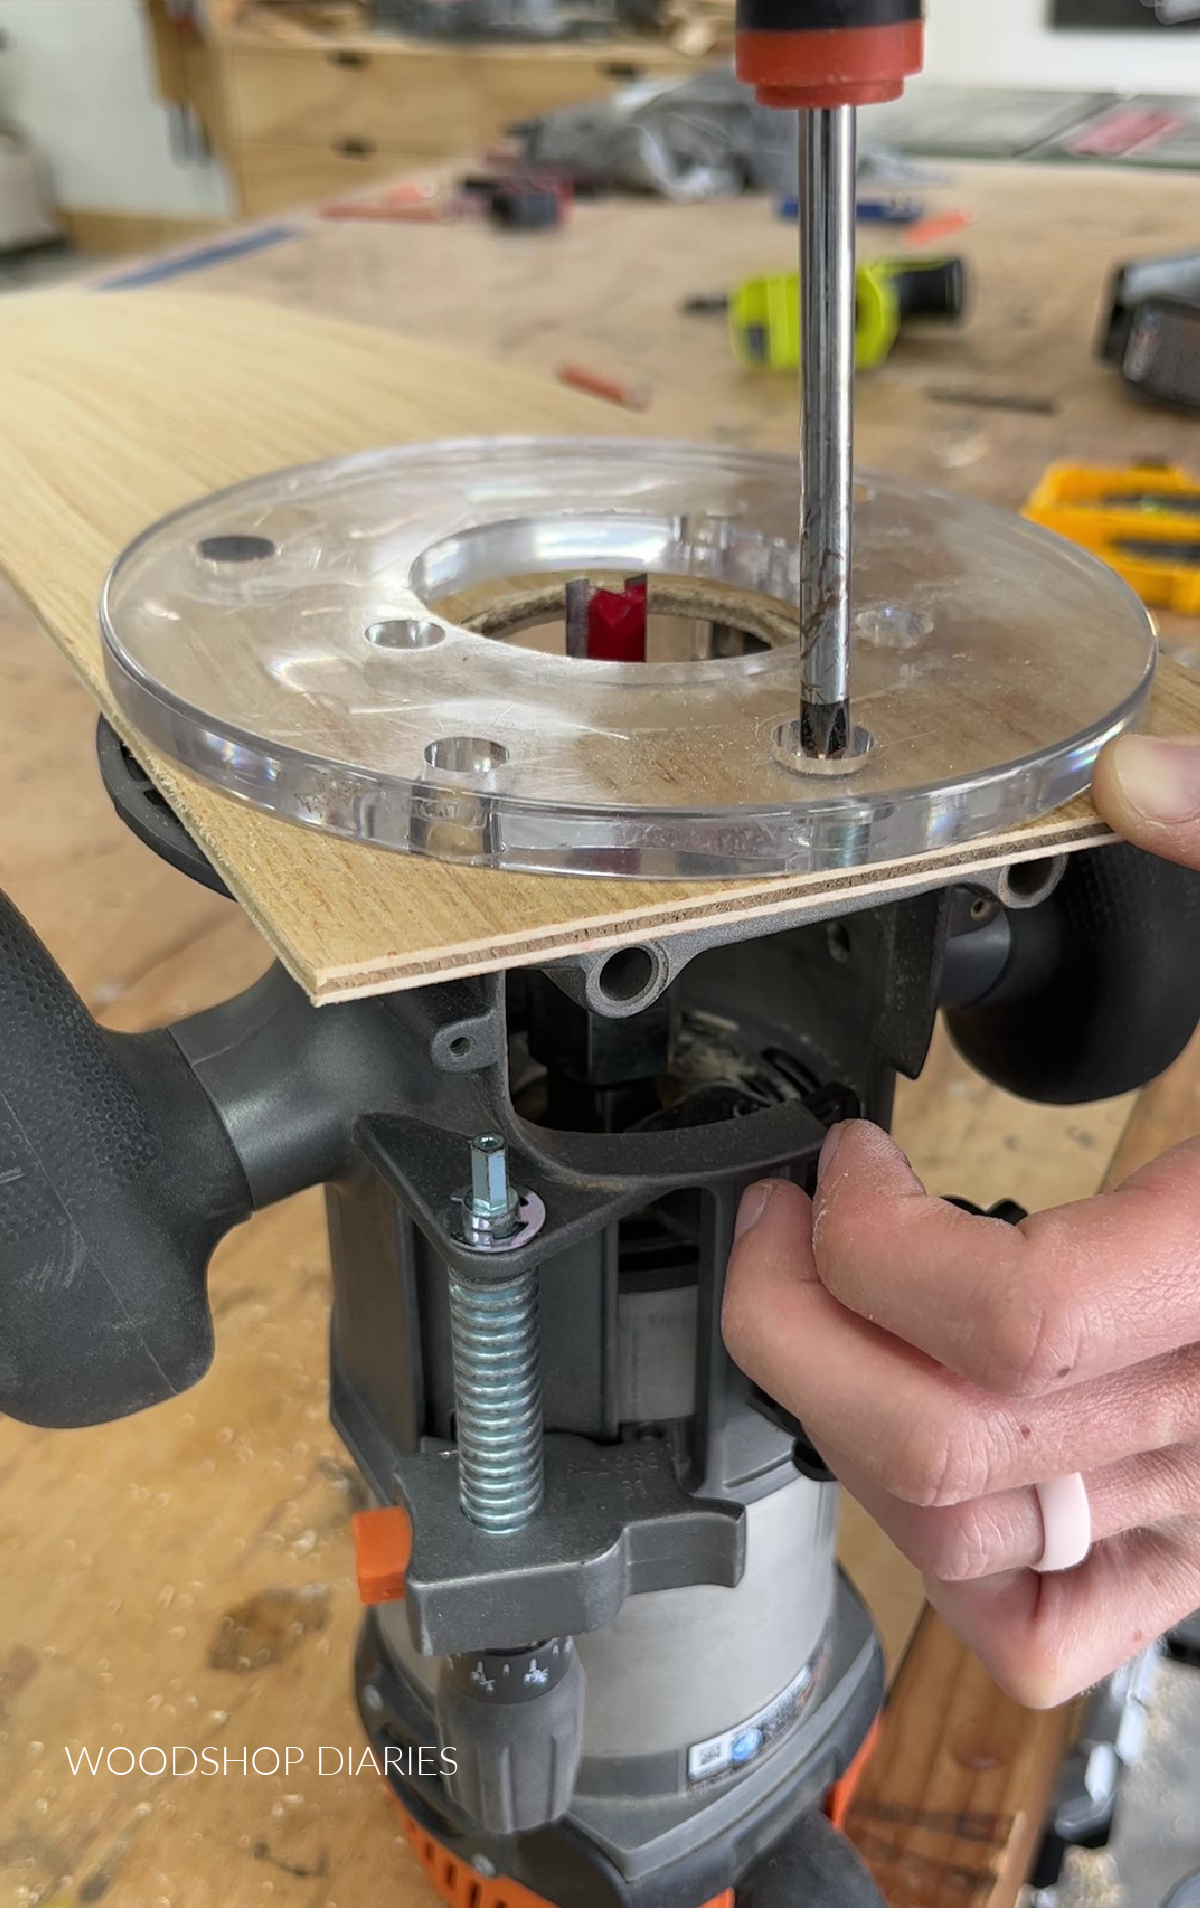
With this added thickness, you MAY have to pick up some longer screws or bolts.
When you replace base and are tightening the screws, make sure they’re long enough to “bite into” the threaded holes in the router base.
If not, take these screws to the hardware store and find some with the same thread pattern, but ¼″ longer.
NOTE: The router base will usually have additional holes that aren’t threaded. You can utilize these holes with bolts/nuts to mount the sub base plate and jig as well.
Step 5: Mark Pivot Point(s)
In many cases, you will want to make your pivot marks from the outside edge of your bit, not the center. That will ensure a more accurate overall circle diameter.
So, before marking and drilling my pivot point on the jig, I install my router bit.
For cutting circles, you can use a straight router bit or an up-cut spiral bit. I usually use a straight bit.
These bits come in various sizes and diameters, and it doesn’t really matter which size you use…I’m using a ½″ bit.
To mark my pivot point, I measure from the cutting edge of my bit, and mark the radius in the center of the jig.
For example, if I’m cutting a 40″ diameter circle, I’ll measure and mark 20″ from the edge of my bit.
Then, I use a small drill bit (about ¼″ or so–exact size isn’t critical) to drill a hole at this mark. This is the pivot point.
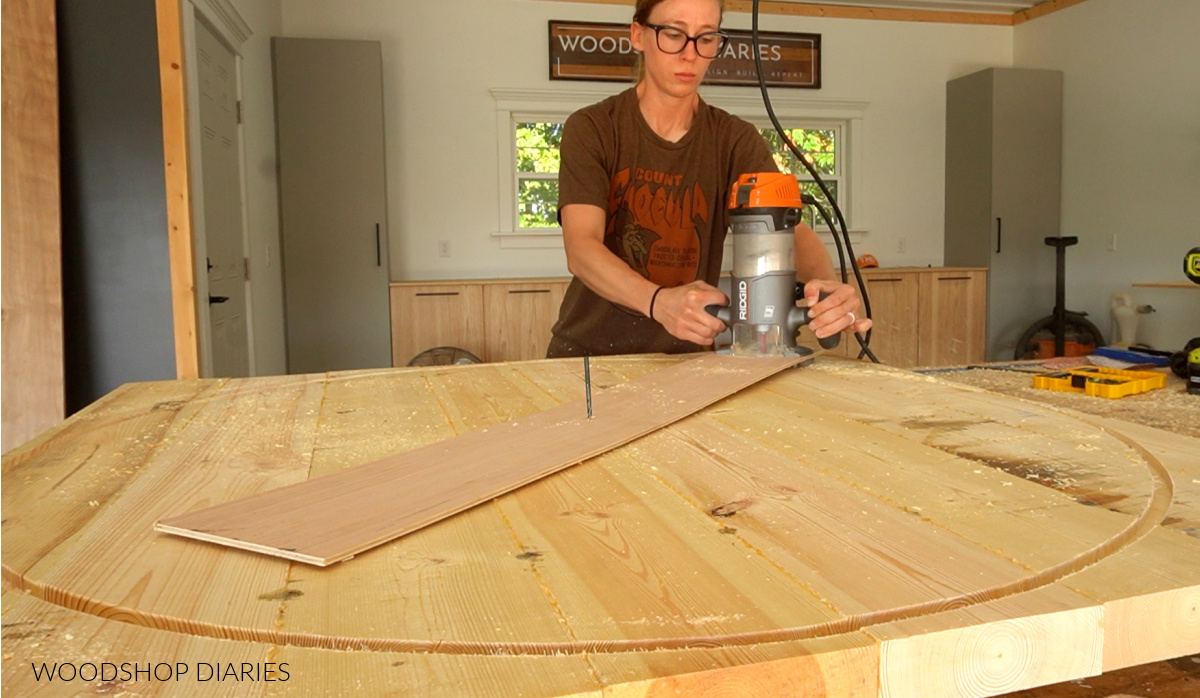
Step 6: Cut Circle Using Router
Now it’s time to actually cut the circle!
I flip the panel I’m cutting my circle from upside down, find the center and mark it.
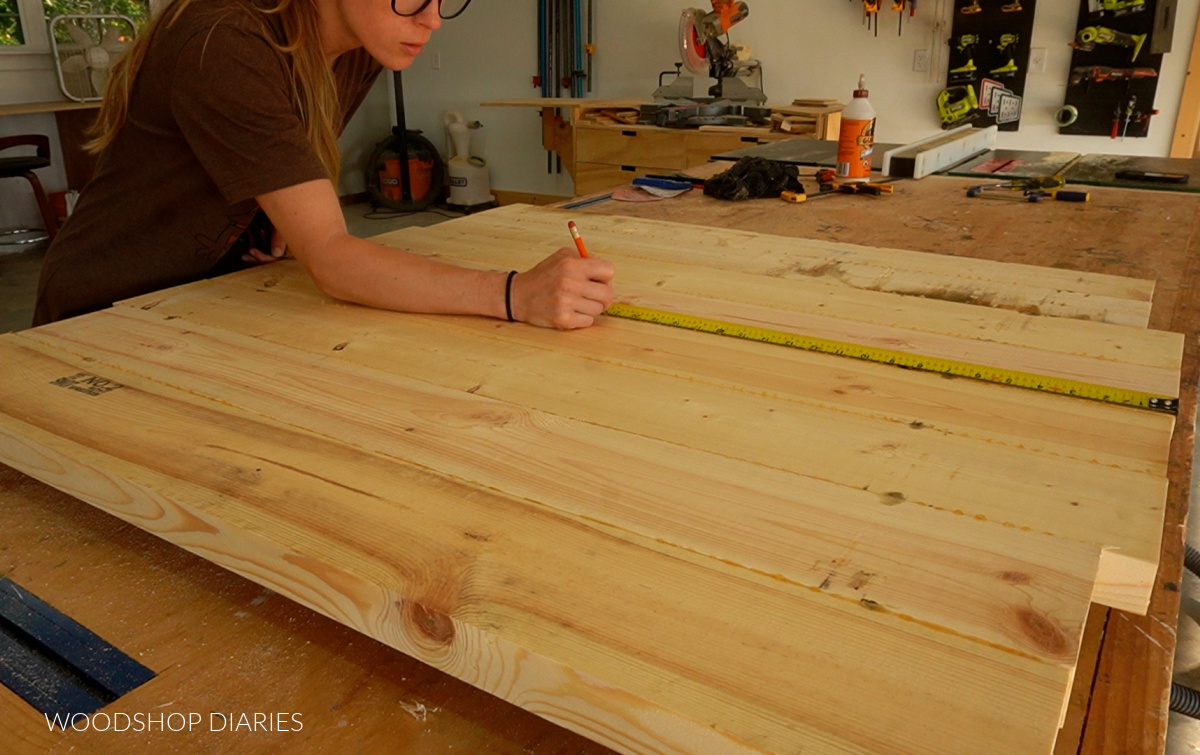
I use the same drill bit I drilled my pivot point in step 5 and drill into this center mark–not all the way, but deep enough that it’s going to stay put and not wiggle.
Now, I can slip my circle jig pivot hole onto this drill bit.
To cut, I adjust my router bit cutting depth to ABOUT ⅛″ deep. You want to make shallow passes–not cut a bunch of material at once.
Then, I carefully cut out my circle shape moving the router counterclockwise pivoting around the drill bit in the center.
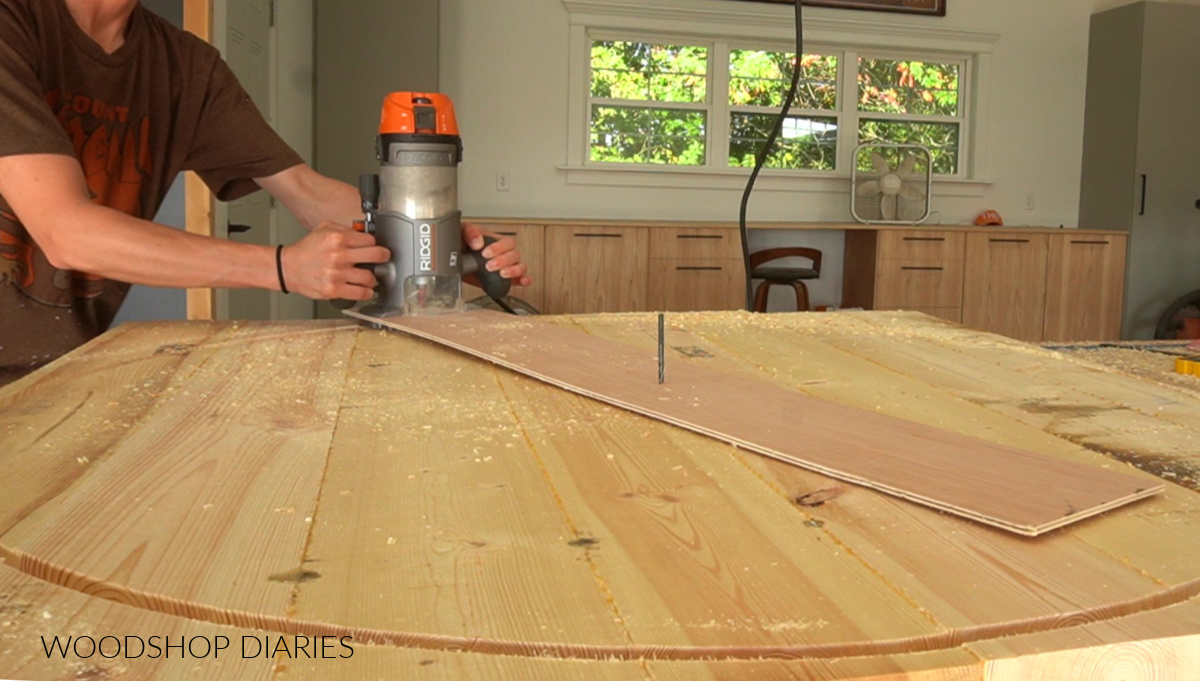
After the first pass, I adjust the depth ⅛″ deeper and repeat.
You can repeat over and over to cut all the way through this way.
Just make sure when you get to the final cut, that you lift the piece on some scrap boards so you don’t cut into your work surface.
Additional Tips on Cutting Wood Circles
While you can cut the entire circle using a router with the jig, I prefer a combination of the router with the jig saw.
I like to make a few passes to cut about halfway through the wood thickness. This gives me a template of a perfect circle to cut on.
Then, I use a jig saw to cut around inside this groove. You want to make sure to cut towards the outside of the groove so you don’t cut into the circle!

Removing this excess material with a jig saw after you get your initial circle shape cut can help prevent possible binding and kickbacks.
It’s not really a time saver, but it does make the cutting process a little easier–and less scary if the router makes you nervous (like me!).
After the jig saw cuts away most of this excess material, you can either continue with the circle jig to clean up the rough edges, or use a flush cut router bit.
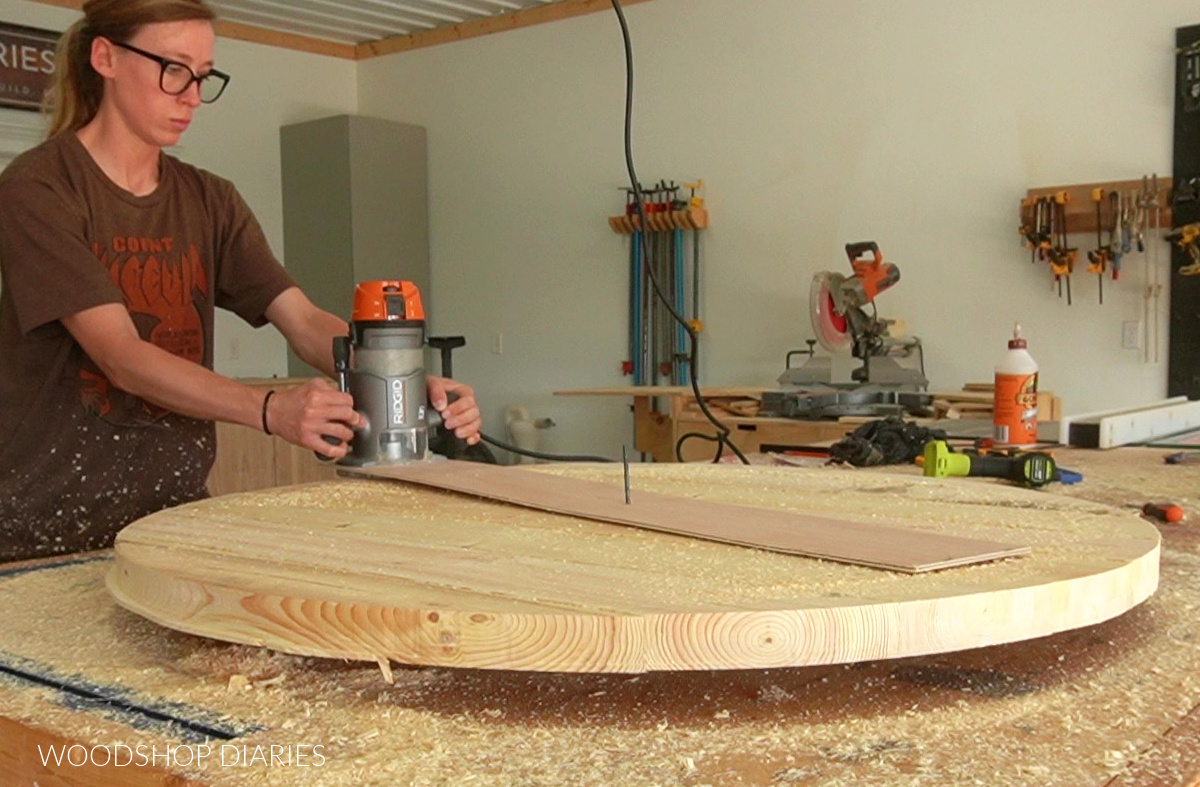
Once the circle is completely cut out, sand the edges and give both top and bottom surfaces a good sanding as well, and now you have a perfectly cut circle!
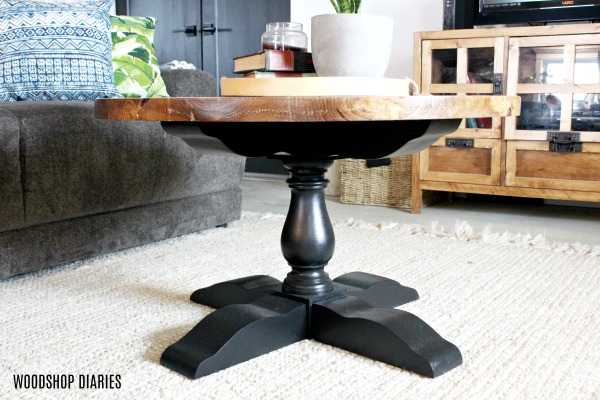
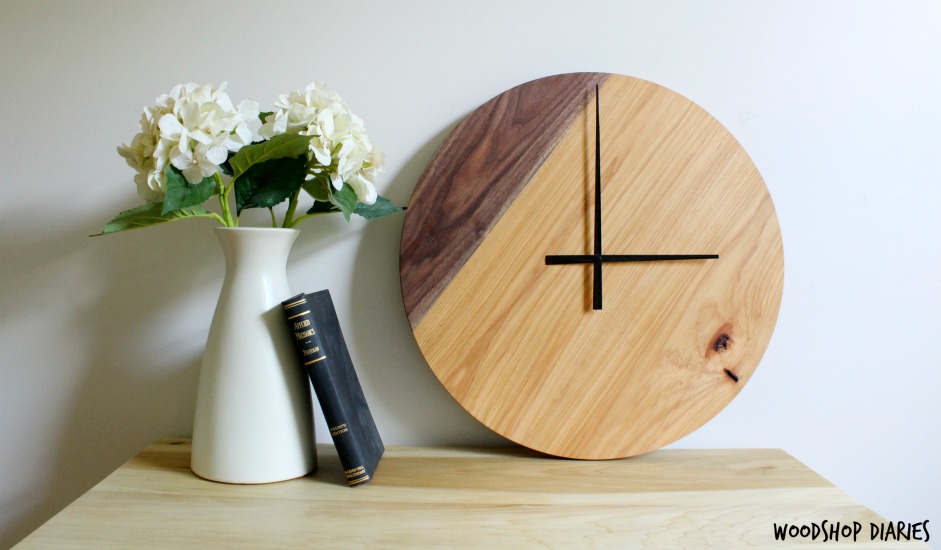
Circle Jig Projects to Practice On
Now that you know how to make your own circle jig and use it, it’s time to dive in and tackle some fun projects with it!
Here are a few of my favorite projects you can use your new DIY circle jig with:


If you enjoyed this post and want to check out more woodworking tips and guides, check out the getting started page!
And if you want to receive priority access to all the latest projects and plans, be sure to subscribe to the newsletter!
Be sure to save this for later by pinning or sharing to your favorite social channel.
Until next time, friends, happy building!