
In this post, I’ll show you how to build your own DIY wood clock!
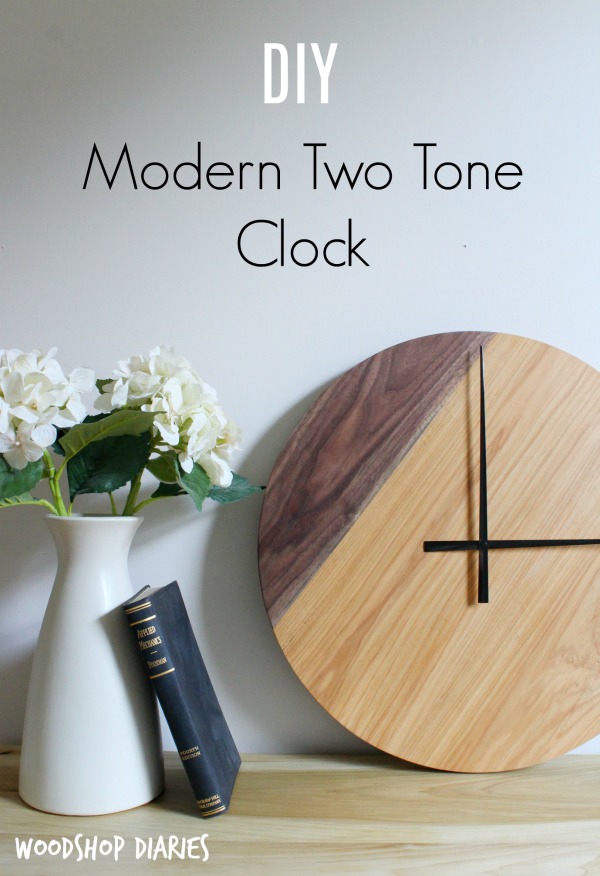
I love making clocks. I’ve made a few through the years, but this is probably my favorite because it’s so eye catching, but also SO simple.
.
If you can glue, cut a circle, and follow instructions to install the hands, you can make a clock 🙂 I promise.
.
I’ll show you how to make a two tone DIY wood clock in this post, but if you want to check out some other cool clock ideas, I’ve got a couple you might enjoy here. Click the image to head to the tutorial to make it!

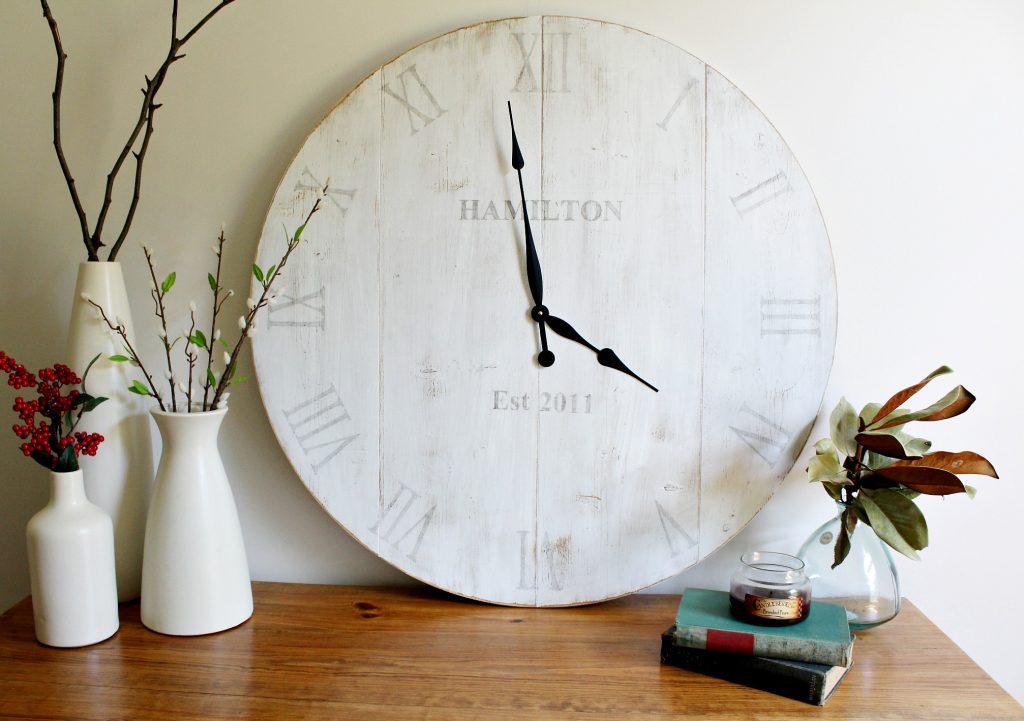
DIY Personalized Wall Clock 
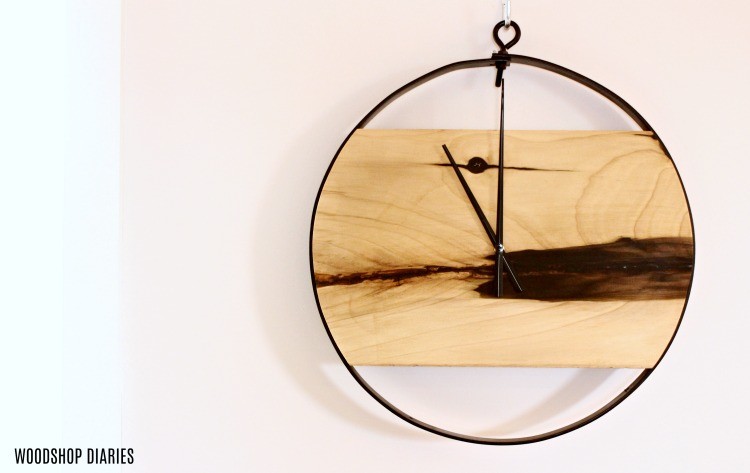
DIY Industrial Wall Clock
This two tone modern DIY wood clock is a super simple project and I’ve got the how to video for you right here. And of course, the step by step below 🙂
This post contains affiliate links. Please see disclosure policy for details.
.
For this DIY Wall Clock, You Will Need:
- 1 board of one type of wood ( about 20″ long, about 5-6″ wide)
- 2 boards of another type of wood (about 25″ long, about 9-10″ wide each)
- OR
- The equivalent of the above in one type of wood (if two tone isn’t desired)
- Miter Saw
- Wood glue
- Clamps
- Router (optional)
- Straight bit for router (optional)
- Drill and drill bits
- Sander
- High Torque Clock Kit and Large Clock Hands
- Danish Oil
NOTE: If you don’t have different wood types to work with, you can use one type of wood and just stain them different colors to create the two tone look.
.
ALSO NOTE: Feel free to use wood scraps for this project and mix and match widths as needed.
Step 1: Cut Wood Boards Down to Size
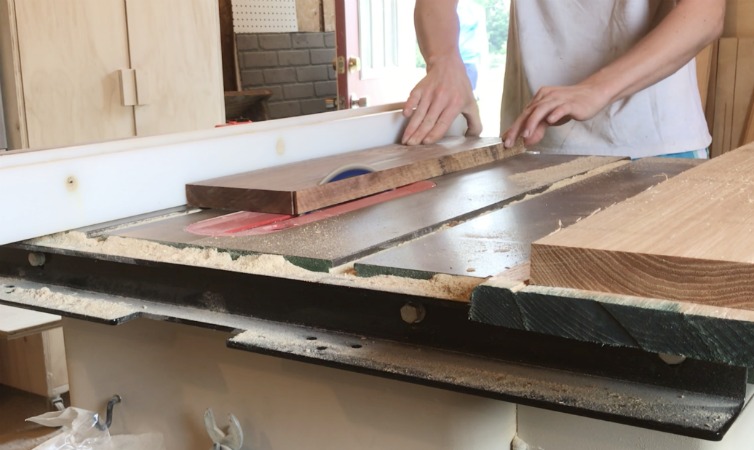
First, I cut my boards to size. I made this clock about 24″ diameter. If you want a smaller clock, you can cut your boards shorter, but I cut my darker walnut board to about 20″ and my lighter hickory boards to about 25″ long.
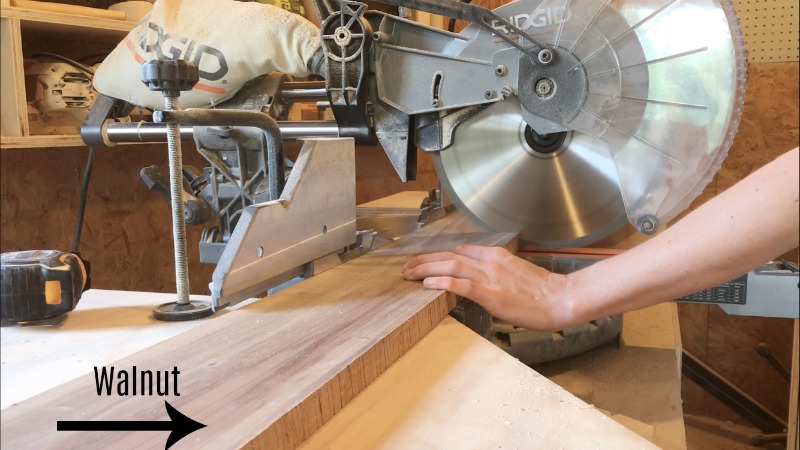

Then, I trimmed the edges off of my boards on my table saw for a nice clean joint to glue. You don’t HAVE to do this, it just makes a nice smooth, flush clock surface. I just barely trimmed off the edges to get a square side.
Step 2: Glue DIY Clock Boards Together
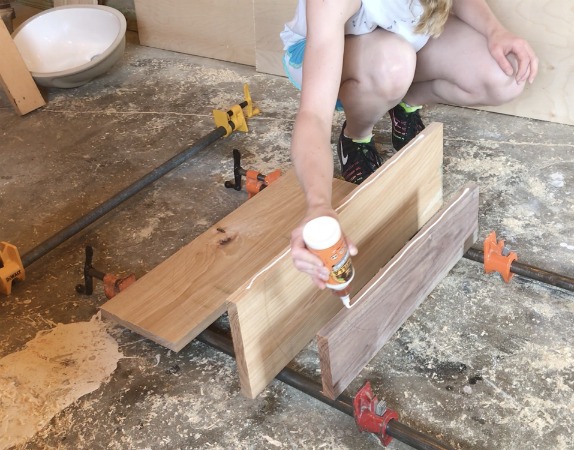
Now, it’s time for the glue up. I laid my pipe clamps out and situated my boards how I wanted them, making sure I could get a 24″ round out of it, then applied glue to the edges and clamped.
.
Make sure to wipe off any glue squeeze out for easier sanding and clean up later.

If you don’t have large clamps, you could also use pocket holes and screws to attach the boards together as well.
Step 3: Cut Wood Round for Clock
Once the glue was dry, I cut the round with a router–but you could also use a jig saw.
.
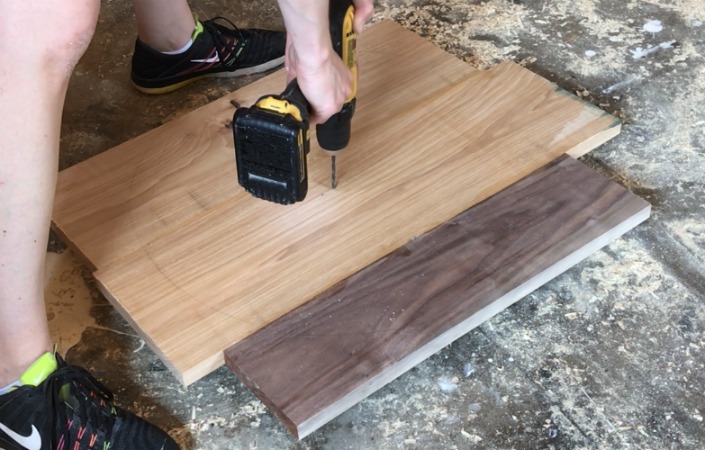
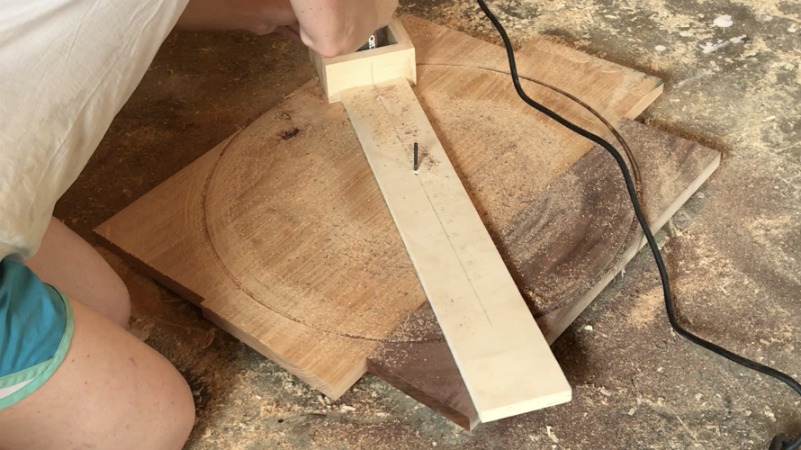
I measured to find where I wanted the clock center and drilled a hole at that point, leaving the bit sticking up. Then I removed the bit from the drill leaving it in the wood.
Using a router circle jig (you can find out how to make one here), measure from the outside edge of your straight bit to HALF the diameter you want your clock to be and drill a hole there into the jig.
RELATED: Want to learn more about routers? Check out this Router Guide Post.
.
So, for example, my clock was 24″ diameter, so I measured 12″ from the edge of the bit, down the jig and drilled a hole. I placed this hole onto the bit I left in the center.
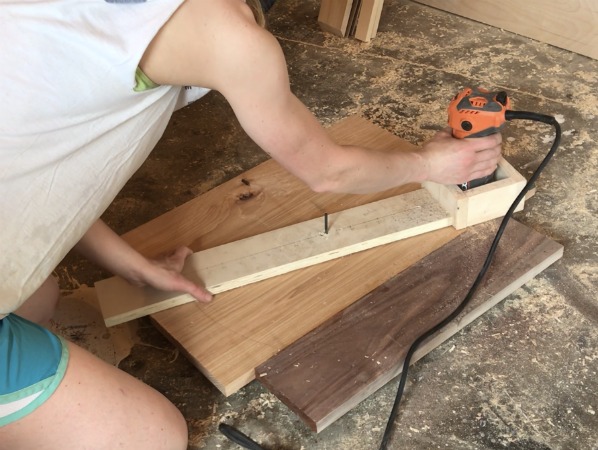
I SLOWLY cut out the circle, cutting only about ¼″ deep at a time. I made several passes, going deeper each time until it was cut all the way through. Then, I removed the bit.
Again, if you prefer, you can draw your circle and cut out with a jig saw instead.
Step 4: Route Out Hole for Clock Mechanism
Now, in order to attach the clock mechanism, the clock thickness must be only ¼″. The shaft of the mechanism needs to go through the center hole and stick out the front enough to be able to screw on a nut to tighten it in place.
.
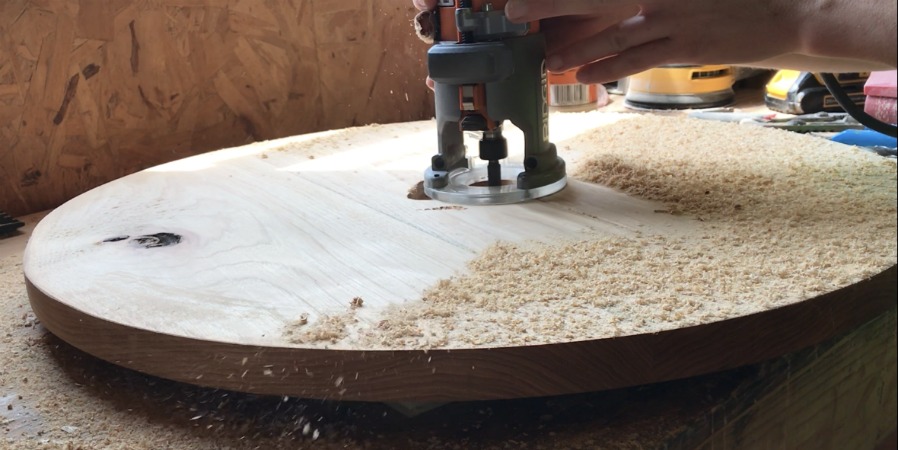
Since this wood clock is about ¾″ thick, I had to route out a hole to “inset” the clock mechanism.
.
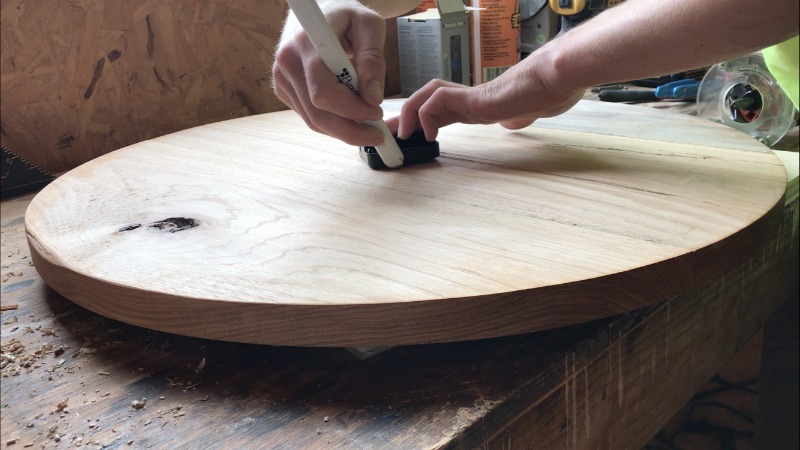
First, I found a drill bit that was SLIGHTLY larger than the shaft of the clock mechanism and drilled through the center hole.

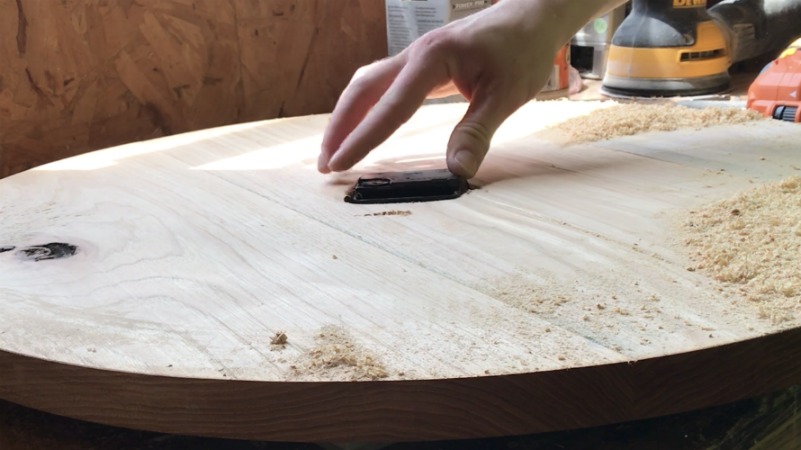
Then, I inserted the shaft on the back side and traced around the square body.
Using a router and a straight bit, I cut out this traced spot going deeper each time until the mechanism fit snug and there were some threads on the shaft coming through the front side (this is important to be able to attach the hands).
If you don’t have a router, you can also use a Dremel tool, or a chisel, or an oscillating tool to remove this material as well.
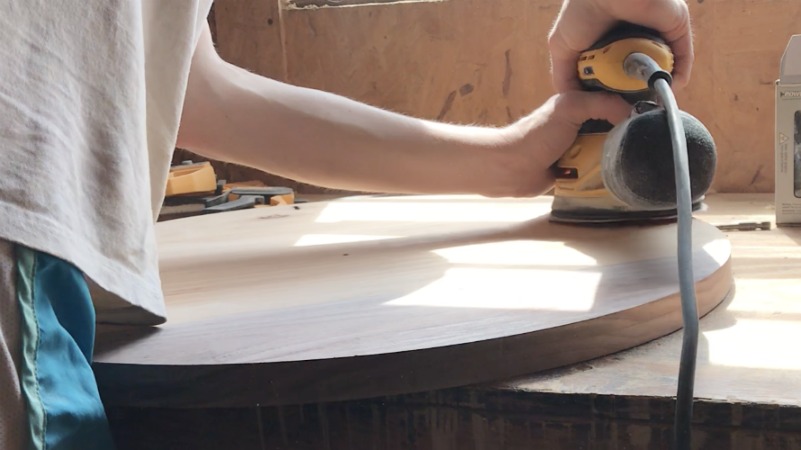
Step 5: Sand and Finish
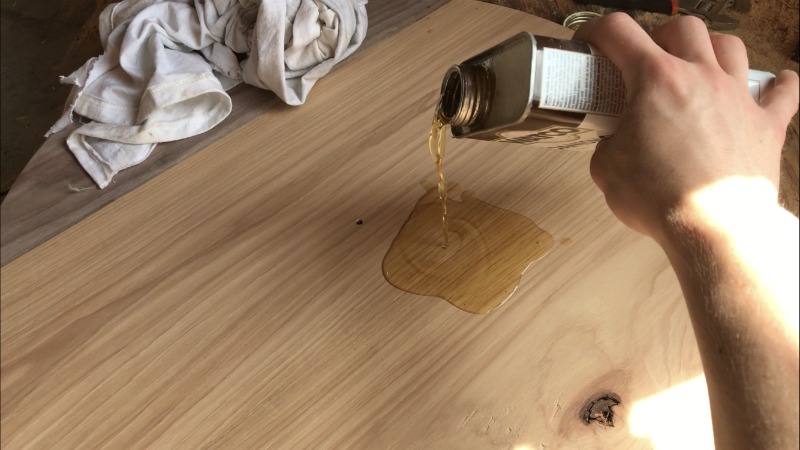
Finally, I gave the clock a good sanding and a couple coats of Danish oil for finish.
Then, I followed the instructions that came with the clock kit for attaching the hands.
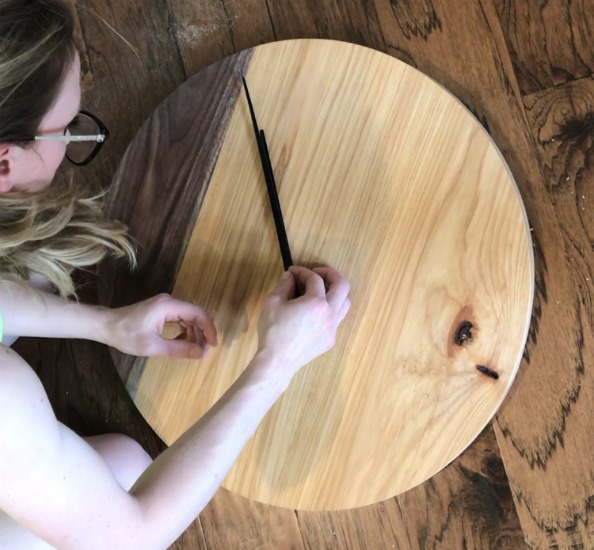
Assembling the clock hands is really simple–just make sure to follow the instructions. Just be sure to remove the protective peely things on the hands BEFORE you put it all together. It makes things MUCH easier 😉
.
And that’s it…that’s how you make a large DIY wood clock!
.
The mechanism comes with a clip you can install in order to hang this on the wall if you wish. But, I prefer it sitting on a desk or a shelf.
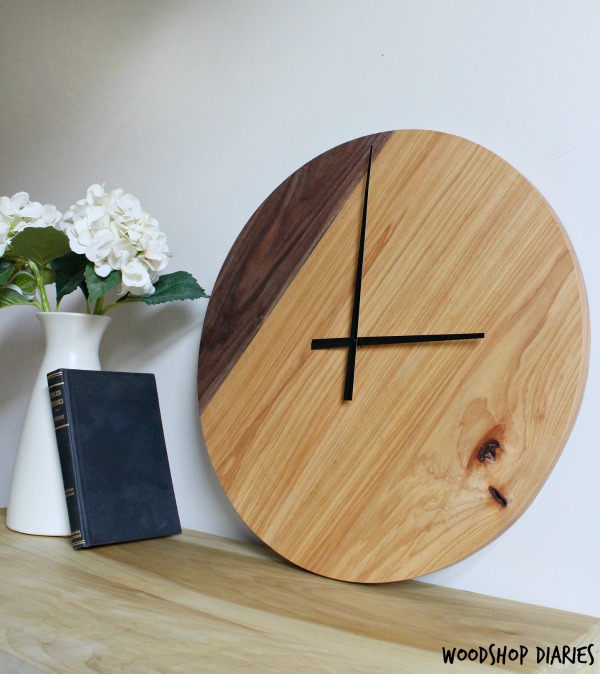
Such a simple project, but so cute!
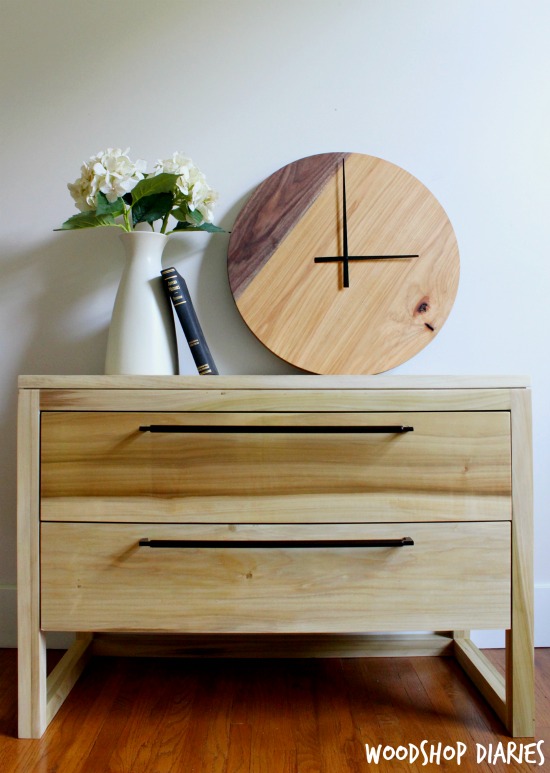
By the way, did you see the post about how to build these nightstands?? I love the clean lines and simple design.
.
For more two tone projects, check out how I mixed poplar and walnut in this simple keepsake box 😉
.
And if you want to save this project for later, be sure to pin it! 🙂
Until next time, happy building 🙂


wheel weight says
This rocks! What a beautiful wood project! I have heart eyes for it too! Pinned
Alan says
Awesome Work!
Shara, Woodshop Diaries says
Thank you!
Wendi @H2OBungalow says
This rocks! What a beautiful wood project! I have heart eyes for it too! Pinned 🙂
Shara, Woodshop Diaries says
Thank you SO much Wendi!!!