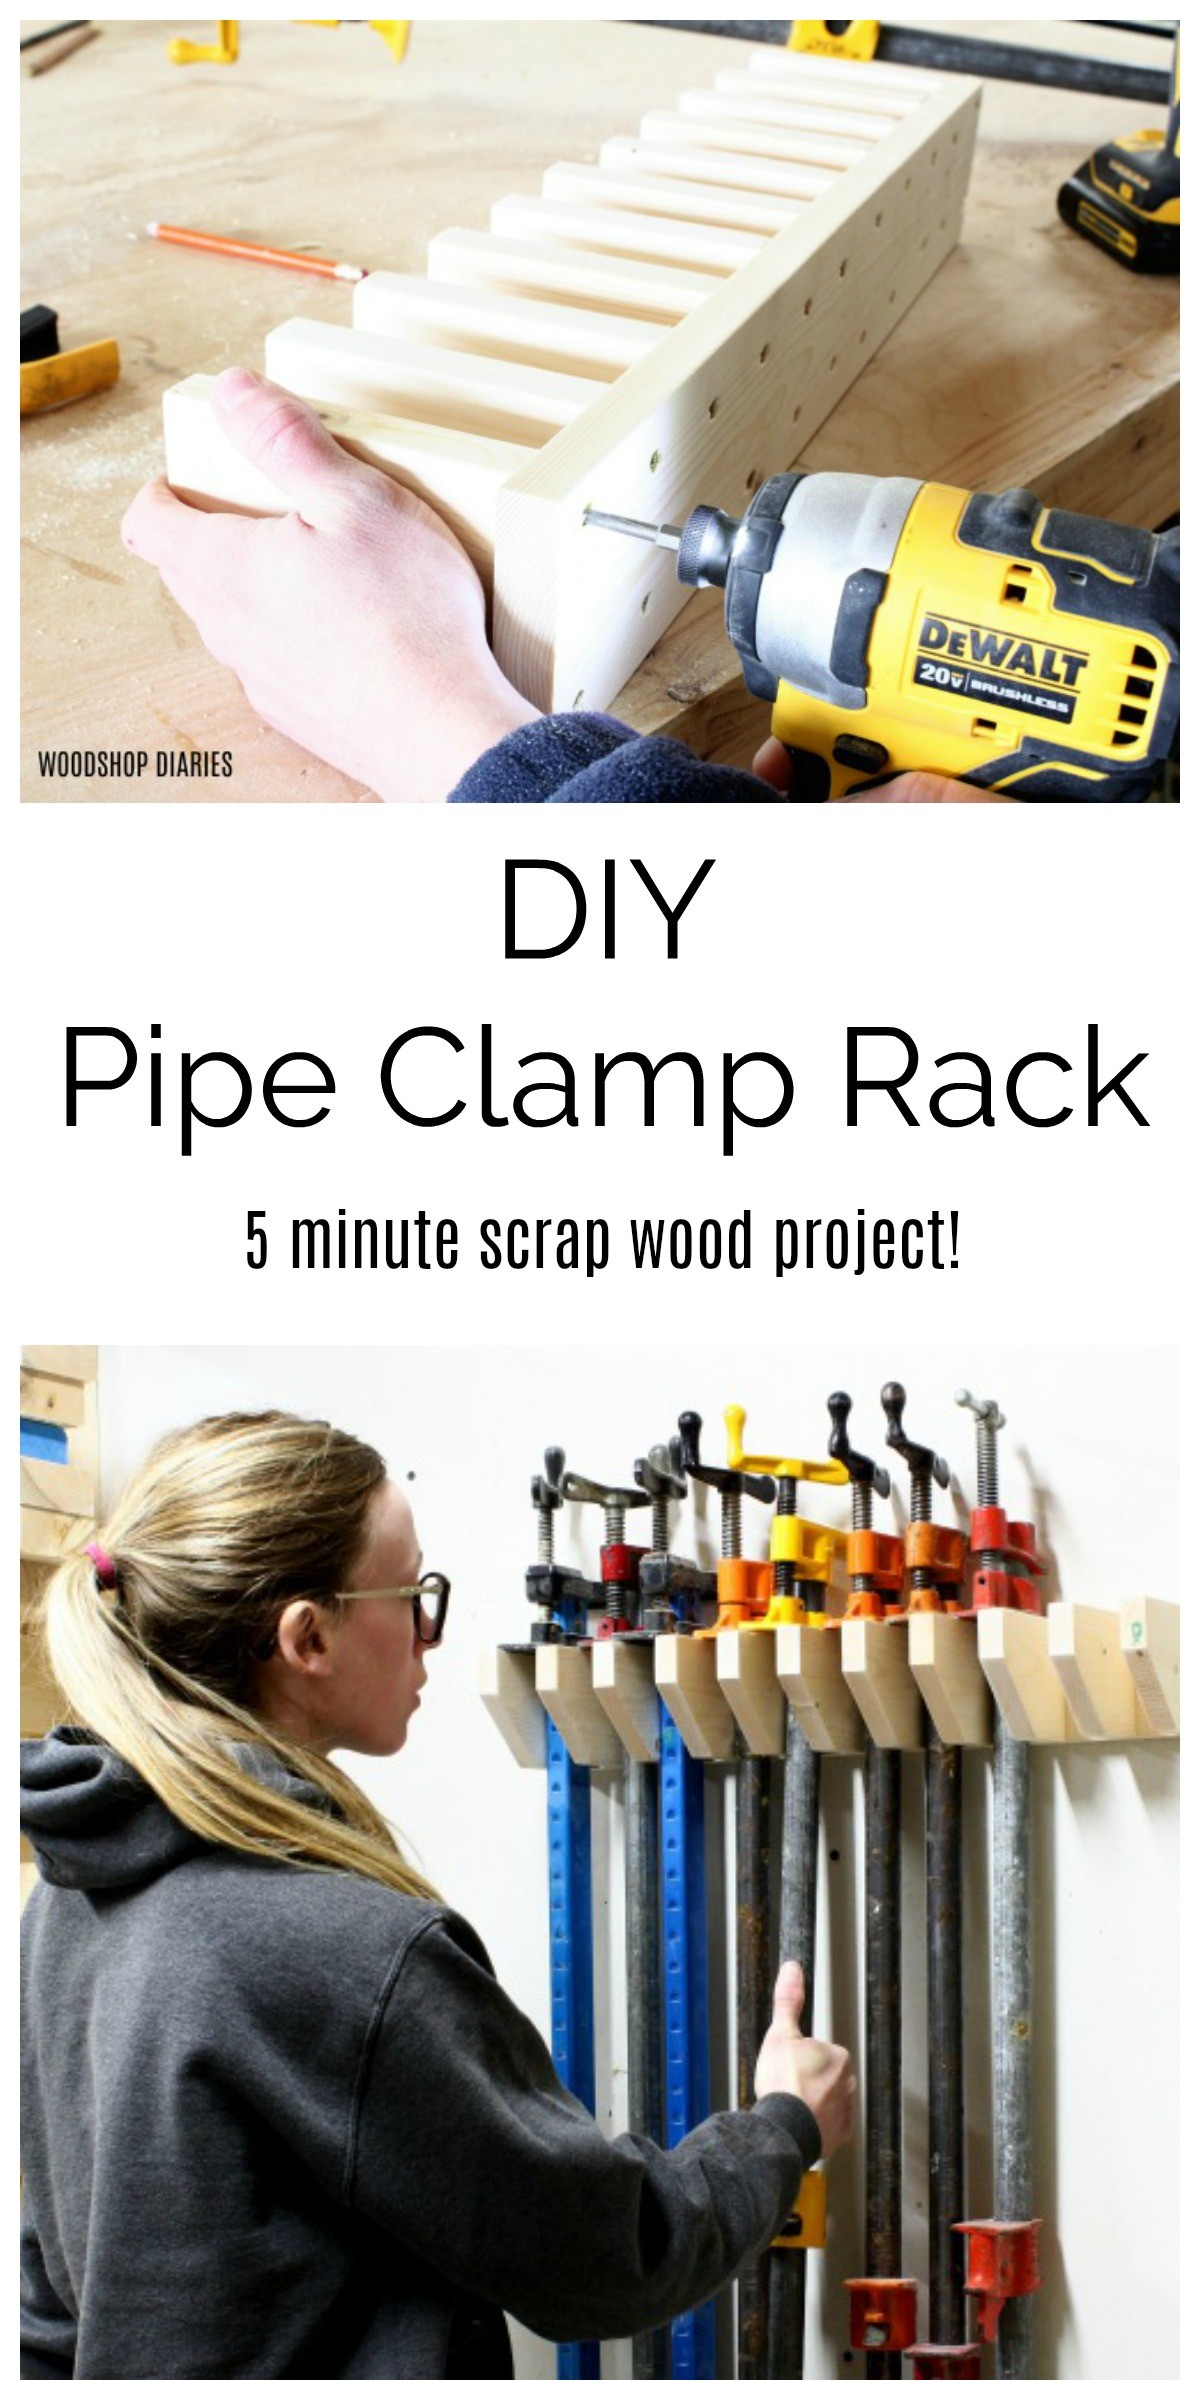
In this post, I’m sharing how to make a simple scrap wood DIY pipe clamp rack for your workshop or garage!
A couple weeks ago, I wrote a quick tutorial on how to make a simple clamp rack for small clamps.
But what about those bigger, heavier clamps you may have? This post is for those!
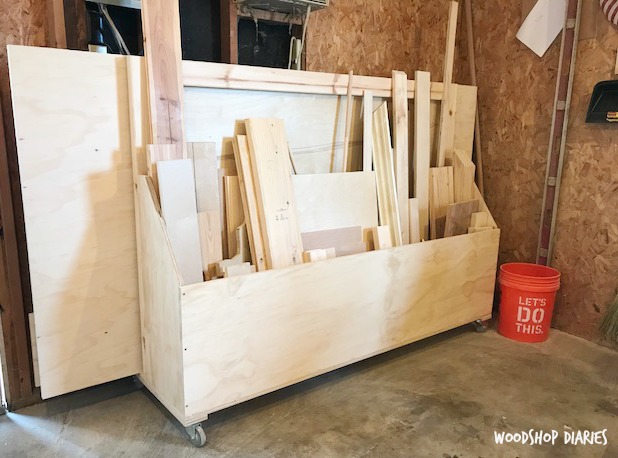
There are so many awesome clamp rack solutions out there. Some people have large rolling clamp rack carts.
Some use big storage cabinets, some people have walls FULL of clamp racks–metal ones, wooden ones, etc.
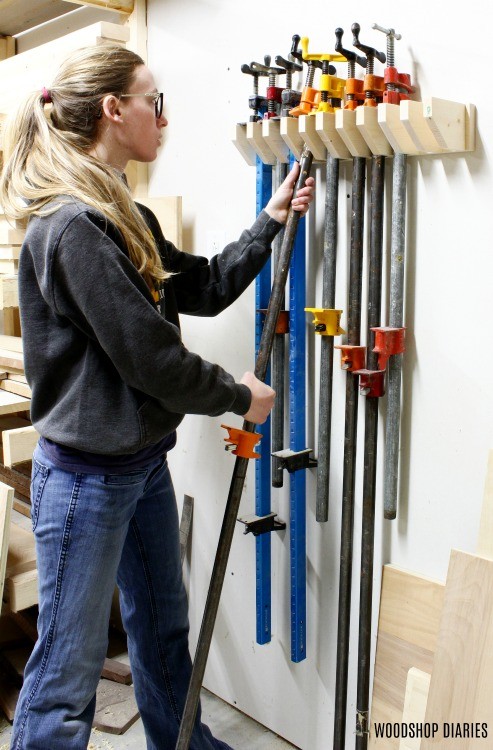
But, I, personally, like this small rack solution that simply hangs on the wall.
You can customize it to hold as many clamps as you want, and can easily whip up one or a few with some scrap plywood or scrap 1x4s.
For mine, I used a scrap piece of 1×4. If you don’t have that, a 1×6 works great, too, OR just use some scrap plywood 4-7″ (ish–doesn’t have to be exact) wide.
Tools & Materials:
For this build, you will need just a few common tools. This post contains affiliate links. See policies page.
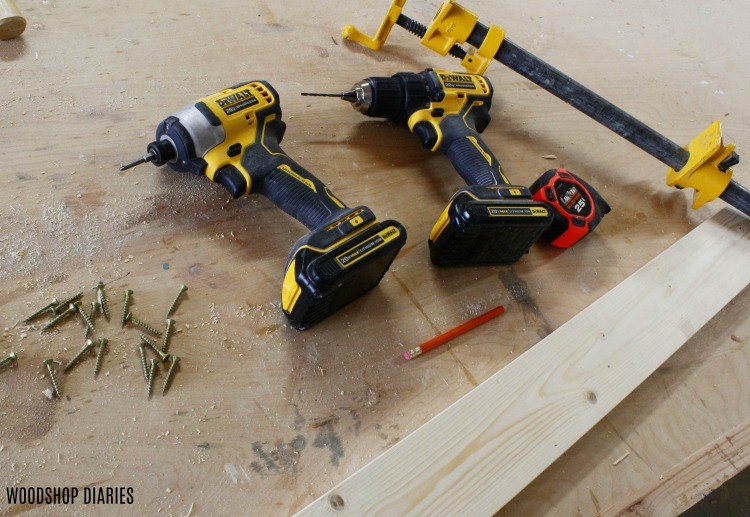
Tools:
- Drill/Driver
- Drill bits
- Speed Square
- Measuring Tape
- Miter Saw
Materials:
- 1×4, 1×6, or scrap plywood board
- 1 ¼″ wood screws
- 2 ½″ or 3″ wood screws
How to Build a Pipe Clamp Rack
This rack can be made whatever size you need to fit however many clamps you have.
Feel free to modify the sizing as needed if you have larger or smaller clamps to hang up.
You may want to make the “dividers” deeper and hang your clamps sideways instead. There are several ways to use and modify this.
Step 1: Cut Pieces to Assemble DIY Pipe Clamp Rack
First, I cut down my pieces. I made my rack to hold 10 pipe clamps.
However, you can easily customize this to hold as many as you want. To determine the length you need to cut your back board, use this equation:
X=number of clamps you want
Length=(X * 1 ⅜″) + ((X+1) * ¾″)
So, in my example,
(10 * 1 ⅜″) + (11 * ¾″) = 13 ¾″ + 8 ¼″ = 22″
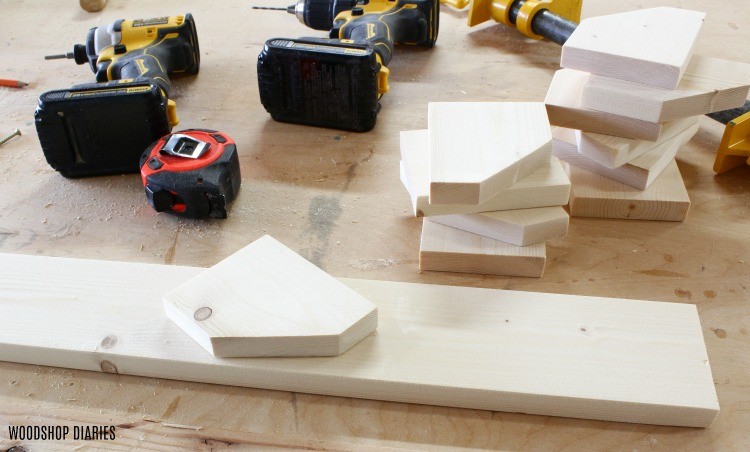
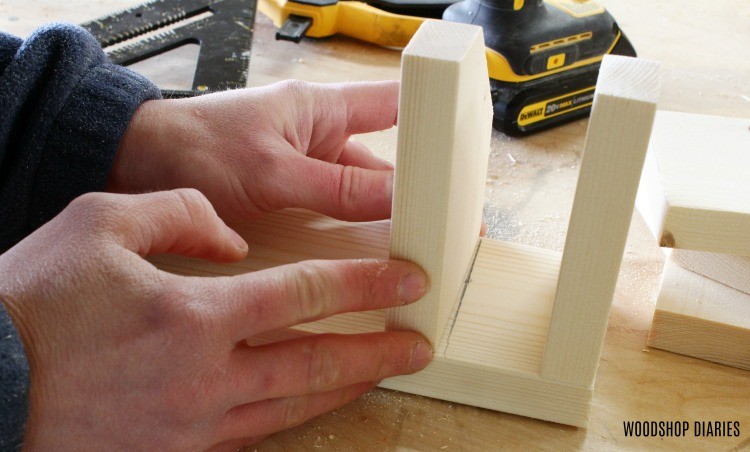
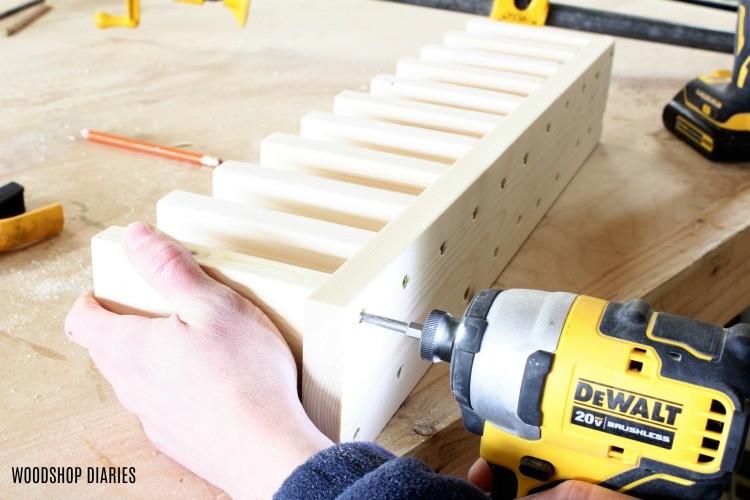
So, I cut a piece of my 1×4 to 22″ long, then cut small blocks like shown to serve as rack dividers.
I cut these pieces approximately 4 ½″ – 5″ long, and added a little 45 degree bevel on the front corner (mostly for looks).
You need to cut one more block than you want clamps. So in my case, I wanted 10 clamps, so I cut 11 blocks.
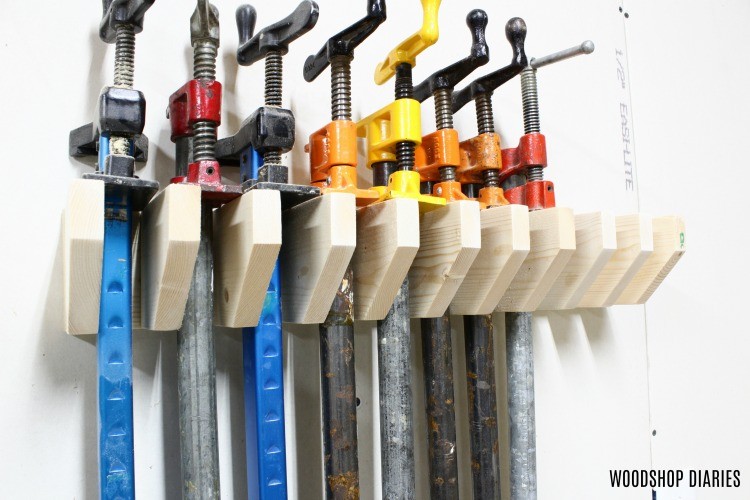
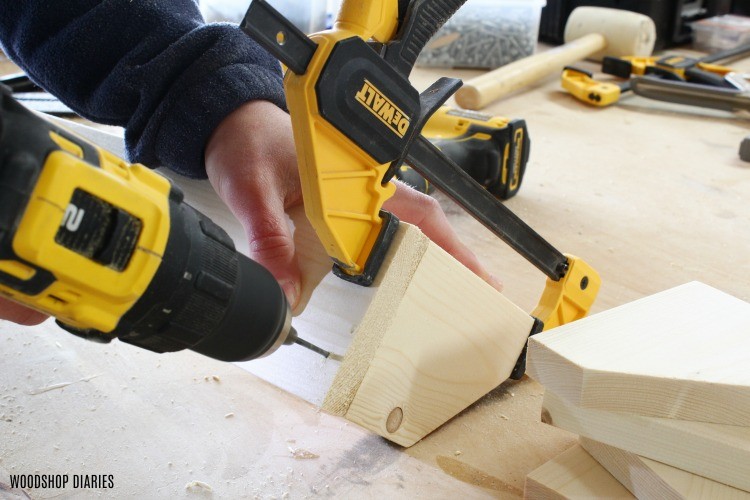
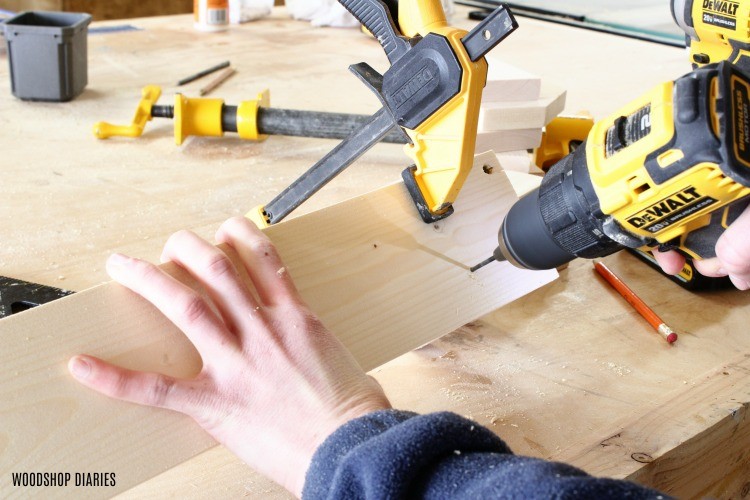
Step 2: Attach End Block to Clamp Rack
Use a small clamp to clamp a block onto the end of the back board like shown.
Using a drill bit slightly smaller than the SHANK (not including the threads) of the 1 ¼″ screws you are using, predrill holes and drive screws to attach this block onto the end of the board. Use two screws.
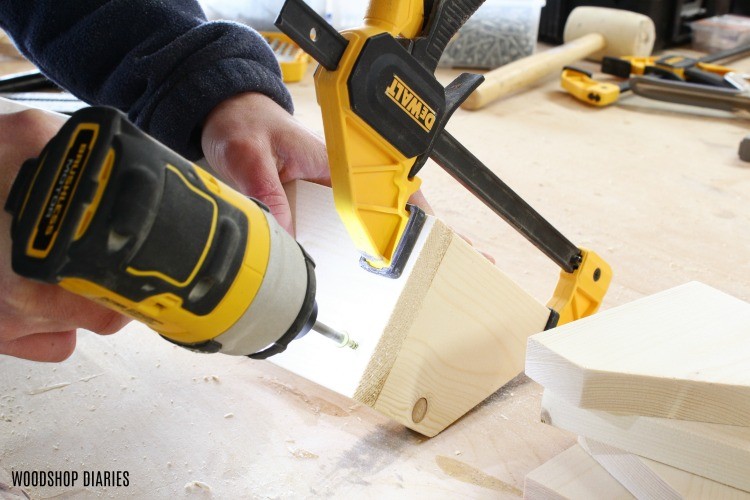
Step 3: Add Divider Blocks to DIY Pipe Clamp Rack
Use a square to draw a line across the board about 1 ⅜″ from the outside block and line up the next divider block along this line.
Clamp in place, predrill and drive screws from the back side to attach in place.
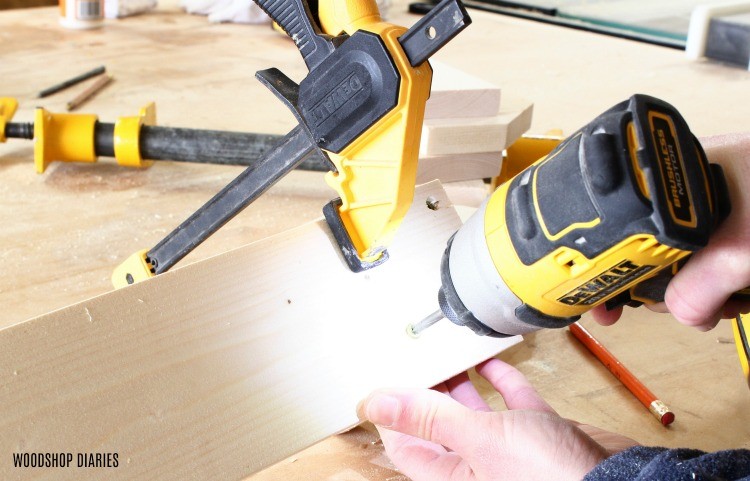
Continue along the board attaching divider blocks, keeping them spaced about 1 ⅜″ apart.
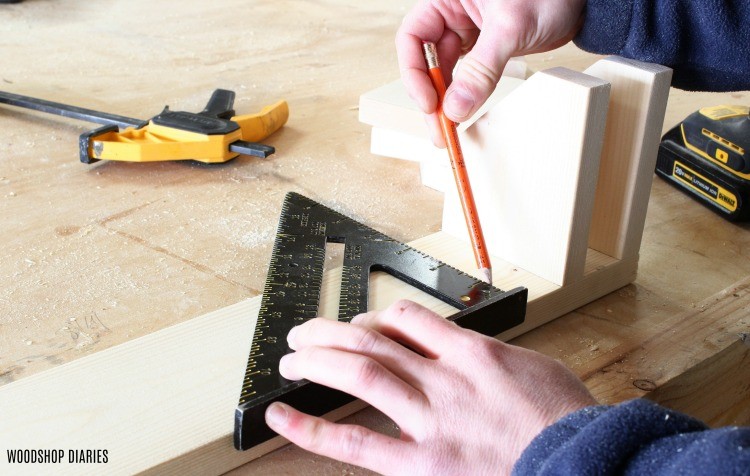
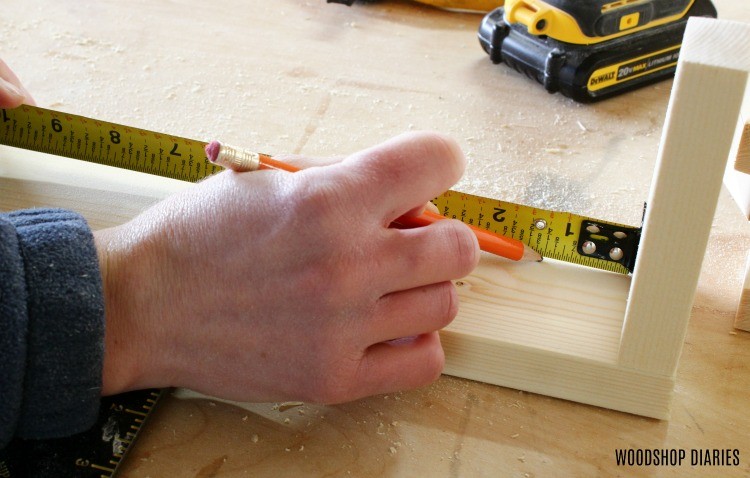
Note there is a little extra back board here on the end–I cut mine a little long to make sure I didn’t run out of board before I ran out of blocks if one of my measurements got a little off. That’s okay…not a big deal.
Step 4: Hang Pipe Clamp Rack
Now, it’s time to hang the rack! If you remember from my small clamp rack tutorial, I know where my studs are in my shop because I never finished my drywall.
However, if you don’t know where your studs are, use a stud finder to locate one (or more) studs to hang your rack on.
Using a long bit, drive 2 ½″ or 3″ wood screws through the back of the rack and into a stud. Make sure it’s level and use at least two screws.

Hang up your clamps, and you’re all set! Just like with my smaller clamp rack idea, this is so easy to put together and so handy to have in the shop.
And it’s so quick and cheap to make, if you need to add on later because your clamp collection has grown, it’s easy to make another to hang next to it.

I hope you guys like a quick tutorial…this one is about a “five minute-er” haha.
But once you get this one knocked out, if you want more shop storage and organization ideas, be sure to check these out:
If you enjoy these projects, be sure to sign up to our newsletter for priority access to all the latest projects and plans on Woodshop Diaries.
And if you liked this simple DIY pipe clamp rack, I’d love if you’d pin this for later 🙂
Stay tuned for lots of projects coming at you soon! Until next time, happy building 🙂