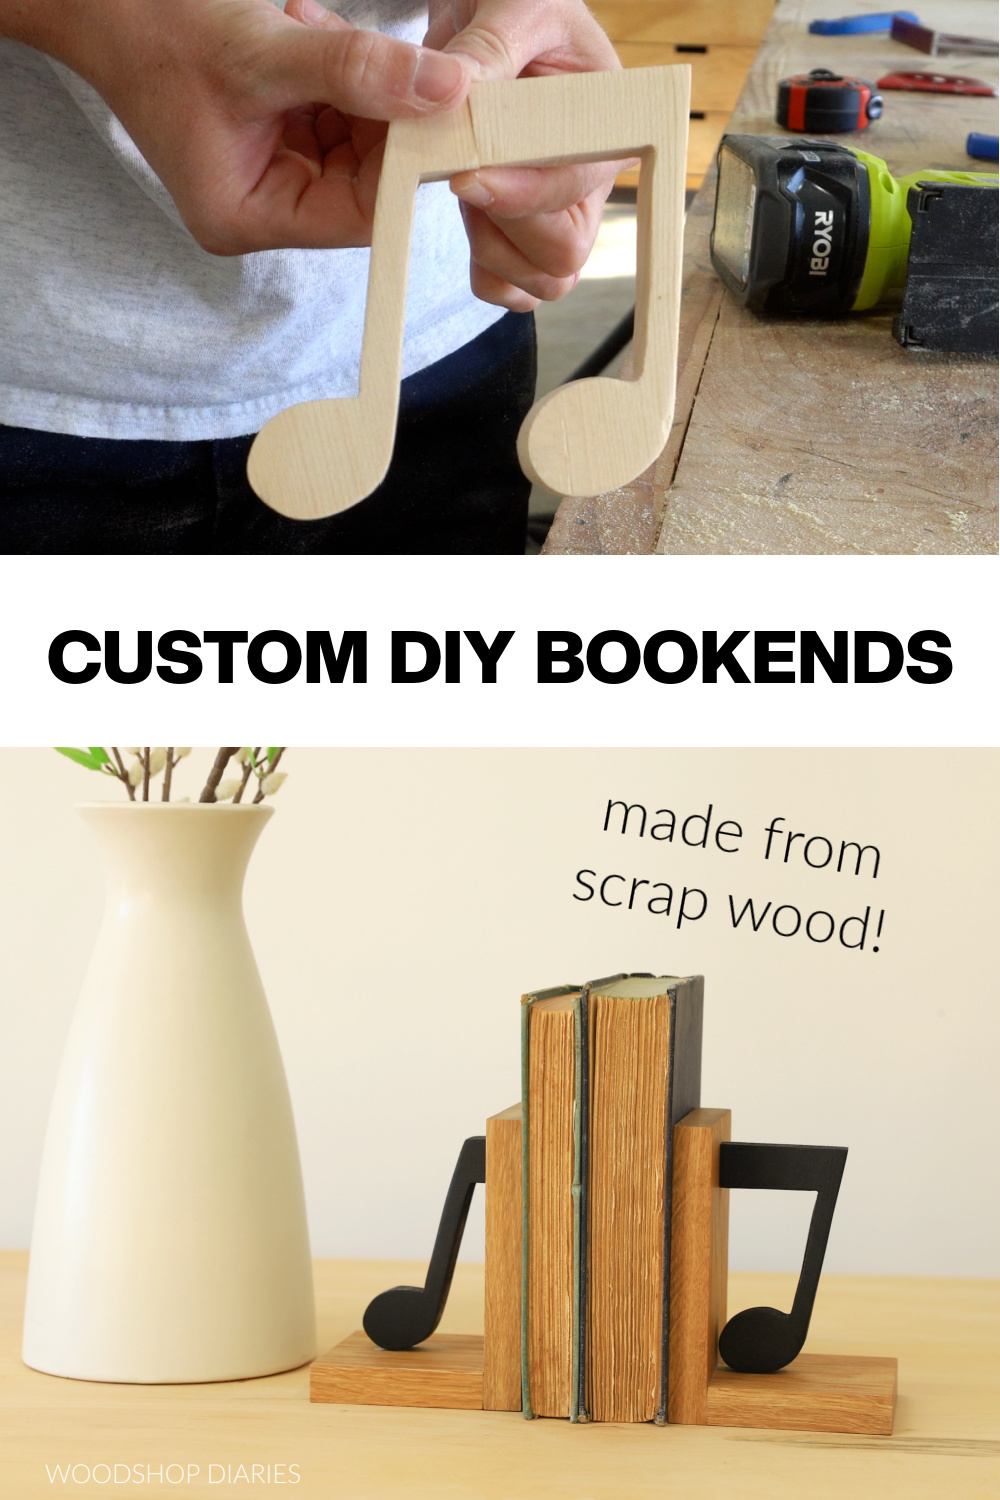
In this post, I’m sharing how to make your own custom DIY bookends from scrap wood!
These simple bookends would make the perfect handmade gift for just about anyone because you can customize them with different shapes.
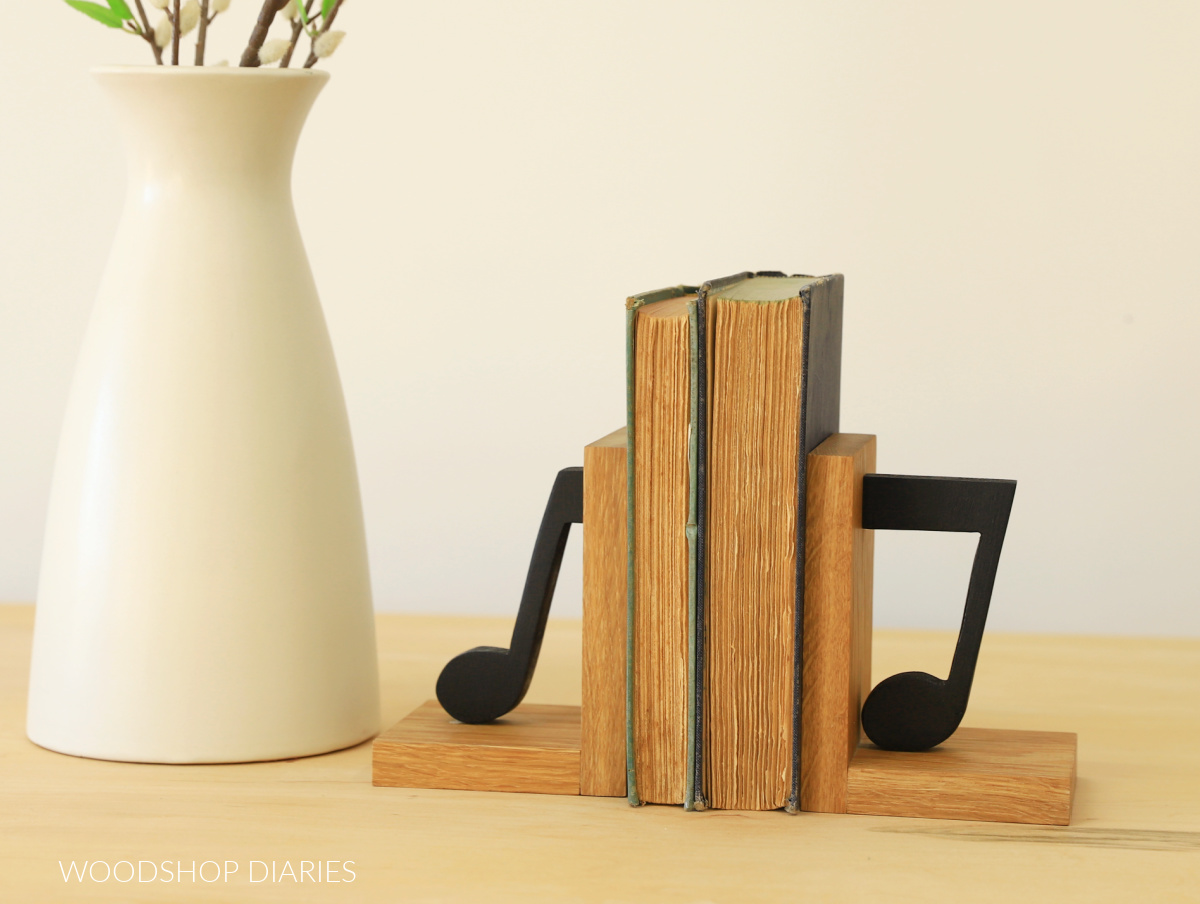
As you can see above, I made these “music themed,” but you could swap the music notes for a car, a monogram, a logo, an instrument, an animal, or just about any shape you can think of.
So, you can easily personalize these for whoever you’d like and whatever their interests are.
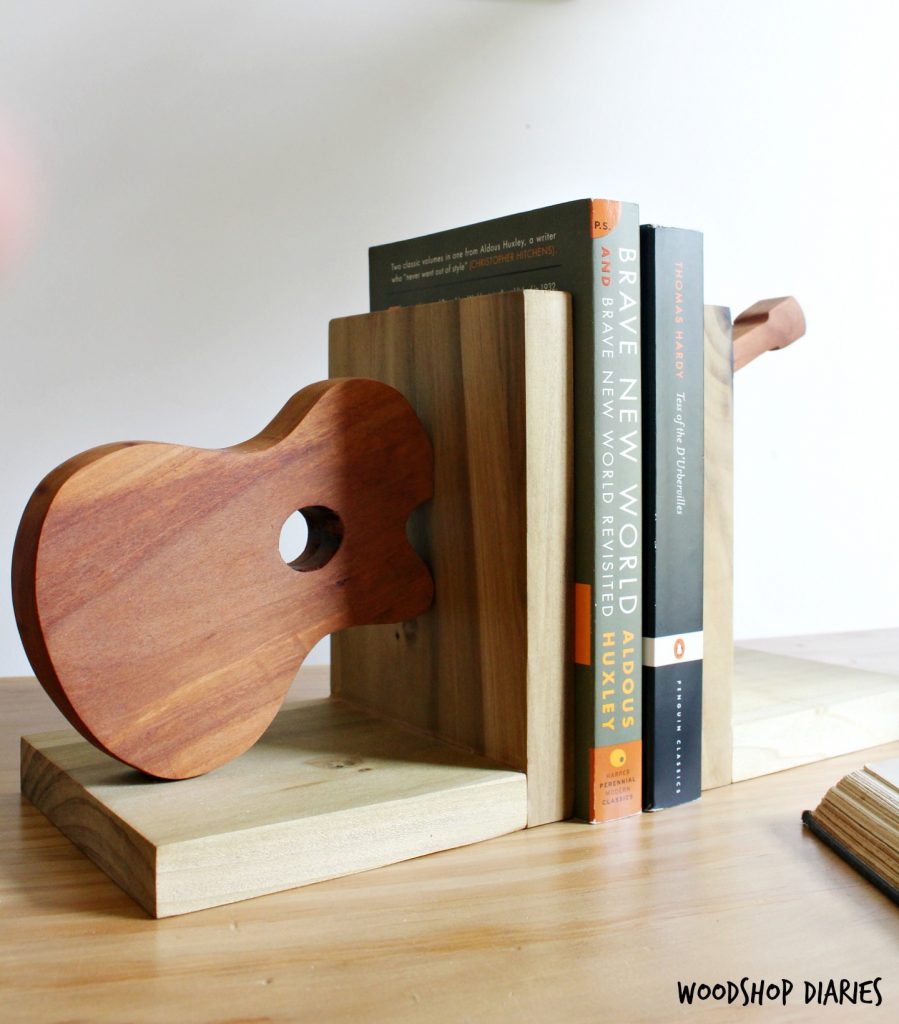
I actually made some similar bookends several years ago in the shape of a guitar!
These are a quick build, so if you’re ready to dive in, I’m sharing how to make you own below.
*This post contains affiliate links. See website policies.
What to know before building
This is a really great scrap wood project because the pieces needed are small.
You only need about 16-20″ of board length for the bookend parts (the L shaped pieces). I used a scrap piece of 1×4 white oak for my bookends, but any board about 1×4 or 1×6 size would work fine.
And I used some 1×12 pine scraps to cut out my shapes. A 1×12 was actually much bigger than I really needed, but that’s just what I had on hand.
You can use any type of wood you’d like for this project. You might consider doing a two tone look and making the shape one wood type and the bookends another.
Of course, you can also paint or stain them different colors as well.
Either way, I do recommend using a softer wood for the shape cut out. A hardwood can be challenging to cut (especially small details) with a jig saw.
Want to be the first to know about new projects and plans? Subscribe to the newsletter for priority access!
How to make personalized bookends
I’ve included the step by step instructions below. But, if you prefer to watch, I’ve also included a build video as well.
Love watching how-to videos? Subscribe to my YouTube channel for plenty more where that came from!
Step 1: Select a Shape & Create Template
The first step is deciding what kind of shape or design you want to put on your bookends.
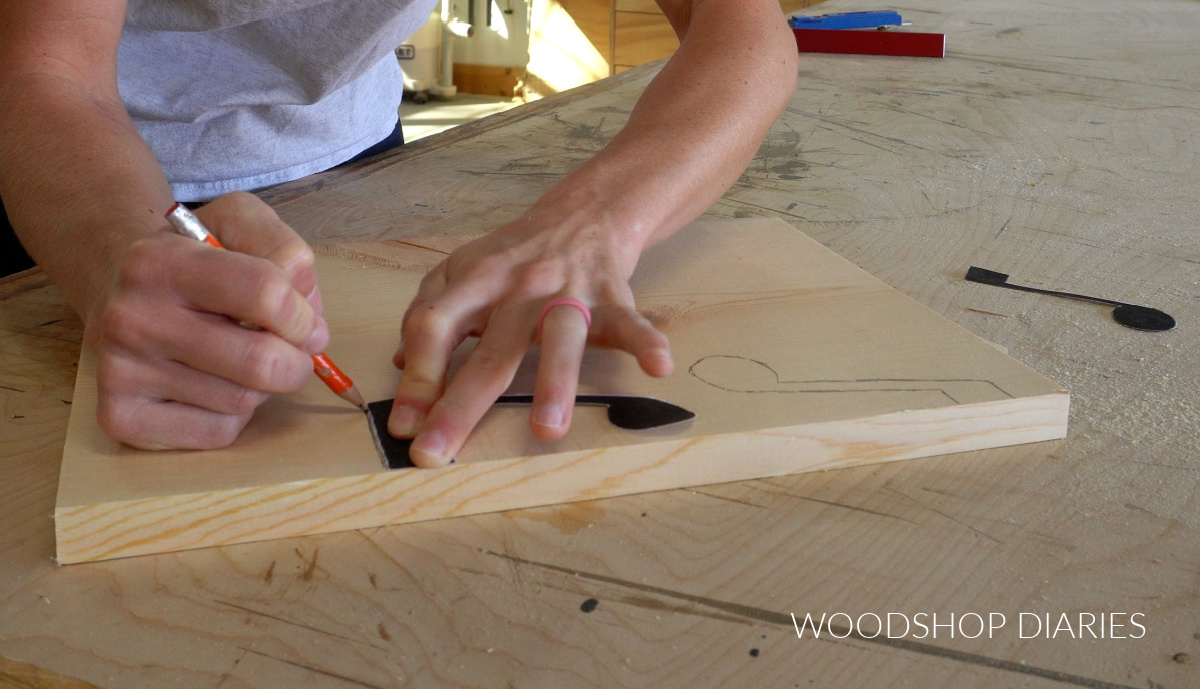
In my case, I wanted to add music notes, so I literally just did a Google search for “music notes” and copied and pasted an image into a Word Document. Then I sized it about 3 ½″ tall and cropped it into two pieces.
Then I printed it out and cut out the shapes with scissors.
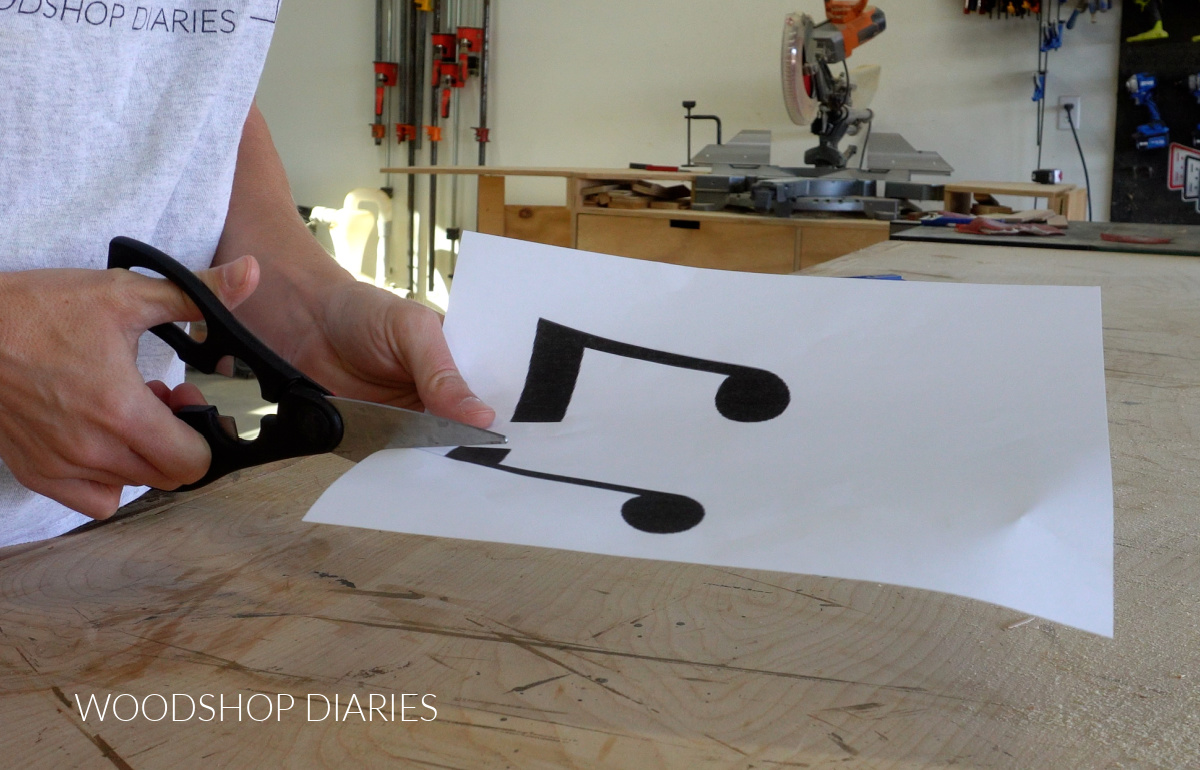
So, first, you just need to create a template for whatever shape you’re wanting to cut. You can freehand your design, find one online, trace a figurine, whatever.
Step 2: Cut Out Shapes
Once I had my two music note pieces cut out, I traced them onto a scrap piece of 1×12 board.
Then, I carefully cut these out with a jig saw.
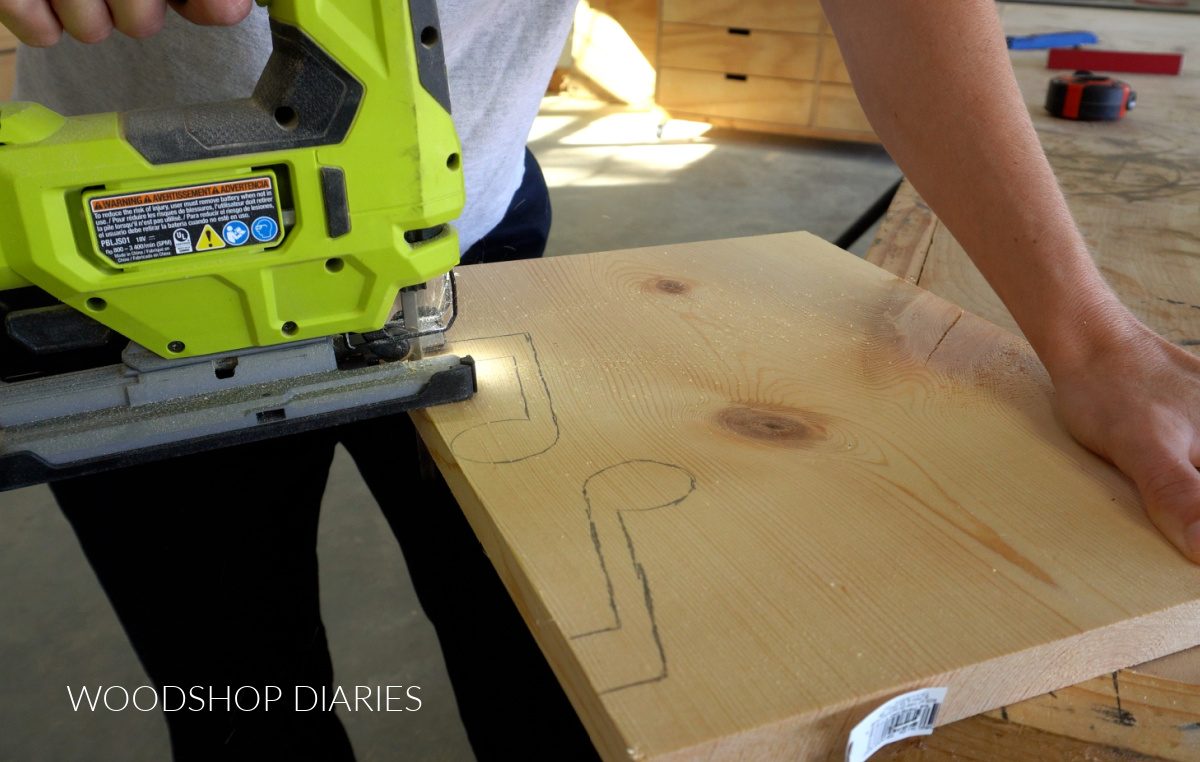
Now, here’s an important note: I could have printed off the music note as one piece, cut it out as one piece, then just cut it in half.
So it doesn’t matter WHEN it becomes two pieces, just THAT it becomes two pieces.
OR–It’s also worth noting that you don’t even have to split your shape. If you wanted to cut a dog shape for one side and a cat shape for another, you can totally do that. Or if you wanted to just cut a triangle shape for both sides, that’s fine, too!
Feel free to get as creative or as simple as you’d like. This is the part you can customize.
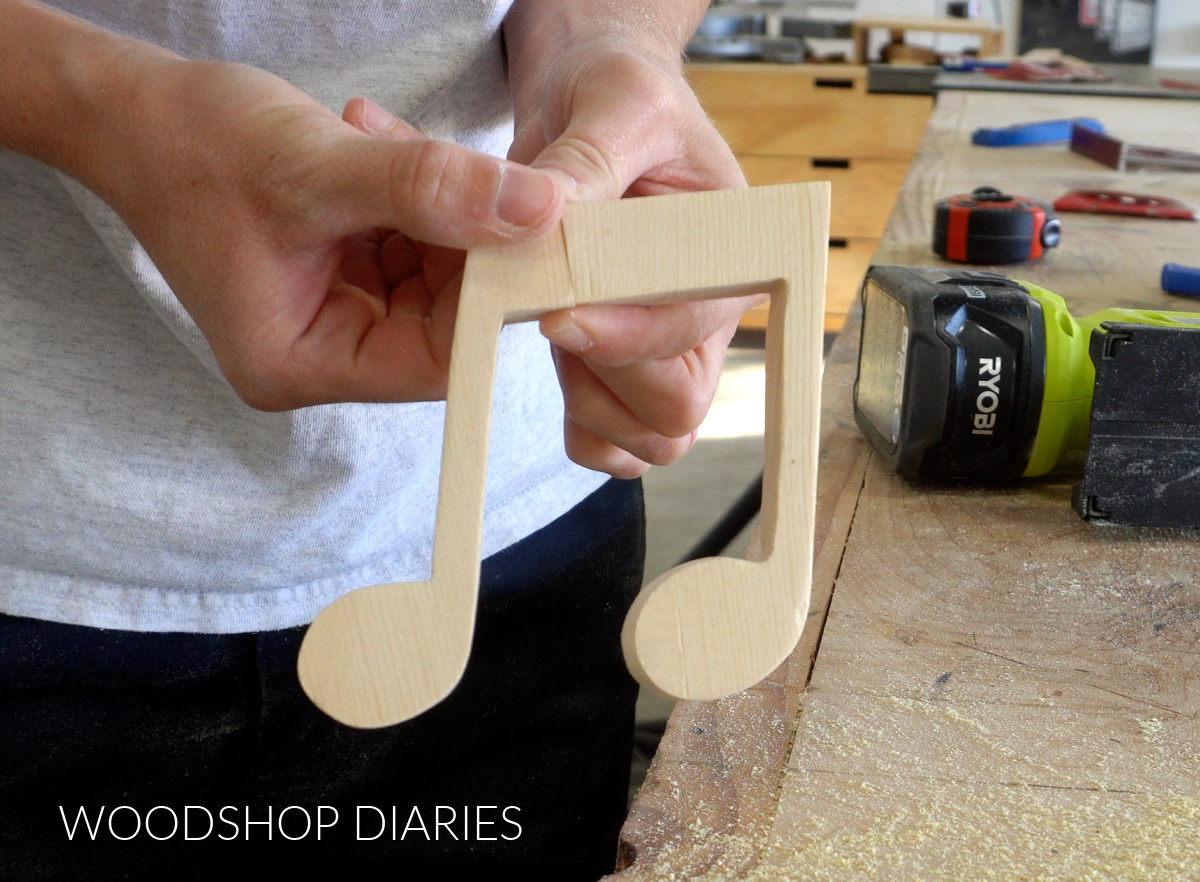
Once I had my music notes cut, I sanded them well to smooth out any uneven edges, then spray painted them flat black.

Step 3: Assemble Bookends
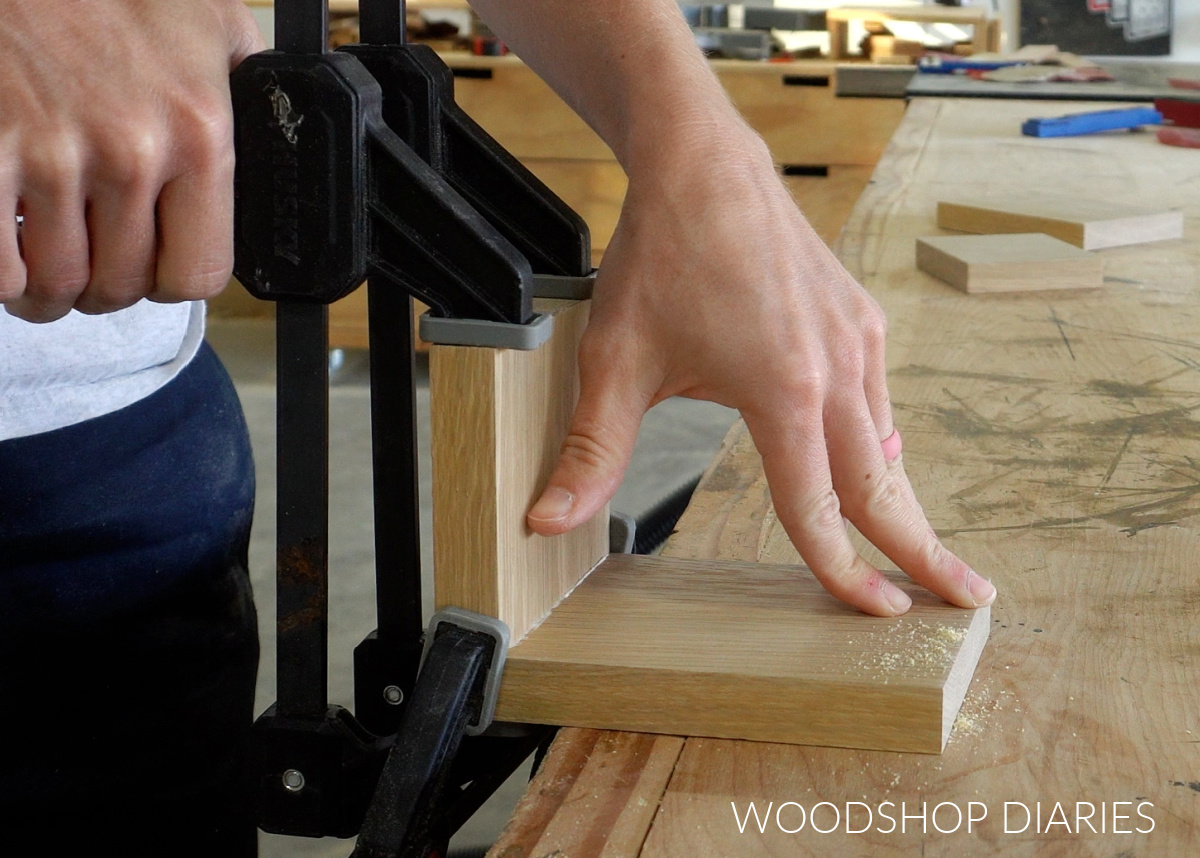
While the paint dried on my music notes, I cut a scrap piece of white oak 1×4 into two pieces about 3 ½″ long and two pieces about 4 ½″ long.
Make sure these are big enough to fit your shape–adjust sizing as needed.
I glued and clamped the 3 ½″ long pieces to the 4 ½″ long pieces to make two bookends in an L shape.
Step 4: Attach Custom Shapes to Bookends
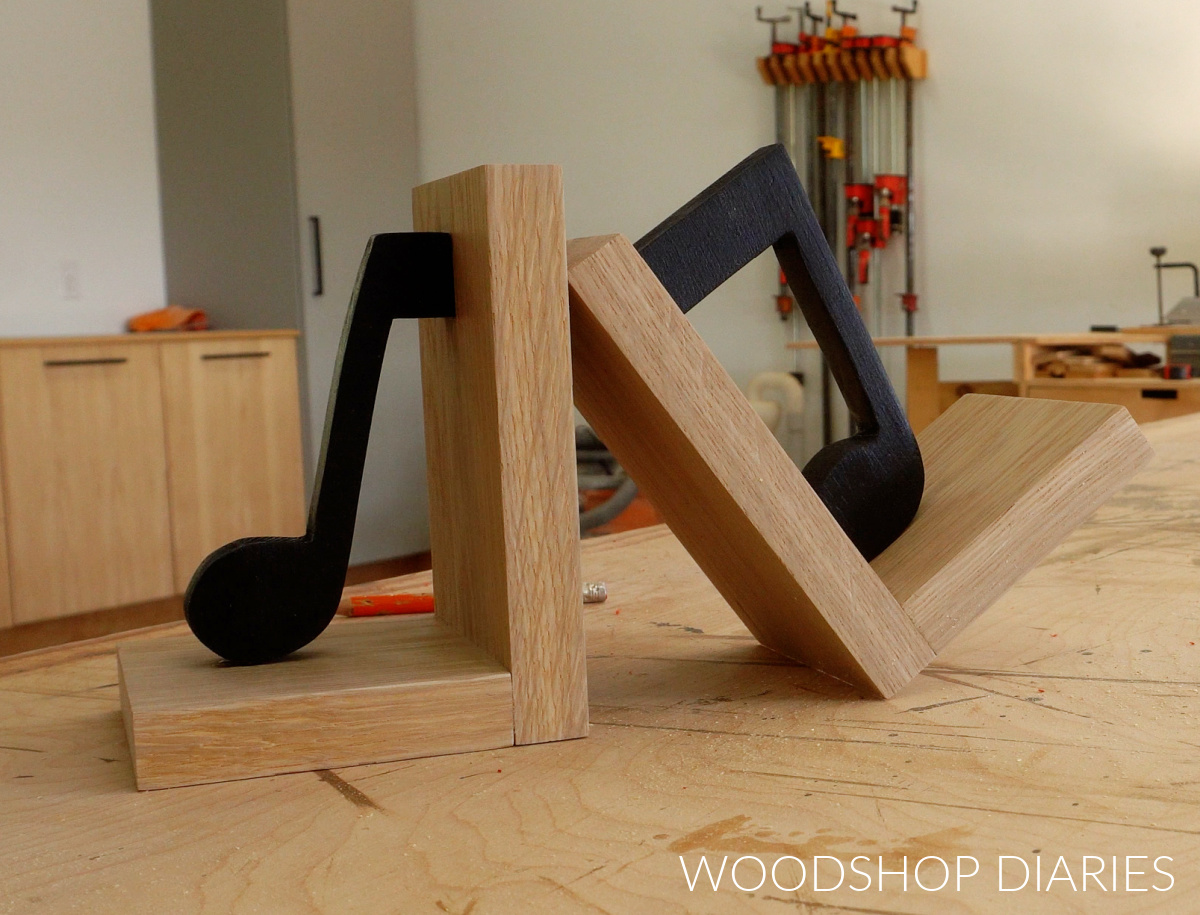
After the paint on the music notes was dry and the glue on the bookends was dry, I applied a little wood glue to my music notes only where they will touch my bookends and carefully placed them inside.
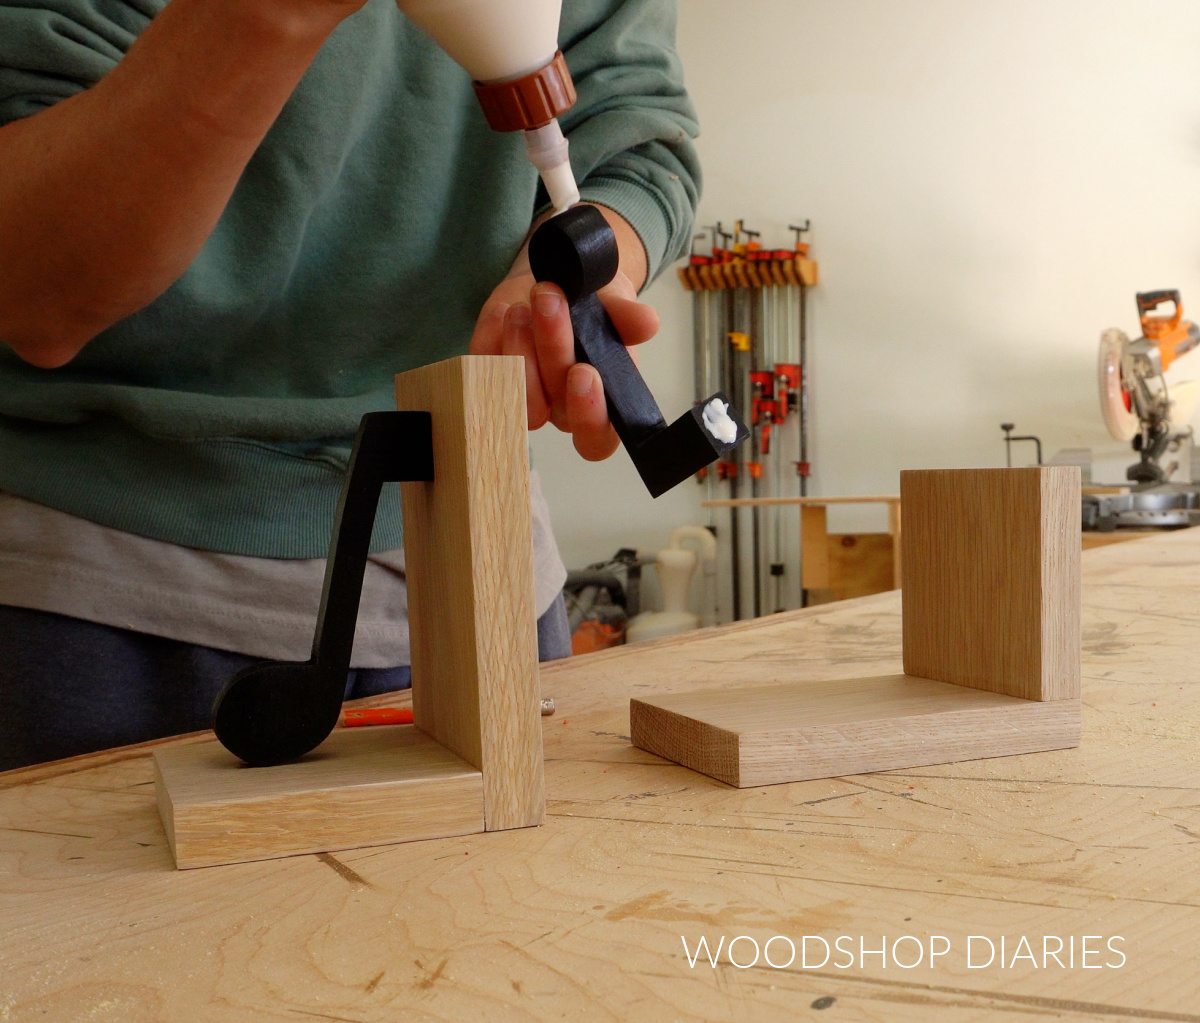
You may need to use some spacer blocks or painters tape to help hold your pieces in position while the glue dries.
You can see below, the note on the left could stand on it’s own while the glue dried, but the one on the right would fall. So I leaned it over so it stayed in place.
After the glue dried, I applied a little Walrus Oil Furniture Finish to the oak bookends to finish this up.
NOTE: I did not apply an oil based finish to the oak before gluing the pieces on because the wood glue is water based. It would not stick if an oil was applied, so I applied the oil AFTER gluing the music notes on.
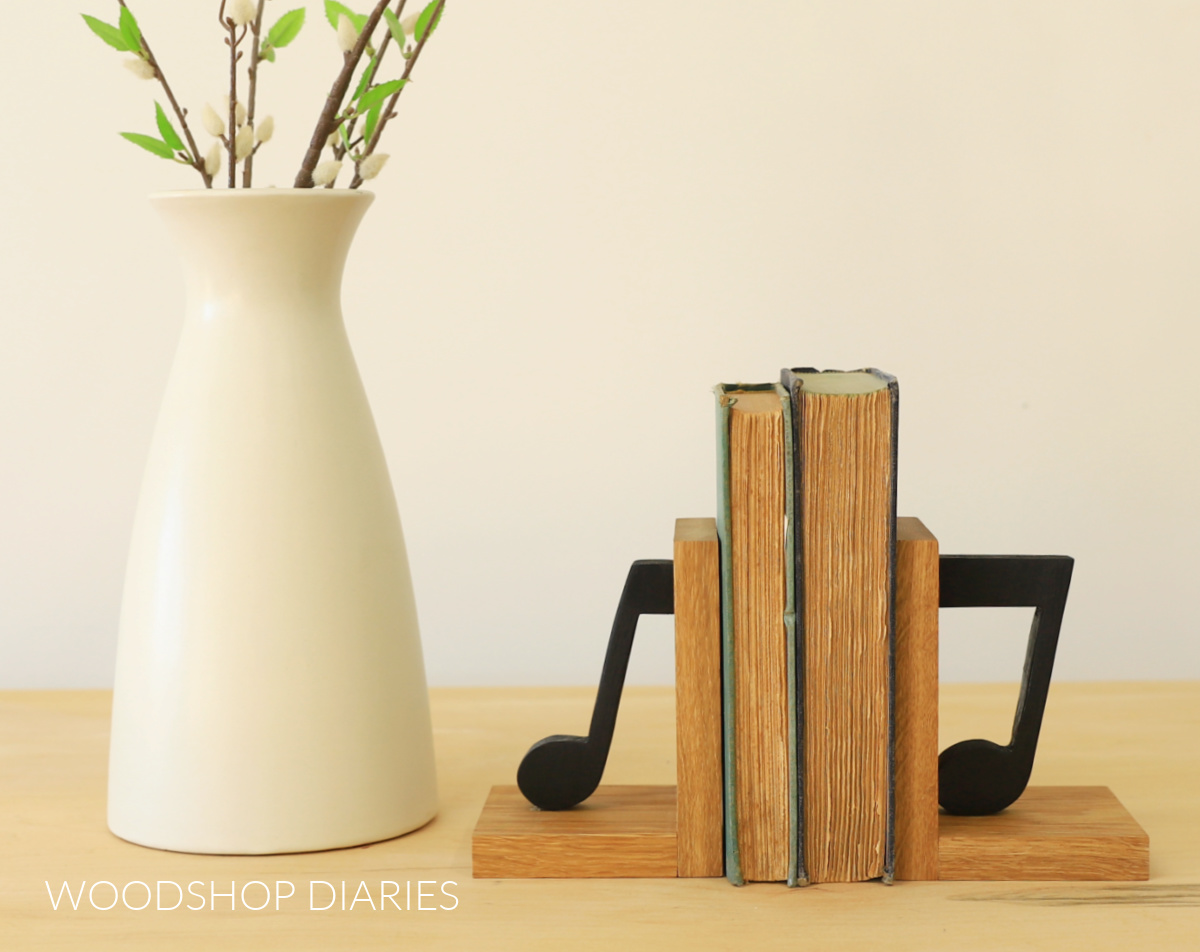
And now these adorable little bookends are perfect for music books, or just for decoration on the bookshelf.
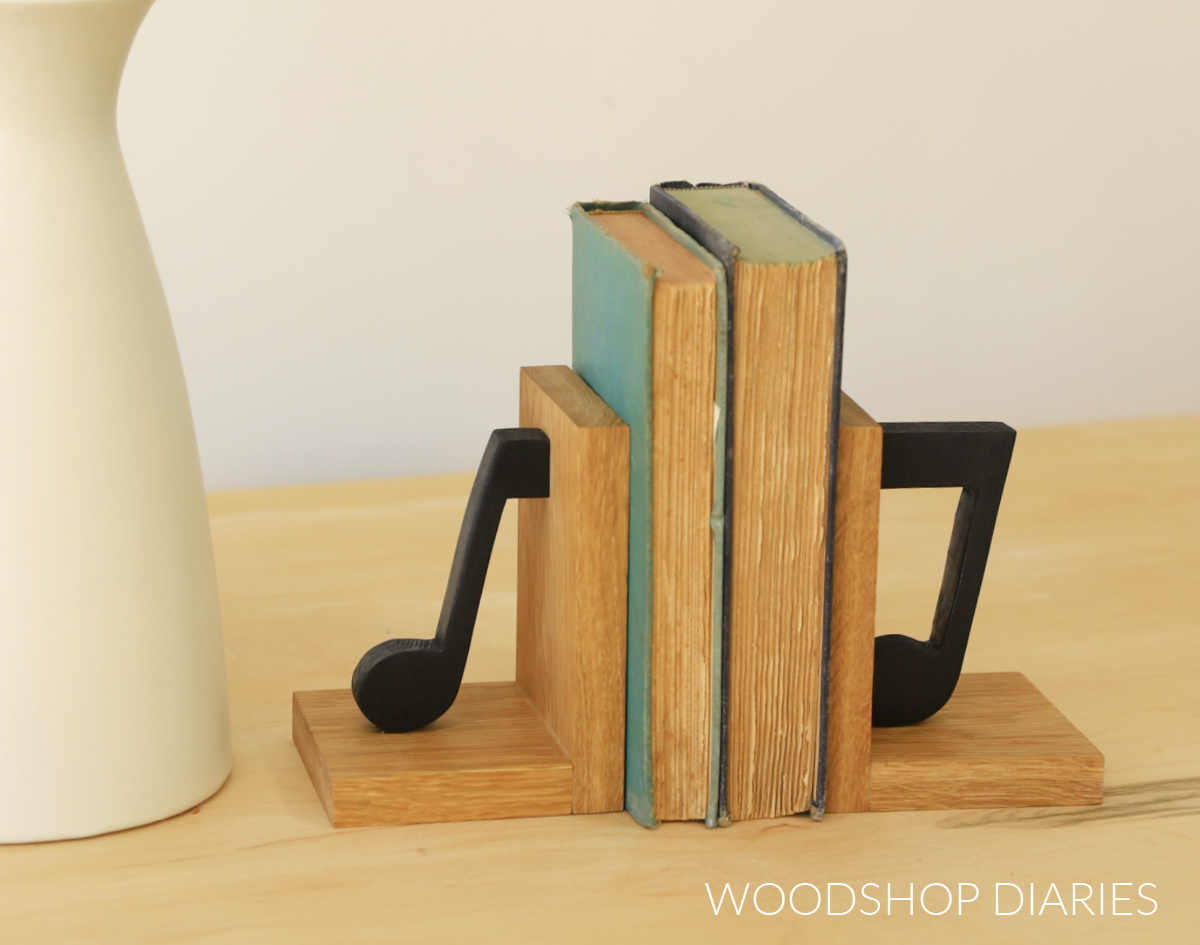
They’d make such a cute gift for the musician on your gift list!
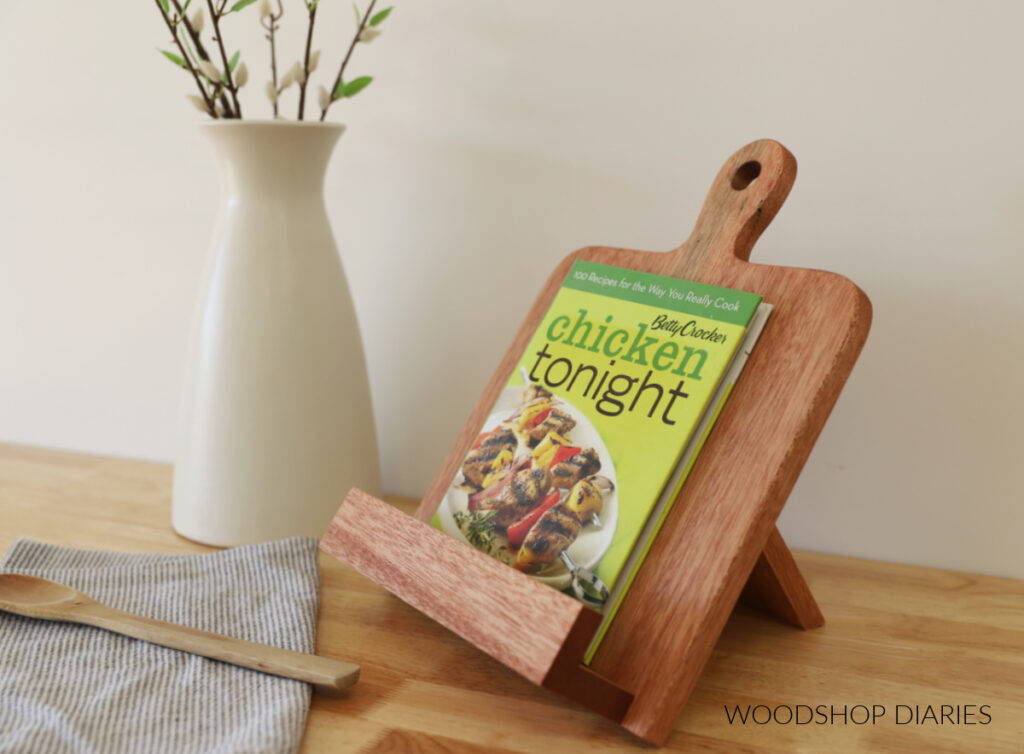
Looking for More easy DIY projects?
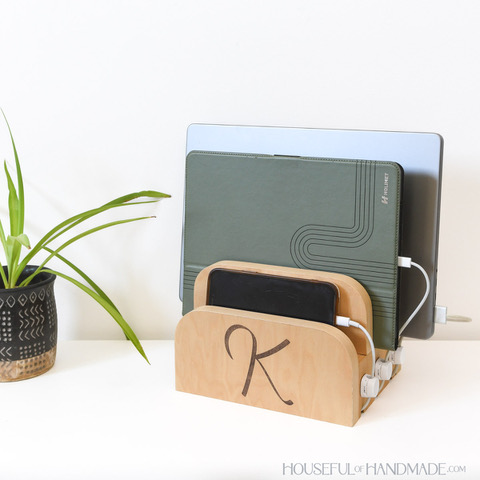
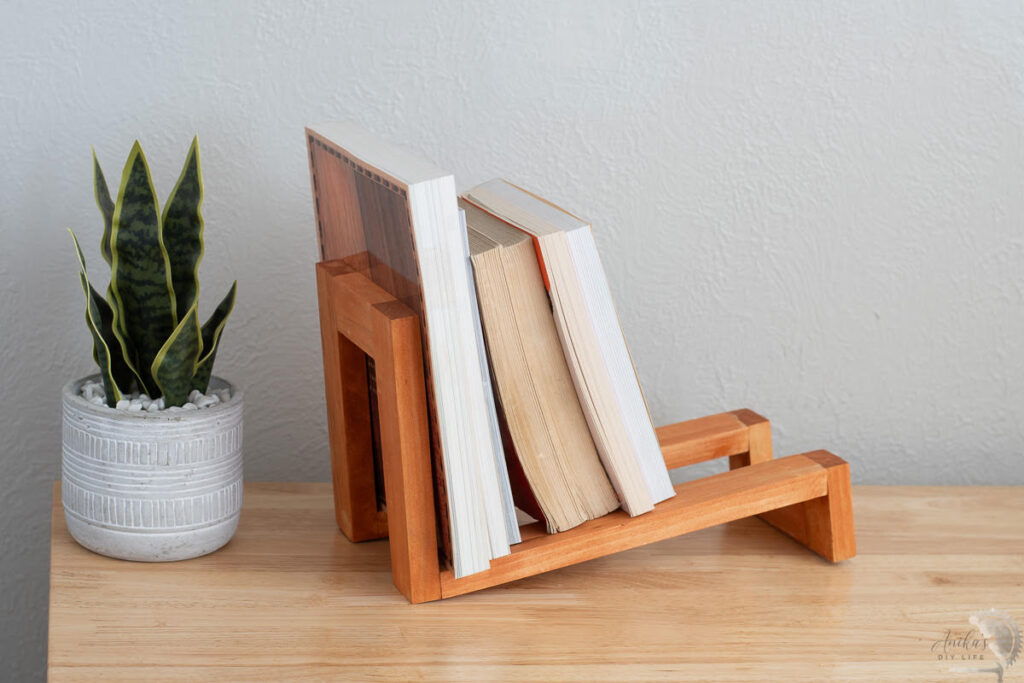
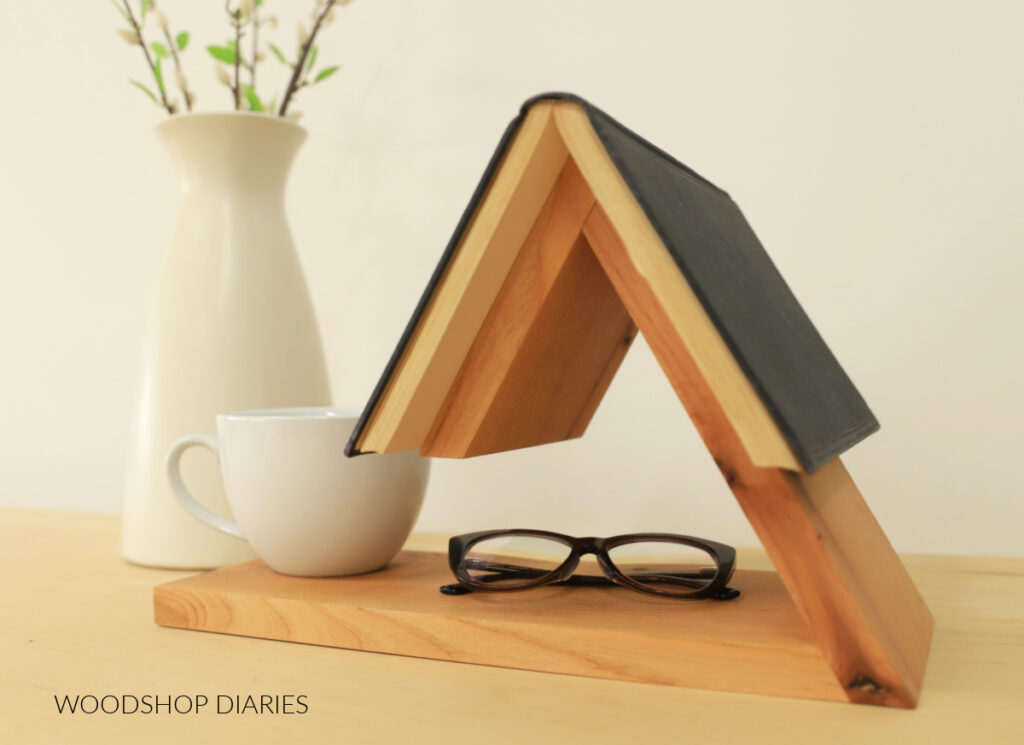
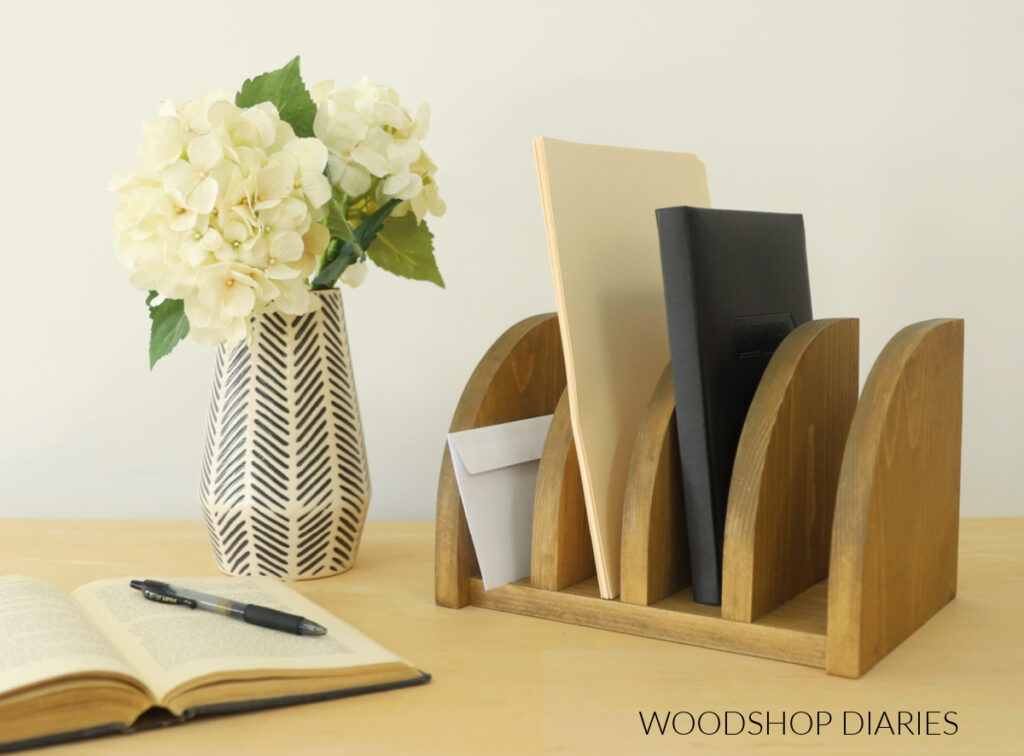
With the upcoming holidays, I’ve teamed up with my friend, Kati, from Houseful of Handmade and Anika, from Anika’s DIY Life to share some easy and fun gift ideas that you can make this season!
I’ve included their projects in the gallery below plus a few of my own (click on the images to see how to make each one).
Enjoyed this project and want to save it for later? Be sure to pin it or share it to your favorite social channel!
Until next time, happy building!