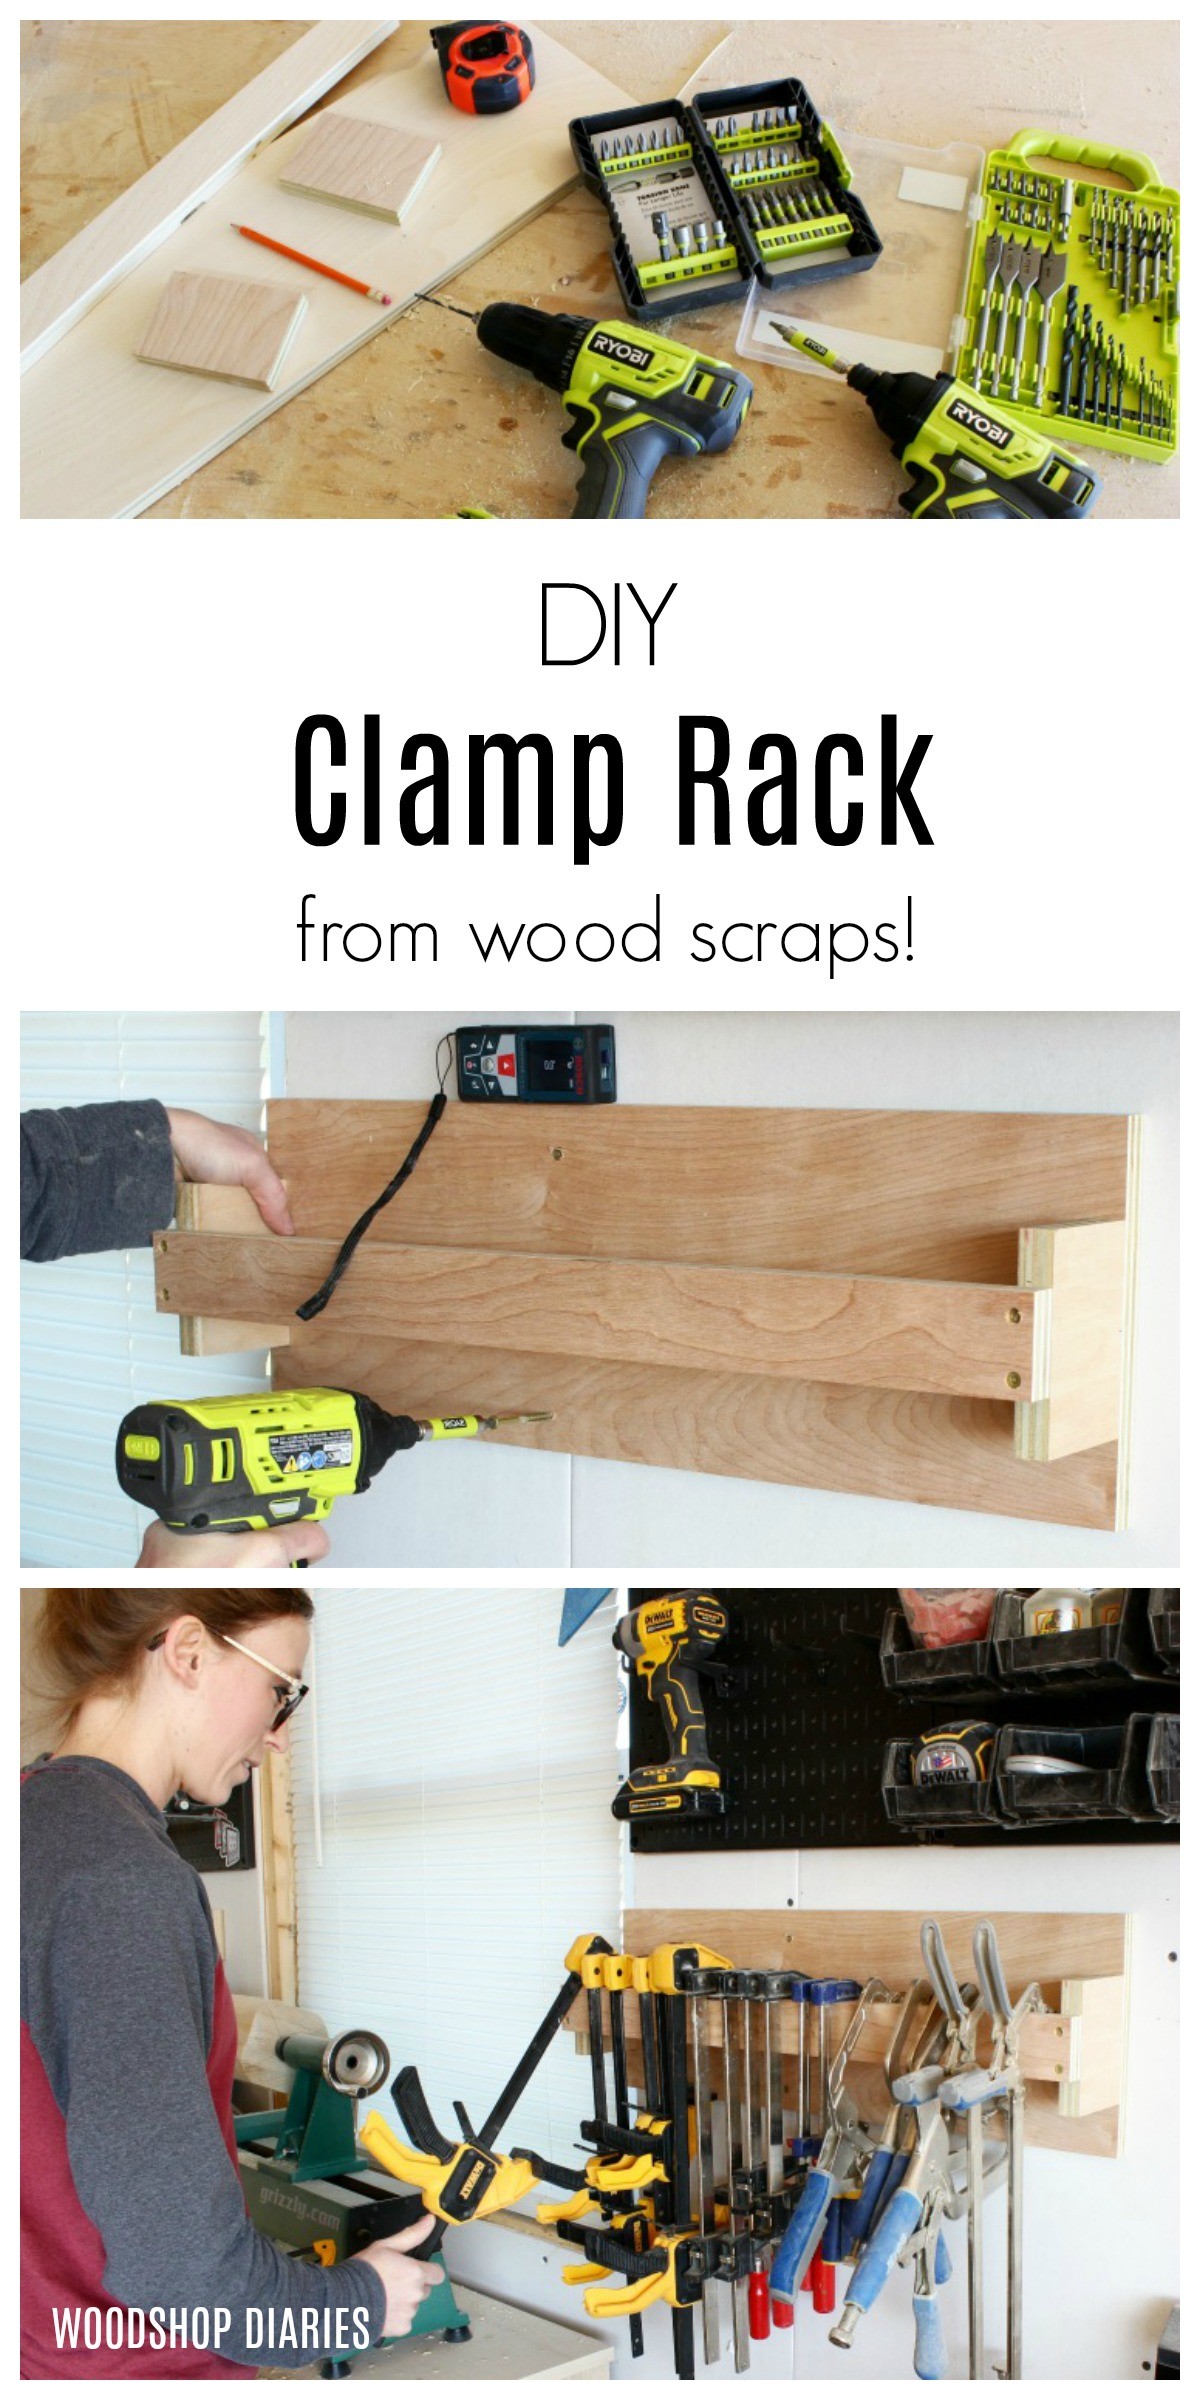
In this post, I’m sharing how to build a SUPER SIMPLE DIY clamp rack for your workshop or garage!
*This post was sponsored by The Home Depot as part of the ProSpective Program and contains affiliate links. See policies for details.

You’ve probably heard it said that you can never have enough clamps in your workshop.
I wholeheartedly agree with that statement. BUT, I also know that whether you have 1,000 clamps or 3, they’re useless if you can’t find them when you need them.
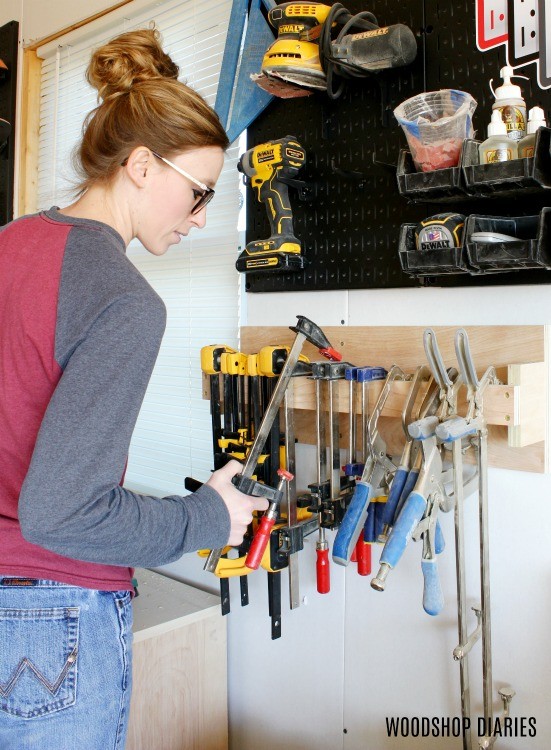
So I built this SUPER SIMPLE DIY clamp rack so that my clamps have safe place to hang out and I know exactly where to find them when I need to grab one.
This is great for small clamps of all kinds, BUT I don’t recommend hanging a bunch of large heavy clamps on this.
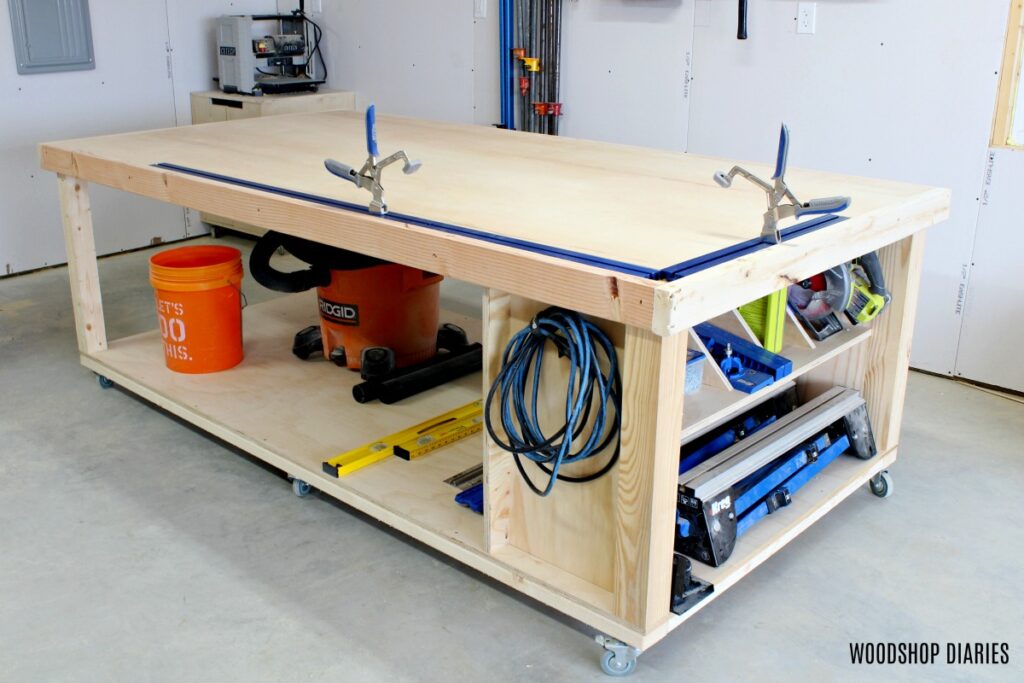
For large, heavy, or pipe-style clamps, check out this DIY pipe clamp rack instead.
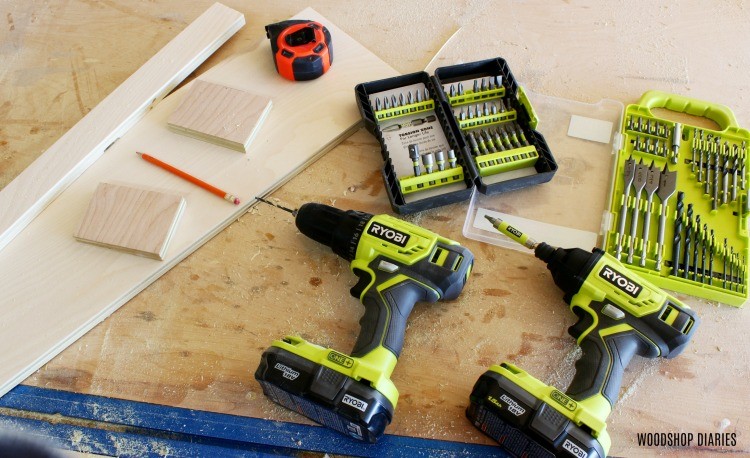
DIY Clamp Rack Tools & Materials:
Tools:
- Drill and Driver
- Miter saw (or any saw that can cut straight lines)
- Drilling and Driving Bits
Materials:
- Scrap plywood
- 1 ¼″ wood screws
- 2 ½″ wood screws
How to Build a Simple Scrap Wood Clamp Rack
This project is a really quick way to organize and store your clamps so they’re easy to use when you need them.
It only takes about 5 minutes to assemble and you can customize your size to fit the clamps you have.
I recommend digging around your scrap pile to find the materials you need. Again, these don’t have to be specific sizes, so work with what you’ve got.
Step 1: Cut Clamp Rack Pieces to Size
To get started, I grabbed some scrap ¾″ plywood pieces to use for this project.
Your sizes don’t have to be exactly the same as mine–you can make yours longer or shorter or deeper as needed.
No matter what size you make it, the length of the front runner and the back should match each other.
I used a wider board for the back, a narrow (approx 1×2 size) board for the front, and some medium width pieces for the sides.

Cut List:
- Front Runner: ¾″ x 2″ x 24″
- Back Piece: ¾″ x 7″ x 24″
- (2) Side Pieces: ¾″ x 3″ x 4″
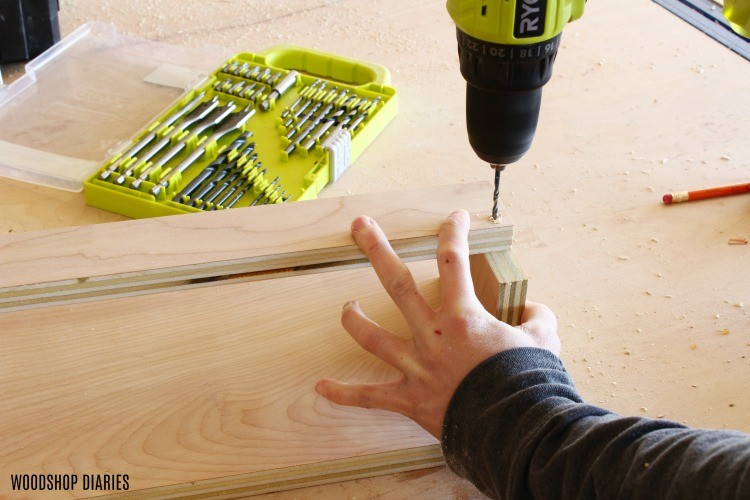
Step 2: Attach Side Braces
Once the pieces were cut, I screwed the side pieces to the back piece using 1 ¼″ wood screws.
Wood glue along with the screws can help add additional strength.
To do this, first, I marked the center of both the side pieces and the center of the short ends of the back piece.
This was just so that I could line up the side supports on the back piece in the middle so it wasn’t lopsided.
Then I predrilled two holes for the screws into each end.
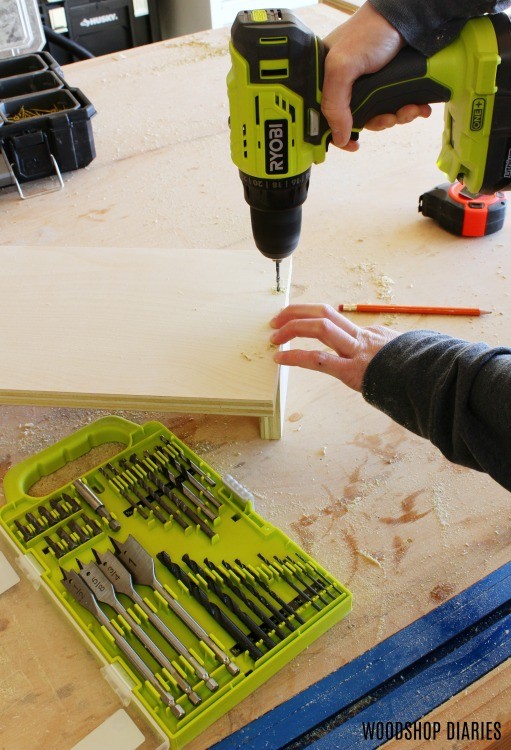
HELPFUL TIP: To predrill a hole, choose a drill bit the size of or SLIGHTLY smaller than the diameter of the SHANK portion of the screw you are using (not the threads, just the shank).
Once I had my holes predrilled, I drove the screws tight.
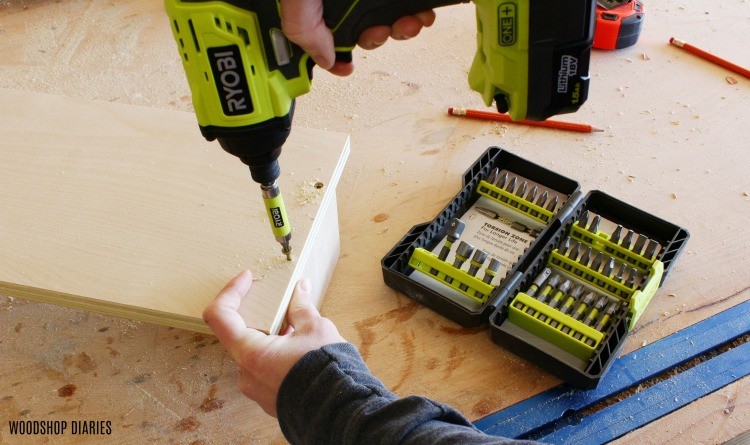
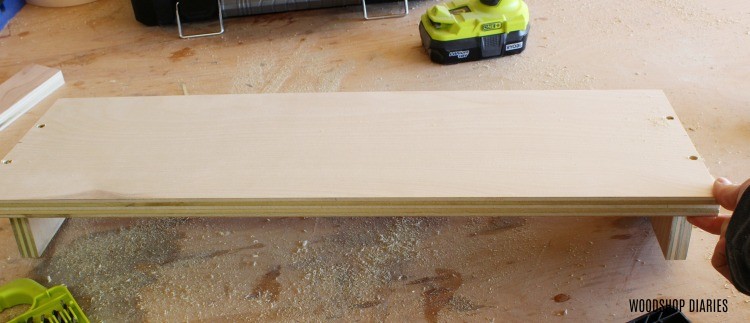
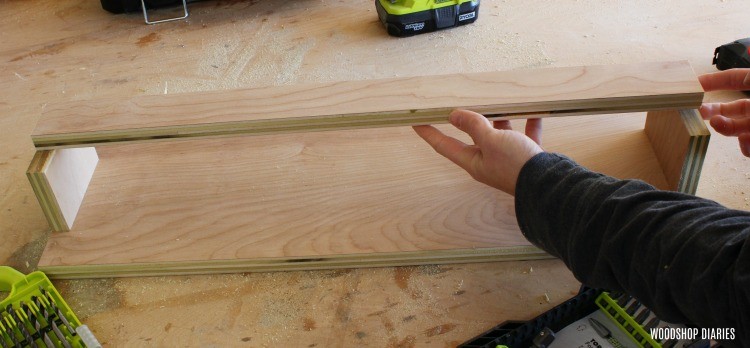
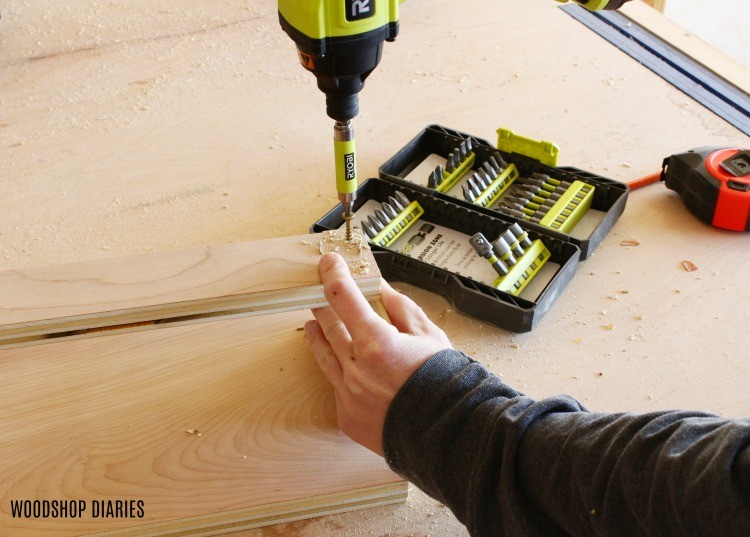
Step 3: Add Front Runner Support
Now that the back and sides were attached, next was the front rack piece where the clamps will hang.
I simply centered this piece on the side pieces on the front and predrilled and drove 1 ¼″ screws to attach it.
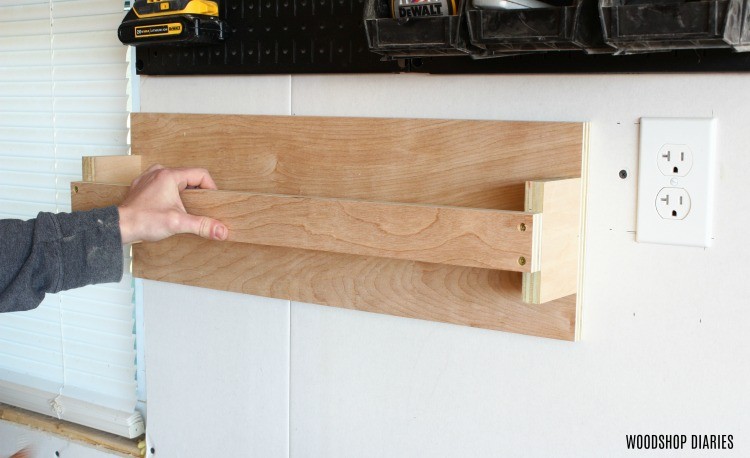
Step 4: Hang DIY Clamp Rack on Wall
The clamp rack itself is finished at this point, but now I had to hang it on the wall.
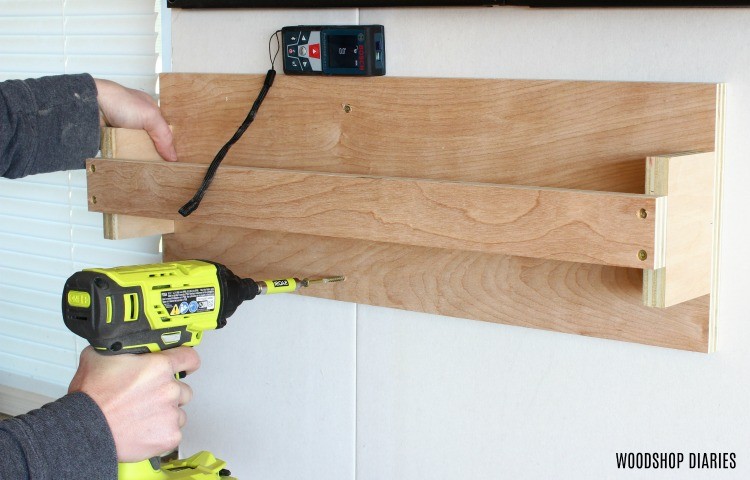
Since my drywall in my shop isn’t finished, I knew exactly where the studs were because that’s where the drywall screws are.
But if you aren’t sure where your studs are, use a stud finder to locate a stud or two to drive your screws into to hang your rack.
I used a couple of 2 ½″ wood screws to attach the rack to the wall and used this Bosch Laser Measurer to make sure it was level when I screwed it in place.
Then, I hung my clamps on it and got to work 😉
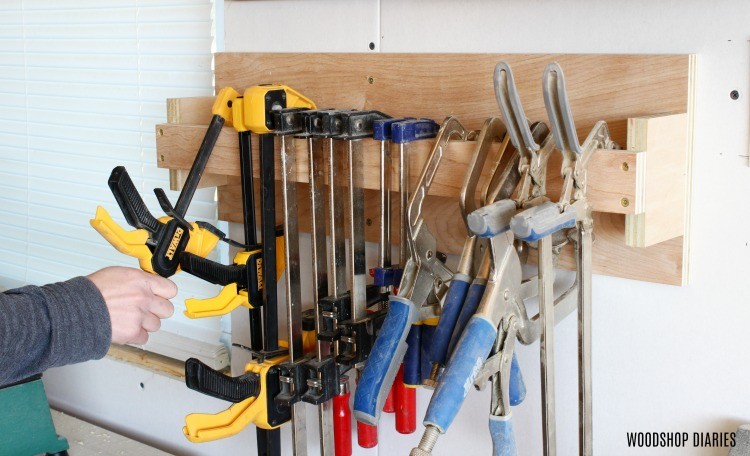
This is such a super easy little project, but it’s so helpful in the shop to have somewhere to hang all my clamps.
And as I add to my collection, I can make another one to hang right beside it. It’s the perfect set up for all my smaller clamps.
If you’re looking for more shop storage and organization projects, check out one of these:

And if you’re enjoyed this one, I’d love if you’d share it on your favorite social channel and pin this image for later 🙂
Until next time, happy building 🙂
I acknowledge that The Home Depot is partnering with me to participate in the promotional program described above (the “Program”). As a part of the Program, I am receiving compensation in the form of products and services, for the purpose of promoting The Home Depot. All expressed opinions and experiences are my own words. My post complies with the Word Of Mouth Marketing Association (WOMMA) Ethics Code and applicable Federal Trade Commission guidelines.