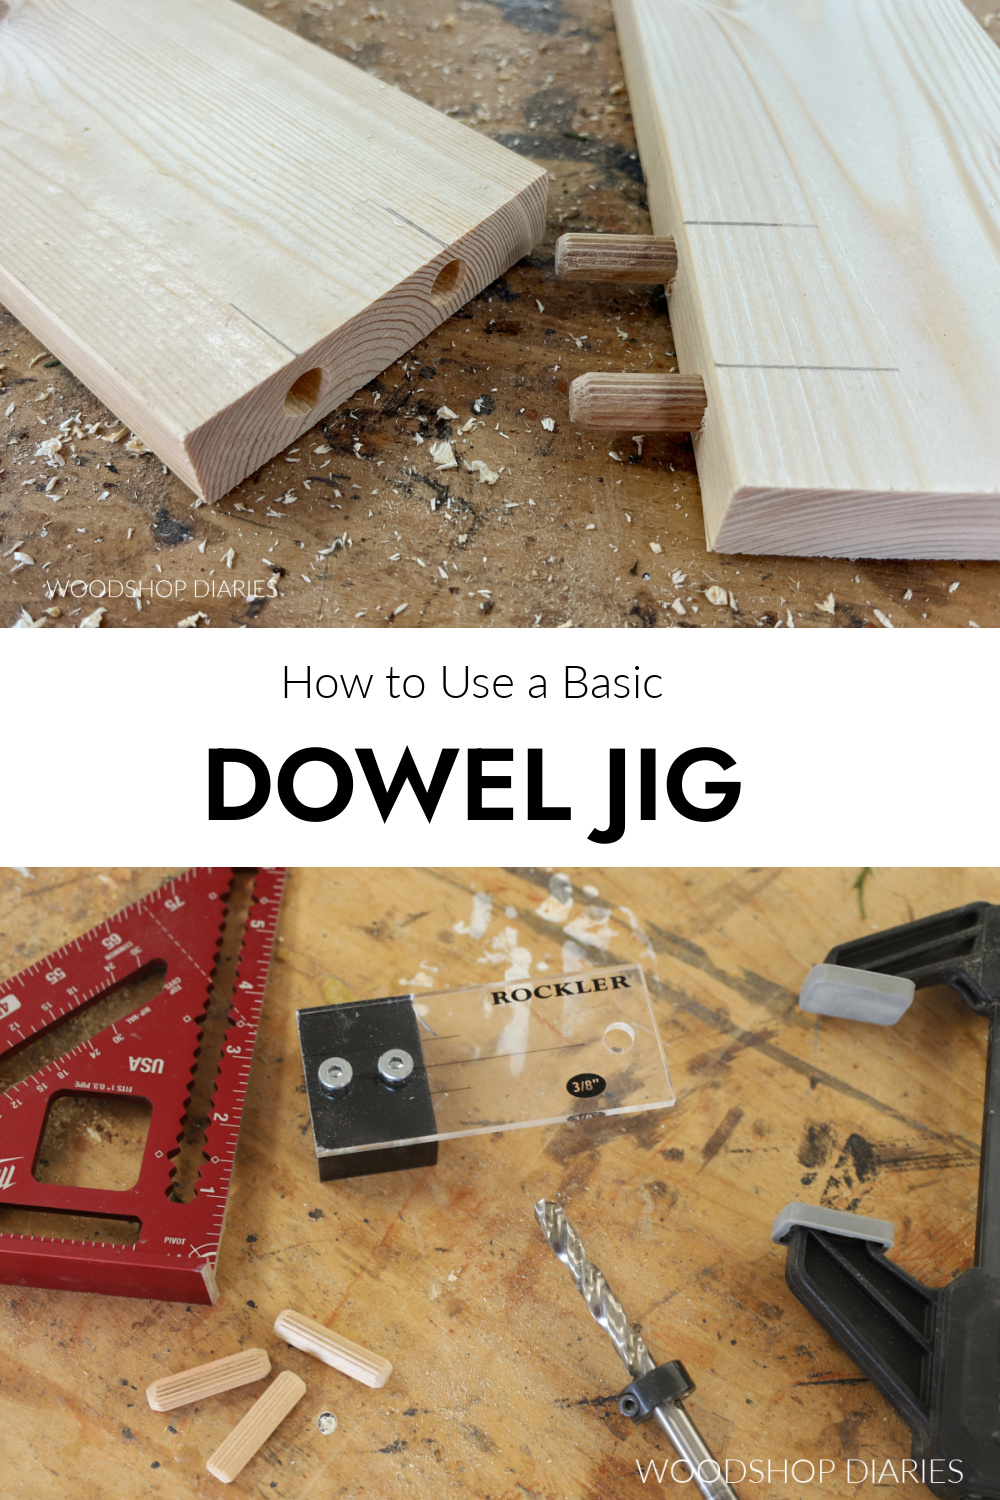
In this post, I’ll show you how to use a basic dowel jig to join boards in your DIY furniture building projects!
Using dowels to join wood is method that requires very few tools. Basically, you just need a square, a jig, and a drill. And some clamps, of course.
Below, I’ll show you how to set up and use a basic dowel jig, plus some tips about dowel sizing, drill depth, and joining angled boards.
*This post contains affiliate links. See website policies.
What is dowel joinery?
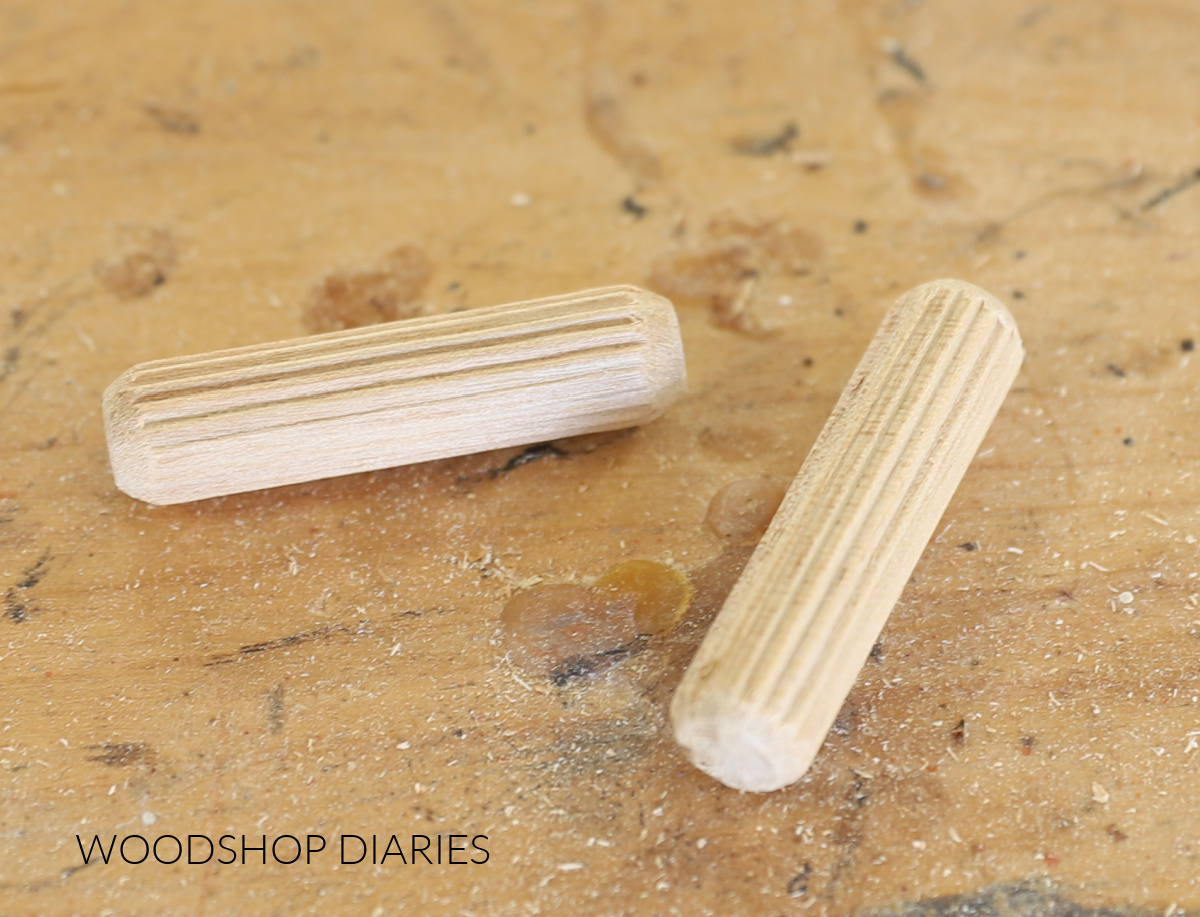
Dowel joinery in woodworking is simply joining boards using wooden dowel pins and glue. A dowel pin is simply a small wooden rod–usually fluted or with grooves. These are what I use.
Dowels are often used in furniture building as it’s a simple, but strong method of joining wood without any visible evidence in the finished product.
In order to successfully join two boards using dowels, you first need to drill out corresponding holes in each board to insert the dowel pin. Part of the pin will go into each board, so the placement of these holes is critical for proper alignment.

That’s why a dowel jig is handy.
Types of dowel jigs
Dowel jigs come in various styles and sizes, but in every case, the purpose of the jig is to drill precisely placed holes, to a consistent depth and diameter, that are perfectly straight.
Self centering dowel jigs are handy if you’re often working with boards of different thicknesses, but they’re more expensive than other options and require a little more set up before using.
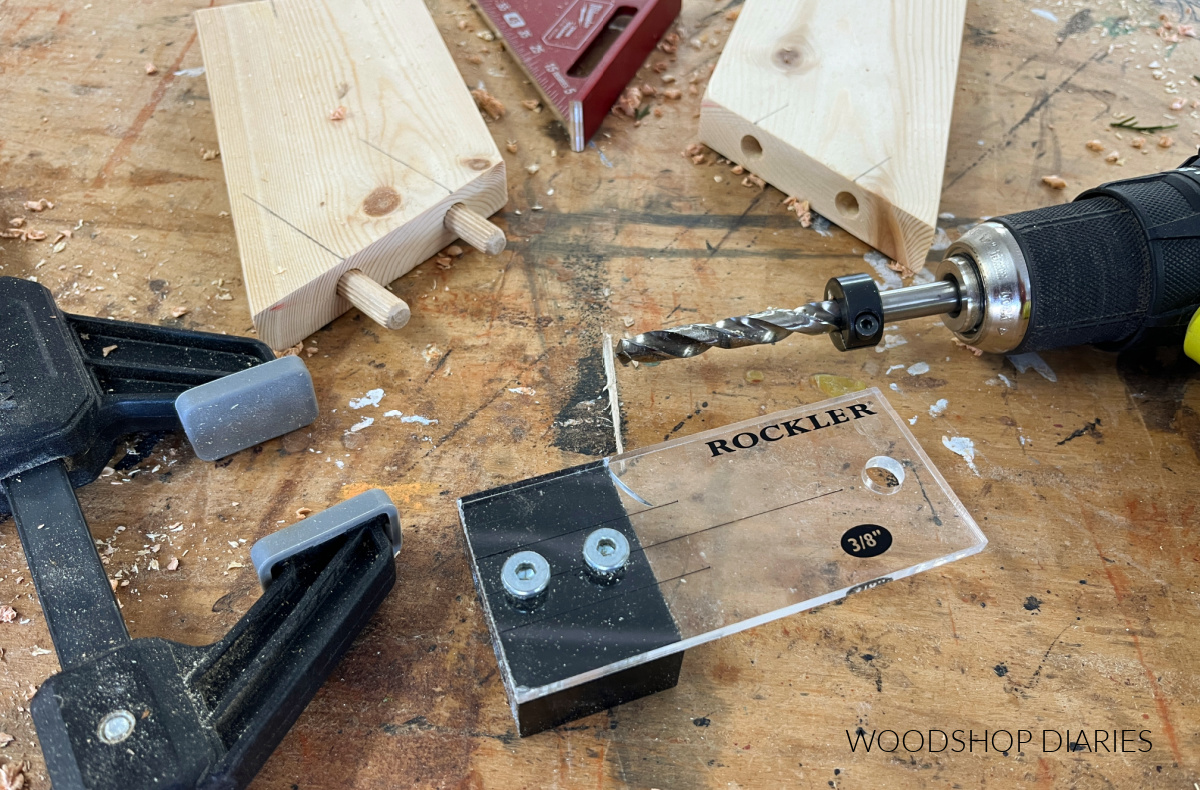
However, if you stick with the same wood thickness for almost every project (like ¾″ and/or 1 ½″), a simple clamp on dowel drilling jig like shown below is inexpensive and easy to use.

This is the type of dowel jig I’ll be discussing in this post as it’s the type I personally use in my shop. These jigs come in various sizes, and the size refers to the diameter of the holes. I use the ⅜″ size for pretty much everything.
That means the holes in the jig and the drill bit that comes with it are ⅜″ diameter. So you’d use it with ⅜″ diameter dowel pins. You often see this same style jig in ¼″ and ½″ sizes as well.
NOTE: The exact jig I’m showing here is several years old and Rockler doesn’t make them anymore. However, POWERTEC makes an almost identical jig here.
Rockler still makes dowel jigs, but they changed their design and you can see the new Rockler dowel jig here. It works the same way as discussed below, but it’s no longer clear.
Are DIY projects your thing? Sign up for our newsletter for priority access to the latest projects and build plans!
Dowel Pin Sizing
Choosing the size dowel pin to use will depend most on the thickness of your wood. Typically, the rule of thumb is that you want your dowel pin diameter between ⅓ to ½ the thickness of your board(s).
For example, if you’re working with 1x material, it’s ¾″ thick. (Not sure why? Check out this post about understanding lumber sizing.) So you’d want to use a dowel pin between ¼″ to ⅜″ diameter.
If you’re working with 2x material, it’s 1 ½″ thick. So you’d want to use a dowel pin between ½″ to ¾″ in diameter.
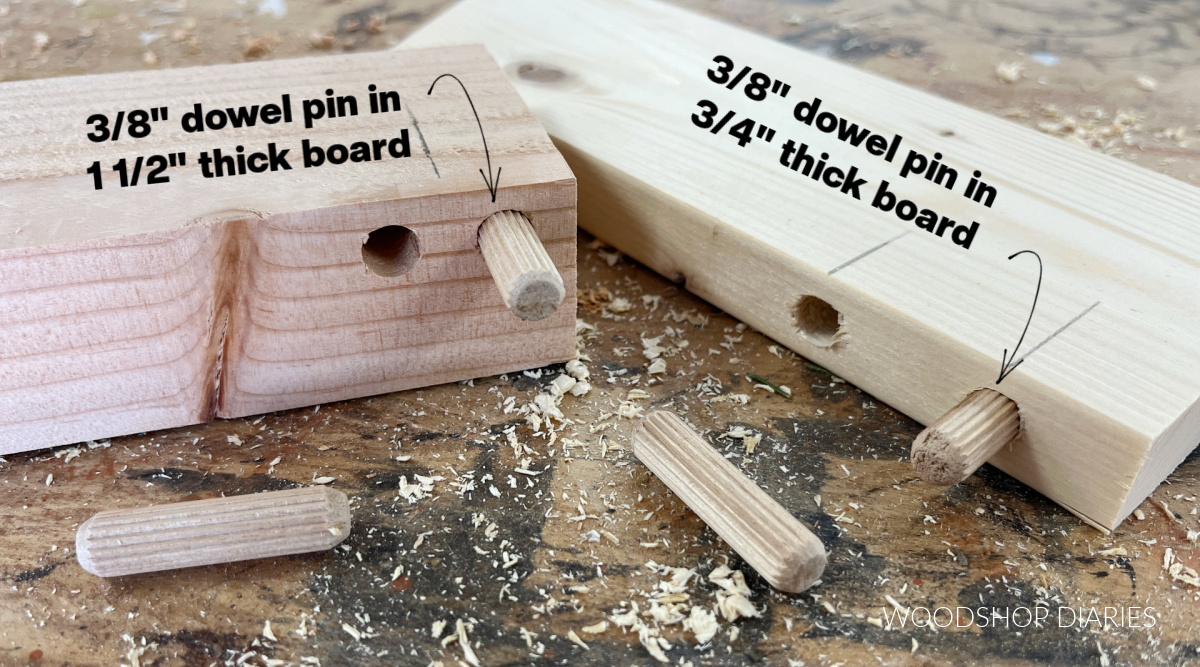
Full transparency, I use ⅜″ in both sizes of boards so I don’t have to keep multiple sizes of jigs and dowel pins on hand. It seems like a close enough happy medium and has worked great for me so far.
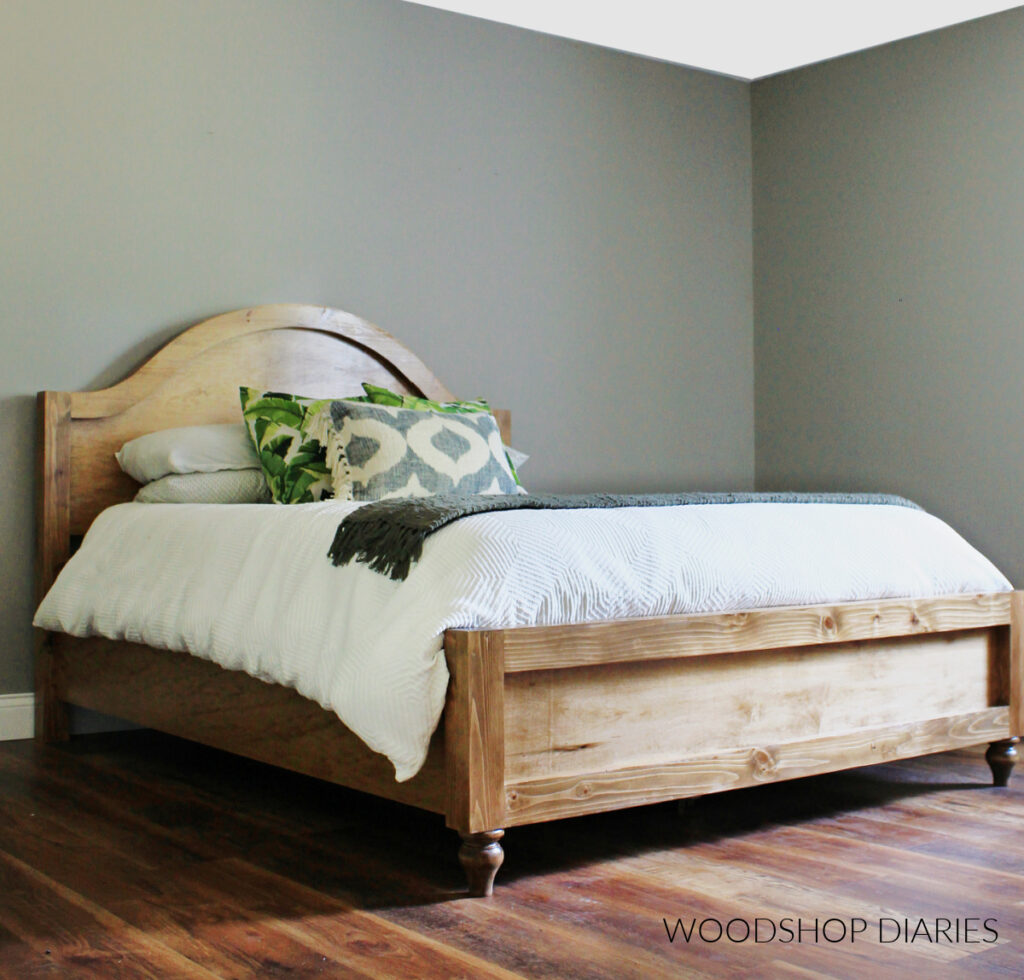
If you’re working with thicker material, you may consider upgrading to a self centering dowel jig and going with bigger dowel pins. OR, another option I’ve used in the past is simply drilling multiple ⅜″ dowel pin holes on each side like on this bed frame.
How to Use a Basic Dowel Jig
Using a dowel jig is really simple as long as you’re paying attention. You want to make sure you drill your holes consistently, in the correct location, and that you keep track of which boards go where.
PRO TIP: Label everything well. I cannot stress this enough. There’s nothing more frustrating than marking and drilling all these holes, then getting the boards out of order so you don’t know which holes line up at which location.
I promise this is one of those things that will make a lot more sense once you do it a few times. Practice on some scrap boards to get the hang of it and you’ll quickly realize how simple it is to join boards with dowels.
Tools Needed For Dowel Joinery
Here is what you need to mark, drill, and assemble boards using dowels:
- Dowel Jig
- Drill
- Pencil
- Speed Square
- Dowel Pins
- Wood Glue
- Clamps to assemble
- Rubber Mallet (optional)
Step 1: Lay Out Boards
First, I lay out my boards on my workbench exactly how I want to assemble them. Make sure the placement is exactly how you want it in the finished project.
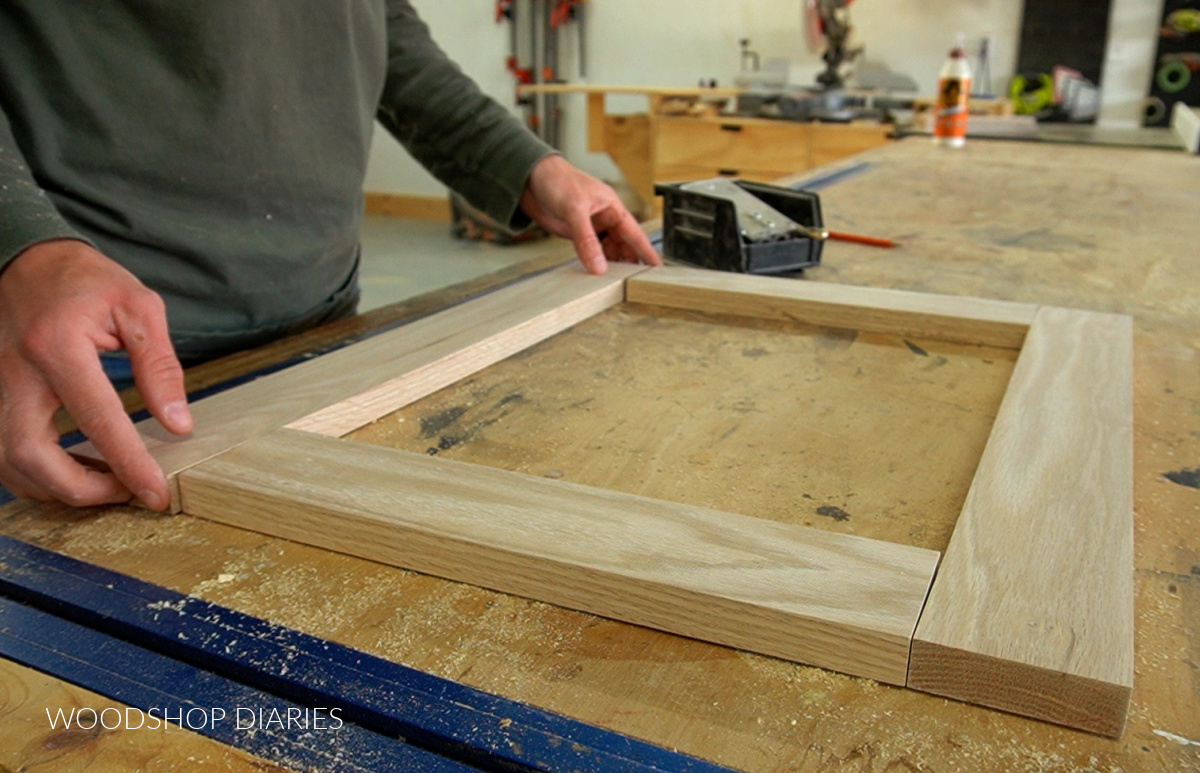
If you’d like, clamp the pieces together so they don’t move while you work on the next step.
Step 2: Mark Each Joint
With the boards lined up, I use a speed square to mark a line at each joint.
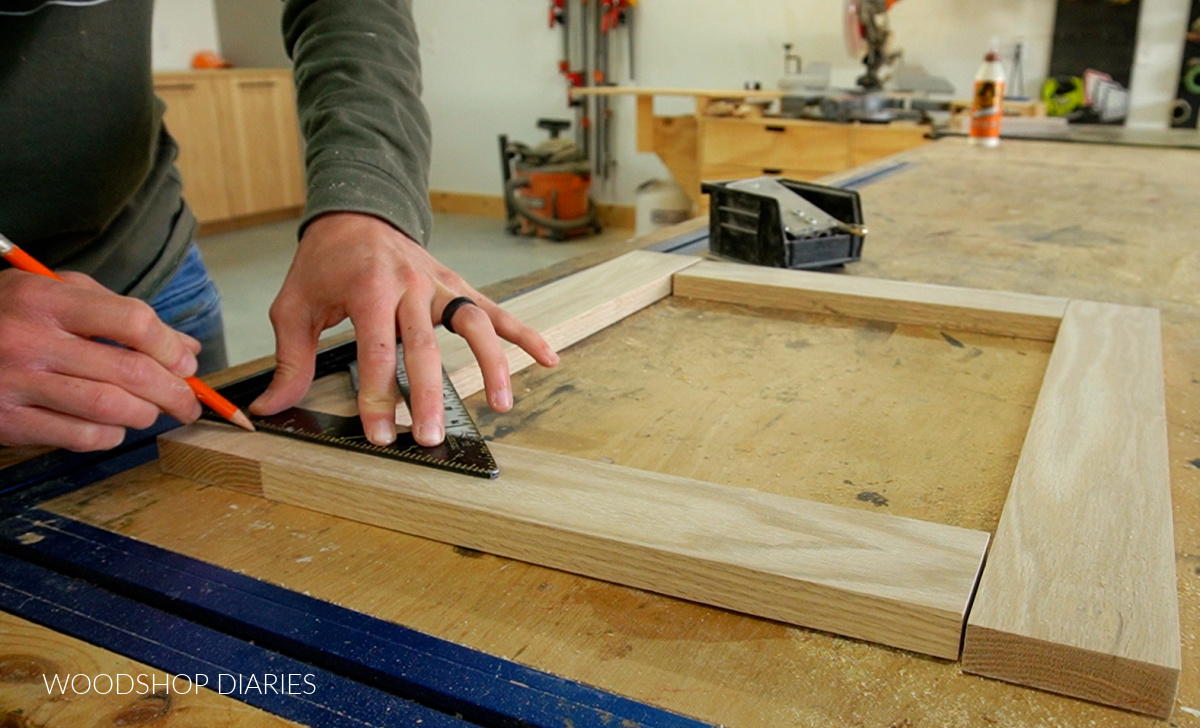
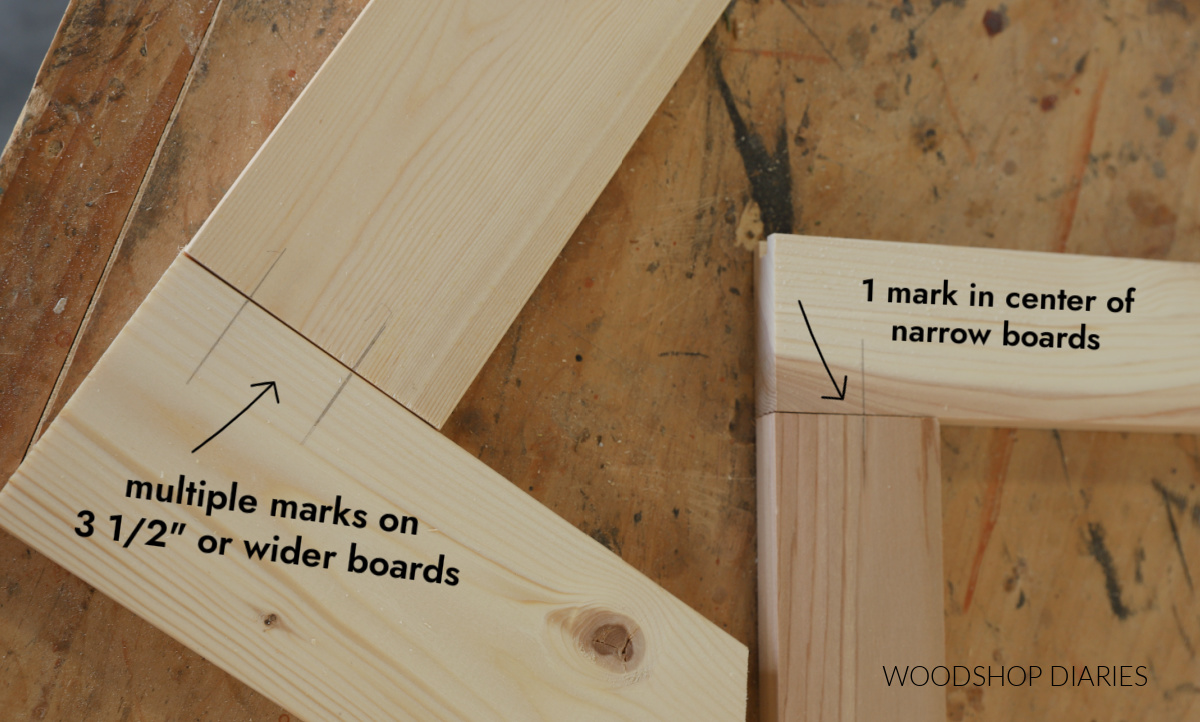
If I’m working with narrow boards, I try to mark close to the center (doesn’t have to be exact, but try to keep it close).
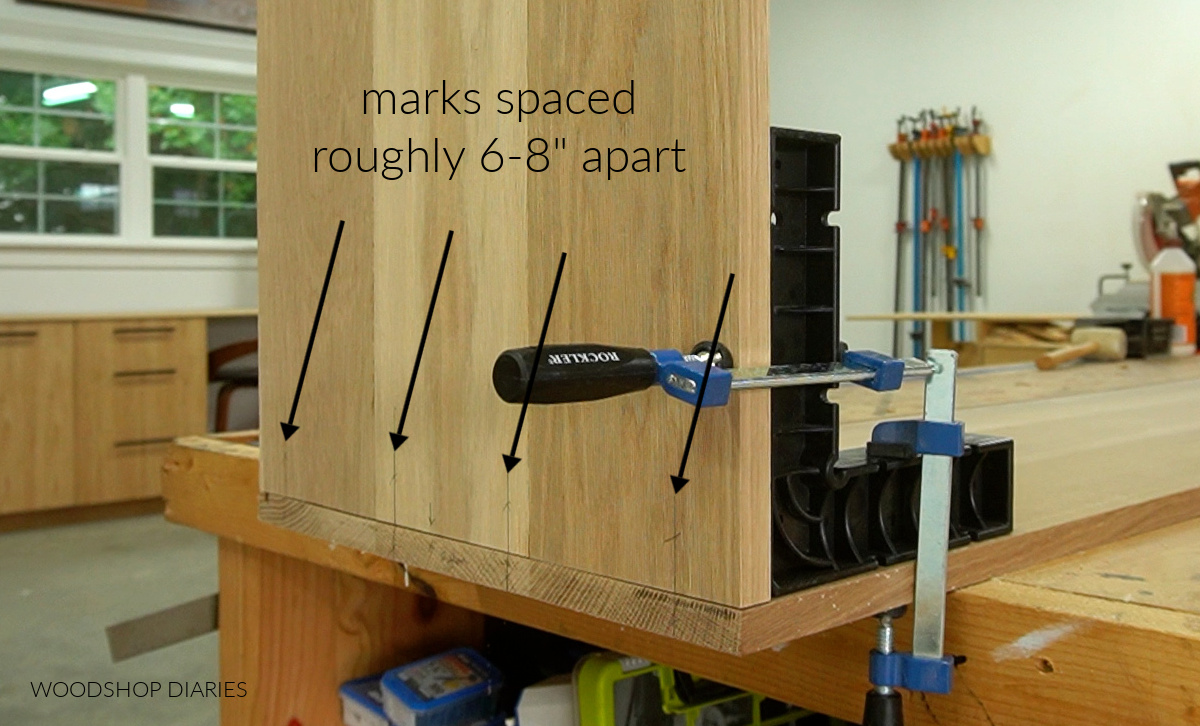
If working with wider boards (~3 ½″ or wider), I recommend marking multiple lines at the joint to spread out the dowel pins for better alignment.
The exact number of dowel pins you need depends on the application you’re using them on. If you’re assembling large panels, I’d recommend spacing them about every 6-8″.
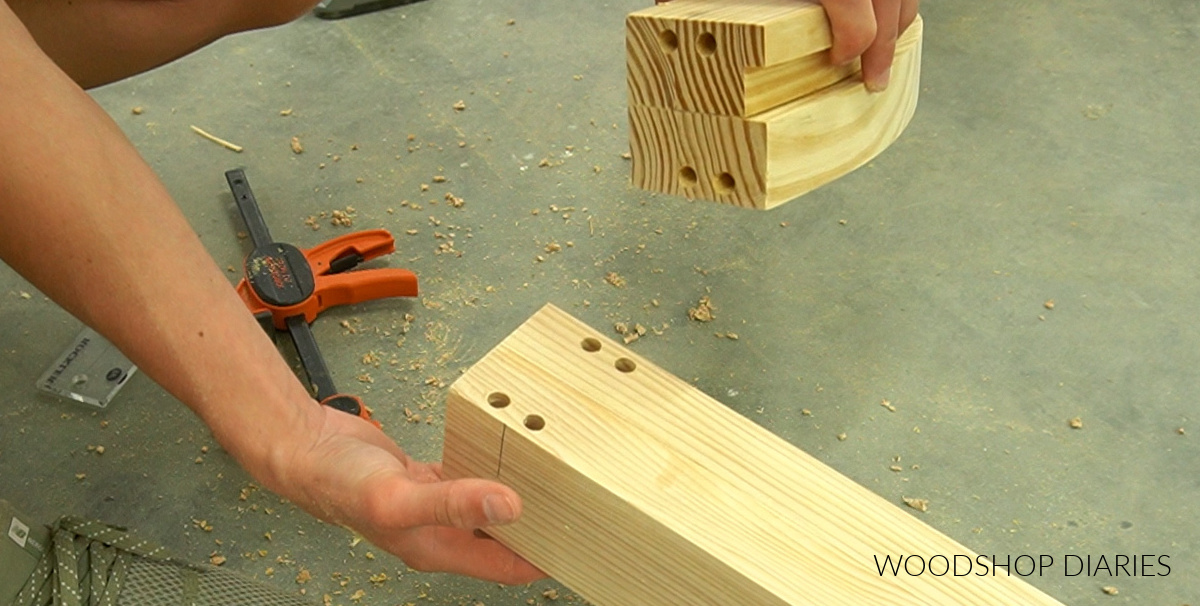
For thick material: I mentioned earlier that sometimes I drill multiple dowel holes in boards thicker than 1 ½″. For these instances, I make a mark on one side, then flip it over and mark again on the other side.
This is where it’s EXTRA IMPORTANT to label everything really well to keep track of which side is the front, back, left, right, etc. so you can make sure the holes are lined up correctly when you’re ready to assemble.
Marking 45° Miters
NOTE: You can also use dowels on mitered joints. Just keep in mind that all these marks should be square to the board ends.
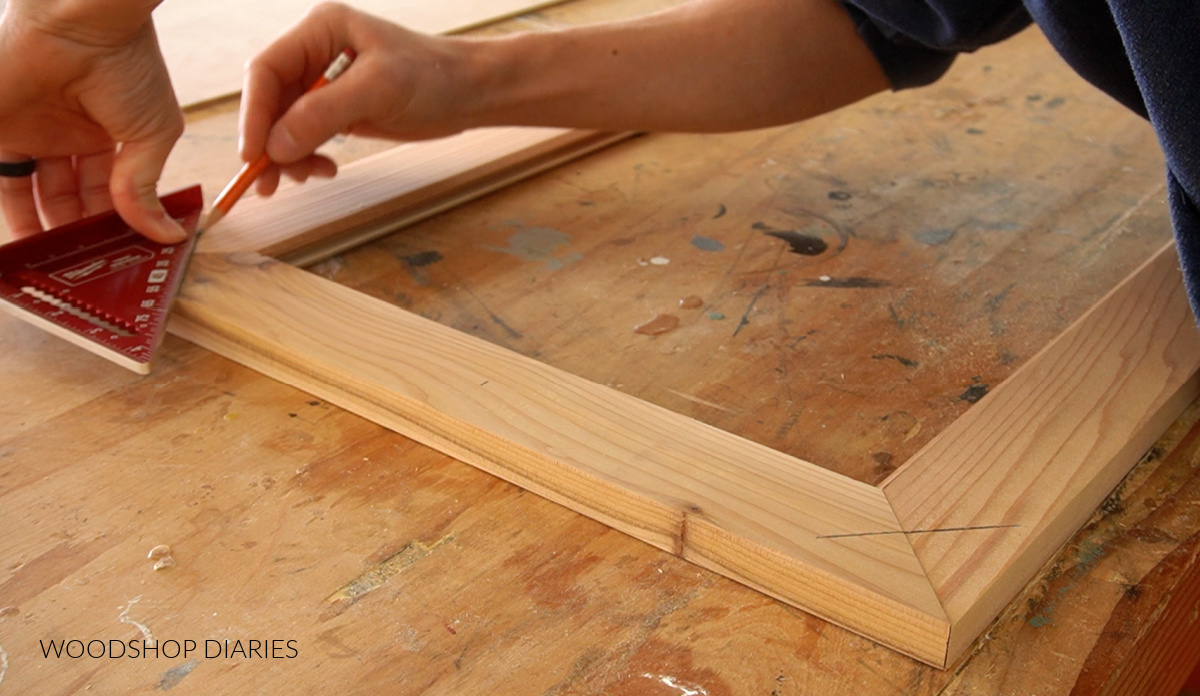
In the case shown below, these boards come together to make a 90° angle and each end is mitered 45°. (This is how I make cabinet doors.)
So to mark, I can just use my speed square to make a 45° mark at each corner and these marks will be square to the board ends. It’s easy with 45° ends.
Marking Other Angled Boards
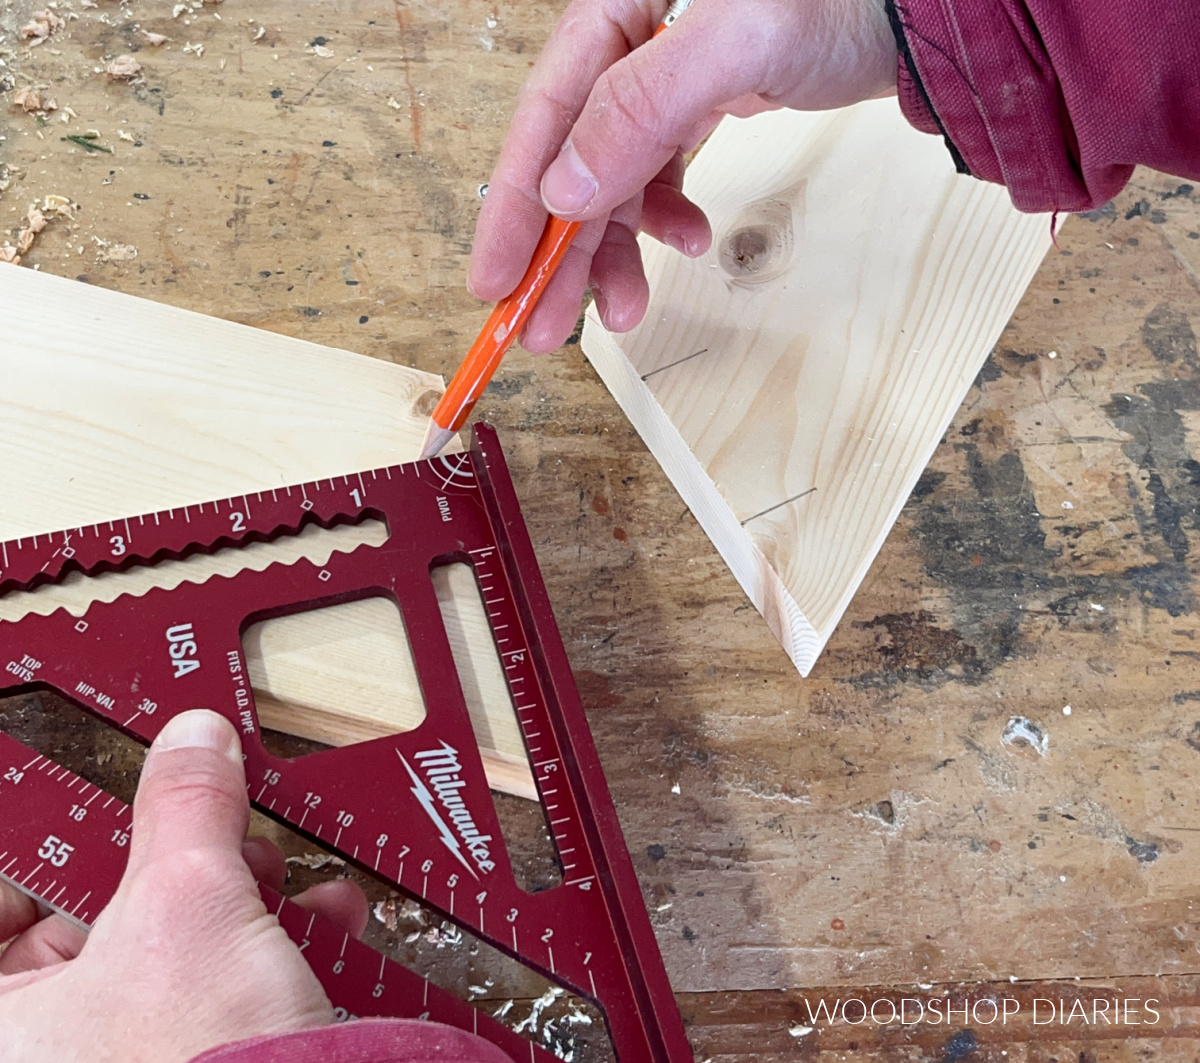
In the case of other angles, it’s just slightly more involved. In the image below, these boards are both cut with 30° miters. But this same process applies to any other angle, too.
First, line up the boards and mark a small dot where you want your lines.

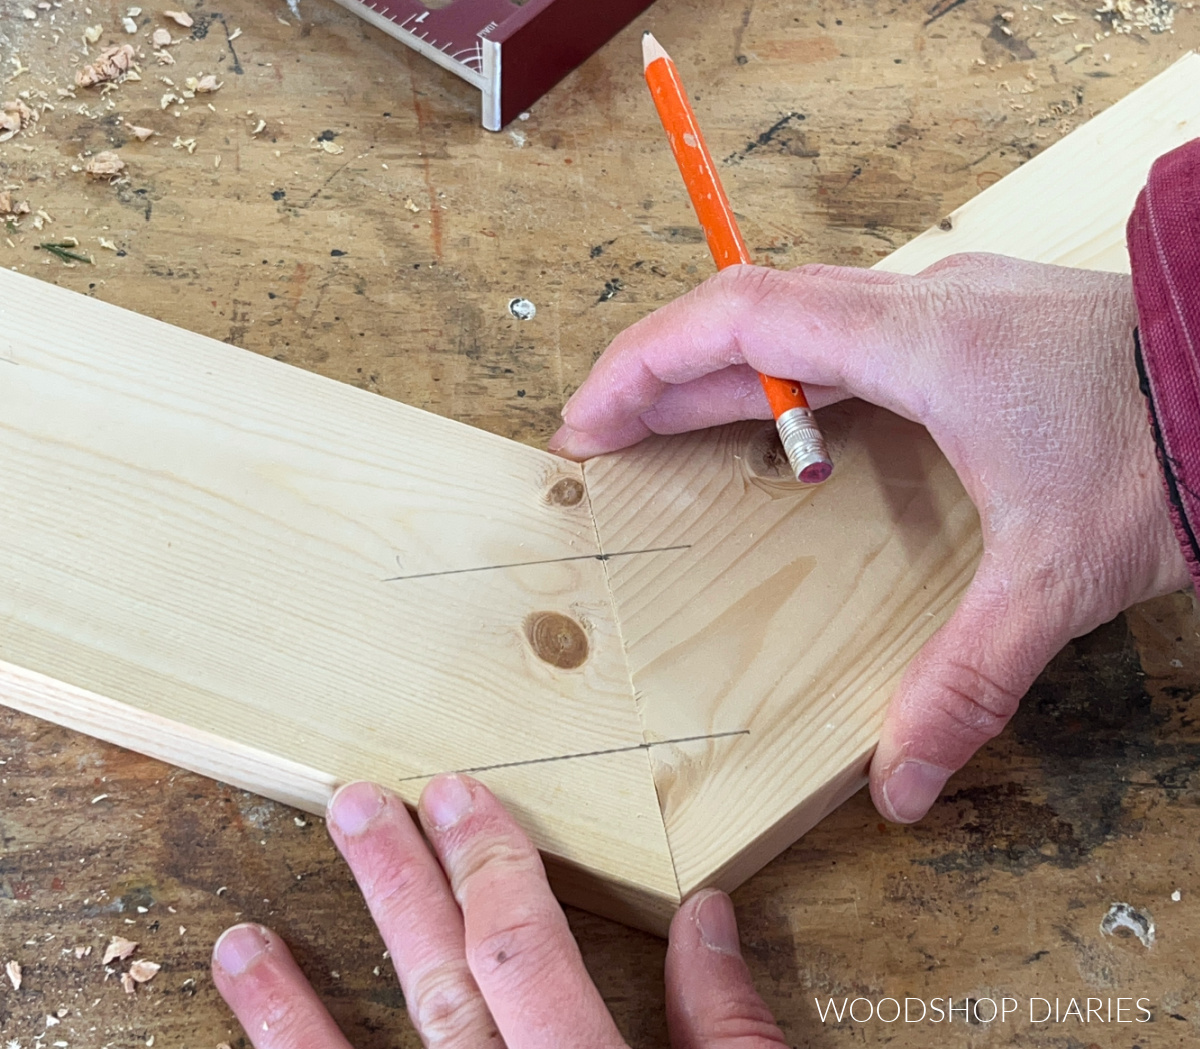
Then use a speed square on the board ends to draw a line at the dot(s) square to the ends of each board.
Then, when the boards are placed together, the lines should be straight like shown below.
Step 3: Set the Drill Depth
Make sure to set your drill bit depth before drilling. These dowel jigs usually include the drill bit and come with a stop collar.
In most cases, to set the drill depth, insert the bit into the jig so that it sticks out the bottom a little more than half the length of the dowel pins you’re using. Then, slide the stop collar to the top of the jig and tighten it in place.
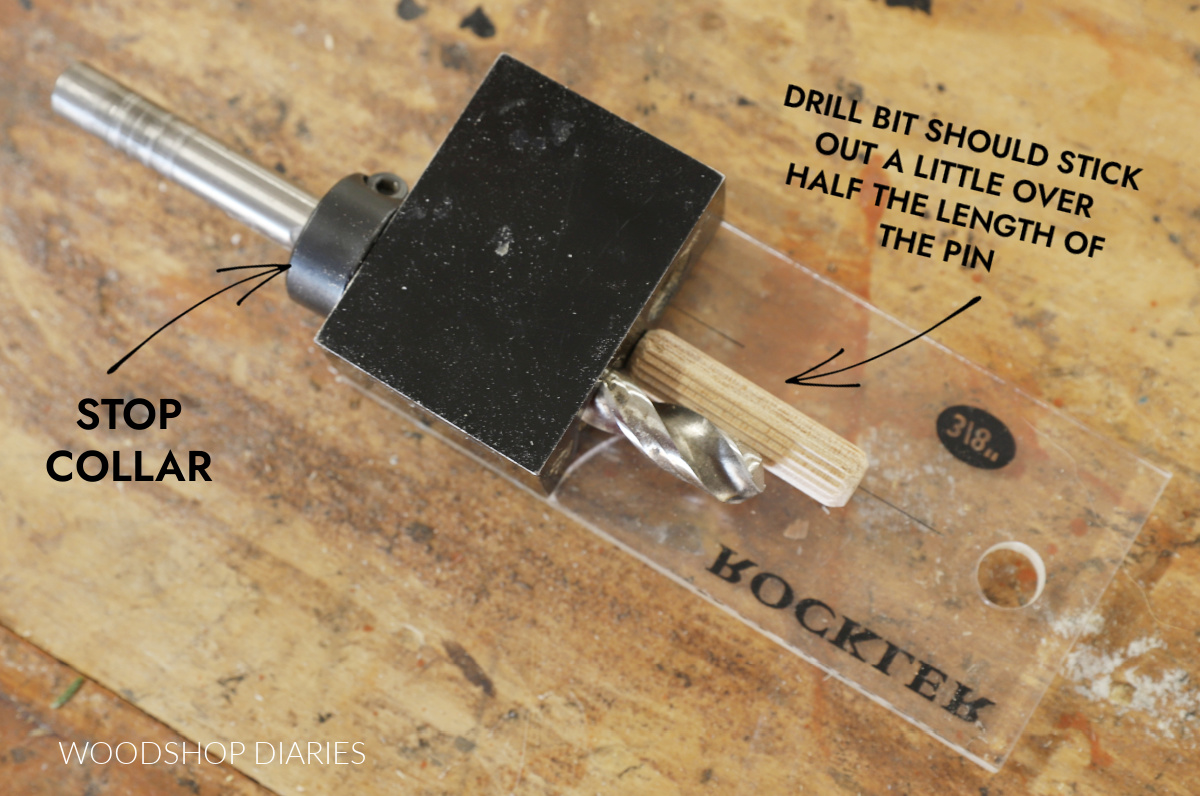
That will allow you to drill into both boards deep enough to insert the pin and still get a tight fit. I typically keep 1 ½″ long dowel pins handy in my shop, so I drill my holes about ⅞″-1″ deep.
However, in some cases, if you’re working with thin material, there is a little more to consider when setting the drill depth.
If you’re drilling into boards that are the same thickness or thinner than half the length of your dowel pin, you have three options:
- Purchase shorter pins.
- Dowel pins come in various lengths, so you can purchase shorter pins for your project if needed.
- Drill through and use the dowel pin as a visual feature.
- In this case, simply drill completely through the board and allow the dowel pin to run through (called a “through dowel”). The dowel will be visible in the finished project.
- Adjust the drill depth a little shallower for the thinner material so it doesn’t go all the way through.
- In this case, you’ll also need to adjust the drill depth a little longer into the adjoining board to accommodate OR trim your dowel pin shorter to fit. This option allows the joinery to stay hidden, but requires more tedious adjustments.
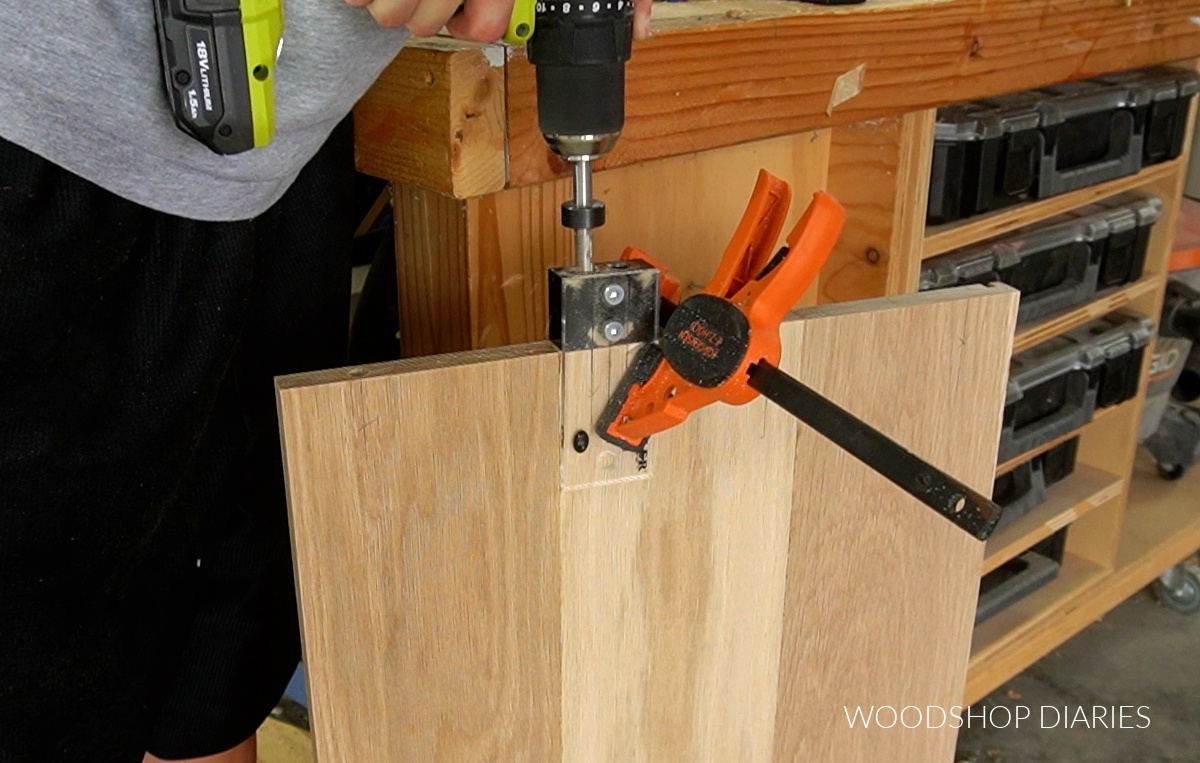
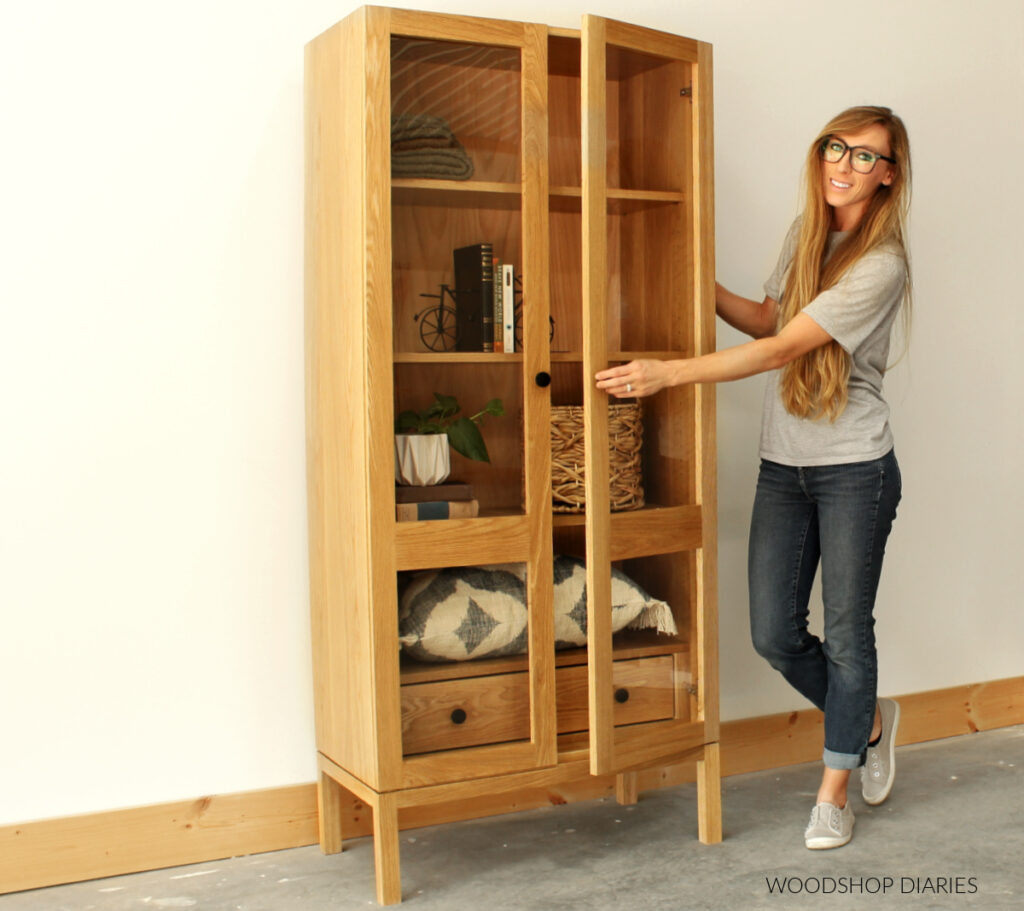
I used the third option when building this glass door cabinet. I used dowels to assemble the main body and adjusted the drill bit depth on the side panels so that it wouldn’t drill all the way through. See image below.
But, that meant that when it was time to drill into the joining boards, I needed to adjust the drill bit a little longer to ensure the holes were deep enough to accommodate the full length of the dowel pin.
TIP: When setting your drill depth, test drilling into some scrap boards first to make sure the holes are deep enough for the pins to fit (about half the length in each board), but not too deep that it drills through if you don’t want it to.
Step 4: Line Up Dowel Jig & Drill Holes
The jig has three lines. The mark on the left is the centerline of the left hole. The mark in the center is the centerline between the holes. The mark on the right is the centerline of the right hole.
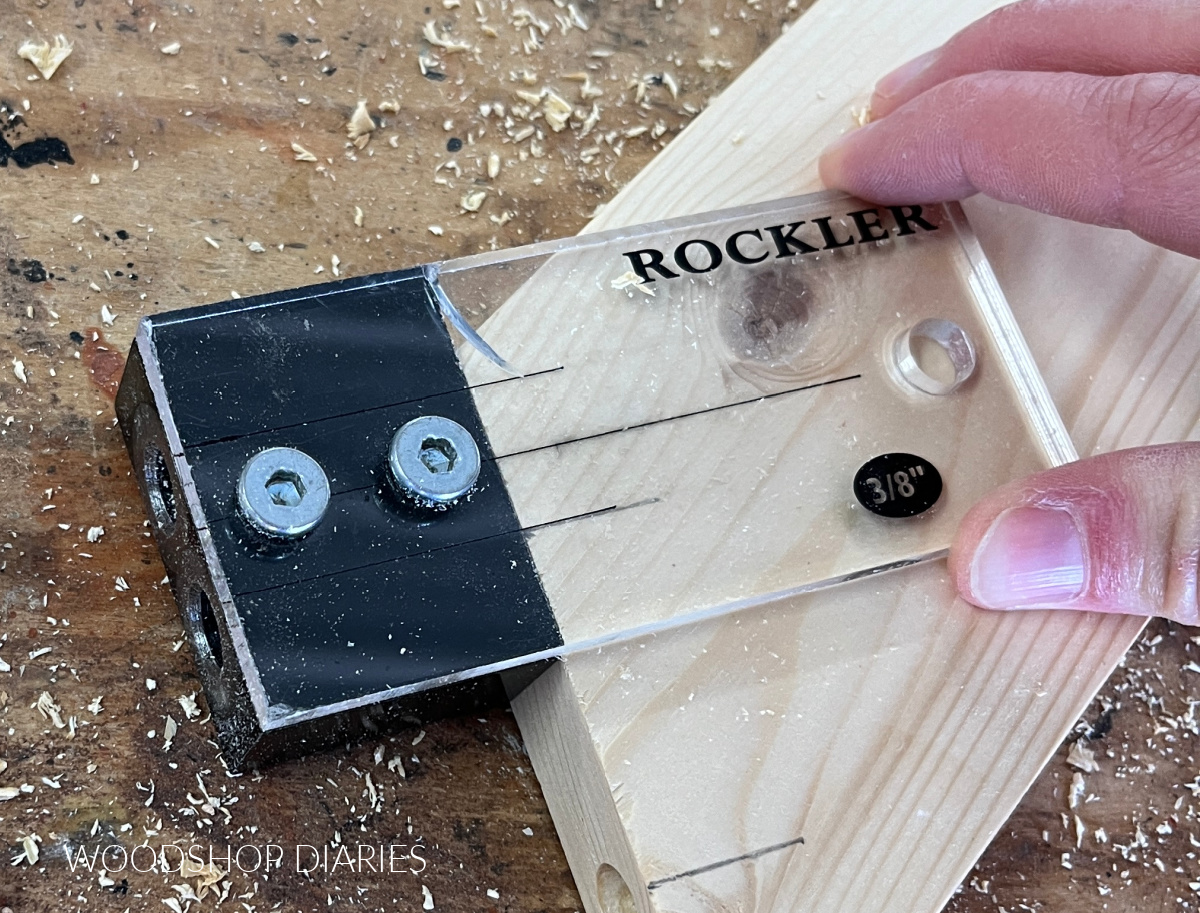
For narrow boards, if I only made one mark, I line up the center line of the jig and drill both holes. In this case, the marks from step 2 designate the center of the jig.
For wider boards, if I made multiple marks, I line up either the left or the right line on the jig and only drill that hole at each mark. In this case, the marks designate the centerline of each hole.
There’s no specific right or wrong way to do it as long as the holes line up. So just stay consistent line to line whether you choose to make that the center of the jig or the center of a hole.
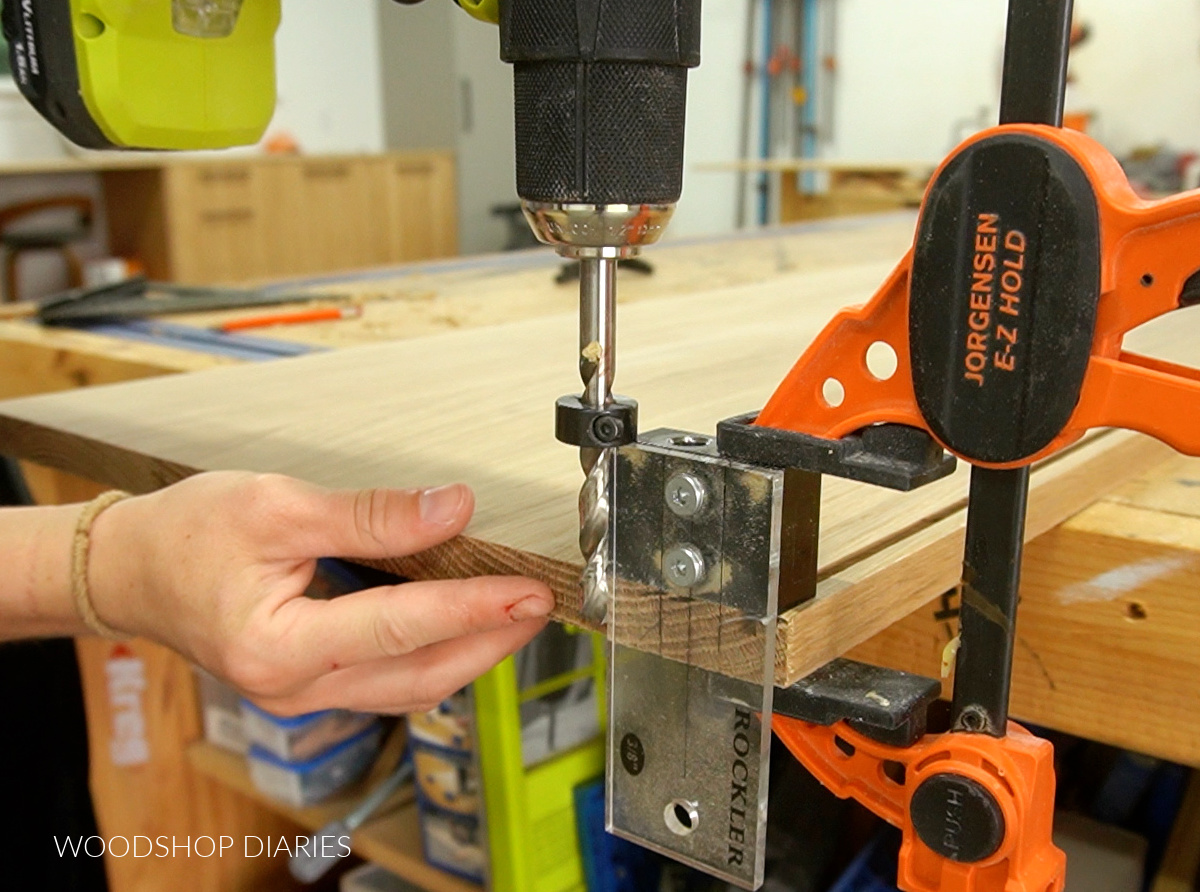
Once I get the jig lined up, I clamp it tight and drill using the designated bit. The bit should be the same diameter as the holes in the jig. For example, if using a ⅜″ jig, use a ⅜″ bit, etc.
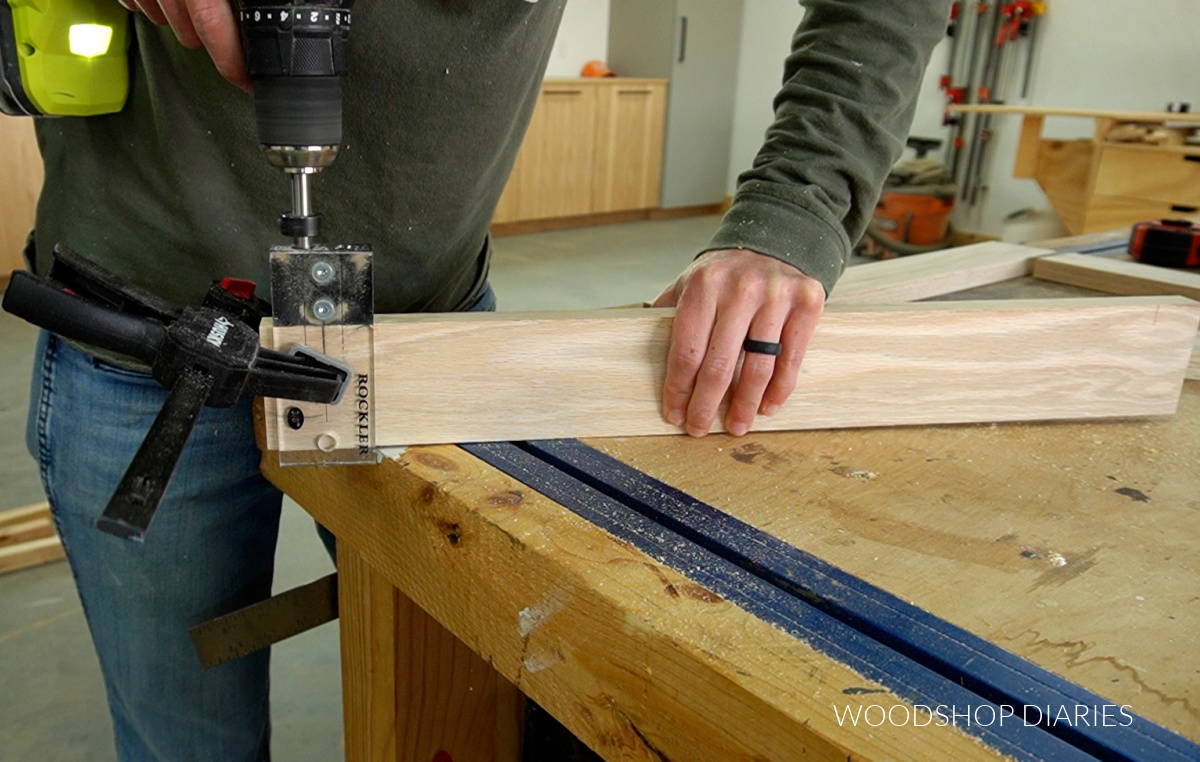
Drill until the stop collar hits the jig so you make sure the holes are deep enough. Repeat for each mark on each board.
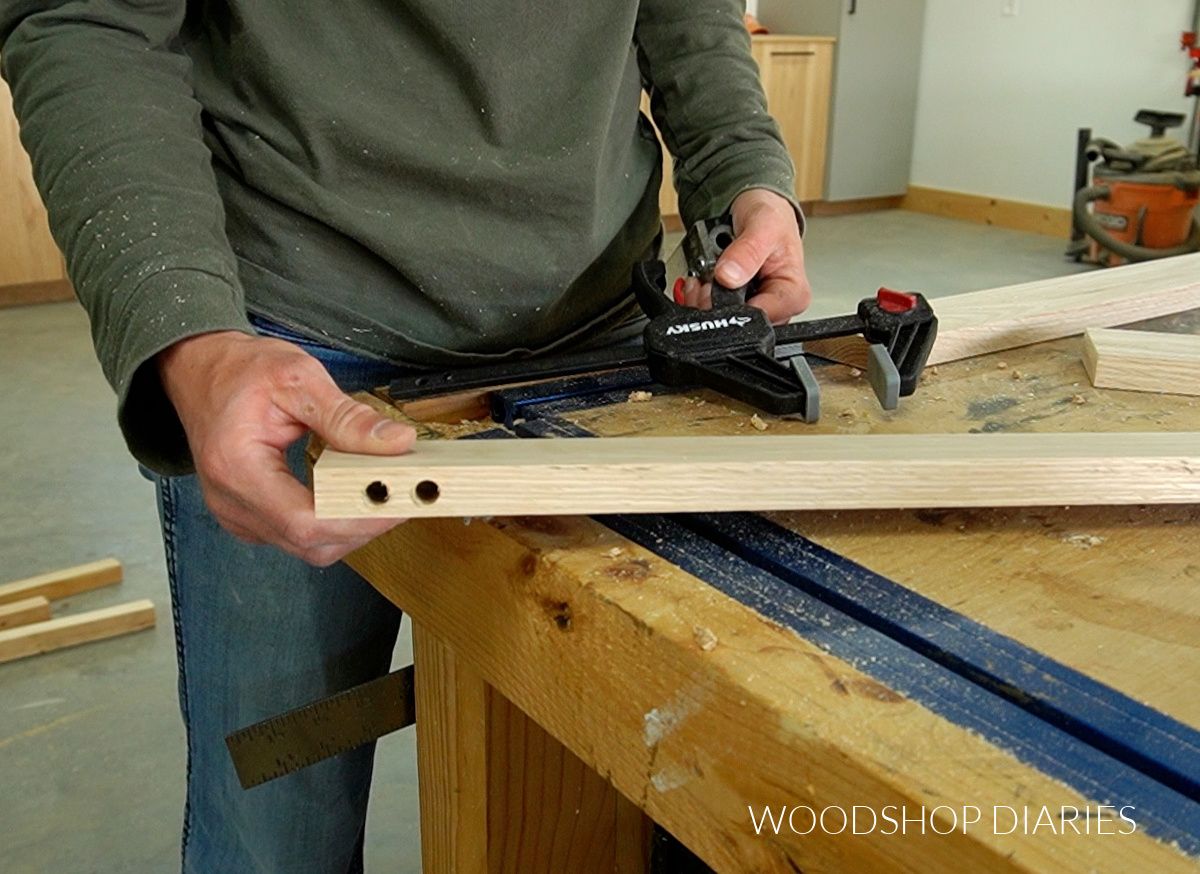
Step 5: Assemble Pieces With Dowel Pins
Once the holes are drilled, it’s time for assembly. To assemble a dowel joint, I simply apply wood glue around the dowel pin, then insert into the holes. I like to use a rubber mallet to tap them in if needed.
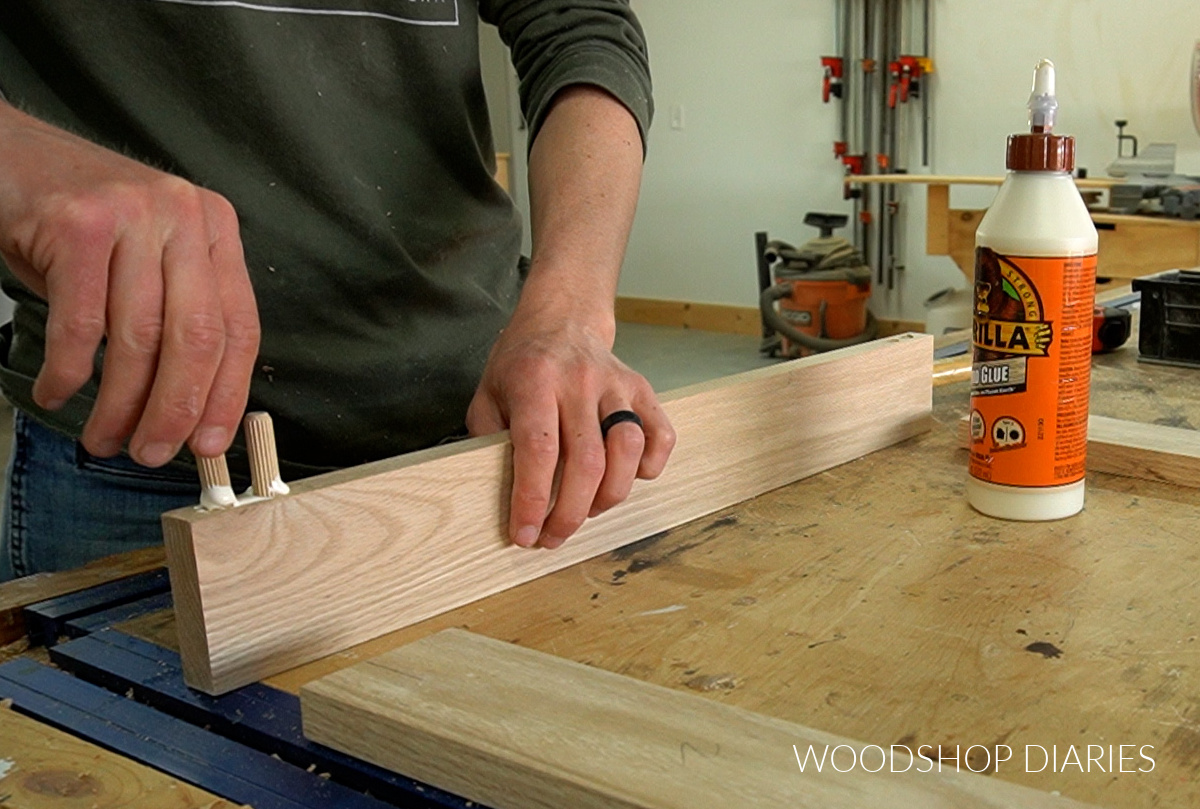
Then, I apply a little wood glue around the holes, to the parts of the dowel sticking out and to the end of the board that’s joining. You want to make sure there’s glue both on the board surfaces and on the dowel pins.
Once there’s glue on everything, I line up the holes with the dowel pins and tap in place. This process is the same whether you’re gluing up square or mitered boards. You can see below I’m assembling a cabinet door with mitered boards the same way.
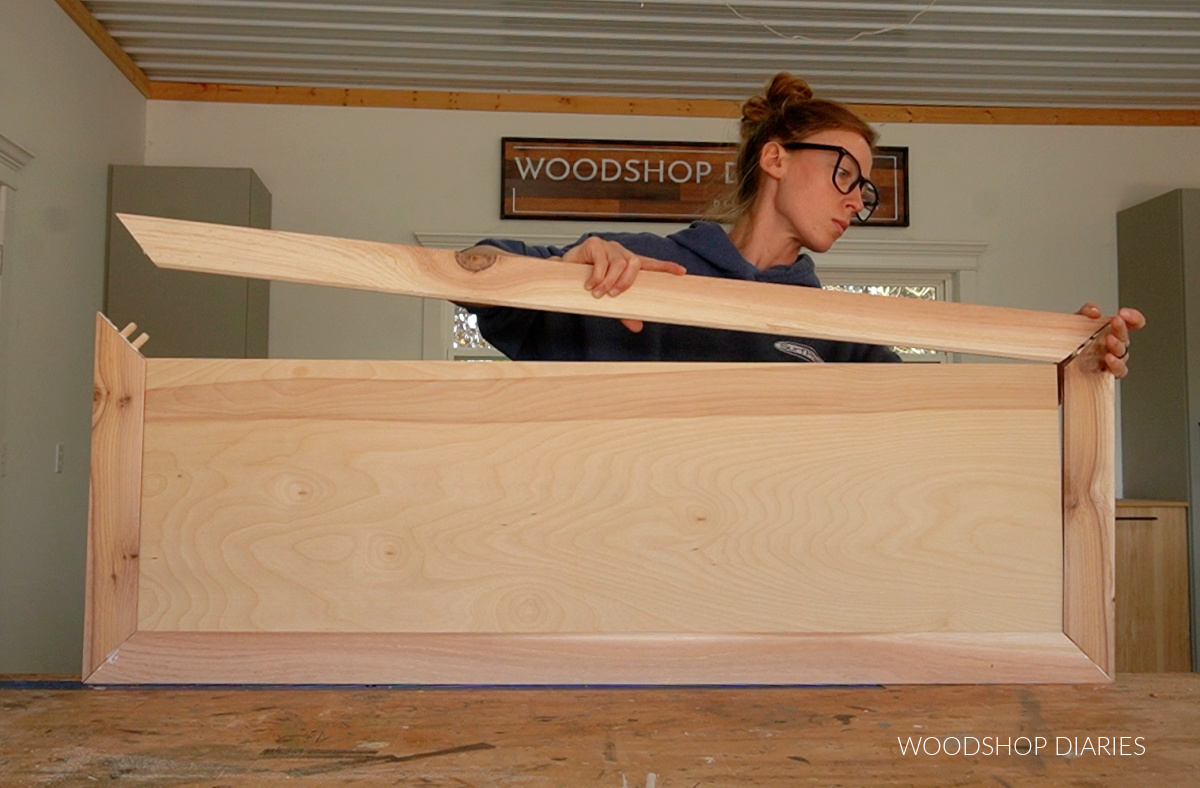
If joining several boards at once, plan ahead what order to join them. Once the glue dries, they’ll be difficult to move later if needed.
Once all my joints have glue and dowel pins, I clamp together and wipe away excess glue squeeze out. Make sure to check for square, then allow to dry completely.

After it’s dry, I sand away any remaining glue and now I’ve joined wood using dowels!
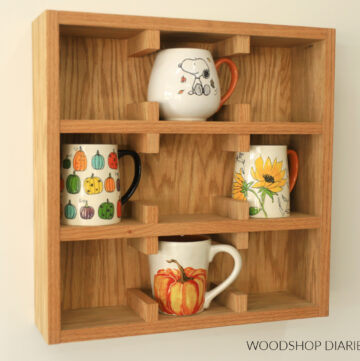
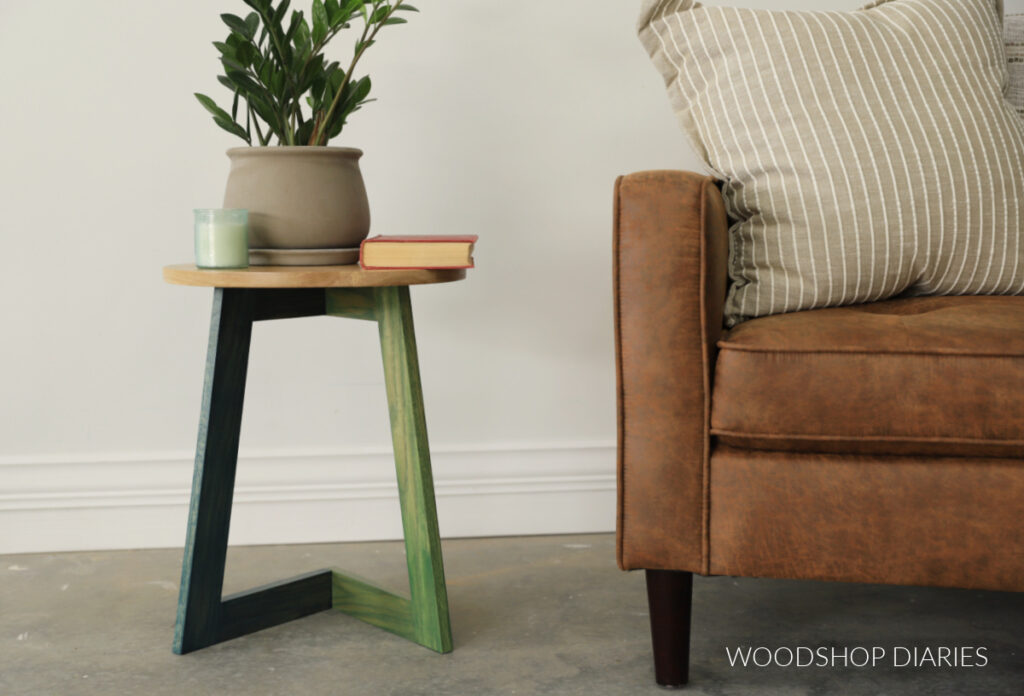
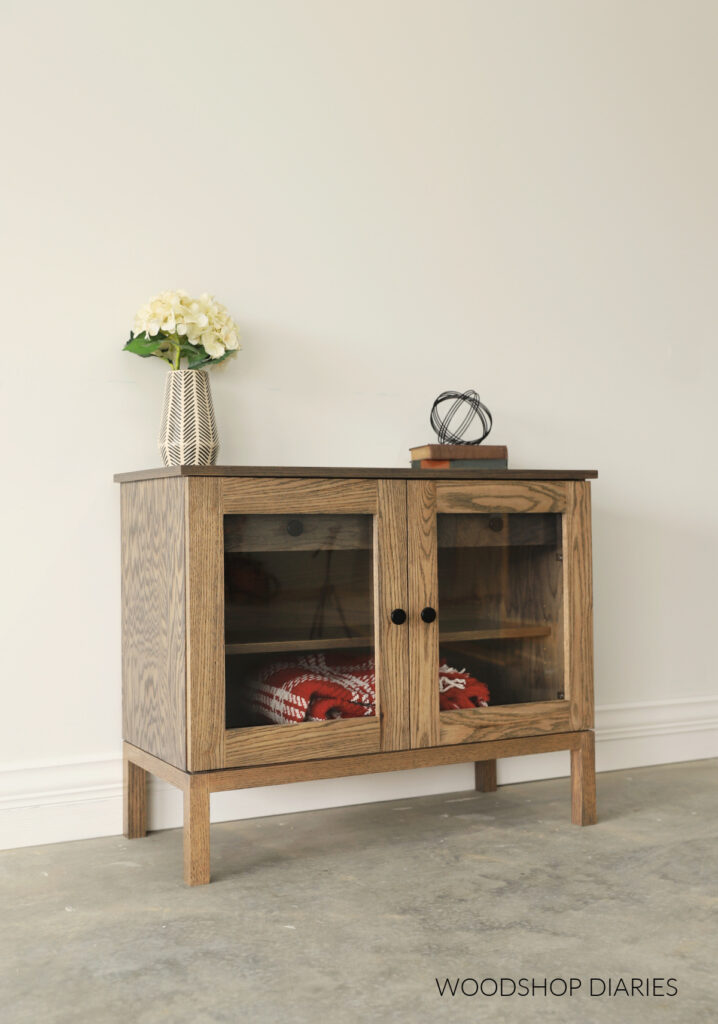
Projects Using Dowel Joinery
Now that you know how to use a dowel jig, here are some great projects to practice and gain experience using your new skill!
Projects using dowel joinery:
Want to save this post for later? Be sure to pin it or share it to your favorite social channel so you can find it again for easy reference!
Until next time, friends, happy building!