
In this post, I’m sharing how to build a modern DIY bed frame with video tutorial and printable building plans!

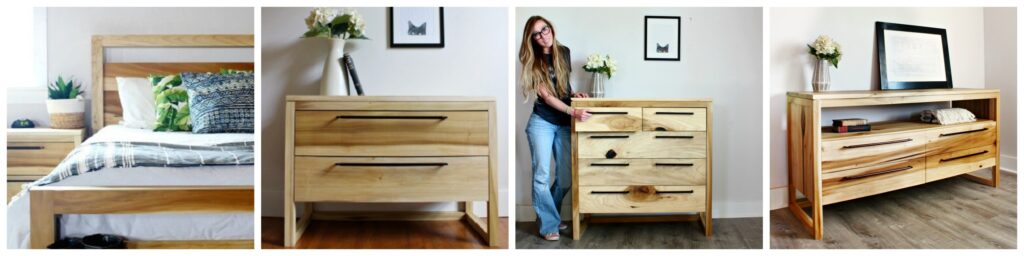
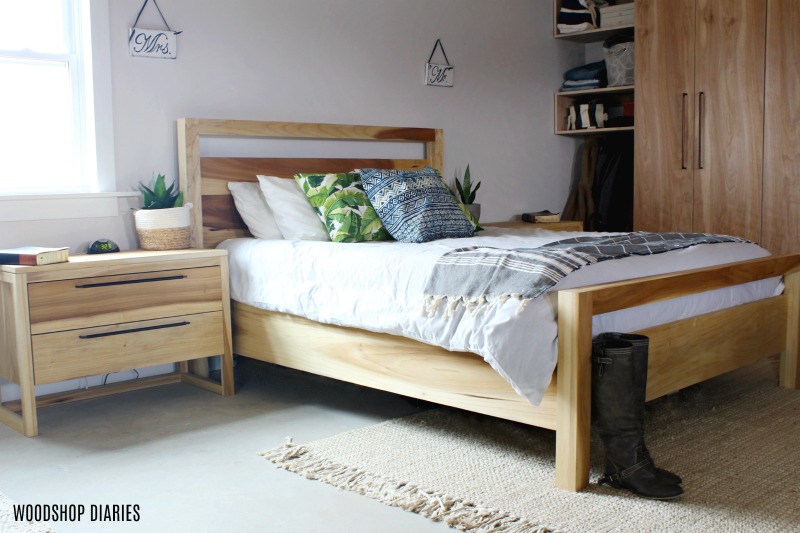
This modern DIY bed frame is simple and elegant, so it can fit any design style and is perfect to mix and match with your existing furniture.
.
However, if you want an entire matching bedroom set, I’ve got you covered with that, too 🙂
.
Want to check out the entire modern DIY matching bedroom Set? Check out all the pieces here!
This modern DIY bed frame was made from poplar wood and some ¾″ plywood pieces for the bed slats and supports. I used rough sawn poplar and milled it down to the size I needed.
.
But, the plans below show you how to build it with standard size lumber to make things easy.
.
To build the DIY bed frame and two matching nightstands, I purchased 100 board foot of poplar (for about $200 at the time). Obviously, I had some waste, but I also had a little leftover. But that gives you a rough idea how much it cost to build.

.
Check out the video, plans, and tutorial to build your own DIY bed frame below!
**This post contains affiliate links. See disclosure policy for details.
.
Tools and Materials:
Materials:
- (4) 4x4x8 boards (I glued mine together, then milled down to slightly under 3” x 3” posts. Either will work—see step 1)
- (3) 1×8 boards (headboard)
- (3) 1x10x8 boards (bed rails and footboard)
- (1) sheet ¾” plywood OR 1x4x8 boards for slats
- (3) 2x2x8 boards (bed slat supports)
- Bed rail Hardware
- Dowels
- 2 ½” pocket hole screws
- 1 ¼” wood screws
- 2 ½” wood screws
Tools:
- Miter Saw
- Table Saw (optional)
- Kreg Rip Cut (optional)
- Circular saw
- Kreg AccuCut
- Wood Glue
- Clamps
- Dowel Jig
- Pocket Hole Jig
- Drill
- Sander
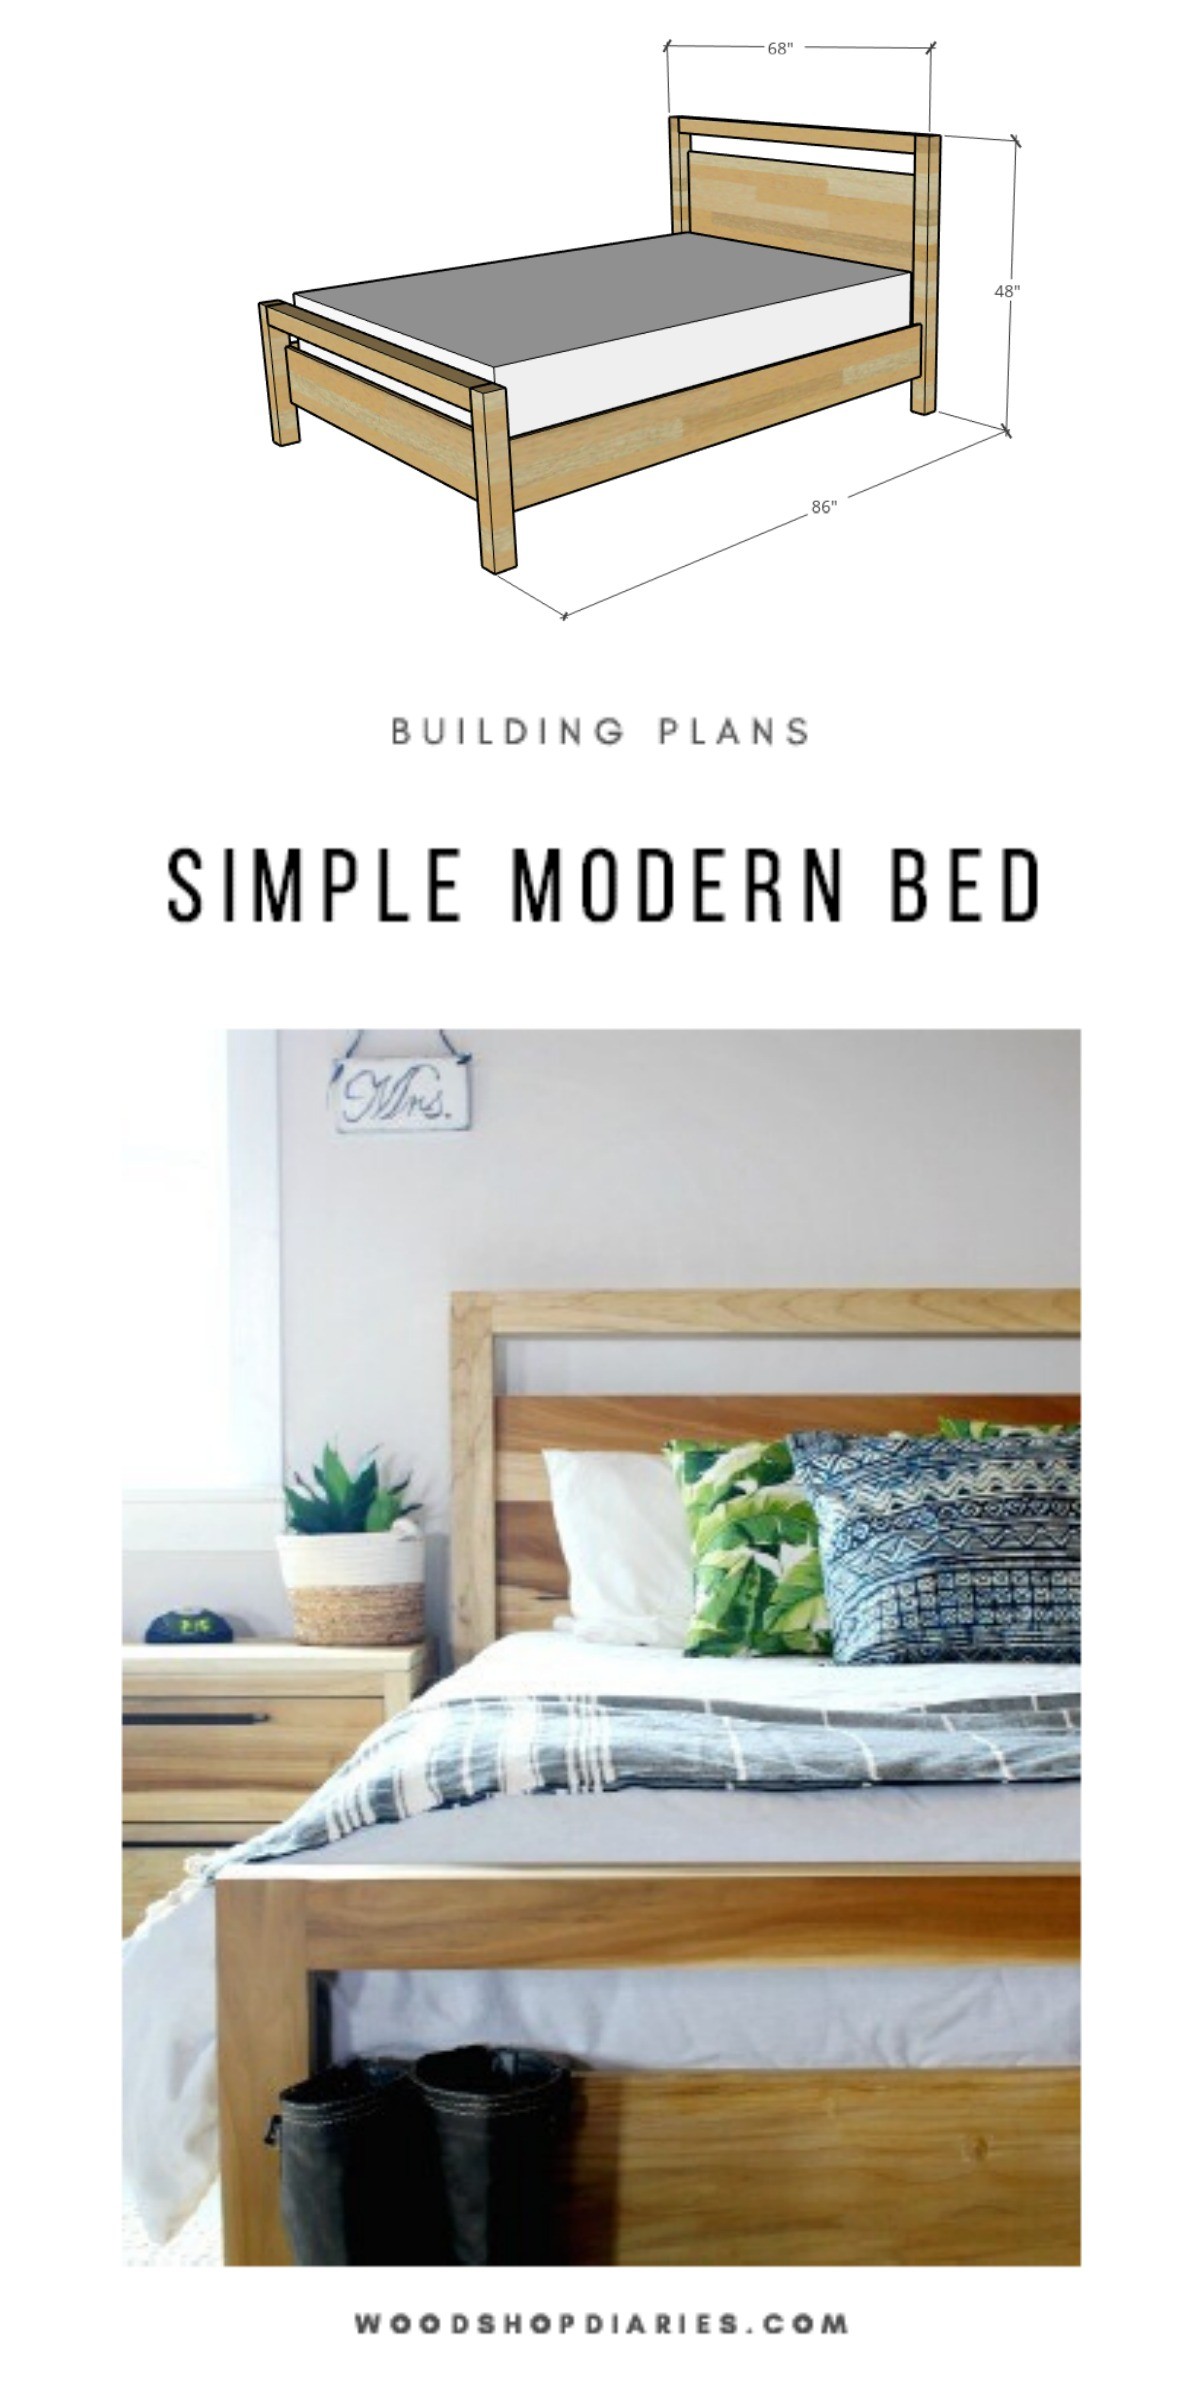
Grab the Modern DIY Bed Frame printable plans here:
.
NOTE: The following tutorial shows building a QUEEN size bed. The plans for a king OR queen are linked above. The building process is the same for a queen and a king, but dimensions are slightly different.
Step 1: Prepare the Bed Frame Posts
Because I built my DIY bed from poplar, I was at the mercy of whatever I could find at the hardwood store for bed posts. Unfortunately, all they had was 1x material. So to make thicker bed posts, I had to laminate the pieces together.
.
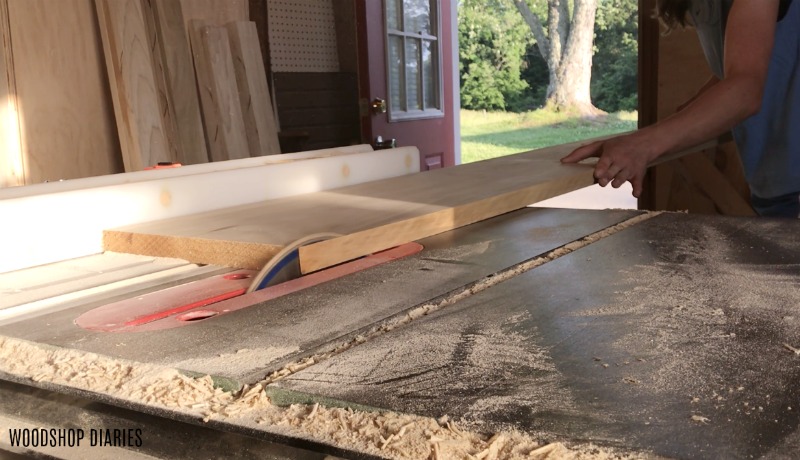
So first, I planed the boards to remove the rough saw marks and get them all down to the same thickness.
.
Then, I ripped the boards in 3” wide strips on my table saw, and cut them down to slightly longer than the lengths I would need for all four posts and the two top “runners” that connect between the two posts on the headboard and the two on the footboard.
.
The two headboard posts are 48” long and the two foot board posts are 23” long. The two posts that go between them are each 62” long (for a queen size bed).
.
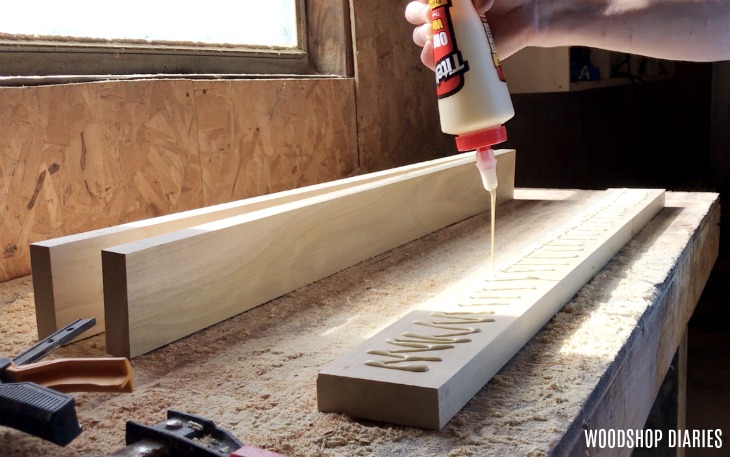
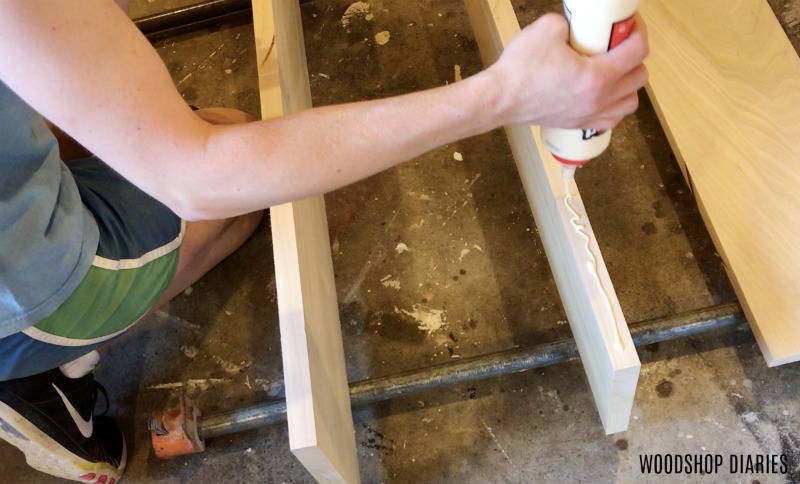
Since three pieces make up each of these, I had 6 pieces slightly longer than 48”, 6 pieces slightly longer than 23”, and 6 slightly longer than 62”. Then I glued and clamped them together to make my “posts.”
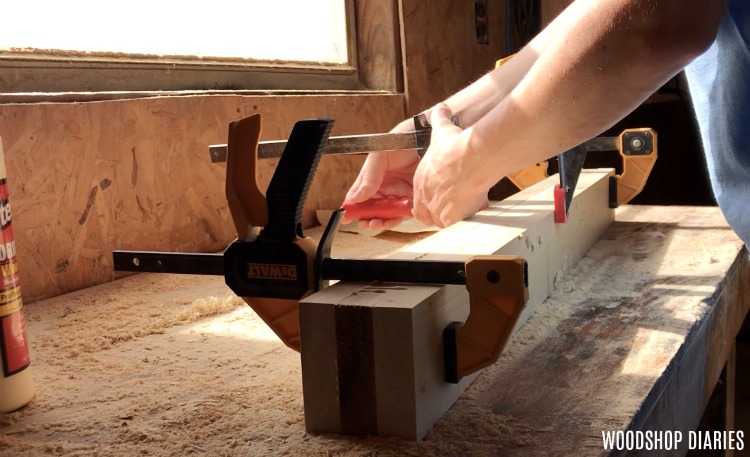
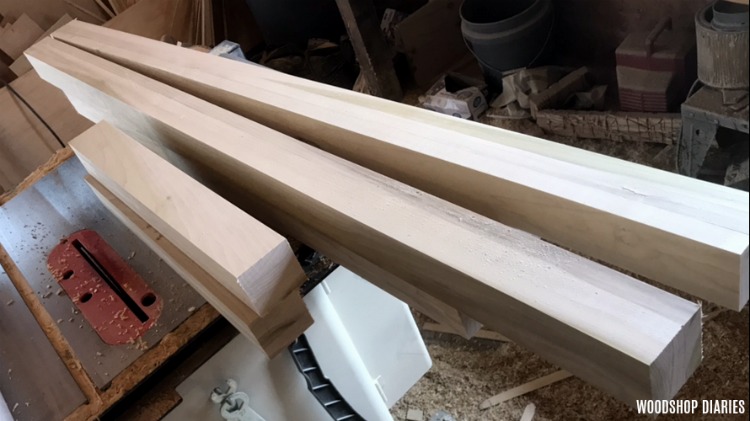
Once the glue was dry, I trimmed them down to the exact lengths I needed (48”, 23”, and 62”), then planed the laminated edges to get them nice and clean, flat and square.
.
Now my bed posts were ready.
If you are working with 4×4 posts instead, simply cut them down to the final lengths needed. You can skip the messy and tedious step of laminating everything 😉
Step 2: Prepare the Head Board Panel
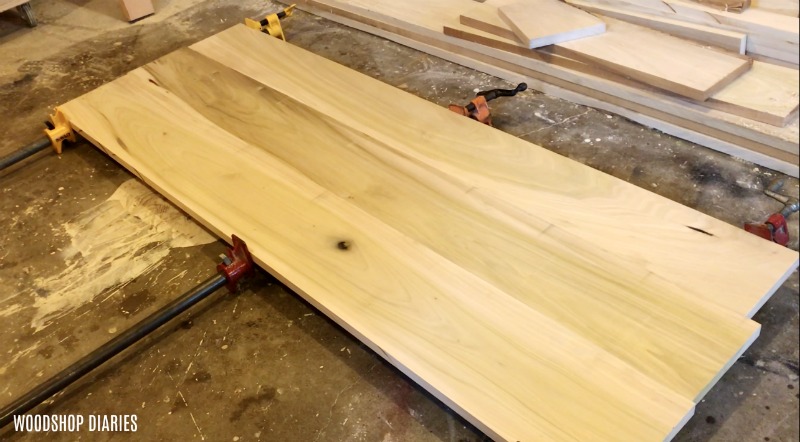
For the large panel that makes up most of the headboard, I simply glued and clamped 3 boards together.
.
Mine weren’t all the same width (that’s the “beauty” of working with whatever wood you can find at the hardwood store), but glued together, they made a panel 23” wide.
.
This is ALMOST the equivalent of three 1×8 boards if you’d rather use that instead.
.
I cut my boards a little longer than 62″ long (62″ is the final length, so I left enough to trim off nice and clean). Then I ran them through the table saw to square the edges for a cleaner glue up.
.
You can read this post to see more about squaring off board edges. Then simply glued them together.
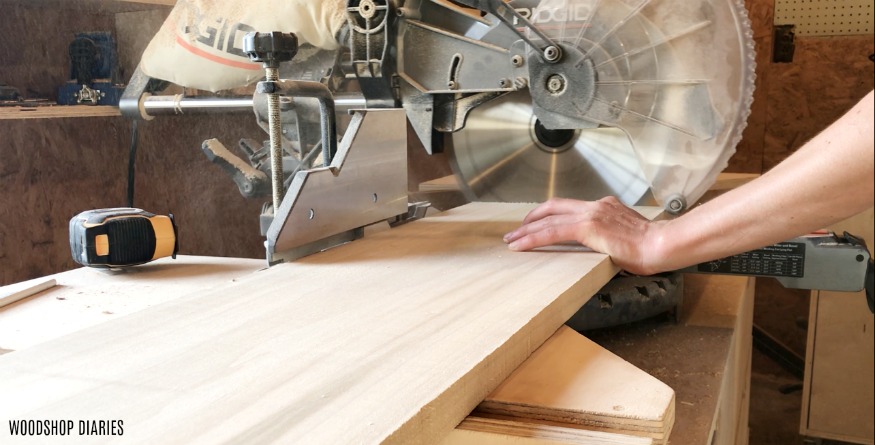
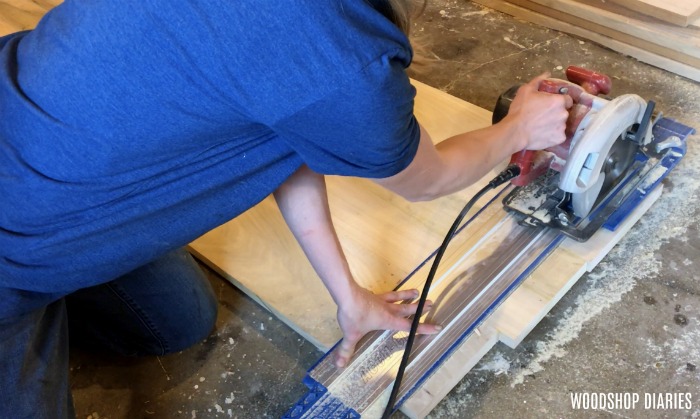
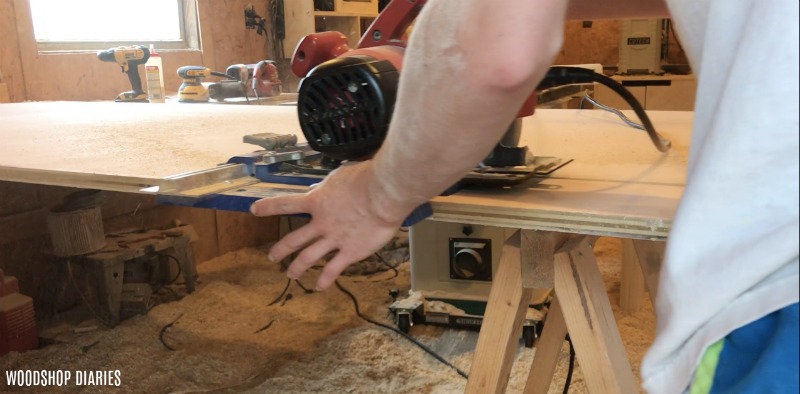
Once the glue was dry, I trimmed the boards down to make the panel its final length.
.
The Kreg AccuCut comes in handy here with a circular saw. Actually, it comes in handy all the time–check out this post for how to use it.
This was my first project ever using dowels. It was a learning curve. My best advice for using dowels is to PAY ATTENTION to where and what orientation you drill your holes. It’s not bad as long as you are PAYING ATTENTION.
.
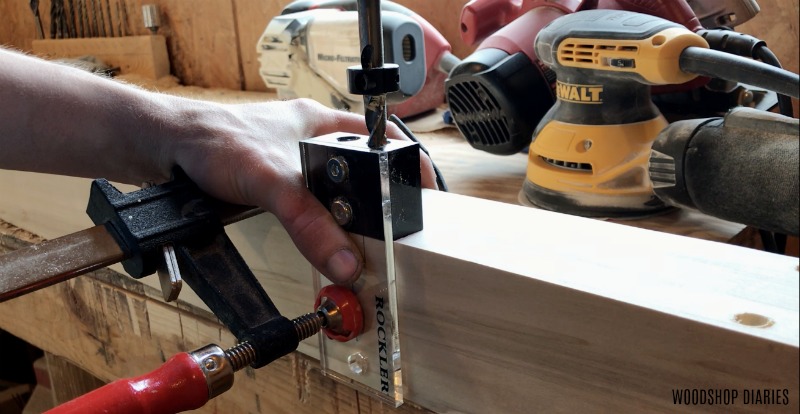
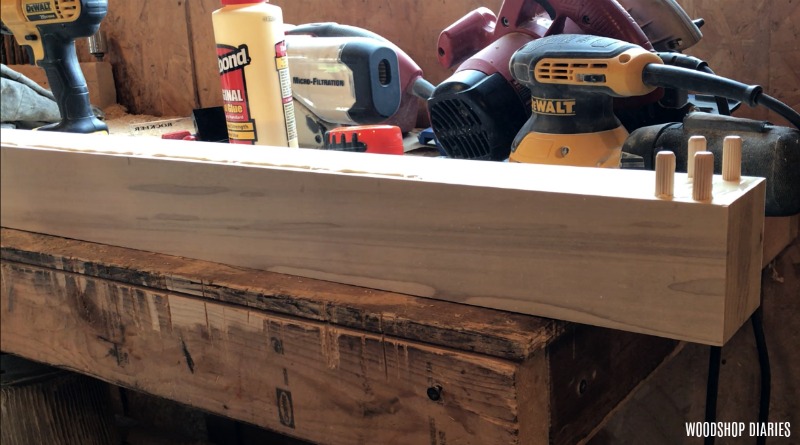
Okay, SO, that being said, I used my Rockler Dowel Jig and drilled ⅜″ dowel holes ¾″ deep along the short sides of this headboard panel spacing them about 4” apart.
.
Your spacing is totally up to you, but make sure you stay consistent…you will have to drill corresponding holes in the bed posts later.
Step 3: Assemble the Head Board
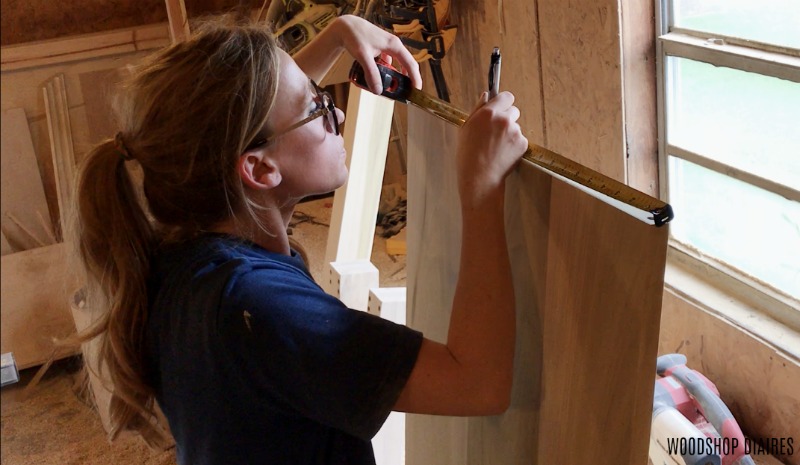
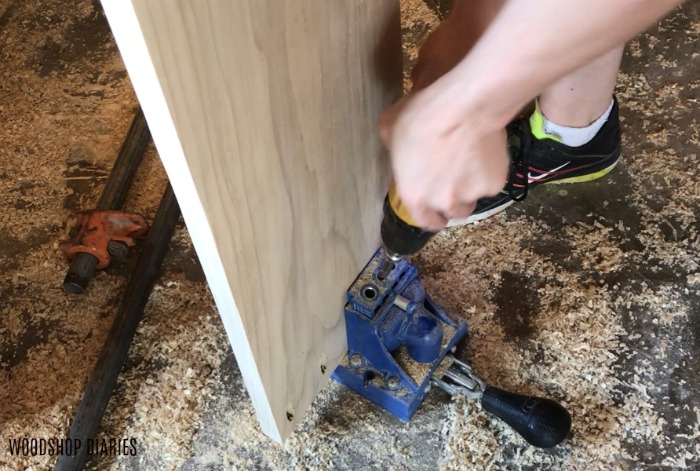
Okay, so the dowel holes were drilled in the headboard panel, but now I had to drill “matching” holes in the headboard post.
.
So first, I drilled 4 dowel holes in the top inside of the headboard post for the connecting post to attach. Then, I left a 4” space between where the top post will be and the top of the headboard panel. It’s handy to make pencil marks so you know what’s what.
.
After my 4” space, I drilled corresponding dowel holes along the back edge of the inside of the headboard posts like shown making sure the holes lined up with the holes drilled on the headboard panel.
Then, I drilled corresponding holes in the edges of the top post to match the ones I drilled in the corner post. Lots of hole drilling if you haven’t figured it out.
.
You don’t HAVE to use dowels…you could use pocket holes or just glue. But dowels help to hold it and line it up better without having to see the pocket holes.
.
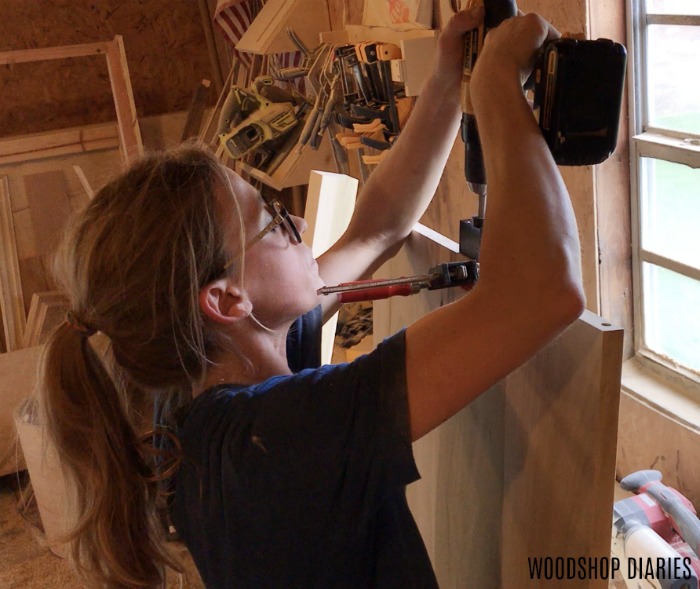
Anyway, once all the dowel holes were drilled, I glued in the dowels on the top of one side of the headboard post and assembled the top post to it.
Then, I glued in the dowels on one side of the headboard panel and glued it onto the headboard post.
.
Finally, glue in the dowels, and assemble the other side post and clamp everything in place.

Just a warning—it will be messy with all the glue. You may want to pull your hair out. But DON’T! It’s not a good idea to touch your hair with wood glue covered hands. Trust me.
.
But, I PROMISE this is worth it. Just take a deep breath, laugh it off, and keep building 🙂 Everything will be okay. The hardest part is done. I know this from experience.
Step 4: Assemble the Foot Board of DIY Bed Frame
After the fiasco with the headboard and the dowels, I decided to use pocket holes for the foot board. This will all be under the mattress anyway, so I really didn’t care if the holes were there.
.
I assembled the posts with dowels just like the headboard—four dowels per joint.

But, I cut a 1×10 poplar board for the footboard “panel” and drilled ¾” pocket holes along the short ends.
RELATED: How to use a pocket hole jig
Then, I attached using 2 ½” pocket hole screws so that this board was 4” under the top post (just like on the headboard).
Step 5: Assemble the Bed Frame Rails
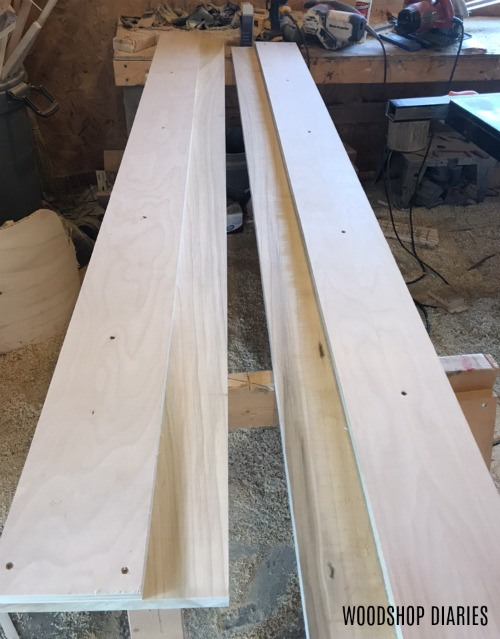
The bed rails are also easy. I just cut two 1×10 poplar boards for the sides.
.
Then, I ripped a full sheet of ¾” plywood to two 6″ pieces and ten 3 ½” wide strips using a Kreg Rip Cut (check out this post for how to use it).
.
If you would rather, 1x4s would be fine for this as well. But a sheet of plywood is cheaper than a bunch of 1x4s.
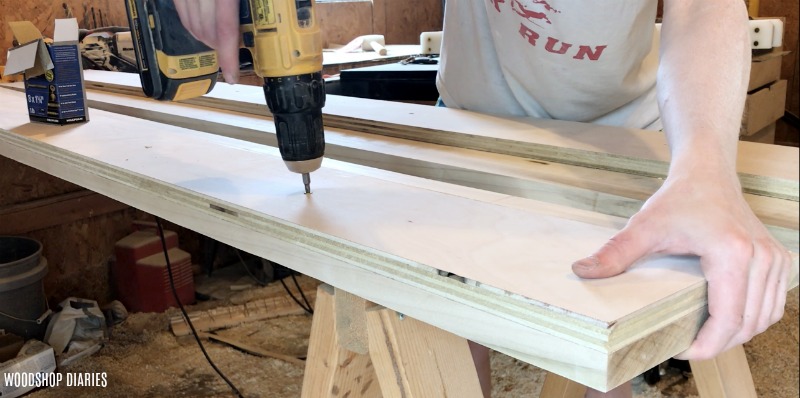
I just applied glue to one side of these 6″ pieces and then glued and screwed (using 1 ¼” screws) onto the INSIDE of each 1×10 bed rail 3 ½” from the top.
Step 6: Add Bed Rail Hardware
To attach the headboard, footboard and bed rails so that you can later disassemble easily for moving or whatever, this hardware is GREAT. I’ve used it on another bed I built earlier and it worked great for quick and easy assembly and disassembly.
.
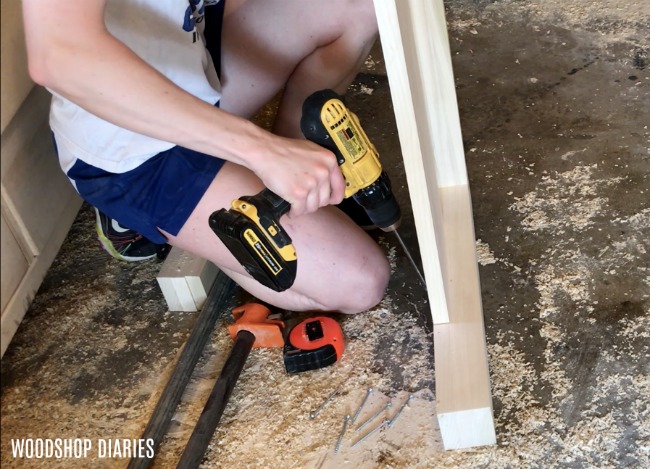
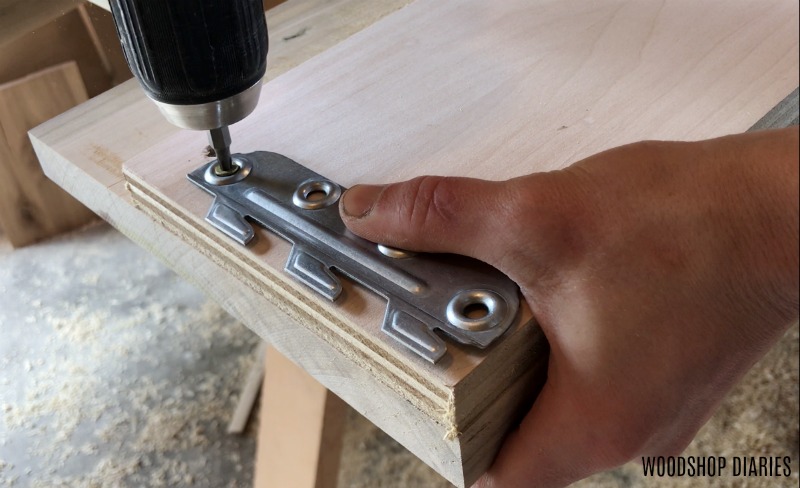
First, attach the (I don’t even know what to call the different parts) part with the holes to the foot board and headboard like shown using 1 ¼” wood screws.
.
Make note of how far off the ground you attached them and be consistent on each corner.
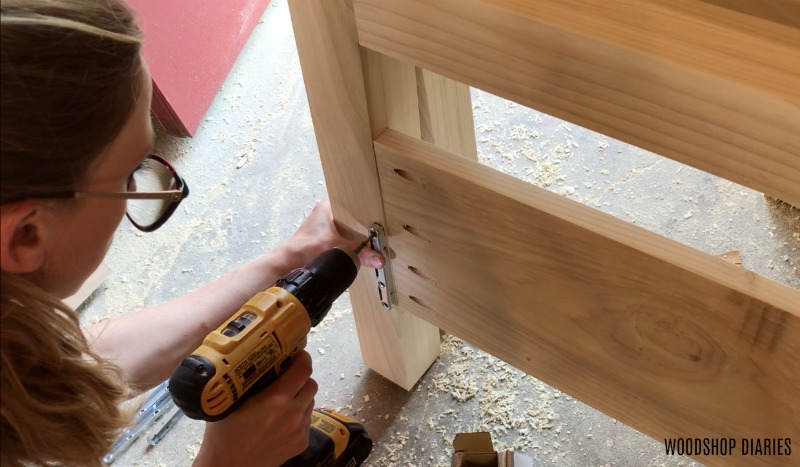
Then screw in the bracket piece with the teeth on the bed rails like shown. Make sure that you attach these so that when it’s installed, it’s the correct height off the floor that you want.
.
Your preference may be different than mine. I just tried to line up my bed rail sides with the foot board so they were all on the same visual level. Attach these bracket pieces using 1 ¼” wood screws.
Now the bed was ready for assembly and finish.
Step 7: Test Fit Bed Frame and Finish
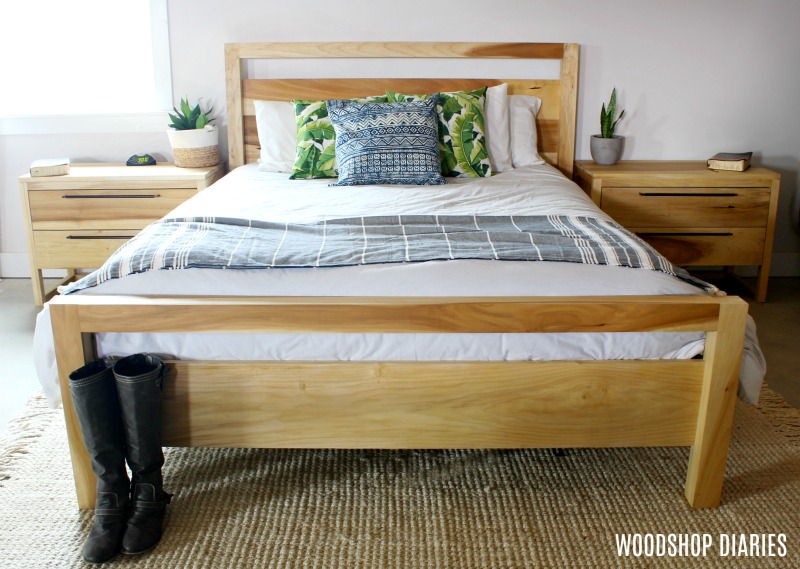
I assembled the bed frame to make sure everything fit okay, then finished the bed with Danish Oil to match the nightstands I made to complete the set.
.
The last thing left to do was to add the slats. There are a million ways to add slats or extra support for the mattress, but I just did it the easy way by adding horizontal slats and 2x2s in the middle.
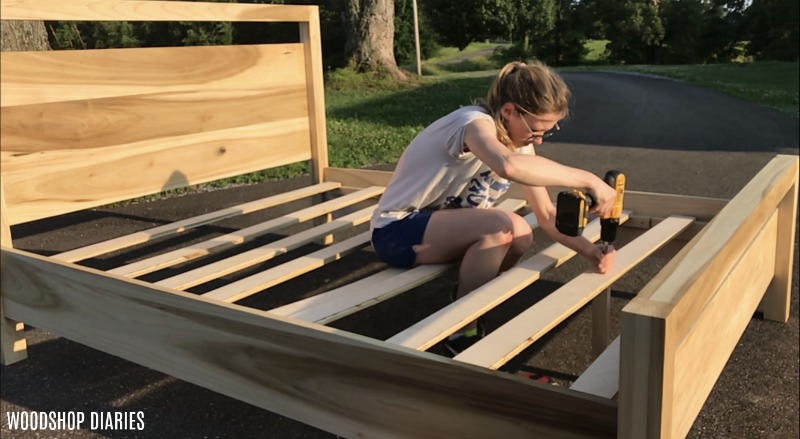
I measured from the ground to the top of the plywood piece on the bed rails and cut ten 2x2s this length. Then, I cut my ten 3 ½″ wide plywood strips from step 5 to fit across the width of the bed.
.
I glued and screwed the 2x2s in the center of each slat like shown above, then evenly spaced these along the rails and attached using screws (once it was in place in the bedroom obviously…not out in the driveway haha).
.
And that’s it! That’s how I built my Modern DIY Bed Frame. It’s a really simple design and I’m really glad I used poplar. I like that the color variation adds a little character to the clean modern design.
You could build this same design using plenty of other methods besides dowels if you wanted, but I thought it was a fun project to try dowels with. To each their own 🙂
.
Don’t forget you can check out the entire collection–bed, nightstands, and dressers here.

Now, it’s time to get building your own Modern DIY Bed Frame 🙂 Be sure to save this for later and share it with your friends (I always appreciate a share!!).
.
And don’t forget to check out the video and subscribe to my YouTube channel for plenty more where that came from 😉
Until next time, happy building 🙂

Jessica Warfield says
Thanks so much for the plans, this bed turned out beautifully! We have been wanting a bed similar to this, and I think I will use this as our inspiration! (we don’t love footboards so we will make that side shorter) have a great day!
Shara, Woodshop Diaries says
Yay so glad you enjoyed this project! Good luck with your build! 🙂