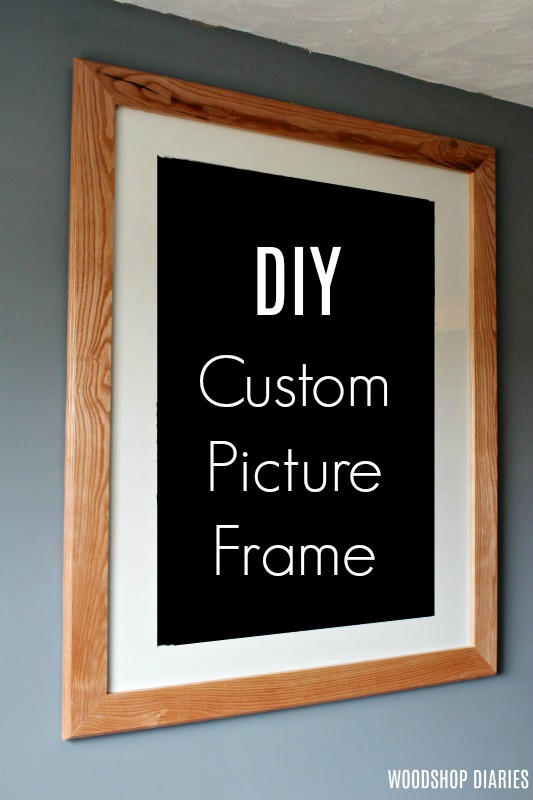
In this post, I’m sharing How to Build a DIY Picture Frame with glass panel and a custom cut mat!
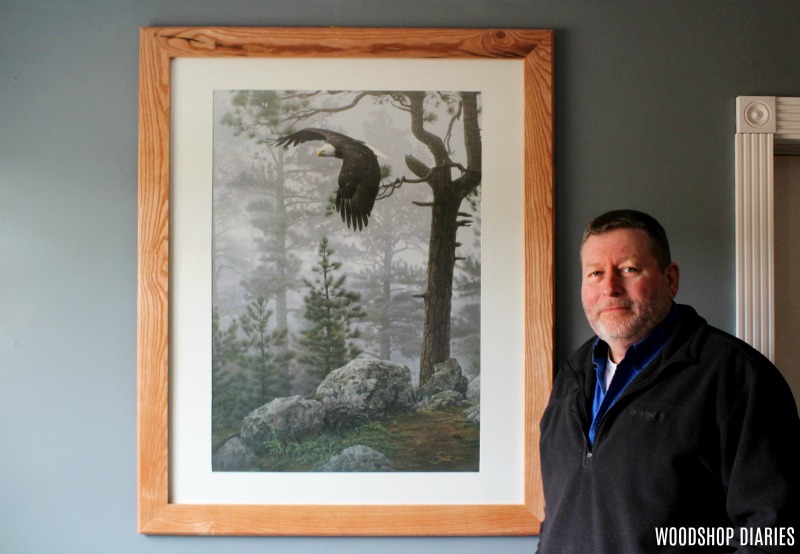
For Christmas a few years ago, I built my Dad a custom picture frame for a print he had gotten after someone in his family passed away.
.
Dad had kept that print in a spare bedroom for a while with intentions of getting it framed (but it was there for so long that I think he kind of forgot about doing anything with it). So, I drove over and picked it up when Dad was out working so he wouldn’t know I took it.
.
So, just in case you’ve got an old piece you’re needing to frame, I’m sharing how to make a custom picture frame to fit any print or picture you want 🙂
.
Now, here’s a disclaimer–you can build a DIY picture frame a million different ways, but for this one, I used mitered corners, wood dowels and routed edges. This is a semi-advanced way of making frames.
.
If you want a simpler way to make picture frames with just a saw and a nail gun, I’ve got a tutorial for 3 styles of easy floating DIY picture frames here.
.
But, if you’re up for dowels and routers, let’s get building. Here’s a quick video and the written tutorial is below.
This post contains affiliate links. Please see disclosure policy for details.
For this Custom DIY Picture Frame, you will need:
- 1×3 board(s) (amount and width depends on the size you are making)
- Dowels
- Dowel Jig
- Clamps
- Drill
- Wood Glue
- Miter Saw
- Router
- Roman Ogee Router Bit
- Rabetting Bit
- Chisel
- Glass panel
- Picture Mat
- ExactoKnife
- Picture Frame Tabs
- ¼″ plywood or cardboard
.
Step 1: Determine the Size of Your Custom Picture Frame
Your picture frame size will depend on the size of the picture you are framing and the size of the mat that you want. I’ll share the formula to figure it out.
.
First, you need the dimensions of the picture you are framing, the width of the mat you want around the picture, and lastly, the width of wood you want your frame pieces to be. Then the formula for your board lengths is:
Width=width of picture + (2 x width of mat) + (2 x width of frame) – ¾″
Height= height of picture + (2 x height of mat) + (2 x width of frame) – ¾″
.
For reference, I made my mat 3″ wide on each side of the picture and I used 1x3s for the frame which are 2 ½″ wide.

So my top and bottom pieces = width of the picture + 6″ mat + 5″ frame – ¾″
And my side pieces = height of picture + 6″ mat + 5″ frame – ¾″
.
To determine how much lumber you need for the frame, take 2 x height from above + 2 x width from above.
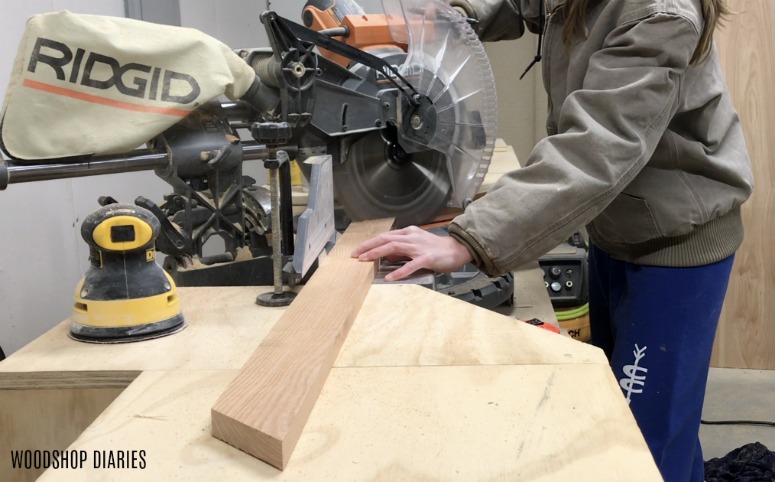
Step 2: Cut DIY Picture Frame Pieces
I used Kentucky Coffee Wood for this frame and I ripped it down to 1x3s boards–2 ½″ wide. But you can buy 1x3s off the shelf for this as well.
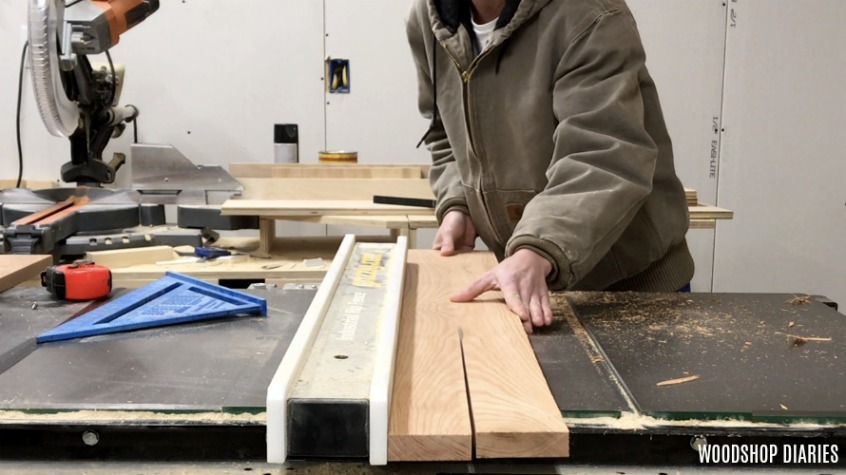
I adjusted the miter angle on my miter saw to 45 degrees and cut 2 pieces with miters NOT parallel so that the total length (long end to long end) equaled the width from step 1.
.
Then I cut 2 pieces the same way, but with length equal to the height from step 1.
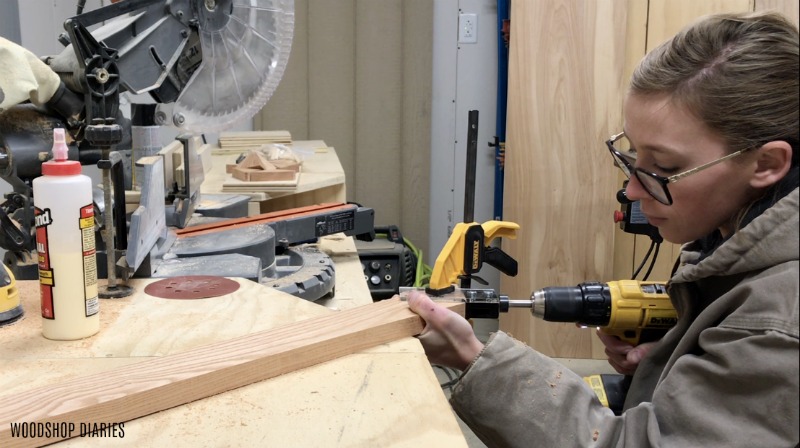
Step 3: Drill Dowel Holes in Frame Corners
Next, I sanded all the boards well (this is easier to do now, before you start assembling), and used a ⅜″ dowel jig to drill dowel holes ¾″ deep into each corner.
.
As always, with dowels, make sure that your holes CORRESPOND when you drill them. They need to align perfectly or your DIY picture frame will be crooked or unsquare. You can get more details on this in my DIY cabinet door post here.
.
I lined the edge of my dowel jig on the INSIDE corner of the miter on each piece and clamped in place while I drilled the holes.
Just make sure that you always line up the jig in the same location on each piece. Once all your holes are drilled on each end of each piece, it’s time to glue up.
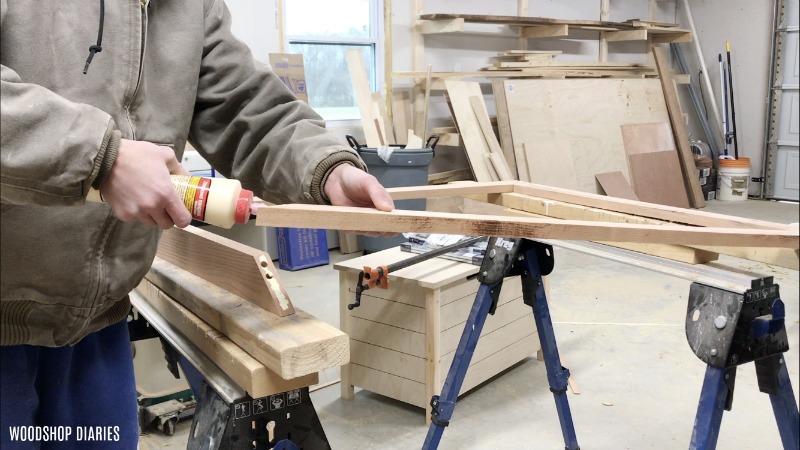
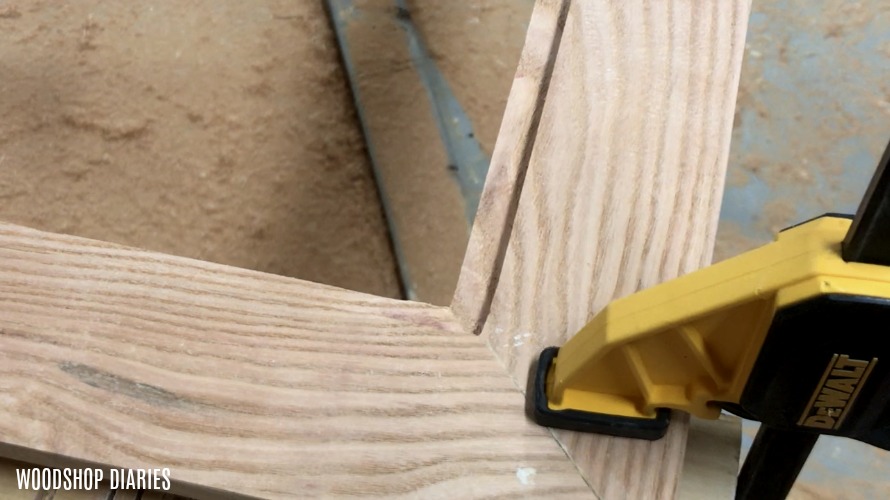
Step 4: Glue DIY Picture Frame Together
Glue ups are always a little stressful. So it is handy to have a second set of hands for this if possible. I applied glue to one corner at a time to give me time to get everything together.
.
I glued each corner, and made sure to get some into the holes and inserted the dowels. Then squeezed together the best I could. You can see in the video I shared above that I started on one corner and worked my way around.
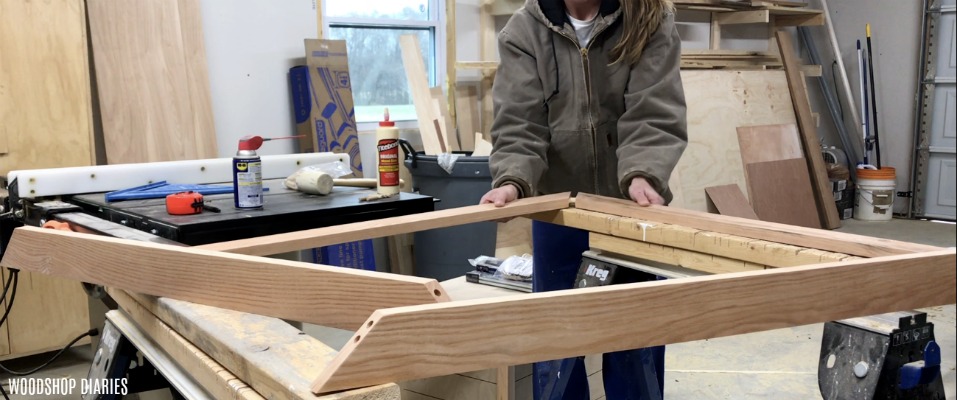
Once all the dowels are started into their holes, I used long pipe clamps to help me push everything together really tight and to help make it nice and square.
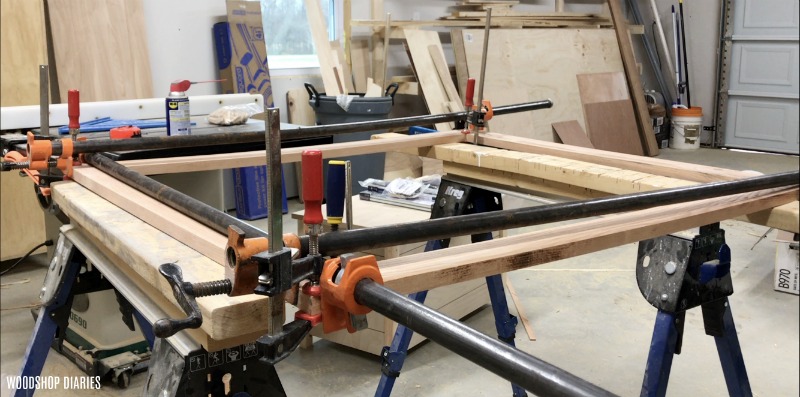
A ratchet strap or one of those crank style picture frame clamps works well, too if you don’t have pipe clamps.
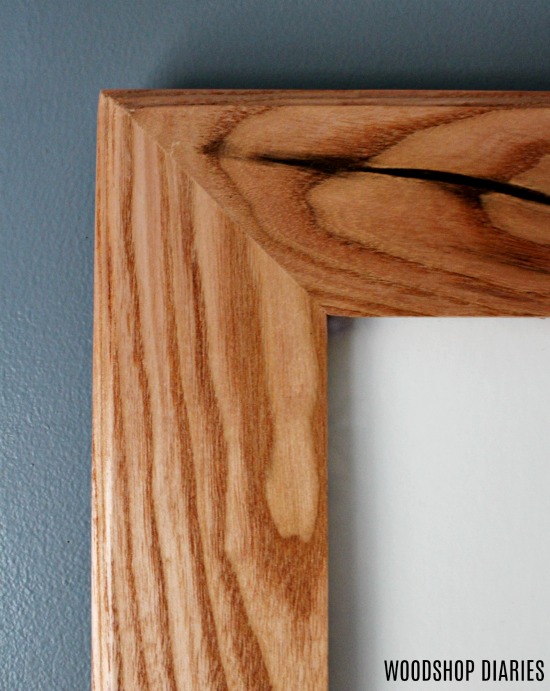
Step 5: Route Decorative Edge Along Frame (Optional)
Once the glue was dry, I gave the corners a good sanding to get rid of any leftover glue from squeeze out, then put a Roman Ogee router bit into my router and went along the outside edges to give it a little decorative detail.
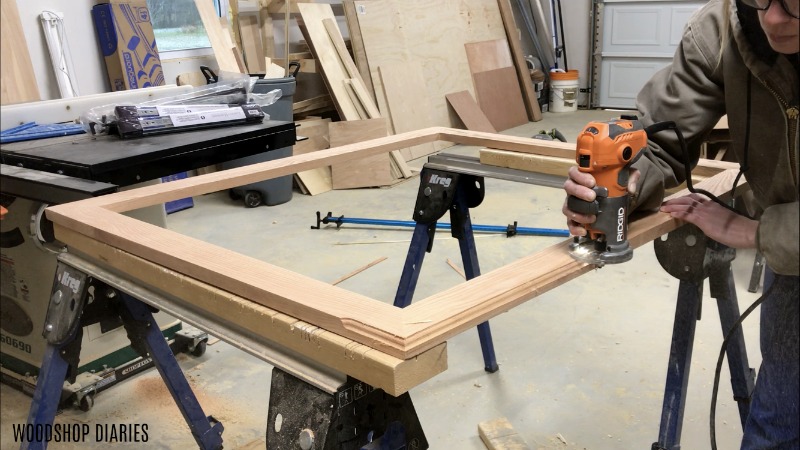
This is totally optional. You can leave your edges plain and square OR use something else besides the Roman Ogee. It’s purely decorative, so it’s up to you how or if you do it.
.
But side note: when routing edges like this along the outside, go counterclockwise.
.
For more information on routers and how to use them, check out this router guide.
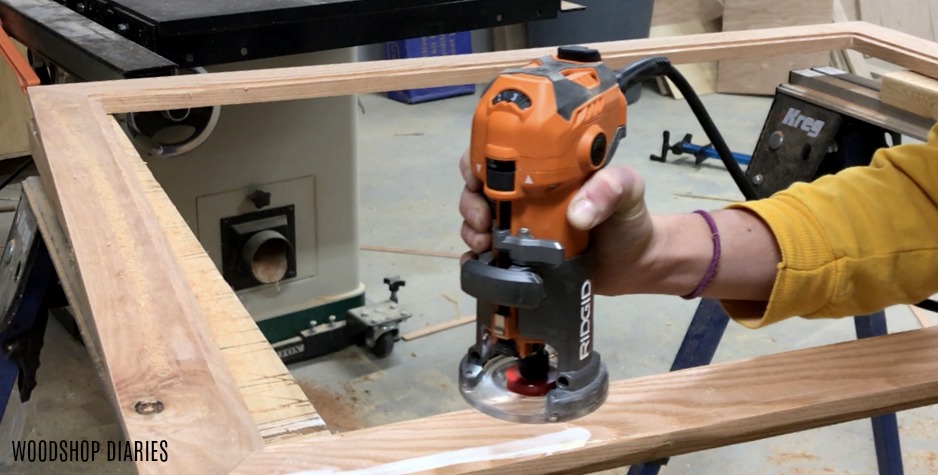
Step 6: Route Rabbet for Glass
If you think of this print as a sandwich, it would go glass in front, mat board and print in the middle, and backer board on the back side.
.
The glass I was going to use (more on that later) was ⅛″ thick, the mat board and print were negligible (too thin to matter) and the backer board was just ¼″ plywood I had leftover in the shop. (You could also use cardboard if you didn’t have plywood.)
.
So I needed a rabbet cut into the BACK INSIDE of the frame about ⅜″ deep so that everything would set inset into the frame and be flush on the back side.
.
For this, I used a rabbeting bit in my router.
.
This particular one I used is adjustable to different widths, but I cut mine ⅜″ wide. I just took off a little at a time until it was ⅜″ deep. NOTE: route the inside edges here clockwise.
The thing about rabbeting bits is that they makes rounded corners. So I used a chisel and carefully squared my corners. OR, in hindsight, you could route these rabbets prior to assembling to avoid having to use a chisel here.
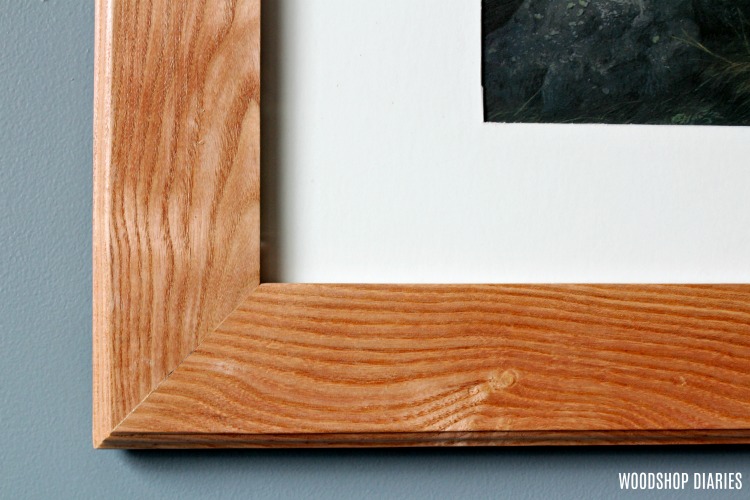
Step 7: Cut Mat Board
Now the frame itself is finished (except for actual finishing–paint, stain, poly. I polyed mine with three coats of Polycrylic. While it was drying, I cut the mat board.)
.
The last thing that needs to be done is cut the mat board. You can buy mats in standard sizes precut at any craft store or even online. But, since my print was so big, the precut mat was like $60 and it wasn’t even really the size I wanted.
.
So, I just bought a $10 mat board at Hobby Lobby and cut out the opening for the print using an exacto-knife (a pocket knife works, too). These are really nice to use when you need a custom size that you can’t buy standard.
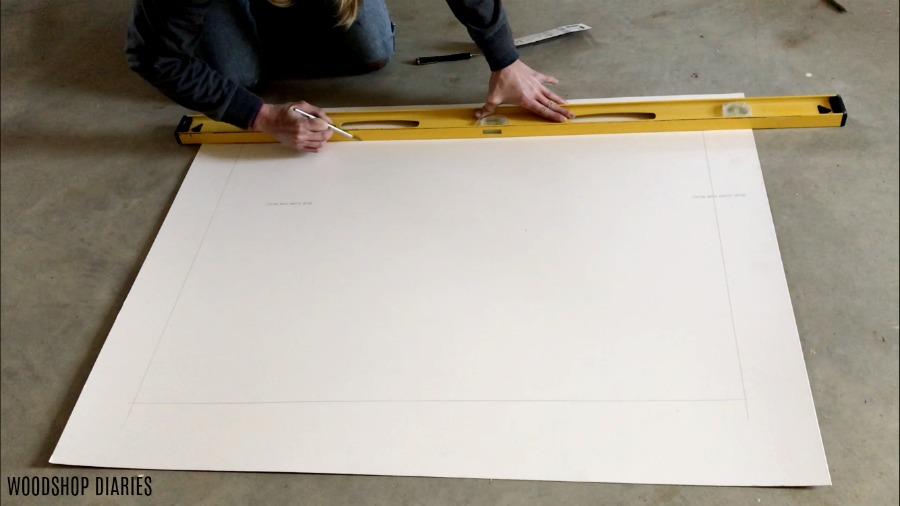
I traced out and cut the board the overall size the mat board needed to be to fit inside the rabbet from step 6. Then, measured and marked in 3″ from each side and cut out the opening for the print to fit into.
.
Once the opening was cut, I taped the corners of the print onto the back of the mat so that everything was lined up and it would stay that way.
Step 8: Install the Print and Finish
Now, it’s time to put everything together. I ordered a piece of picture frame glass from my local glass place so that it would fit into the groove cut from step 6.

Order it slightly smaller than the exact opening because you can’t cut glass very easily if it’s too big. If it is too big, you will need to chisel out the frame until it fits. And that stinks, so avoid it if possible haha.
.
Note that many big box stores will also cut you custom size glass pieces if you don’t know a local place OR, you can cut your own plexiglass pretty easily using this tutorial.
.
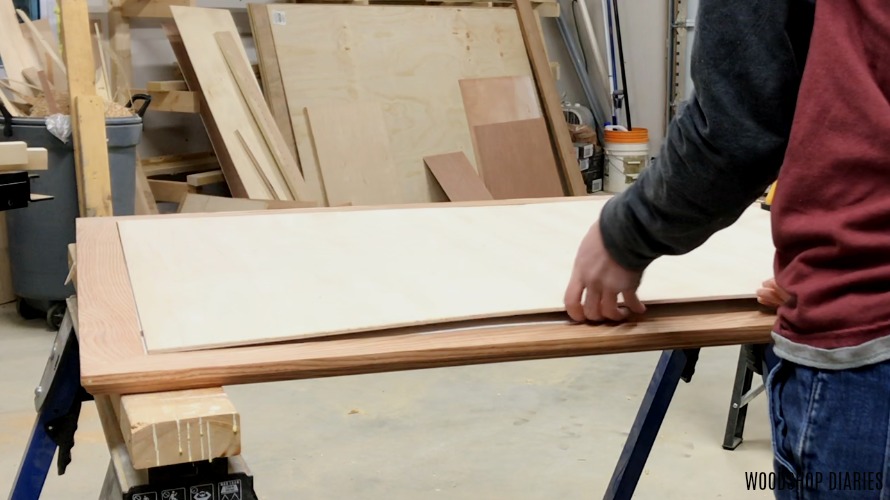
Once I had the glass, I placed it into the groove, then I placed the mat and print in, then cut a piece of ¼″ plywood I had in the shop to fit in the groove. If you don’t have plywood for this, some good, stiff cardboard works, too.
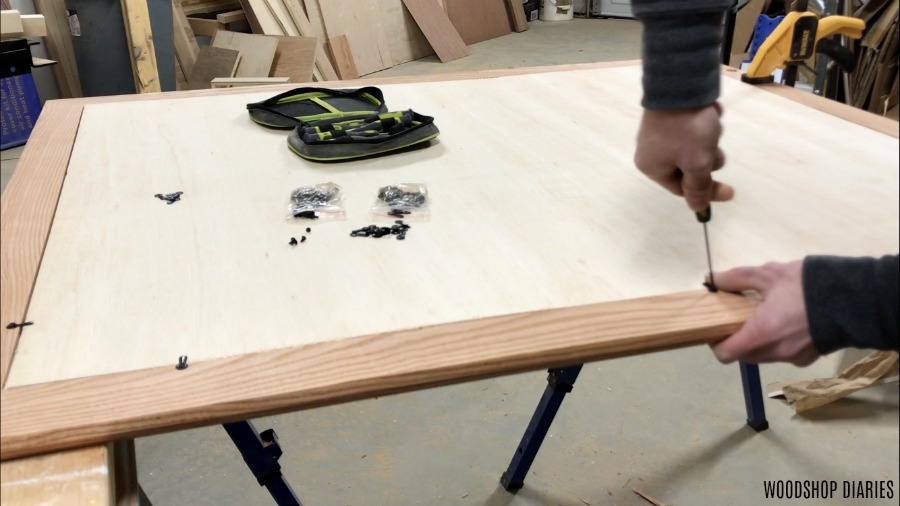
Finally, I attached these (I’m not sure what they are called) “twisy picture frame holder thingies” around the edge of the back side of the frame so that they hold the picture and backer in place.
Now all that’s left is to hang the frame. If I had a keyway router bit, I would have loved to use it here, but I don’t have one.
.
So instead, Dad had two small eye screws and some metal frame hanging twine. We put one eye screw in each side of the frame and tied the twine between the two to hang.
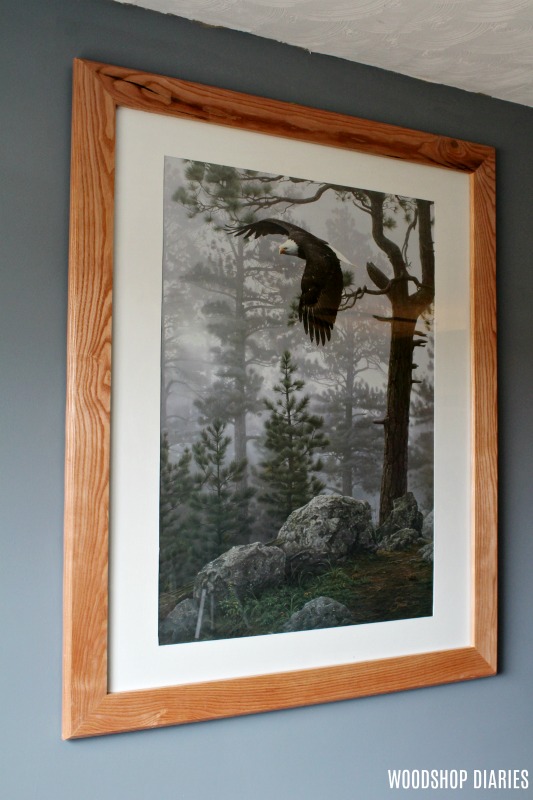
I really like the look of the decorative edge and the mitered corners.
Making custom picture frames is really a fairly simple project once you get your measurements figured out and it could save you HUNDREDS of dollars vs buying a custom built frame.
.
The process is the same no matter how wide you choose to make your frame or your mat or the size of your picture, so it’s really easy to customize however you want if you can do a little basic math.
.
So if you are ready to get building, or you want to save it for later, don’t forget to pin this post!
Until next time, happy building! 🙂