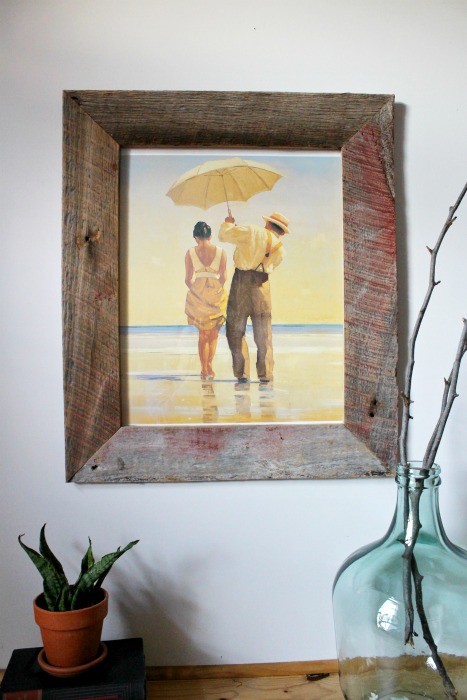
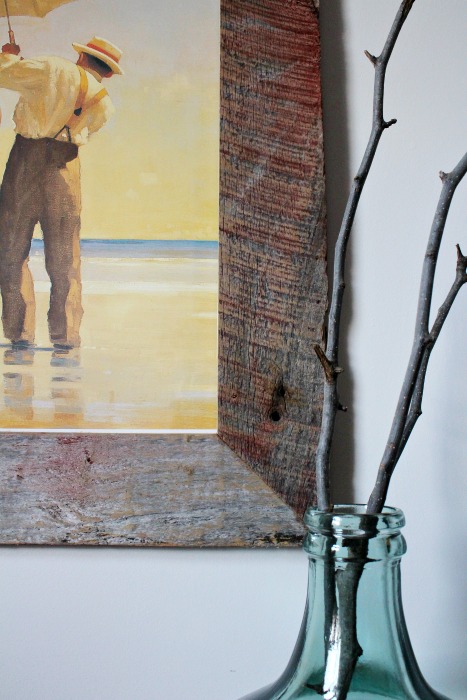
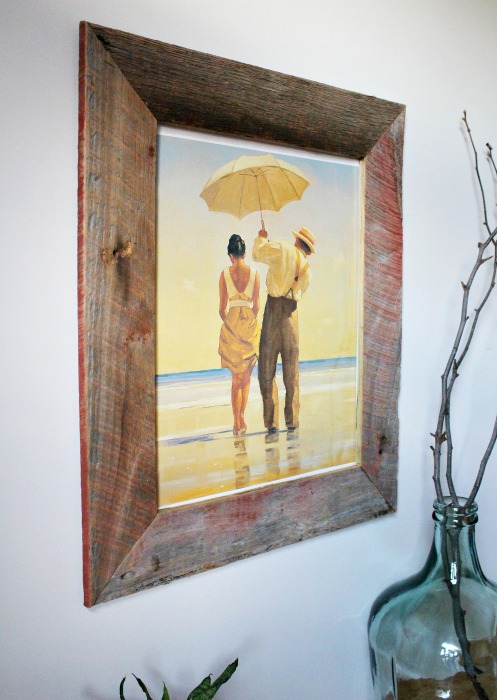
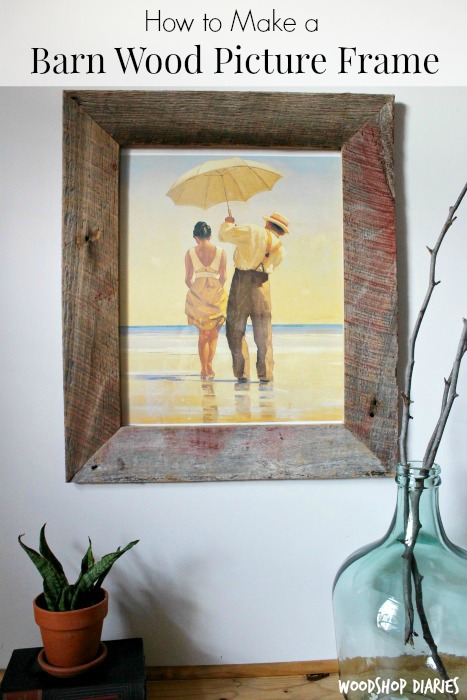
If you have watched HGTV, have been on Pinterest, or walked around any home decor store anytime in the last few years, you know that reclaimed wood is all the rage. I don’t do a lot of projects with it, though, because it’s hard to find any around here. So when a friend of mine told me his family was tearing down one of their old tobacco barns and his mom wanted me to make her some barn wood picture frames from it, I was pumped!
.
On a related note, I also made a table and bench from that old wood and it turned out AWESOME, and I’ll be sharing that with you soon 🙂 But in the mean time, I’ll share the how to for these frames:
Also, if you don’t have access to any real barn wood, these frames would look just as pretty using some old pallet wood, too!
.
Oh, and in case you were wondering, the barn wood from an old tobacco barn smells very interesting. It’s an odd combination of dirt, tobacco burning, and whatever wood you are using…in my case, these were oak and poplar boards. I totally recommend trying out the smell at least once. It’s not exactly something you would want to make a candle of, but it’s an interesting experience HA!
.
So, I’ve got the whole how to for you over on Pretty Handy Girl today, but first, I want to give you a few tips about the clamp and glue that I used in the build.
.
This post contains affiliate links. Please see disclosure policy for details.
.
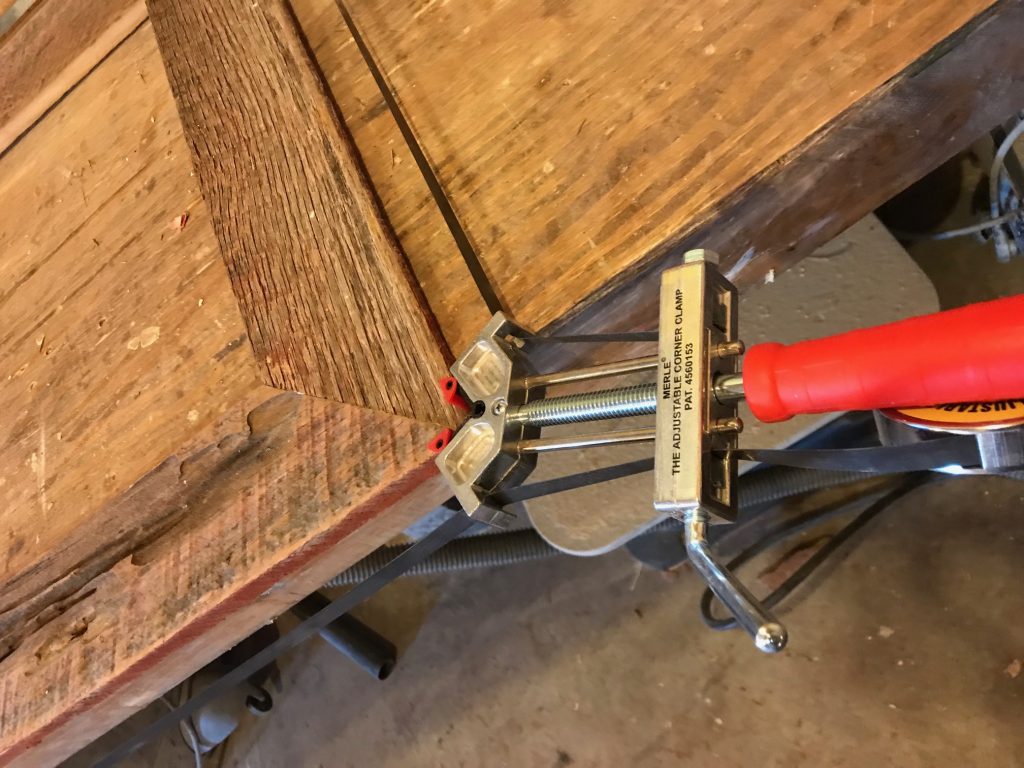
I put the frame together using mostly wood glue. Because of this, I wanted to make sure I clamped my corners really well so the glue would dry nice and tight. I used this corner clamp to help with this. Danny bought me this for my birthday and it’s designed specifically for this type of application and clamps all the corners with even pressure. I highly recommend it!
It would have come in handy when I made my mid century style dresser. It’s perfect for this type of glue up.
.
Speaking of wood glue, I used Gorilla Wood Glue for gluing the wood pieces together. I’ve been using it lately and I really like it because it dries a more natural color that most other glues I have used. Since these old weathered boards had some cracks and was pretty rough, it would have been impossible to sand all the glue off from the squeeze out. So since this dried more of a natural color (instead of bright yellow), you couldn’t tell all the glue wasn’t sanded off 🙂
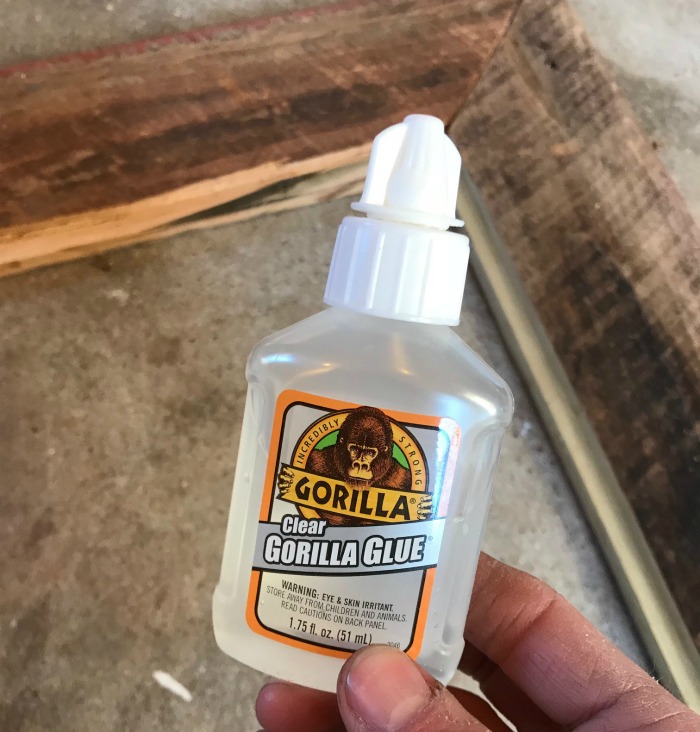
I also used Clear Gorilla Glue to attach glass panels into the frame. I used this stuff in my DIY display console cabinet to attach the glass panels into the doors and it worked great! This glue is nice for gluing glass to wood. It’s strong and dries completely clear.
The build is really easy, especially with these two glues and the corner clamp. You can have it done in no time. So head on over to Pretty Handy Girl’s blog to grab the tutorial and get started :).
And even if you don’t like the rough wood look, the tutorial would work for fresh, new wood, too 🙂
I can’t wait to show you the barn wood table I made soon, too, so stay tuned!!
.
In the mean time, I would love it if you’d pin this for later 🙂
Until next time, happy building 🙂



You just rock, that’s all I have to say. ??
Thank you so much! 🙂 You’re too sweet