
If you’ve been following along for very long, you may remember that I’ve already built a DIY Mid Century Dresser once before. But, don’t run off just yet. It wasn’t anything like this one I’m showing you now.
Nope, for this one, I went a little bit further and wanted to be as authentic and realistic as I could.
.
Have you ever looked at a dresser from places like West Elm? They’ve got some extra details that maybe you’ve noticed, or maybe you haven’t. But those details make the piece. I’ve stayed away from trying those details for fear of screwing up and wasting wood. (Remember…I’m cheap.) But for this particular piece, it needed those details or it was just going to be one super plain looking dresser.
 .So, I took on a couple new challenges and learned a few things along the way, and ended up with a really fun looking DIY Mid Century Dresser that I’m really excited to show you 🙂
For this build, I learned a new technique for making a criss cross base with round legs, tried out a new way of gluing up mitered corners on cabinets, and I also tried out a new design for the front edges of the cabinet carcass.
.
If you are ready to take on a few new challenges, too, let’s get started.
.
This post contains affiliate links. Please see disclosure policy for details.
.
For this DIY Mid Century Dresser build, you will need:
(2) sheets ¾″ birch plywood
(1) sheet ¼″ plywood
1 ½″ dowel rod
(2) 1x3x8 boards
(3) sets 20″ ball bearing drawer slides
Clamps
Tape Measure
.
Step 1: Cut Cabinet Sides for DIY Mid Century Dresser
To give the dresser a little more detail, I set my circular saw blade to a 45 degree angle and ripped 2 strips of ¾″ plywood about 22″ wide–each with one side cut with a 45 degree angle and one side flat–so cut one strip off each side of the plywood.
.
Keeping the saw blade beveled, from these strips, I cut two sides 40″ long with beveled ends (45 degrees still) not parallel to each other. Then, cut two sides 33″ long with beveled ends not parallel to each other.
.
Before moving on to assembly, use the 1″ edge banding to cover the edges of the cabinet sides that face the front. These should all be angled 45 degrees. To give you a better visual (because I’m the worst and forgot to take more pictures of this), imagine you are piecing the cabinet sides together with the mitered corners and all the front edges angle into the middle of the cabinet. You want to edge band these front edges that angle into the cabinet.
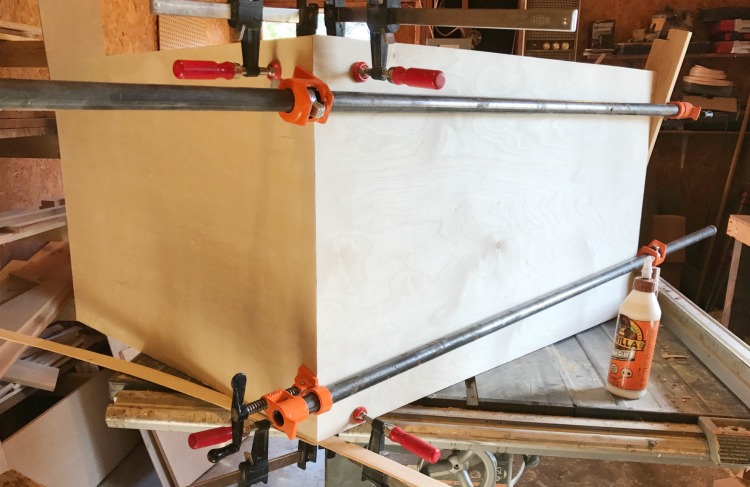
Step 2: Glue Up the Cabinet Carcass
I wrote a whole post about this process over on the Sawdust Girl website. You can check it out here. But, basically, you glue up the mitered corners to create your cabinet carcass. Notice that the front edges are mitered into the cabinet 45 degrees.
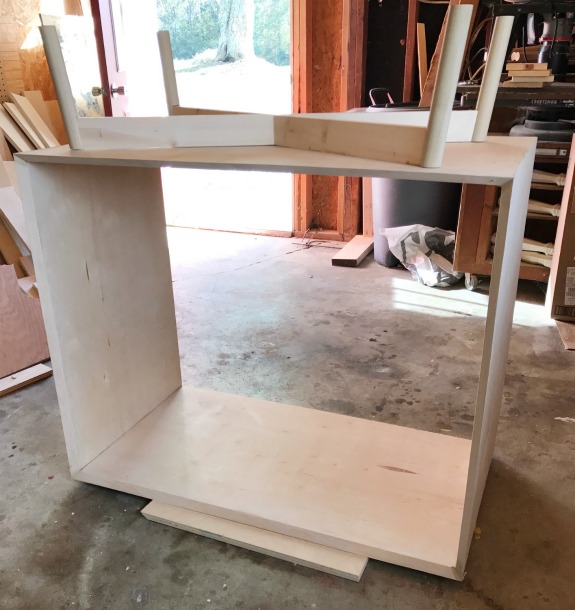
Step 3: Add the DIY Mid Century Dresser Base
You can see the mid century style dresser base in the picture above. That’s the next step in the process here. This base isn’t hard to too, but requires some explanation. So I wrote a detailed post about how to build a DIY mid century dresser base here.

Once you’ve made the base, flip your cabinet carcass upside down and place the base on the bottom like shown above at the end of step 2. Add some wood glue to the base and center it on the cabinet. Using 1 ¼″ wood screws, screw the base on through the bottom side of the cabinet like shown. Notice again the 45 degree angle and edge banding on the front side.

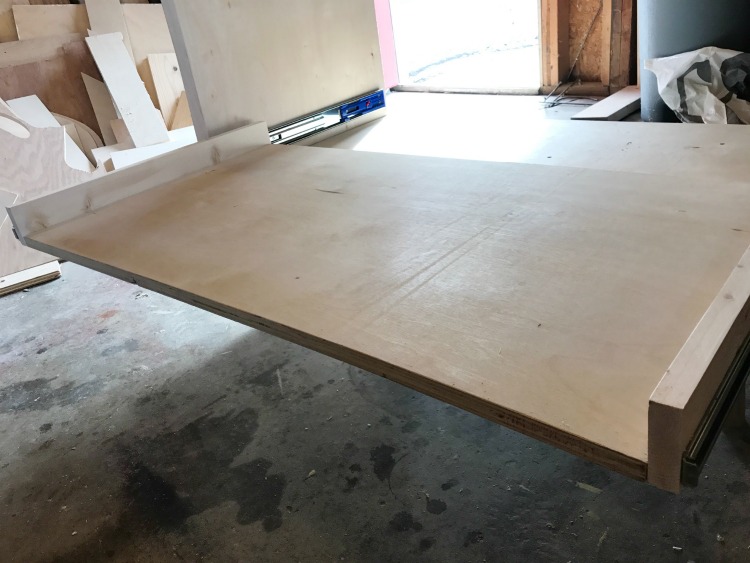
Step 4: Add Drawers to DIY Mid Century Dresser
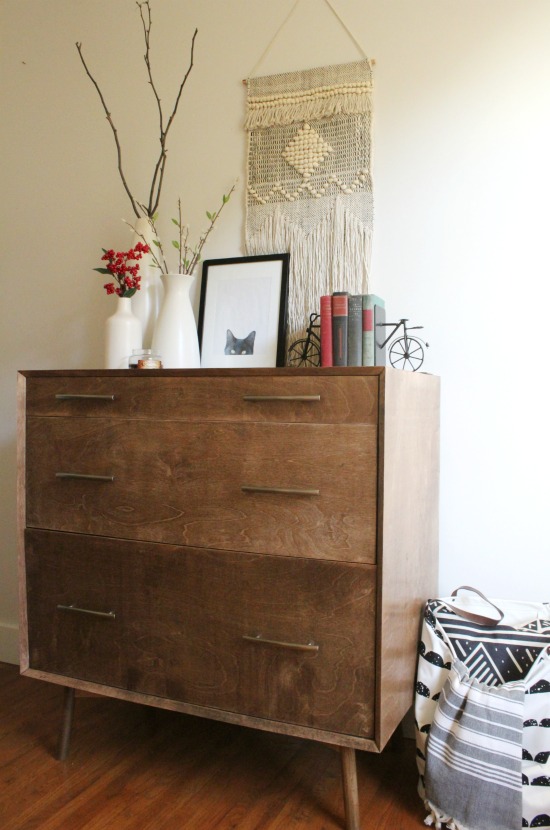
For this particular dresser, I made the bottom shelf large for a printer, the middle drawer large enough to file papers, and the top drawer small for odds and ends. You can make your drawers whatever size you want. Depending on the size you choose, you can lay out your drawer slides differently. But attach them at this point.

I forgot to take a picture until after I had already attached the first “drawer.” Ignore that 😉 By the way, make sure you attach the slides ¾″ from the front edge to leave room for the drawer front to still be inset.
.
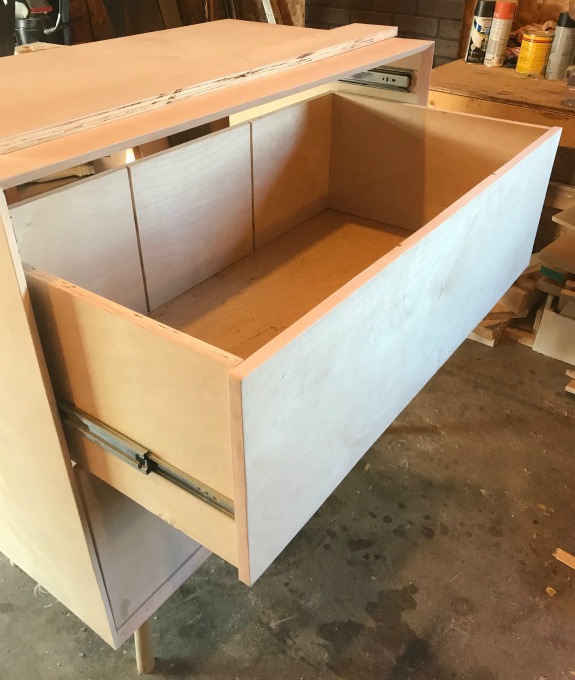
To make your drawers, check out this post here on how I build drawers. I made the top two drawers like the post, but for this bottom drawer, I wanted a pull out shelf for a printer. So I used my pocket hole jig to drill pocket holes into the sides of the 20″x36″ plywood bottom and used 1 ¼″ pocket hole screws to attach the 20″ long 1×3 sides. I also drilled pocket holes along the bottom front of the shelf to attach the drawer front. When I had the shelf installed, I cut the drawer front and attached using these pocket holes, pocket hole screws, and wood glue.
Once you build your other two drawers, install these as well. If you want to use your middle drawer for files like I did, you can use a router or table saw to cut small grooves (dados) to slide in some ¼″ plywood dividers.
For a cleaner look, use ¾″ edge banding around the drawer fronts to cover the plywood edges.
Step 5: Add Backing to Dresser
Cut a ¼″ piece of plywood 40″x33″ and nail or staple onto the back.
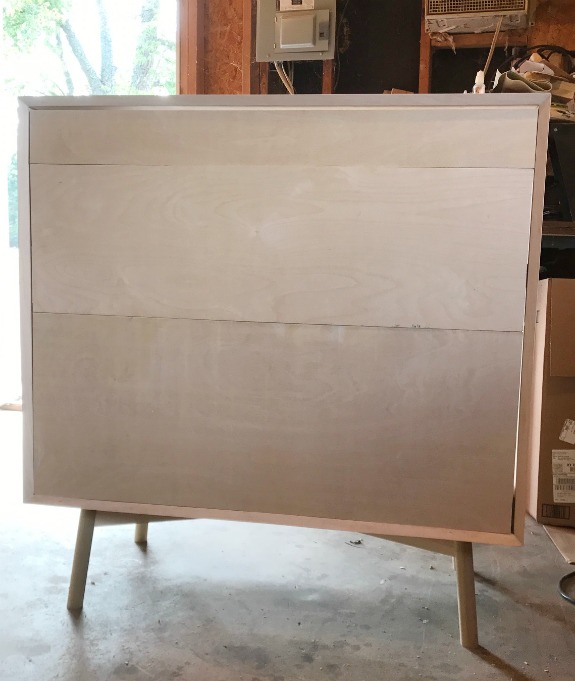
Step 6: Finish your DIY Mid Century Dresser
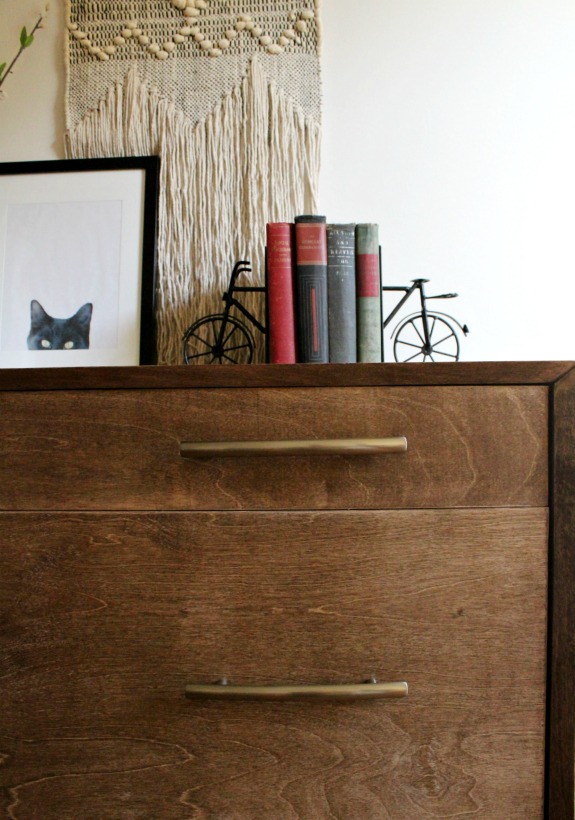
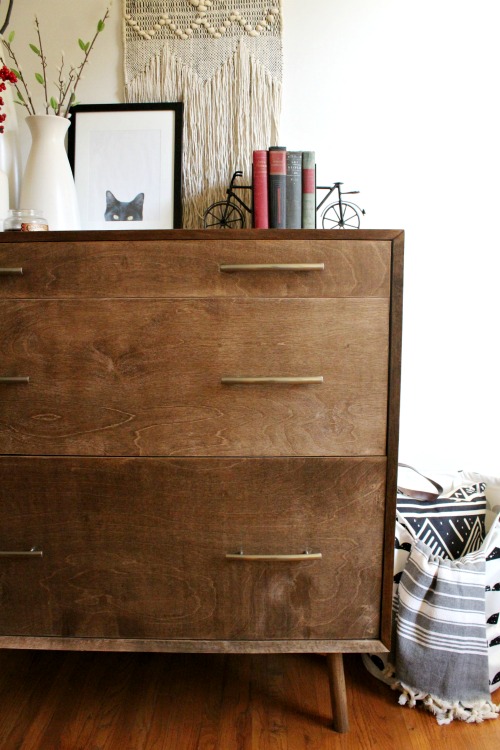
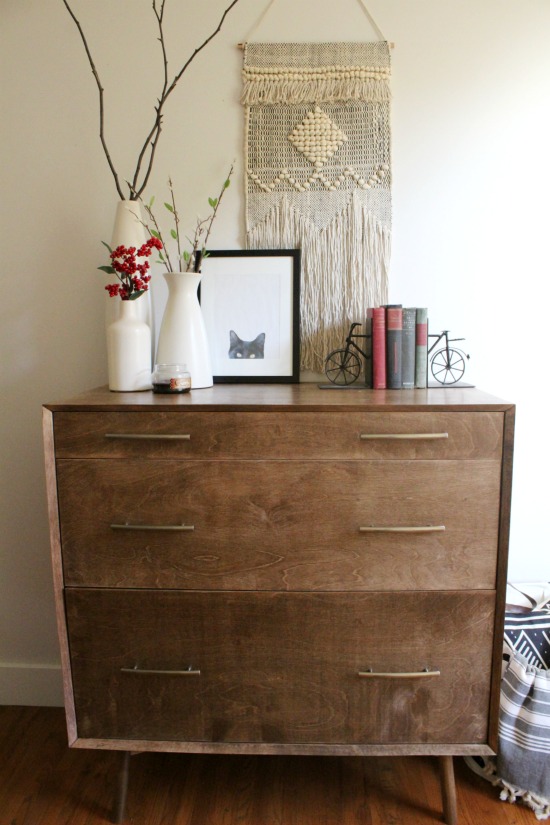
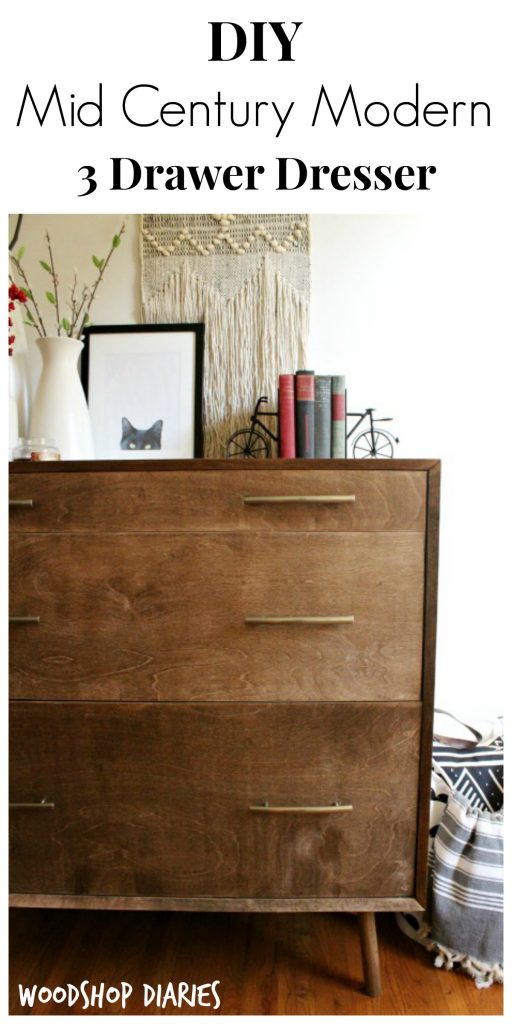
All that’s left is to finish the dresser now. To give it that nice modern look, I stained it in Minwax Special Walnut wood stain and polyed in Minwax Polycrylic. Then I added these long modern drawer pulls I found at The Home Depot.
.
And it’s done!
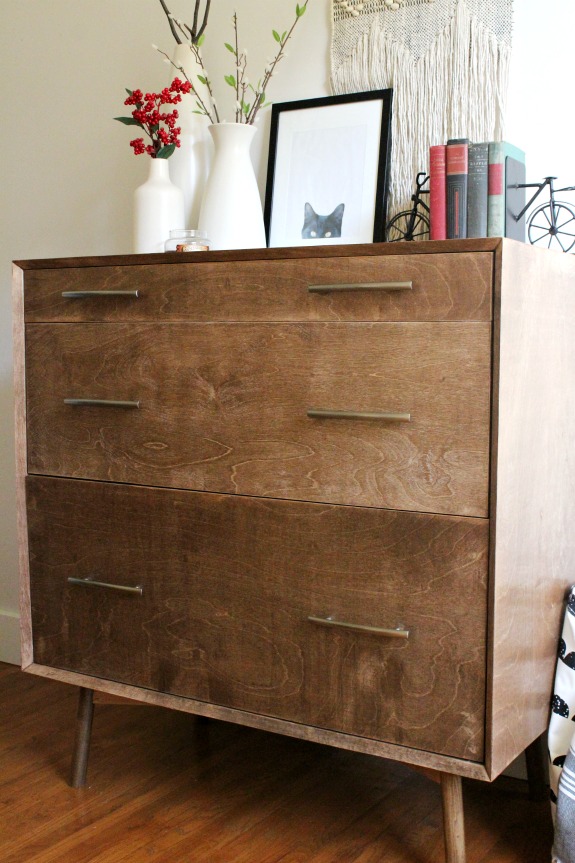
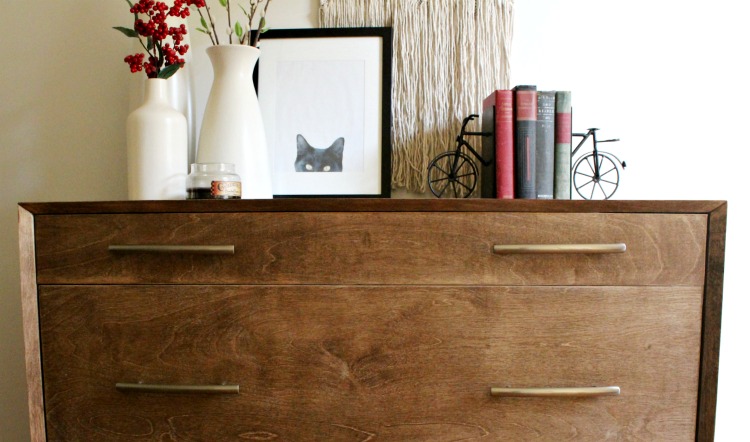
 What do you think of the details? I really think the mitered front edges and the mitered corners make the piece look extra cool. It’s a little extra work, but totally doable.
Let me know what you think in the comments below!! And I would also LOVE it if you’d pin for later 🙂
Stay tuned for lots more awesome furniture builds coming soon!
.
Until next time, happy building! 🙂

Anthony says
This looks great. I’m saving so I can try it. The plywood stained very well. Did you use pre-stain conditioner before staining?
Shara, Woodshop Diaries says
Thank you! No I don’t use prestain before staining. I stain right onto the plywood. I’ve had good results even without prestain, although prestain is usually recommended. This birch stains pretty evenly 🙂
Kristin says
WOW, just WOW!
Shara, Woodshop Diaries says
Thank you friend!