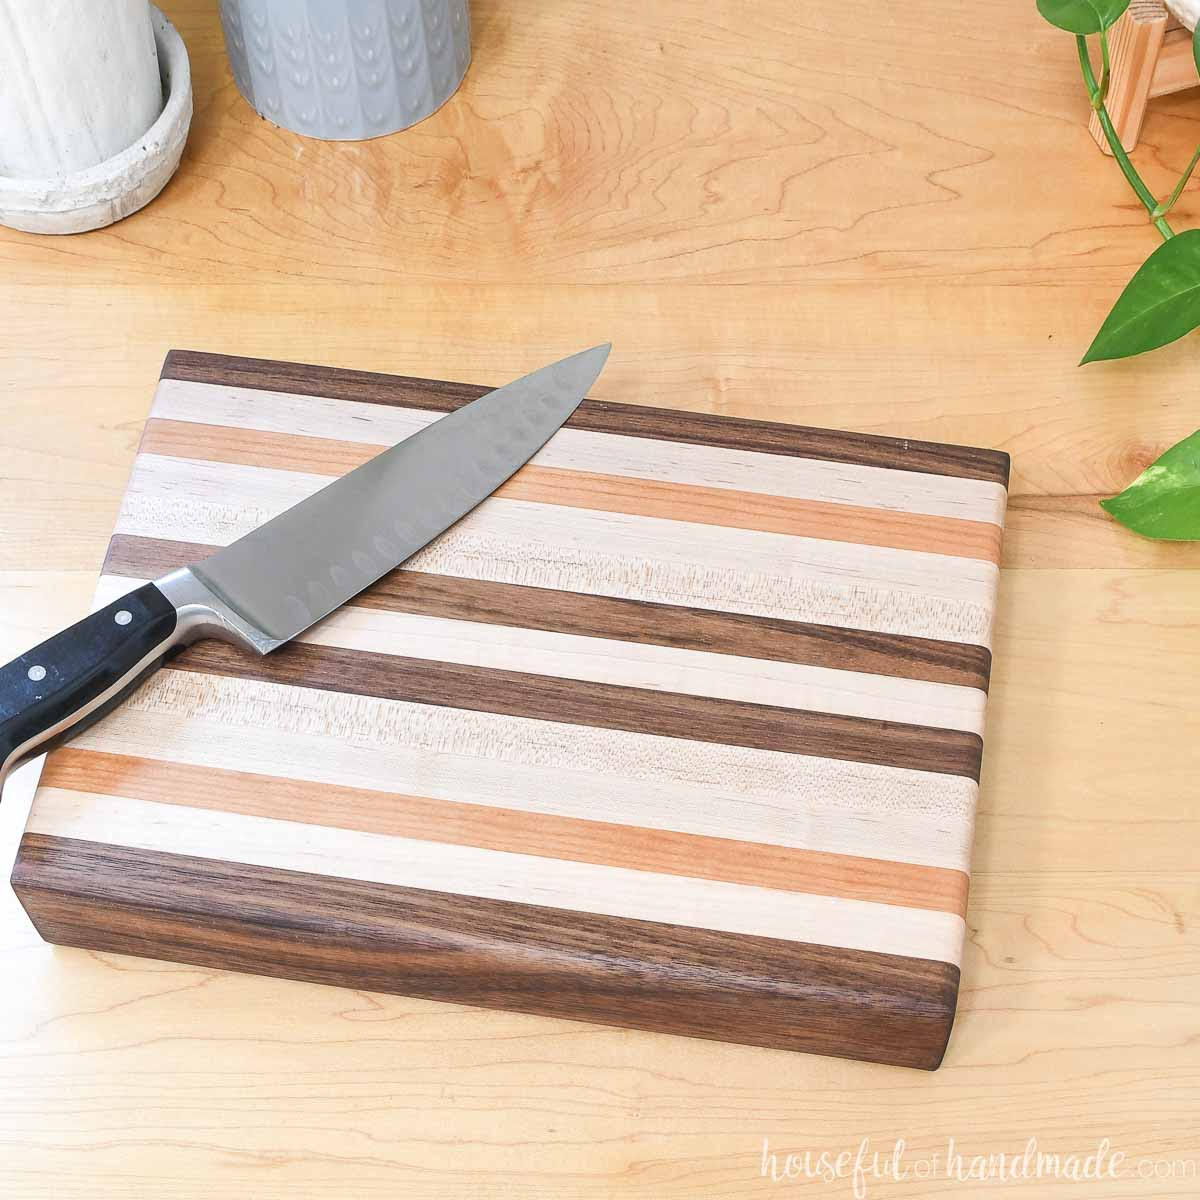
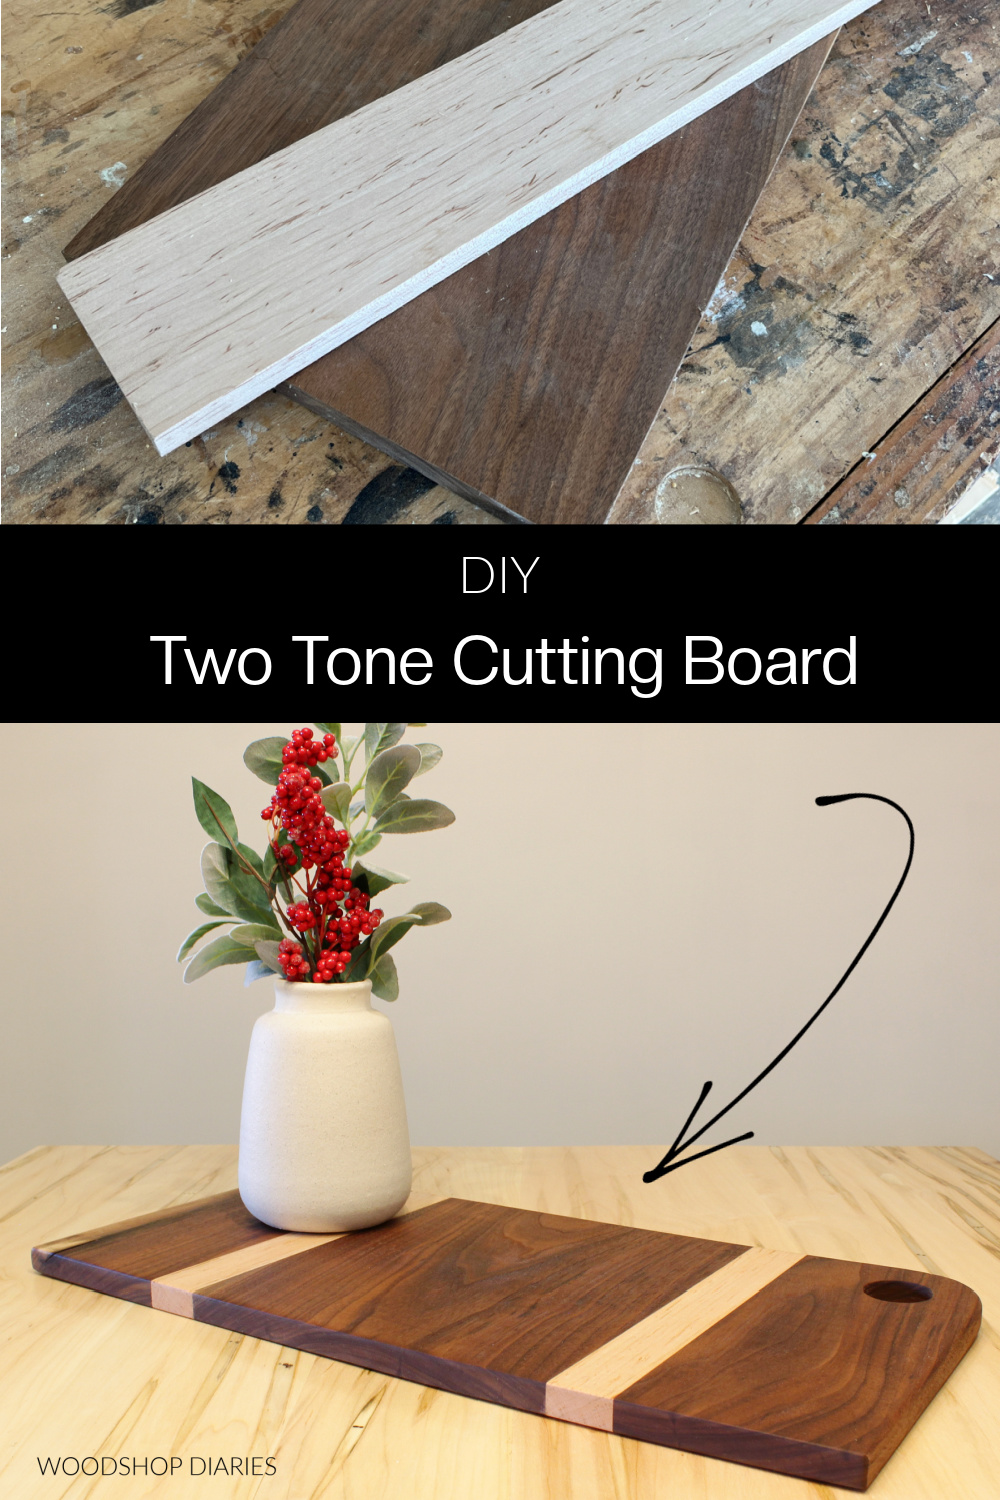
In this post, I’m sharing how to make a simple DIY wooden cutting board with two different color woods!
This makes the perfect serving or charcuterie board, too!
Making a basic wooden cutting or serving board is one of the most common beginner projects.
But even “advanced” woodworkers still enjoy making them. They’re just one of those projects that never get old and never go out of style.
Making a DIY wooden cutting board requires few tools and not a lot of lumber.
It’s easy to customize the size and color and wood type when making one.
And you can keep it as simple or as “complex” as you’d like by adding (or not adding) decorative edging, cutting unique shapes, or cutting handles/holes.
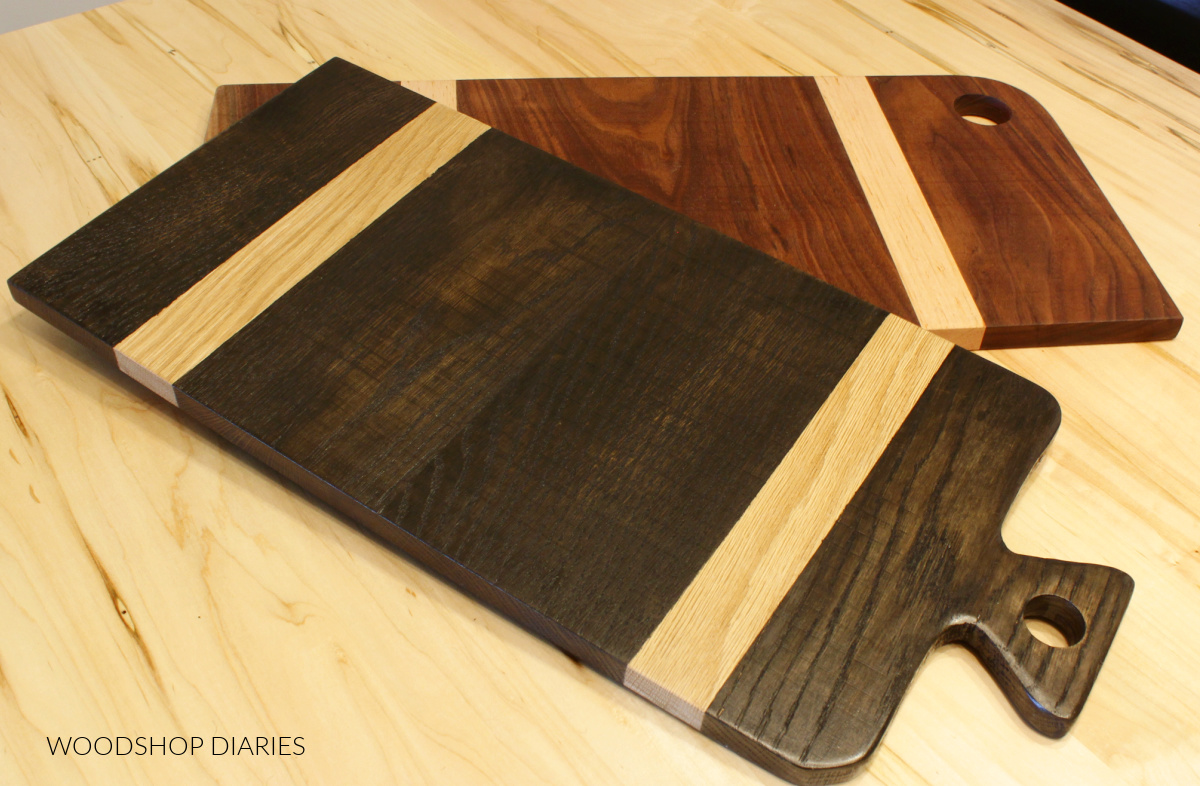
In this post, I’m sharing how I made two similar, but slightly different boards.
Tools & Materials:
*This post contains affiliate links. See website policies.
Tools:
- Miter Saw OR Circular Saw (to cut boards to length)
- Table Saw (optional–only if you need to rip boards to different widths)
- Jig Saw (optional–only if you want to cut a shape or design on the board)
- Drill and Forstner Bits (if you want to make a hole)
- Sander
- Clamps
Materials:
- Hardwood of your choice–scraps are a great option!
- Wood Glue
- Wood Finish (see notes below)
What to Know Before Making a Cutting Board
While making a DIY wooden cutting board or charcuterie serving board is a basic project, there are some things to consider before diving in.
Cutting Board Material Options
Typically for cutting or serving boards, hardwoods are recommended.
This is because most hardwoods have a tighter grain pattern and are harder to dent or damage than softwoods, like pine.
This makes them harder to scratch and less likely to absorb and harbor bacteria.
However, not all hardwoods are a great option. Some woods are toxic and not considered food safe.
Some commonly used hardwoods for cutting and serving boards are maple, cherry, walnut, and teak.
However, if you’re making a “cutting board” for decoration and don’t actually plan to use it in direct contact with food, feel free to branch out and use other materials as well.
Cutting Board Finish Options
If you plan to use your cutting board in a way that it will come in direct contact with food–like for cutting–it’s important to use a food safe finish.
There are tons of options for cutting board oils, butters, and waxes that are food safe. I like Walrus Oil, personally.
However, if you’re just planning to use your board for decoration or serving where food won’t be cut, feel free to branch out with your finish options if you’d like.
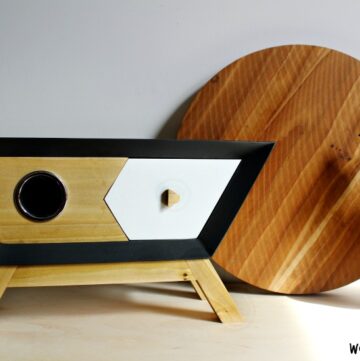
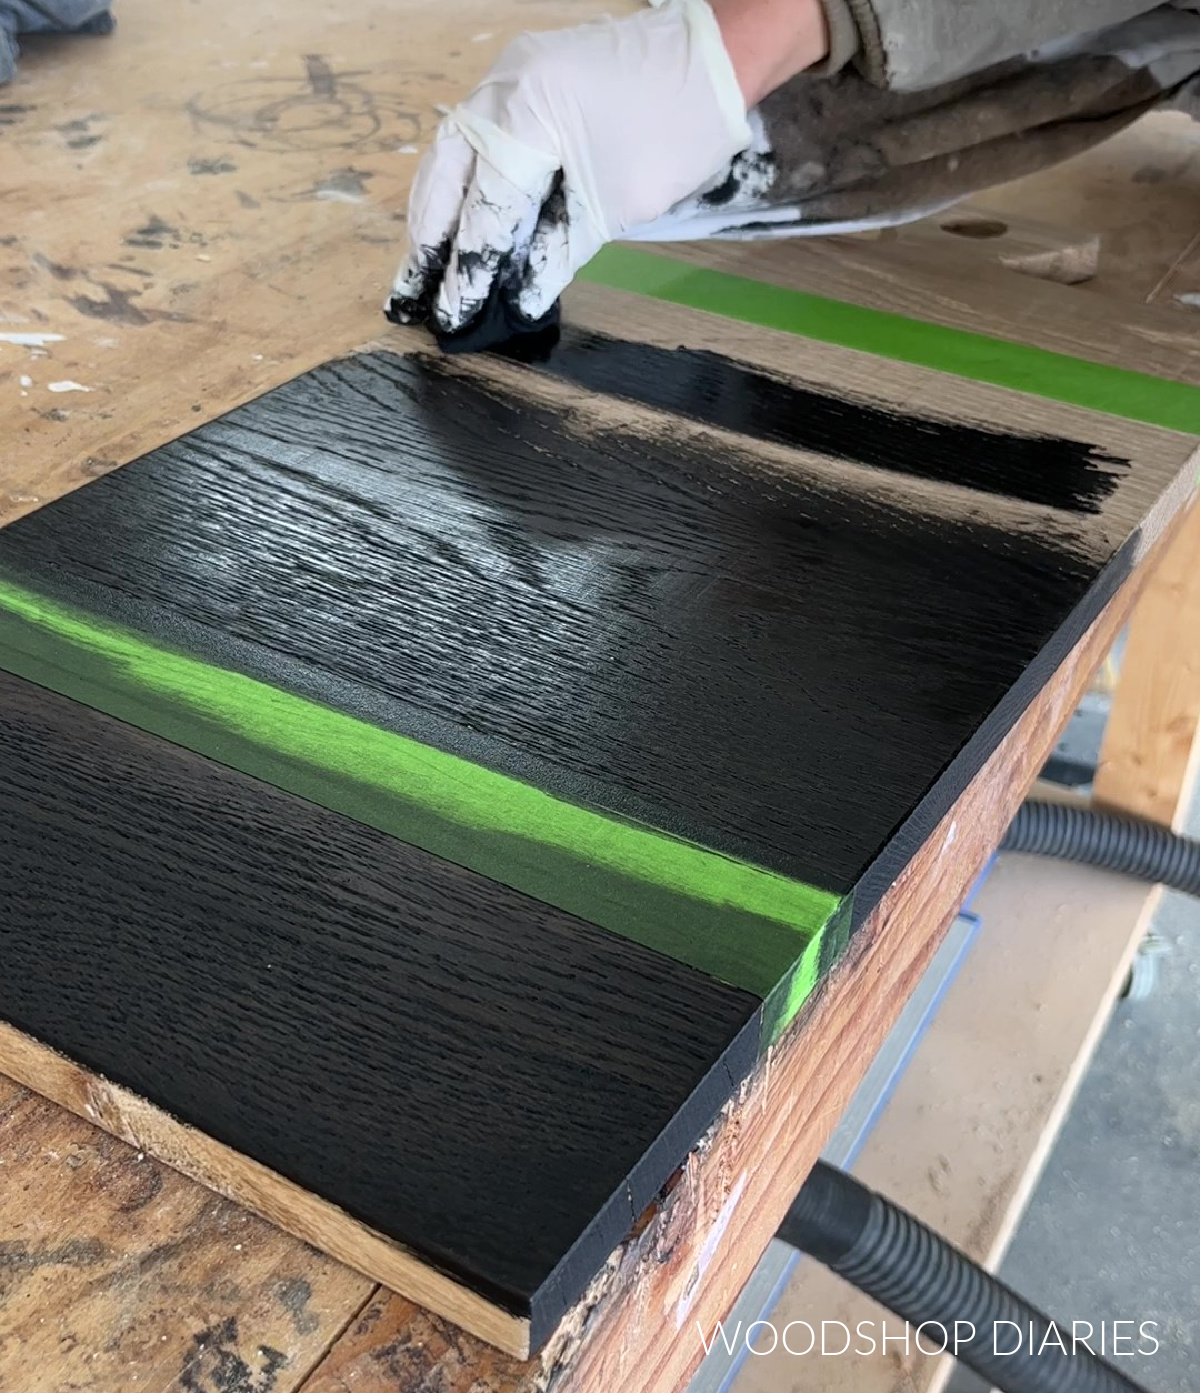
For example, in this post, the black and wood board is actually white oak that I stained black with wood stain. The stain itself isn’t food safe.
However, I applied a clear poly to it, and once that’s cured, it’s okay to serve from (like the surface of a dining table).
NOTE: Check that the specific clear coat you plan to use is food safe once cured–not all clear coats are made the same.
But, even though the surface is fine to place food on, it’s still not okay to cut on.
Cutting could chip this finish off and cause pieces of it to get into the food.
So, when choosing a finish, it’s important to think about how you will be using the board and choose an appropriate finish.
Size and Style
As far as size and style, you can make your cutting board however you’d like.
Make it small, make it huge, add a handle, round the edges. Get as creative as possible.
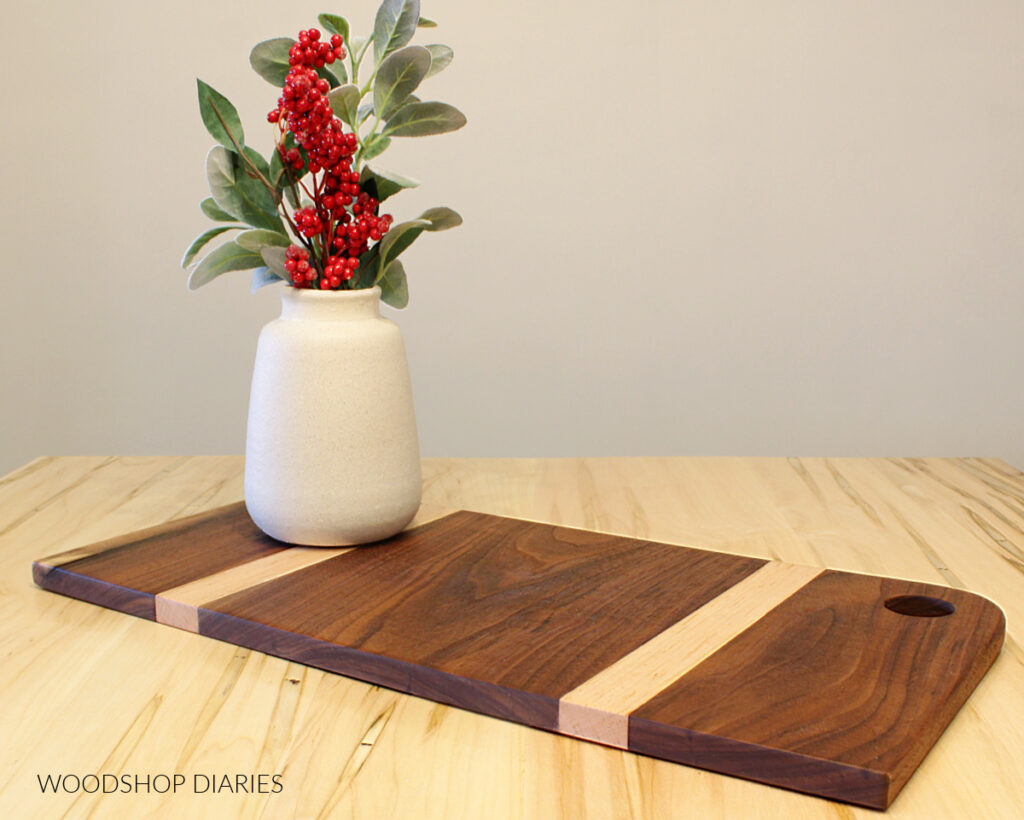
For one of my boards, I simple rounded one corner and added a hole. For the other, I used a jig saw to cut a handle shape.
There’s not right or wrong here. That’s the beauty of making a cutting board–you can flex your creative muscles.
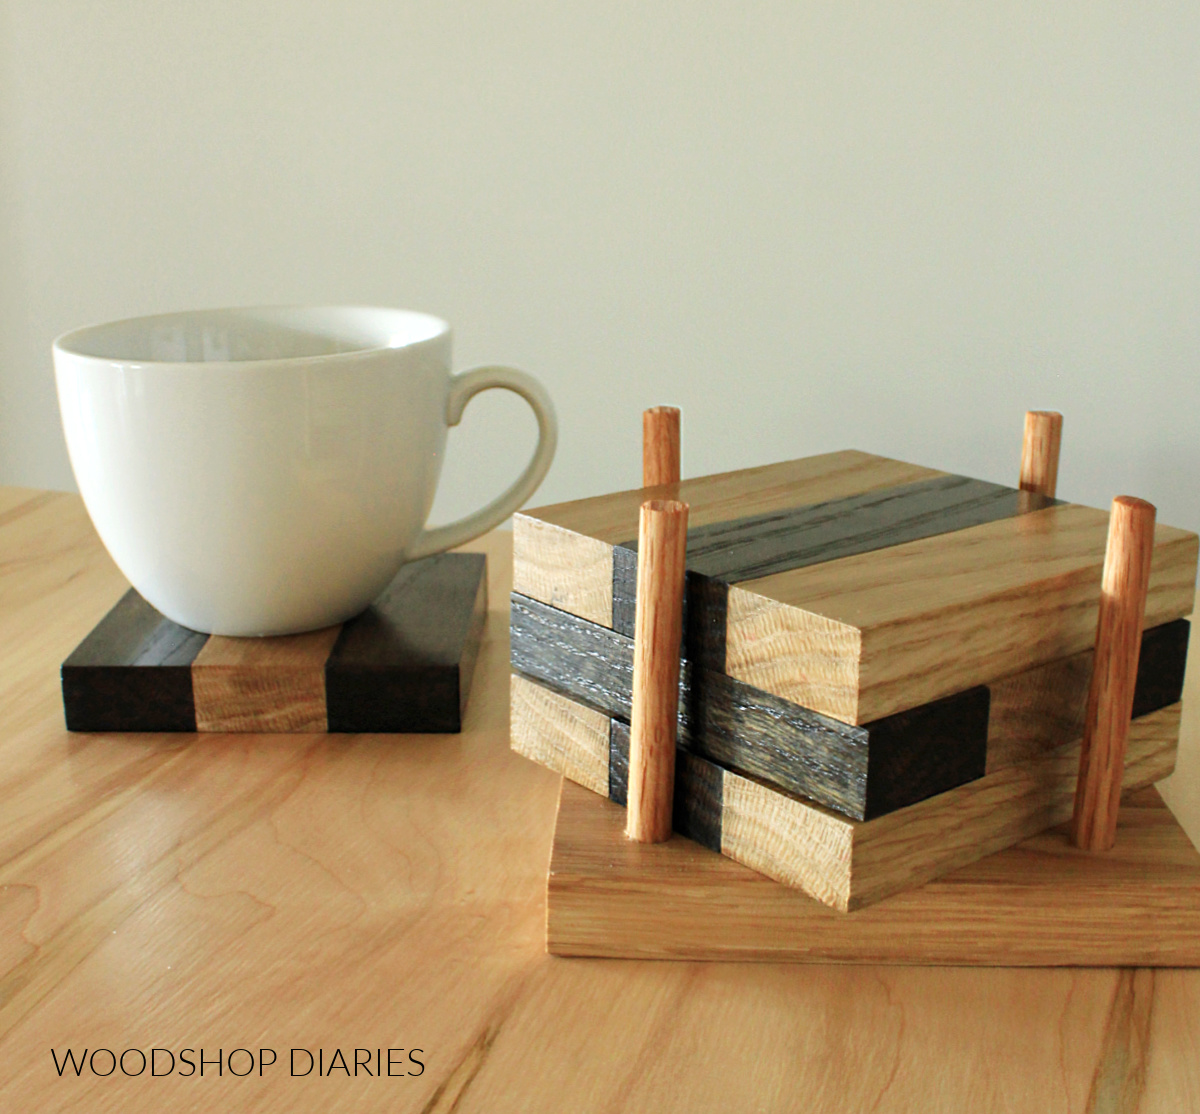
RELATED: Check out this fun X design cutting board from a few years back!
How to Make a DIY Wooden Cutting Board
Since there are so many options when making a serving board, the below tutorial is general.
I’ll share the basics, but feel free to branch out as needed.
Step 1: Select and Cut Wood to Size
If you’re working with limited tools, it’s best to choose woods with the same thickness so you don’t have to worry about using a planer.
In my case, I stuck with boards that were all ¾″ thick.
Cutting boards are a great way to use up some wood scraps and you can mix and match woods to use up whatever you’ve got.
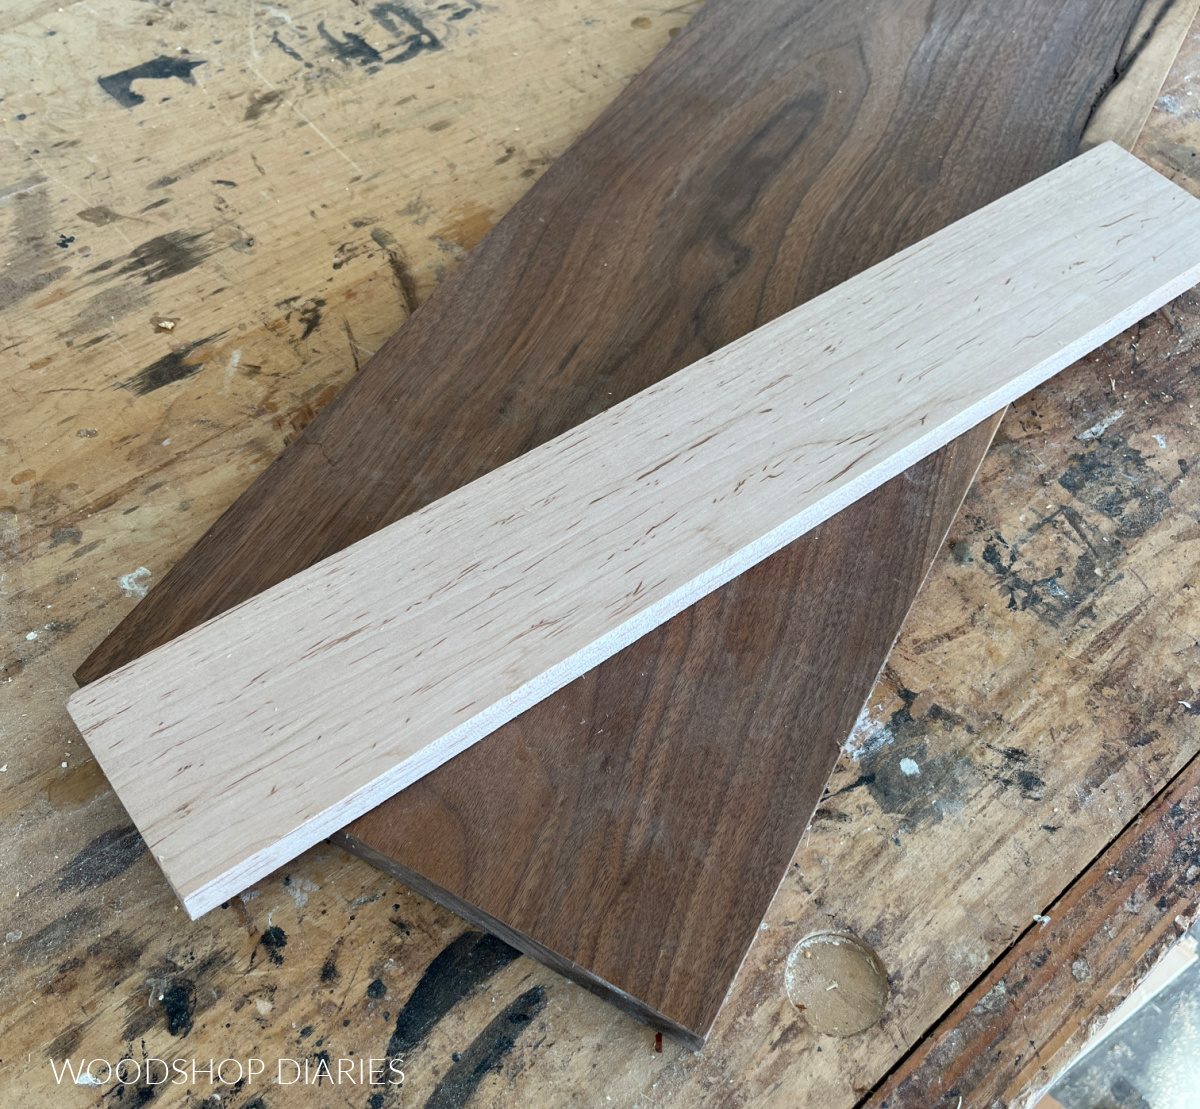
I had some wide walnut boards and a small piece of maple to work with for my first board.
So, I cut down 2 pieces of walnut about 12″ long. Then I used a table saw to rip a 1 ½″ wide strip from my piece of maple and cut two pieces from that to 12″ long as well.
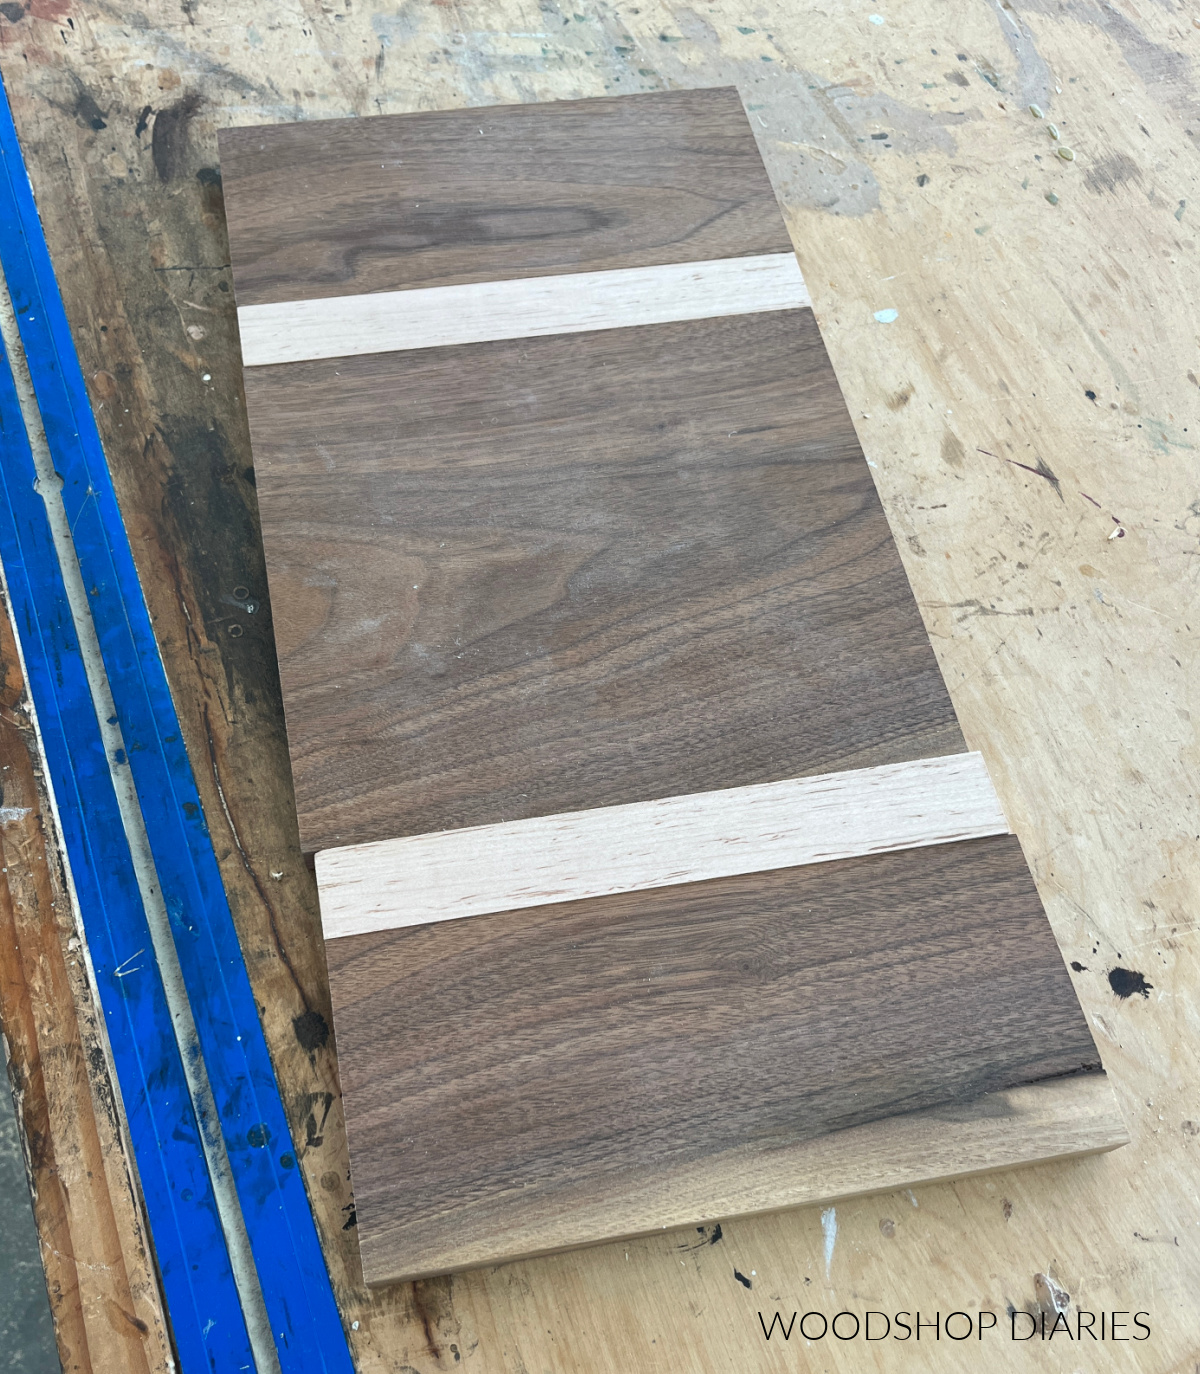
I wanted to alternate the wood colors, so I ripped one of my walnut pieces in half so I could “sandwich” the maple between the walnut.
Feel free to cut your boards however large or small you’d like.
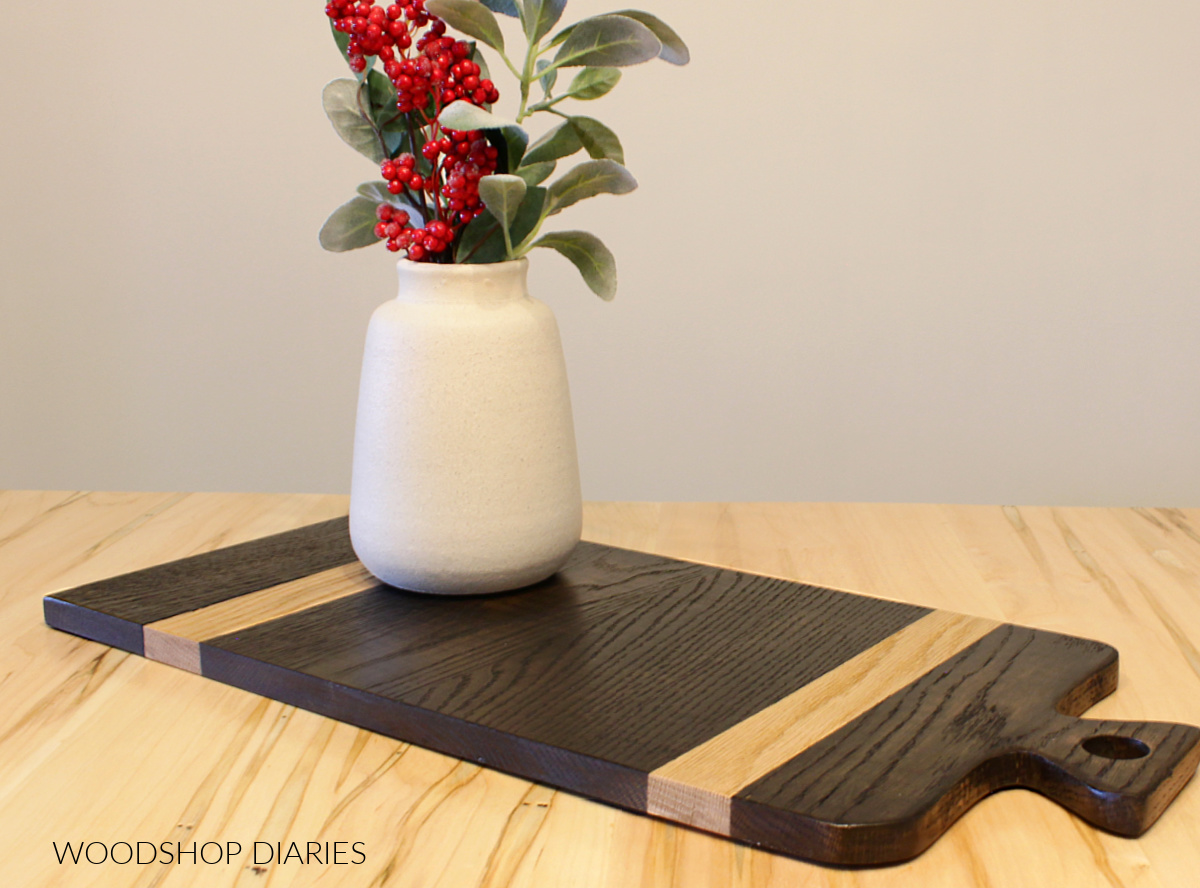
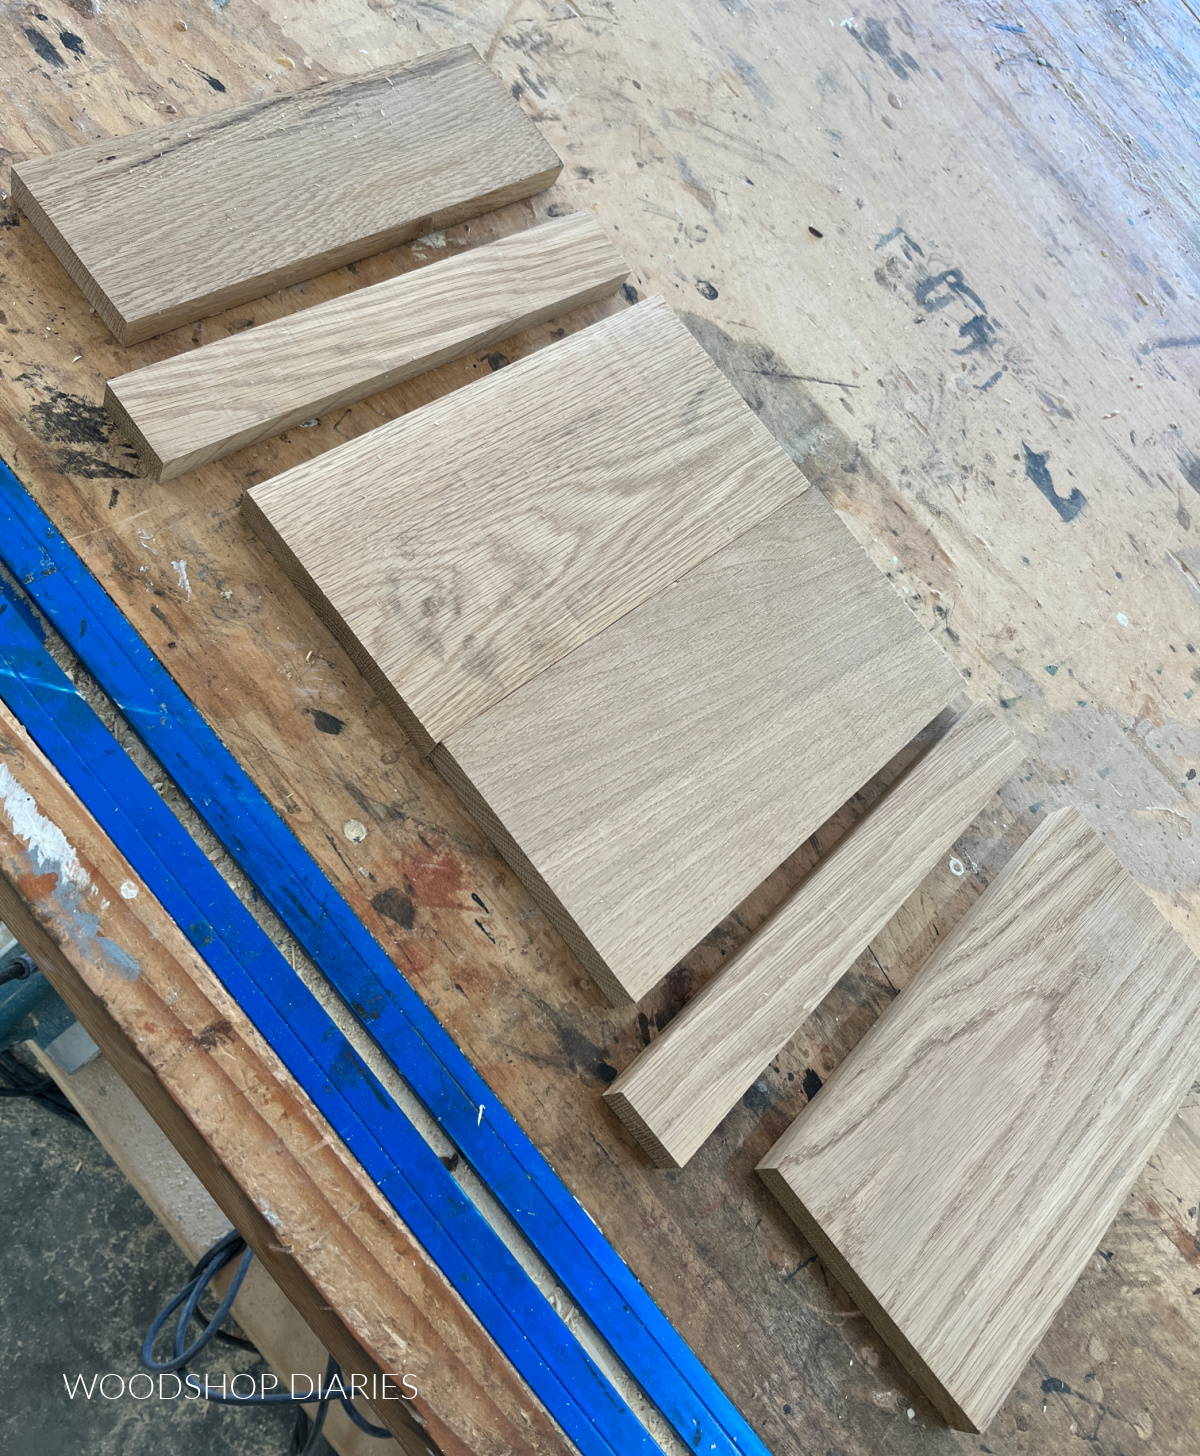
For my second board, I used all white oak, and cut a 1×4, two 1x2s and three 1x6s to piece together like shown below.
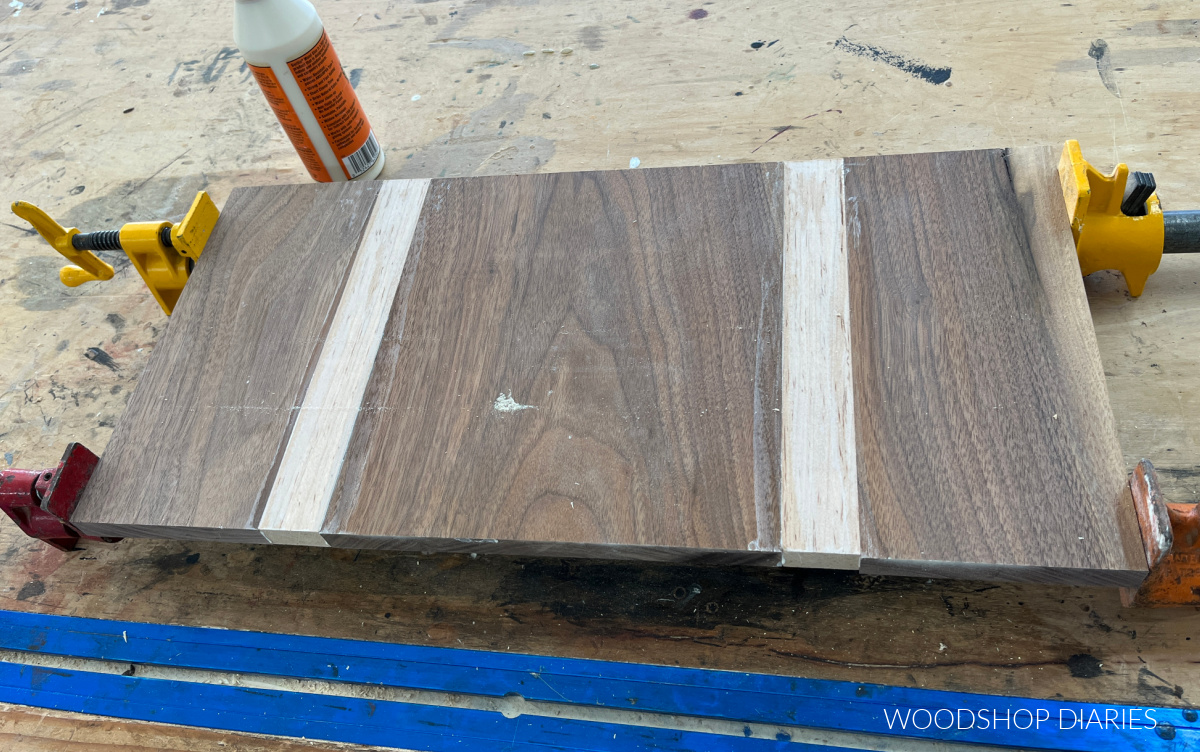
Step 2: Glue Up Cutting Board
Once I had all my pieces cut down, next step was gluing them up.
Glue ups are both simple…and stressful…at the same time.
I like to use pipe clamps, but large bar clamps or even ratchet straps can work just as well.
You’re welcome to add dowels, dominoes or biscuits to these joints, but it’s really not necessary.
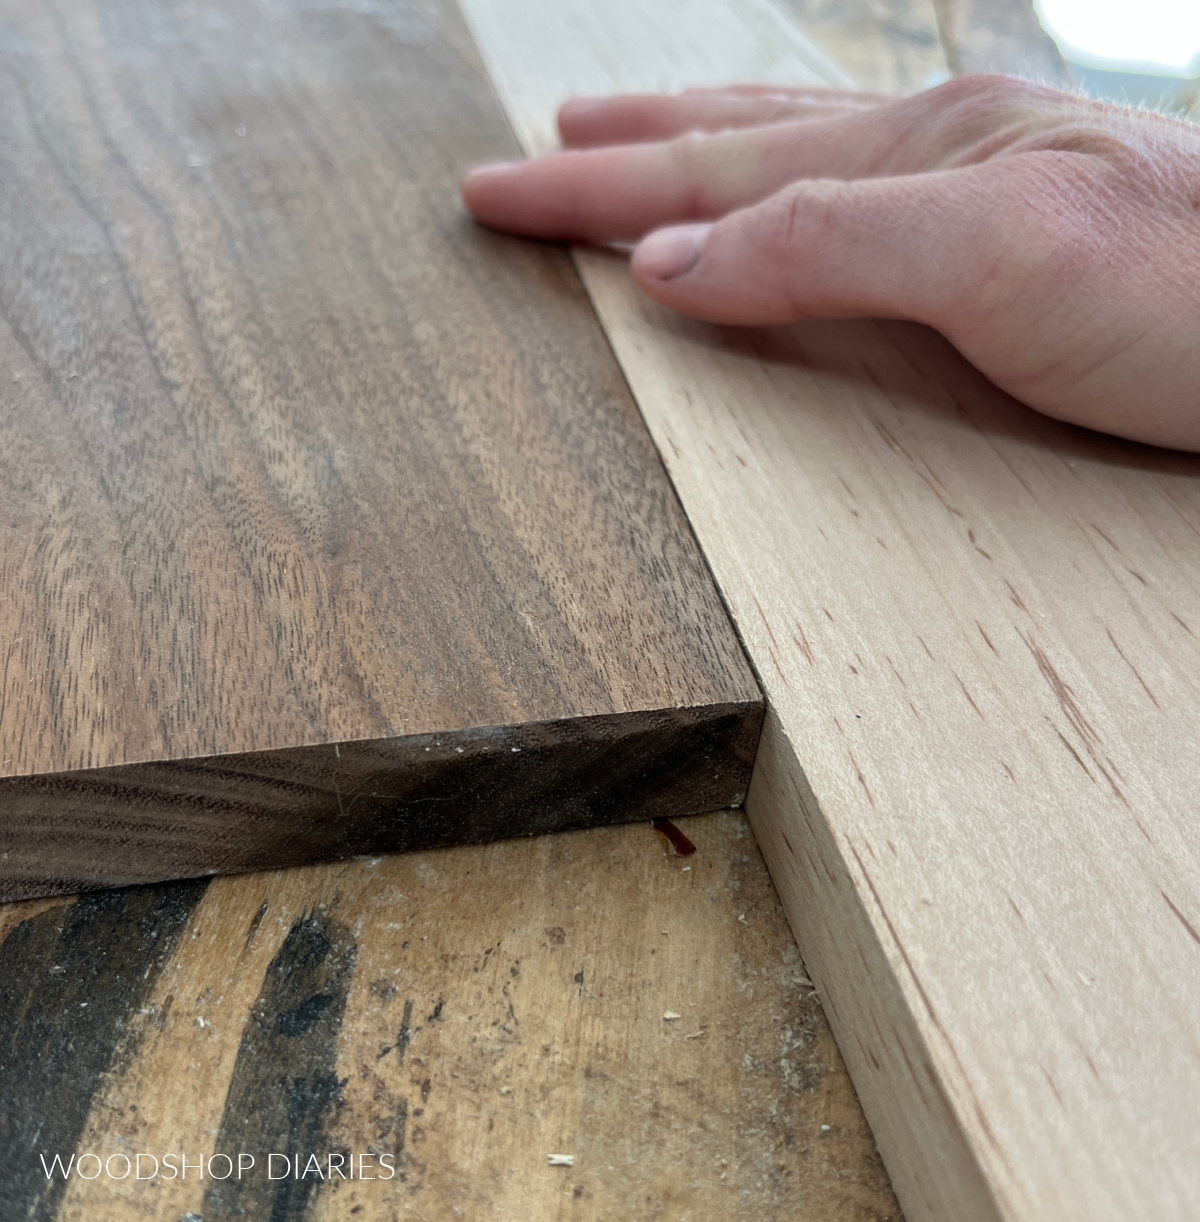
I laid out my pieces on my clamps, applied wood glue to the edges and clamped them together so that they were nice and flat (as flat as possible) across the top.
If you’re working with several pieces, you may find it easier to glue up a few boards at a time instead of all at once.
Once the boards are clamped tight, wipe away excess glue OR let it cure up a little and carefully scrap it off with a chisel or screwdriver.
I did this for both of my boards and allowed the glue to cure for a few hours (check your specific glue for curing times).
Step 3: Sand and Trim
Once the glue was dry, I could sand and trim the edges. You can trim your board down to the size you’d like at this point.
I used a table saw to trim down both sides of my boards so the edges were flush.
You could also use a circular saw and straight edge if you’d rather.
Then, I sanded all the glue residue from both sides of each board using 100 grit sandpaper on my orbital sander.
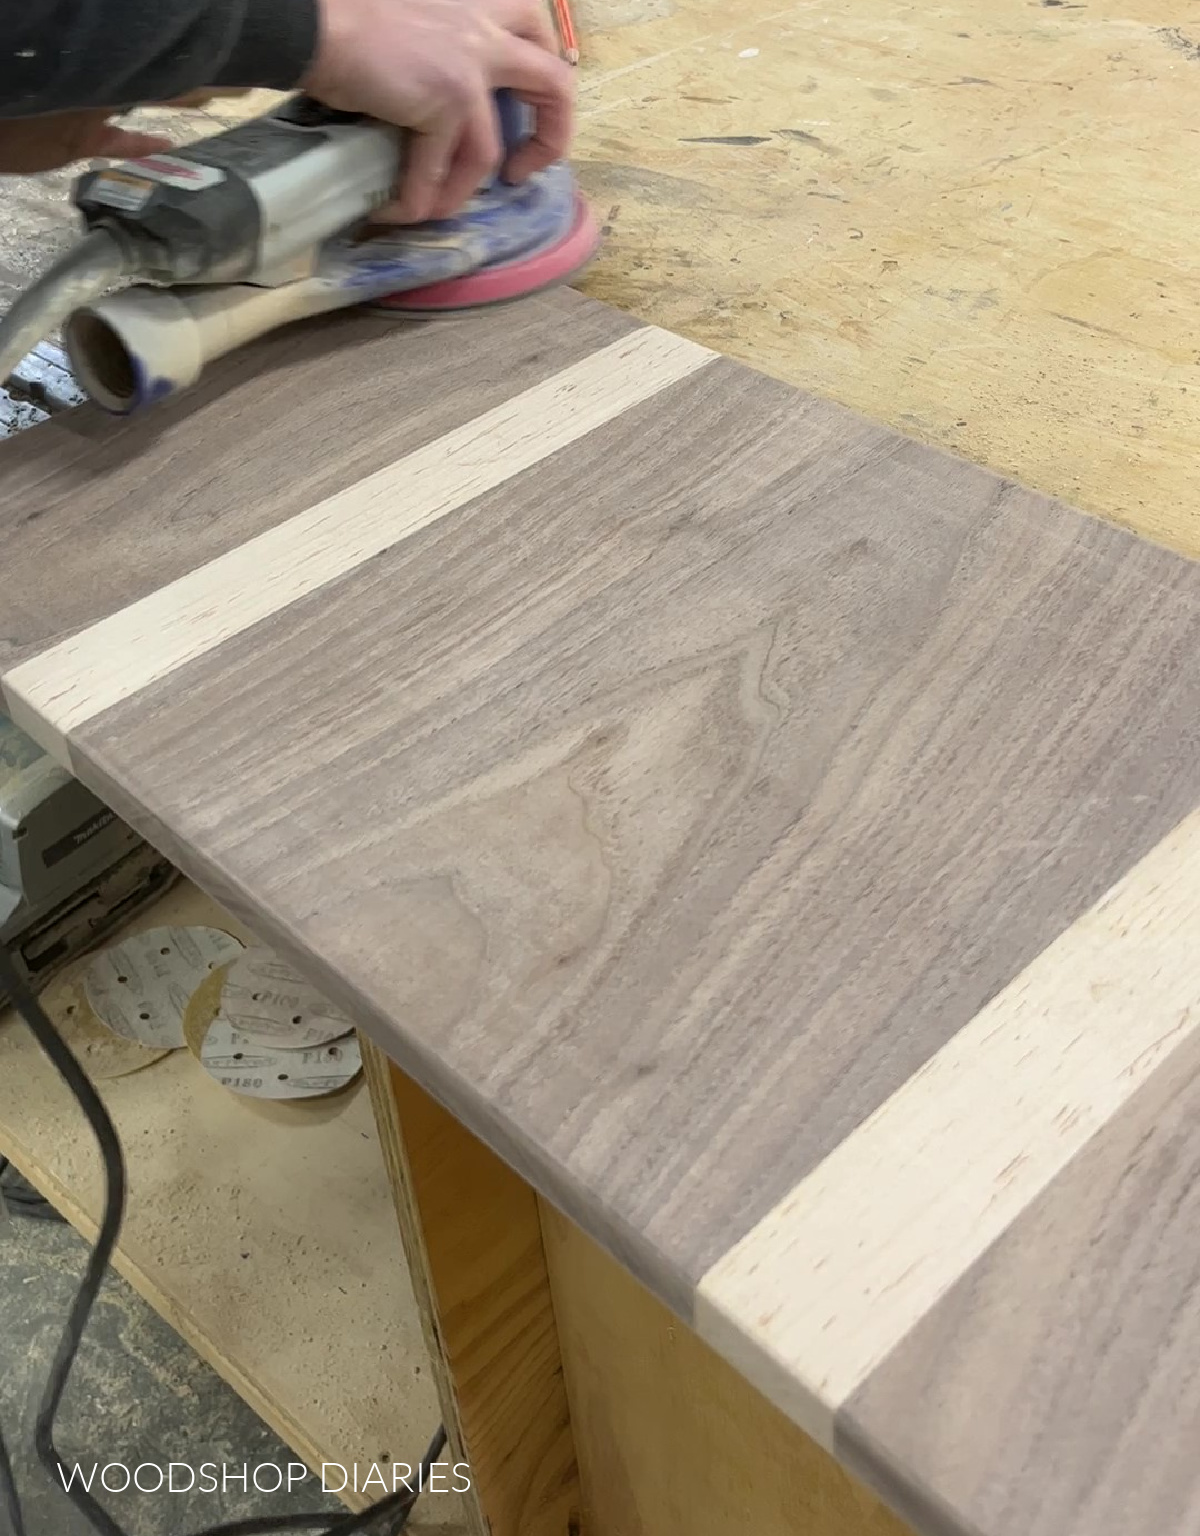
Then, I followed up with 150 grit, and 220 grit to get it nice and smooth.
Step 4: Add Optional Details
At this point, you can use a router to add a decorative edge or a juice groove. Or use a jig or band saw to round the corners, cut a handle, etc.
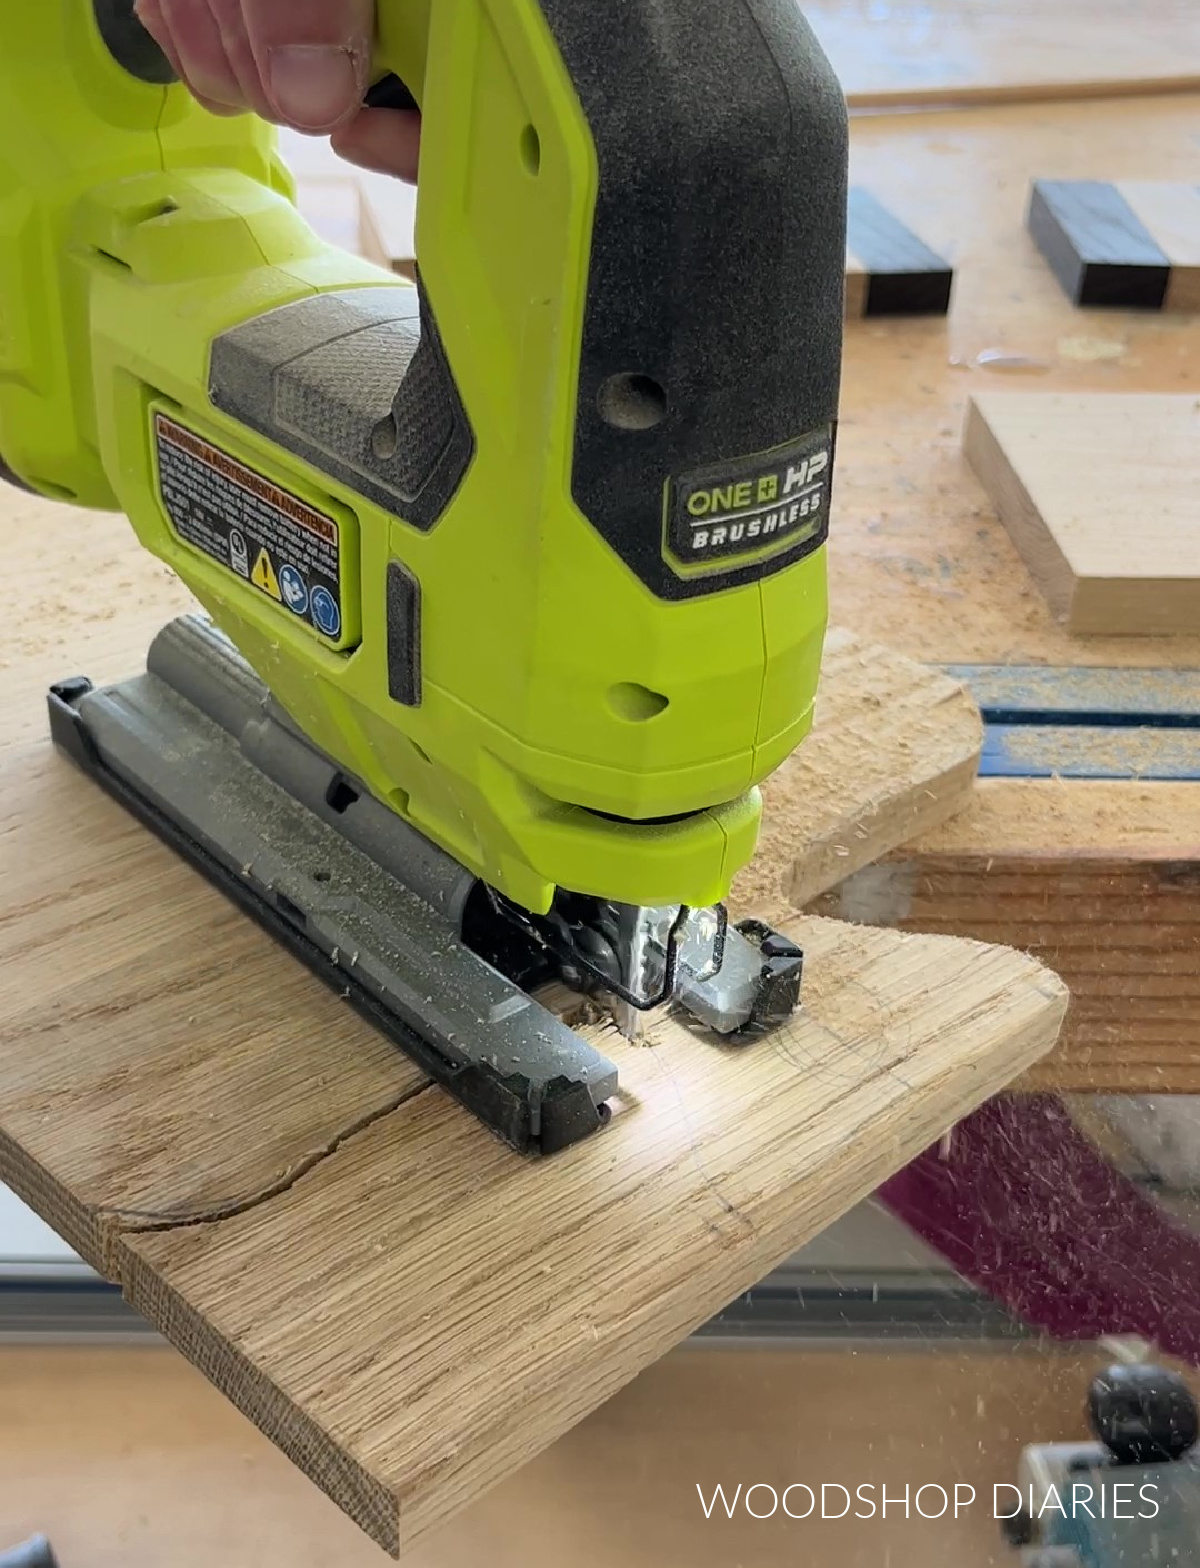
I kept things super simple here and just used a jig saw to round one corner of my walnut/maple board.
Then, I sketched and cut a handle shape out on my oak board.
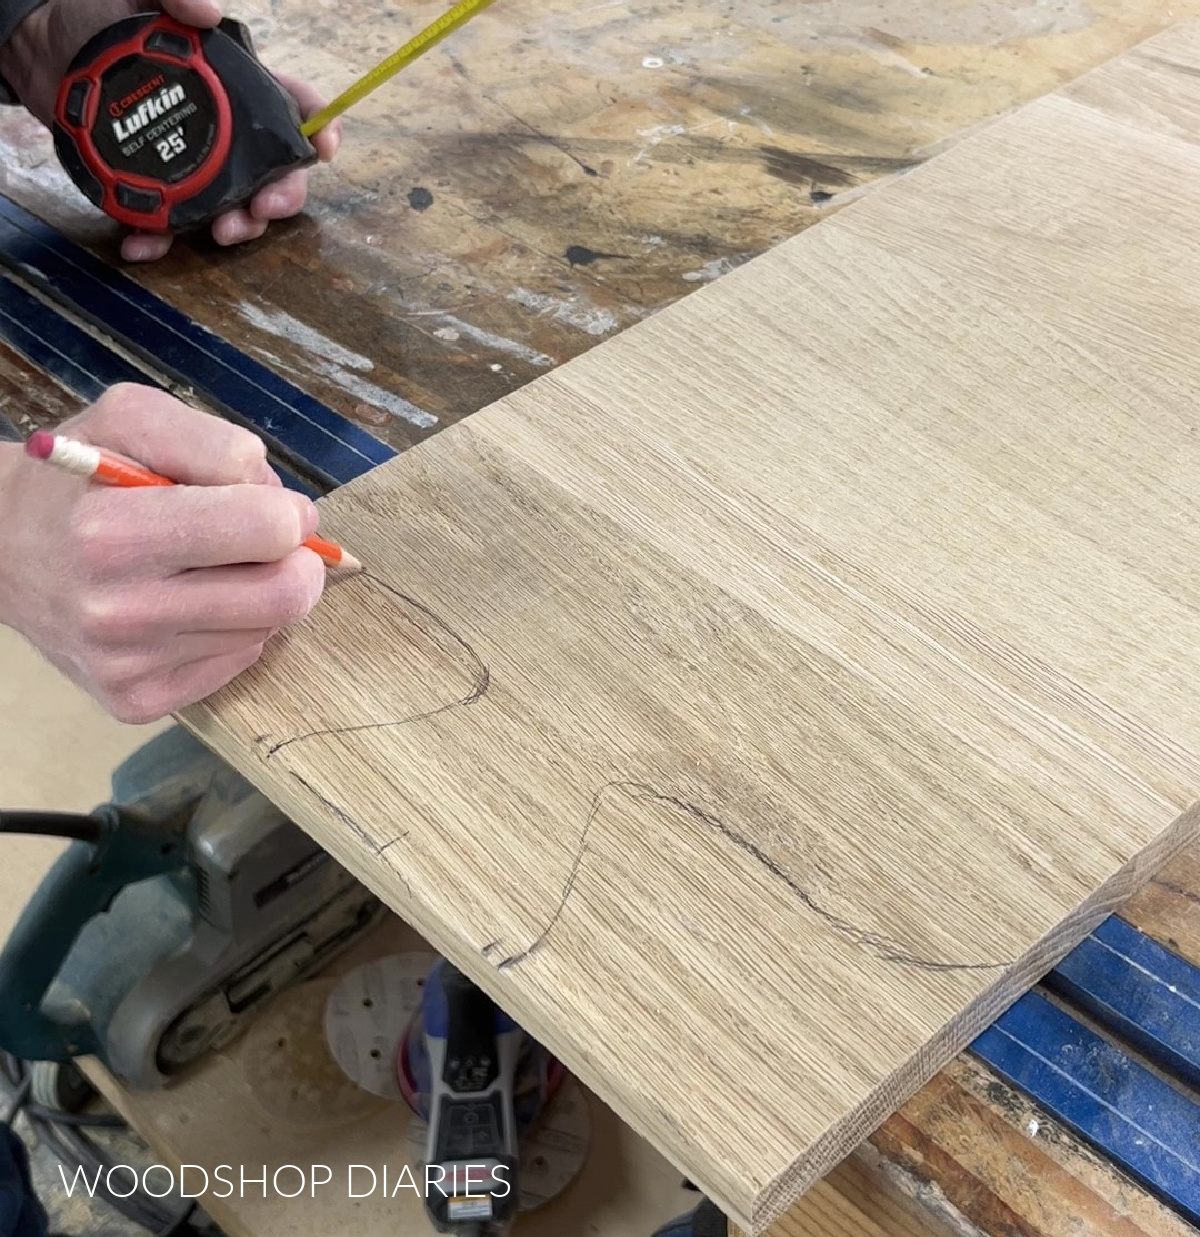
I had to go back and re-sand these cut edges as they were a little rough because I used a “fast cut” jig saw blade.
Just a tip–for cutting details and curves, I recommend a fine finish (higher tooth count and thinner) jig saw blade for less tear out and cleaner edges.
I didn’t have one in the shop at the time I cut these, so I settled for a fast cut blade and lots of sanding haha.
I used a drill with a forstener bit to drill out a hole in both boards in case I want to hang it at some point.
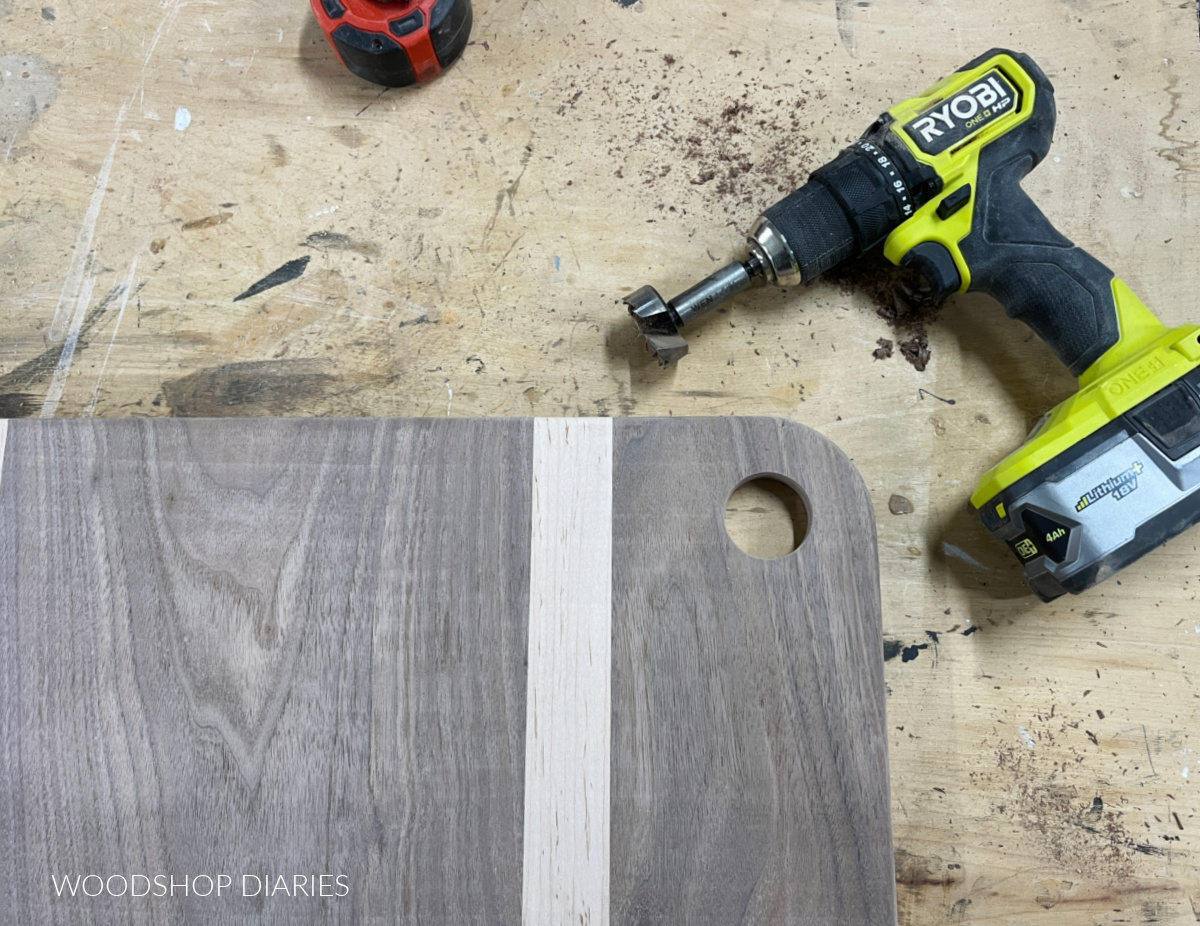
Again, there’s no right or wrong here so cut/drill/add whatever details you wish.
Step 5: Finish Cutting/Serving Board
The final step is applying a finish to the board. See notes above.
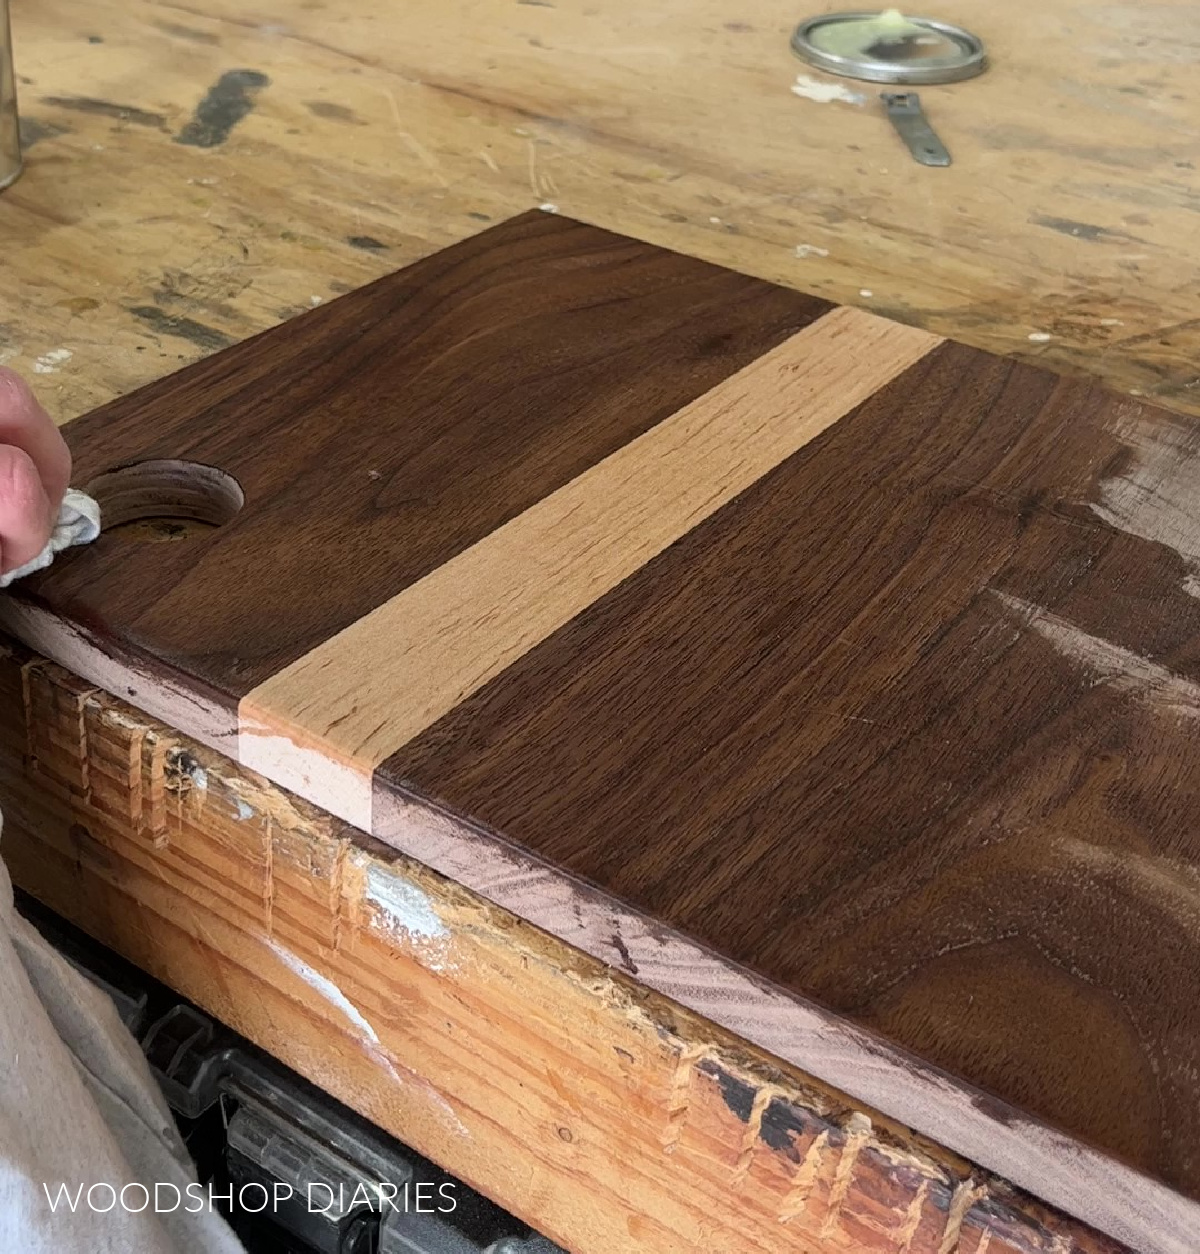
I really don’t plan on using either of these boards for actually cutting on, so I applied finishes that are acceptable for serving/display.
I applied Walrus Oil Furniture Butter to the walnut/maple board.
And I used some painters tape over the 1x2s on my oak board, and applied Minwax True Black wood stain.
Once it was dry, I applied Minwax Polycrylic to seal it.
NOTE: If you planned to cut or use utensils directly on your board, make sure to use a food safe finish.
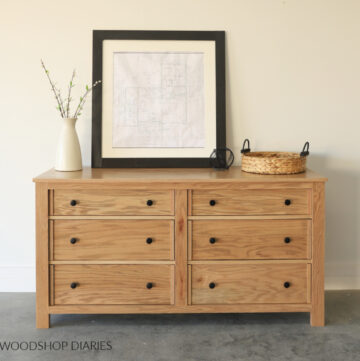
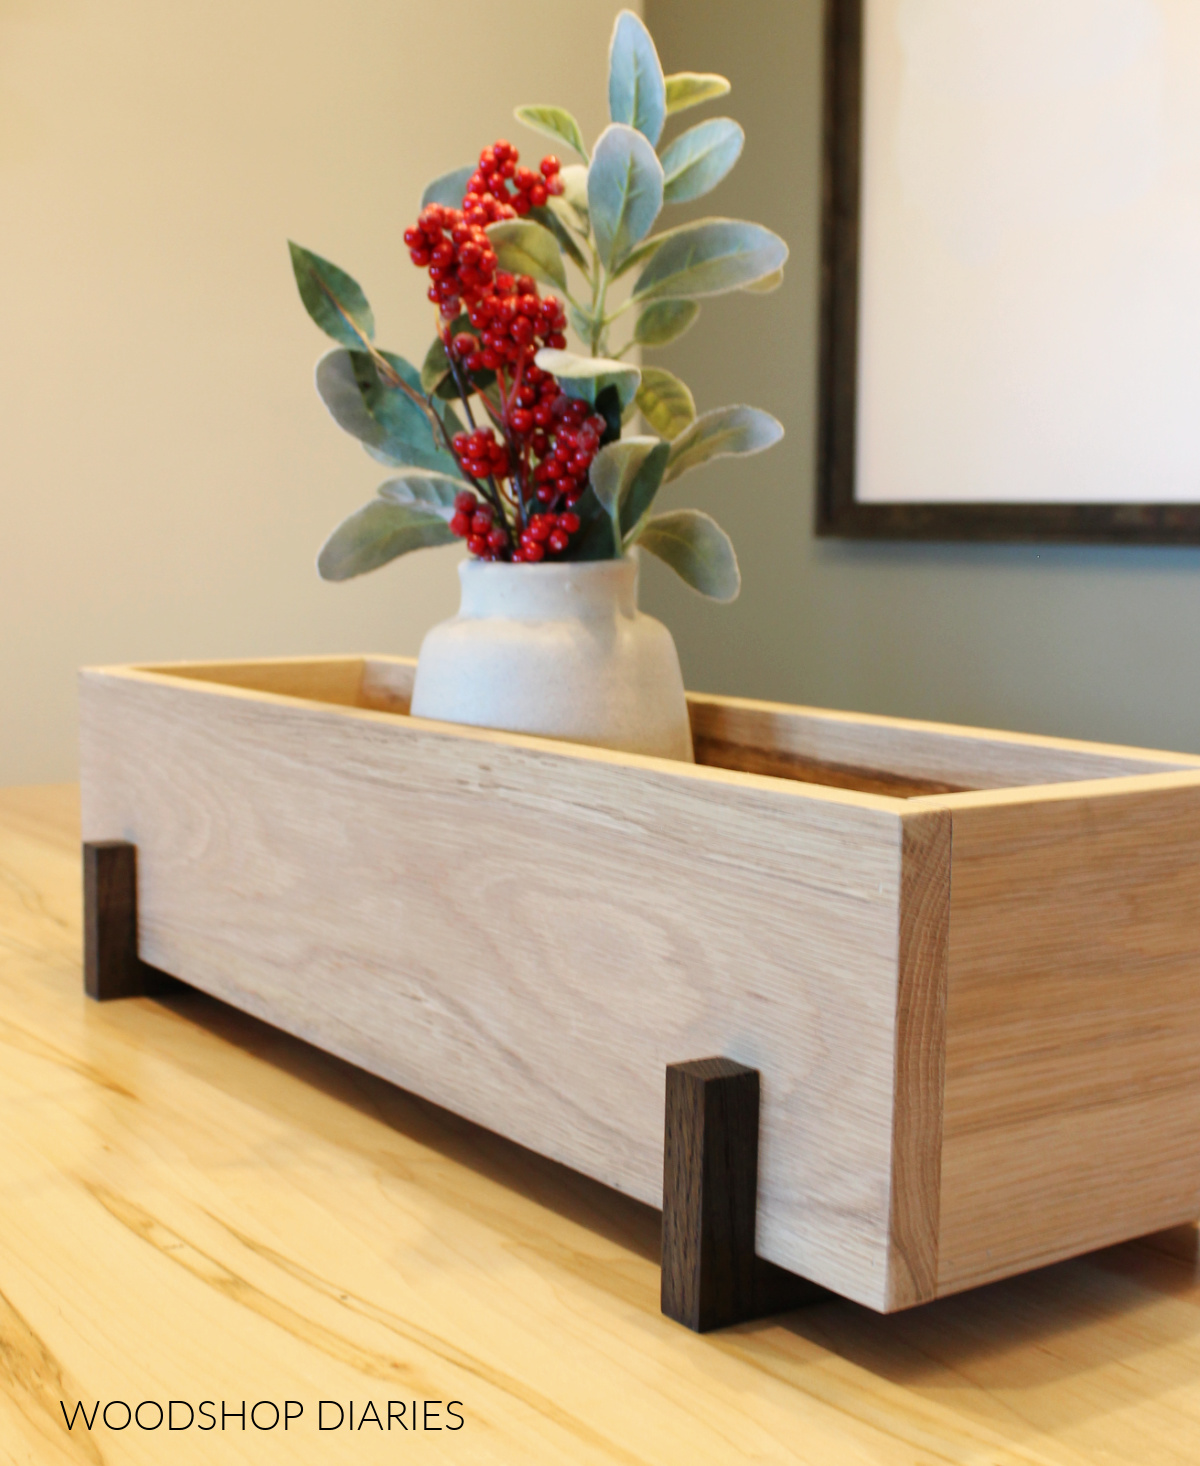
And now the boards are ready for use or display! I really love having a few different styles and sizes of cutting boards displayed in the kitchen or pantry.
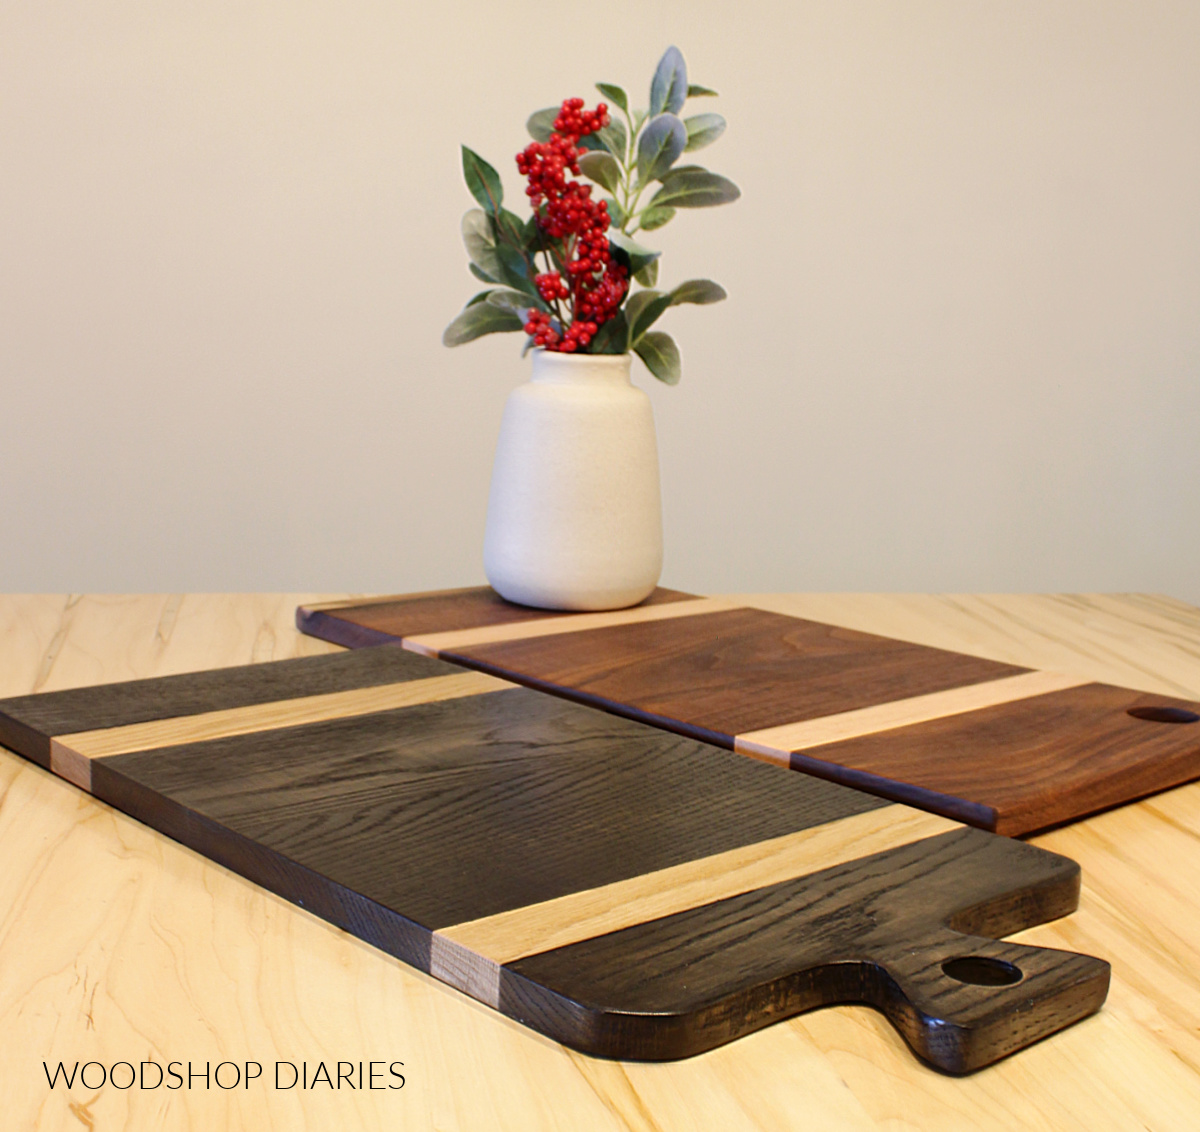
Plus these make excellent gifts for Christmas, weddings, housewarming as well!
Speaking of gifts…
WANT SOME MORE DIY GIFT IDEAS?
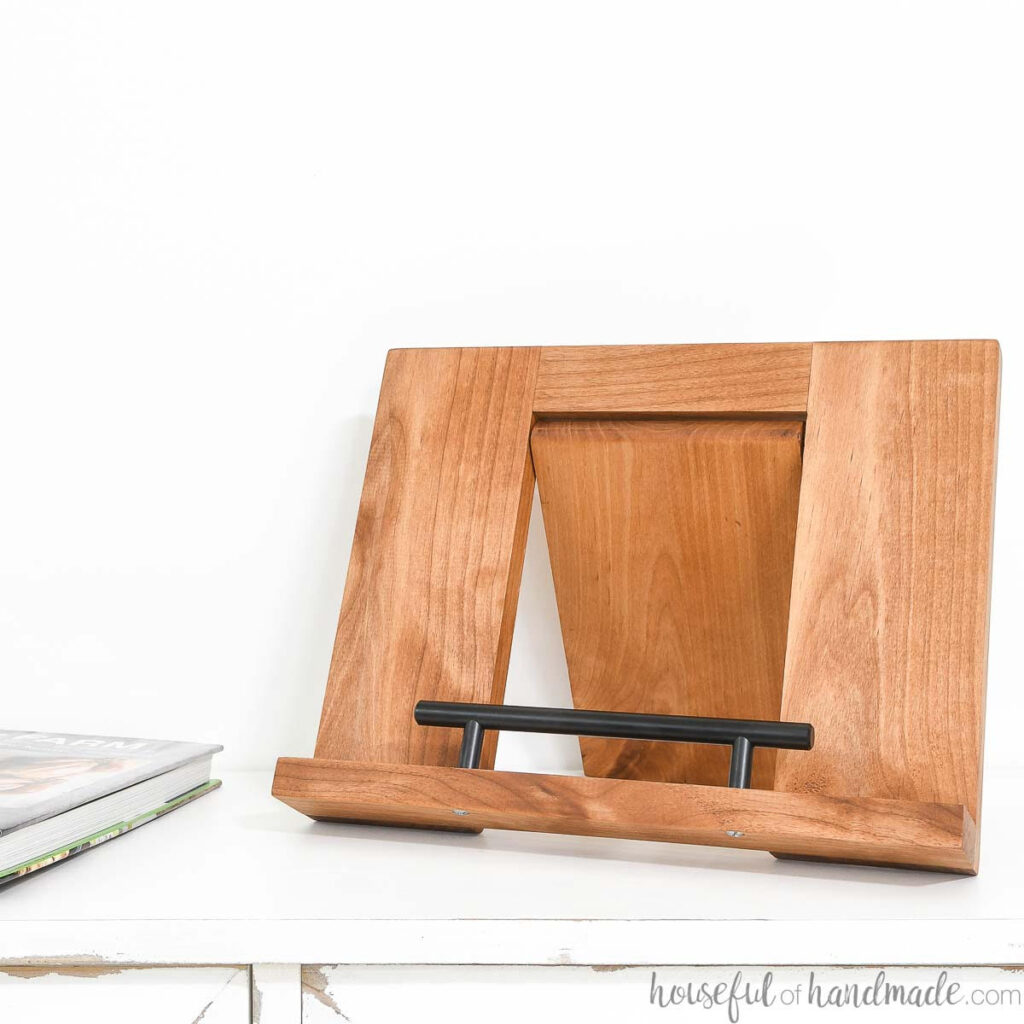
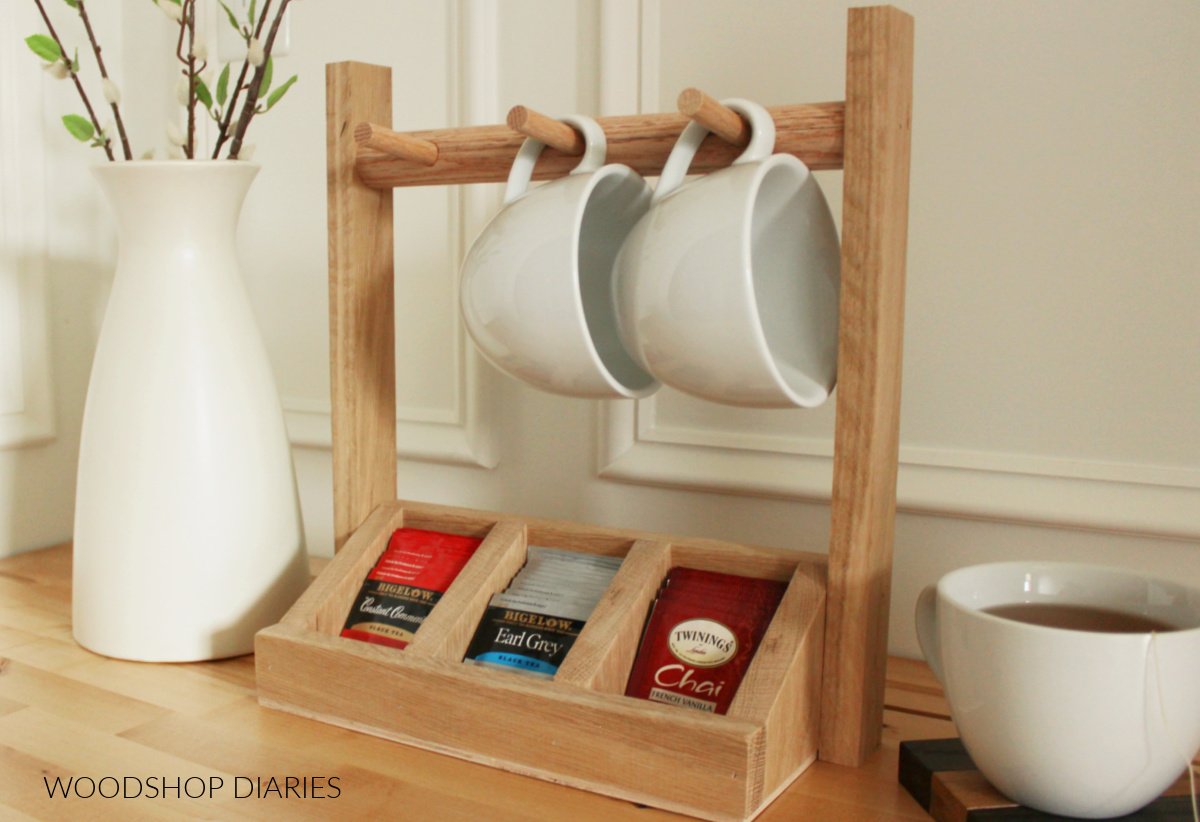
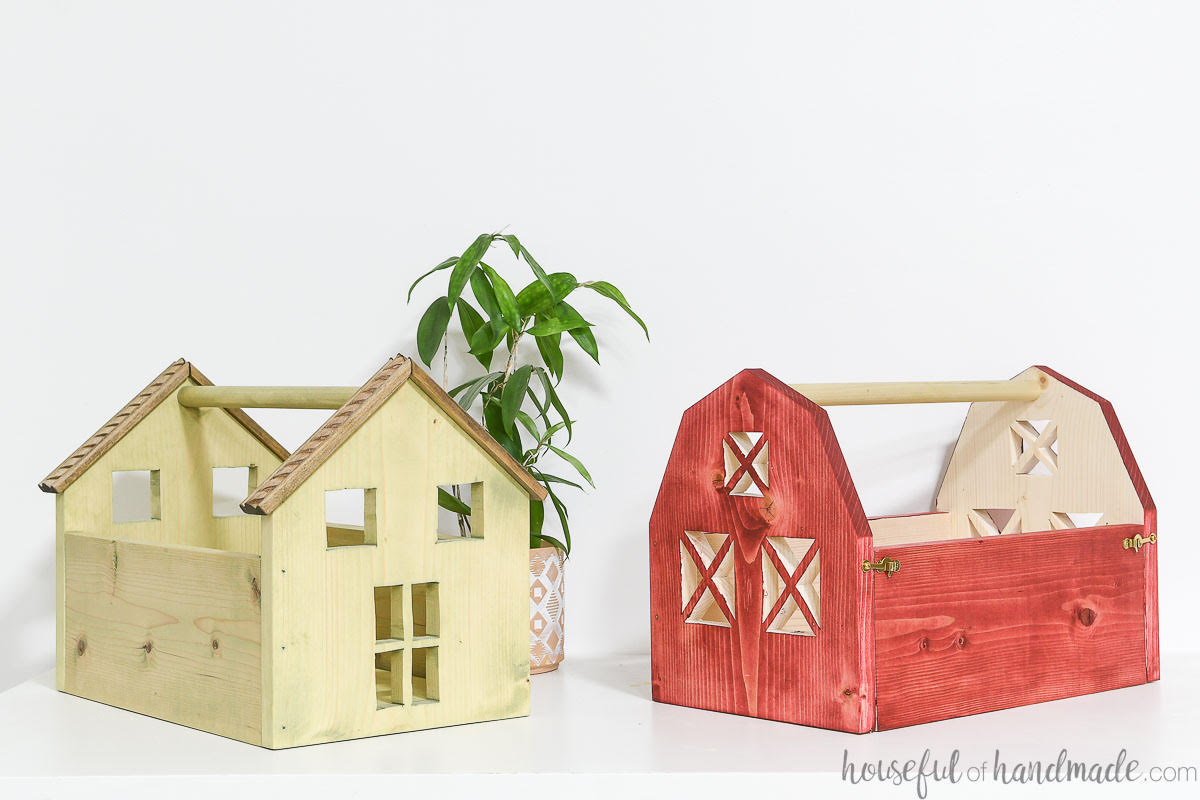
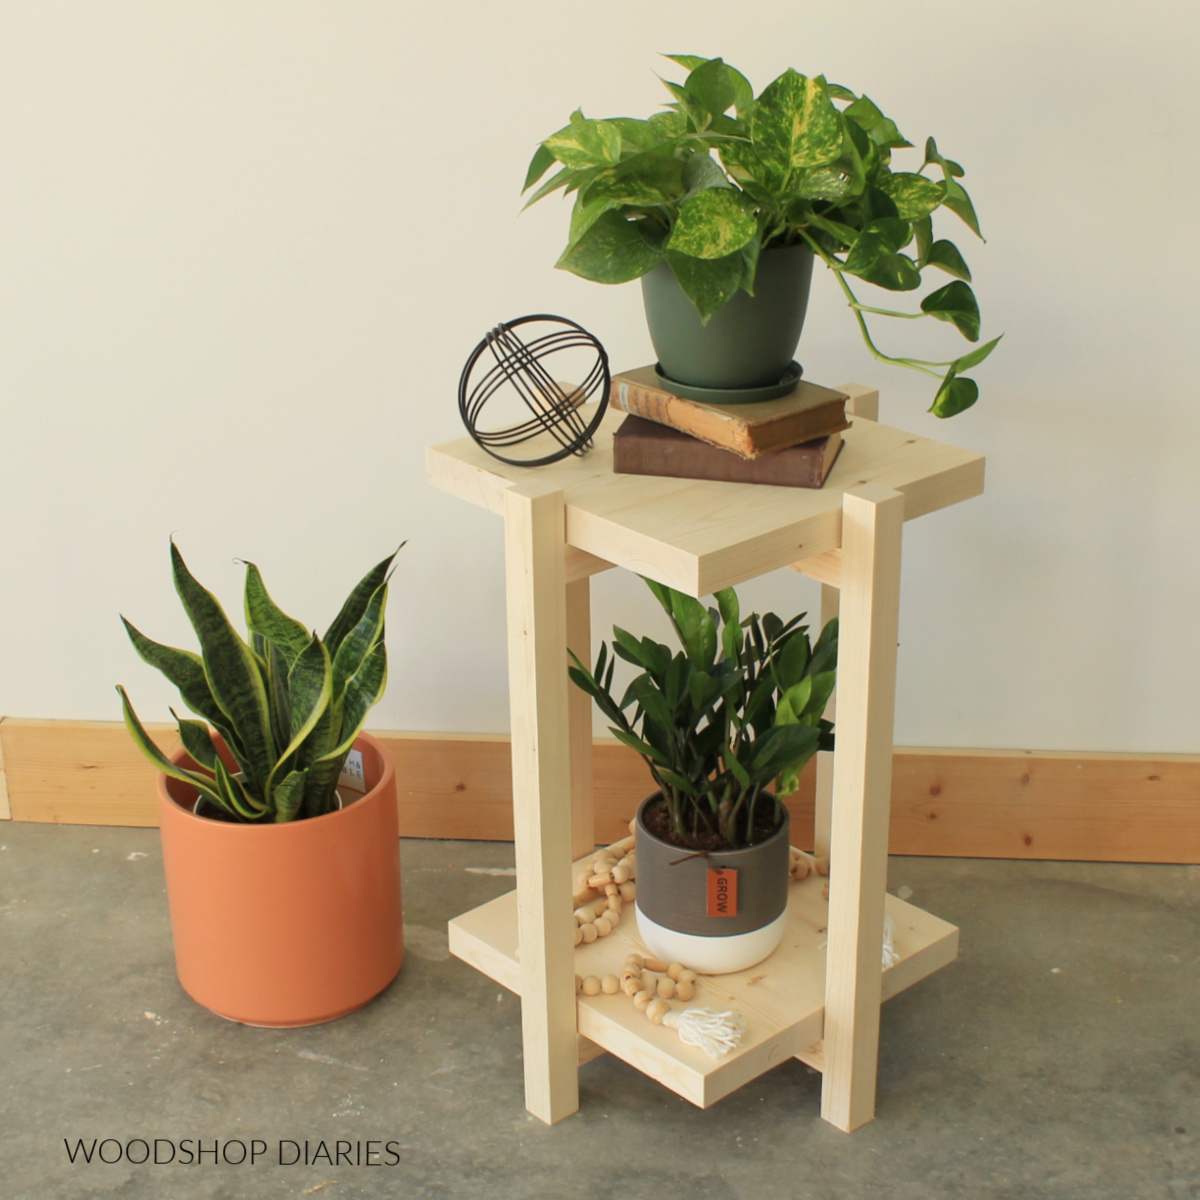
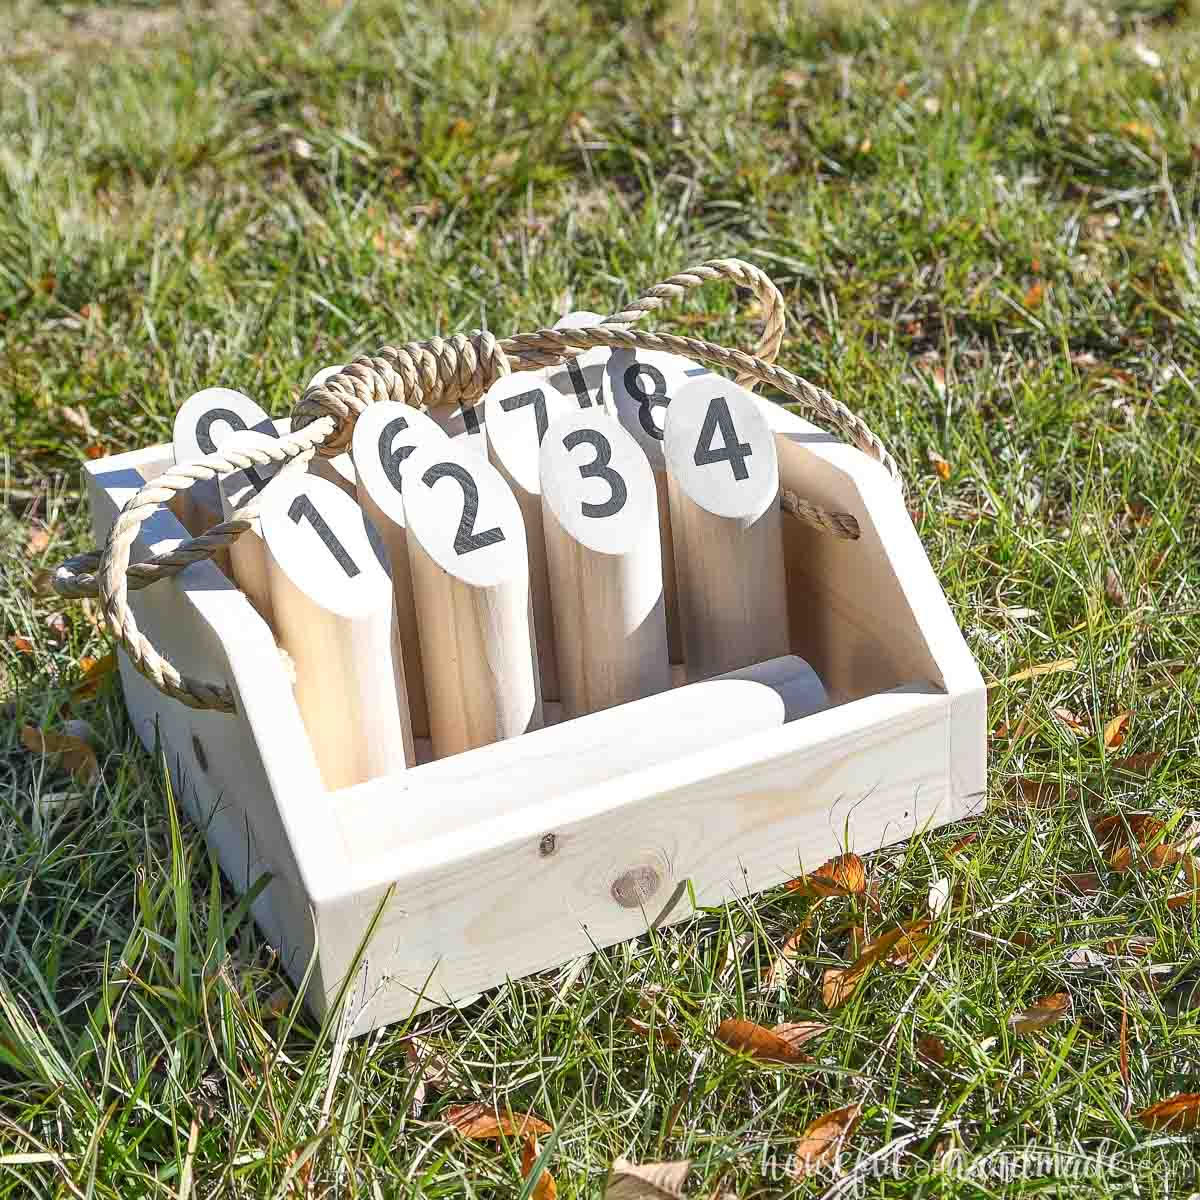
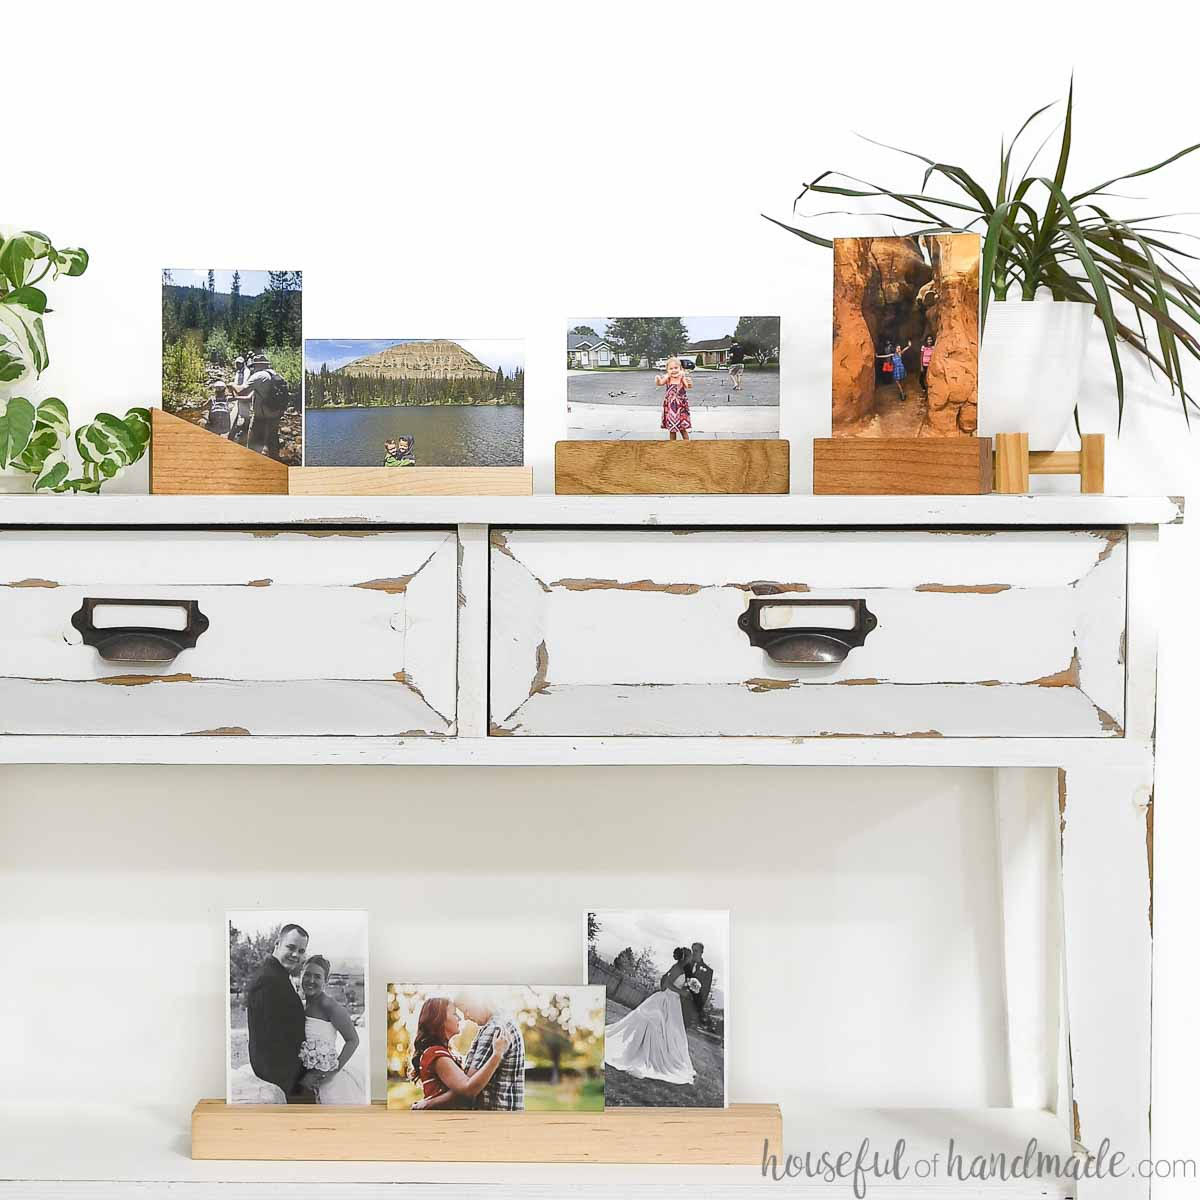
With the upcoming holidays, I’ve teamed up with my friend, Kati, from Houseful of Handmade to share some easy and fun gift ideas you can make this season!

We are adding new projects to this list every day this week, so stay tuned for new ideas!
If you can’t wait to see what’s next, be sure to subscribe to the FREE newsletter below for priority access to all the latest projects and plans!
And if you enjoyed this DIY wooden cutting board project and want to save it for later, don’t forget to pin it and share it to your favorite social channel!
Until next time, happy building!