In this post, I’m sharing how to make your own DIY drink coasters from wood scraps you already have!
Drink coasters are kind of like cutting boards–they can be as simple or as complex as you’d like.
And they’re also a common beginner woodworking project that even the more “advanced” woodworkers enjoy making as well.
Making some DIY drink coasters is a great way to utilize some of those small wood scraps and they also make great, inexpensive gifts!
So let’s dive in and make some!
Tools & Materials:
*This post contains affiliate links. See website policies.
Tools:
- Miter Saw
- Drill
- ⅜″ Forstener or Drill Bit
Materials:
- Scrap 1x2s
- Scrap 1×6
- ⅜″ wood dowel
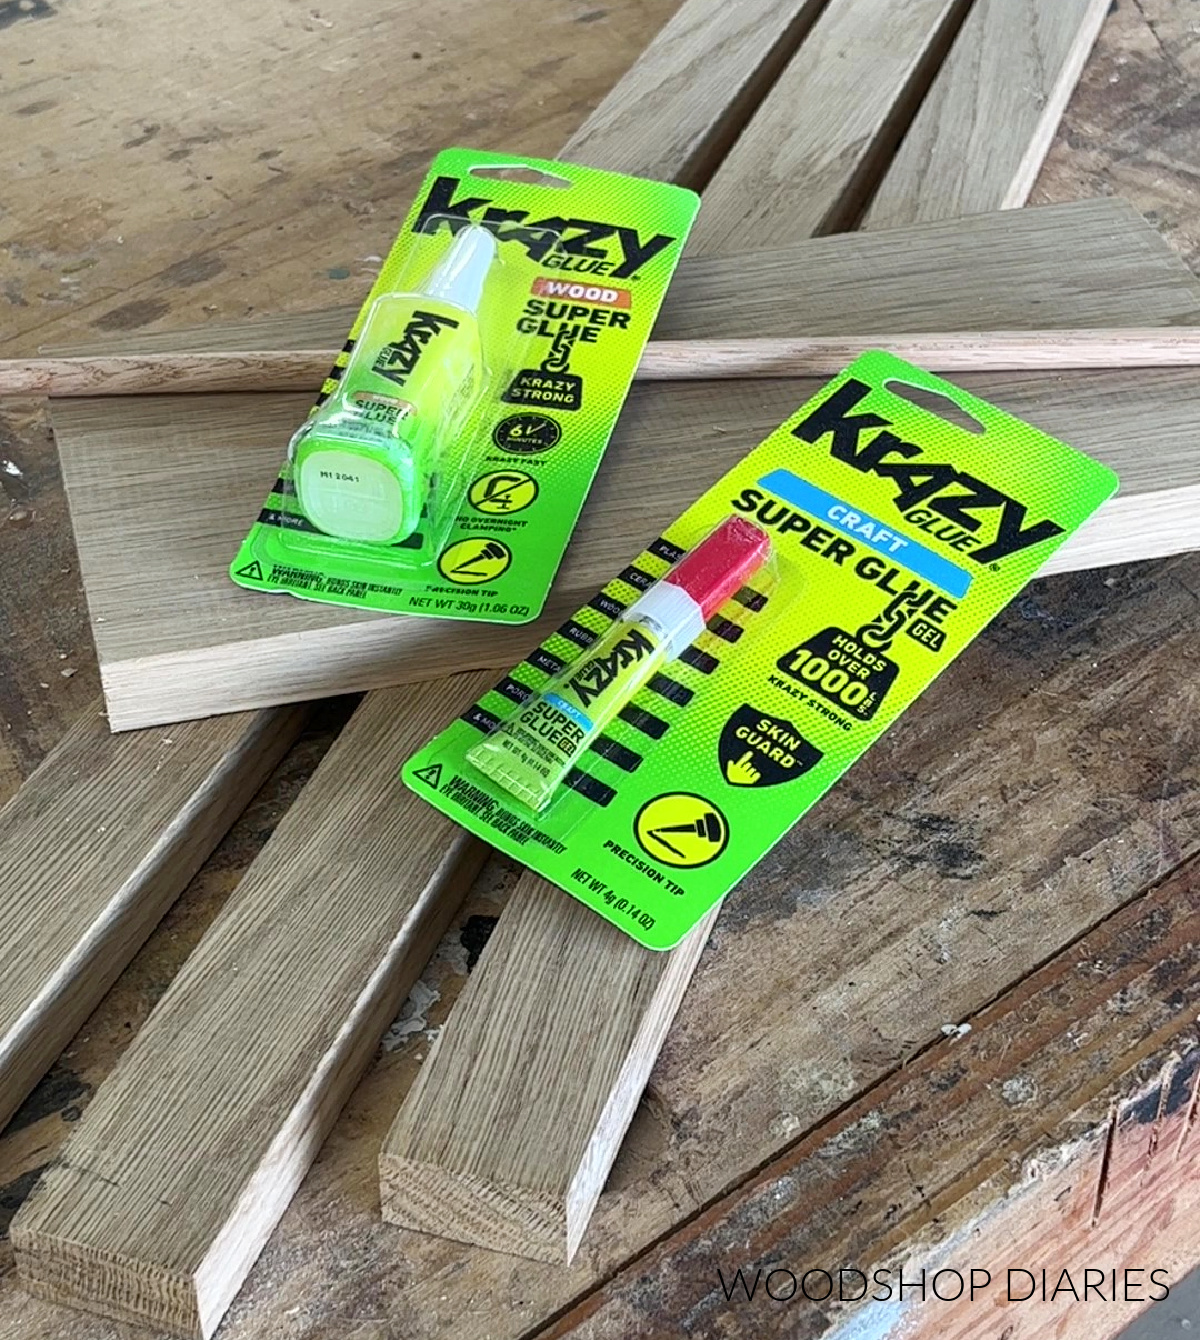
- Krazy Glue Fast Dry Wood Glue
- Wood Finish
How to Make DIY Wooden Coasters
There are a million ways to make wooden drink coasters, but this is a really simple method.
Feel free to get creative with your size, shape, and colors.
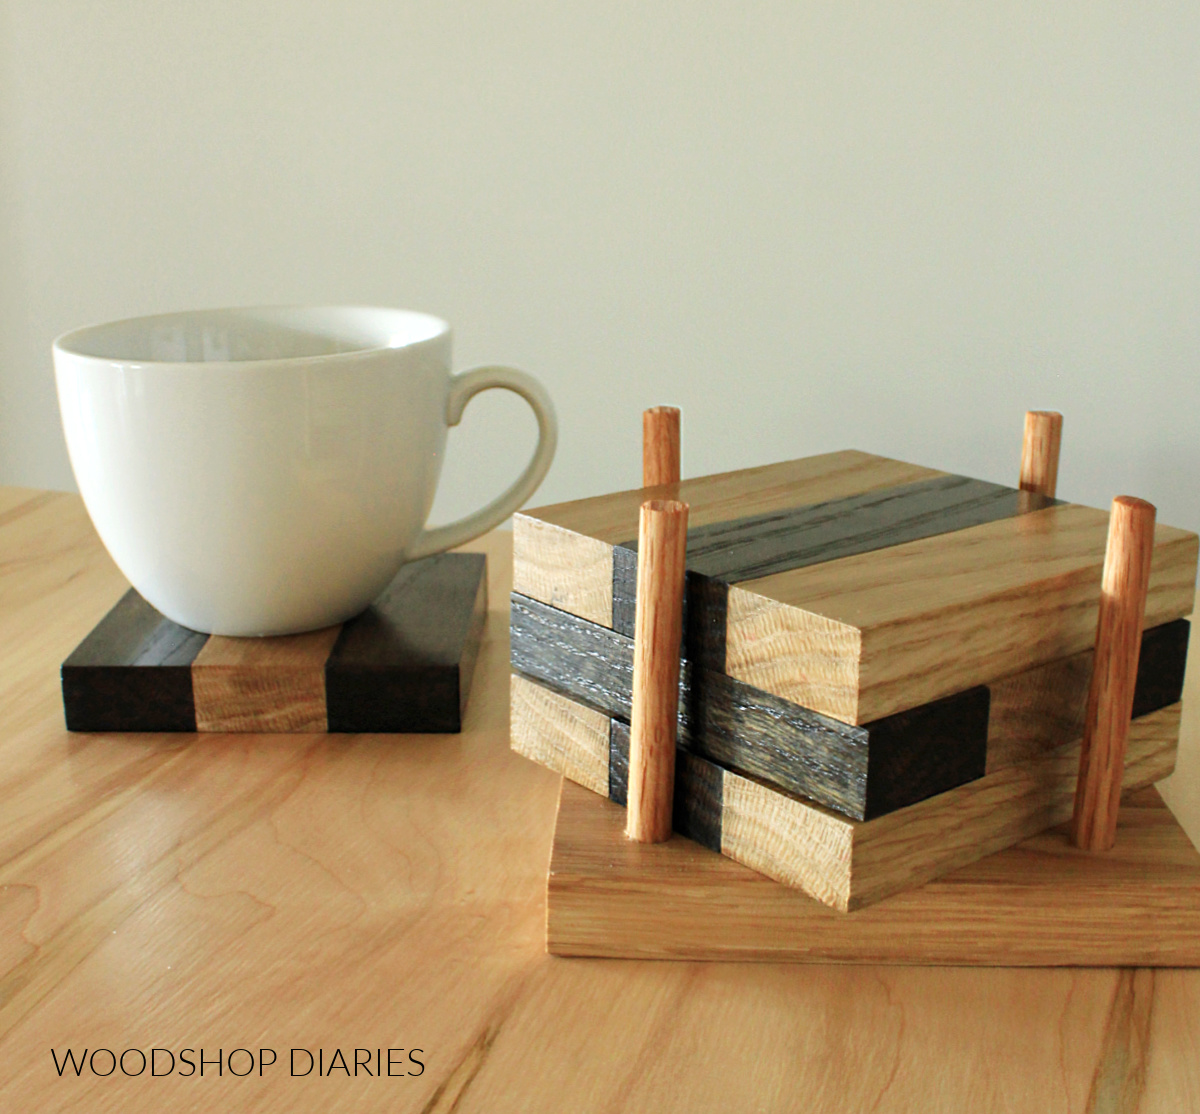
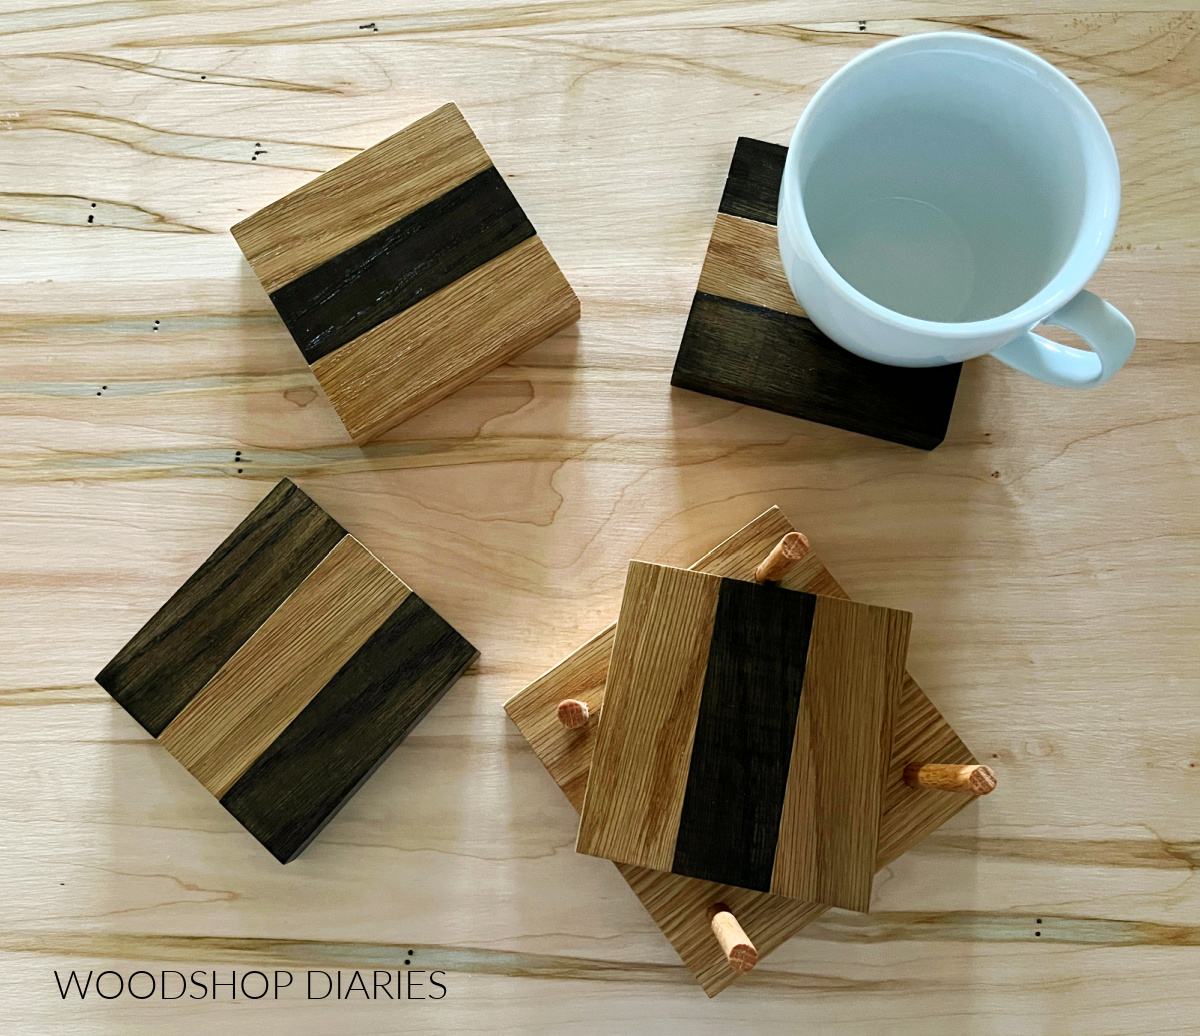
These coasters ended up being about 4 ½″ square, which seems like a great size for mugs!
Step 1: Cut 1x2s to Length
I made these coasters from 1x2s and simply glued them together. I used white oak 1×2 here.
So the first thing to do here was trim down my 1x2s to the length I needed.
I used three 1x2s per coaster, so for four coasters, I needed 12 pieces total.
The width of a 1×2 is actually 1 ½″, so if I put three side by side, that would be 4 ½″.
So to make these coasters square, I needed to trim them to 4 ½″ long.
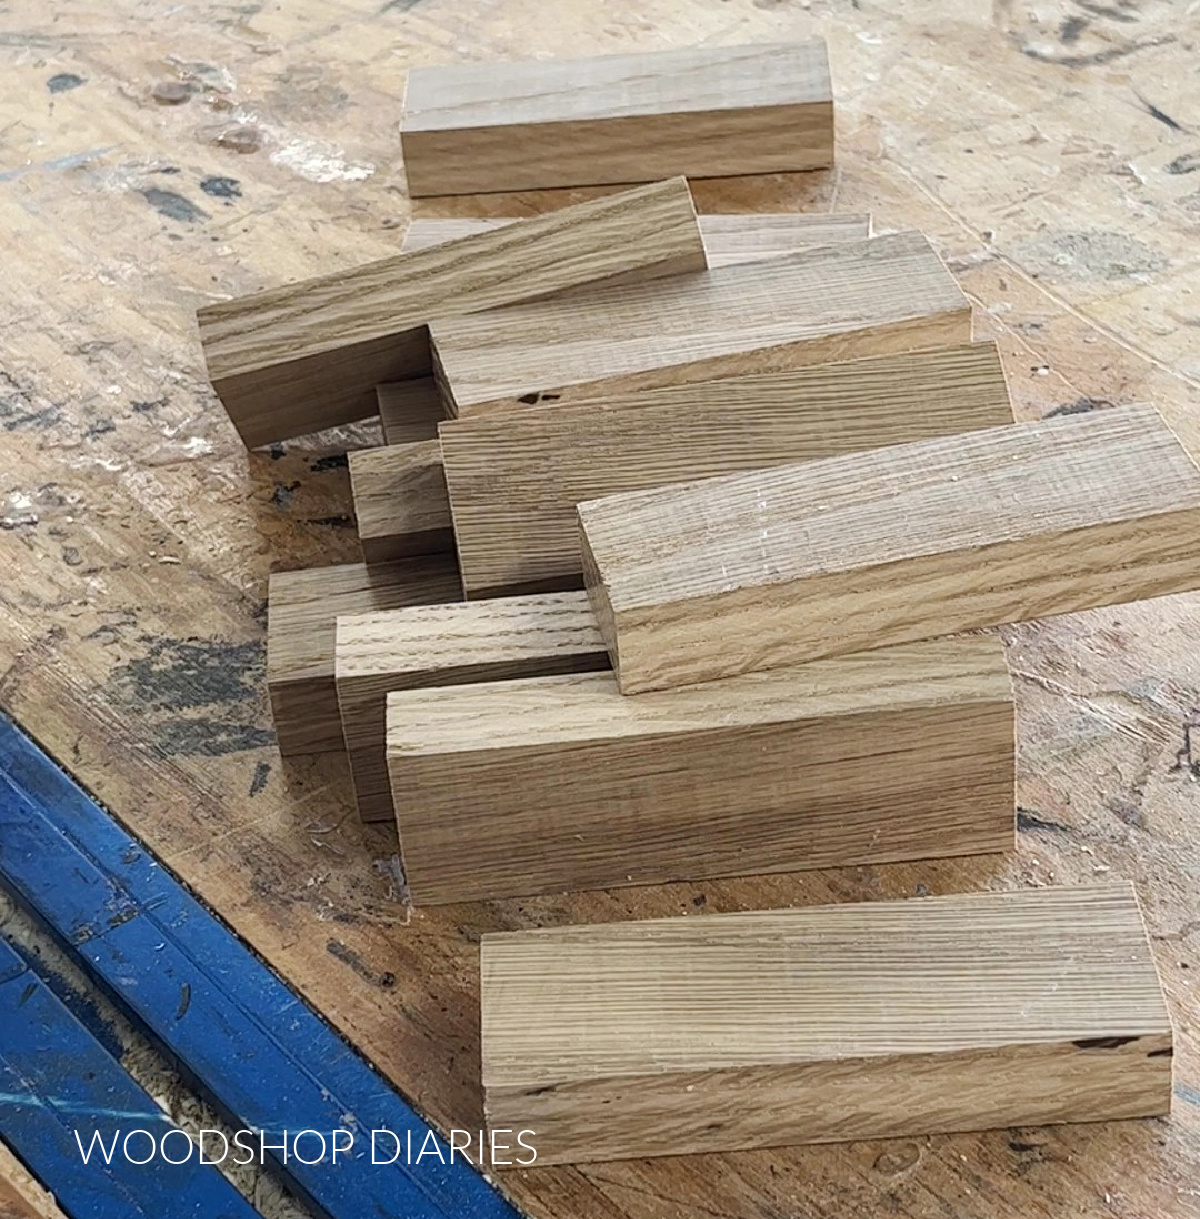
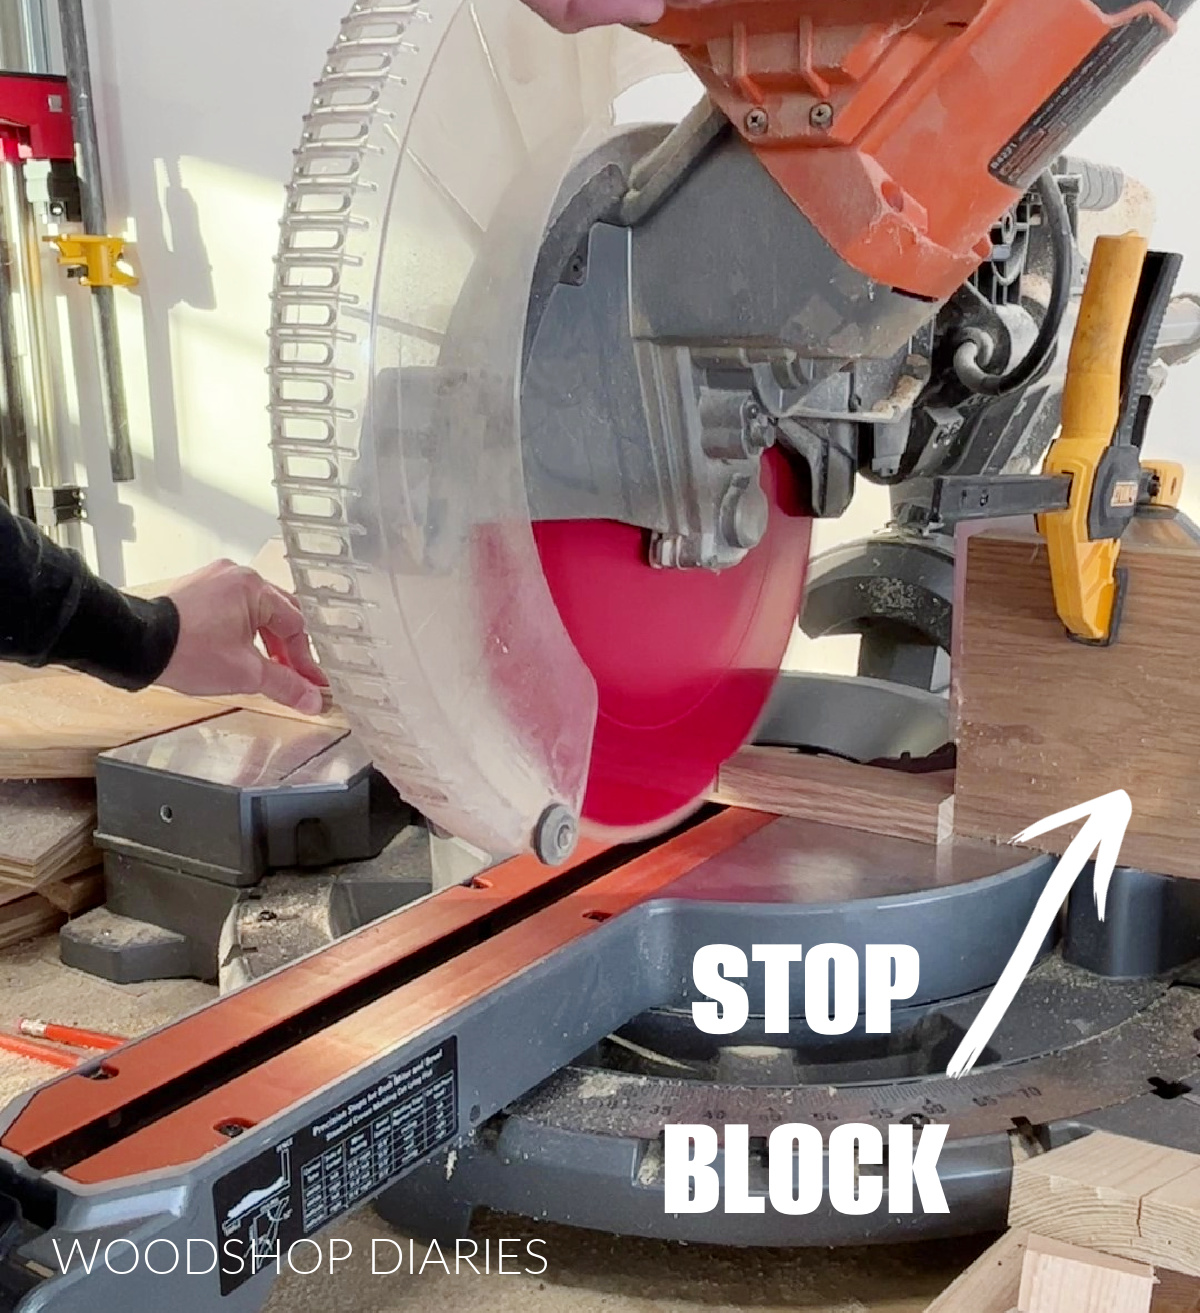
So I trimmed 12 pieces of 1×2 to 4 ½″ long.
HELPFUL TIP: You can clamp a stop block (just a scrap piece of wood) onto your miter saw to cut these all exactly the same length without having to measure each one.
Step 2: Stain or Paint Pieces Separately
This step is optional. You can certainly stain or paint your coasters at the end vs now.
However, since I was doing two different colors, I found it easiest to finish the pieces separately, then glue them together.
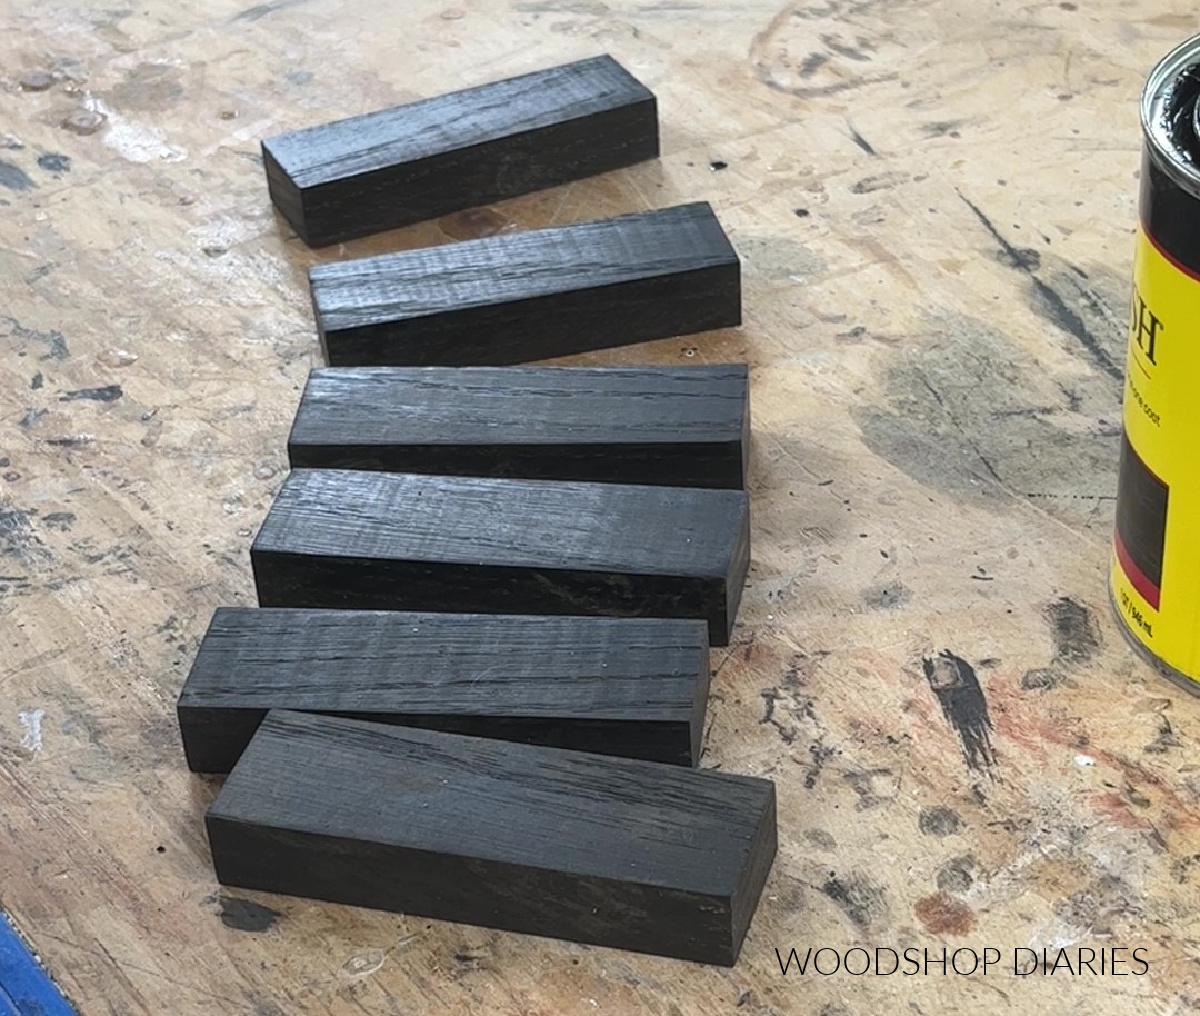
I stained half of my 1×2 pieces in Minwax True Black and let dry. I left the other half unfinished, but you could stain or paint a different color if you’d like.
Step 3: Glue Up Wooden Coasters
Once the stain had dried/soaked in, it was time to assemble the pieces into four wooden coaster squares.
Because I had already stained some of the pieces, I didn’t want to have to sand them again after glue up.
So instead of using regular wood glue and dealing with messy squeeze out, I used some Krazy Glue Fast Dry Wood Glue.
It dries clear and fast, so I was able to just run a small bead of glue along the edge of one piece, then press another piece to it for a few seconds.
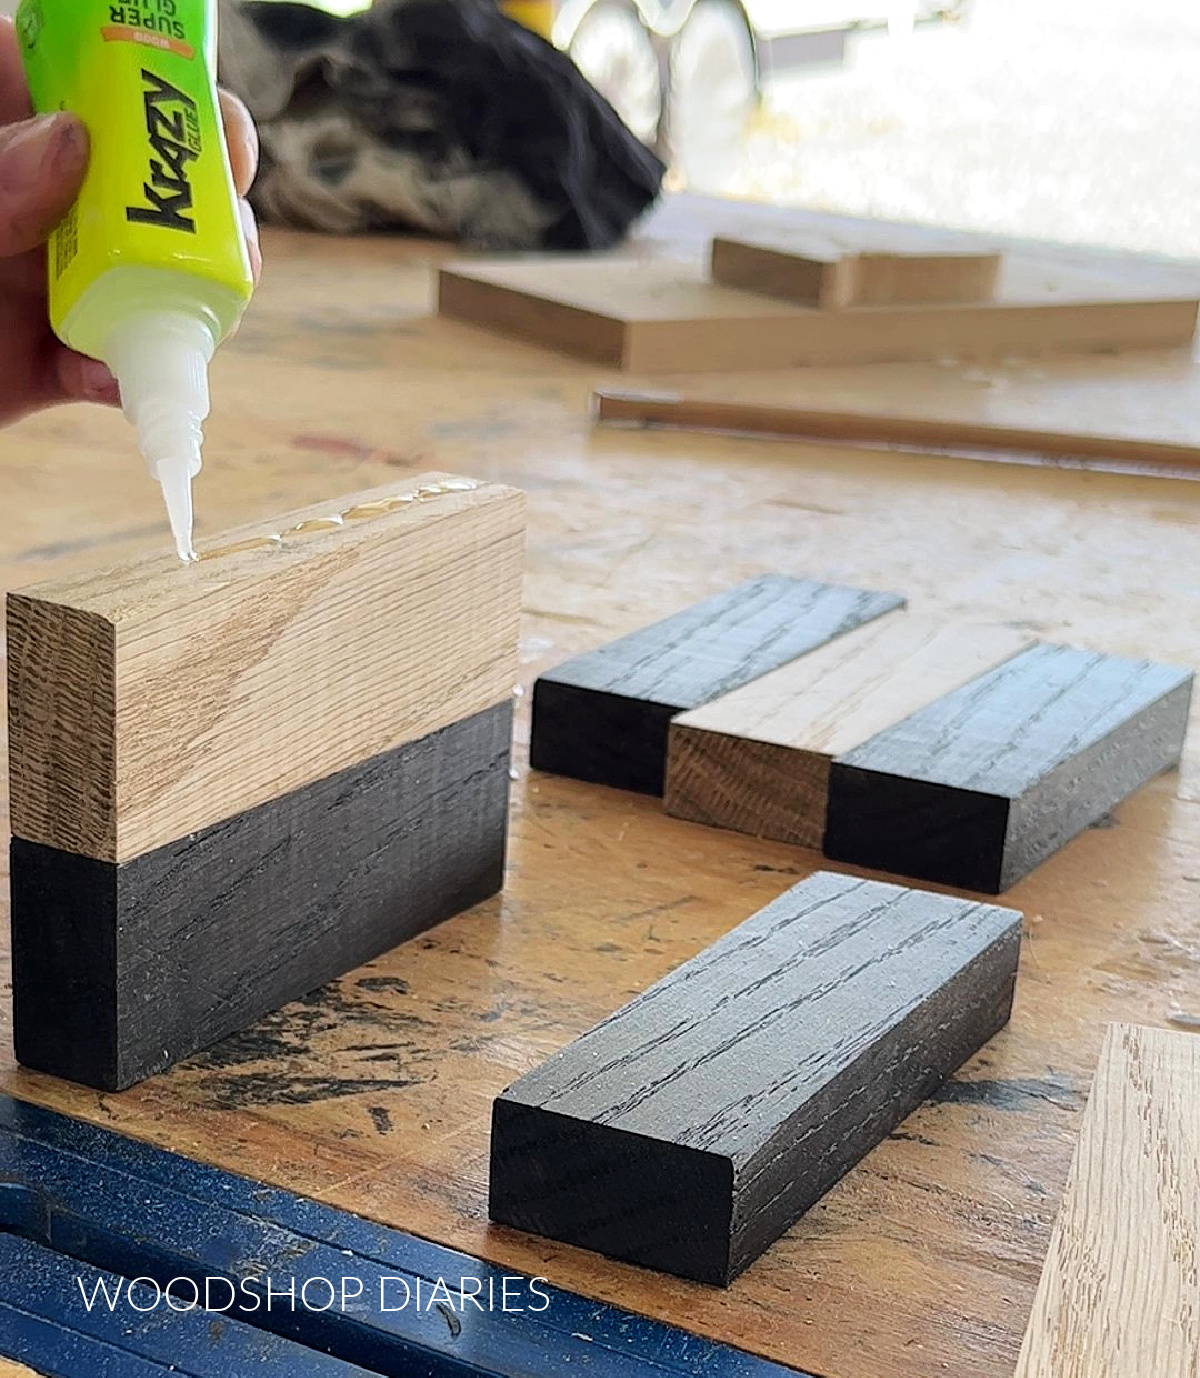
Then, I repeated to add the third 1×2 to make a complete coaster. Super simple.
I alternated the colors to make my four coasters like shown below.
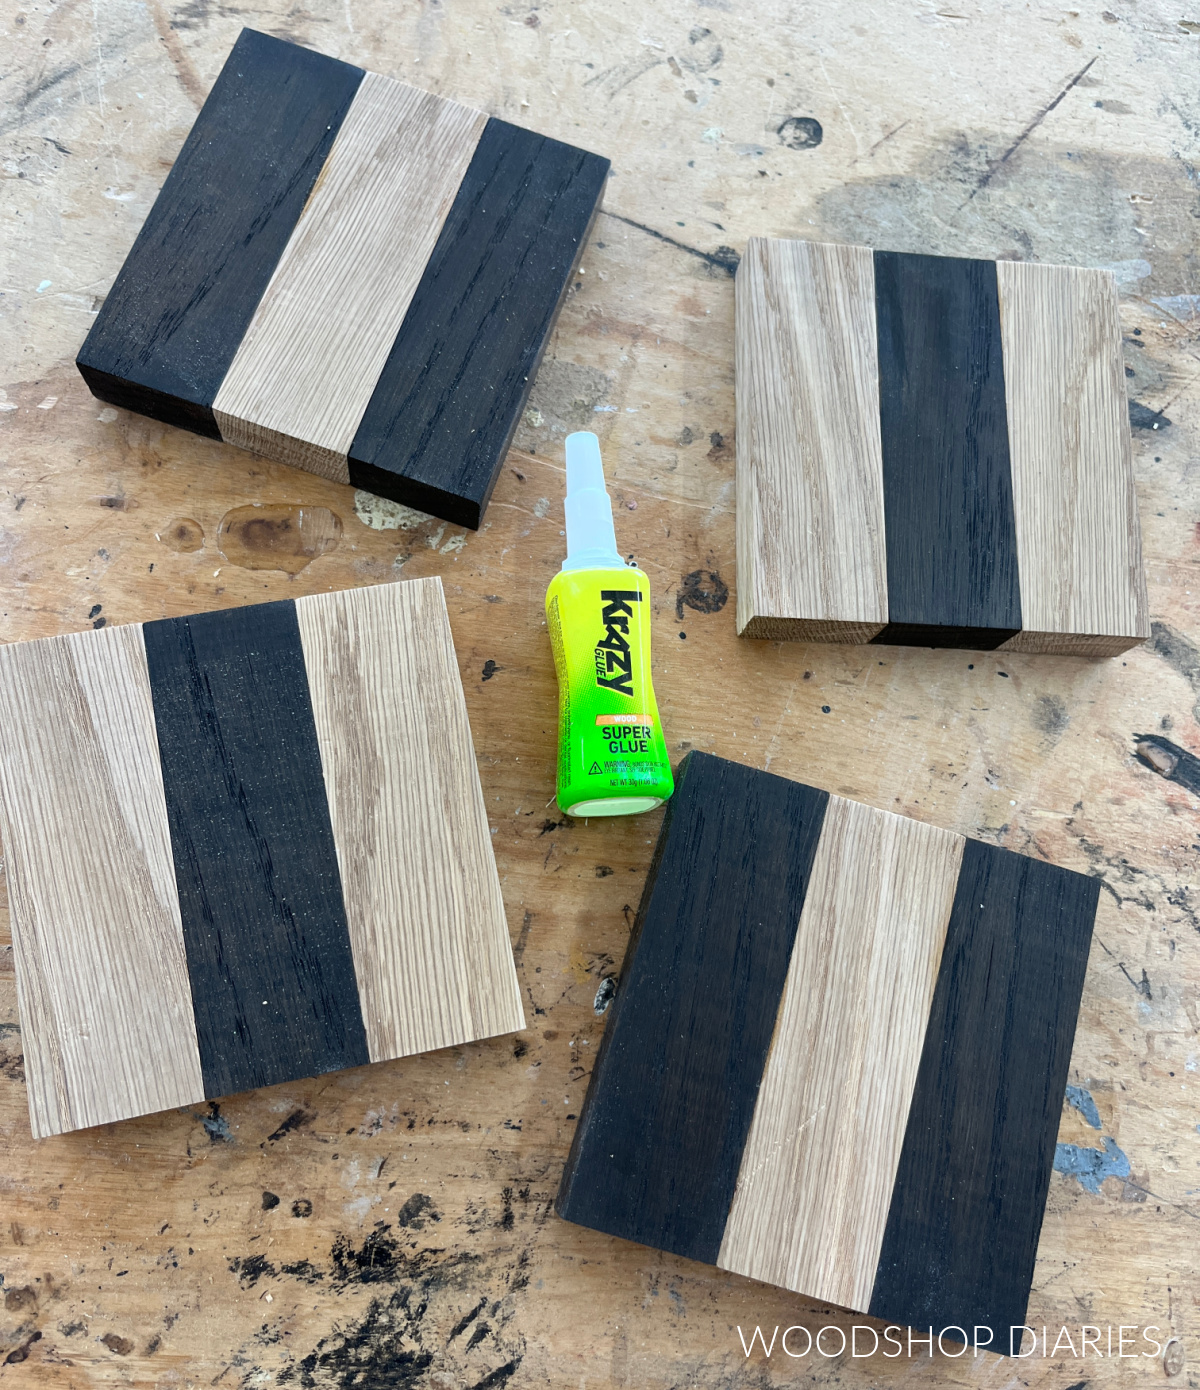
Once they were together, I applied a couple coats of Minwax Helmsman Water Based Clear Coat to seal the wood and protect it from water.
Step 4: Create Wooden Coaster Stand
You can certainly skip this part–the coasters by themselves still make a great gift!
But, if you wanted to provide a “home base” to store and stack the coasters in, this is easy to do.
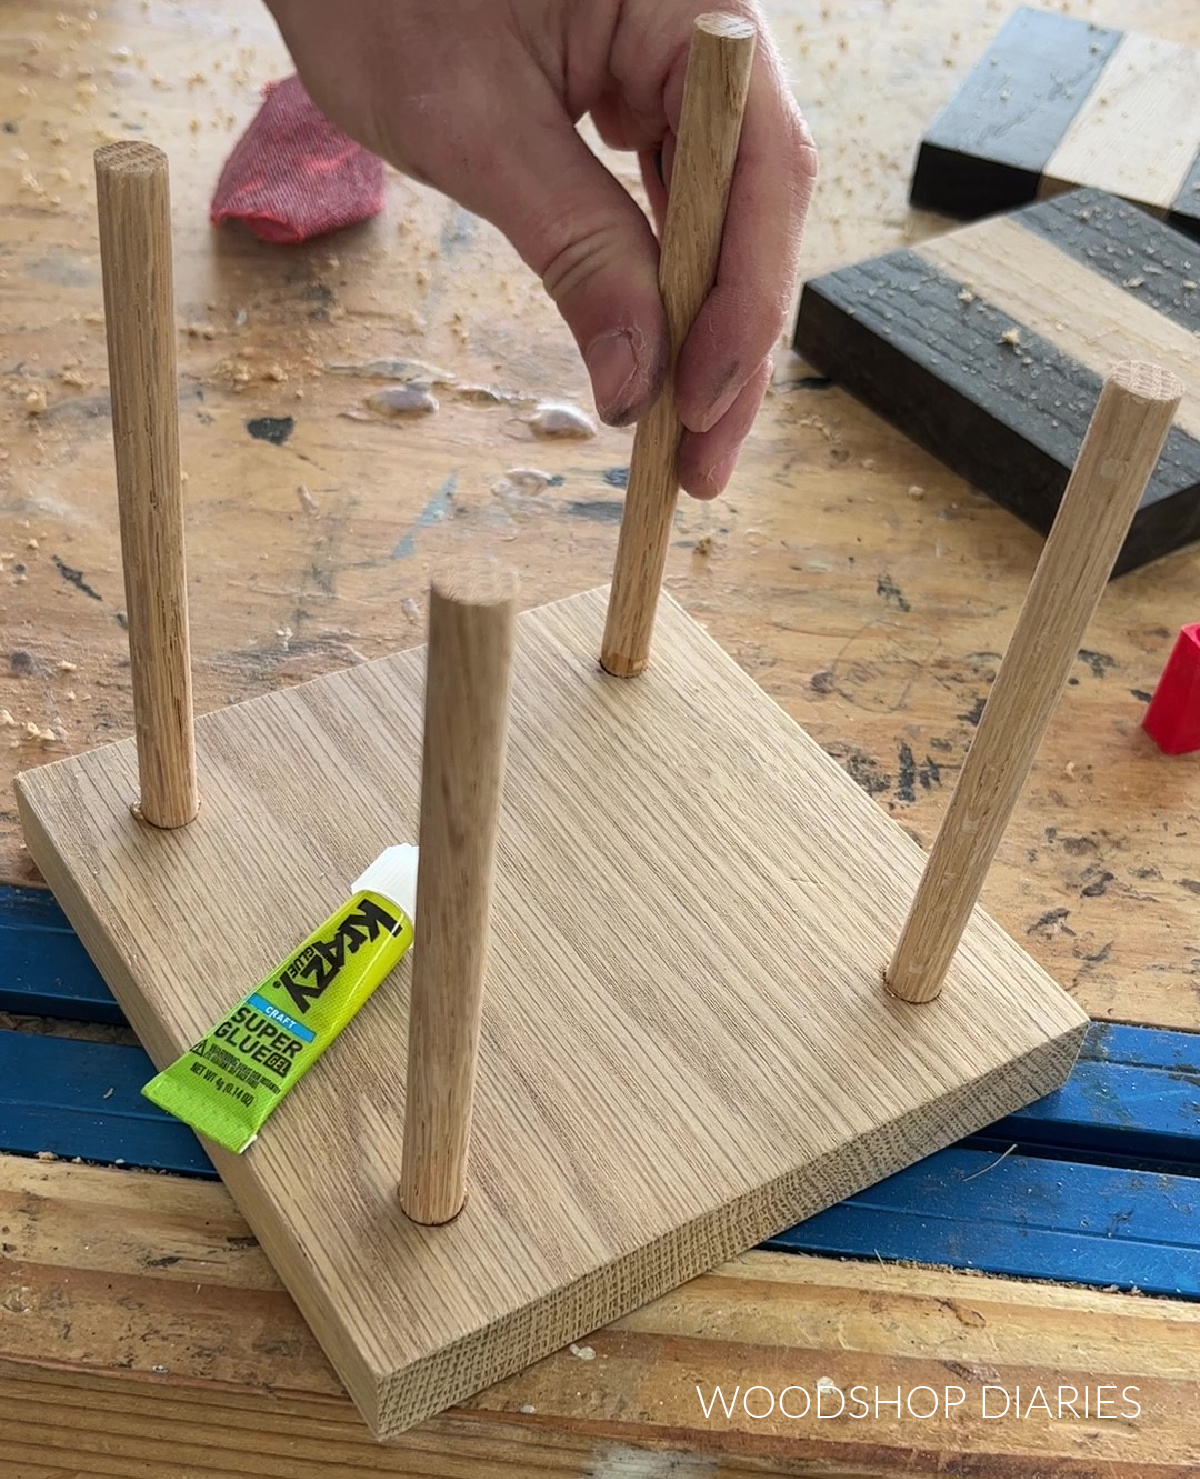
I cut a scrap piece of 1×6 board to 5 ½″ square.
Then, I placed one of the coasters on it at angle so that the corners of the coaster were between the corners of the block on the bottom.
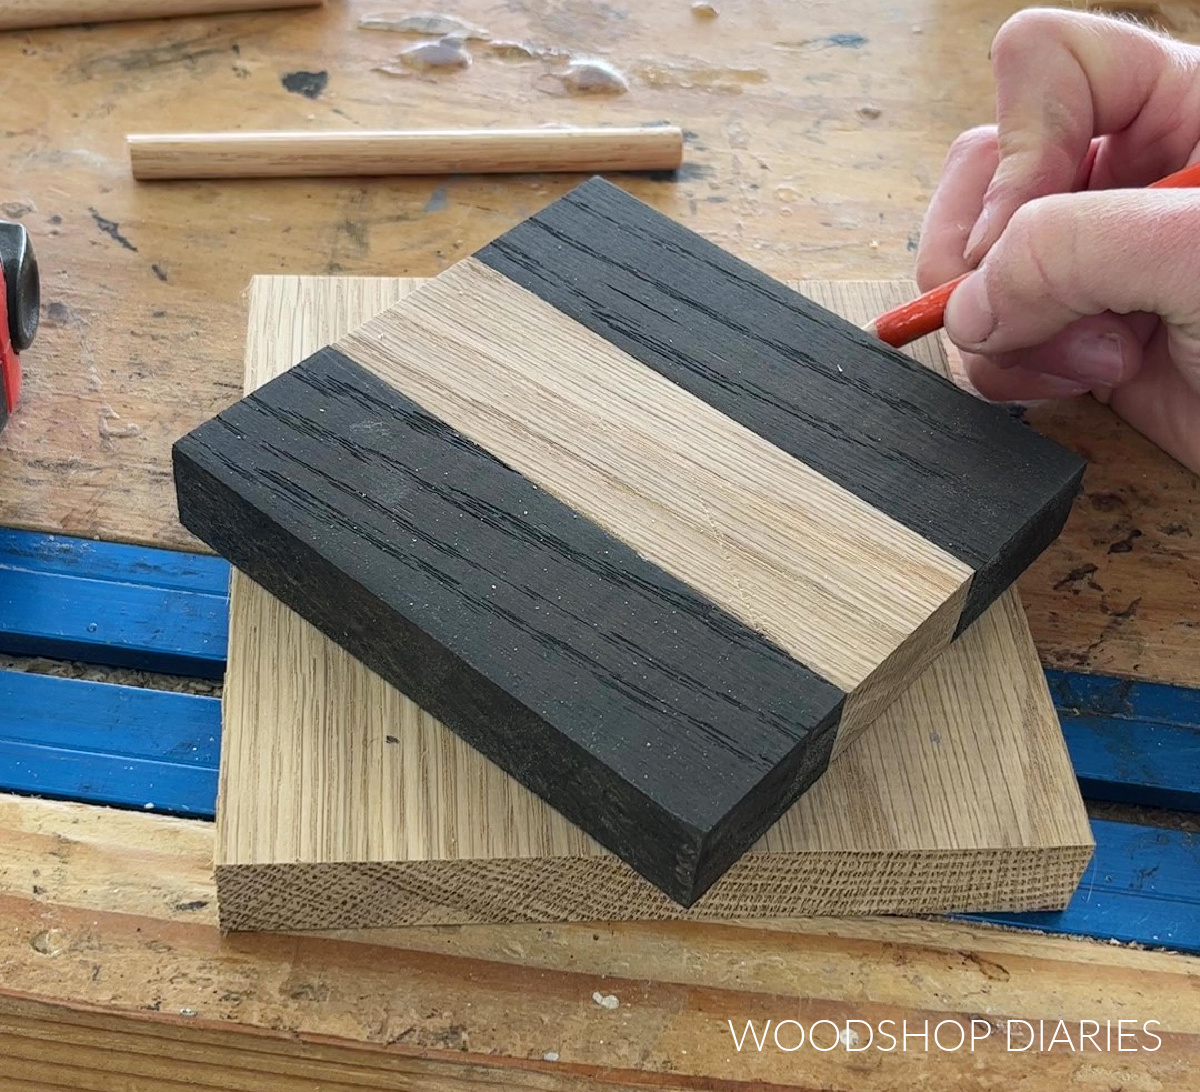
I used a pencil to mark a dot about ¼″ from the edge of the coaster at each corner of the 1×6 square.
Then, I used a ⅜″ forstener bit to drill out shallow holes at these marks.
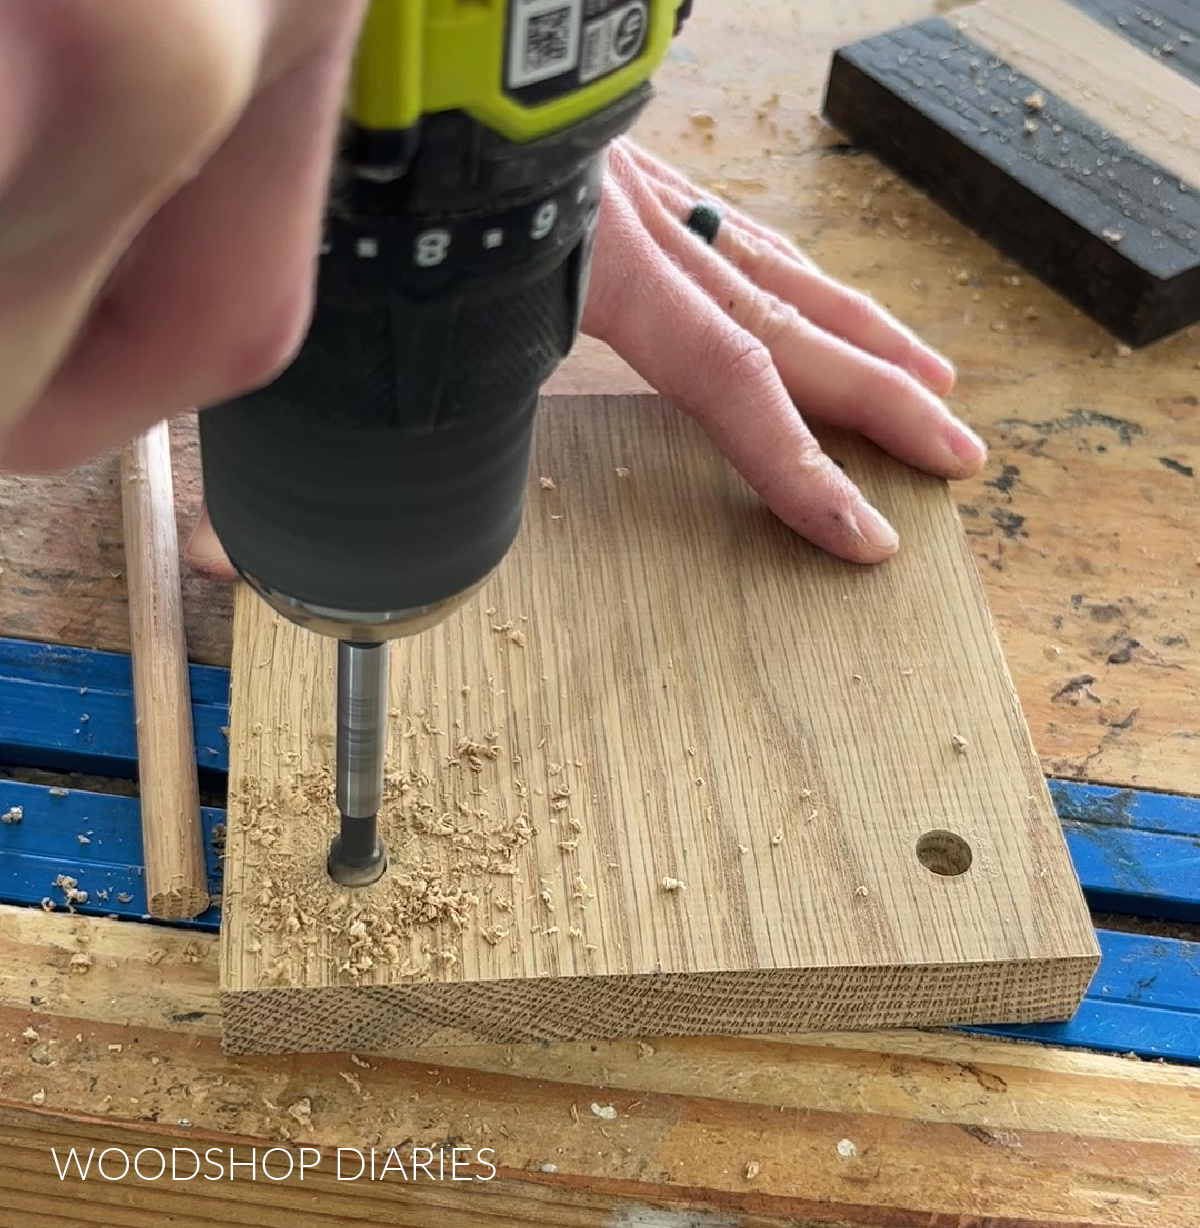
I trimmed 4 pieces of ⅜″ round dowel to 3 ½″ long.
You can measure the height of your coasters stacked together and add about ½″-¾″ to figure your dowel height–or just eyeball it haha.
Then, I used some Krazy Glue Craft Super Glue to glue these into the holes.
Once the glue was dry, I applied a clear coat to this stand and once it was dry, this set was complete and ready to keep or give away as a fun DIY handmade gift!
WANT SOME MORE DIY GIFT IDEAS?
With the upcoming holidays, I’ve teamed up with my friend, Kati, from Houseful of Handmade to share some easy and fun gift ideas you can make this season!
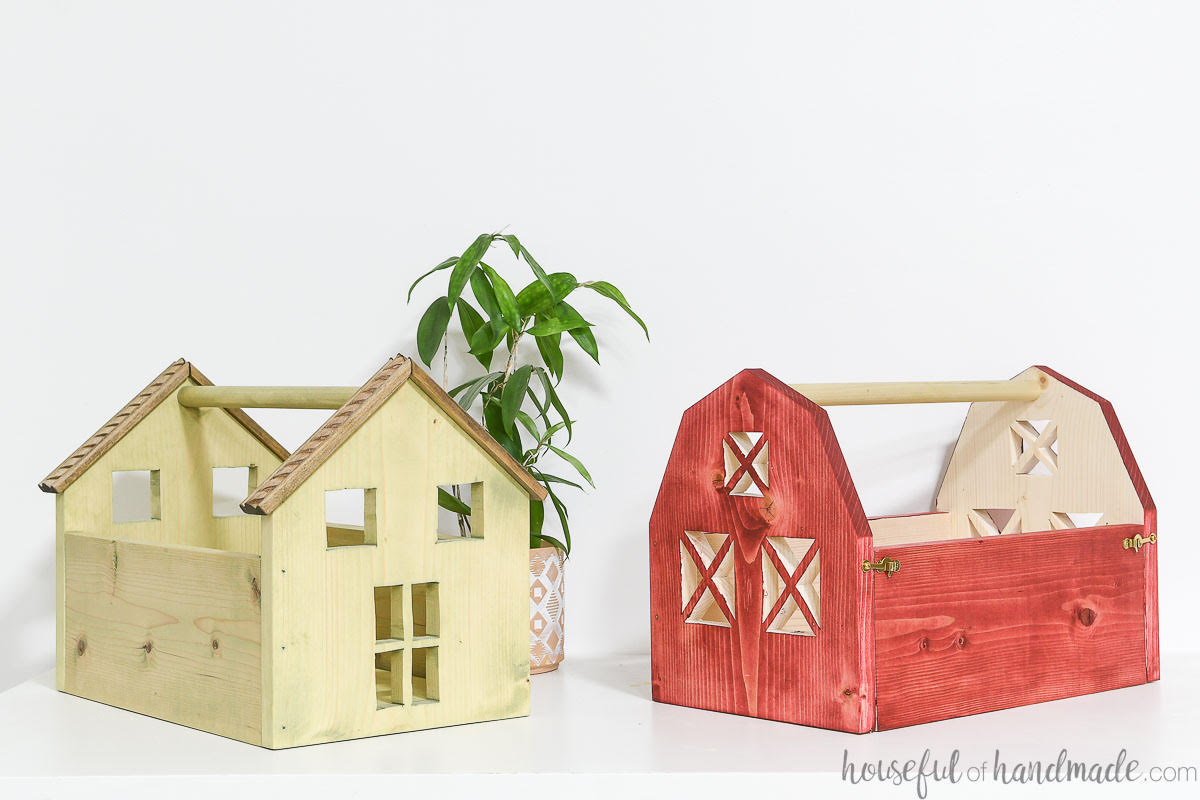

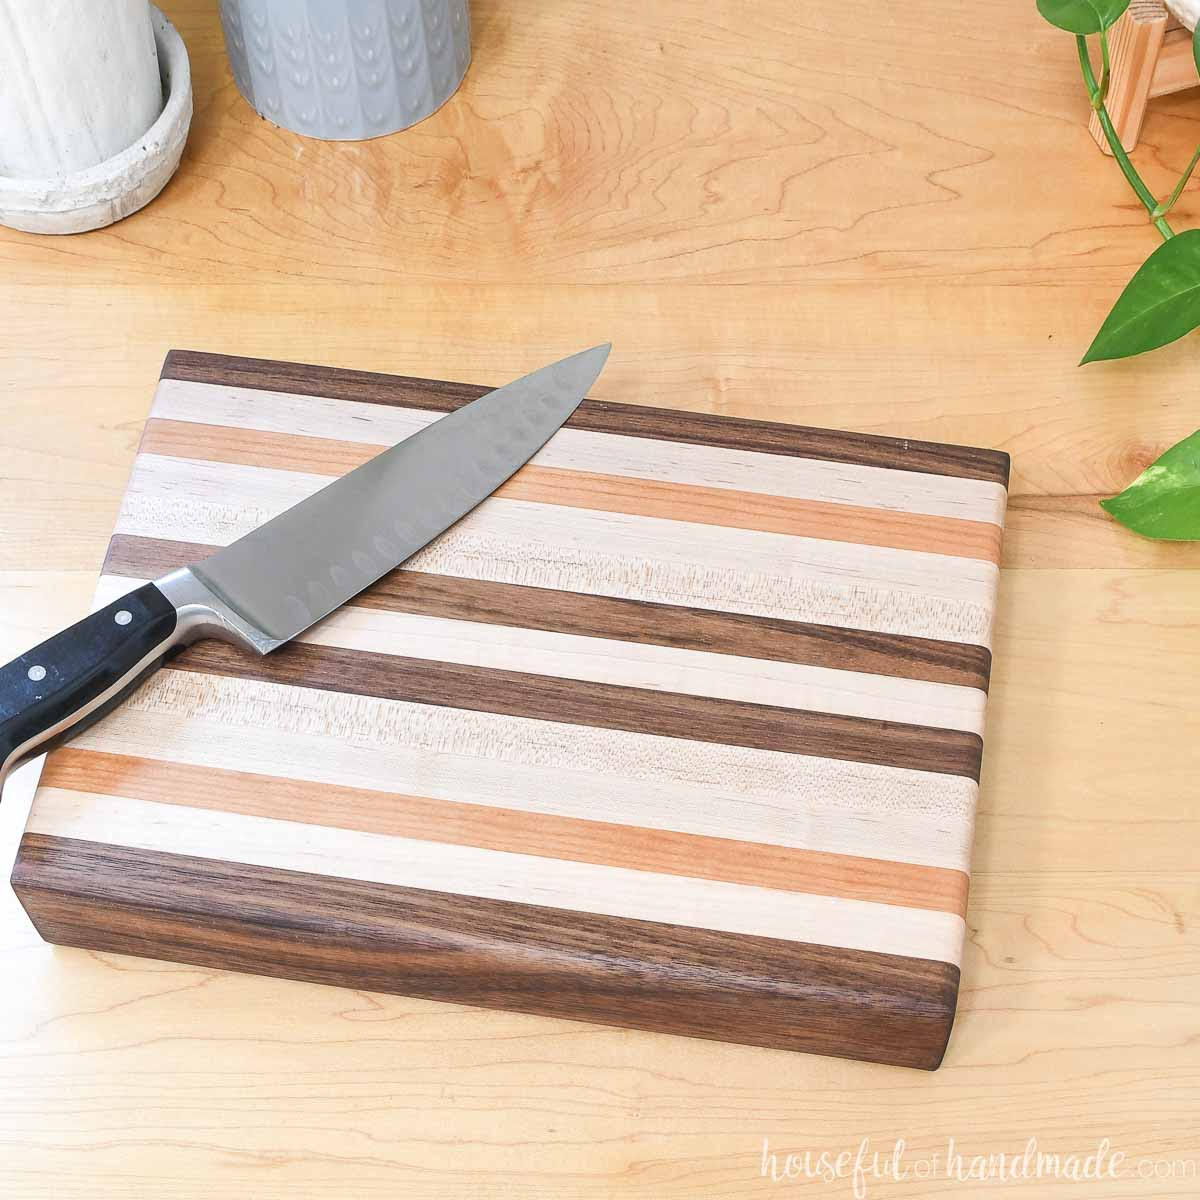
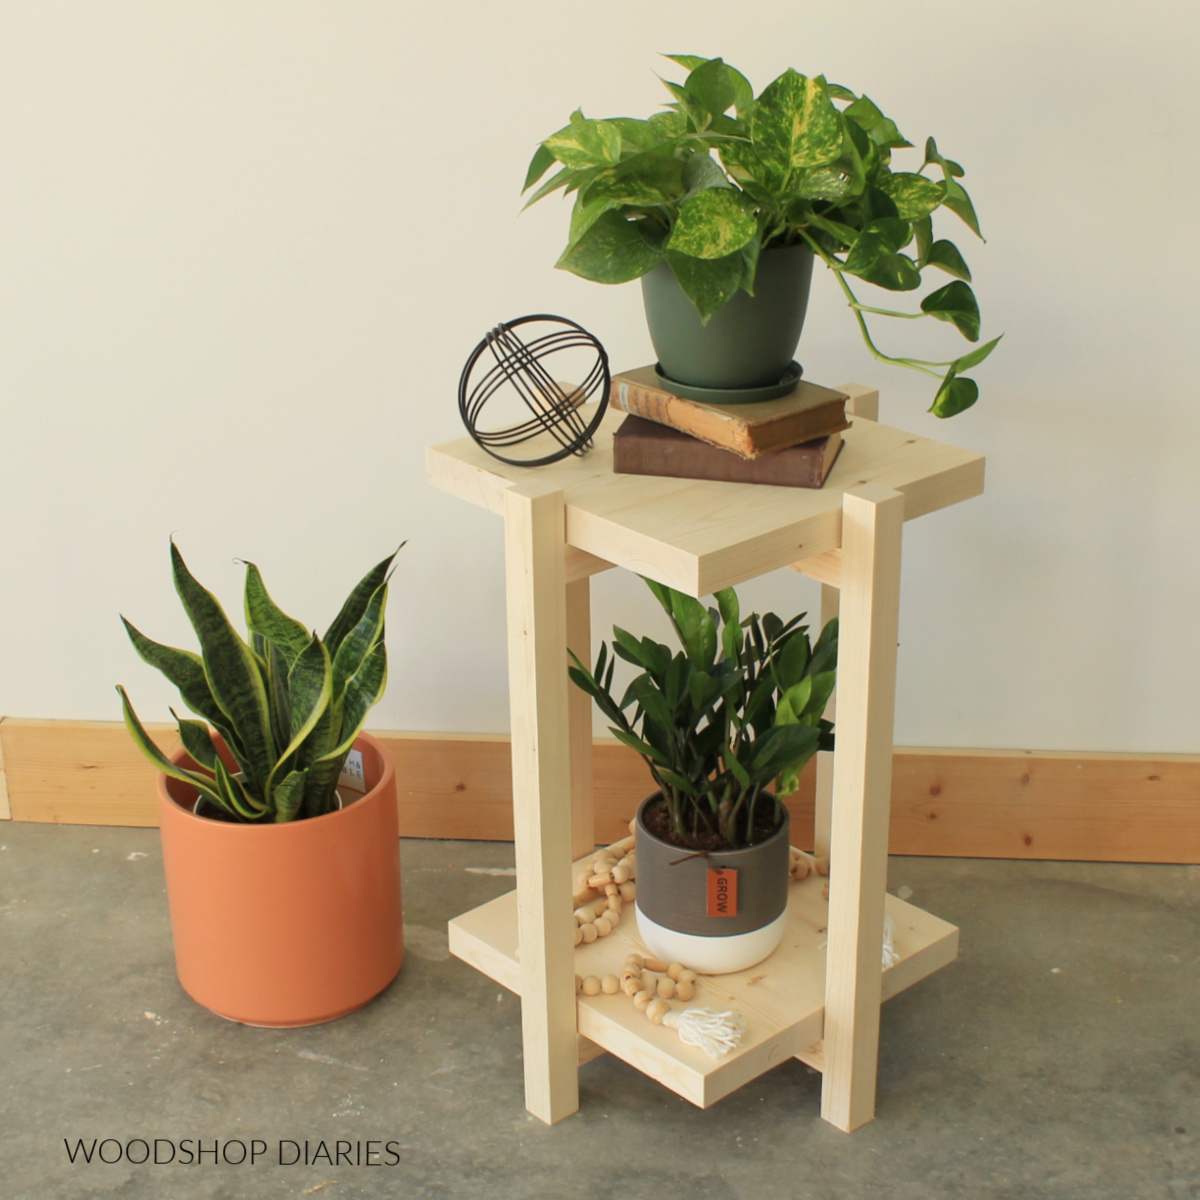
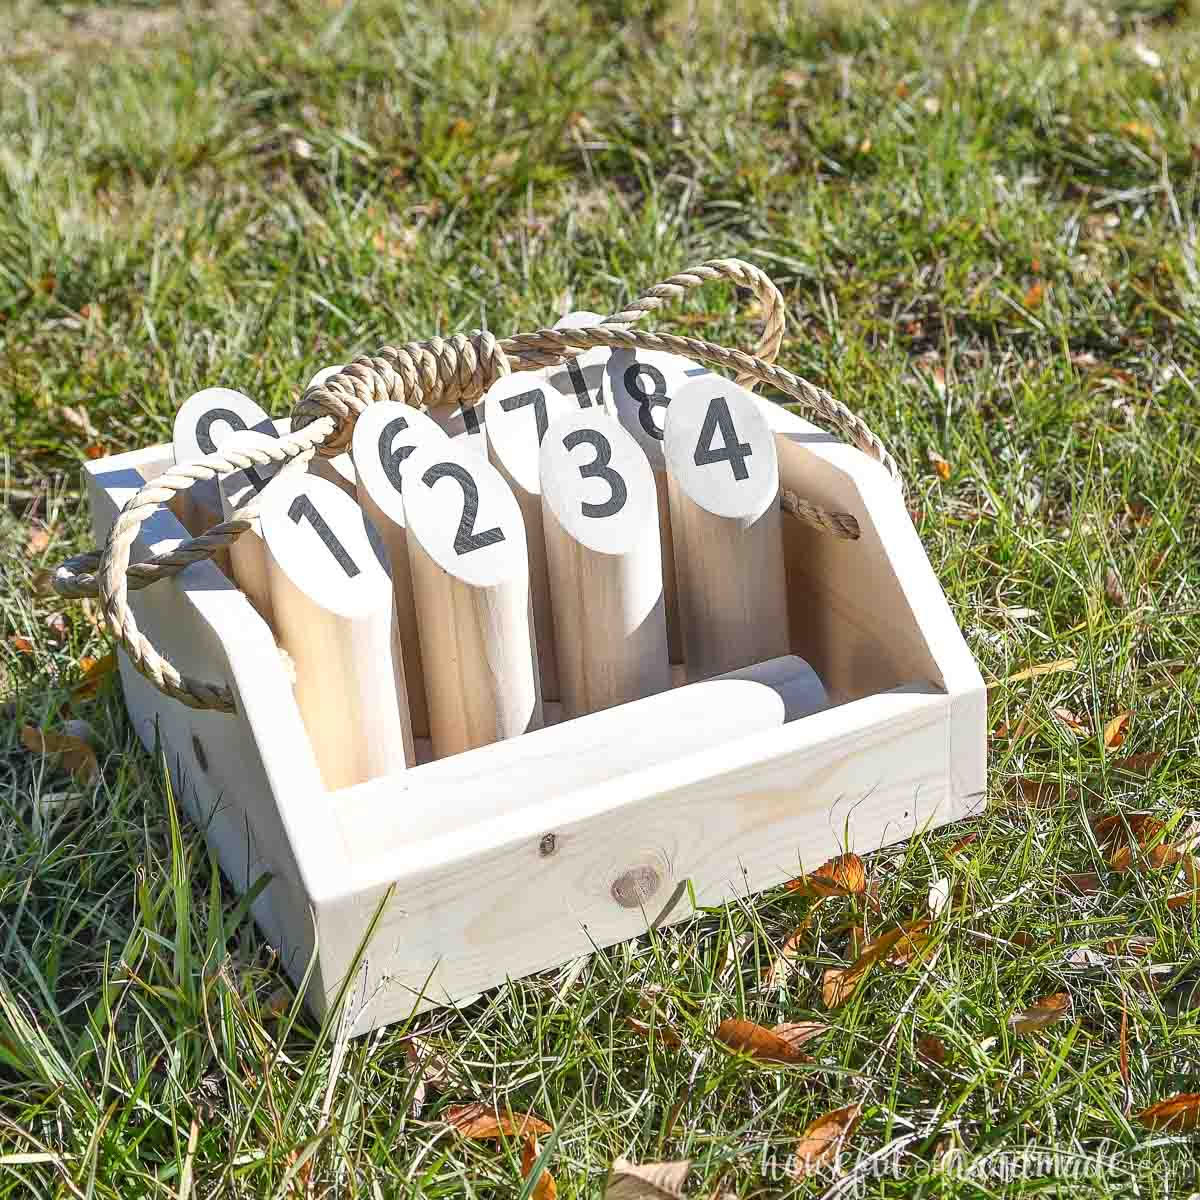
We are adding new projects to this list every day this week, so stay tuned for new ideas!
If you can’t wait to see what’s next, be sure to subscribe to the FREE newsletter below for priority access to all the latest projects and plans!
And if you enjoyed these DIY drink coasters and want to save it for later, don’t forget to pin it and share it to your favorite social channel!

Until next time, happy building!