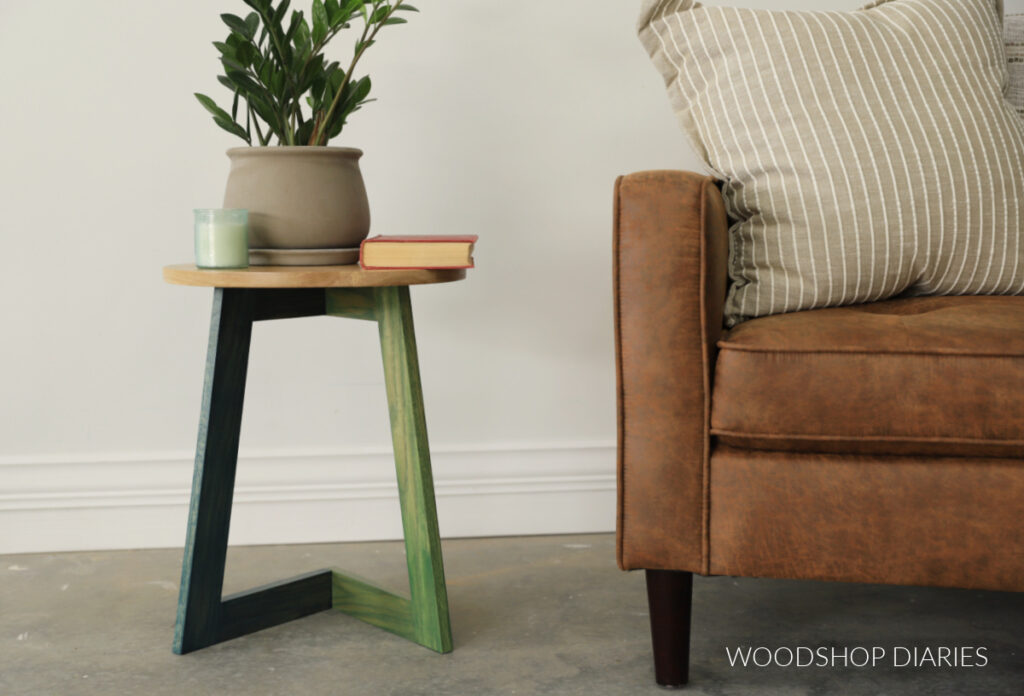
In this post, I’m sharing how to build a unique, modern DIY C-Table from just one 1x6x8 board!
This little table is such a fun and unique design that would be the perfect side table, accent table, or even a simple plant stand.
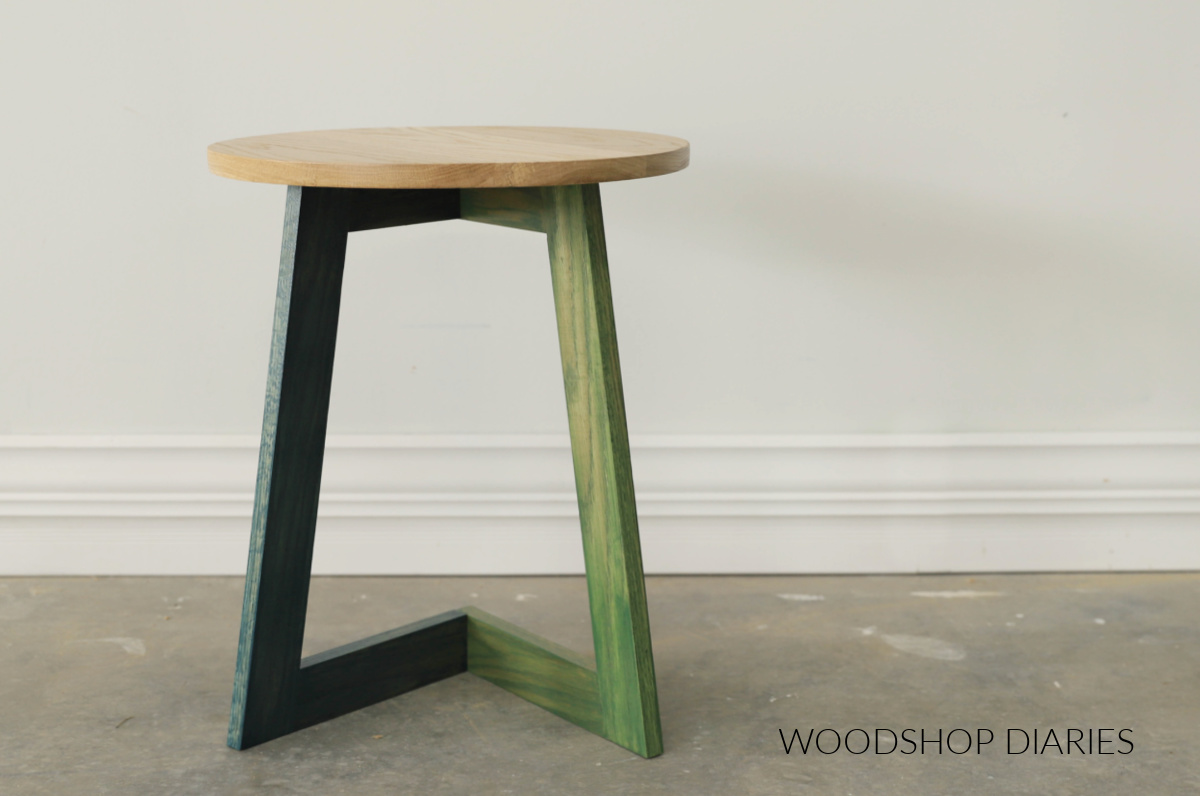
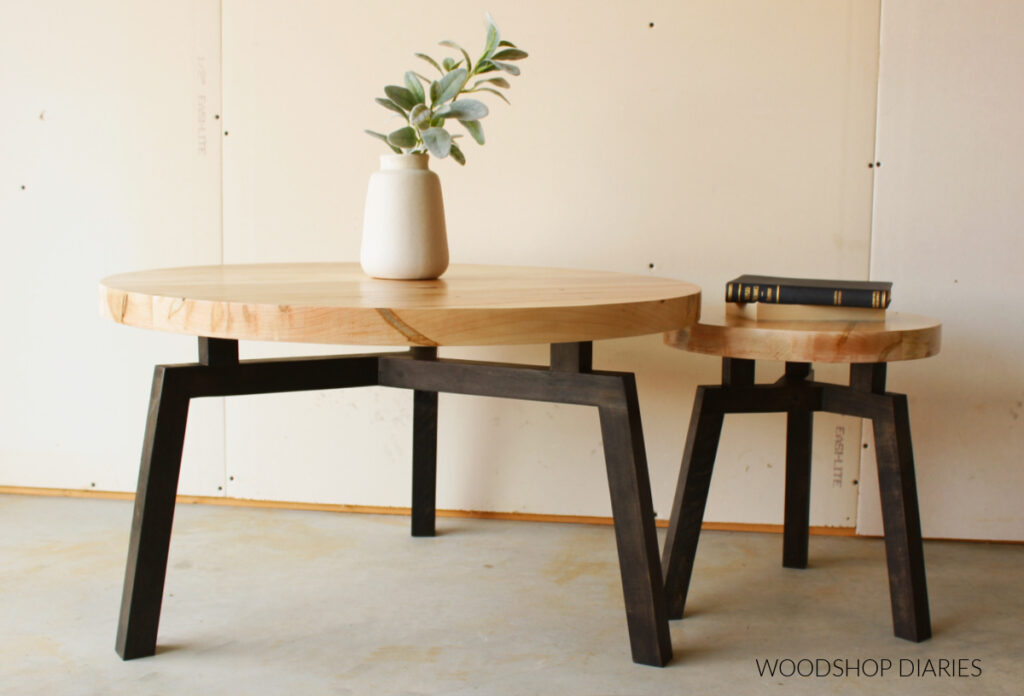
I played around with both design and color with this little table–as you can see. But if you like to keep things more neutral, this would also look great with a black or white base, too!
Since it’s such a small project and it’s assembled in sections, it’s a great opportunity to get creative with it. Customize the size and color to match your own style.
If you’re ready to see how to build it from JUST ONE BOARD, let’s dive in.
*This post contains affiliate links. See website policies.
What You’ll Need
Tools:
- Miter saw
- Table saw (or circular saw and straight edge)
- Jig saw
- Drill/Driver
- Pocket hole jig OR Dowel jig
- Clamps
Materials:
- (1) 1x6x8 board
- 1 ¼″ pocket hole screws OR 1 ½″ dowel pins
- Wood Glue
- Figure 8 fasteners OR 90 degree corner brackets (to attach top)
What to know before building
You should be able to complete this build in a few hours–most of which is spent waiting on glue to dry haha.
This project is not difficult, but the angles may seem a big confusing. Don’t let them intimidate you!
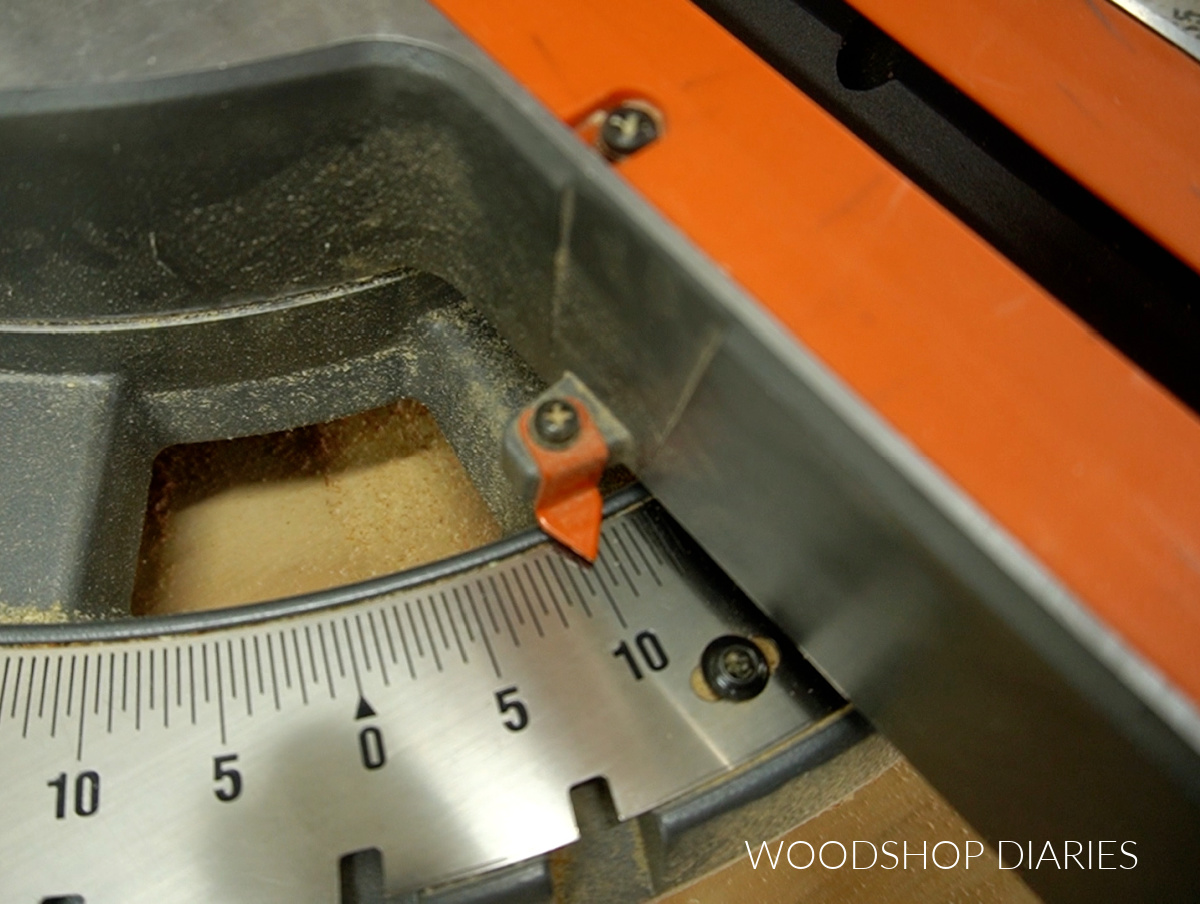
All angles in this project are mitered 10 degrees to keep things simple.
NOTE: You’ll notice, if you watch the video below, that I mention that I beveled AND mitered some of the pieces. However, the bevel only made things more complicated but made little to no difference in the overall design.
If I were to build this again, I wouldn’t bother with the bevels, so in the instructions below, I omitted the bevel to keep things simpler. All angles are MITERED ONLY–no bevels.
Assemble with Pocket Holes or Dowels
You can assemble these pieces using pocket holes or dowels. Either would work fine.
If you use dowels, you’ll need a dowel jig and dowel pins. But if you use pocket holes, you’ll need a pocket hole jig and 1 ¼″ pocket hole screws.
RELATED: How to use a pocket hole jig
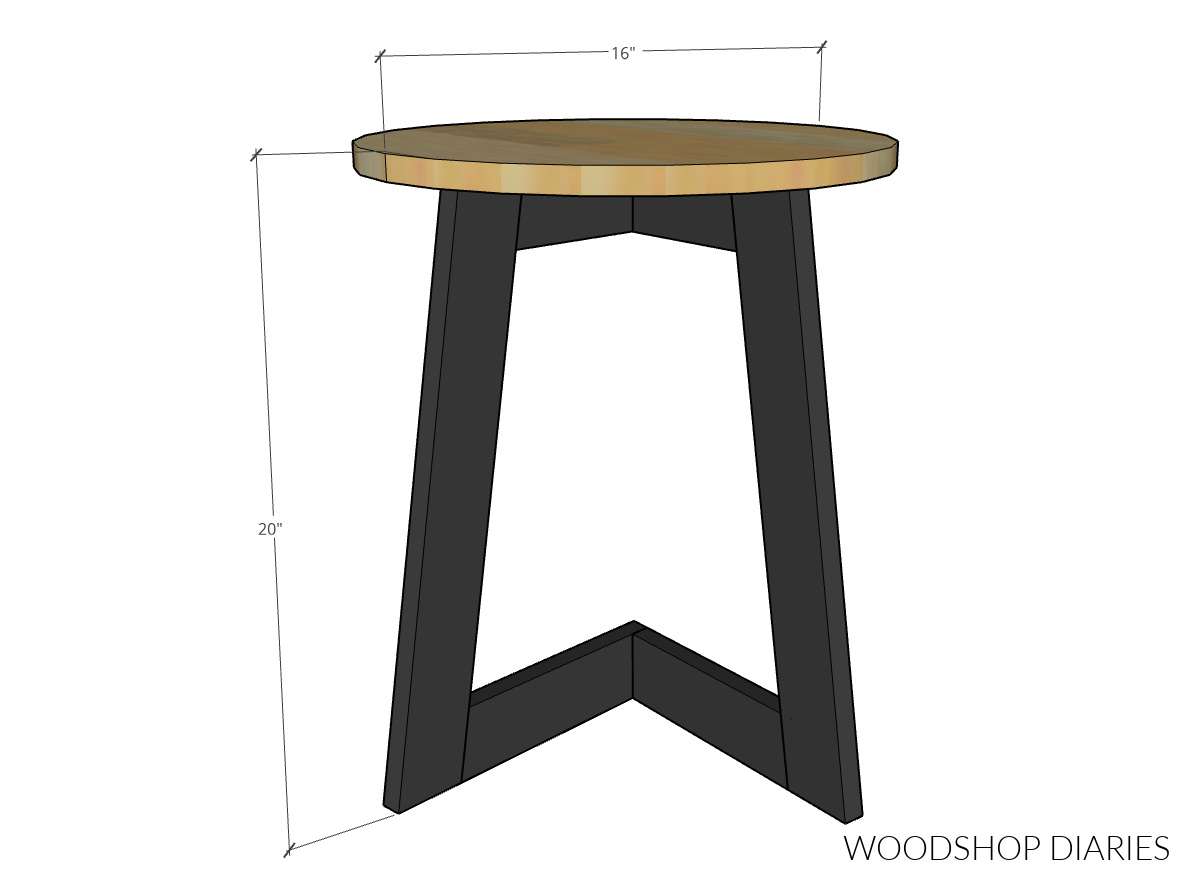
Overall dimensions:
The overall dimensions of this small DIY C-Table is 16″ diameter x 20″ tall.
Want to be the first to know about new projects and plans? Join our newsletter for priority access to new posts, tips, and projects!
How to Build a Modern C-Table
If you prefer to watch, I’ve got a complete build video on my YouTube channel here:
Are DIY project videos your thing? Subscribe to my YouTube channel for the latest project videos, bloopers, and behind the scenes action.
Step 1: Cut C-Table Pieces
First, I cut three 16″ long pieces from the 1×6 board to glue up for the table top in step 2. I set these aside for now.
I ripped the remaining 1×6 into two 2 ½″ wide strips (which makes them 1x3s) using a table saw. If you don’t have a table saw, you can CAREFULLY use a jig saw or circular saw and straight edge to rip these instead.
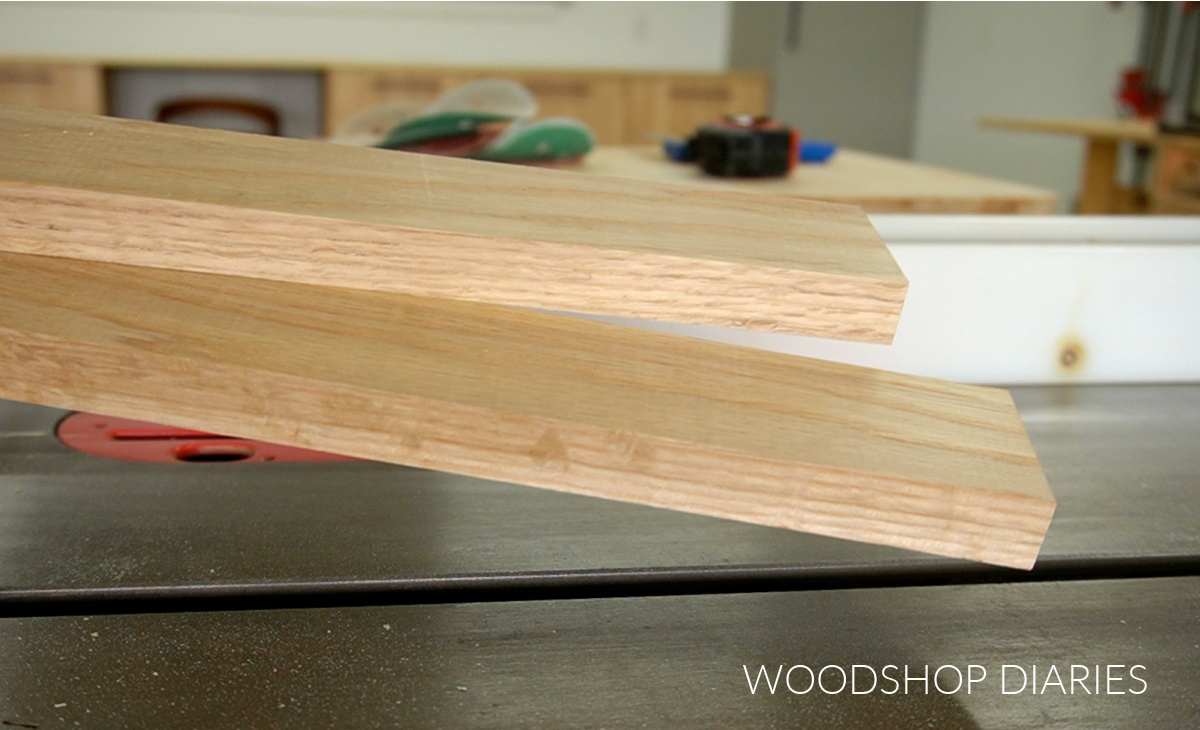
From these 2 ½″ wide boards, I cut the following pieces:
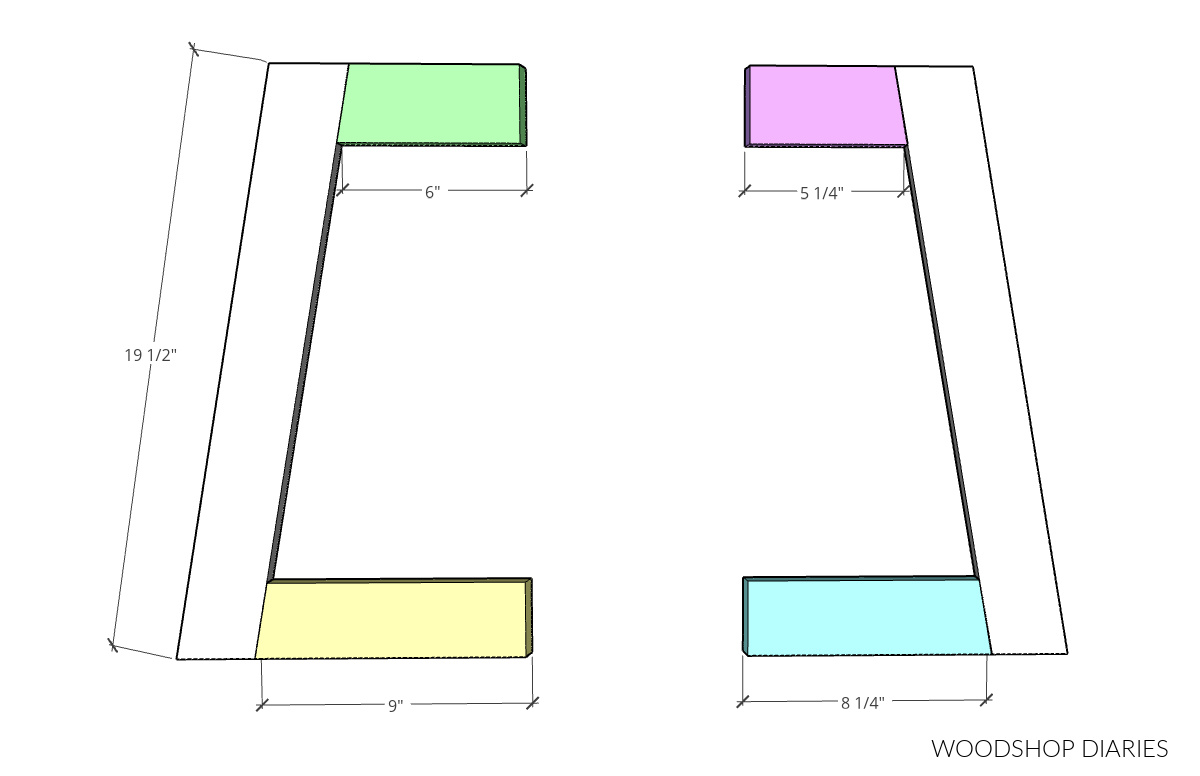
- (2) 19 ½″ with ends mitered 10 degrees
- (1) 5 ¼″ with one end mitered 10 degrees
- (1) 6″ with one end mitered 10 degrees
- (1) 8 ¼″ with one end mitered 10 degrees
- (1) 9″ with one end mitered 10 degrees

Step 2: Assemble Table Top
To make the table top, I simple edge glued the three 16″ long pieces together to make a panel about 16″ x 16 ½″.
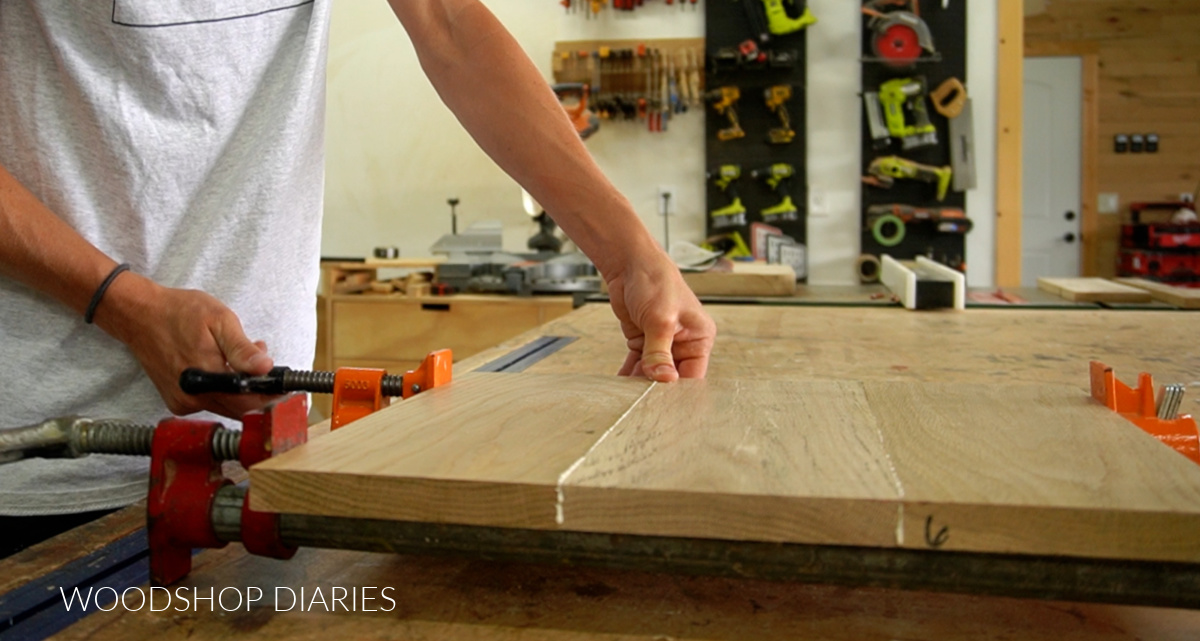
You can use dowels, biscuits, or pocket holes and screws to join these boards, but just wood glue and some time in the clamps works just fine.
RELATED: How to build a table top
Once the glue had dried (refer to your specific glue type and environmental factors for dry times), I removed it from the clamps. You can keep this table top as a rectangle if you’d like, but I wanted mine round.
So I found the center, drove a screw in, and used a tape measure to draw a circle with diameter about 16″ (or slightly less). Check out this post to learn how to draw a perfect circle in any size.

I used a jig saw to carefully cut out this circle, then sanded it well and set it aside.
TIP: When cutting circles using a jig saw, it’s difficult to cut it PERFECT. That’s okay! I recommend cutting a little outside the line, then using a sander to smooth it out and remove the material just up to the line.
Or, if you prefer using a router to a jig saw, you can make a circle jig for your router and cut it out that way instead.
Step 3: Assemble Table Base
The table base is made up of two separate pieces. One short and one long piece attach to one leg. And another short and long piece attach to the other leg.
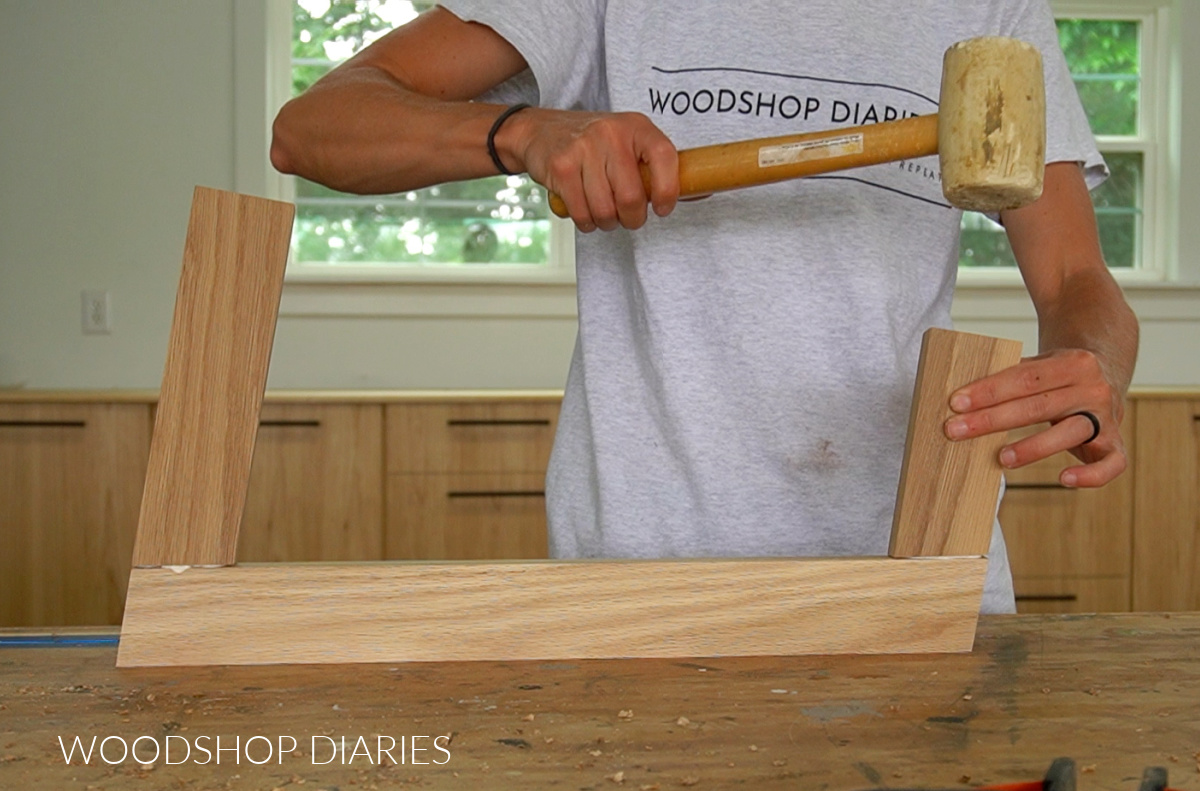
You can attach these pieces using pocket holes or wood glue and dowels (see notes above). I used wood glue and dowels because I didn’t want to see the pocket holes in the finished project.
You can always plug your pocket holes if you don’t want to see them, but I didn’t have any oak plugs to match the oak I was using here.
But it’s important to make sure that the 5 ¼″ and 8 ¼″ pieces are attached to one leg. And the 6″ x 9″ pieces should be attached to the other leg.
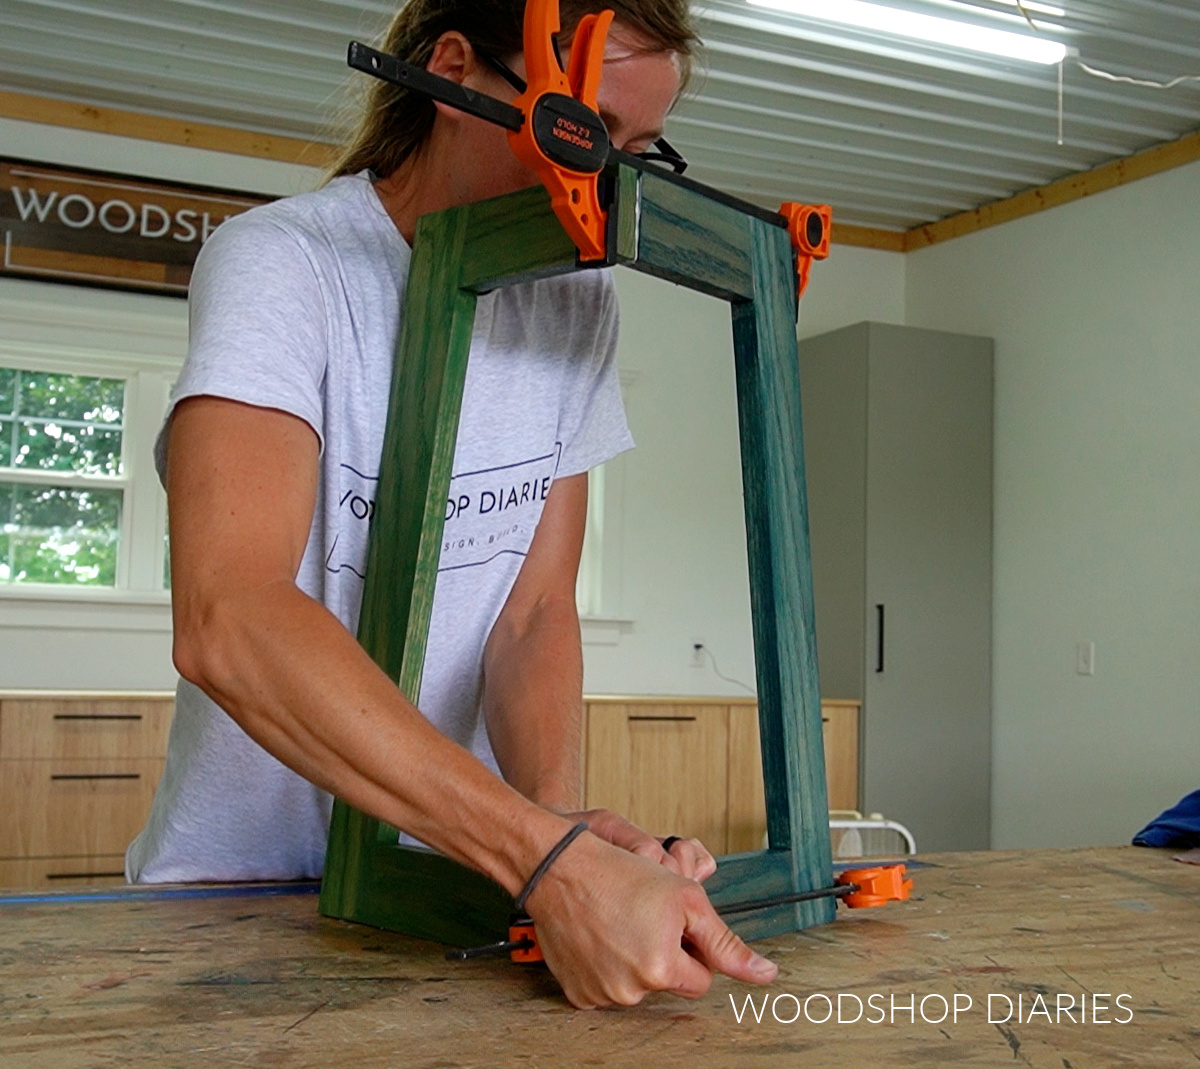
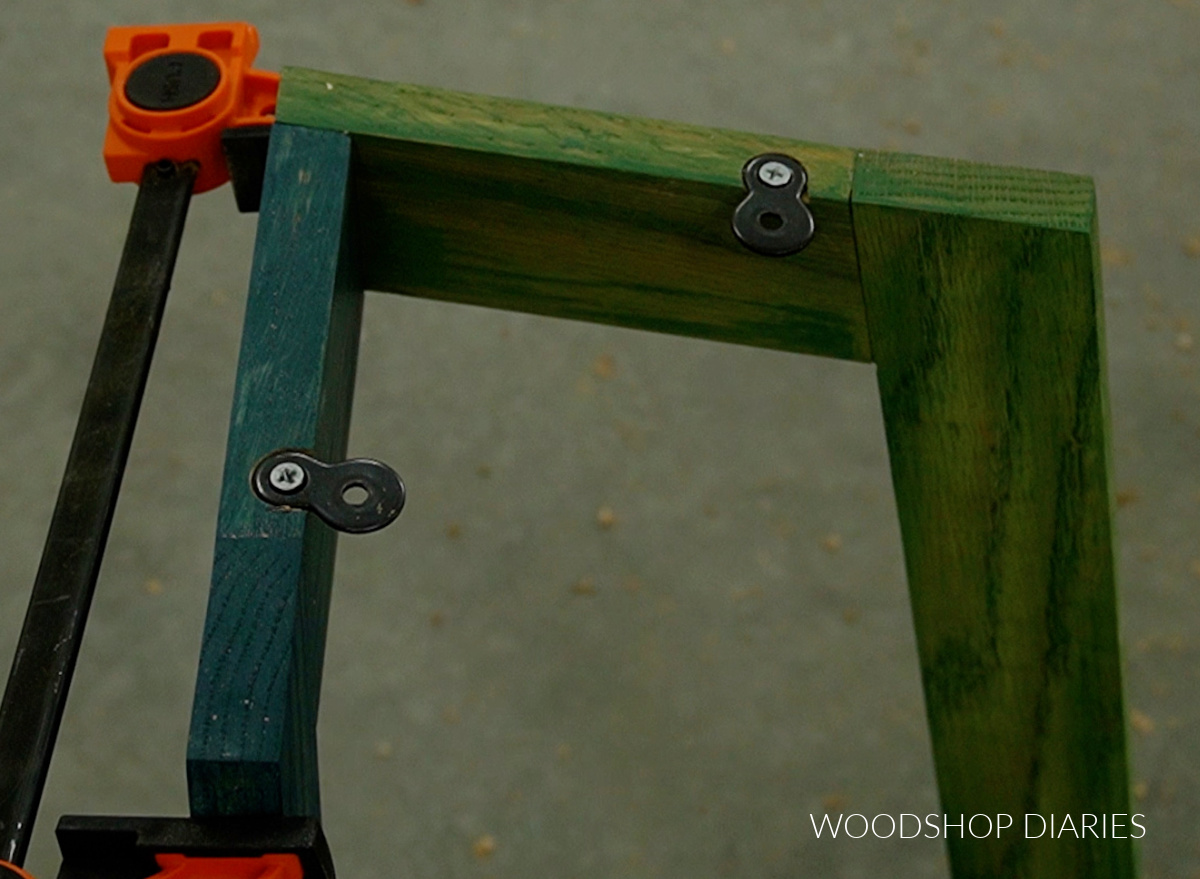
Once these two assemblies were made, I attached them together to complete the table base.
I just added a bead of wood glue and butted the short side up to the long side and clamped until dry.
My base seems to be holding up well with just glue. However, if you want some additional holding power besides glue alone, a couple finish nails or screws at the joint won’t hurt.
NOTE: If you want to finish your pieces in separate colors, apply finish BEFORE attaching them together. This will make it much easier than trying to stain/paint them different colors after they’re glued up.
I stained my table leg assemblies separately with Minwax Water Based Solid Wood Stain–one was Early Spring and the other was Royal Pine.
Step 4: Attach Table Top to Table Base
Once the table top and table base are both assembled, the last part is simply putting them together to complete the table!
There are several ways to attach the top to the base. An easy option is simply using 90 degree corner brackets–attach one end to the table base and the other to the underside of the table top.
Using figure 8 fasteners is another option and that’s what I used in this case. Figure 8 fasteners are a simple way to attach a table top to a base and still allow for wood movement.
I used a ⅝″ forstener bit to drill two very shallow holes on the top of the table base. These should be just deep enough that the fastener sits into them and is flush across the top.
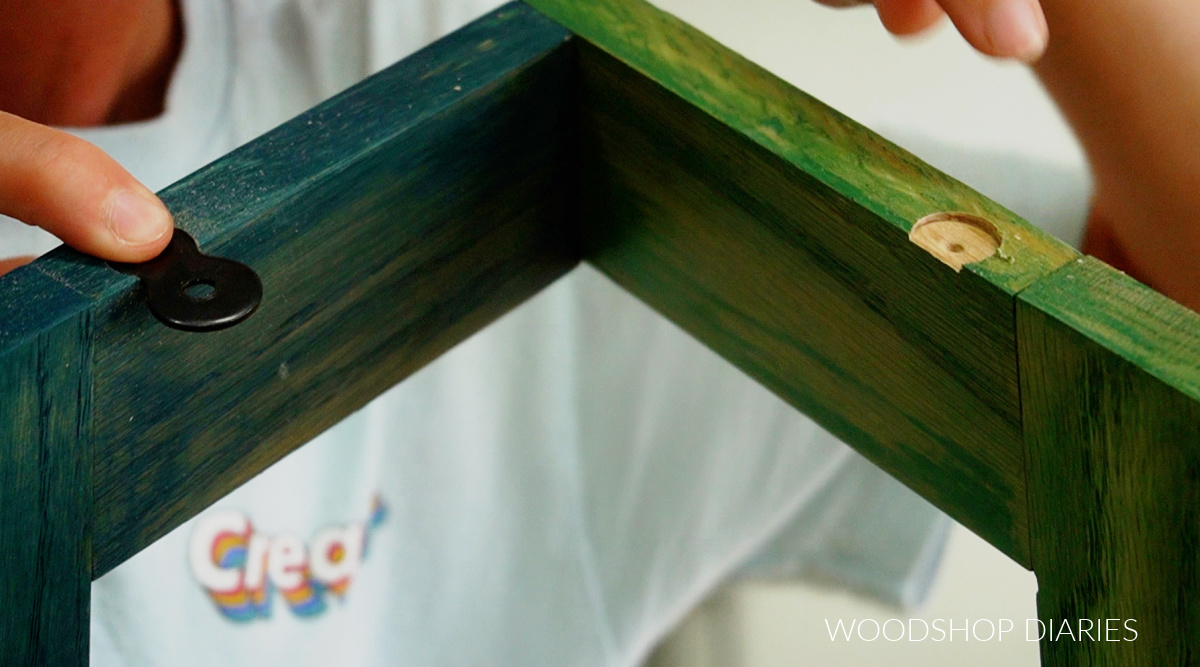
Then I chiseled out the edges a little so that the figure 8 fastener is able to swivel in these holes. I secured the fasteners to the base with two small wood screws.
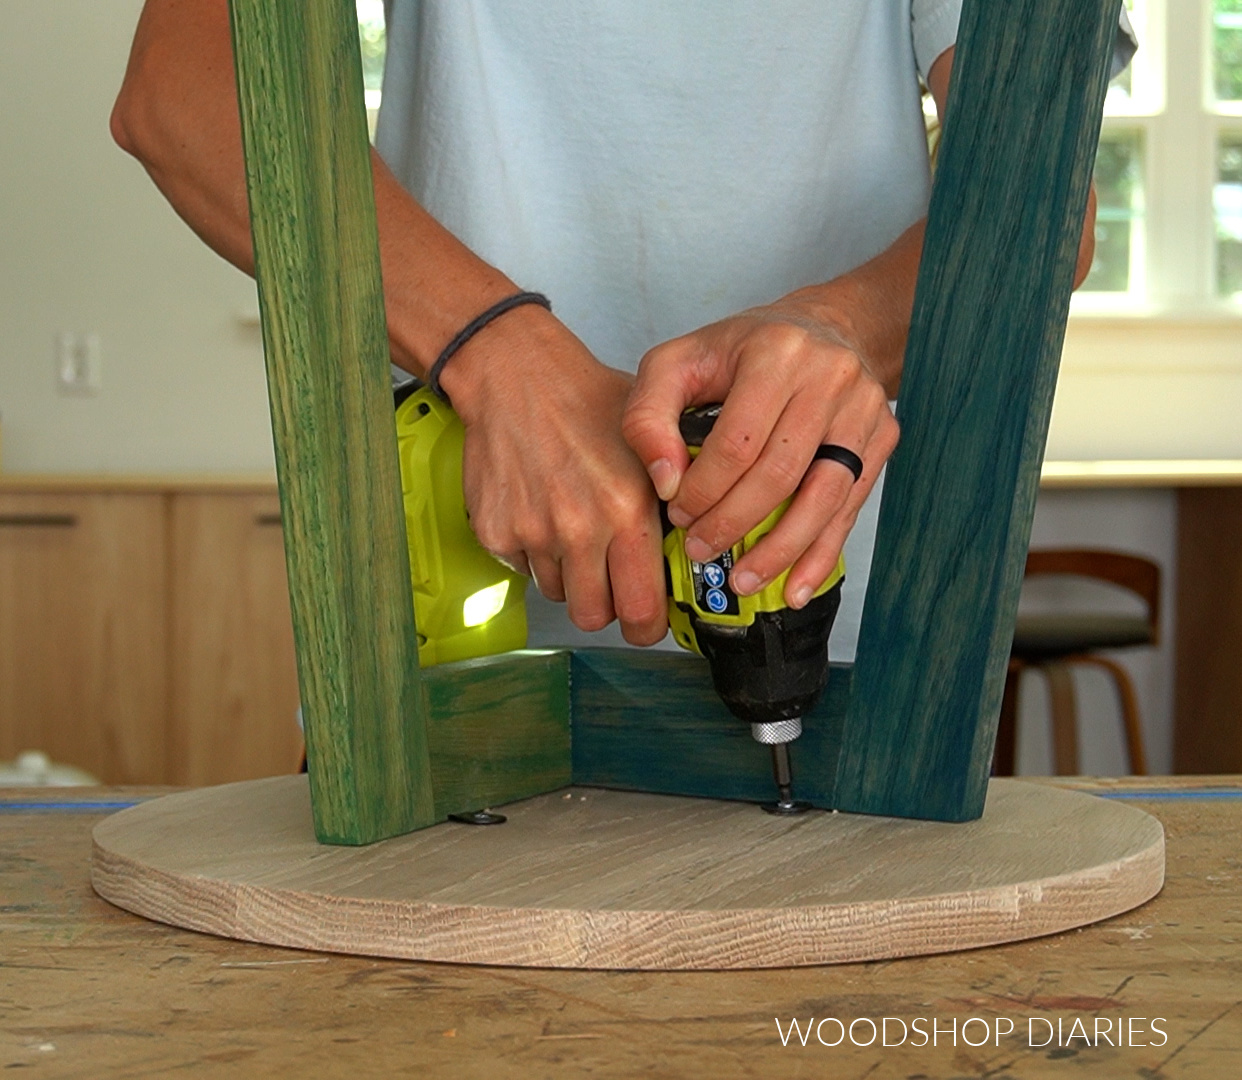
Then I flipped the table top upside down on the workbench and centered the table base upside down on it. I secured the fasteners to the top with two more small wood screws.
Step 5: Finish and Enjoy
And at that point, the assembly is complete and all that’s left is the finishing. I had already stained the base, but I applied a couple coats of Minwax Polycrylic Semi-Gloss to the top and the base to seal it and give it a little shine.
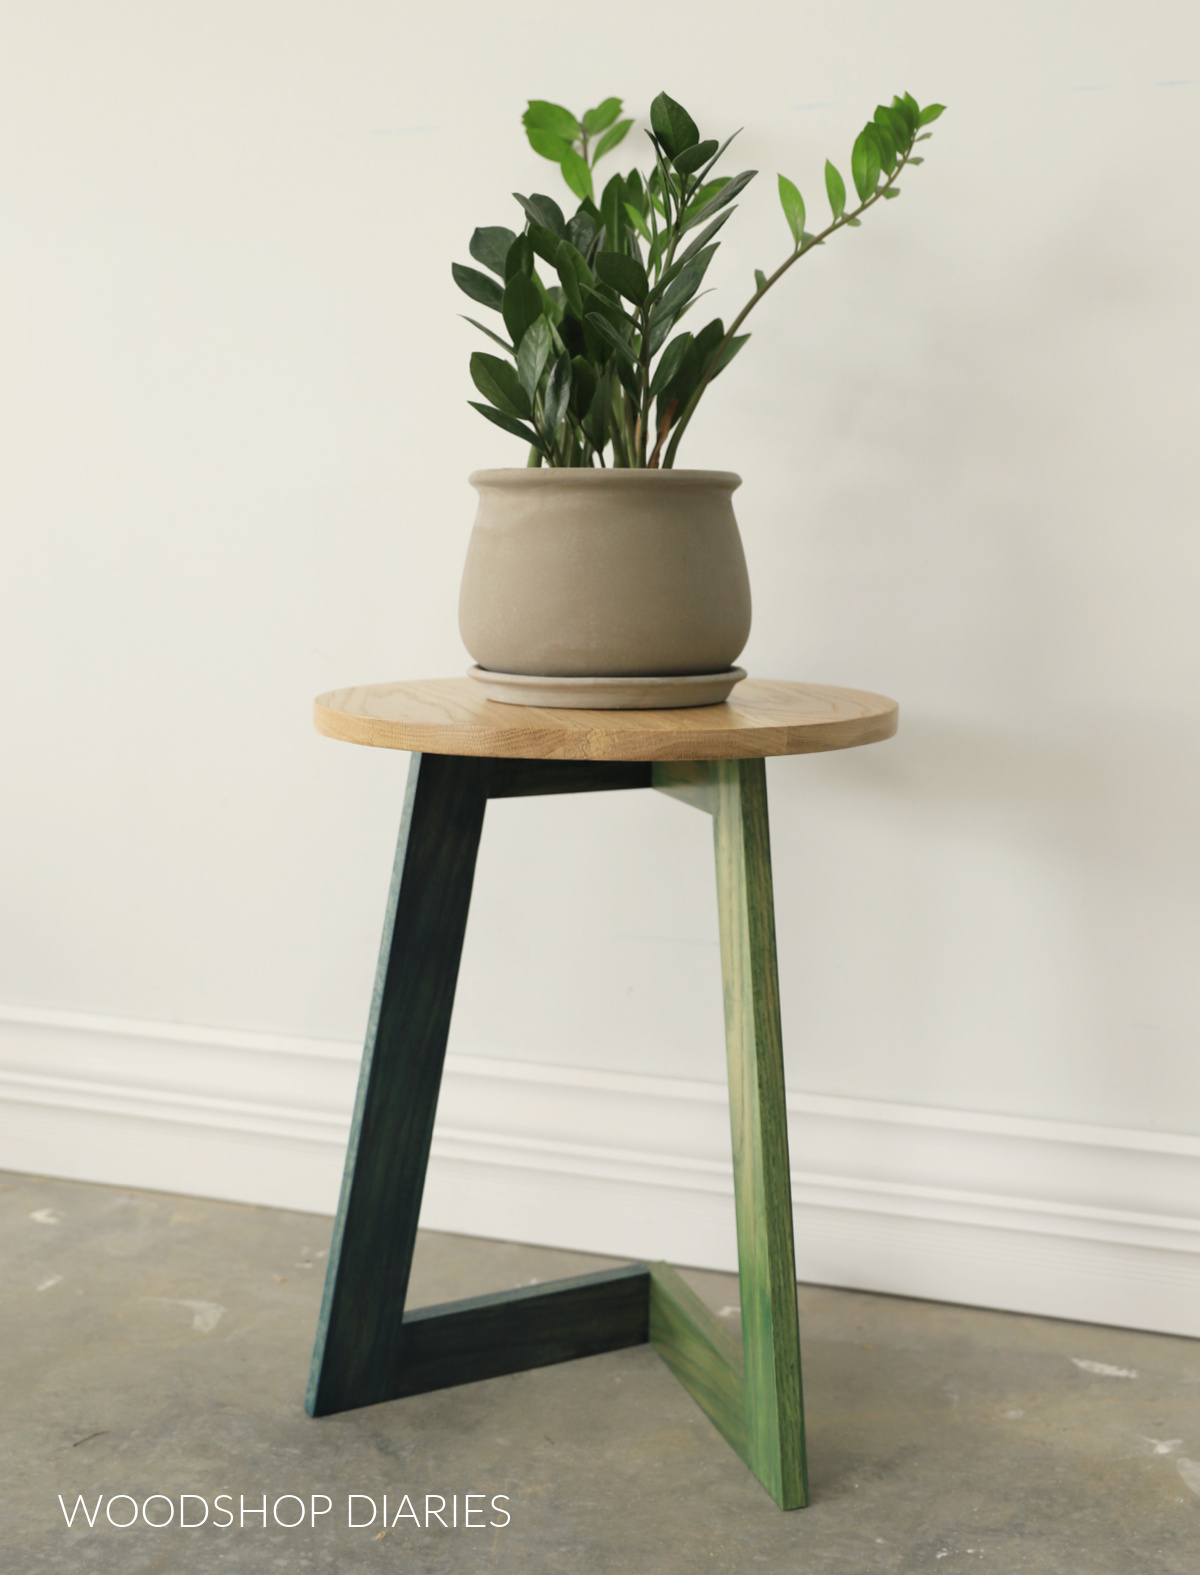
Once this was dry, this little DIY C table was ready for use! This makes such a fun little plant stand table, side table, or even a simple minimalist nightstand.

You could even use it as a stool!
No matter how you plan to use it, I hope you enjoyed watching how it was made!
Looking for more project ideas?
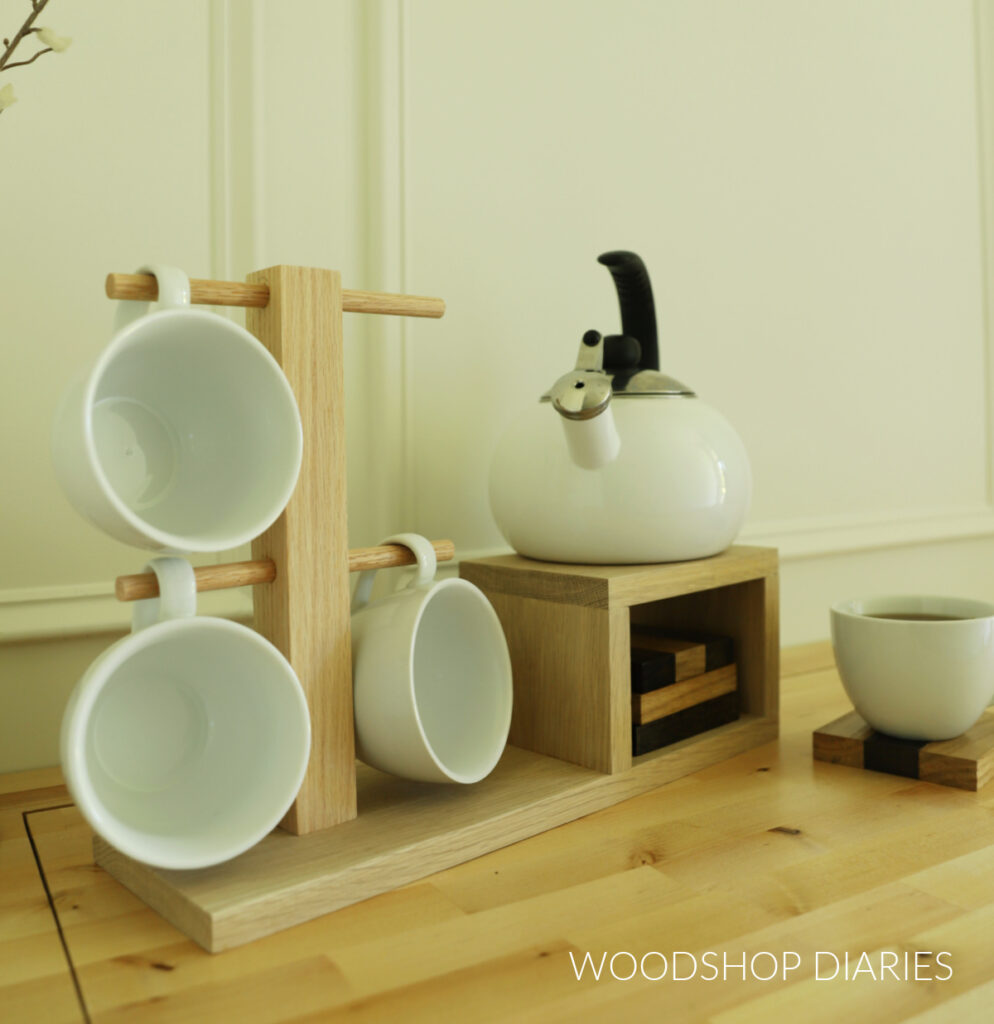
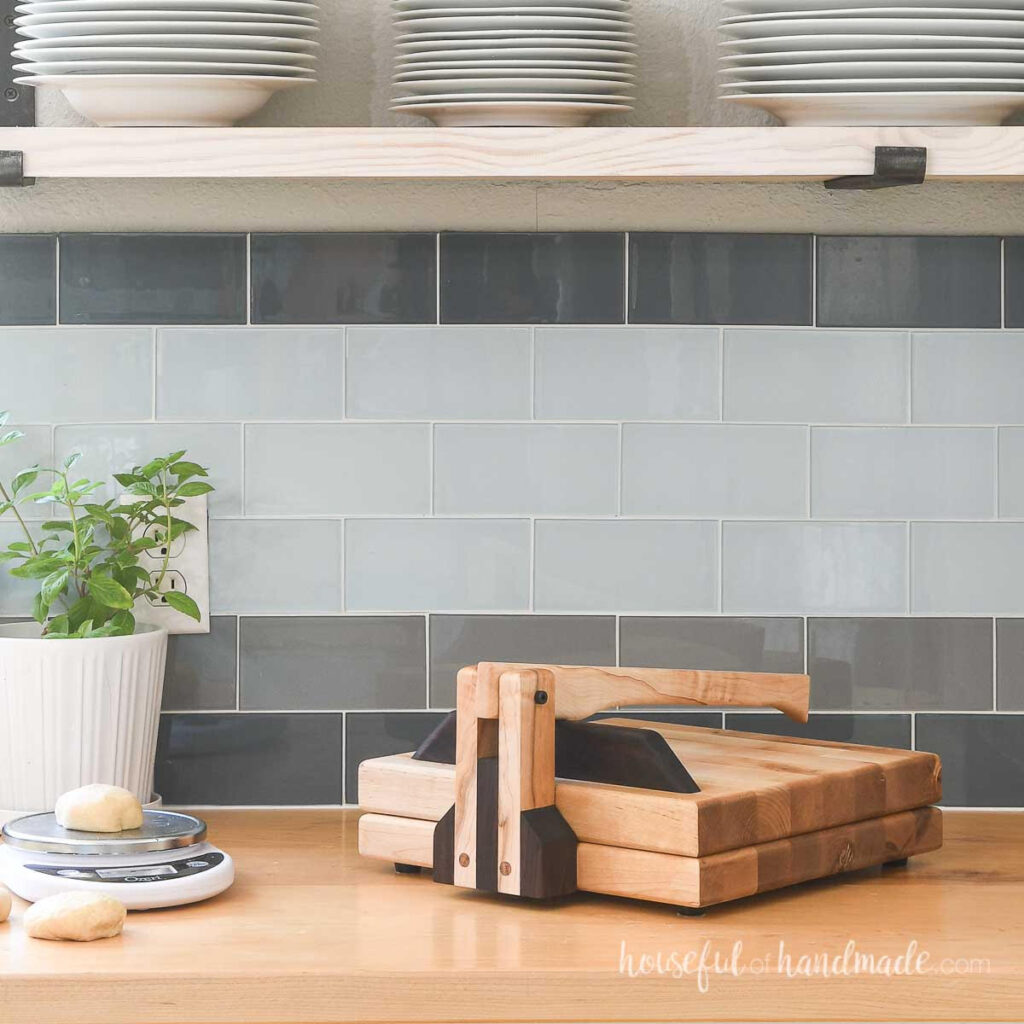
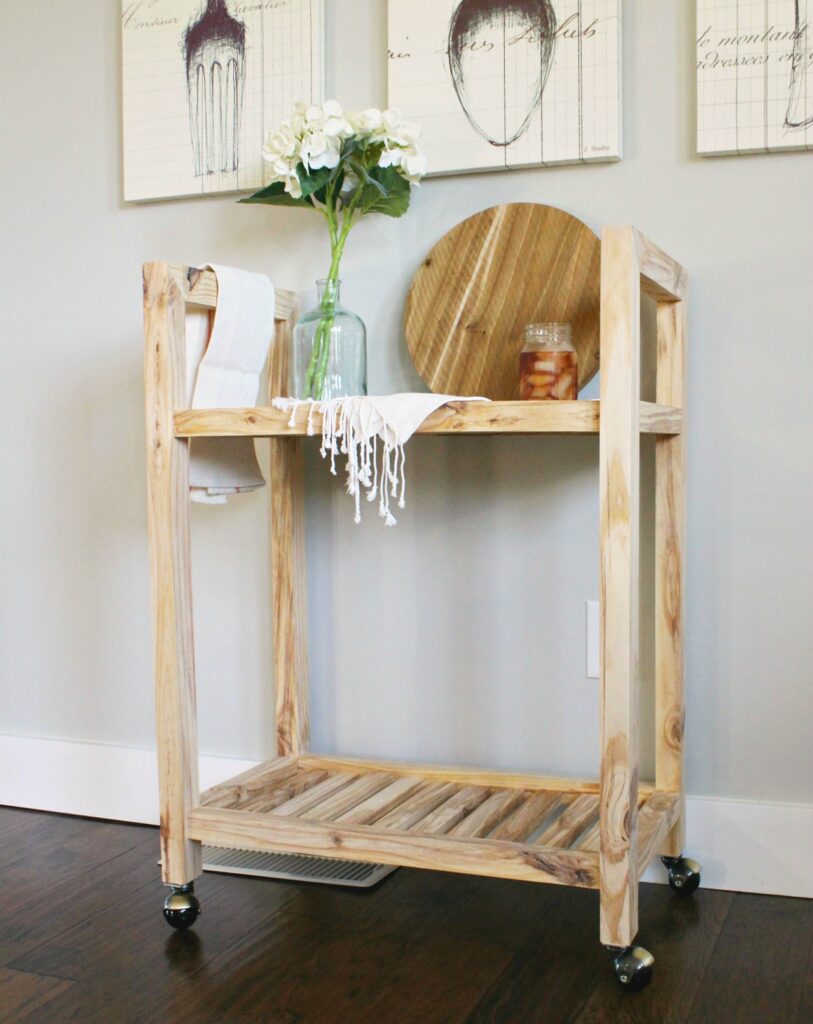
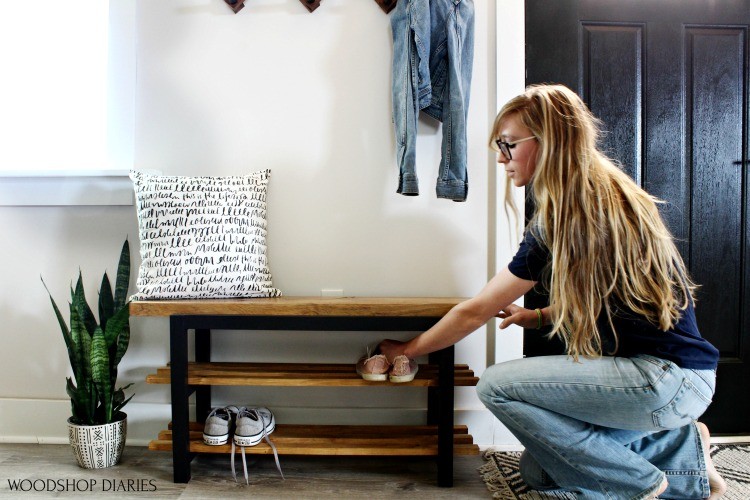
Can’t get enough scrap wood projects?? I’m teaming up with my friend, Kati, from Houseful of Handmade all month long to share some “Scrap Wood Summer” Projects!
Check out all the projects in the series so far below. Click on an image to learn how to make each one!
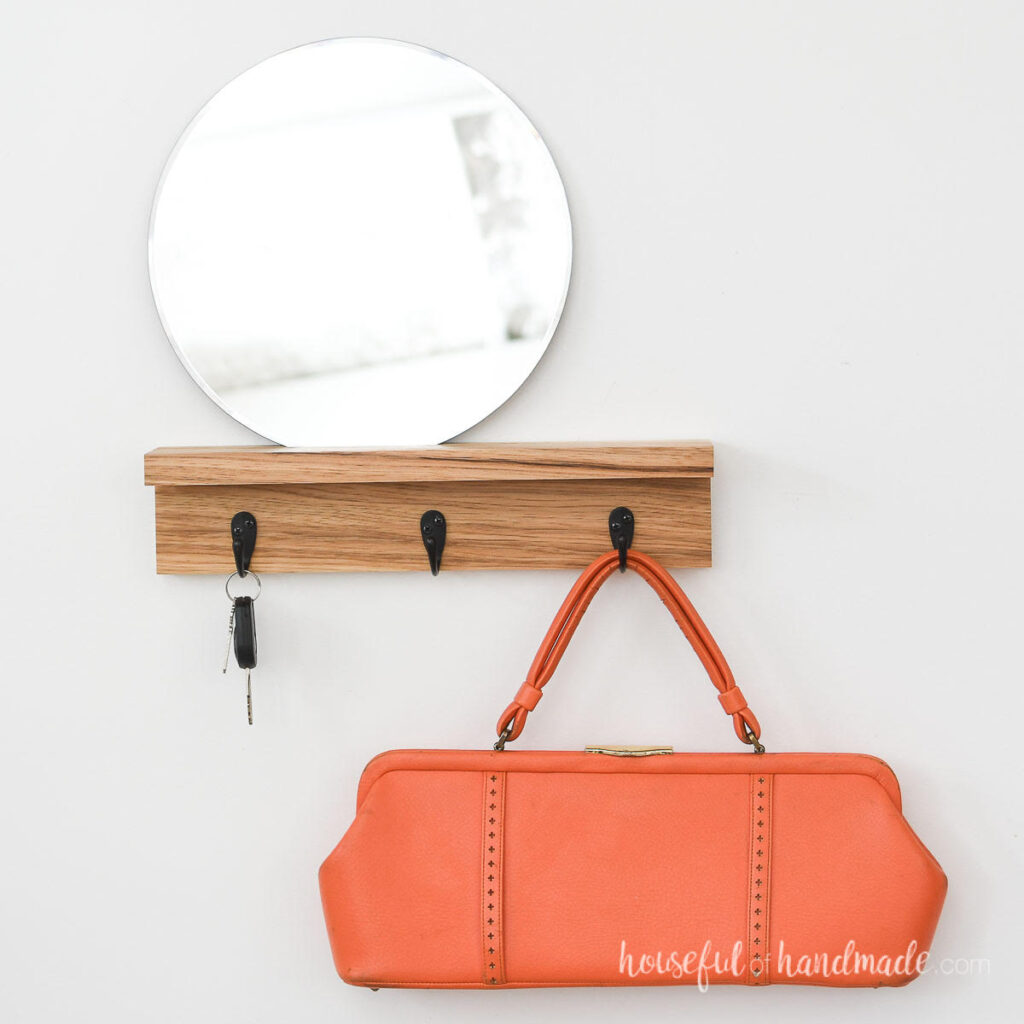
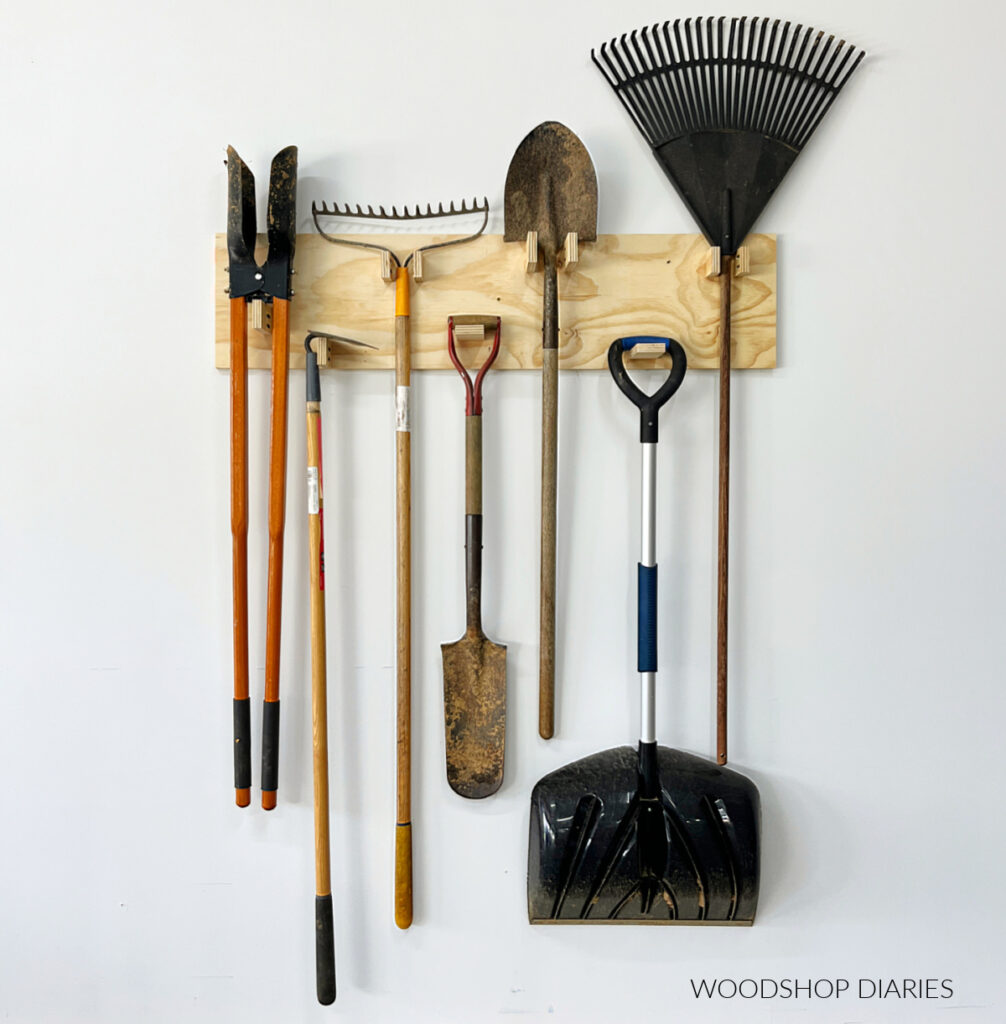
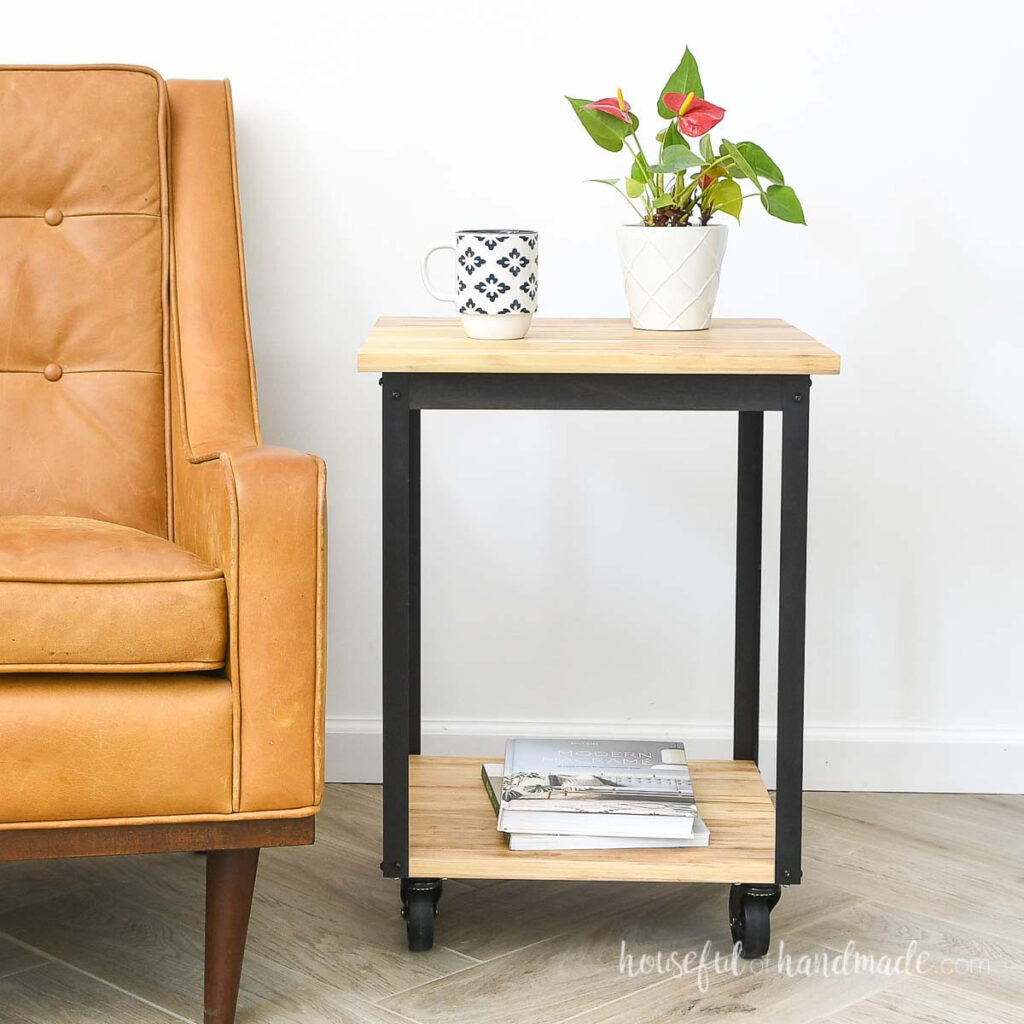
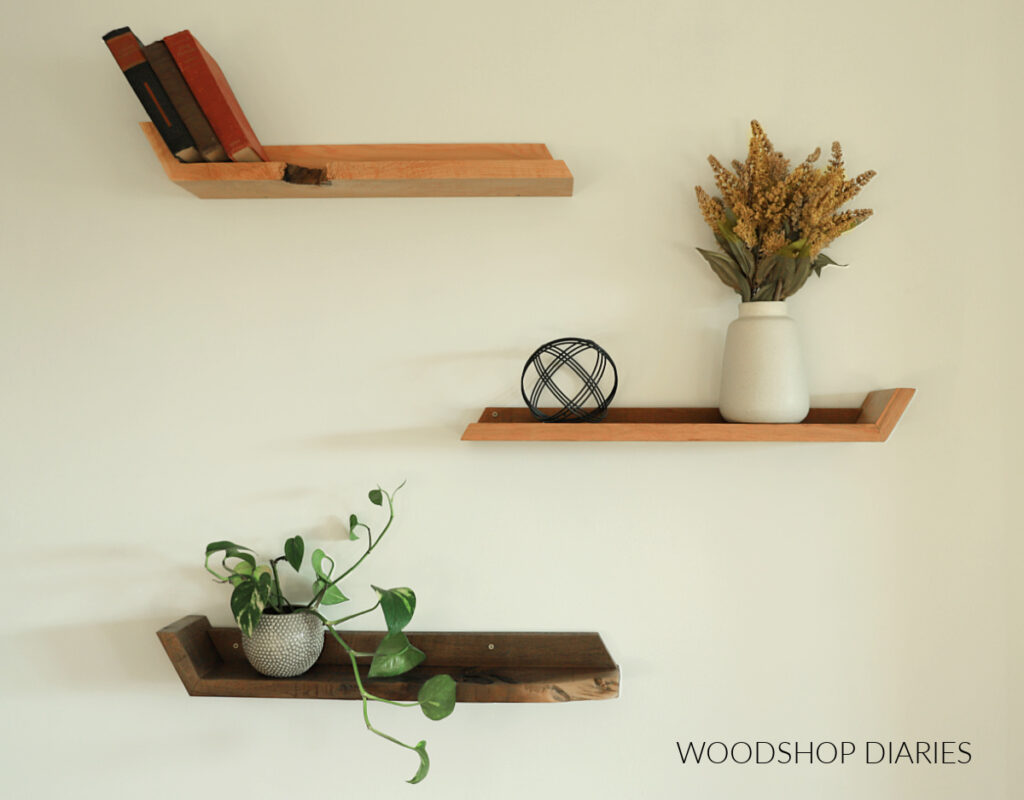
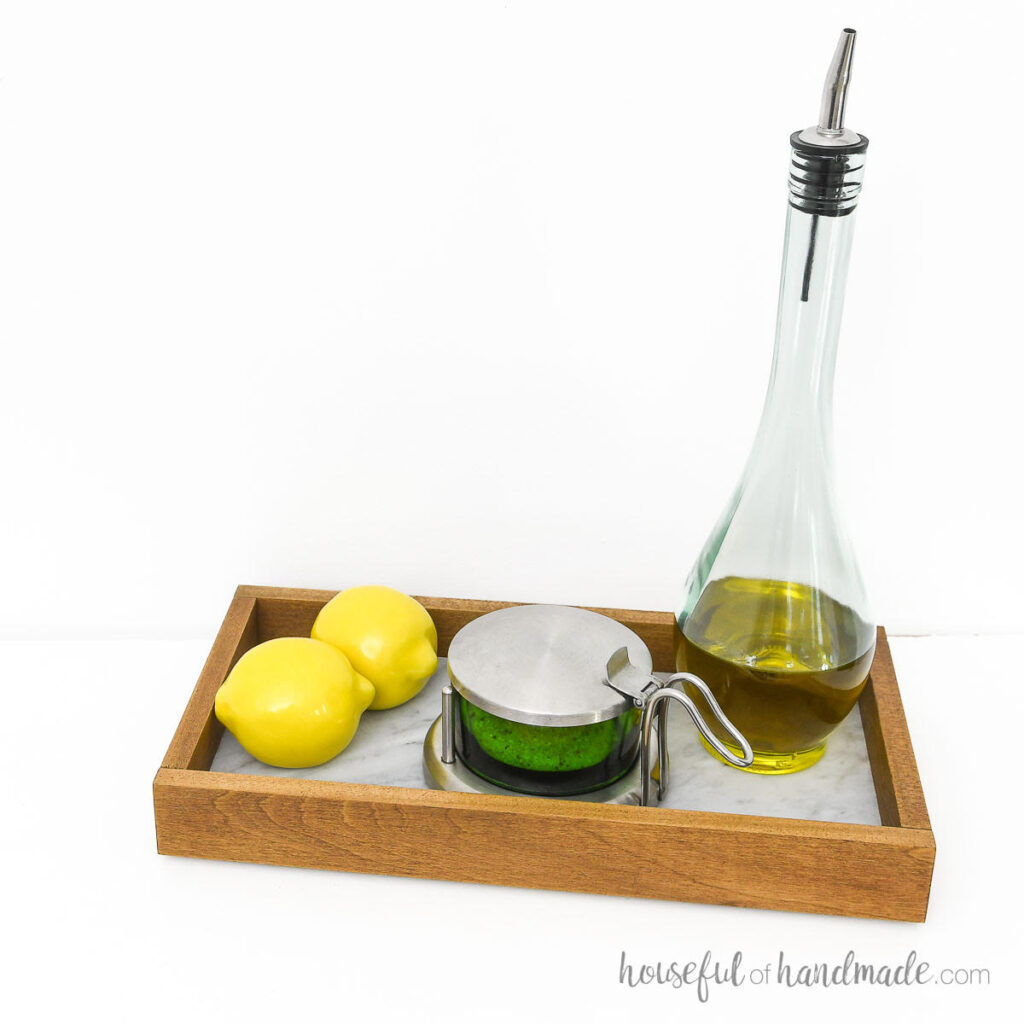
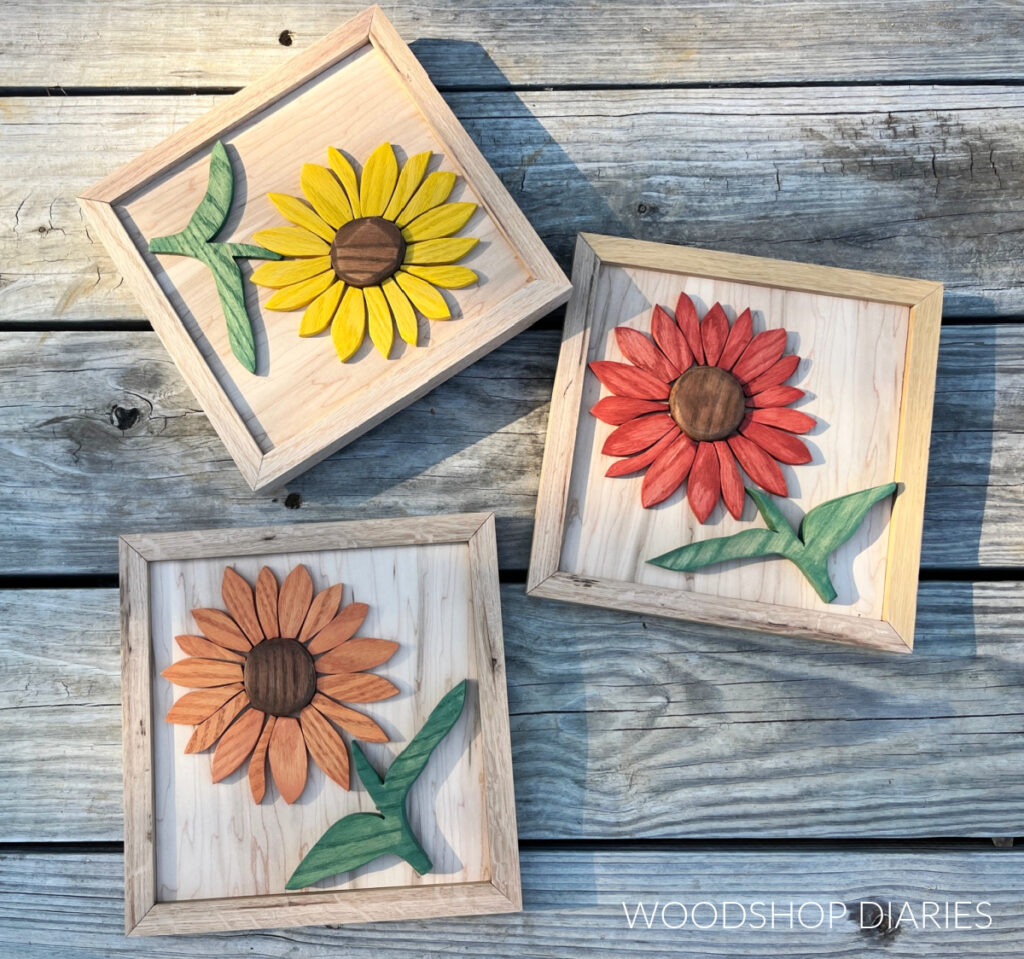
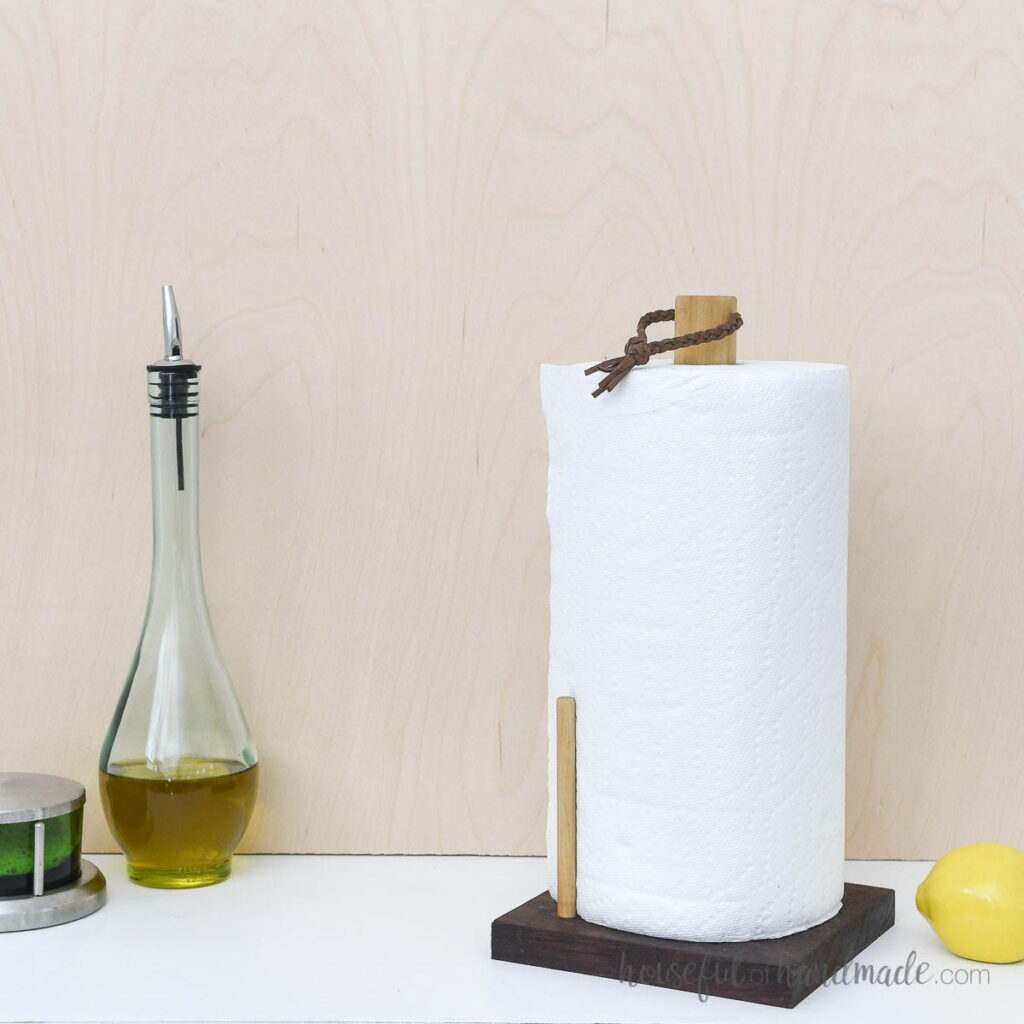
We will be posting new Scrap Wood Summer projects every Tuesday through the month of August (2023). Check out last years’ Scrap Wood Summer projects plus other scrap wood ideas here.
Want to save this DIY C Table project for later? Don’t forget to pin it or share to your favorite social channel!

Looking for more DIY projects? Here are a few more one board builds you’ll enjoy!
And if you’re looking for similar projects, here are few more small table projects you’ll love!
Until next time, friends, happy building!