One board, two tools, one super easy, super awesome DIY Serving Board!

I love a ten minute project. I mean, I love a week long project, too. But there’s something satisfying with writing a project on the to do list and marking it off just ten minutes later.
.
It makes you feel like you have been super productive and can sit back for a minute before tackling those massive projects again 🙂
.
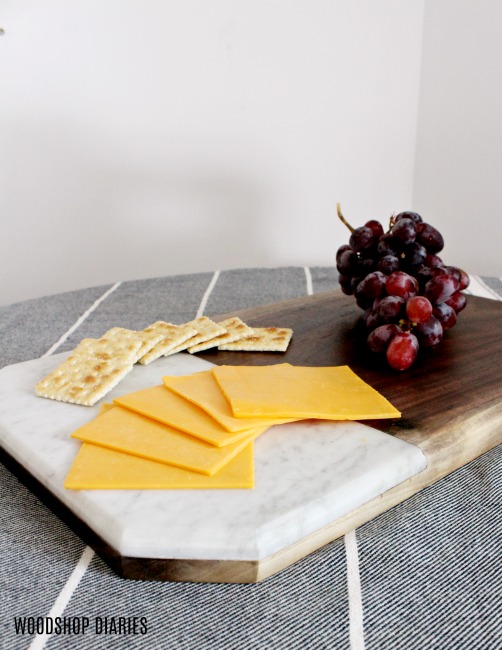
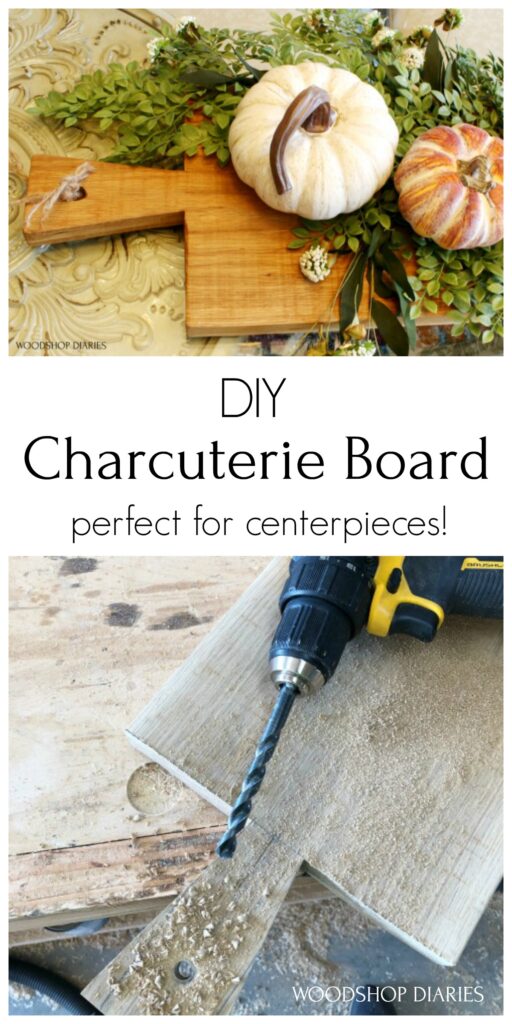
This is that ten minute project. It’s a decorative DIY serving board/charcuterie board/centerpiece board!
.
Whatever you want to call it, you can use it for cheese platters, seasonal decor, or just set it against the wall on your kitchen counter top and pretend you’re super fancy *wink wink* That seems to be a thing lately ha.
.
RELATED: For more serving platter ideas, check out some of these!

Marble and Walnut Cheese Board 
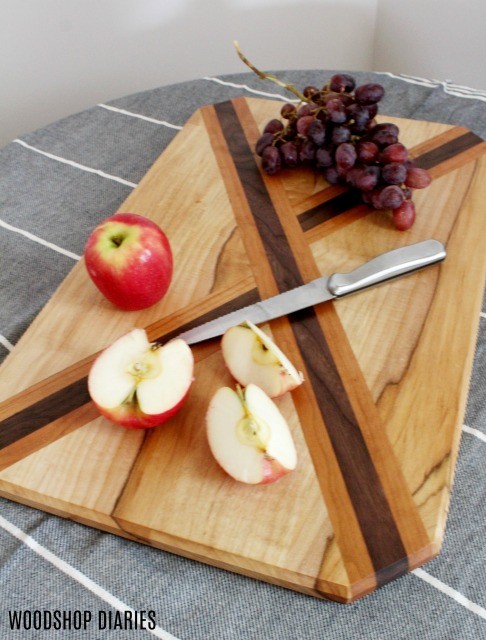
X Cutting Board 
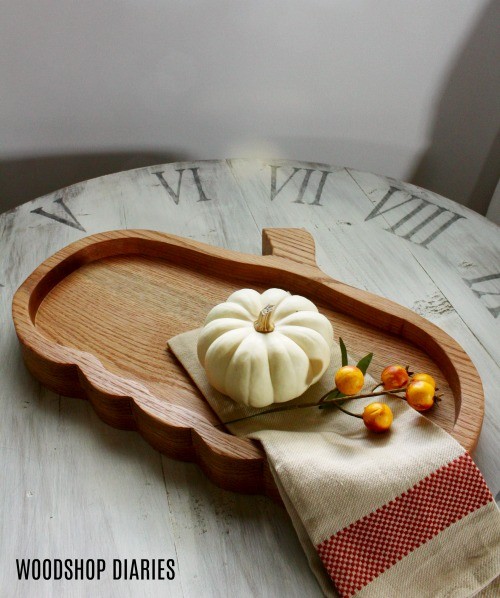
DIY Pumpkin Tray 
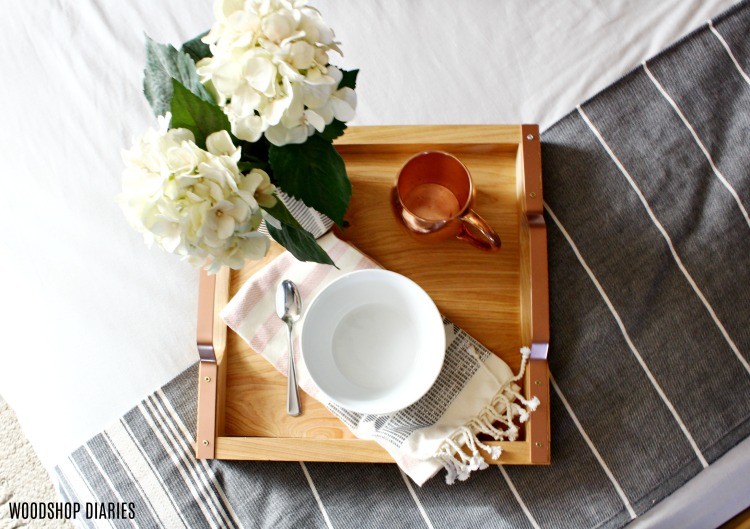
Rose Gold Handle Serving Tray 
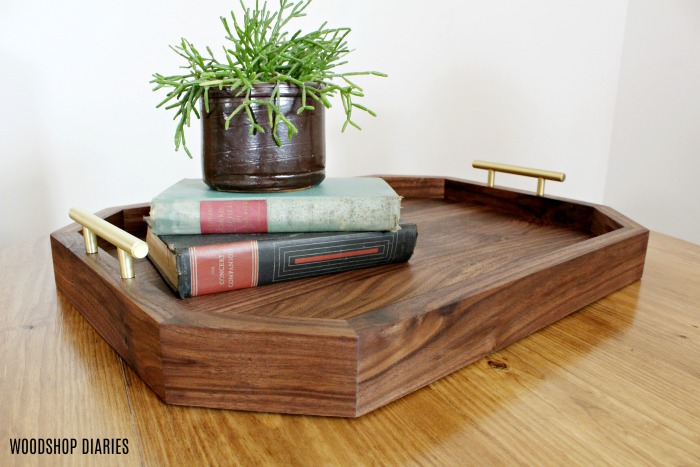
DIY Walnut Tray
So if you’re ready to get building, here’s what you’ll need. This post contains affiliate links. See policies.
To Make This DIY Serving Board, You Will Need:
- (1) board (scraps are fine, too!) of whatever width you wish–I used a 1×10
- Jig Saw
- Drill
- Jute or rope (optional)
- Speed square or straight edge
- Sander (not necessary, just optional)
Step 1: Cut Serving Board to Length
I rummaged through my wood rack and scrap bin to find a board to use for this. I found an old piece of rough sawn white oak roughly the size of a 1×10 board.
You can use any size board you wish for this.
.
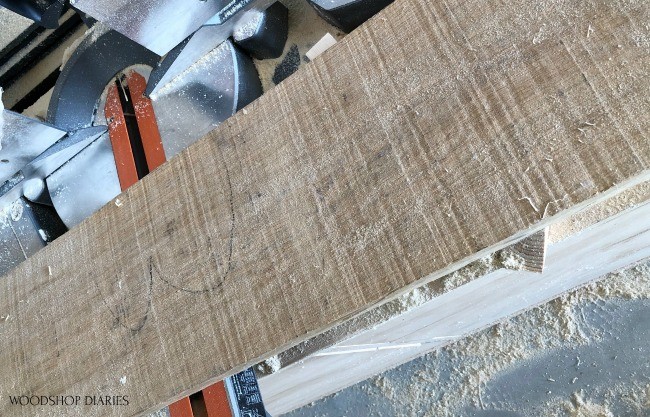
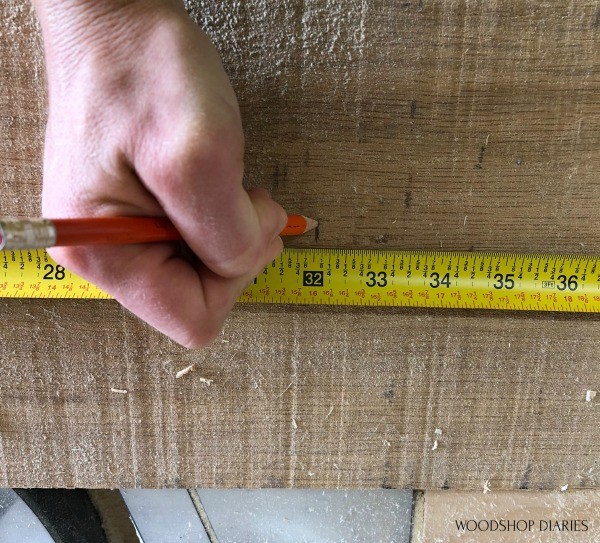
I was making this for my sister and she wanted it about 32″ long. So I cut it 32″ long (you can use a jig saw for this, but can also use a miter or circular saw).
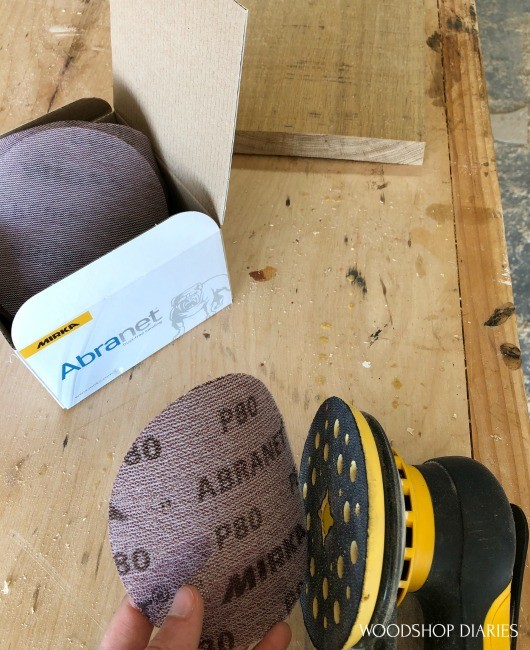
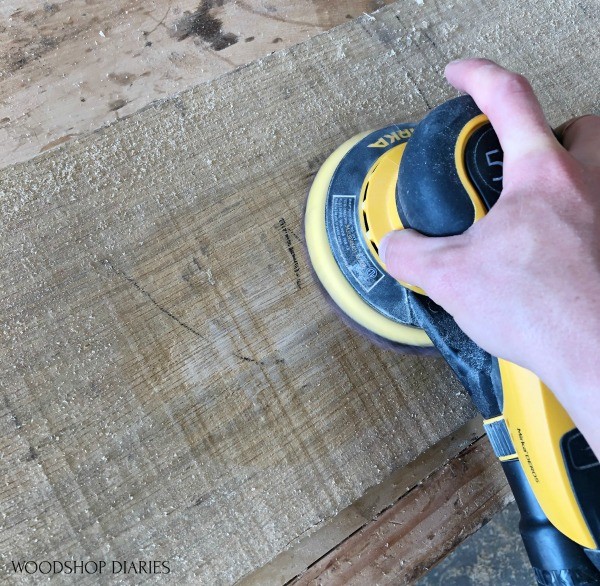
Step 2: Sand/Age the Board as Desired
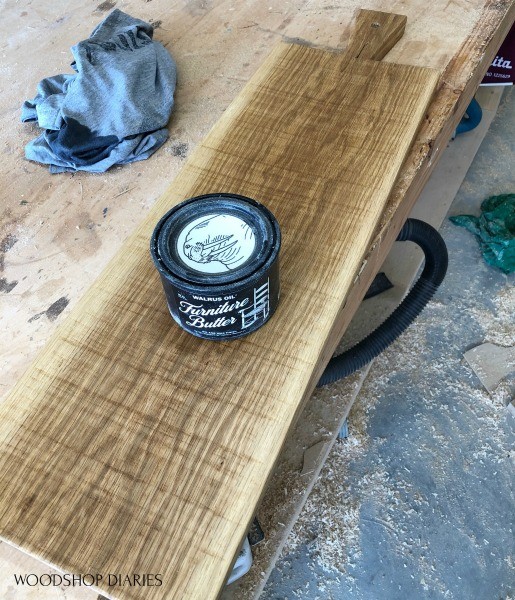
I was using rough sawn lumber, so it was already a little beat up looking. To clean it up a little, but keep the saw marks, I used a sander with 80 grit sandpaper to sand off kind of the “top dirty layer.”
If you aren’t using rough sawn wood, but want a beat up look, try using a wire brush to scratch it up and maybe a hammer to make some dents.
Step 3: Cut Handle
You can cut a handle any shape or style you wish. You can see I originally drew a straight handle, but changed my mind and drew a triangle handle instead.
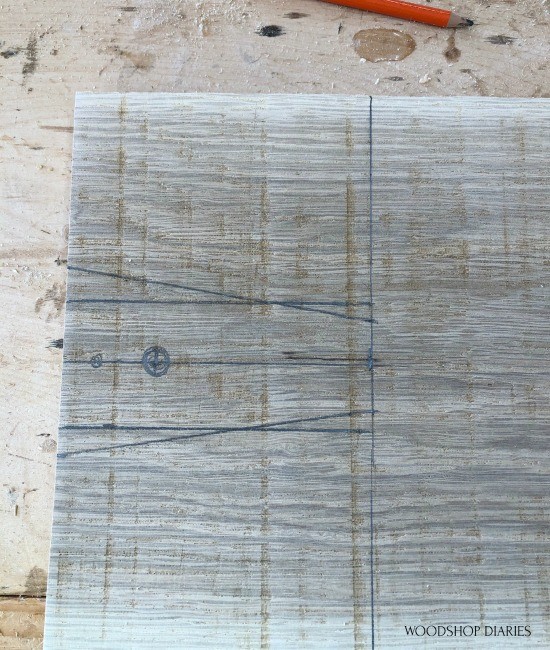
The exact size doesn’t matter here, but just for reference, I made the handle about 5″ long. I found the center of the board and used a speed square to draw a 5″ line down the center.
.
Then I marked a handle shape keeping it centered on the center mark–unless you want your handle off center, then you can mark it off center.
.
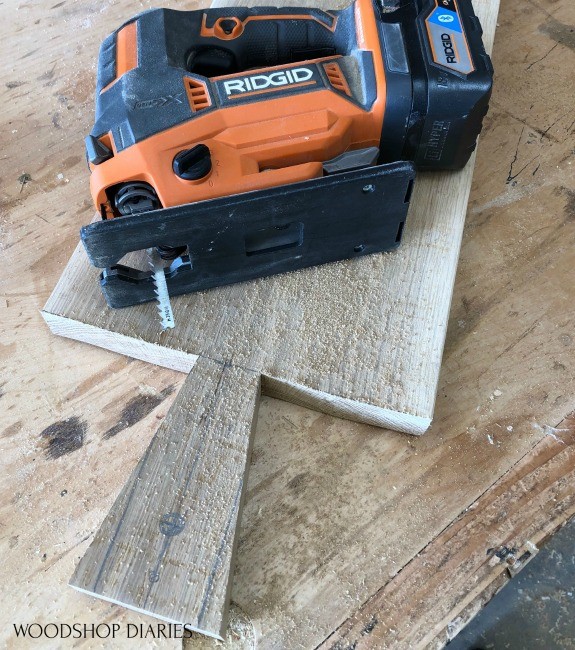
Once I liked my shape, I used a jig saw to cut it out.
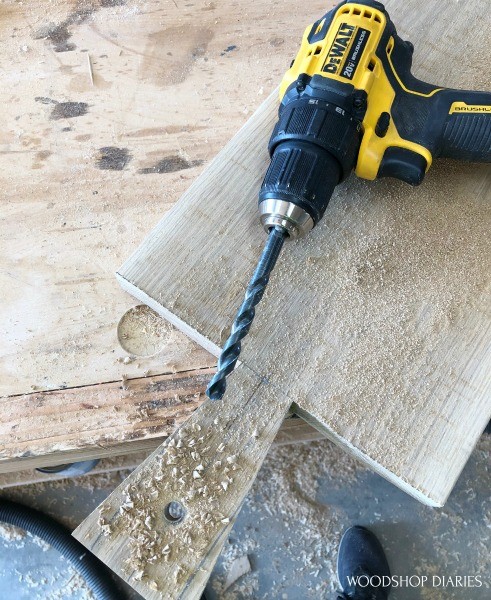
Then I used a drill to drill a hole to tie the rope handle in.
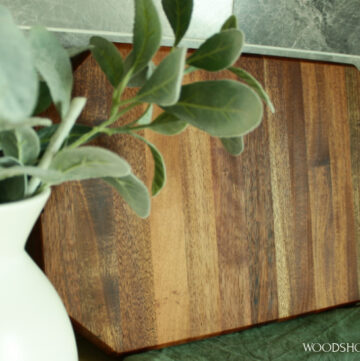
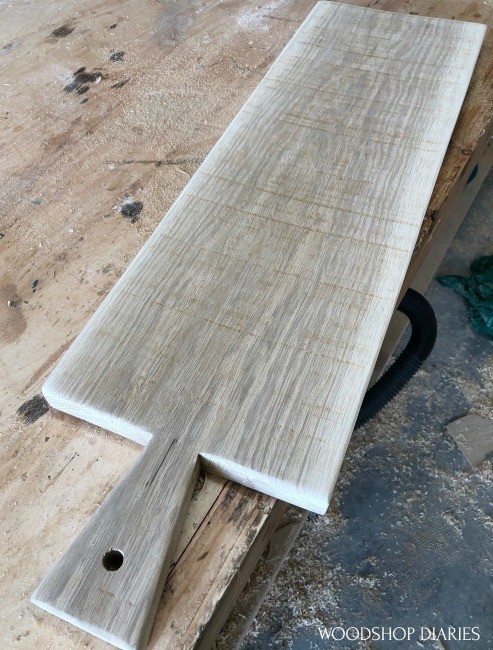
Step 4: Finish Serving Board
I gave it a final sanding and hand sanded some of the edges to make them a little uneven. The goal was to make the board look old and beat up, so I didn’t want crisp, clean lines.
Then, I applied some Walrus Oil Furniture Butter. My sister isn’t using this to serve food–it’s just for decoration–so I wasn’t concerned about a food safe finish. That said, I’m PRETTY SURE this is food safe, but do your own research, first.
If you want a food safe finish, most polys are food safe once cured (again, do your own research), or Walrus Oil also has cutting board finish that’s food safe as well.
.
As a final detail, I cut some jute rope and tied it around the handle.
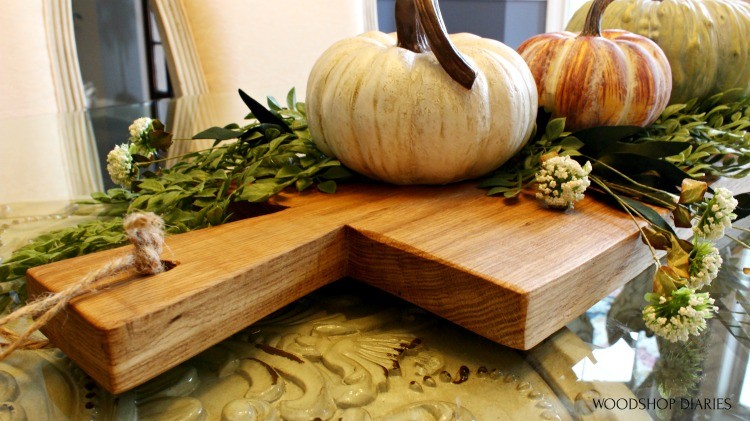
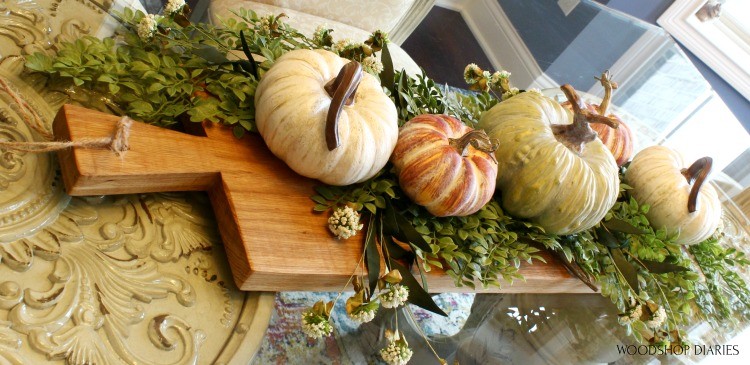
Then, load it up with pumpkins (if you’re setting a fall centerpiece) or ham and cheese (if you’re throwing a casual get together and need some snacks).
This is literally a ten minute project and makes an excellent gift idea, centerpiece, or cheese board. You can even make three of these from a single 8 ft board!
.
So if you’ve enjoyed this project, be sure to pin it for later and share with your friends 🙂
Until next time, happy building 🙂