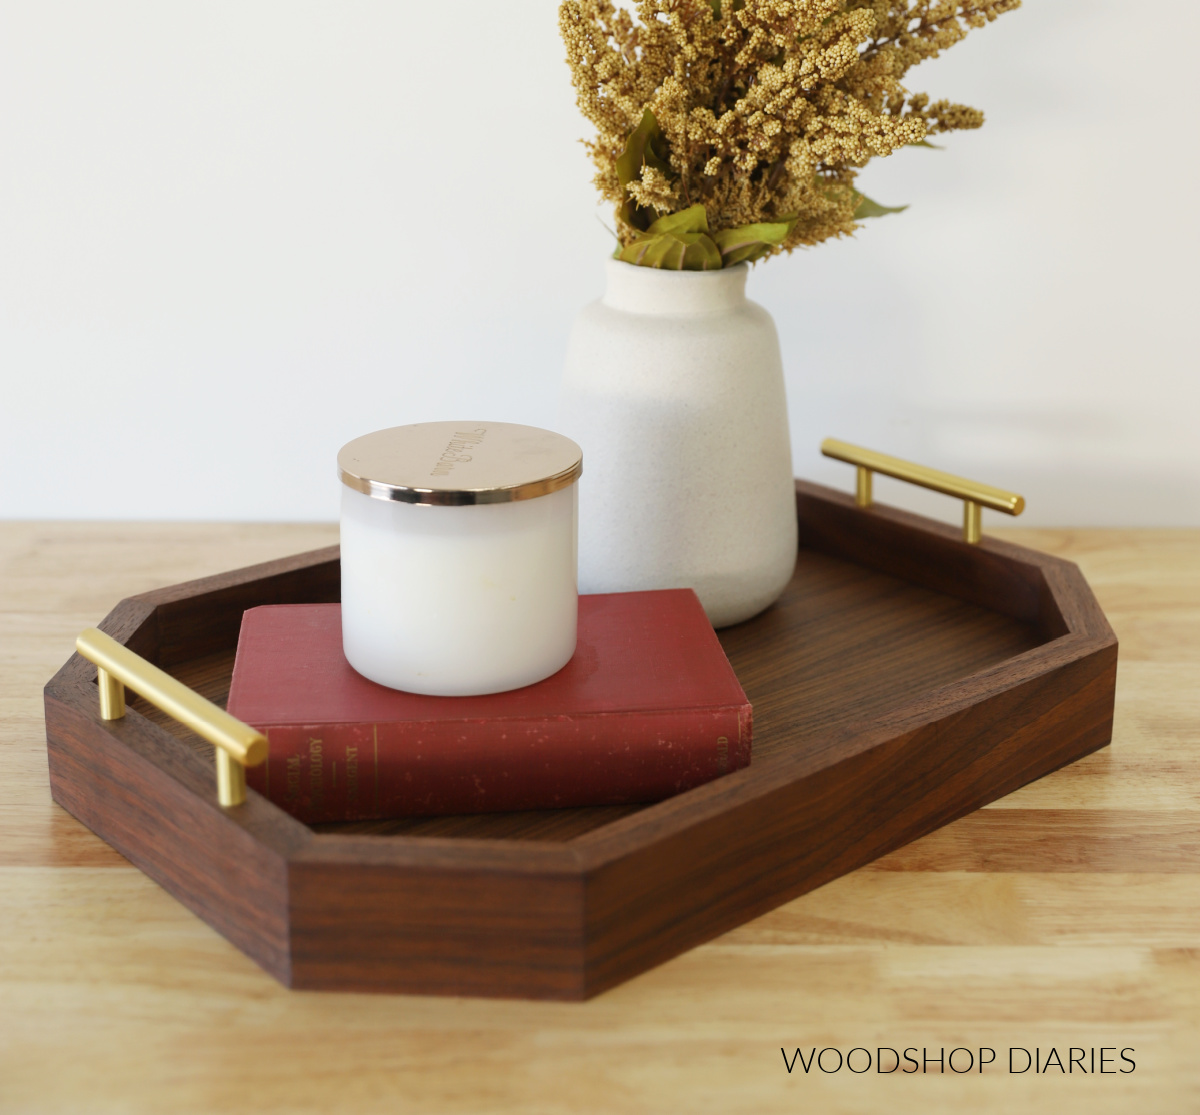
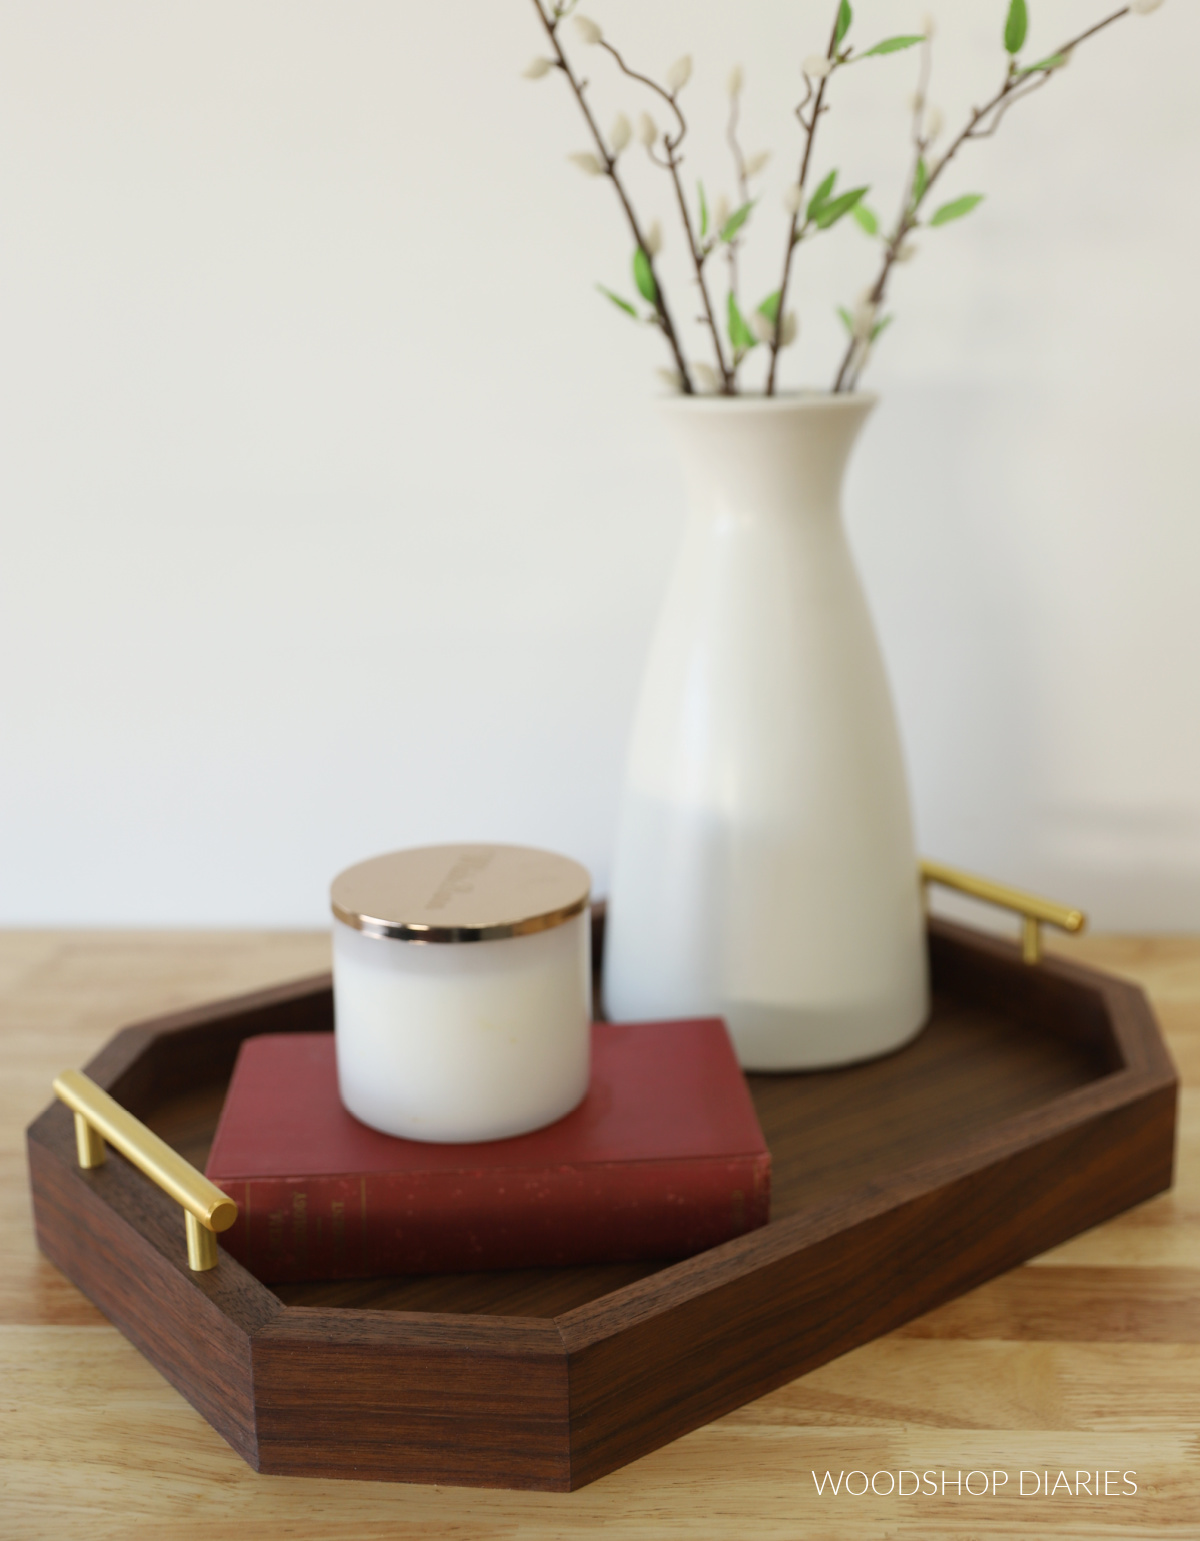
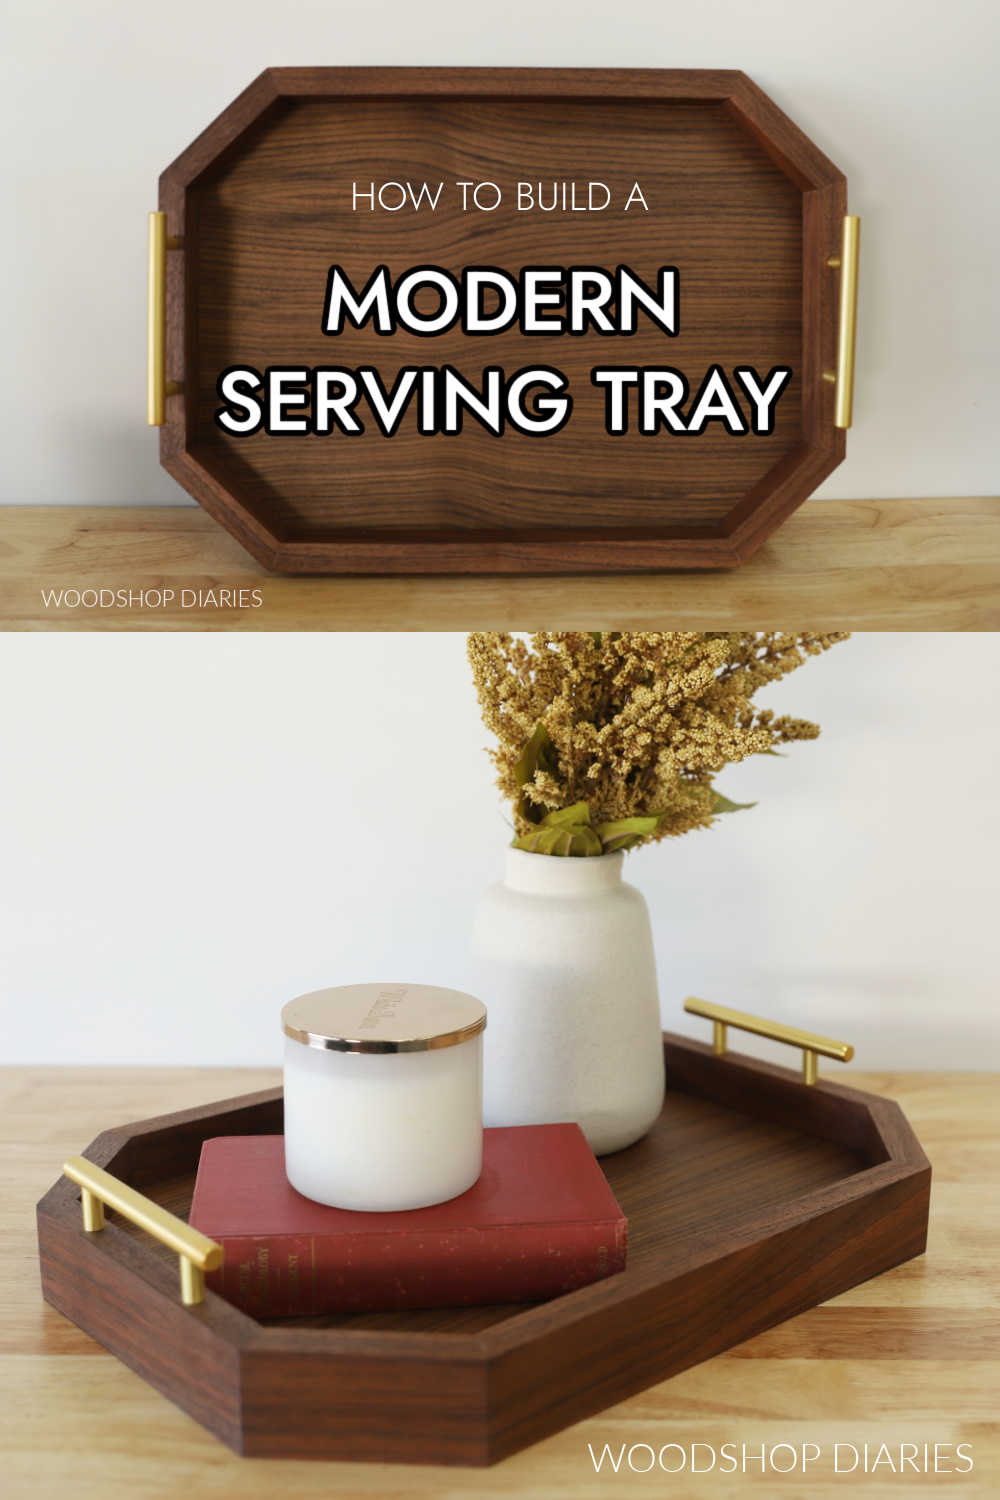
In this post, I’m sharing how to make a simple DIY modern serving tray with handles!
This eight sided design is modern, classy and easy to make from scrap wood you probably already have in your shop!
After you make one for yourself, try a second one to give away. This serving tray is the perfect handmade gift idea for Christmas, weddings, and housewarmings!
Learn how to make it in the plans below.
*This post contains affiliate links. See website policies.
What to know before building
This DIY modern serving tray project is simple and easy to customize the size. Basically, you cut the bottom panel for your tray and then you cut to fit the sides around it.
So feel free to modify your tray size as desired–the steps wouldn’t change.
What kind of wood do you need?
You can make this modern tray from any wood species you’d like. In my case, I used walnut.
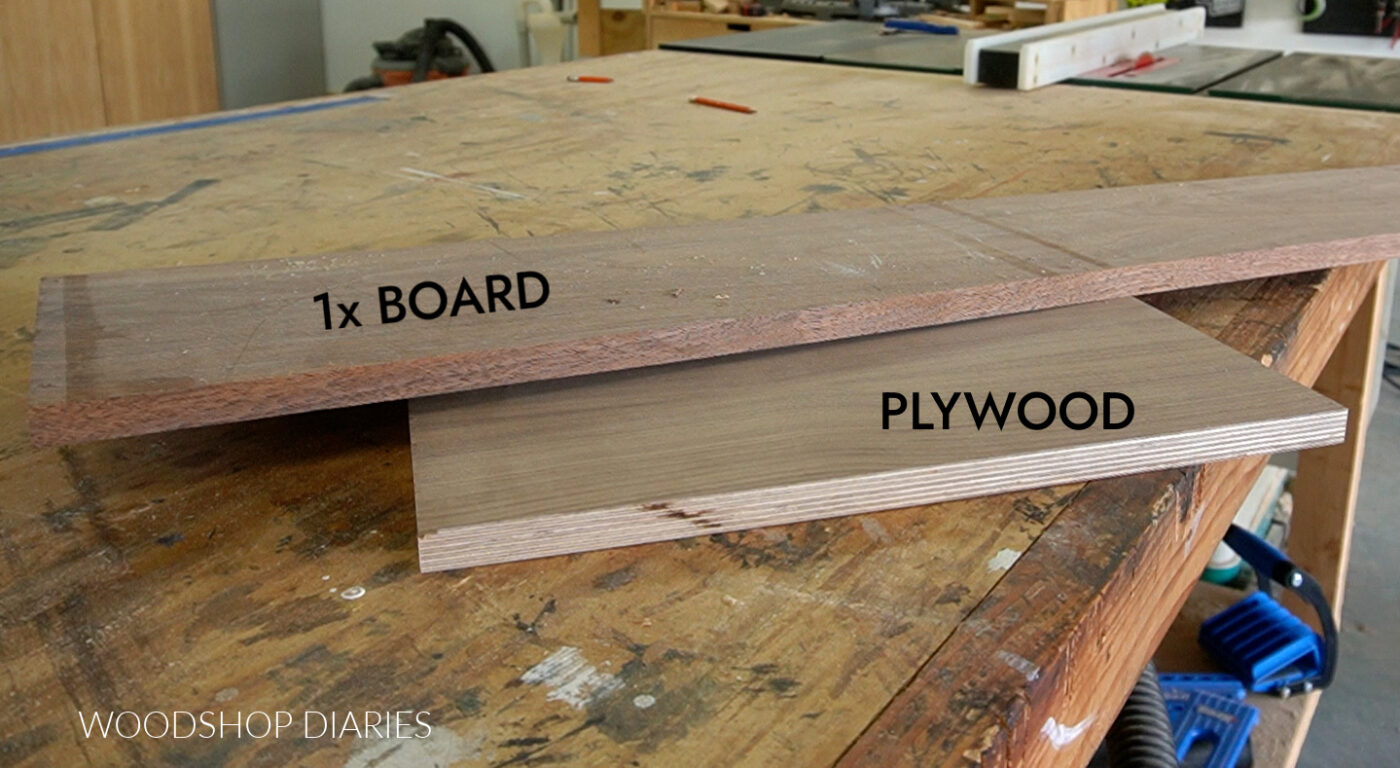
All you need to build the tray is a scrap piece of ¾″ plywood (roughly 12″ x 18″–or whatever size you’d like your tray) and some 1x material (FYI 1x material is just ¾″ thick lumber–any width is fine).
I ripped my 1x material into 2″ wide strips using a table saw to make the sides of the tray. However, if you didn’t want to rip down your strips or don’t have a table saw, you can just use precut 1x2s or 1x3s and they’d would work just fine.
You need enough of these strips to be able to “wrap around” the outside of the plywood panel you plan to use for the bottom. In my case, that was about 5′ (or 60″) worth.
Overall size
The overall size of this modern serving tray is 2″ tall x 12 ¾″ wide x 18 ¾″ long (not including handles).

Are DIY projects your thing? Sign up for our newsletter for priority access to the latest projects and build plans!
How to Build a Modern Serving Tray with Handles
I’m sharing the steps below as well as a printable version if you prefer to print your plans. And if you prefer to watch, here’s a how to video as well.
Prefer to print? Grab the printable building plans for this DIY modern serving tray project here.
Tools & Materials
Tools:
- Miter Saw
- Table Saw
- Ratchet Clamp
- Small Clamps
- Drill/Driver
Materials:
- Scrap ¾″ plywood panel (roughly 12″x18″)
- 1x lumber cut to 2″ wide strips (roughly 60″ length)
- Wood Glue
- (2) modern handles (optional)
Step 1: Cut Modern Serving Tray Bottom
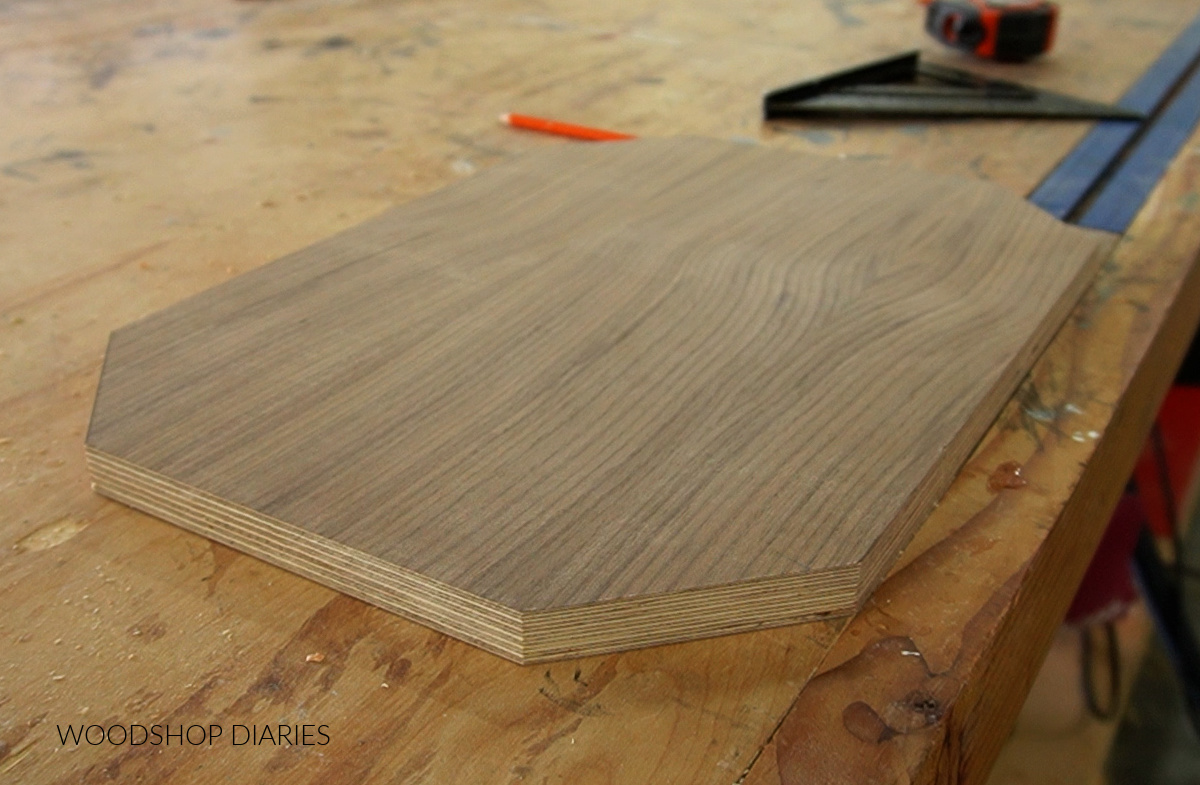
First, I cut my piece of plywood to about the side I wanted my tray. It’ll end up being slightly larger than this once complete, but I cut my plywood to 12″ x 18″.
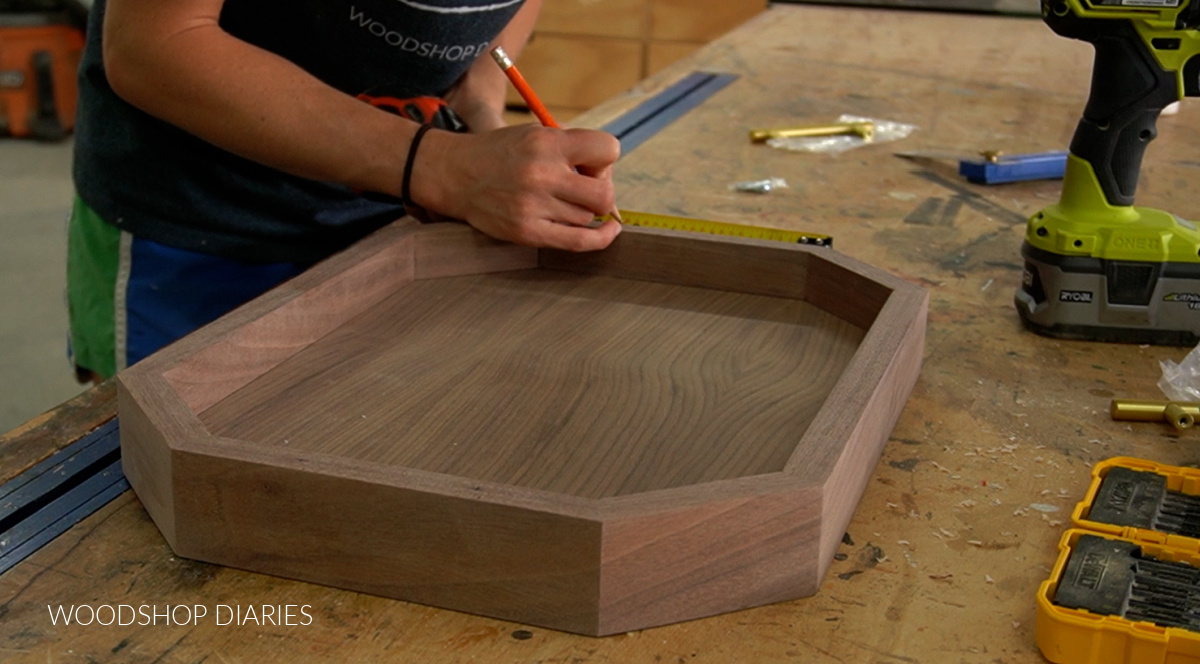
Then, I marked in from the corners about 2″ and used a square to draw a line between them. These lines should all be at 45°.

So I set my miter saw’s miter angle to 45° and cut each corner along the lines.
RELATED: How to cut angles on a miter saw
Step 2: Cut Tray Side Pieces
The sides of the tray are cut from ¾″ x 2″ strips. So, first, I ripped 2″ wide strips from my 1x walnut board to use for these sides.
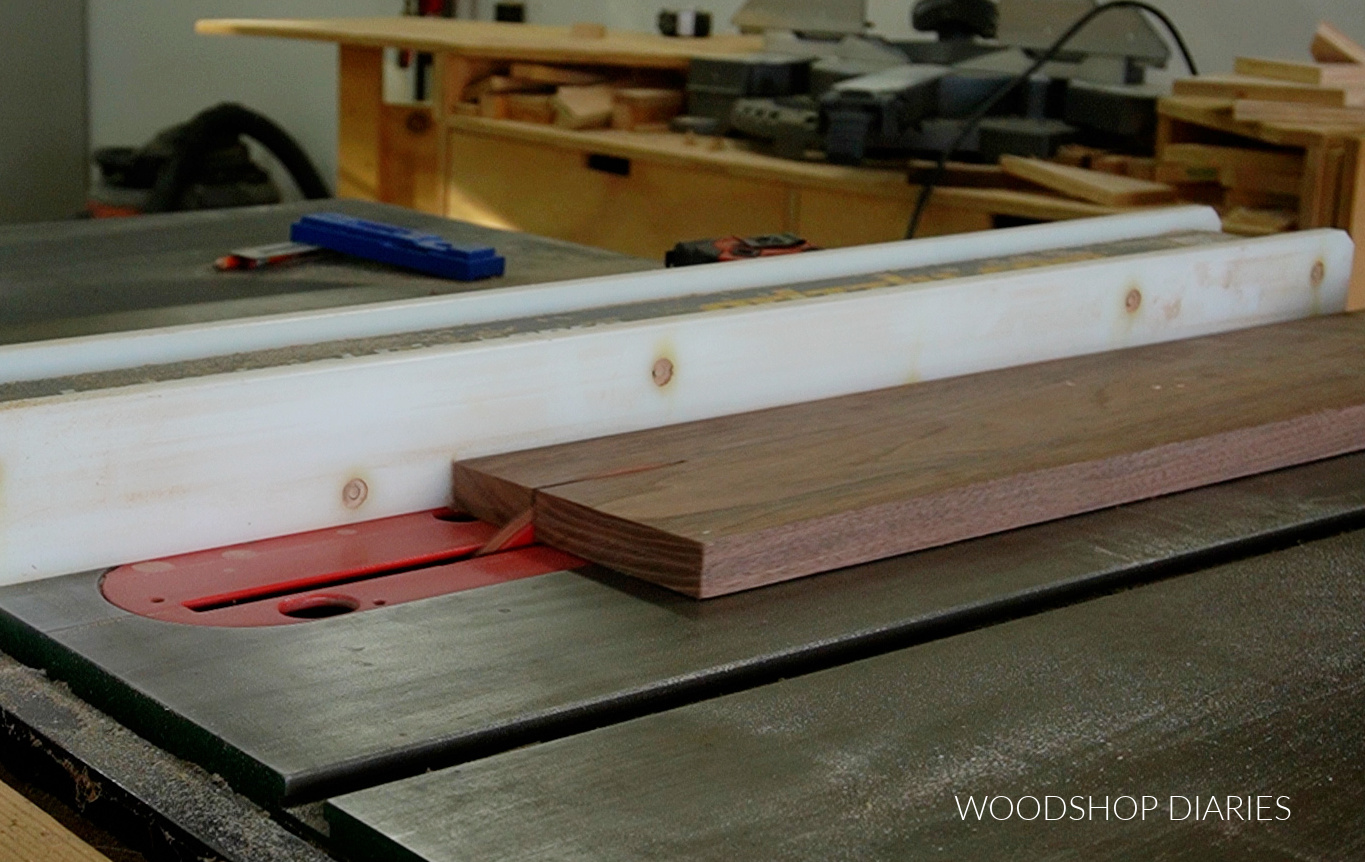
I needed roughly 6′ of strips and my board was about 4′ long. So I ripped 2 strips and had a little leftover at the end.
Once I had my strips ripped to 2″ wide, I used the table saw to notch out one corner of each about ⅜″ deep x ¾″ tall.

This should allow the plywood panel to sit inside nice and snug.
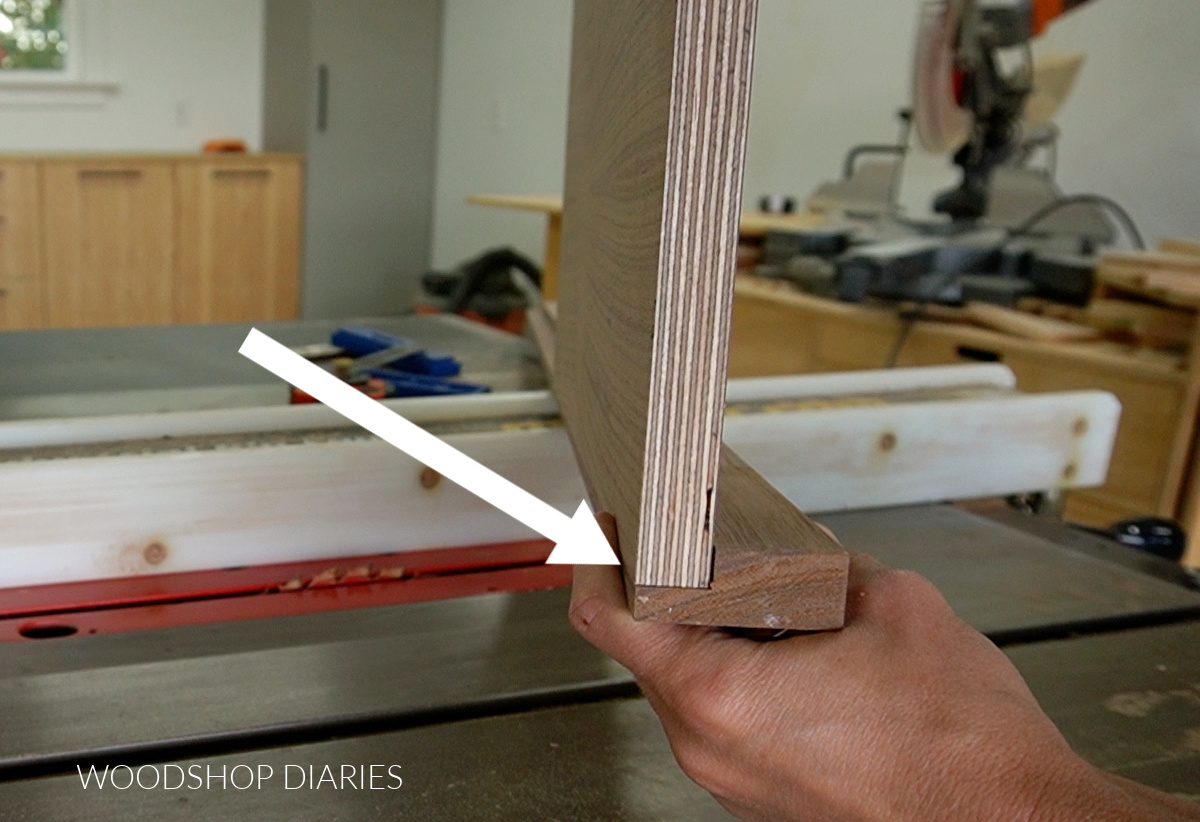
Then, I cut to fit these strips around the plywood panel so that it fit inside the notches with ends beveled 22.5°.
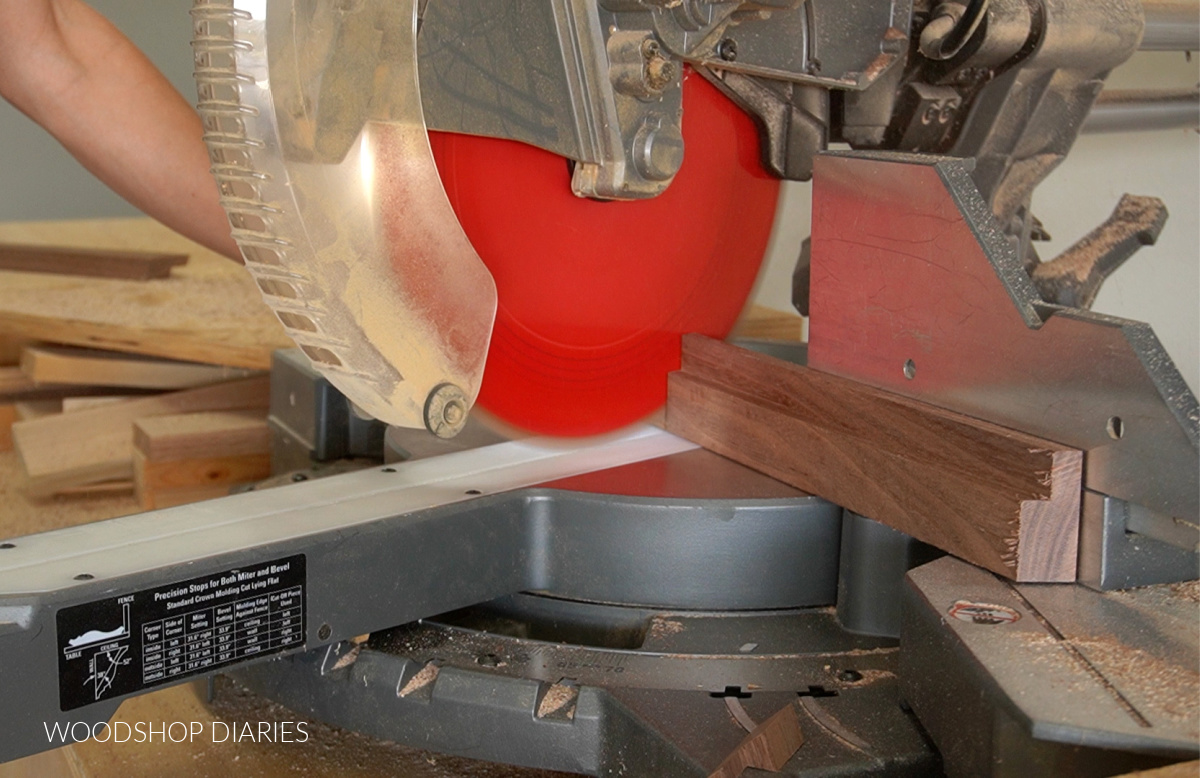
TIP: Make sure to pay attention to the direction of your bevel. On each piece, the bevels are NOT parallel to each other. The notched side of the board should face inside, so it will always be the short side.
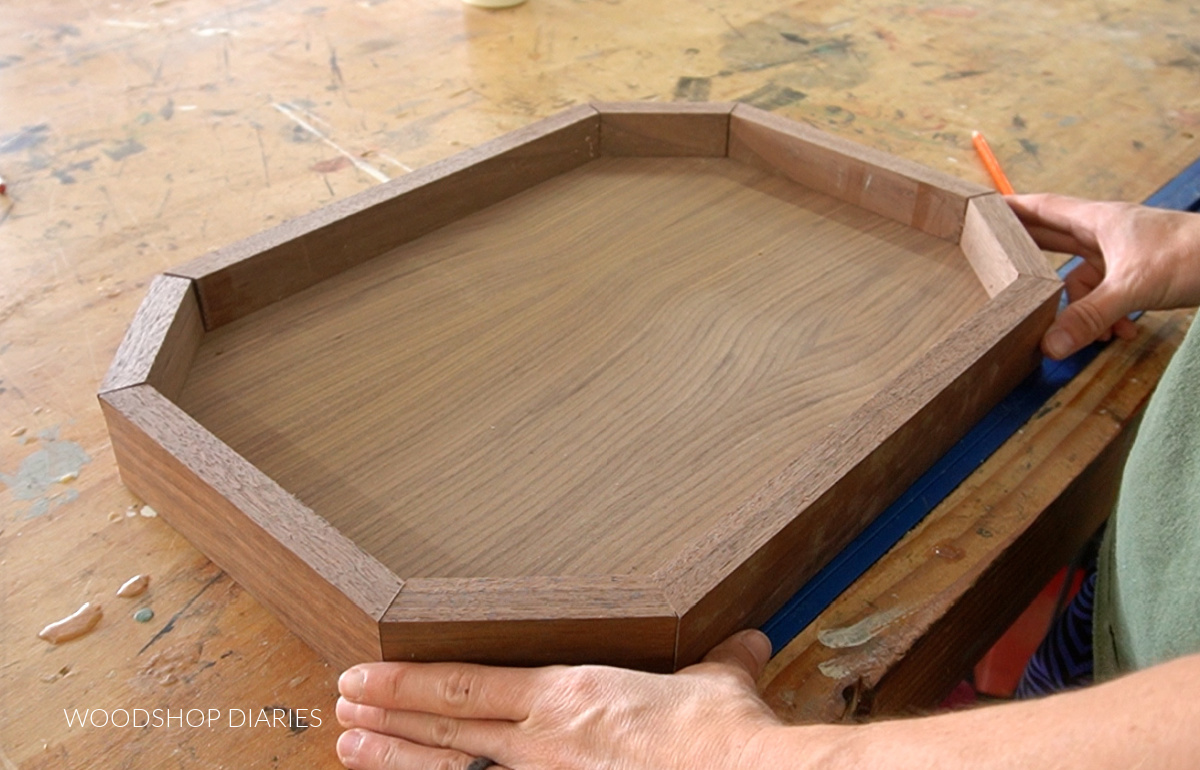
Once all pieces were cut, I made sure it was a tight fit all the way around, then sanded them well before gluing.
Step 3: Assemble Tray Sides
I carefully applied wood glue to the ends of each of the tray sides from step 2 and pressed each end together until all 8 sides were glued. You want to work quickly, but carefully so that the glue doesn’t have time to dry before you get all the way around.

Once all joints were glued, I used a Rockler Ratchet Clamp to tighten everything together while it dried.
This clamp holds the pieces snug, but don’t overtighten or they can slip out of place.
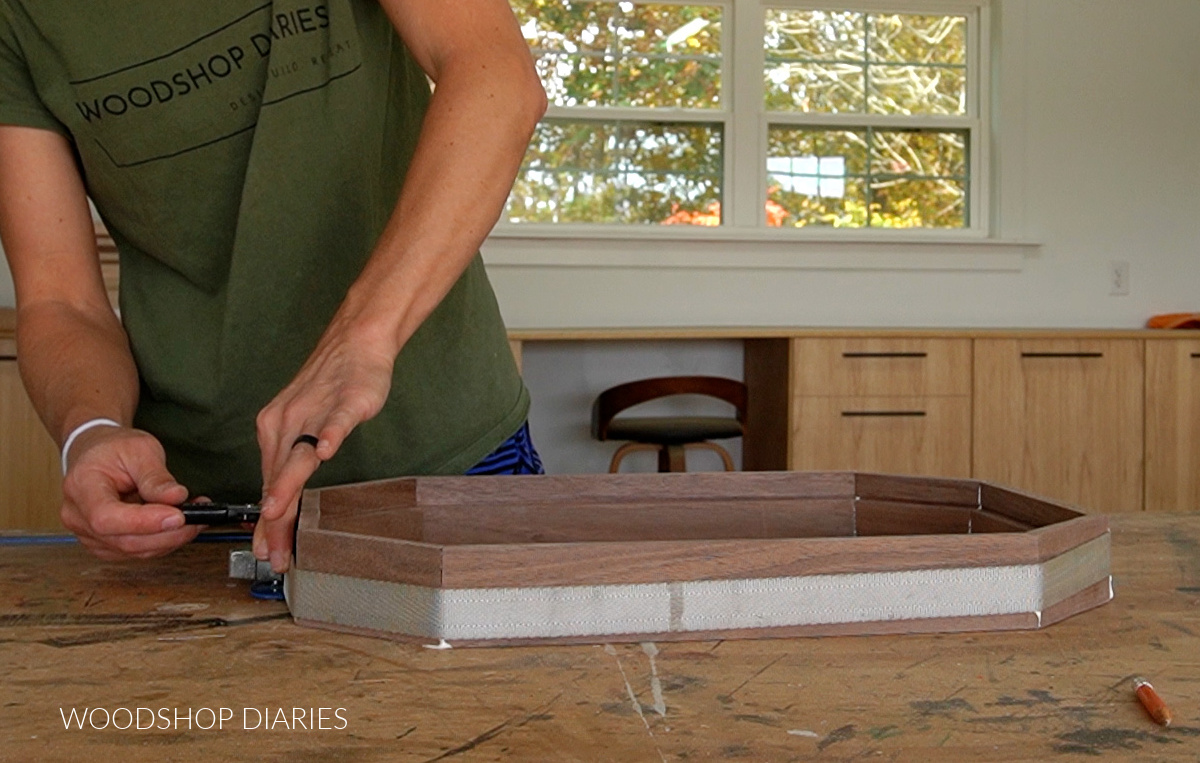
Allow to dry completely, then remove the clamp and sand away any glue squeeze out as needed.
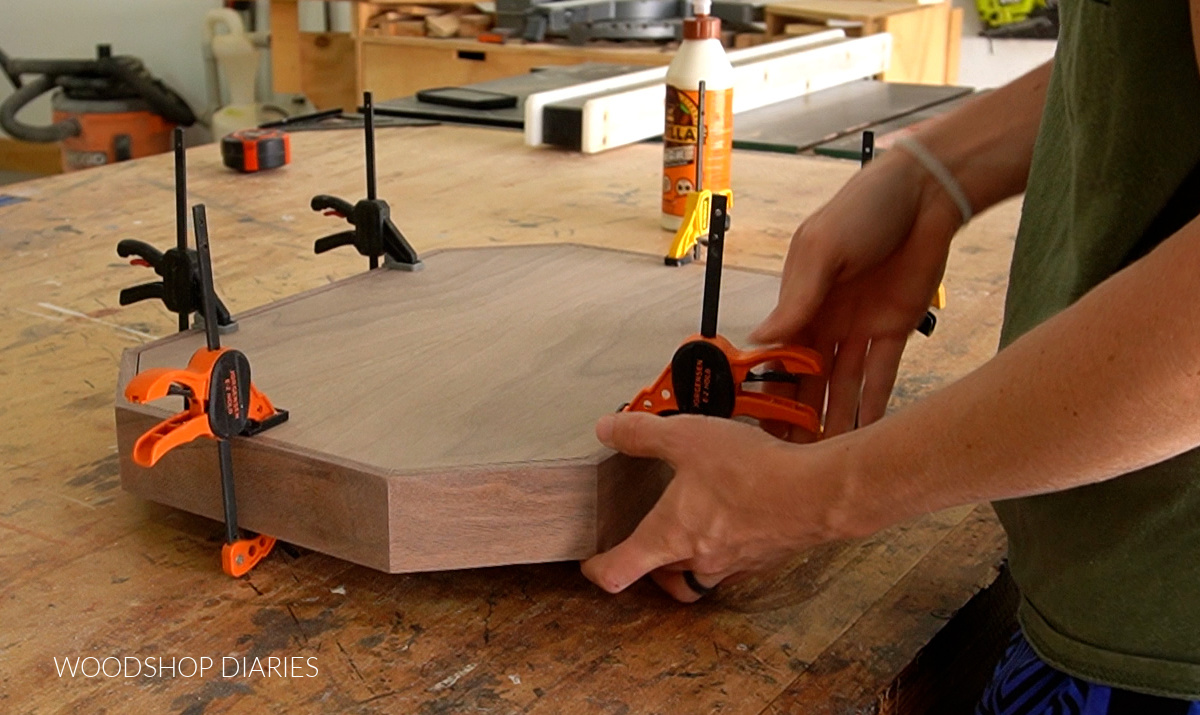
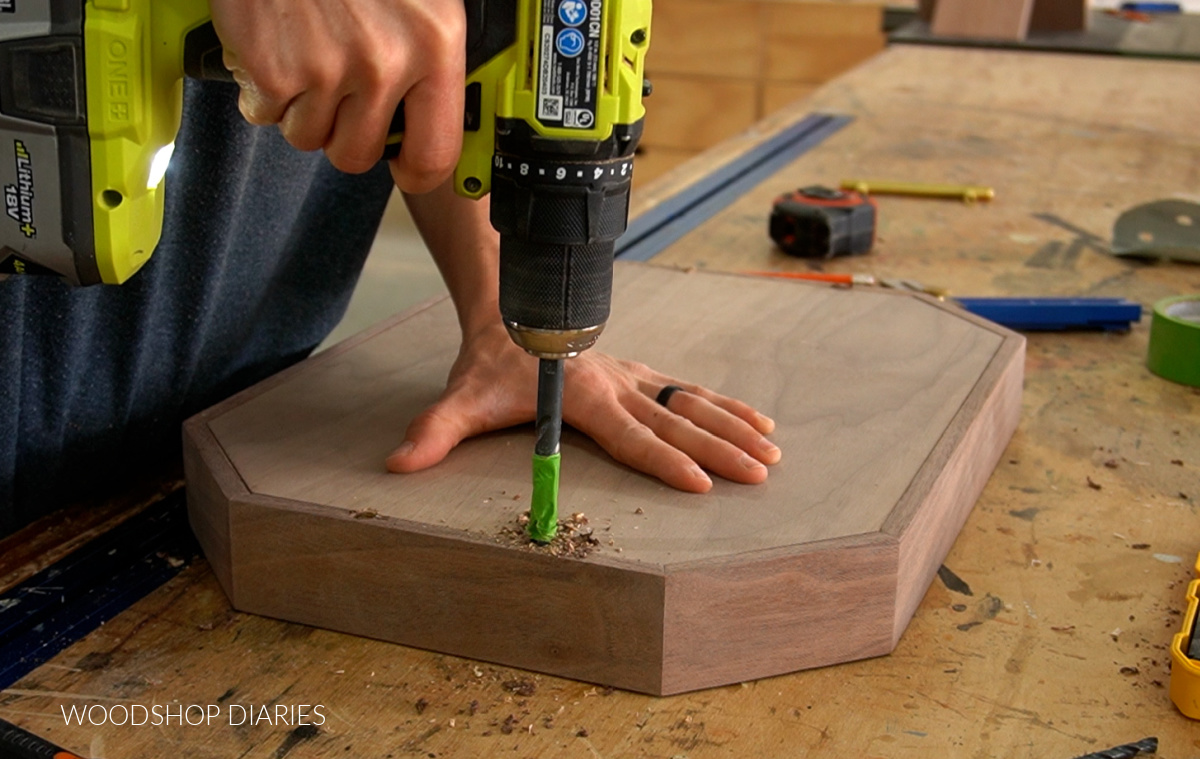
Step 4: Attach Serving Tray Bottom
I flipped the tray frame upside down and test that the plywood panel still fits into the notches. Trim as needed until it fits.
Once I was sure the panel would fit, I removed it, applied a small bead of glue into the notched section of the frame, then placed the panel back inside.
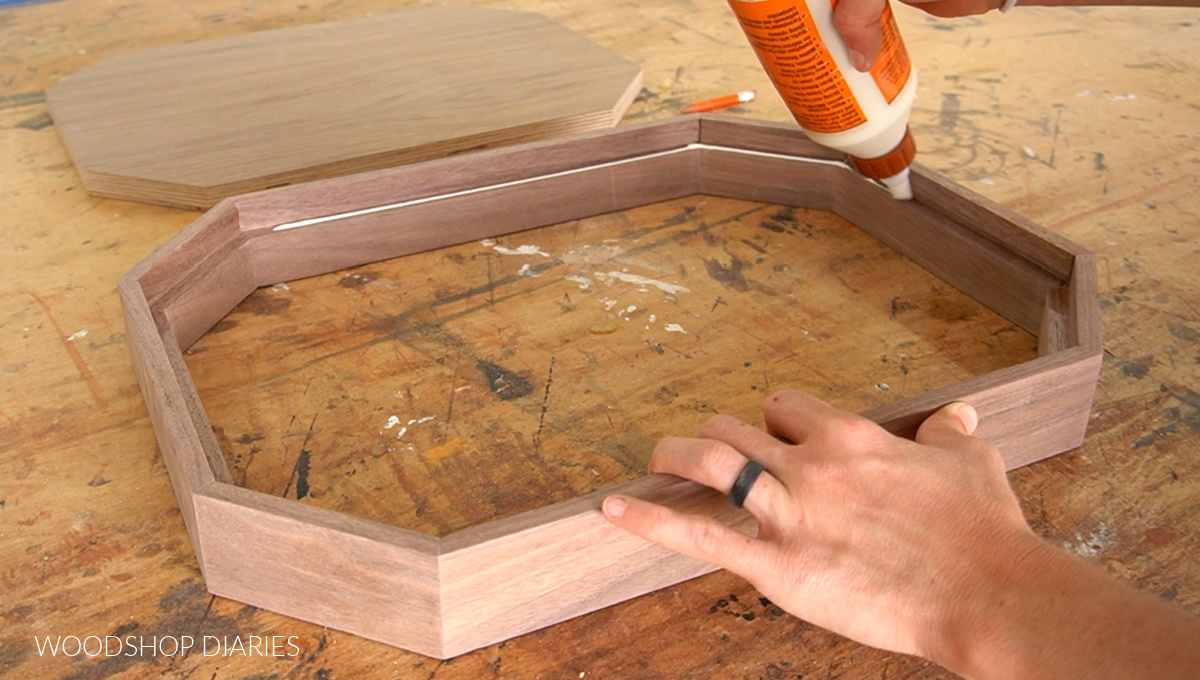
I used some small clamps around the outside to hold it until it was dry. You could use a few brad nails as well if you didn’t want to wait for the glue to dry.
Step 5: Install Handles and Finish
If you don’t want to add handles, then, at this point, it’s ready for finish!
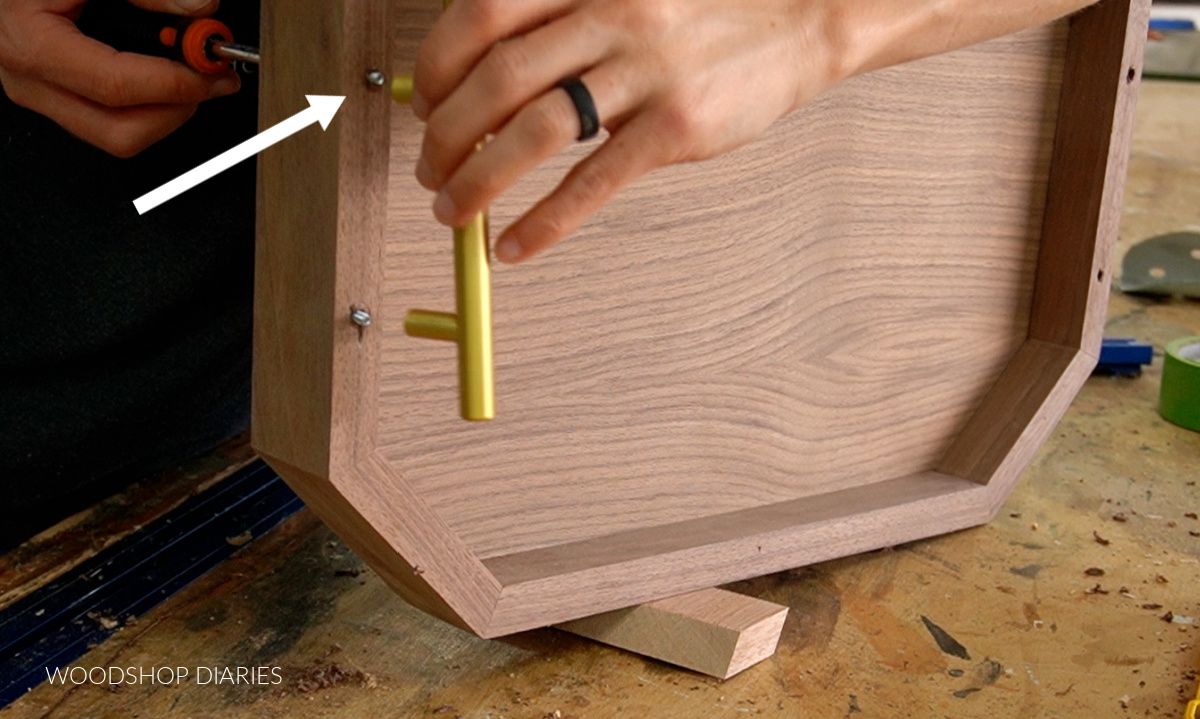
I installed some modern brass handles on each side of the tray at the end of the build. However, since the sides here are 2″ thick, the screws that came with the handles obviously wouldn’t go all the way through from the bottom.
So I measured and marked the holes for them on each side so that they would be centered (your hole locations will vary based on the type, style and size handles you use).
Then, I drilled holes at these marks all the way through the sides of the tray large enough for the shank of the screw to fit through.
Then, I flipped the tray upside down and drilled a hole large enough for the head of the screw to fit into about 1″ deep (I used painters tape as a “stop” to know how deep to drill).
This allowed me to install the screws through the bottom side so that they stuck up through the top enough to attach the handles.
After the handles were secure, I applied Walrus Oil Furniture Butter to finish and seal the tray.
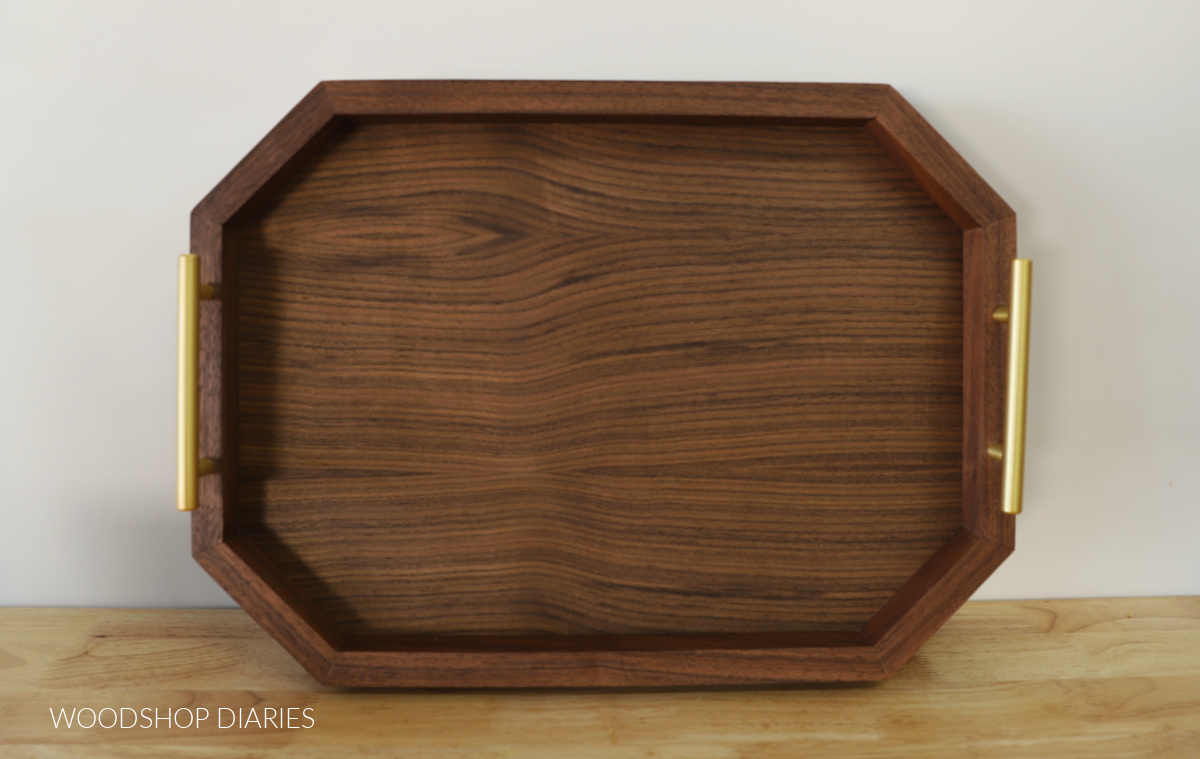
And now it’s ready for use! Use it for serving, for décor, give it as a gift–this versatile and classy tray is perfect for any occasion.
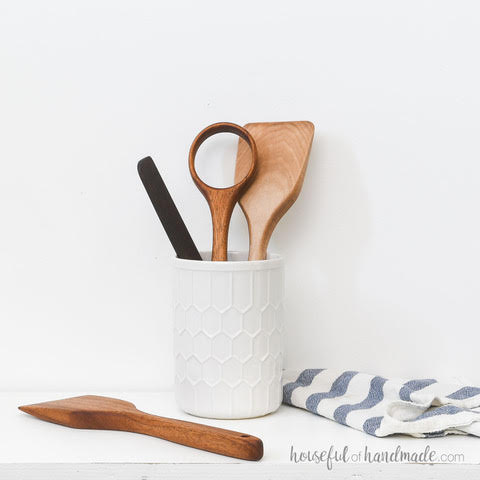
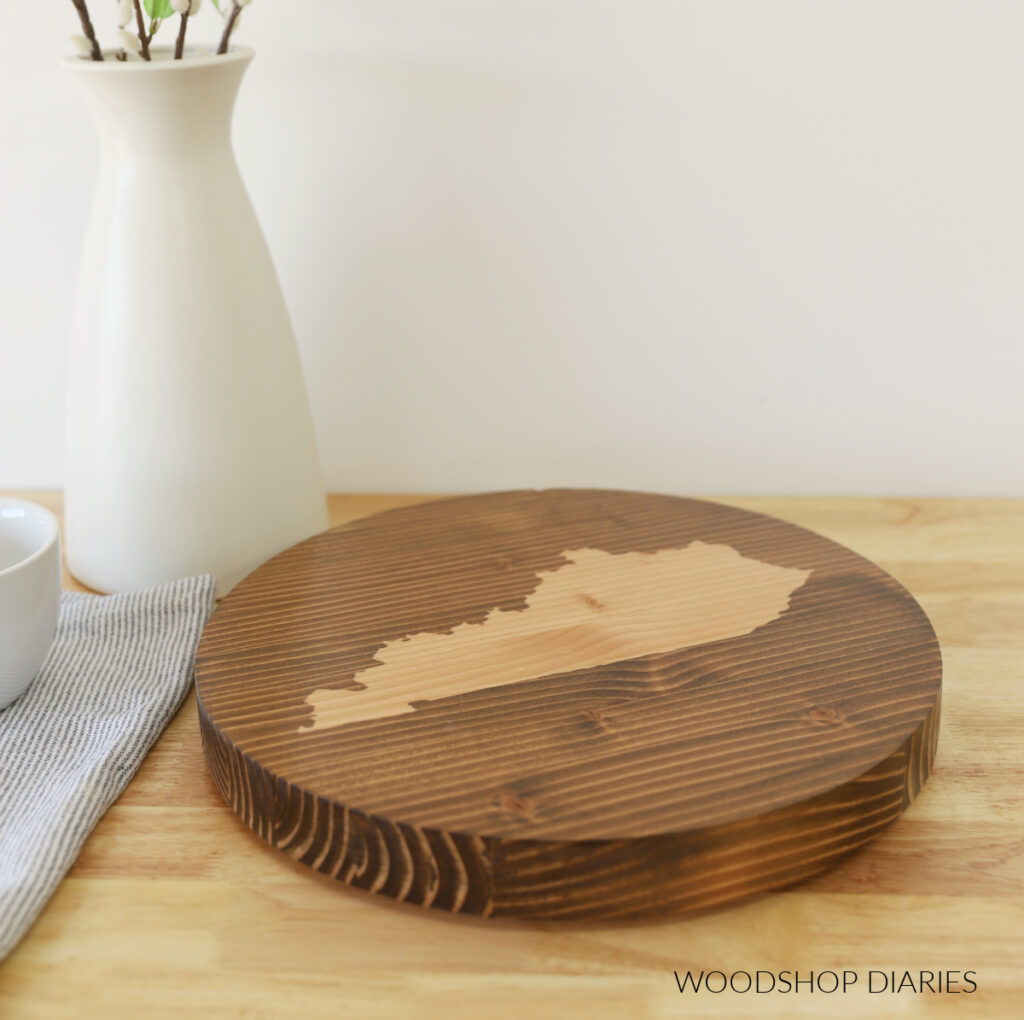
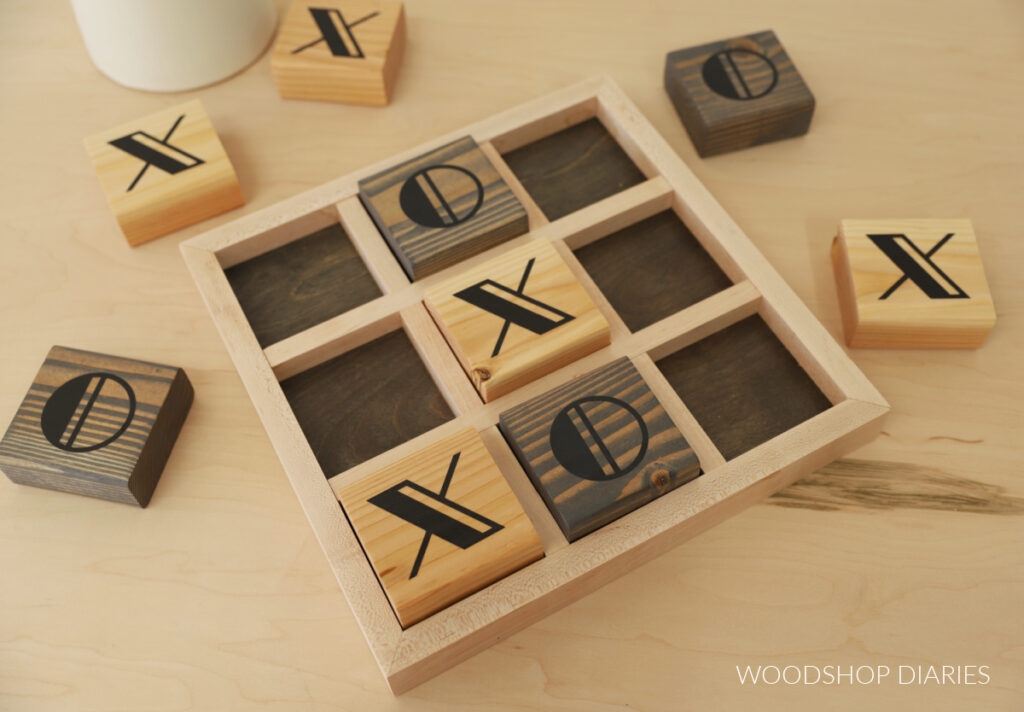
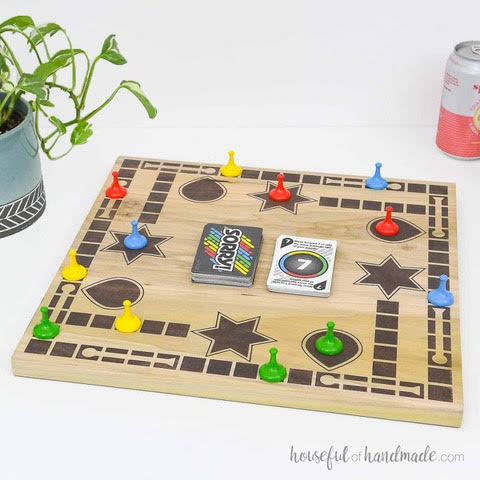
Looking for more Handmade Gift Ideas?
With the upcoming holidays, I’ve teamed up with my friend, Kati, from Houseful of Handmade to share some easy and fun gift ideas you can make this season!
I’ve included our gift ideas in the gallery below (click on the images to see how to make each one). Each day between November 18-22, we will be adding more projects to the list so keep an eye out!


If you’d like to save this project for later, be sure to pin it or share to your favorite social channel!
Until next time, friends, happy building!