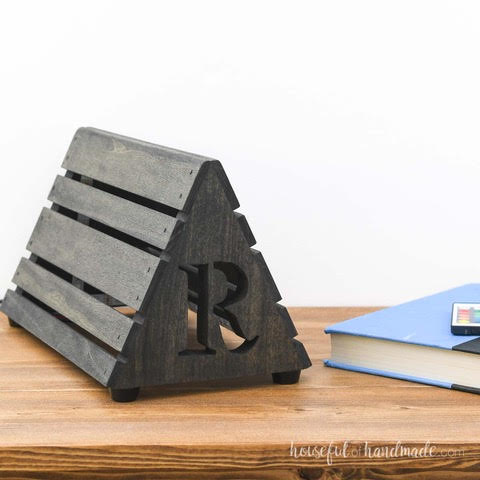
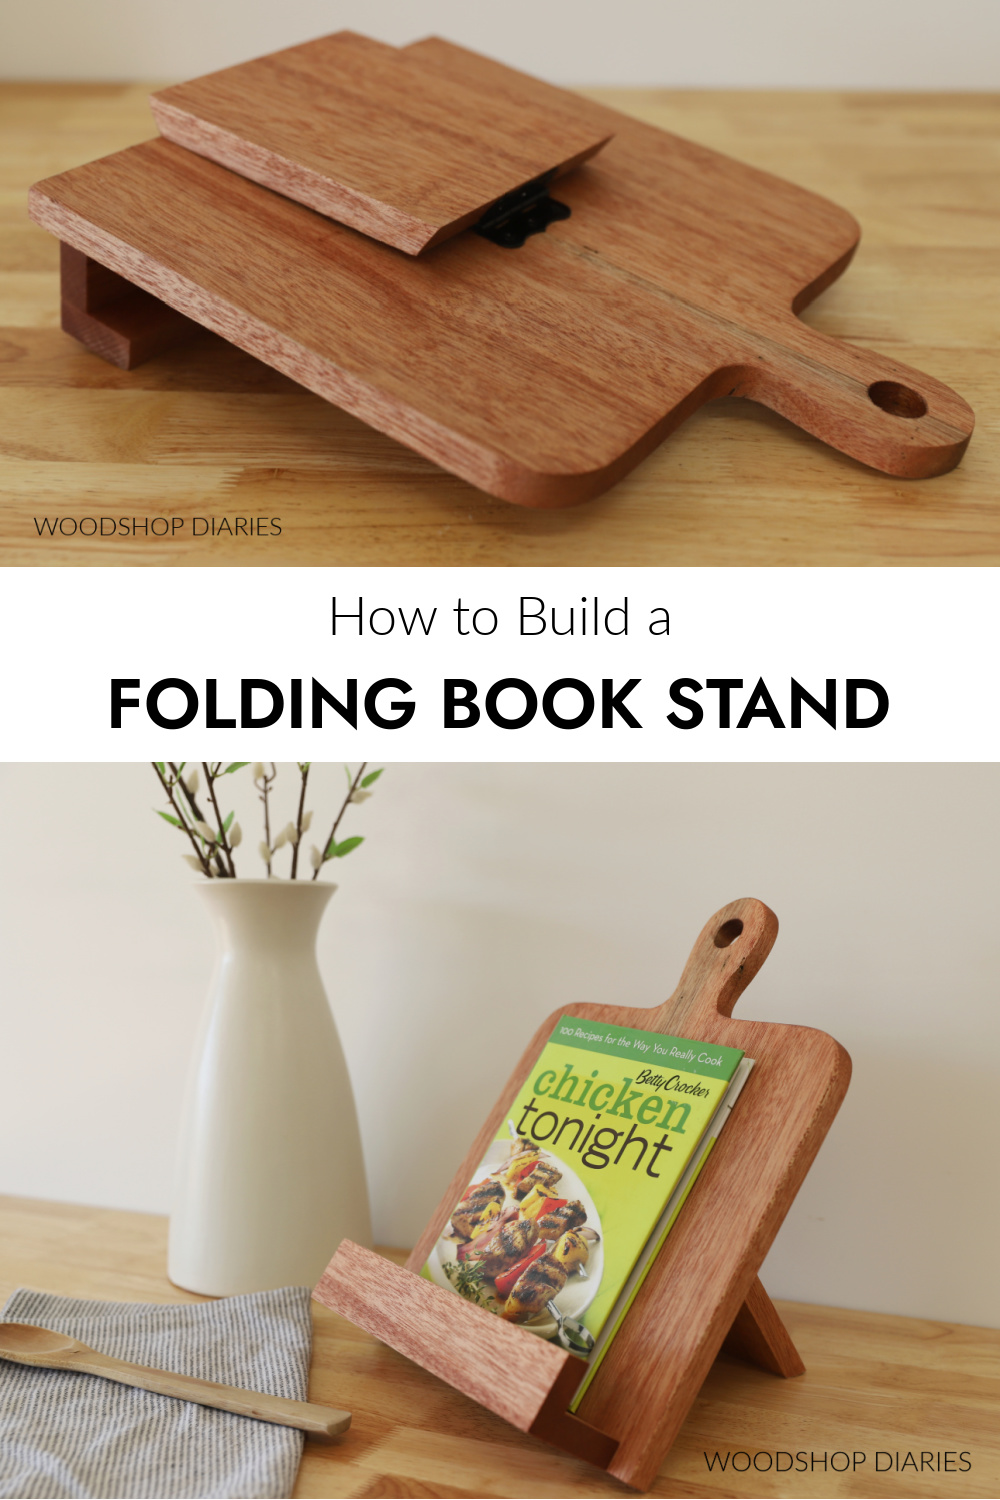
In this post, I’m showing you how to make a simple DIY book stand from scrap wood!
This easy woodworking project makes the perfect handmade hostess or Christmas gift idea.
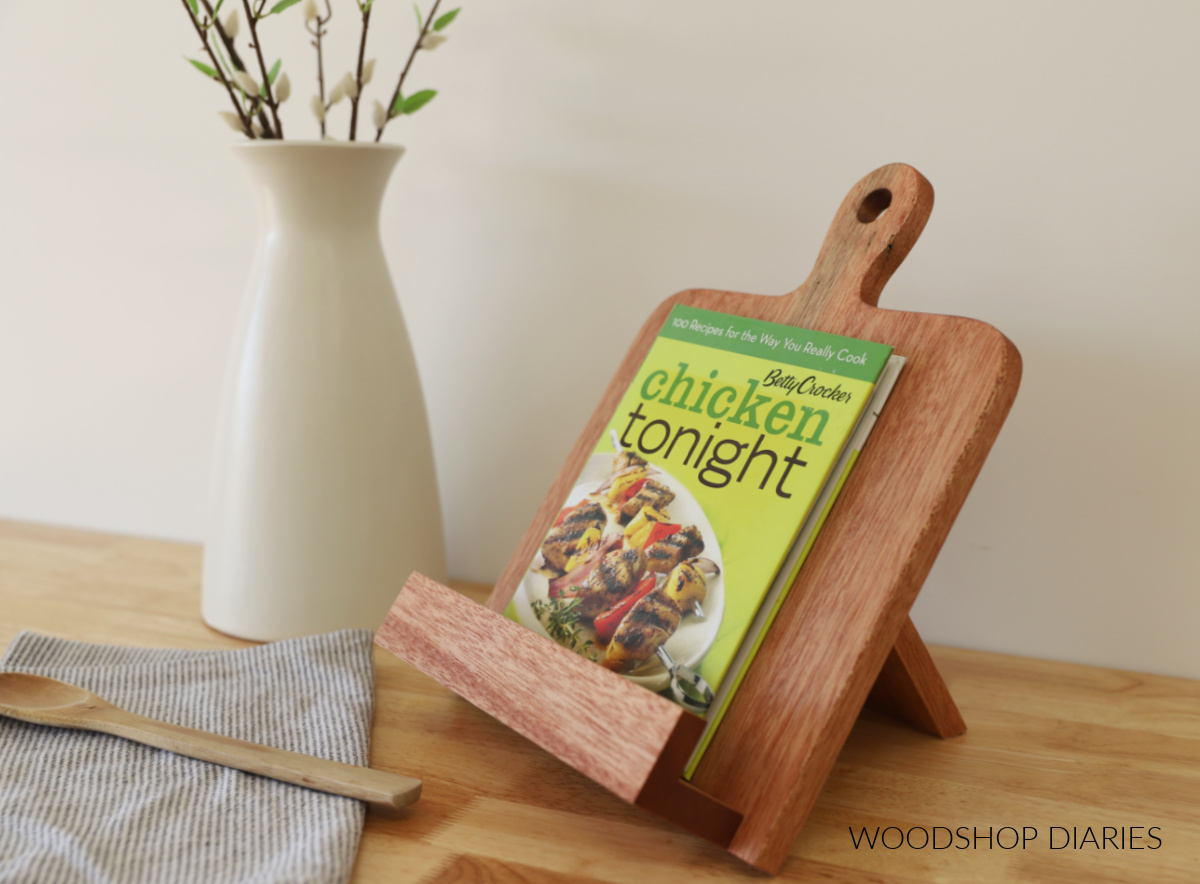
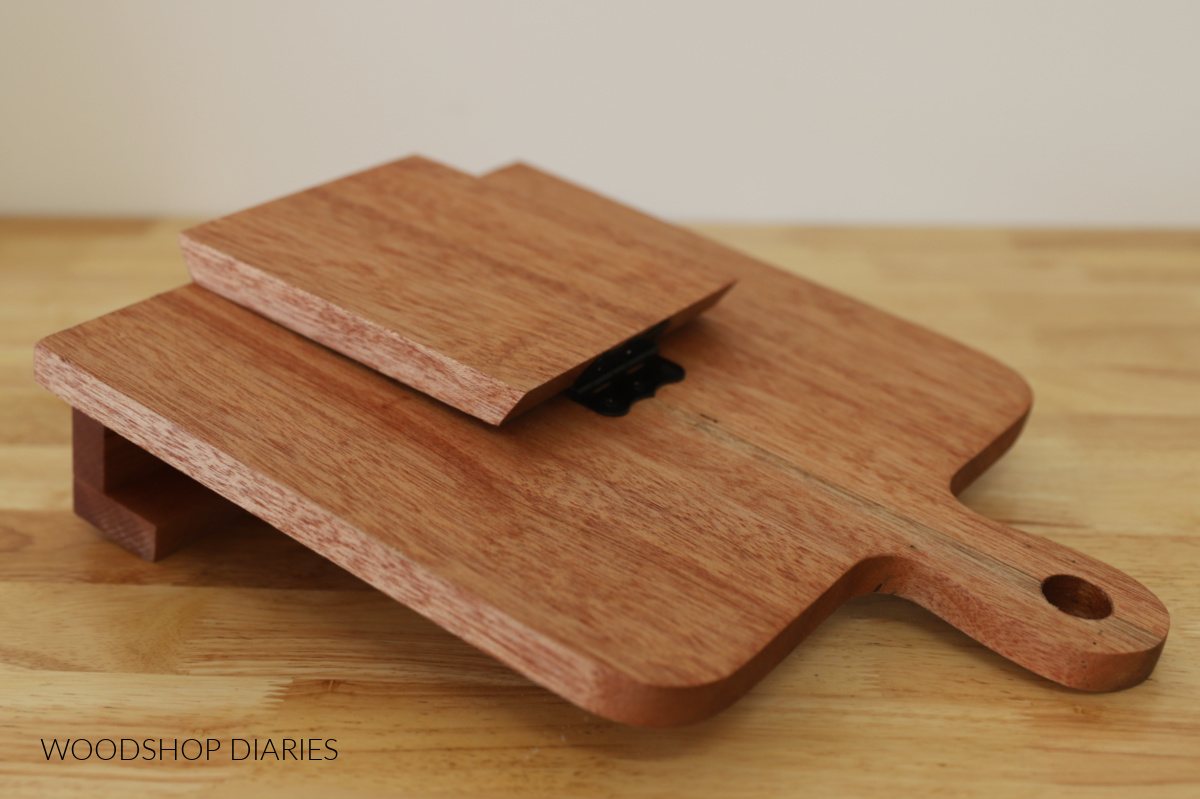
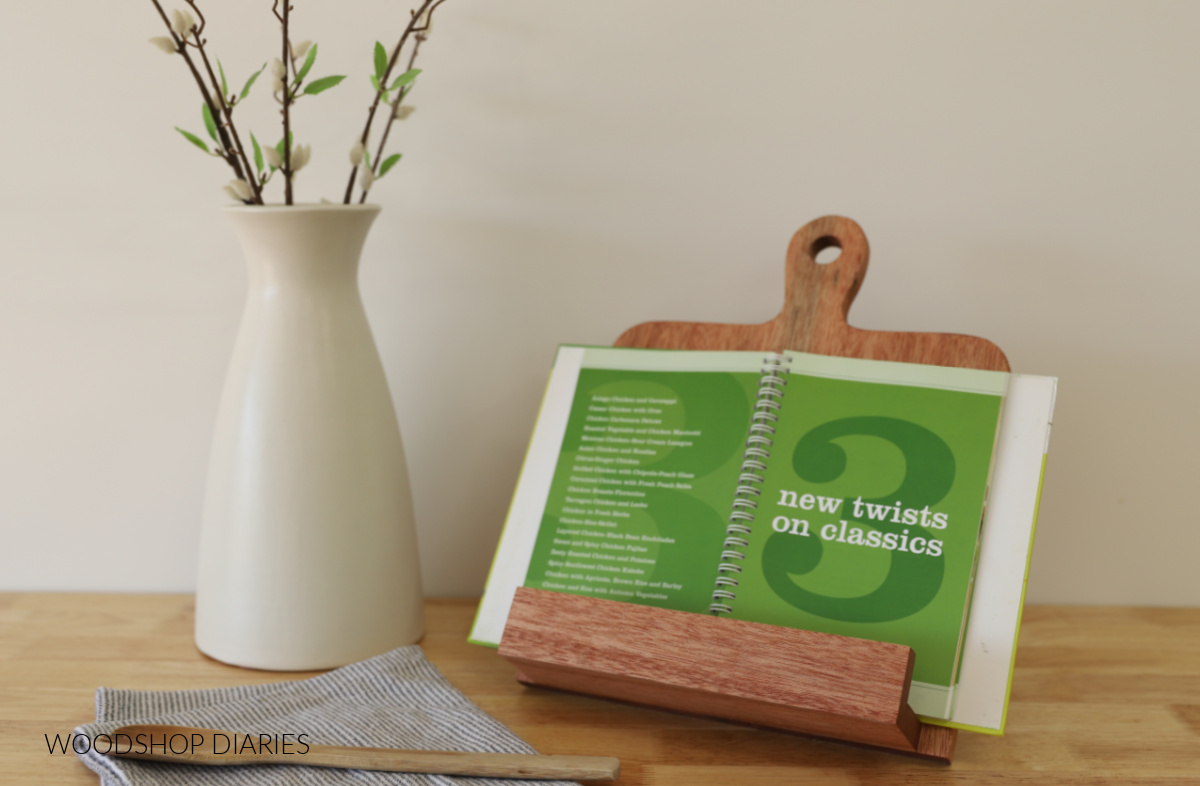
The hinged back support can fold up for easy storage, but when propped up, provides a sturdy support for large cookbooks, iPads, or even use it as a photo stand.
What type of wood do you need?
You can build this simple DIY book stand with just about any species of wood you’d like.
I purchased a 1x6x6 mahogany wood board recently to try out since I’ve never worked with it before. So I cut all my pieces from that board (and had quite a bit left over!).
But 1x pine, oak, maple, or even ¾″ plywood would work great as well. I recommend checking your scrap pile before building because you likely have everything you need to build this already in there.
If you have a table saw, you can cut everything you need from a 4 foot long piece of 1×6. But if you don’t have a table saw, that’s totally fine. You can use 1x2s for the book ledge and 1x6s for the back.
Are DIY projects your thing? Sign up for our newsletter for priority access to the latest projects and build plans!
How to Build a Scrap Wood Book Stand
I’m sharing the steps below as well as a printable version if you prefer to print your plans. And if you prefer to watch, here’s a how to video as well.
Tools & Materials
**This post contains affiliate links. See website policies.
Tools:
- Miter saw
- Drill/Driver
- Jig Saw
- Small screwdriver (optional)
- Clamps
Materials:
- 48″ of 1×6 board OR 36″ of 1×6 board + 20″ of 1×2 board*
- Wood glue
- (1) cabinet butt hinge
*If you have a table saw, you can rip part of your 48″ long 1×6 into 1x2s for the book ledge (details below). If you don’t have a table saw, you can use precut 1x2s instead.
Cut List:
- 1×6 boards
- (2) 14″ long (back panel)
- (1) 6 ½″ long (ends beveled 30 degrees–back support)
- 1×2 boards
- (2) 10″ long (book ledge)
Prefer to print? Grab the printable building plans for this book stand project here.
Step 1: Assemble Back Panel of Book Stand
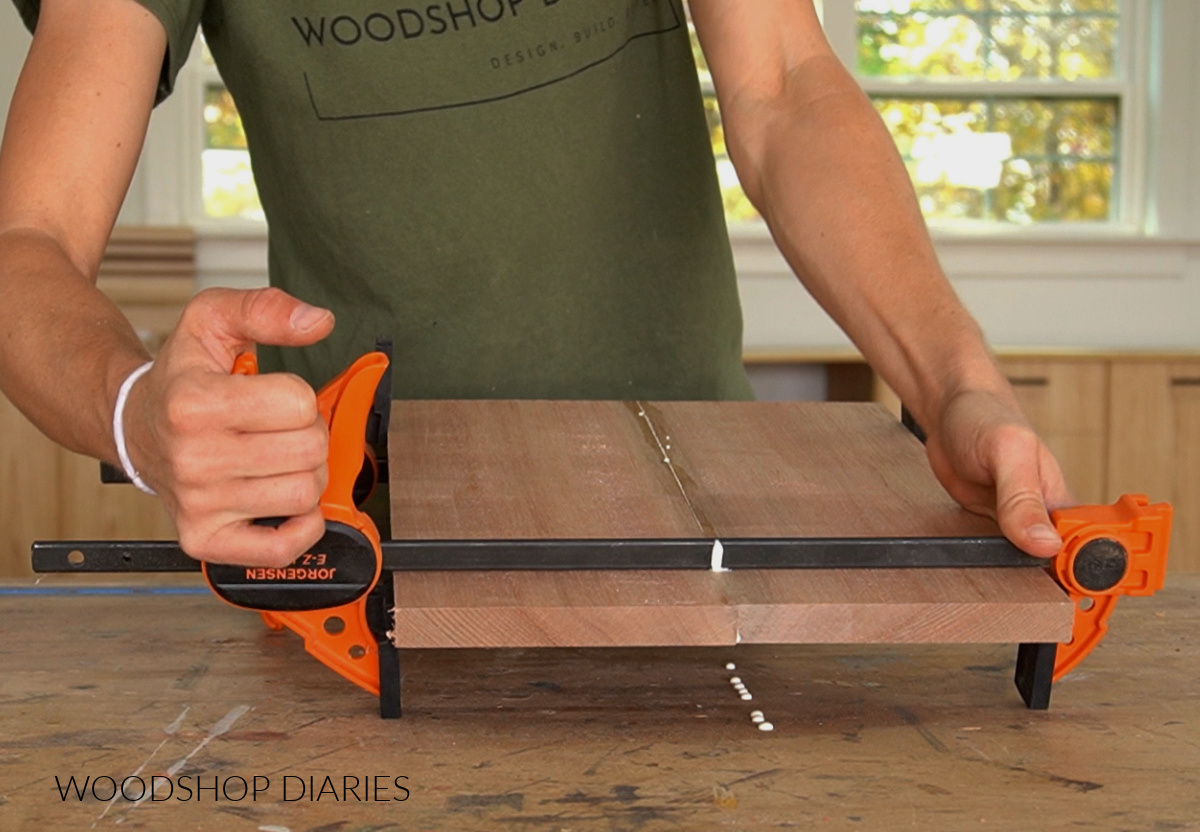
The back panel of this book stand is made from 1x6s glued together. I cut two pieces of 1×6 to 14″ long (you can make it longer if you want a taller bookstand).
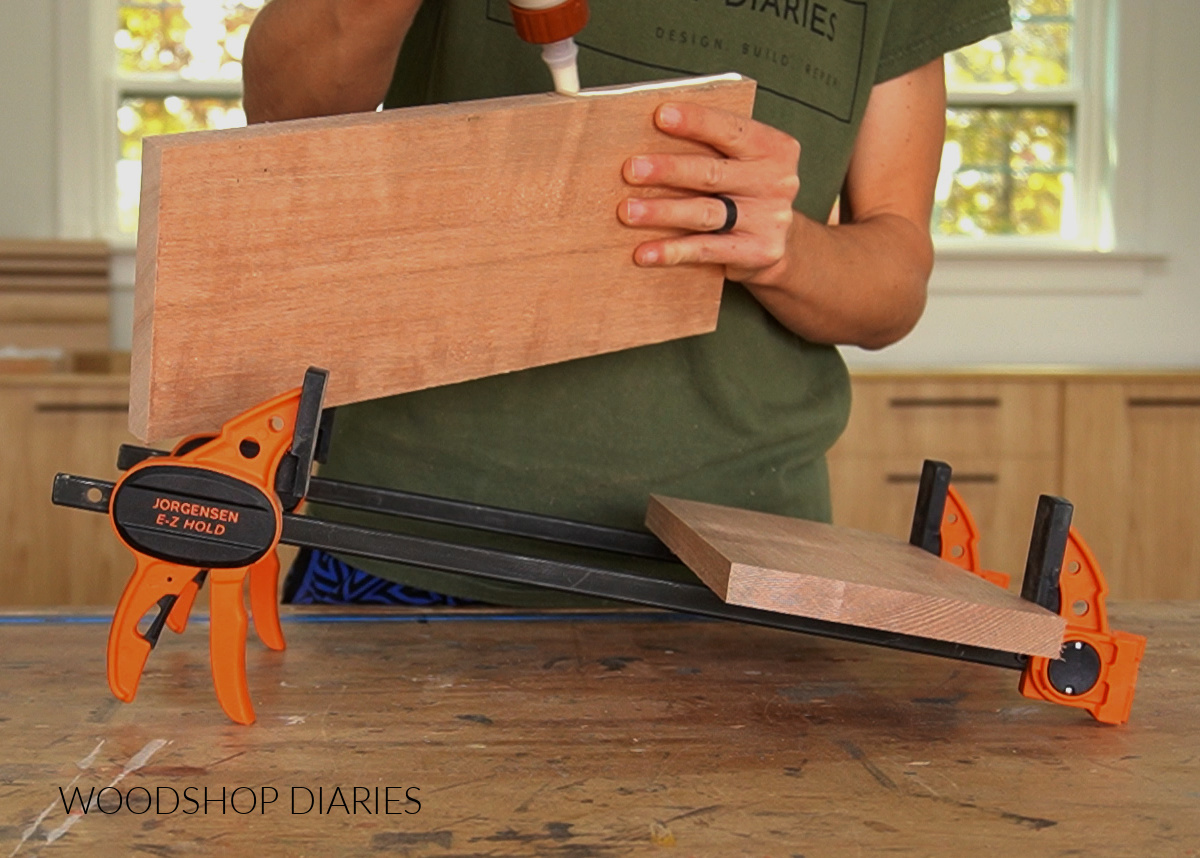
Then, I glued and clamped them together to make a panel about 11″ wide (if you didn’t know, 1x6s are 5 ½″ wide, so two together gives you 11″) x 14″ tall.
Once the glue dried, I trimmed one end square on the miter saw–this will be the bottom.
On the top side, I used some round objects (like a glue bottle and some small stain cans) to just kind of trace out a “handle” on the top.
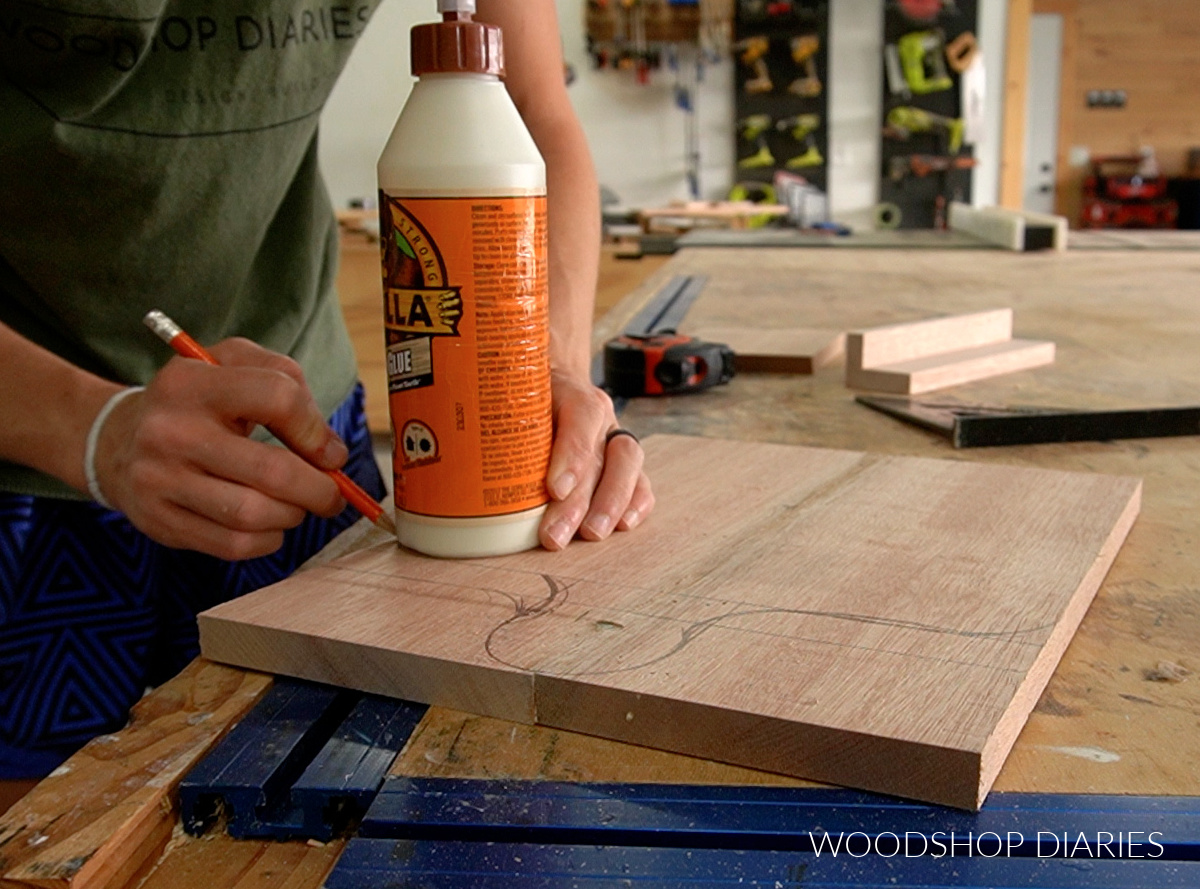
This is COMPLETELY optional and if you wanted, you can simply cut the top end square just like the bottom.
I didn’t use a template–just kind of drew out a shape I thought looked good. I made my handle about 3″ tall so the main part of the panel was about 11″ tall. Feel free to customize your design and sizing however you’d like.
Once I was happy with my drawing, I cut it out with a jig saw.
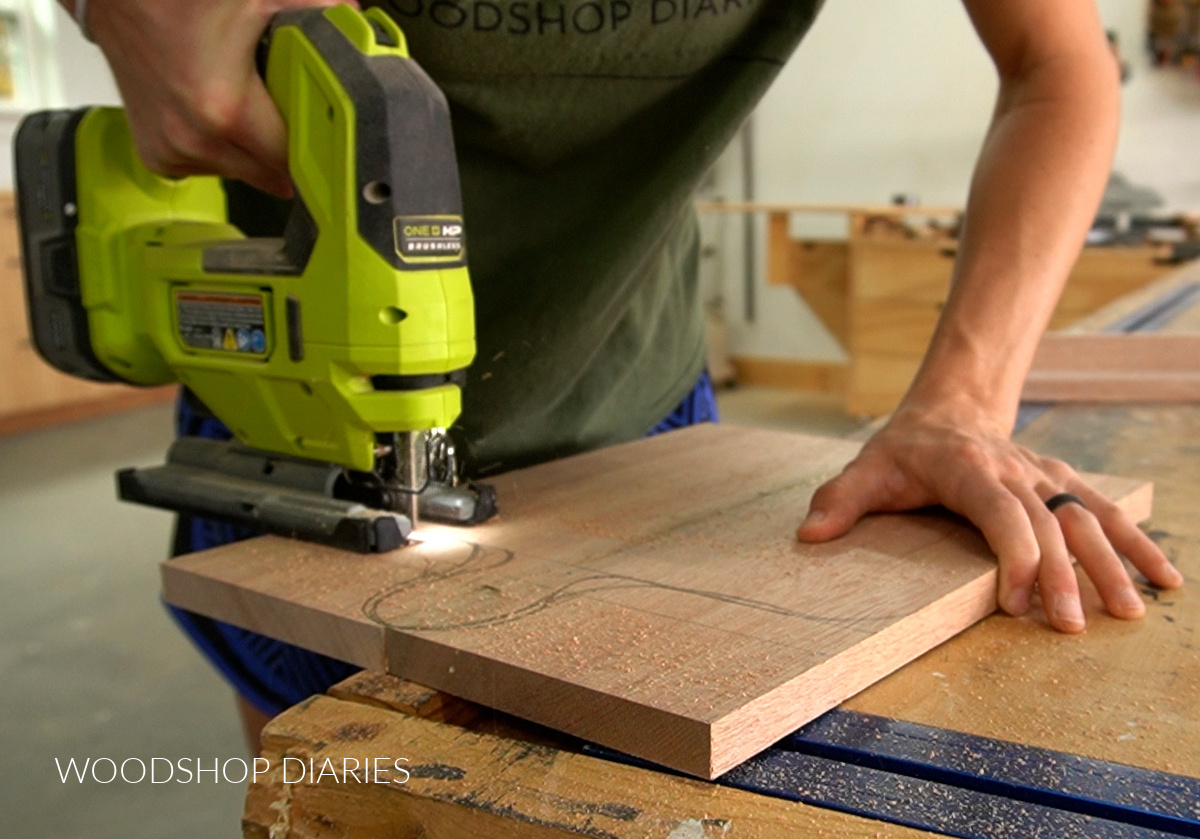
TIP: Use a fine finish blade on your jig saw to minimize tear out as you cut.
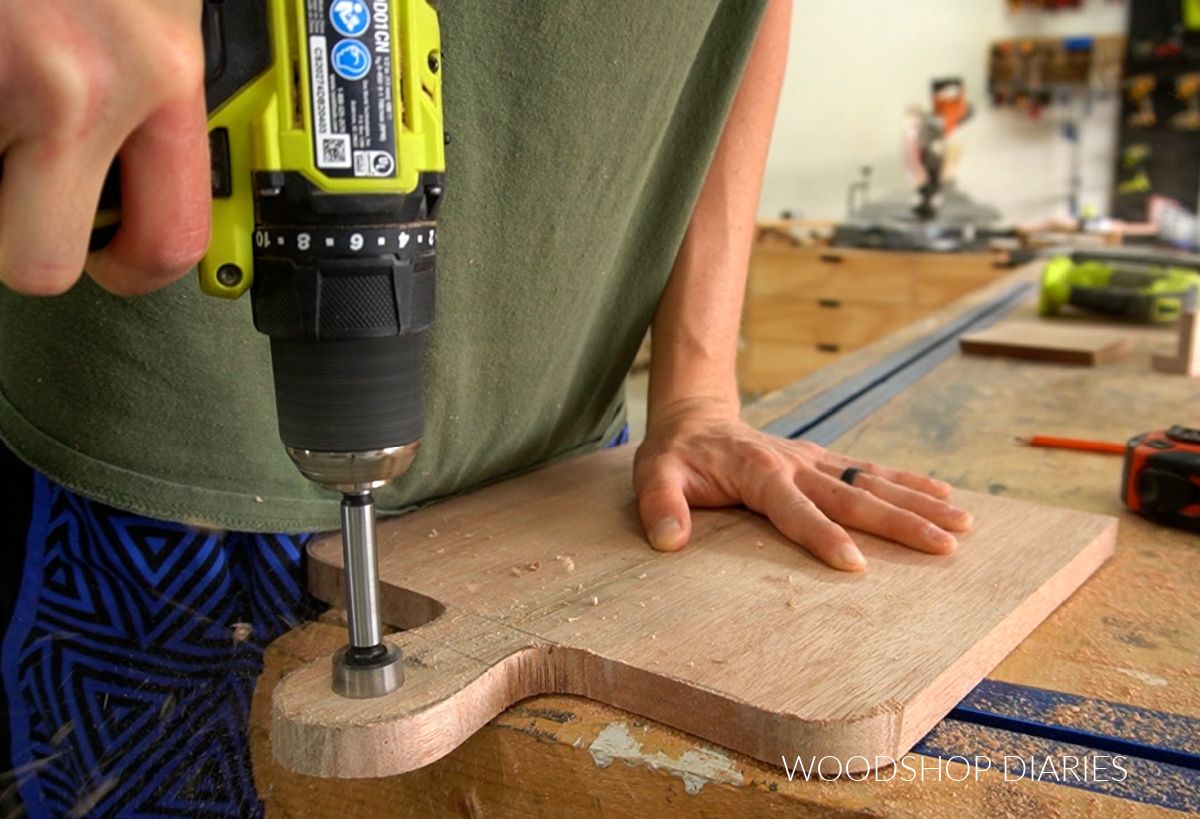
Then, I used a forstner bit to drill a hole in the center of the handle as another optional detail. If you wanted, you could tie a small rope through the hole for an extra decorative touch.
Finally, I sanded the panel and the edges well to smooth everything out.
Step 2: Attach Book Ledge
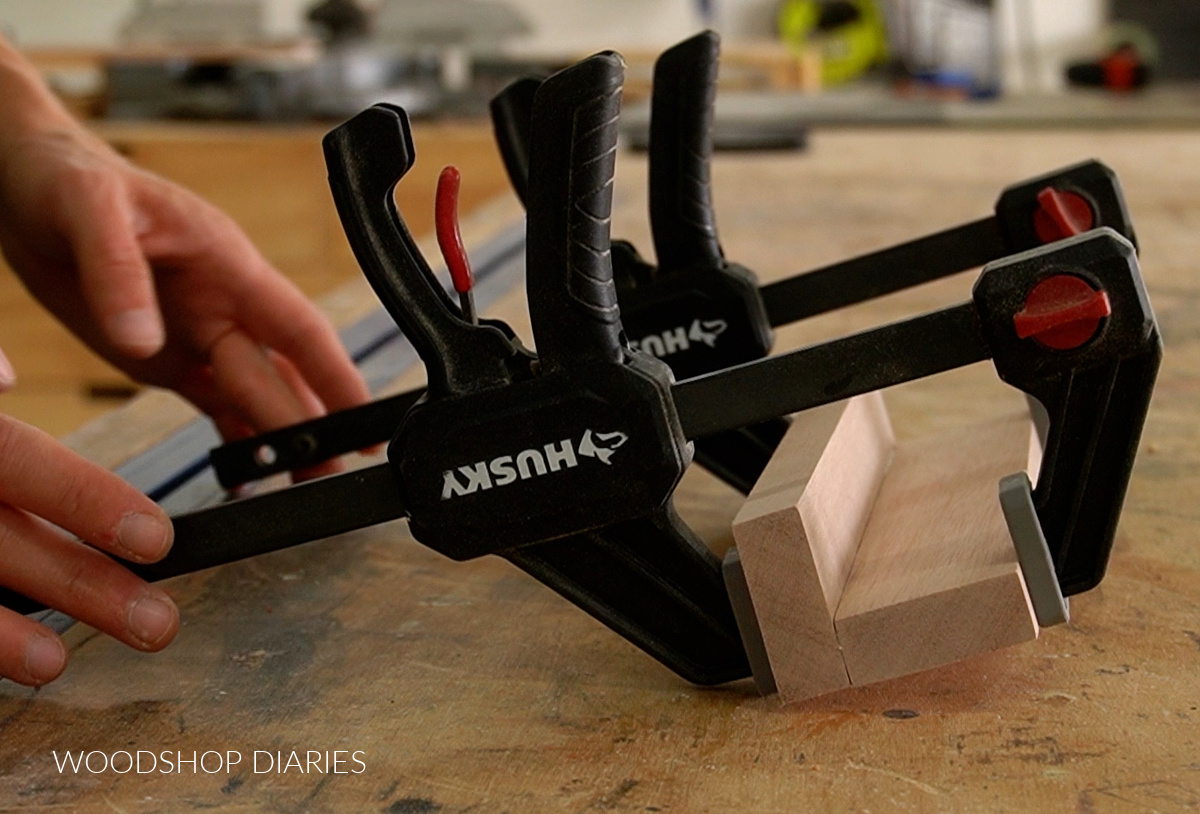
After the back panel was assembled, I moved on to making the book ledge. I cut two pieces of 1×2 to about 10″ long–one will be for the bottom and one will be for the front.
I glued them together like shown below. If you wanted, you can certainly add a few brad nails to help secure it as well.
Once the glue was dry, I glued this piece onto the front of the back panel from step 1 so that it was centered and flush to the bottom edge. Please ignore the cat in the background of the photo–he likes to be in the middle of everything HA!
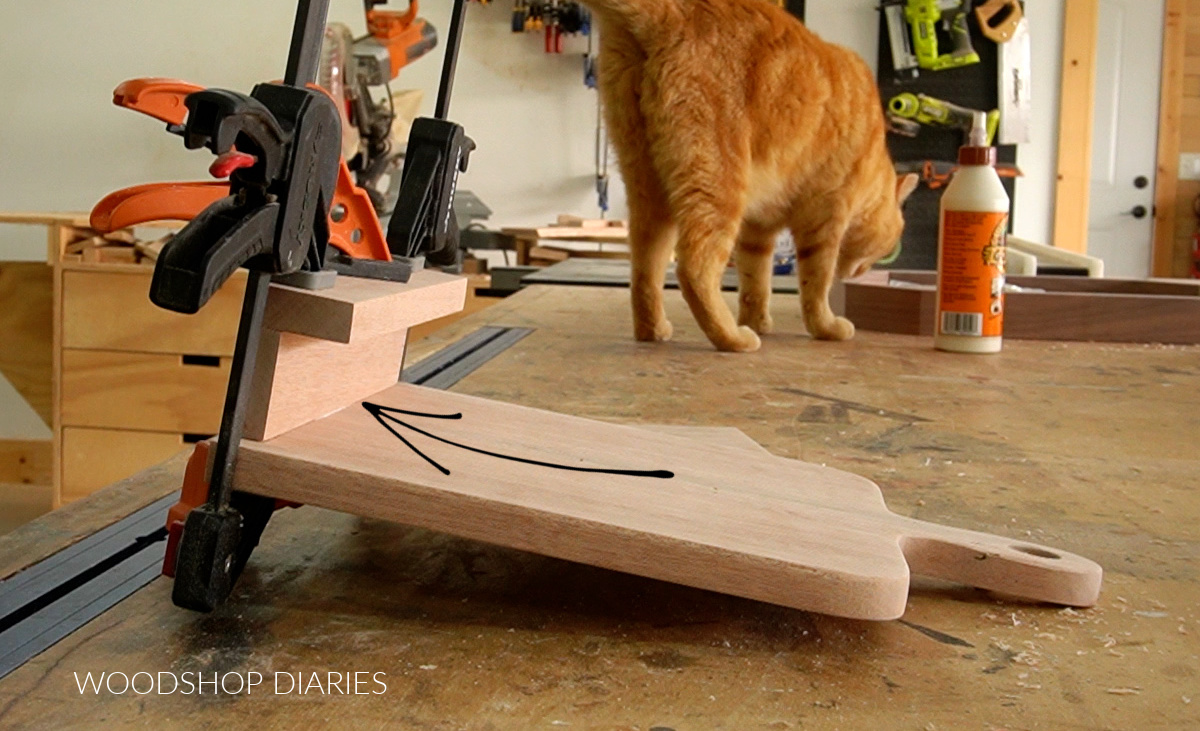
Again, you can add a few brad nails through the back if you’d like.
Step 3: Install Hinged Support
I adjusted my miter saw to 30 degrees and cut a piece of 1×6 to 6 ½″ long (on the longest side) with both ends beveled 30 degrees NOT parallel to each other.
RELATED: How to cut angles on a miter saw
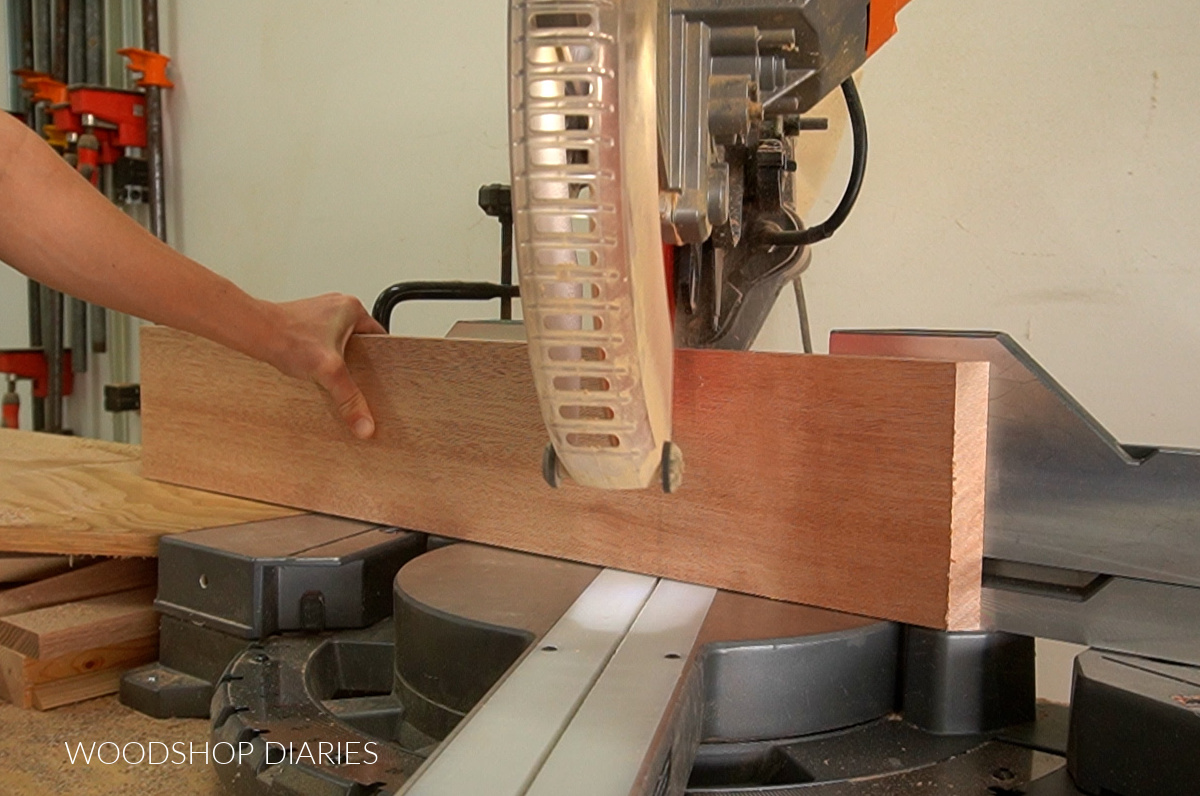
NOTE: I can cut 1x6s on my miter saw standing up, but if yours isn’t large enough to do that, you can lay it flat and adjust your bevel angle to 30 degrees to cut that way instead.
Now, you can install this as a hinged support so it folds up flat, or as a stationary support so it doesn’t fold. Either way works fine, but I thought the hinged feature was helpful, so that’s how I installed it.
First, I installed the hinge into one end of the beveled 1×6 like shown below. Make sure the hinge is centered left to right.
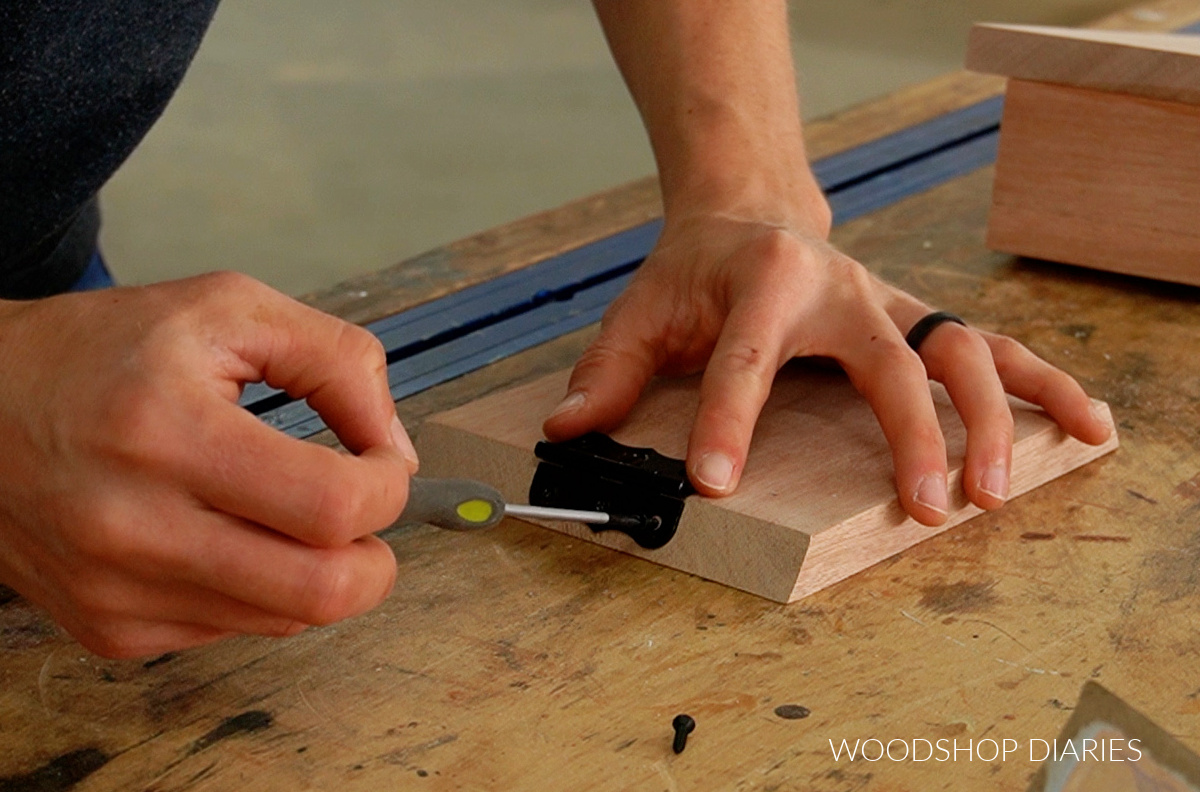
TIP: Be sure to predrill your holes. It might be helpful to use a small screwdriver as the screws that come with these hinges tend to be pretty small and may easily strip if you use a drill or driver.
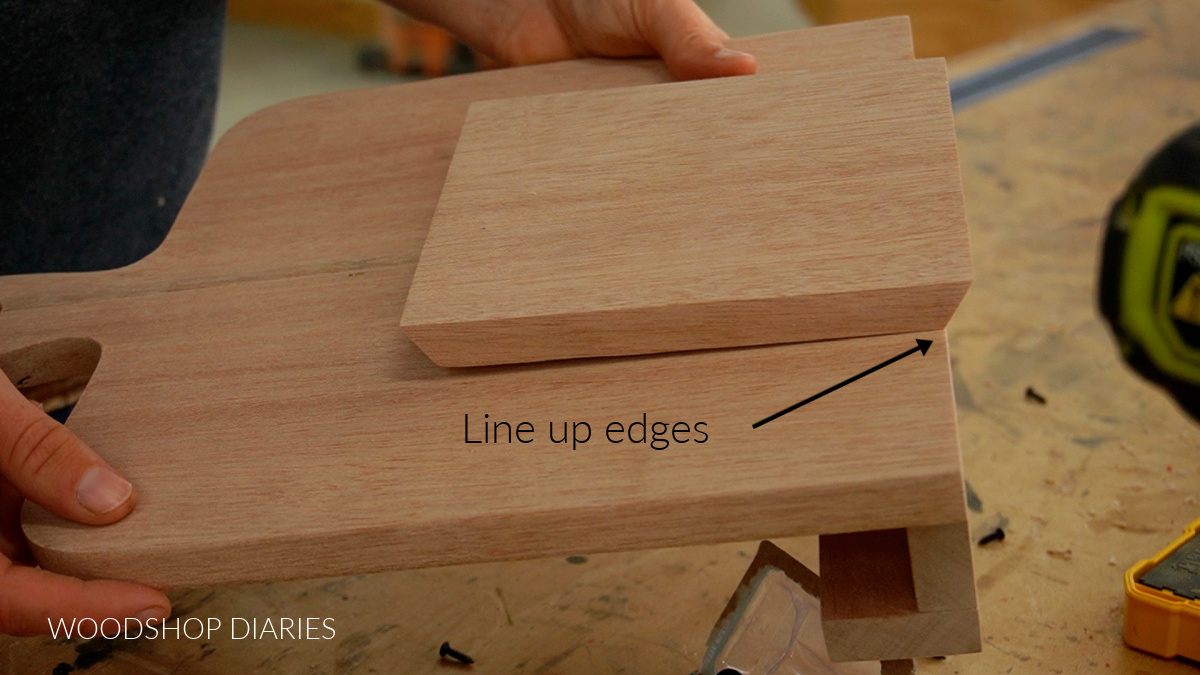
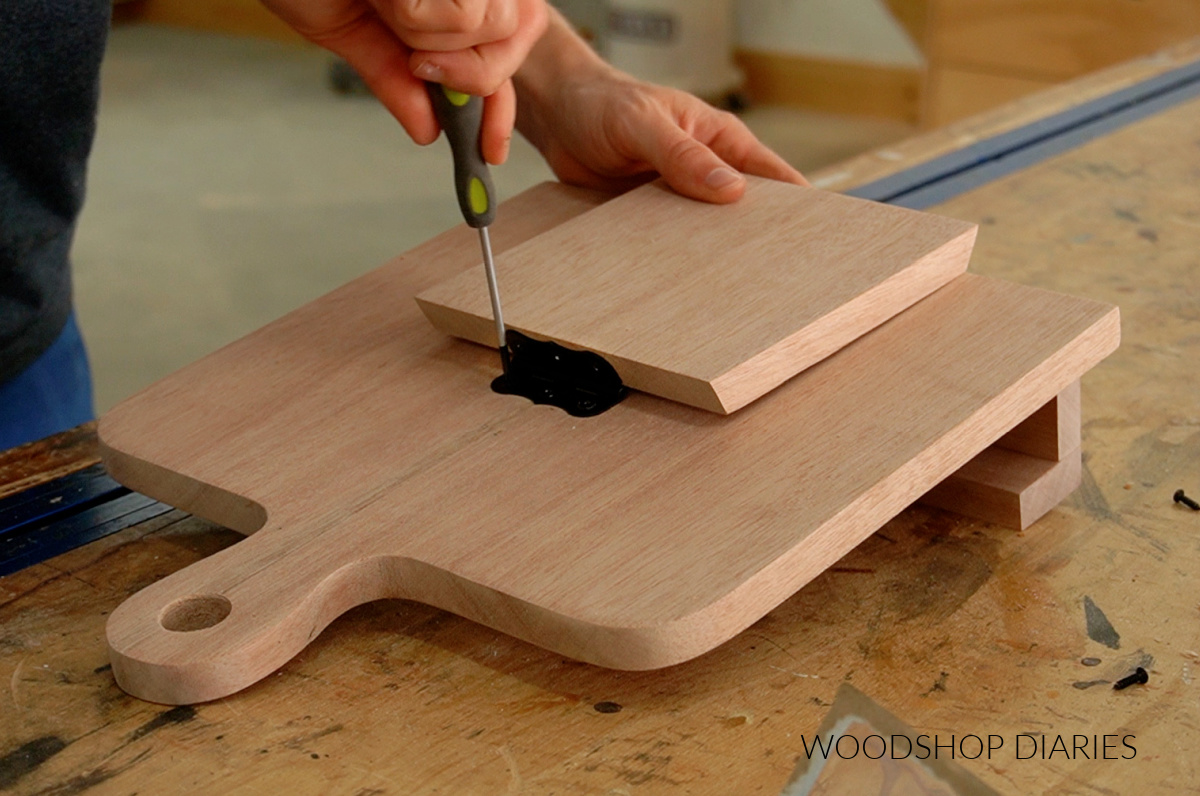
Once the hinge was attached to the end of the support, I centered it on the back side of my bookstand, lined up the edge with the bottom and secured the other side of the hinge.
Step 4: Finish Book Stand
At this point, the book stand is complete and ready for paint, stain, finish as desired. Since this was mahogany wood, I wanted to keep it’s natural color, but give it a protective finish.
So, I wiped on some Walrus Oil Furniture Butter to finish. Feel free to paint, stain, or customize your book stand however you’d like.
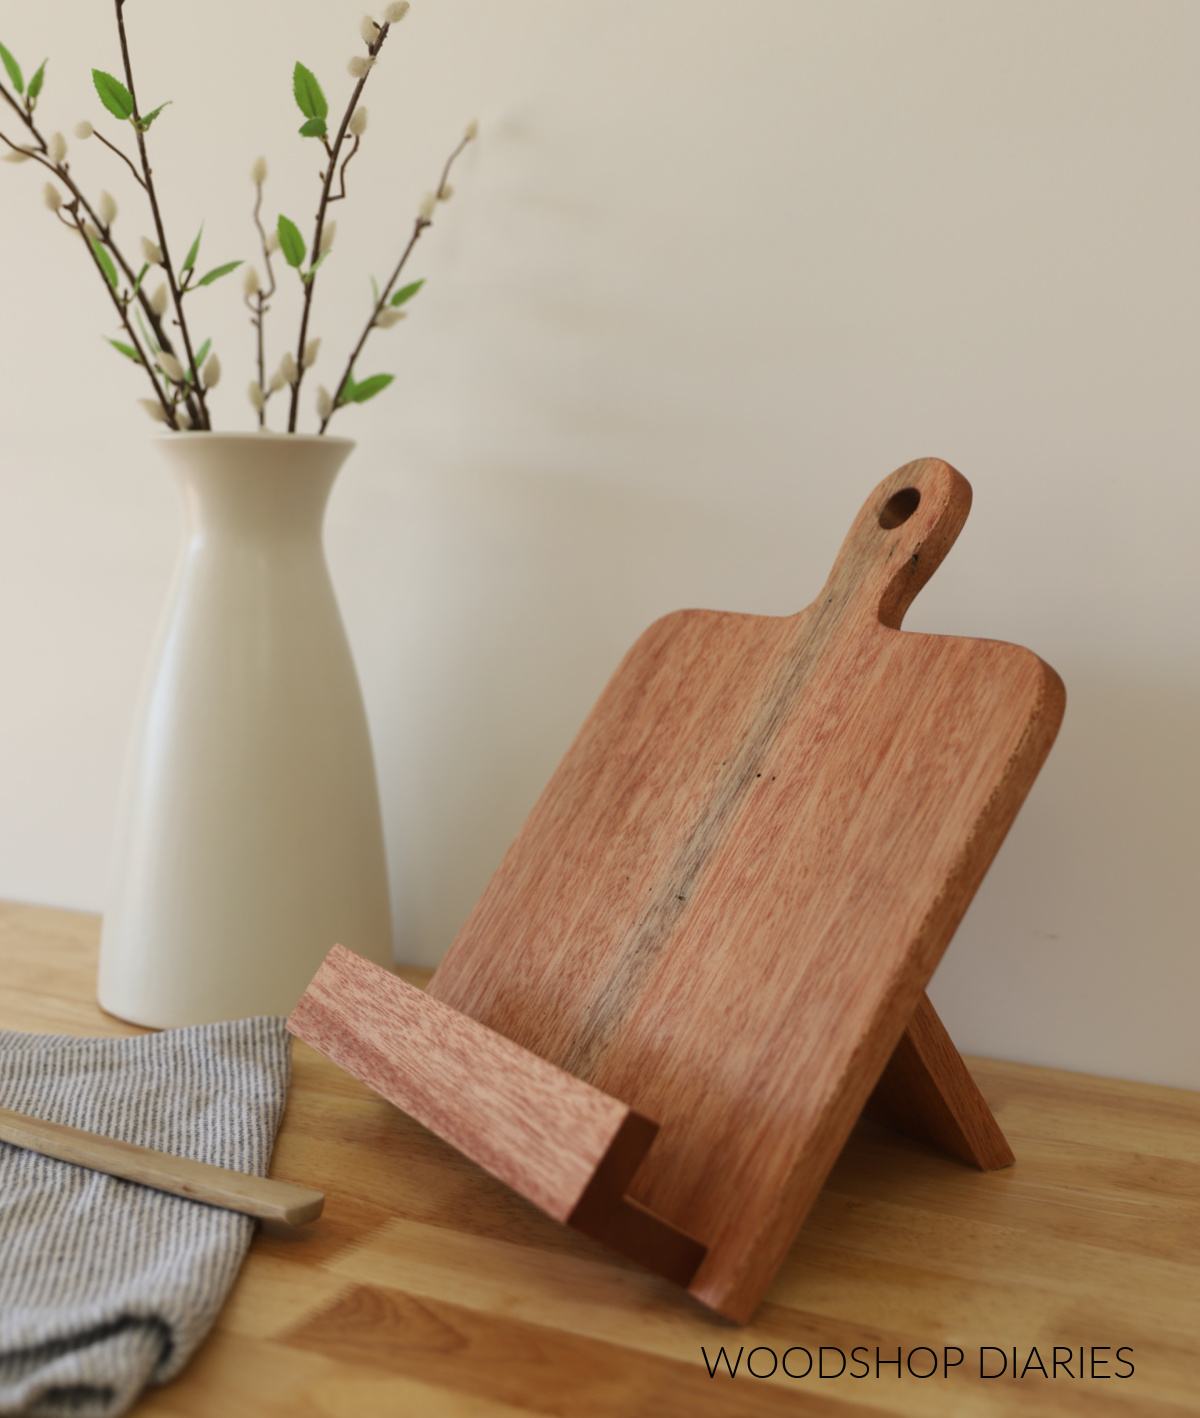
And with that, it’s ready to use for yourself or give as a gift! This would be perfect for use in a kitchen, on a desk, or to display your favorite book, artwork, or photo on a shelf.
Looking for more Handmade Gift Ideas?
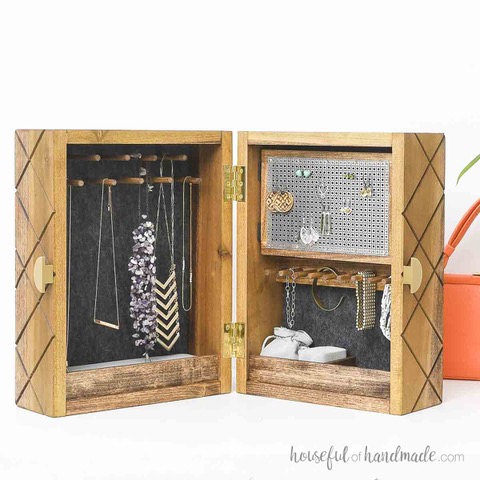
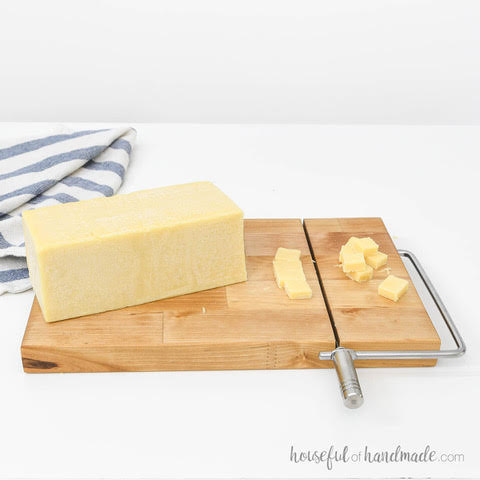
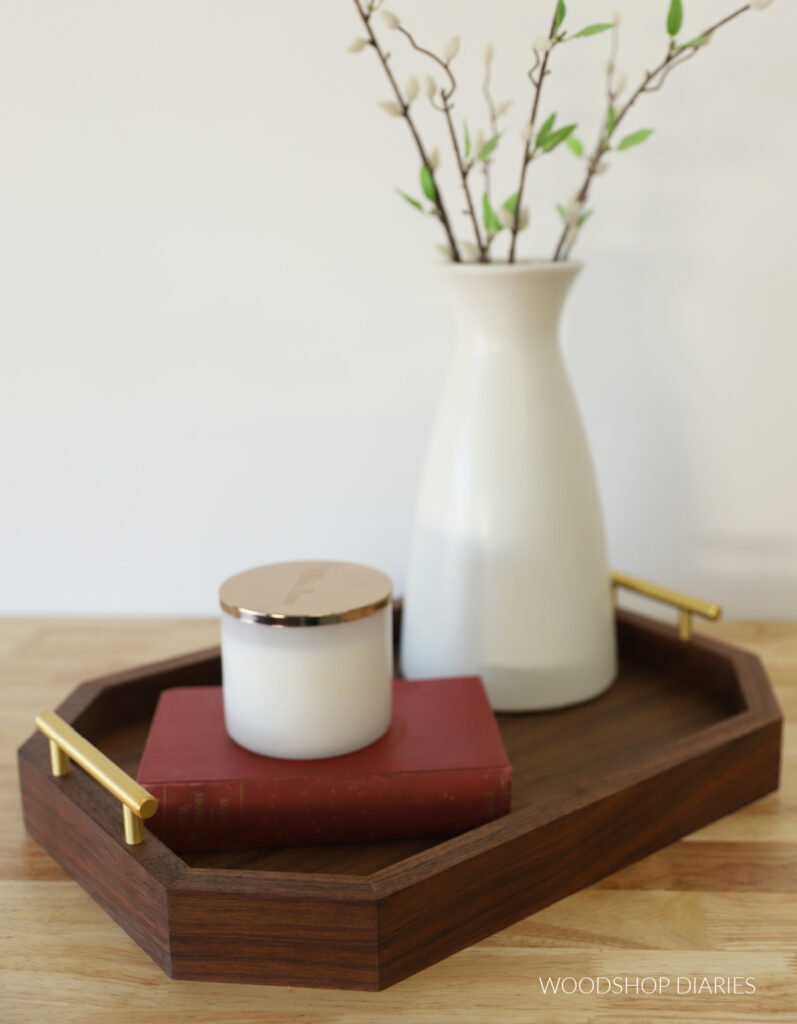
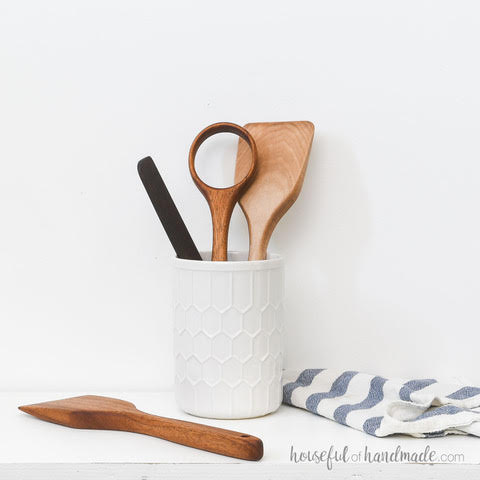
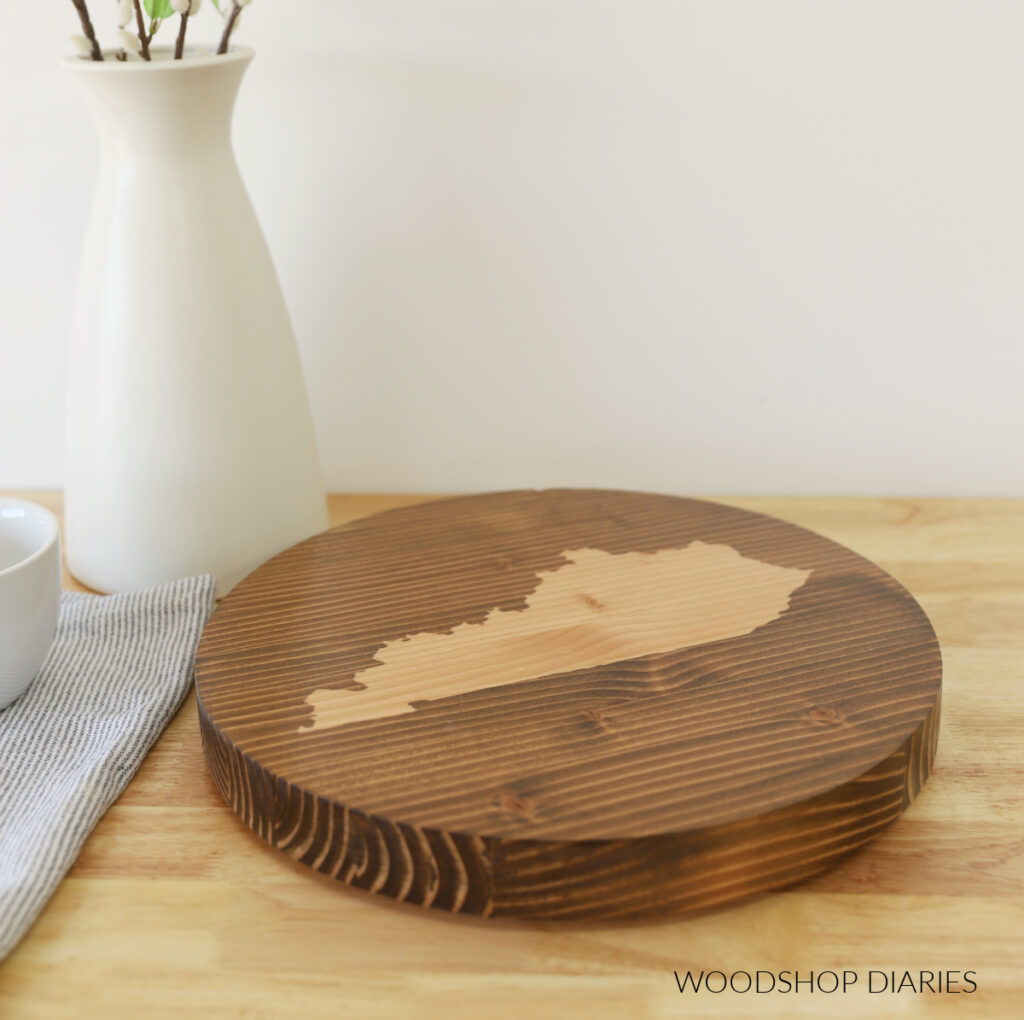
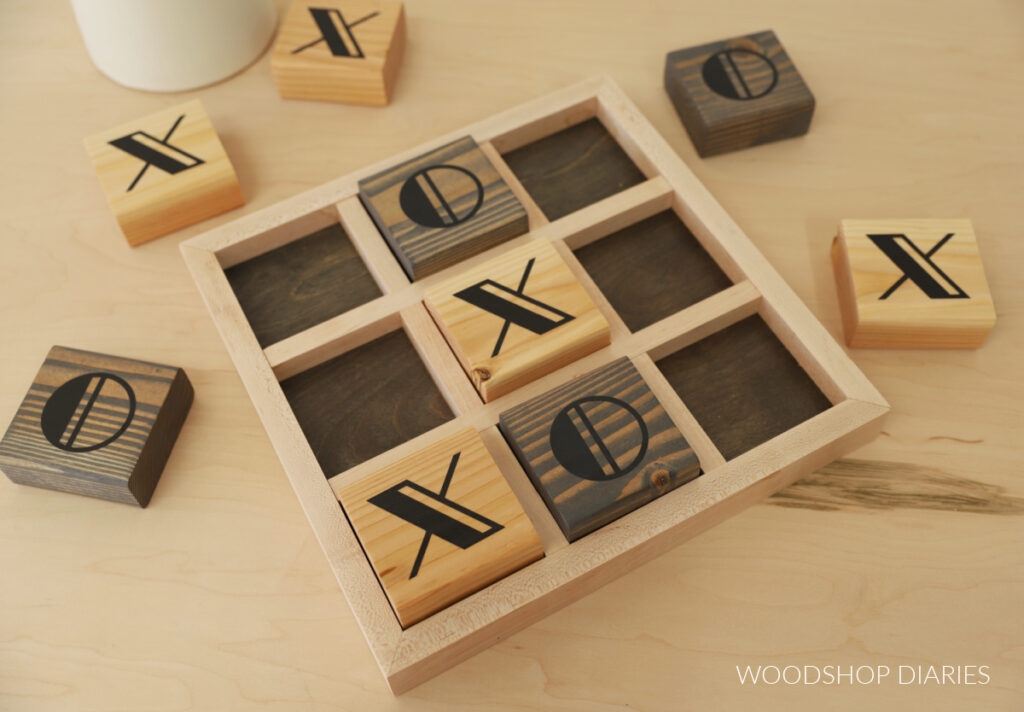
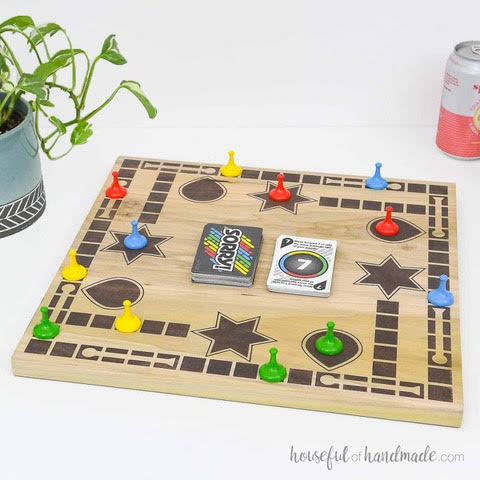
With the upcoming holidays, I’ve teamed up with my friend, Kati, from Houseful of Handmade to share some easy and fun gift ideas you can make this season!
I’ve included our gift ideas in the gallery below (click on the images to see how to make each one). Each day between November 18-22, we will be adding more projects to the list so keep an eye out!


If you’d like to save this project for later, be sure to pin it or share to your favorite social channel!
Until next time, happy building!