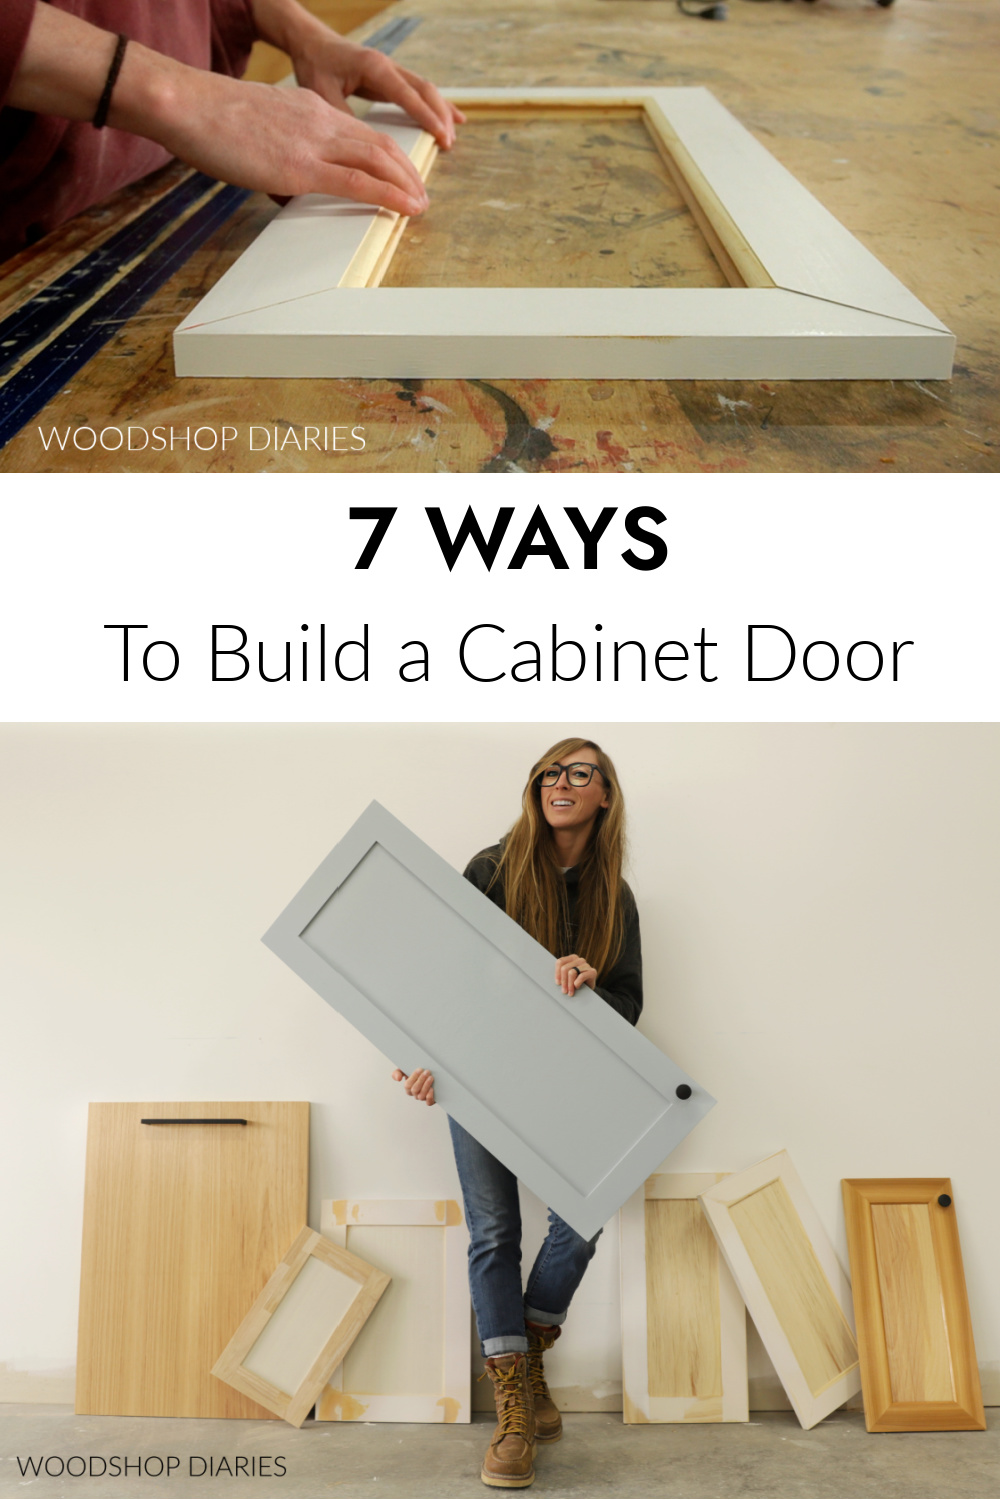
In this post, I’m sharing how to build a cabinet door 7 different ways!
When it comes to building doors for cabinets and furniture, there are many different ways to make them.
The great thing about building your own doors is that you can choose the style and technique that works best for your project, your skill level, and uses the tools you already have available.
Below I’m sharing 7 ways to build basic cabinet doors for any skill level (both with AND without a table saw or a router) for your DIY furniture and cabinet projects.
*This post contains affiliate links. See website polices.
Determining your cabinet door size
The first step to building your cabinet door is determining the overall size it needs to be.
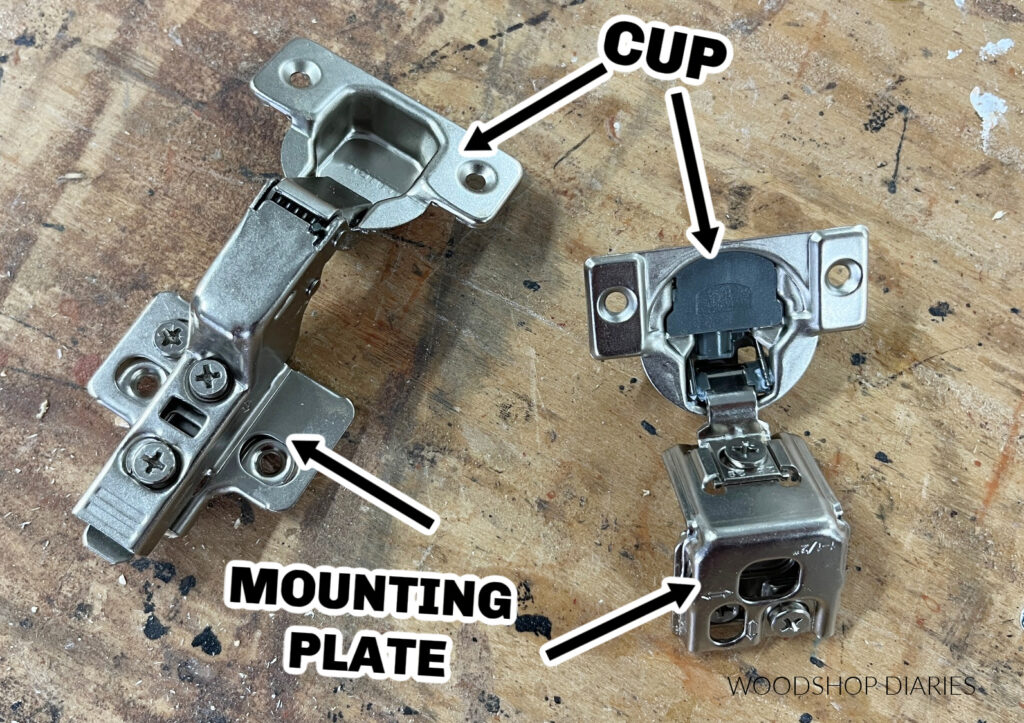
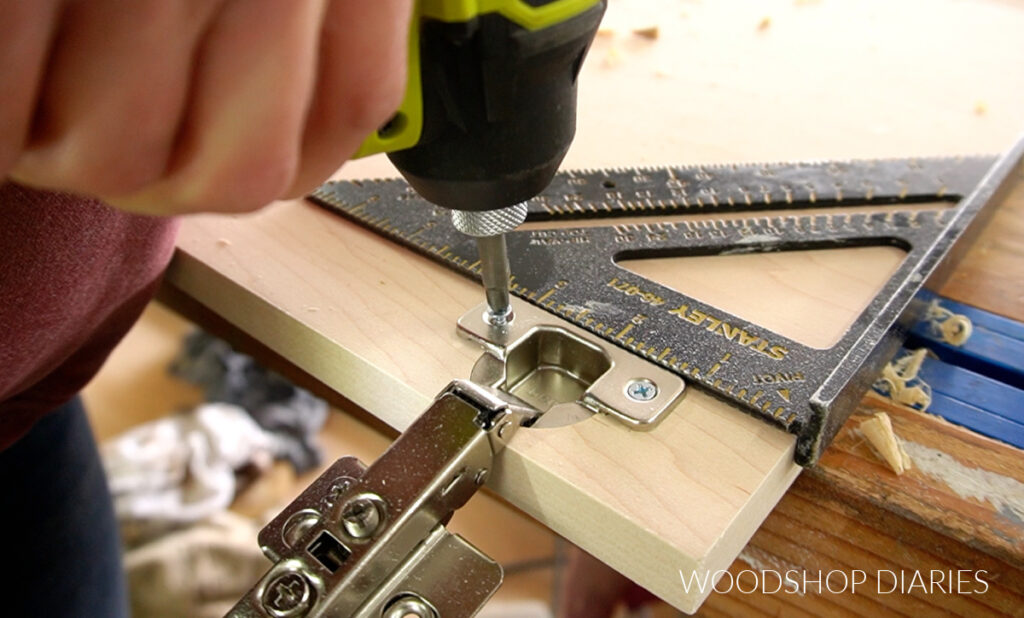
I normally use concealed hinges to install cabinet doors, and with those, the doors typically need to be about ¾″ thick. That’s the thickness I’ll be making all seven doors in this tutorial.
But finding the height and width of your doors will depend on the style and size of your project. This post contains a comprehensive guide to determining your cabinet (or furniture!) door size.
Are DIY projects your thing? Sign up for our newsletter for priority access to the latest projects and build plans!
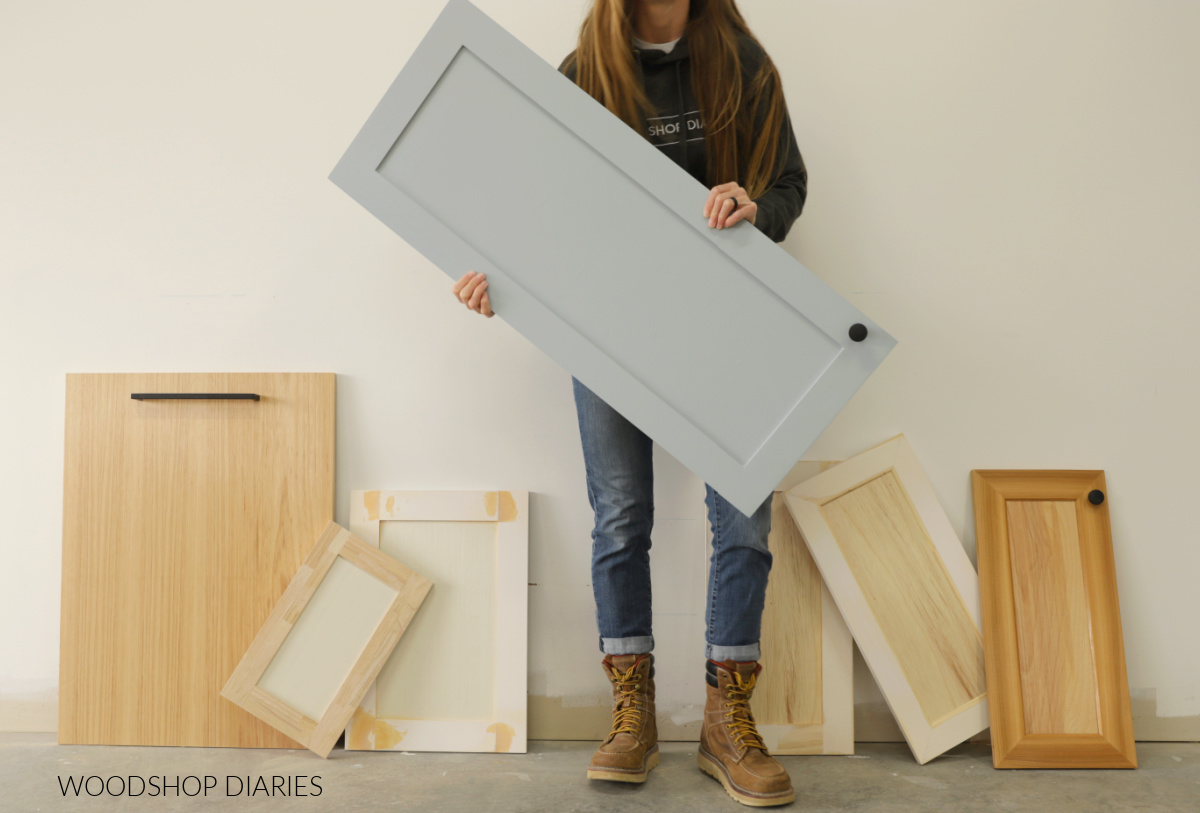
Styles of Cabinet Doors
Cabinet doors come in MANY shapes and styles. However, there are two styles that are most common. These are the two styles I’ll be sharing how to build below.
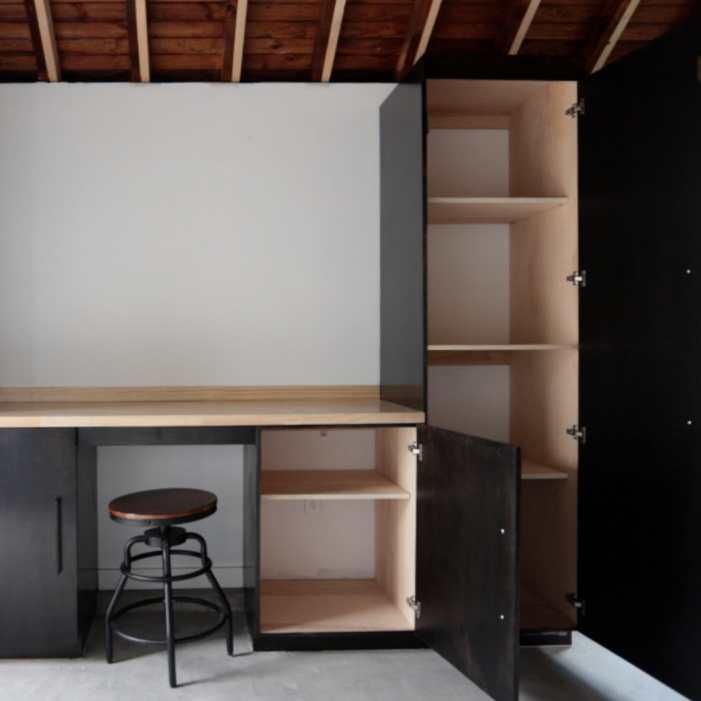
A flat panel door, or sometimes called a “slab” door, is exactly what it sounds like–a flat, solid panel.
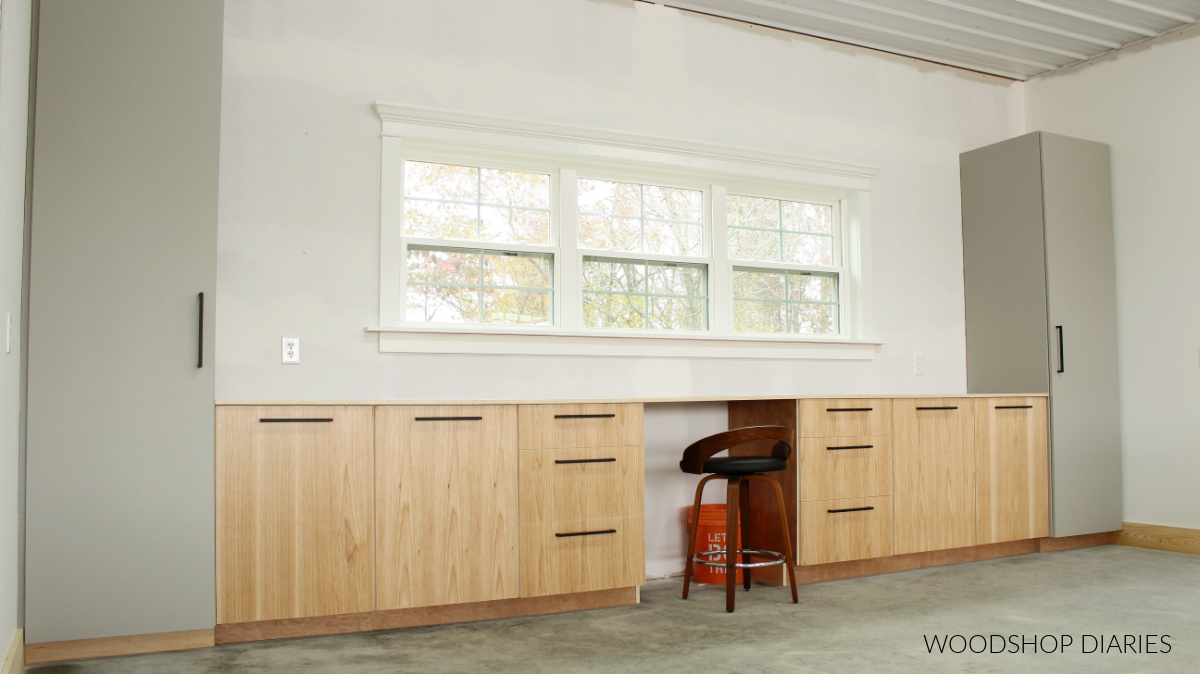
These types of doors are common on contemporary style cabinets and/or utility style cabinets.
I’ve used them on my kitchen cabinets, my workshop cabinets, and these garage cabinets.
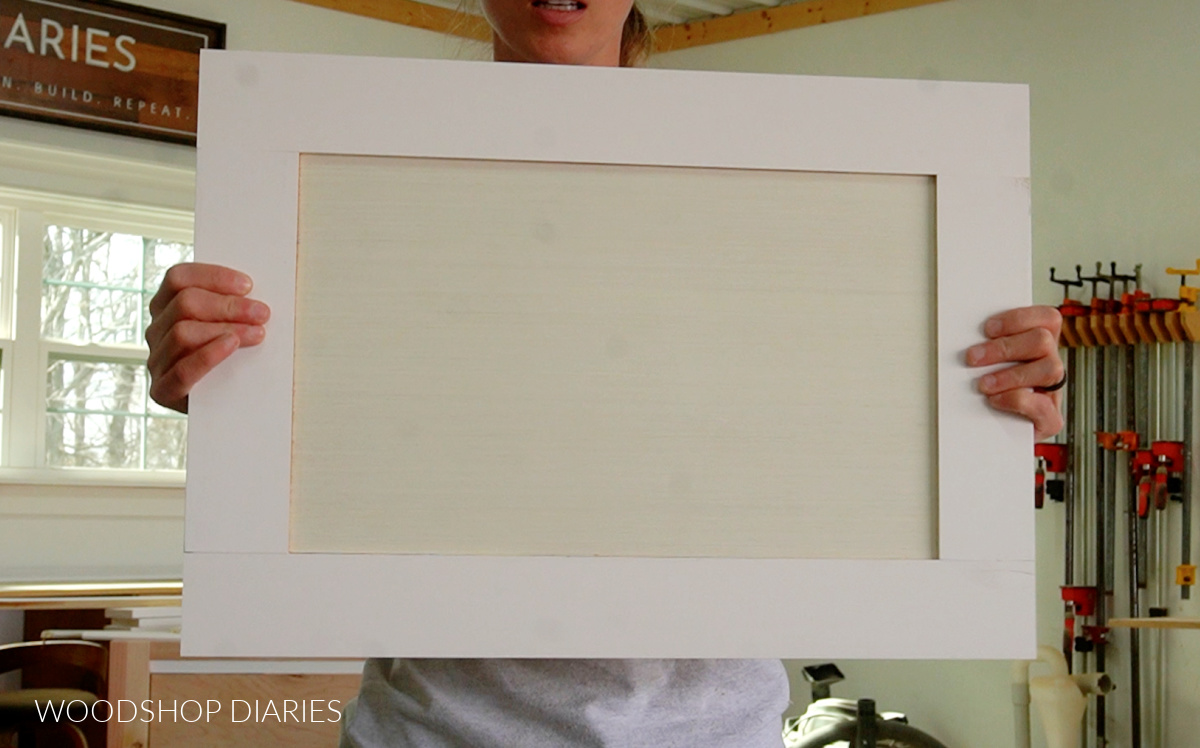
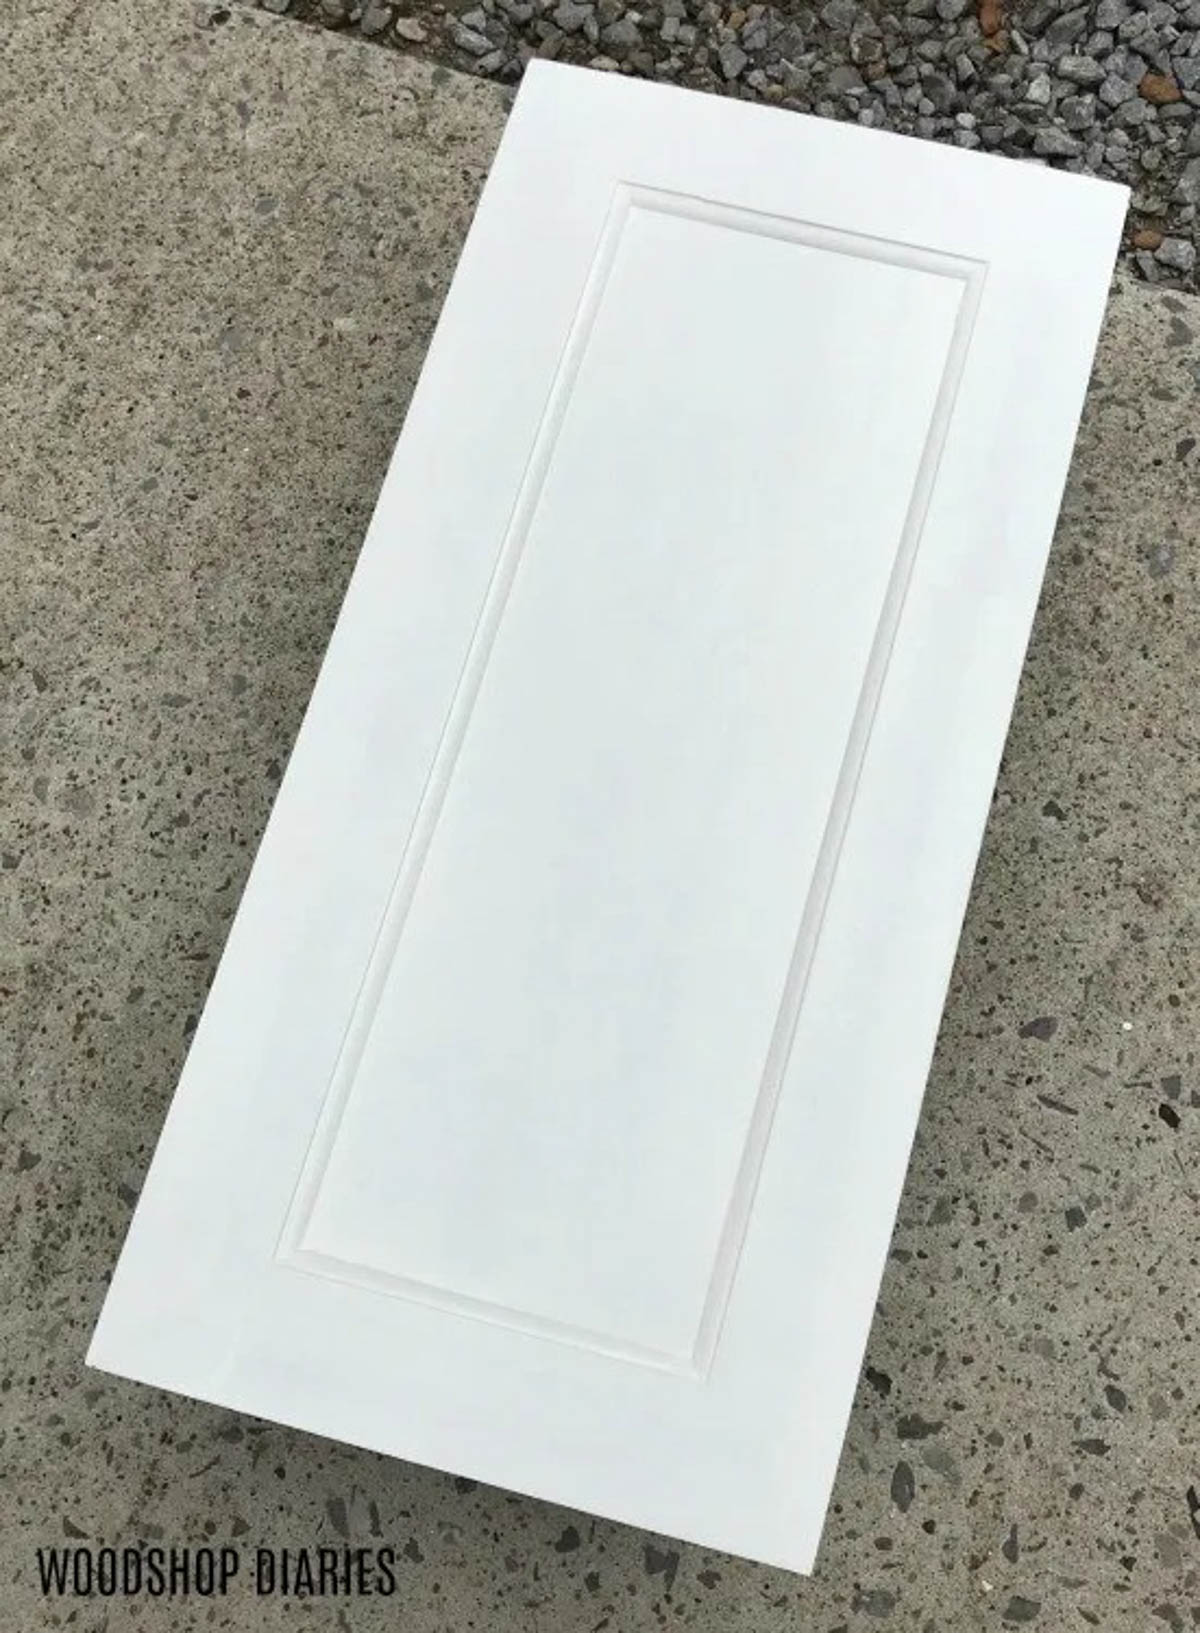
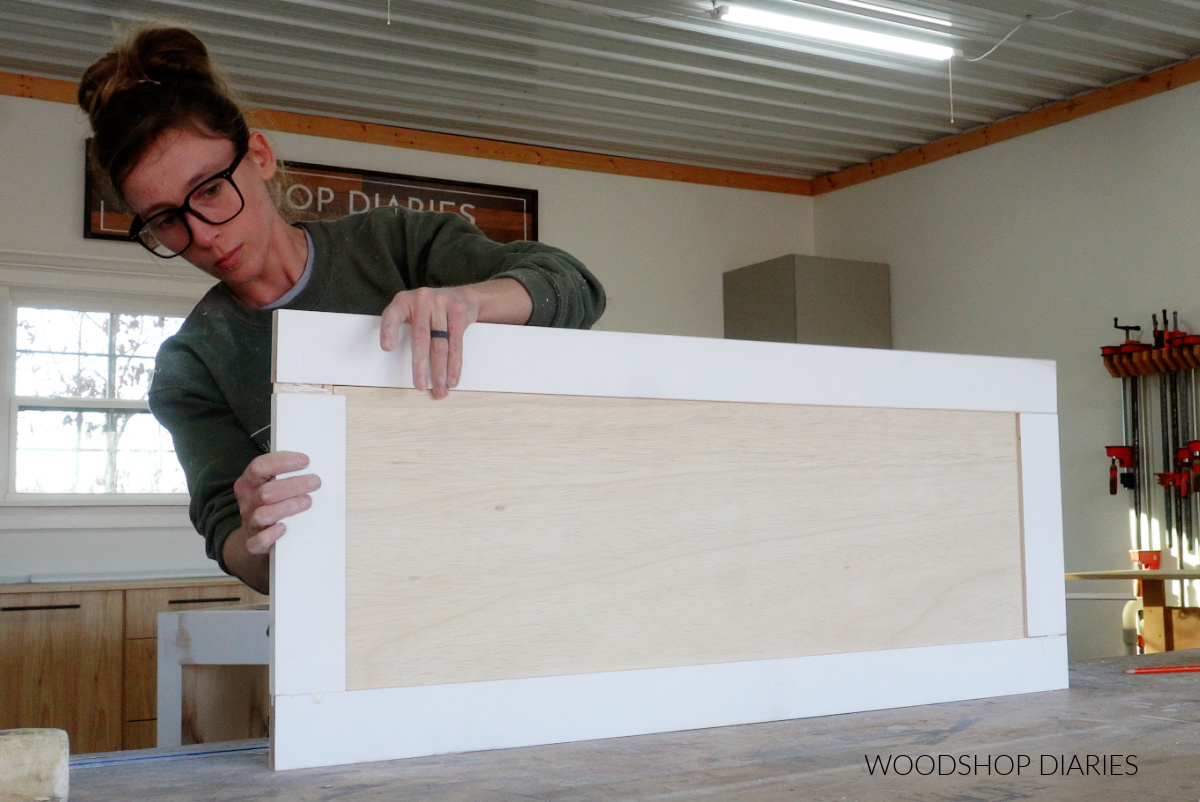
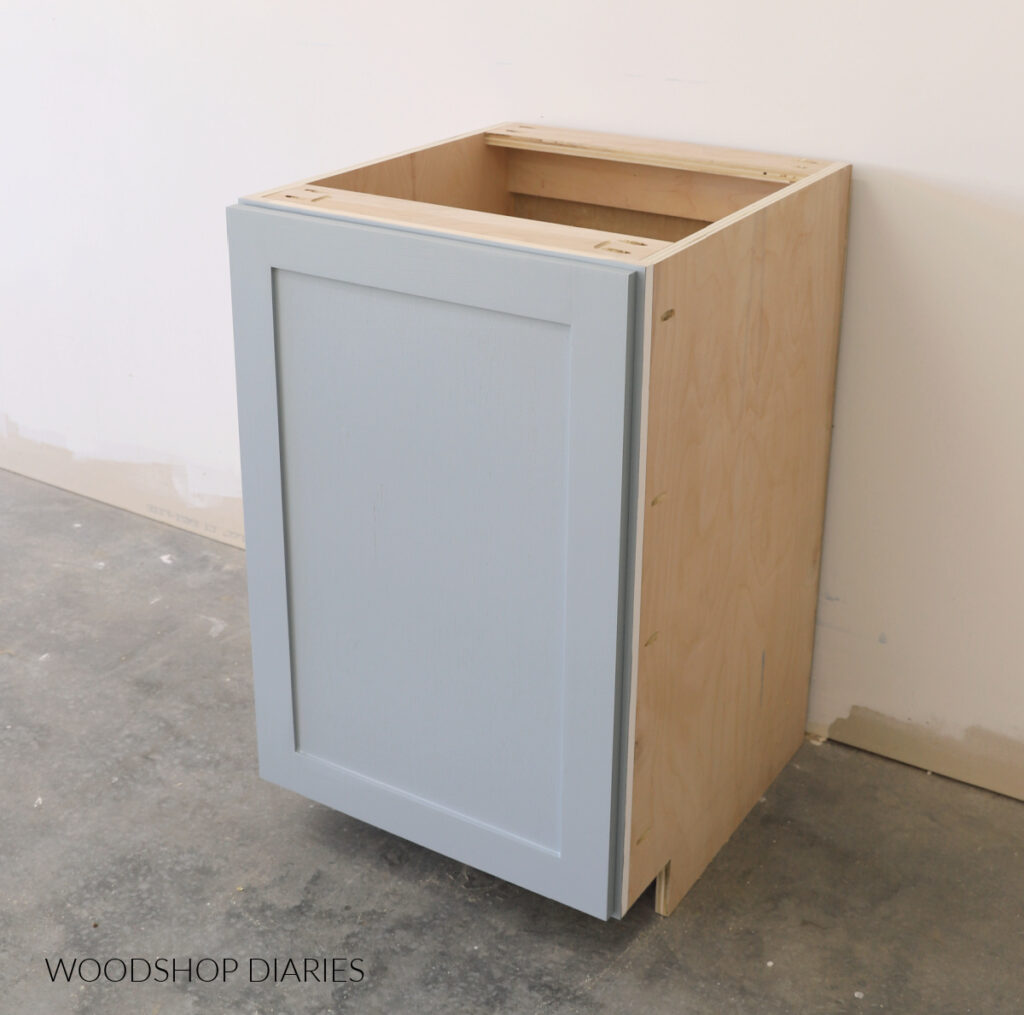
A frame and panel door, or sometimes called “shaker” style, is a simple design where the door is framed around the outside, with a recessed panel in the middle.

Frame and panel style doors can be customized with decorative edges, trim, etc. or left simple, square and straight like the one shown above.
Below I’ll show how to make a slab cabinet door and 6 ways to make a frame and panel style cabinet door.
Cabinet door terminology
Before we dive into building, I wanted to clarify a few terms in regards to frame and panel style doors.
- The stiles are vertical parts of the frame–the left and right pieces.
- The rails are the horizontal parts of the frame–the top and bottom pieces.
- The panel is the center piece.
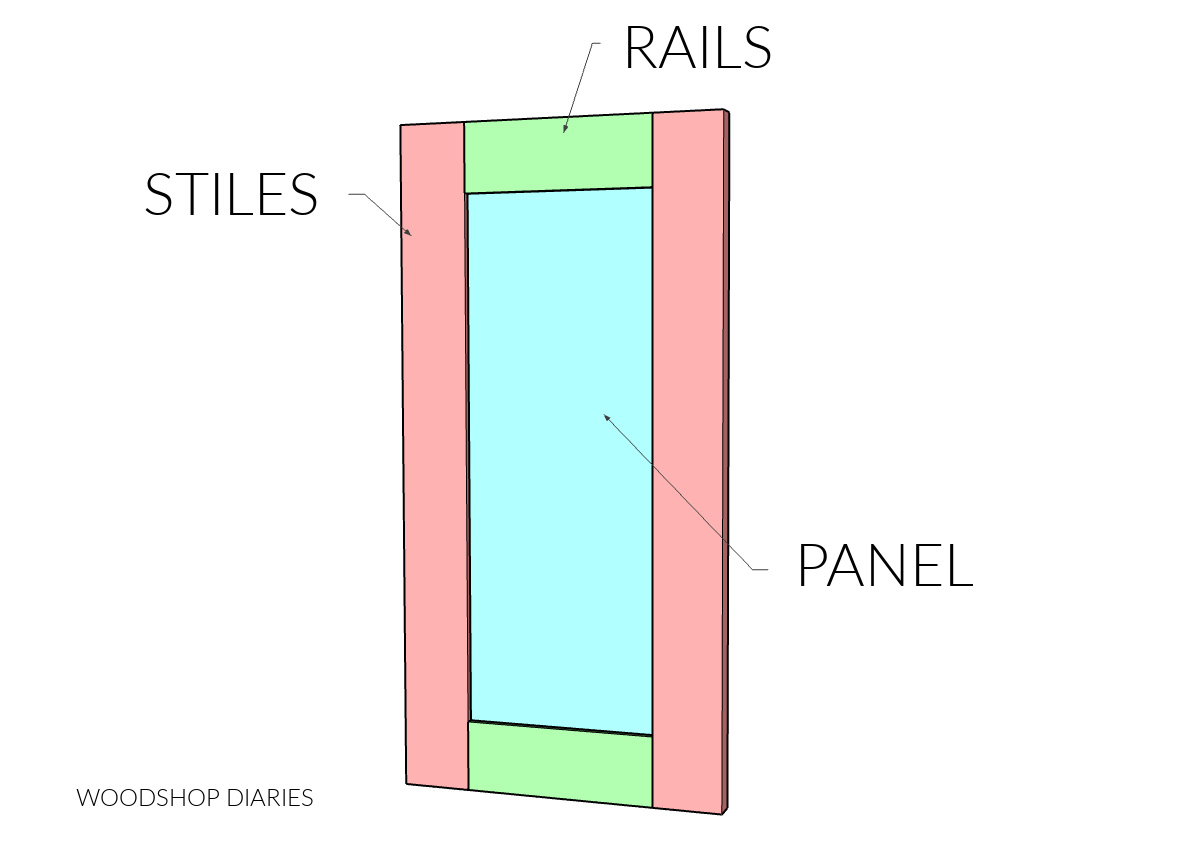
The rails and stiles are often made using 1x boards–my preferred size is a 1×3. And the panel is often ¼″ or ½″ plywood.
RELATED: Understanding lumber sizing
I recommend using a high quality cabinet grade (smooth) plywood when building doors. Learn how to choose plywood for your project here.
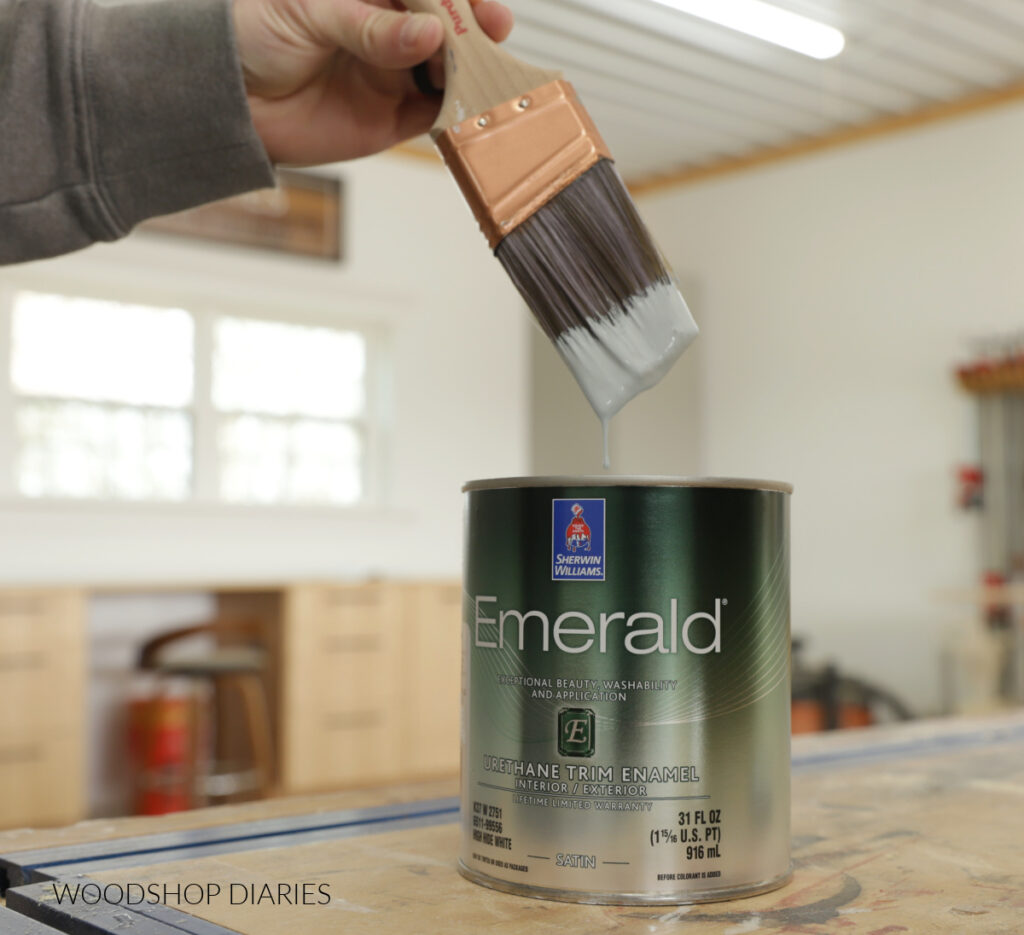
For the 1x3s, if you’re painting, pre-primed pine boards work great. But if you’re staining or using a clear sealer, you typically want to use the same wood type for the 1x3s and the plywood so they’ll match.
PRO TIP: When assembling frame and panel doors, make sure the stiles are at least 1 ¾″ wide. If they’re not, when you drill holes for the concealed hinges, you’ll risk drilling through the inside edge of the frame.
How to Build a Cabinet Door–7 Ways
If you prefer to watch, check out the video tutorial for all 7 doors on my YouTube channel here:
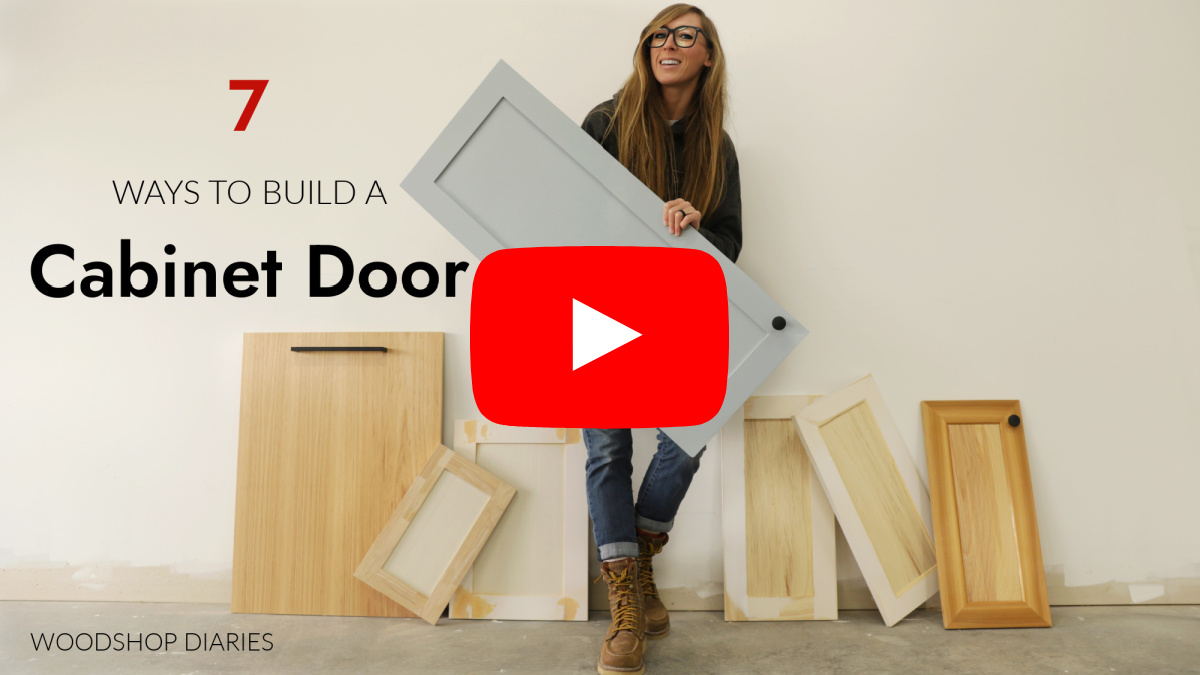
Love watching how-to videos? Subscribe to my YouTube channel for plenty more where that came from!
Prefer to print? You can grab the printable building plans including all 7 ways to build a cabinet door, with dimensions, plus a sizing guide to help you determine the size door you need here:
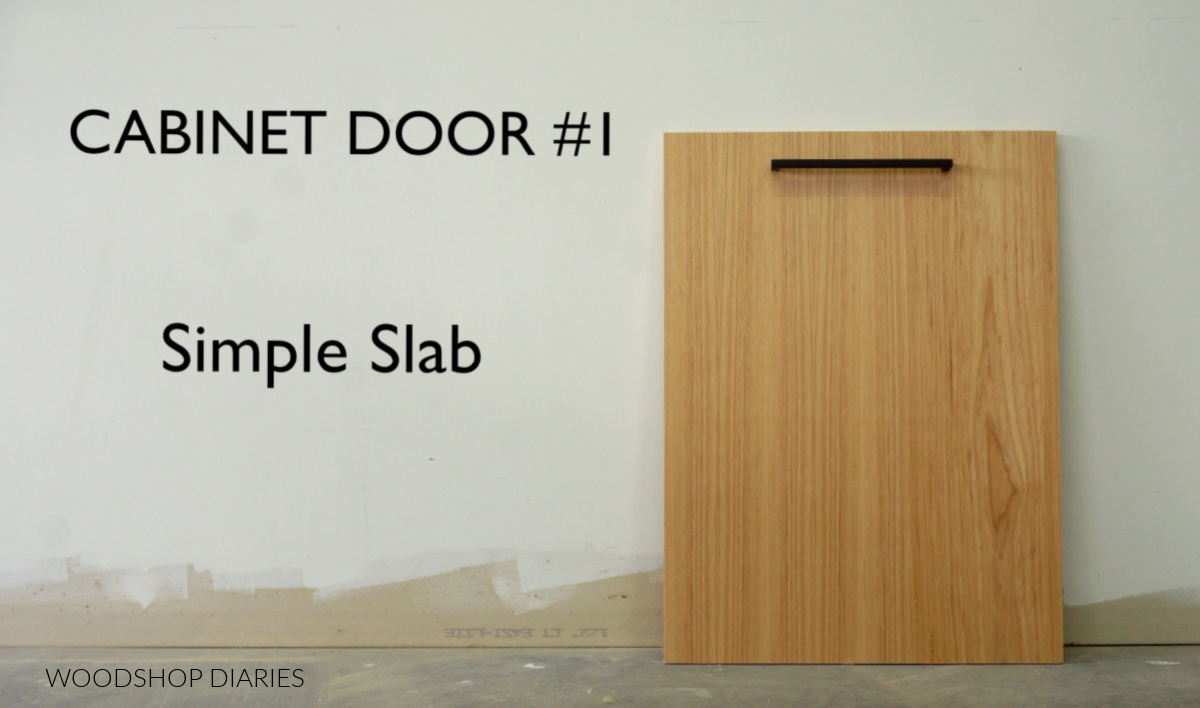
How to Build a Slab Style Cabinet Door
A flat panel or slab cabinet door is the easiest to build and requires the least amount of tools. All you need to build a slab style cabinet door is:
Tools & Materials:
- ¾″ plywood
- Saw to cut plywood (circular saw or other)
- Edge banding & Iron (optional)
Simply cut a ¾″ plywood panel to the size you want your cabinet door, apply edge banding, if desired, and you’ve got a door!
There are many ways and tools you can use to cut plywood, but this post details how I cut down my plywood sheets.
In case you’re wondering…I cut my plywood to the size I want my door and ignore the thickness of the edge banding. Iron on edge banding is very thin. It will add a little to the overall size of the door once applied, but in most cases, it’s negligible.
If you don’t want to use plywood, you can use solid wood instead–simply glue up a panel and trim down to the size you need.
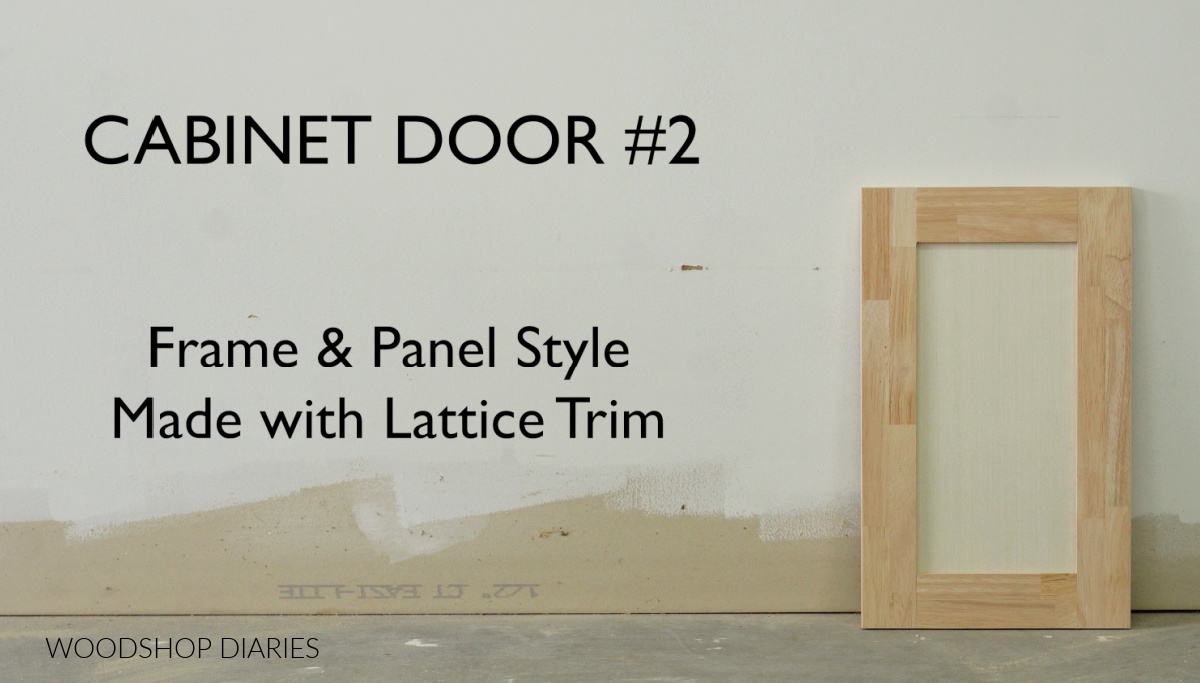
Frame & Panel Door Made with Lattice Trim
This is probably the easiest way to make a “frame and panel” door. It’s technically a slab door with a fake frame. For this door, you’ll need:
Tools & Materials:
- ½″ plywood
- ¼″ thick x 1 ¾″ wide (or wider) lattice trim
- Saw to cut materials (circular saw or other)
- Wood Glue
- Edge Banding & Iron (optional)
To make this type of door, simply cut a slab door from ½″ thick plywood. Then cut to fit and glue ¼″ thick lattice trim onto the front flush to the edges.
Painters tape works great to hold the pieces while the glue dries, but clamps or heavy objects placed on top would work as well.
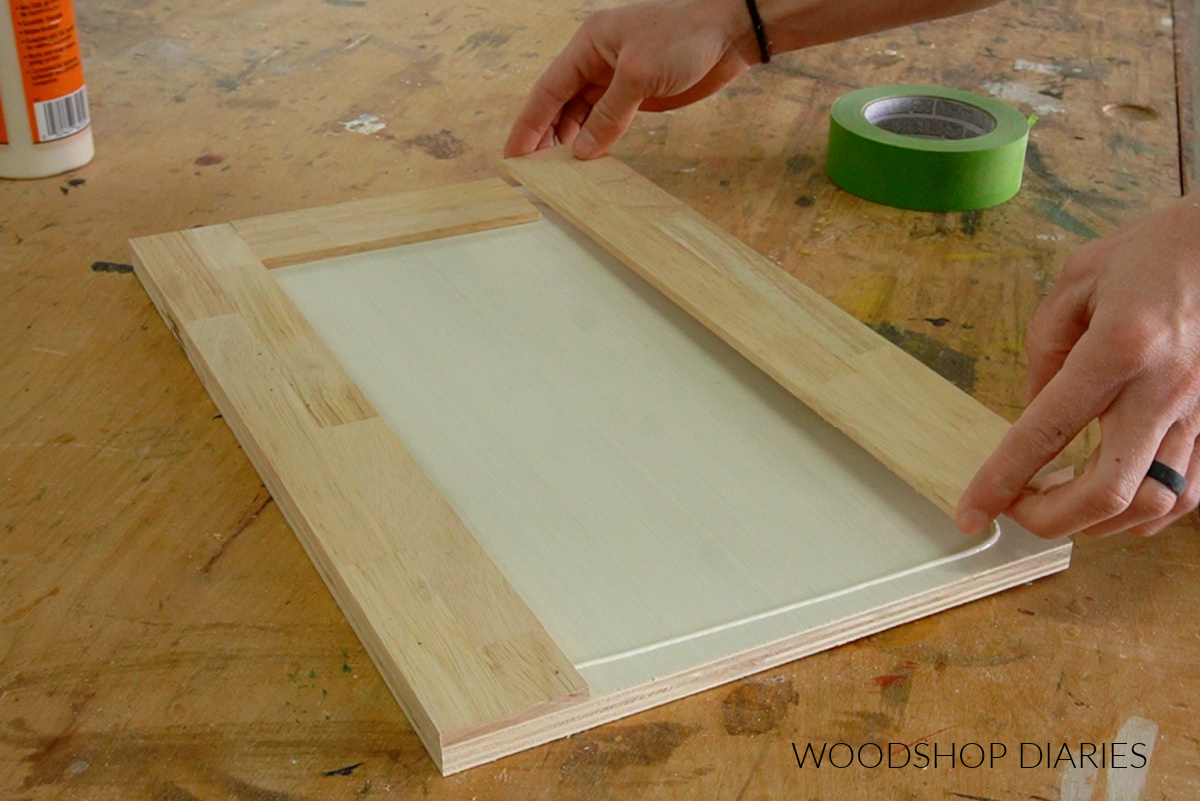
The lattice trim mimics a frame, so that it looks like a frame and panel on the front side, but the back side is solid like a slab.
Once the glue is dry, I like to apply iron on edge banding to cover the sides and make it look like a solid piece. This is optional.
PRO TIP: The lattice trim needs to be 1 ¾″ or wider if using concealed hinges to install. If it’s narrower, when you drill the hinge cup holes, you risk drilling past the inside edge and through the ½″ plywood panel.
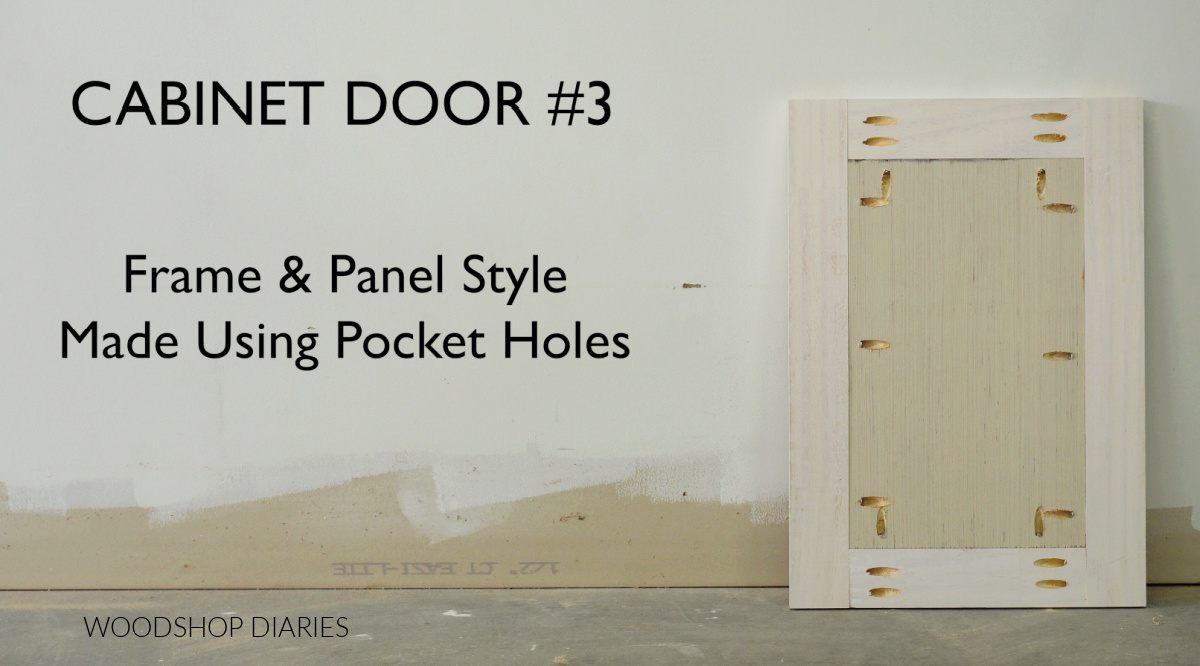
Frame & Panel Cabinet Door Using Pocket Holes
This method is a great beginner-friendly option that doesn’t require a router or a table saw. For this door, you’ll need:
Tools & Materials:
- 1×3 board
- ½″ plywood
- 1″ pocket hole screws
- 1 ¼″ pocket hole screws
- Saw to cut materials (circular saw or other)
- Drill/Driver
- Pocket Hole Jig
I like to use 1x3s for my door frame pieces, but you can use another size if you’d rather. Nominal 1x3s are actually 3×4″ x 2 ½″ wide.
So for this style door, I cut two pieces of 1×3 to the height I want my door (for the stiles). Then, I cut two more pieces the width I want my door MINUS 5″ (for the rails). PREFER TO PRINT? Grab the cabinet door building plans including all 7 methods with dimensions and diagrams here.
I drill ¾″ pocket holes into the ends of the rails. New to pocket holes? Learn how to use a pocket hole jig here.
Then I cut a ½″ plywood panel to fit inside the door frame and drill ½″ pocket holes around the edges. Space pocket holes approximately 1 ½″ – 2″ from the corners and no more than 6″ apart for best results.
Then I assemble the door using 1 ¼″ pocket hole screws through the holes on the rails and 1″ pocket hole screws through the holes in the panel.
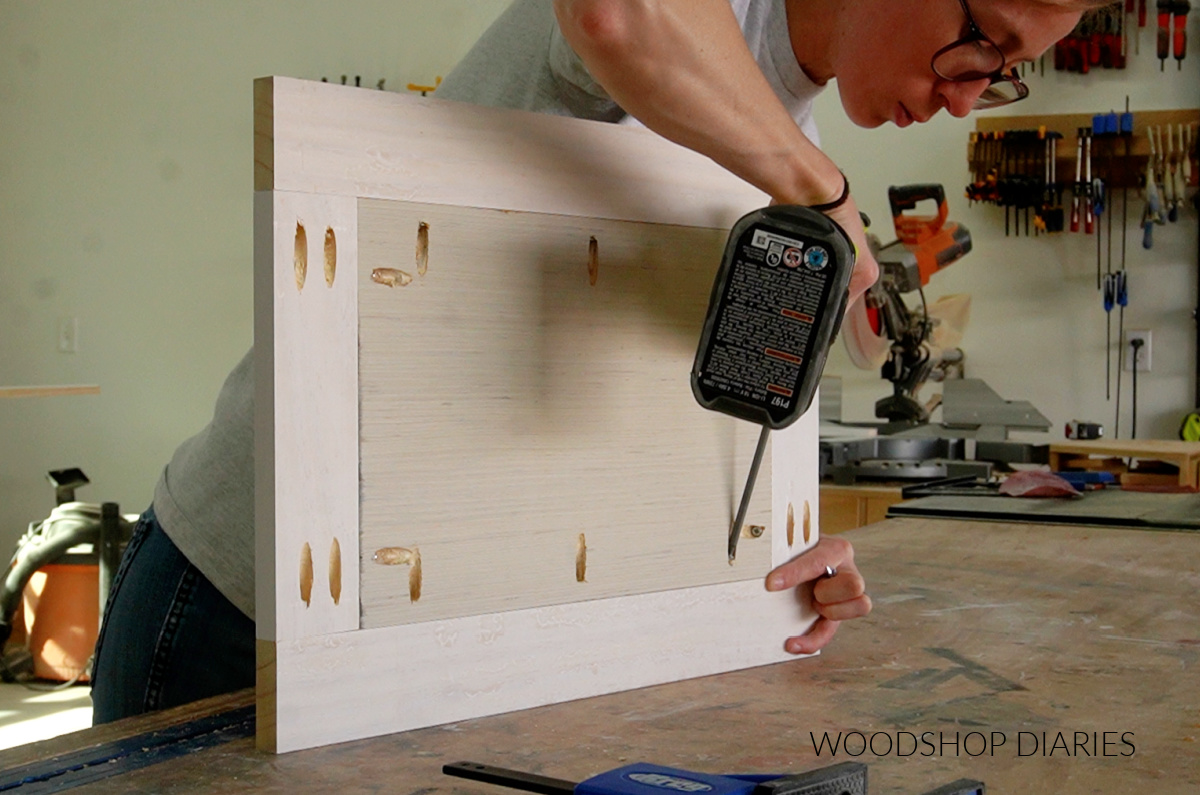
NOTE: Since the rail and panel materials are different thicknesses, they need different size pocket holes and different size screws.
I like to assemble these so that the panel is flush to the back edge of the frame. This makes a really nice looking cabinet door on the front side, but the back side isn’t quite as pretty.
I recommend smoothing out the joints with wood filler and filling the pocket holes to smooth out the back side. Sand smooth after the putty/filler dries.
RELATED: 4 ways to fill a pocket hole
Frame & Panel Cabinet Door with Routed Back Side
This method of building frame and panel doors also works great for shaker style drawer fronts and glass cabinet doors, too. For these doors, you’ll need:
Tools & Materials:
- 1×3 boards
- ¼″ OR ½″ plywood
- Wood Glue & Dowel Pins
- Saw to cut materials (circular saw or other)
- Drill
- Dowel Jig
- Router & Rabbeting Bit
- Chisel
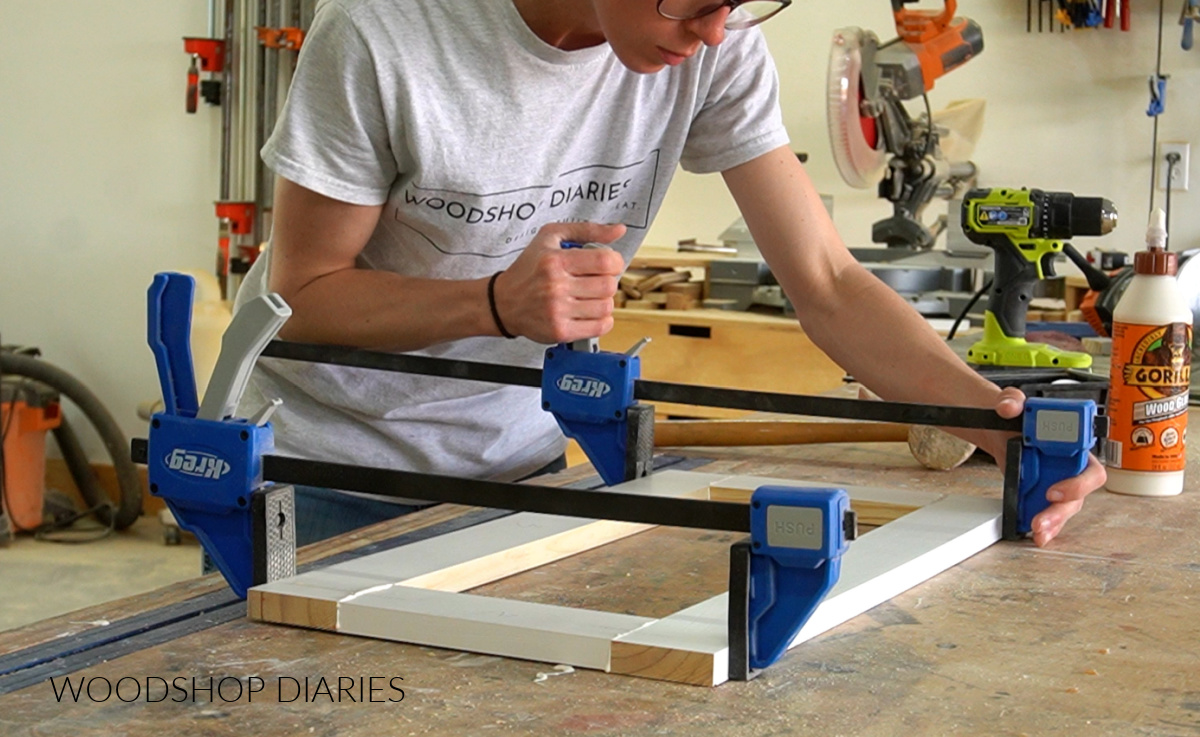
- Clamps
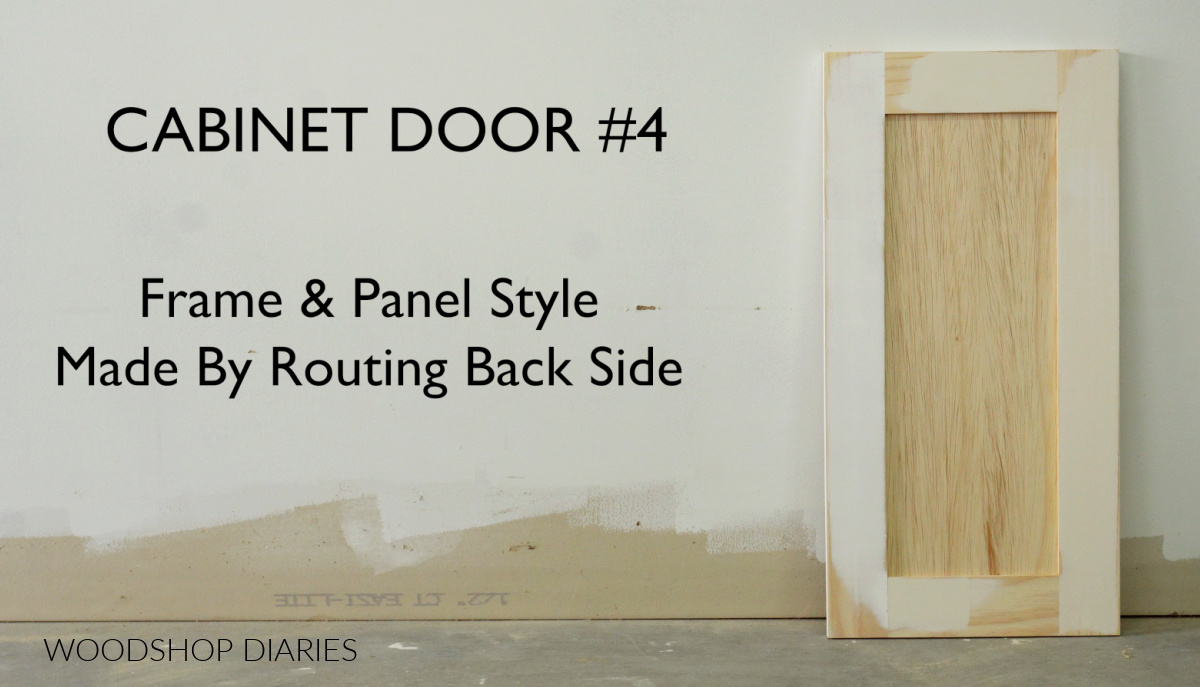
For this type of door, I cut the rails and stiles from 1x3s exactly like the last style door. But I assemble the frame using wood glue and dowels instead of pocket holes. (Don’t cut the plywood panel yet.)
RELATED: How to use a dowel jig
Once the glue is dry on the frame, I remove from the clamps, sand away the glue squeeze out, then flip it face down on the workbench.
I use a ⅜″ rabbeting bit in my router to route a rabbet around the inside of the frame.
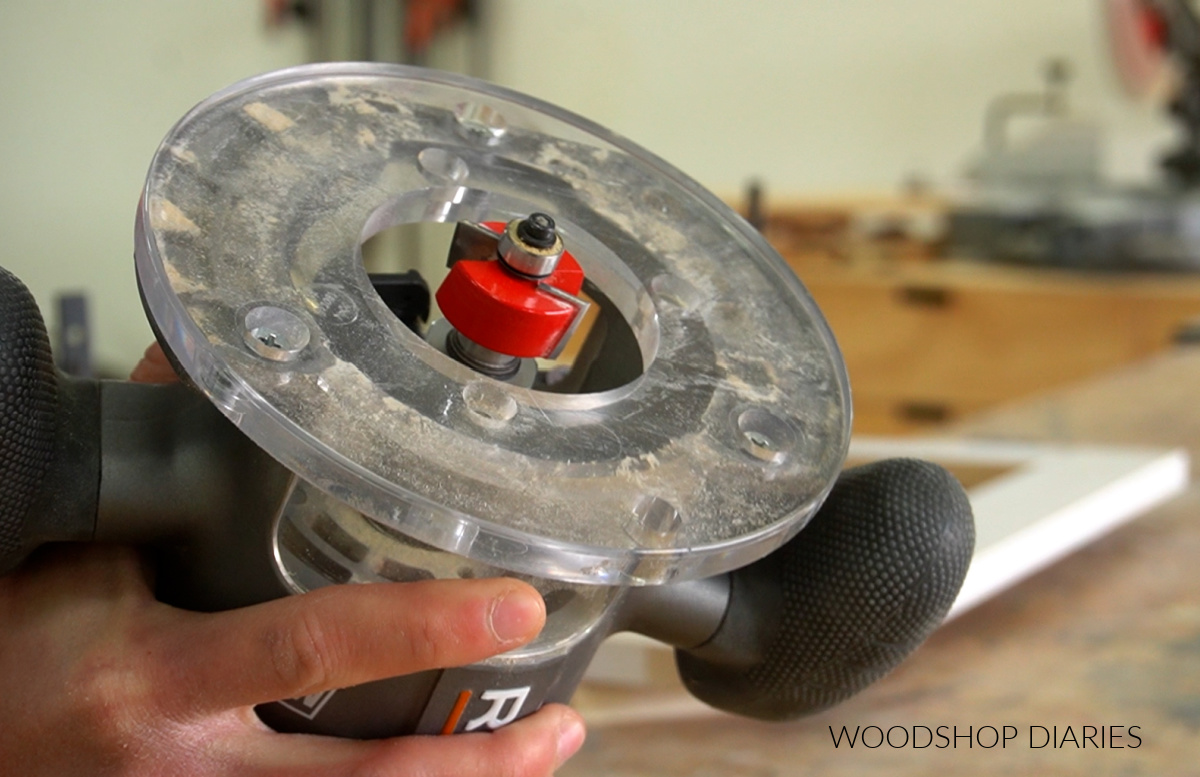
I cut about ¼″ deep on the first pass, then adjust another ¼″ deep and cut again so the rabbet is ½″ deep.
RELATED: How to use a router
The rabbeting bit leaves a curve at the corners, so I use a chisel to square each corner (optional), then measure the opening and cut EITHER ¼″ or ½″ plywood to fit inside.
Normally, for doors, I prefer to use ¼″ plywood for the panel, but if making drawer fronts, I recommend ½″ plywood for the panel.
I apply wood glue into the rabbet, place the plywood panel inside, then clamp tight until dry. This makes a nice looking door on both the back and the front side.
PRO TIP: For painted projects, make sure to apply a small bead of caulk between the frame and panel on both the front and back side. This will help smooth things out and cover any gaps.
RELATED: How to paint cabinets and furniture
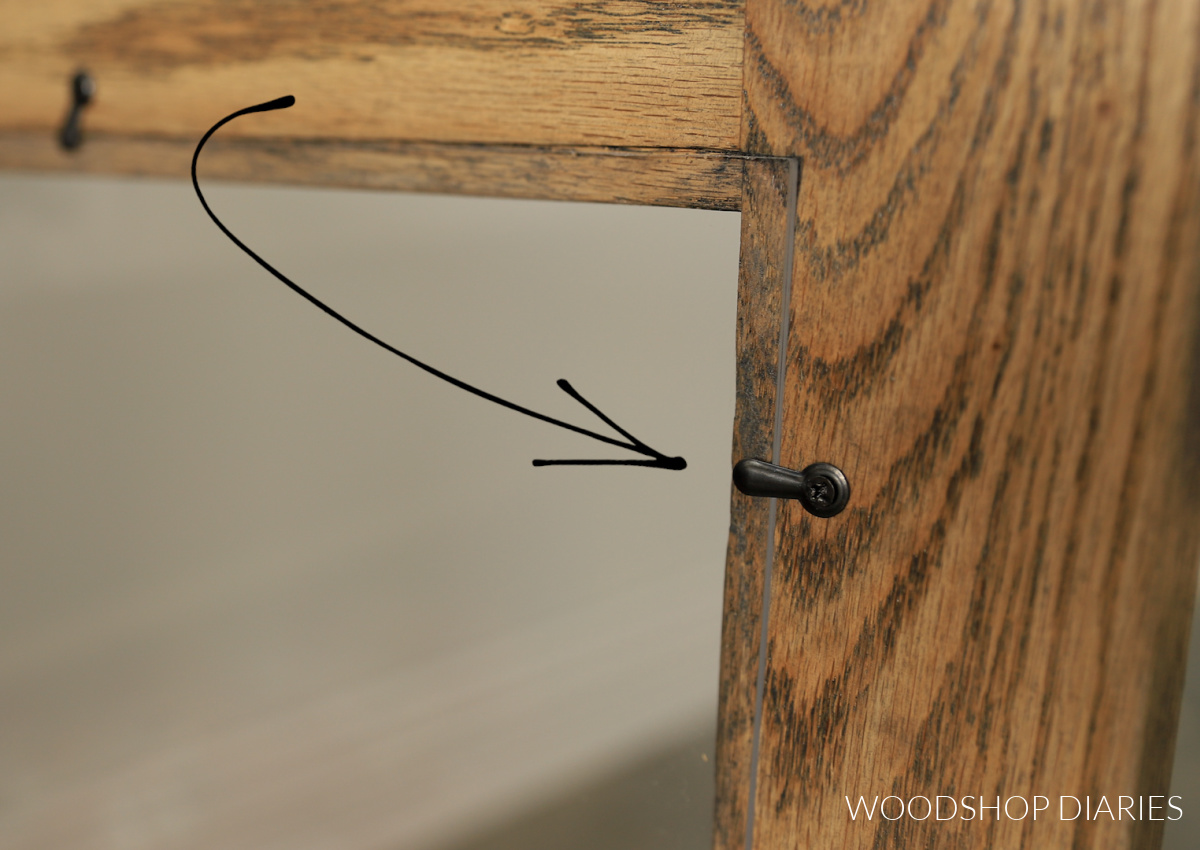
FOR GLASS DOORS: follow this same process, but only route as deep as the thickness of the glass, then use turn buttons around the edges to hold the panel in place.
RELATED: How to build a glass door cabinet
Frame & Panel Cabinet Door with Mitered Corners
This method of building cabinet doors isn’t the most common, but I like to use it sometimes if I want to add a decorative edge along the inside of the door frame.
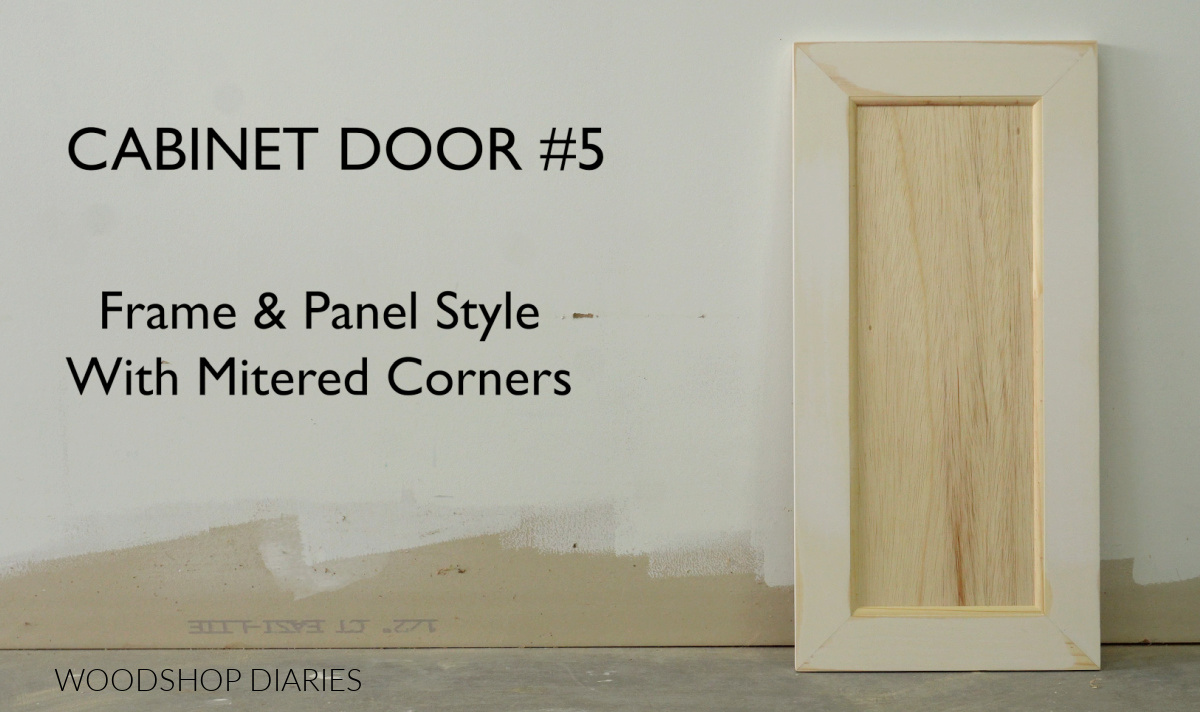
I used this style door when I built the cabinets for my sisters kitchen. For this type of door, you’ll need:
Tools & Materials:
- 1×3 boards
- ¼″ plywood
- Wood Glue & Dowel Pins
- Miter Saw
- Table Saw OR Router Table (to cut dadoes)
- Router with Decorative Bit (optional)
- Drill
- Dowel Jig
- Clamps
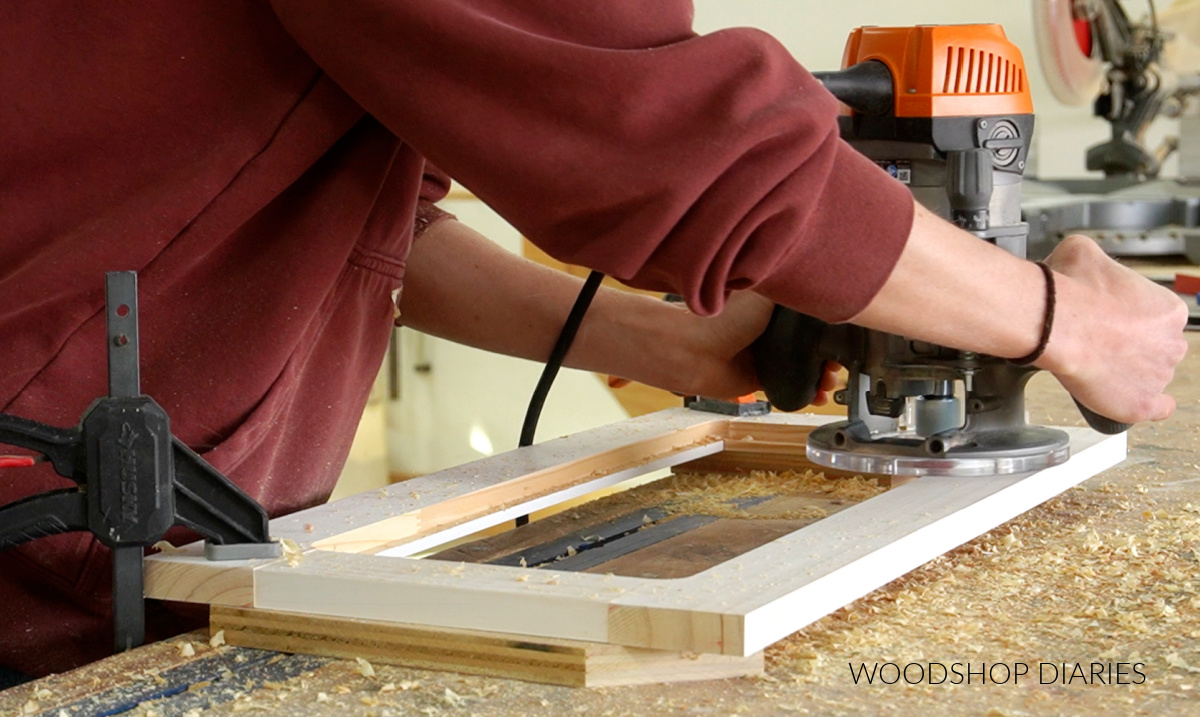
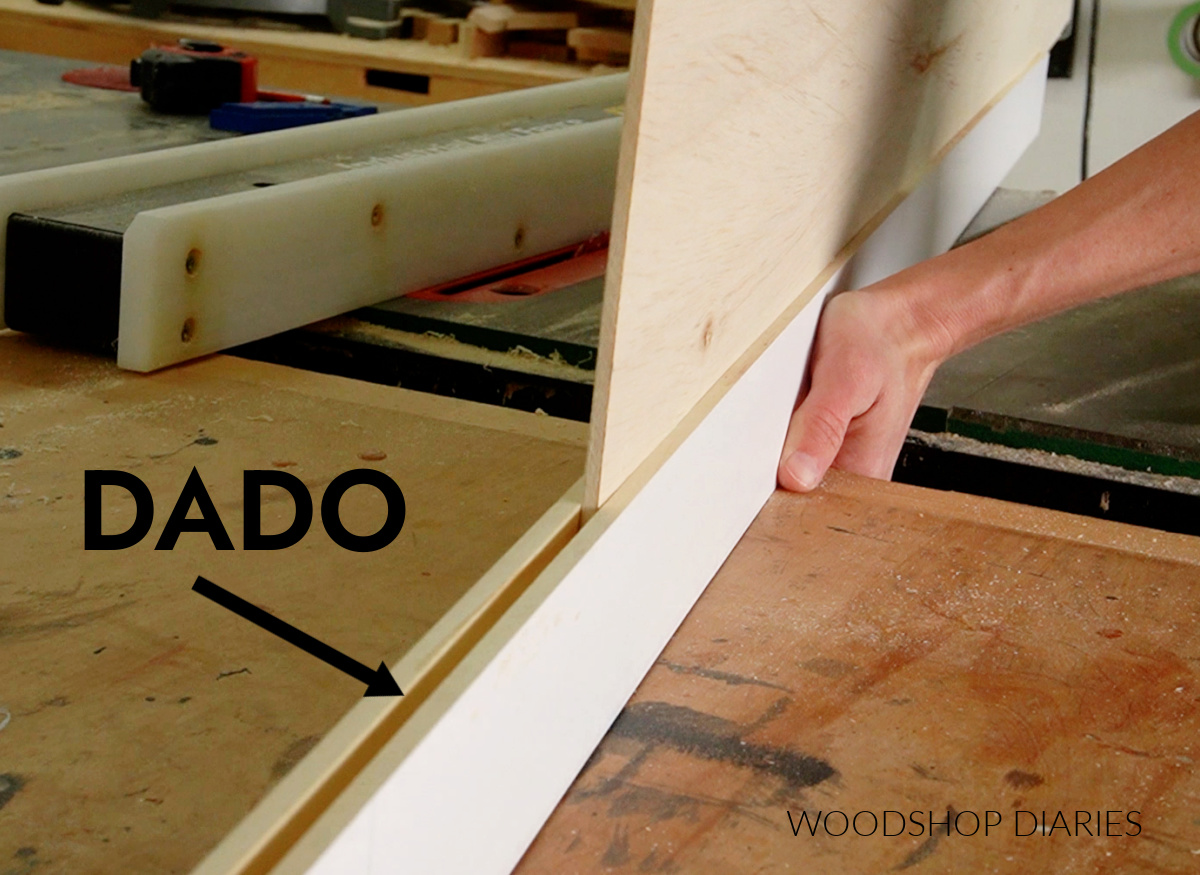
First, before trimming down my 1×3 into the rails and stiles, I cut a ¼″ dado about ⅜″ deep on the table saw right down the center of the edge of the entire board.
I cut this on the table saw, but you could also use a router table if you had one. The dado needs to be wide enough to fit the ¼″ plywood panel.
This part is optional, but I like to use a roundover bit in my router and route along the edge of the board on one side JUST ABOVE THE DADO.
Then, I trim the board down into my rail and stile pieces to build the door. The ends need to be mitered 45 degrees with dadoes on the short side.
The long side of two pieces will be same length as the height I want my door and the long sides of the other two pieces will be the same length as the width I want my door.
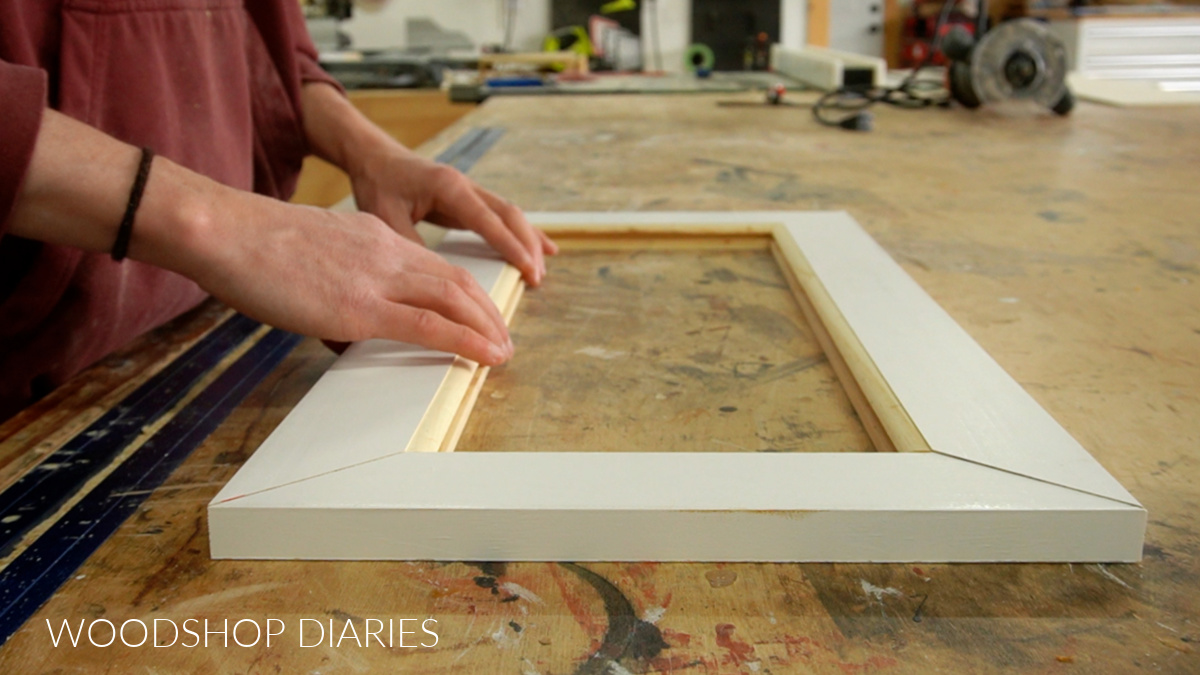
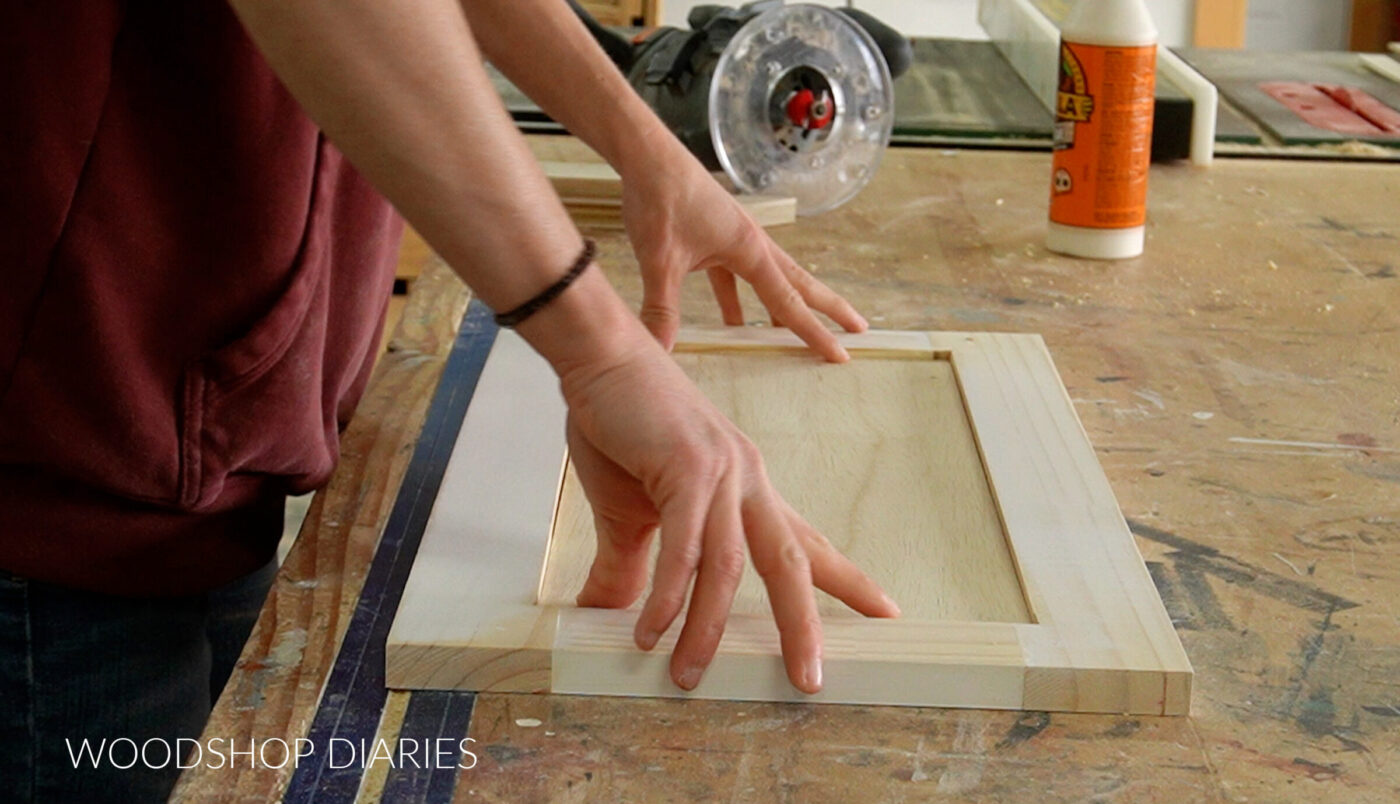
Before assembling, I cut a piece of ¼″ plywood to fit into the dadoes for the panel and test fit the pieces together.
Once I’m certain of my fit, I assemble using wood glue and dowels at the corner. Make sure to insert the panel into the dadoes before adding the last side.
RELATED: How to use a dowel jig
After the glue dries, I sand the joints smooth and it’s ready to hang!
PREFER TO PRINT? Grab the cabinet door building plans including all 7 methods with dimensions and diagrams here.
Frame & Panel Cabinet Door using Tongue & Groove Lumber
I like to call this the “cheater’s method” of making a cabinet door. It’s exactly like the last door, only instead of using 1x3s, I use tongue and groove lumber.
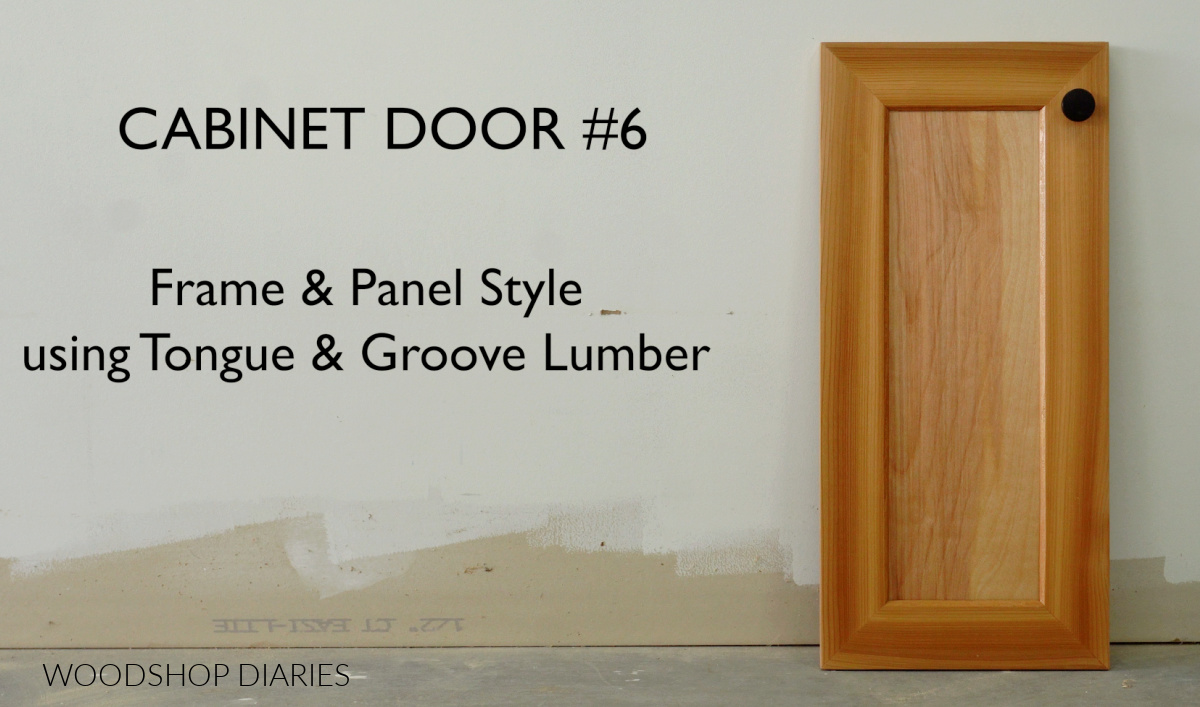
Tongue and groove lumber already has a precut dado and usually a decorative edge, so I use this to same time cutting my own. For this door, you’ll need:
Tools & Materials
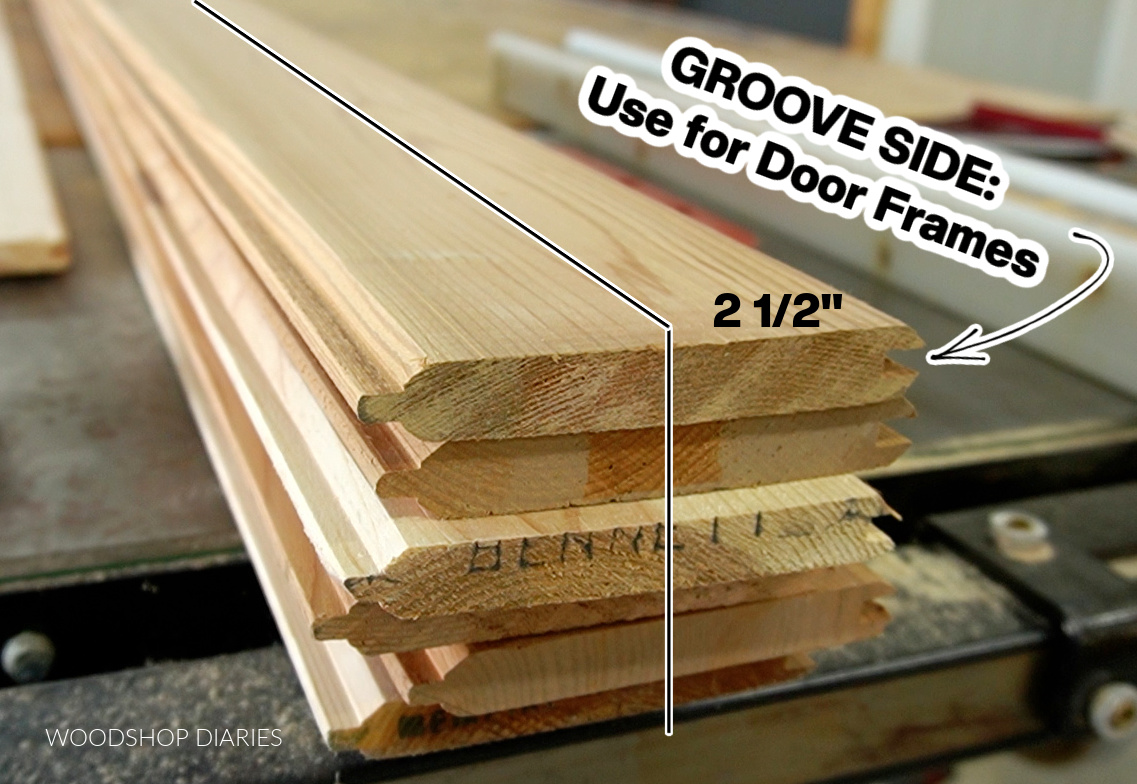
- Tongue & Groove lumber (usually comes in 1×6)
- ¼″ plywood
- Wood Glue & Dowel Pins
- Table Saw
- Miter Saw
- Drill
- Dowel Jig
- Clamps
I rip 2 ½″ off the groove side of the tongue and groove lumber to use for my “1×3” door frame.
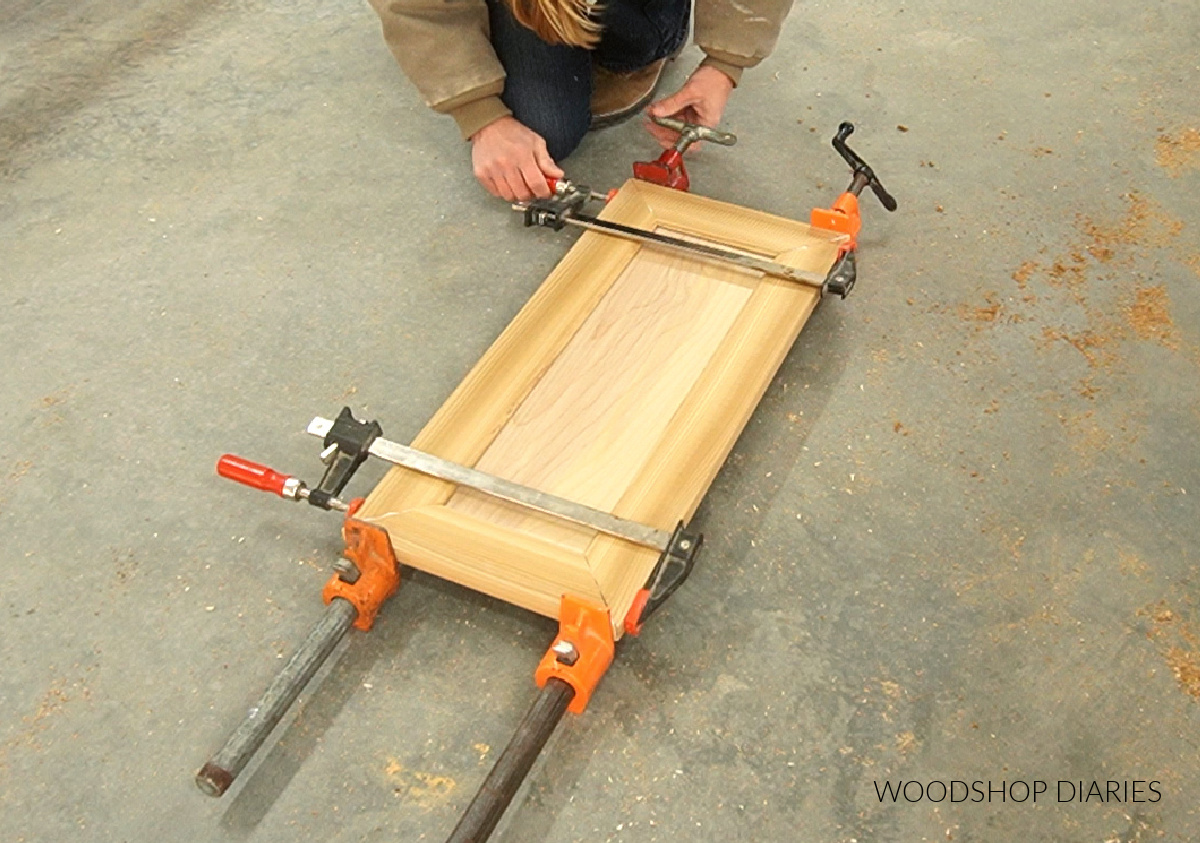
Then I follow the exact same process as the mitered corner door method I shared just before this one.
I used this method for my bathroom vanity build and my hallway closet built in.
Frame & Panel Cabinet Door Assembled with Tongue & Groove
This method is a more traditional way of making DIY cabinet doors, but requires a little more precision than the previous options. For this door, you’ll need:
Tools & Materials
- 1×3 board
- ¼″ plywood
- Wood Glue
- Saw to cut materials (miter saw or other)
- Router & Rabbeting Bit
- Table Saw OR Router Table (to cut dadoes)
- Clamps
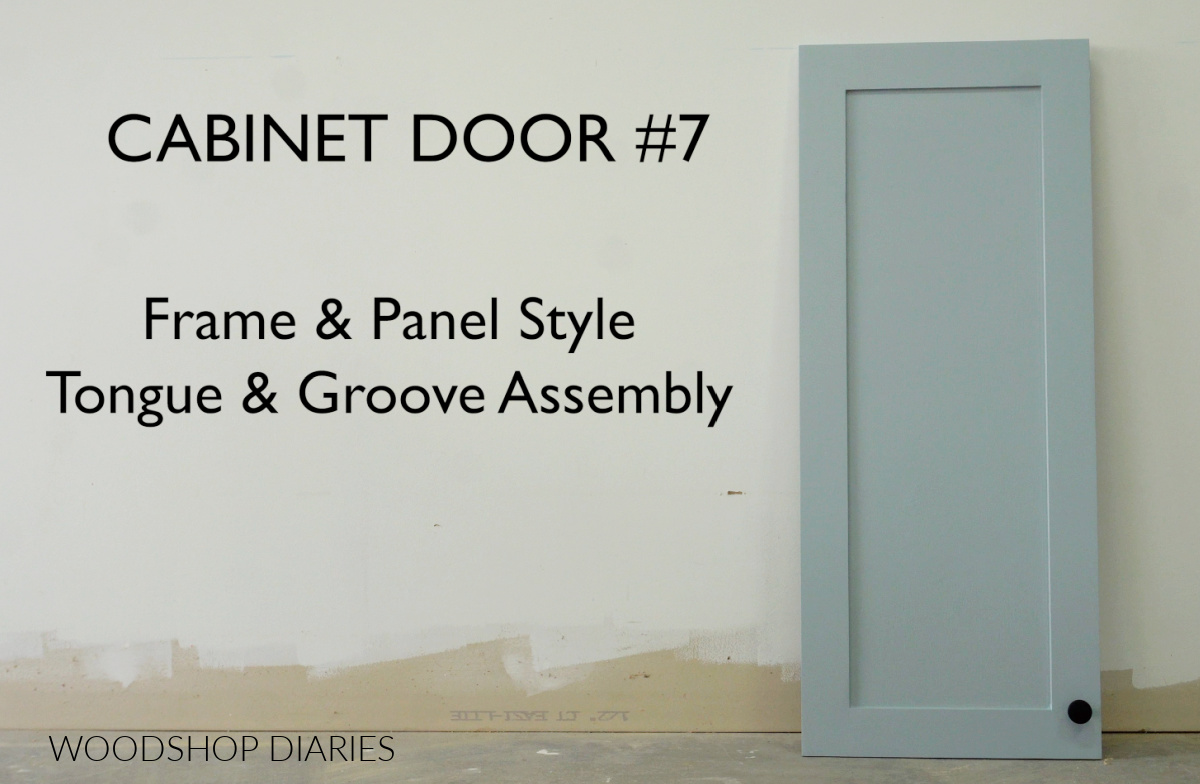
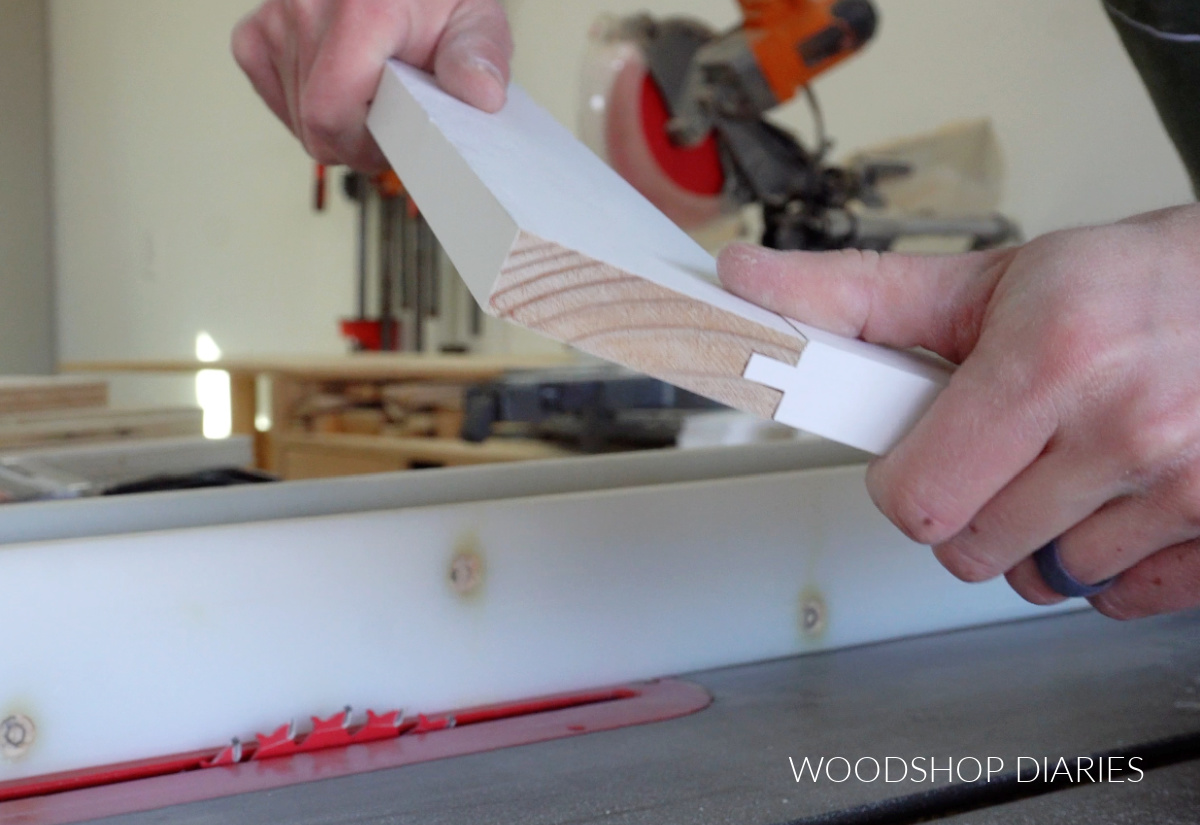
For this door, I’ll be assembling it using tongue and groove joinery at the corners. The stiles will have the “grooves” and the rails will have the “tongues.”
So first, I cut my door frame pieces from 1x3s. I cut two pieces the height I want my door (for the stiles) and two pieces the width I want my door MINUS 5″ PLUS ¾″.
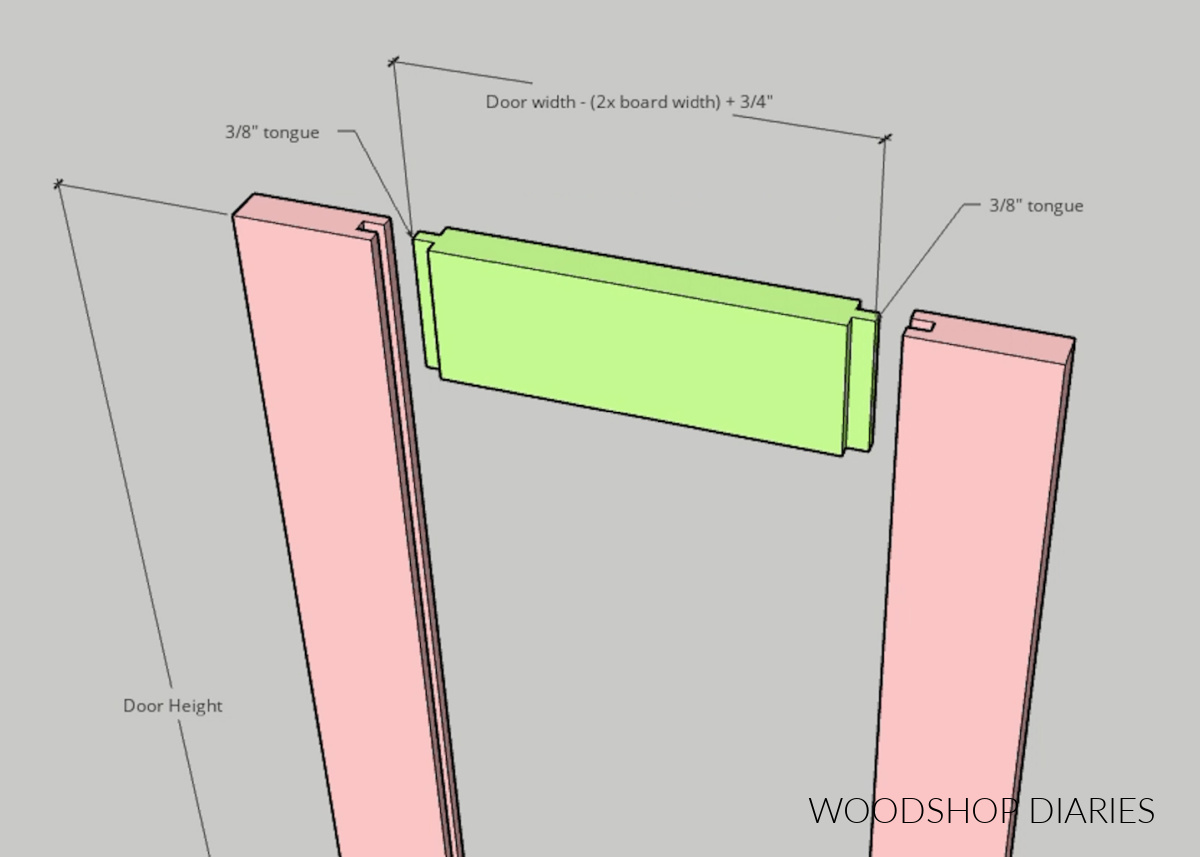
This is similar to the dimensions in the pocket hole method in door #3, but with a little extra length for the tongues.
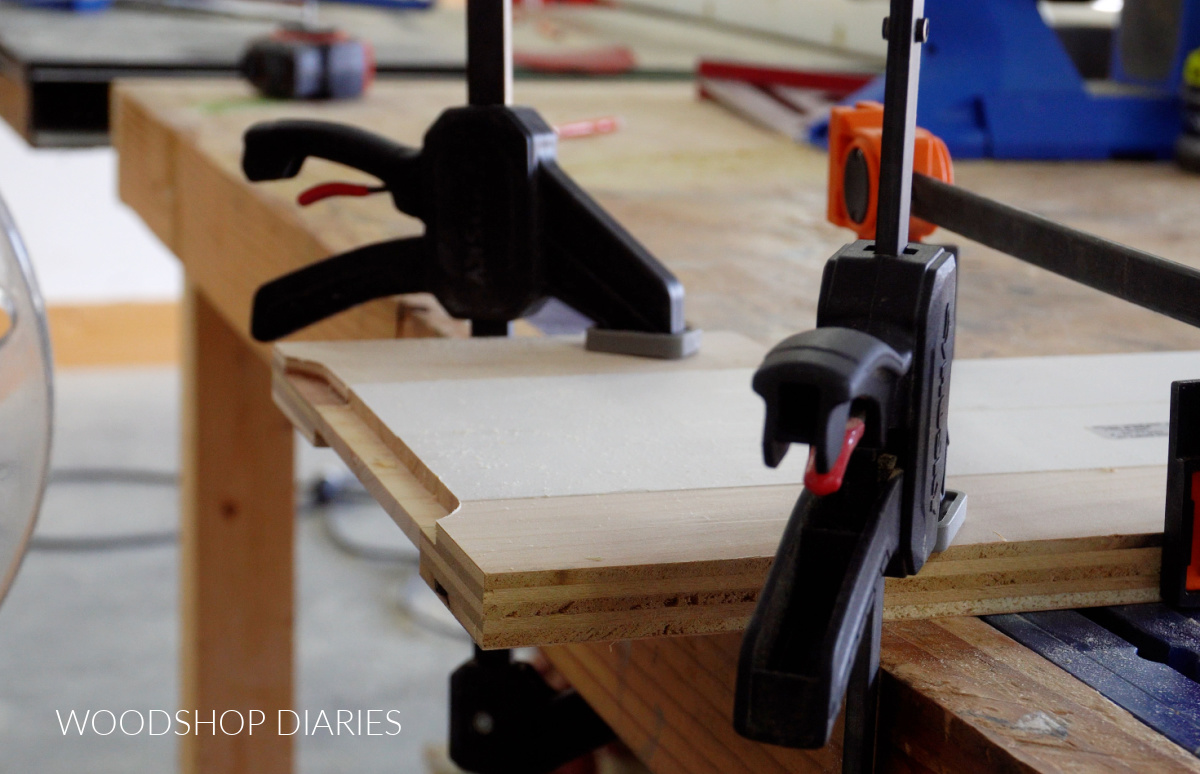
I set a ⅜″ rabbeting bit in my router to cut ¼″ deep. I clamped the rails onto my workbench (TIP: clamp scrap blocks on each side to prevent tear out) and routed along the ends on one side.
Then, I flipped them over and routed the other side (see video for more information).
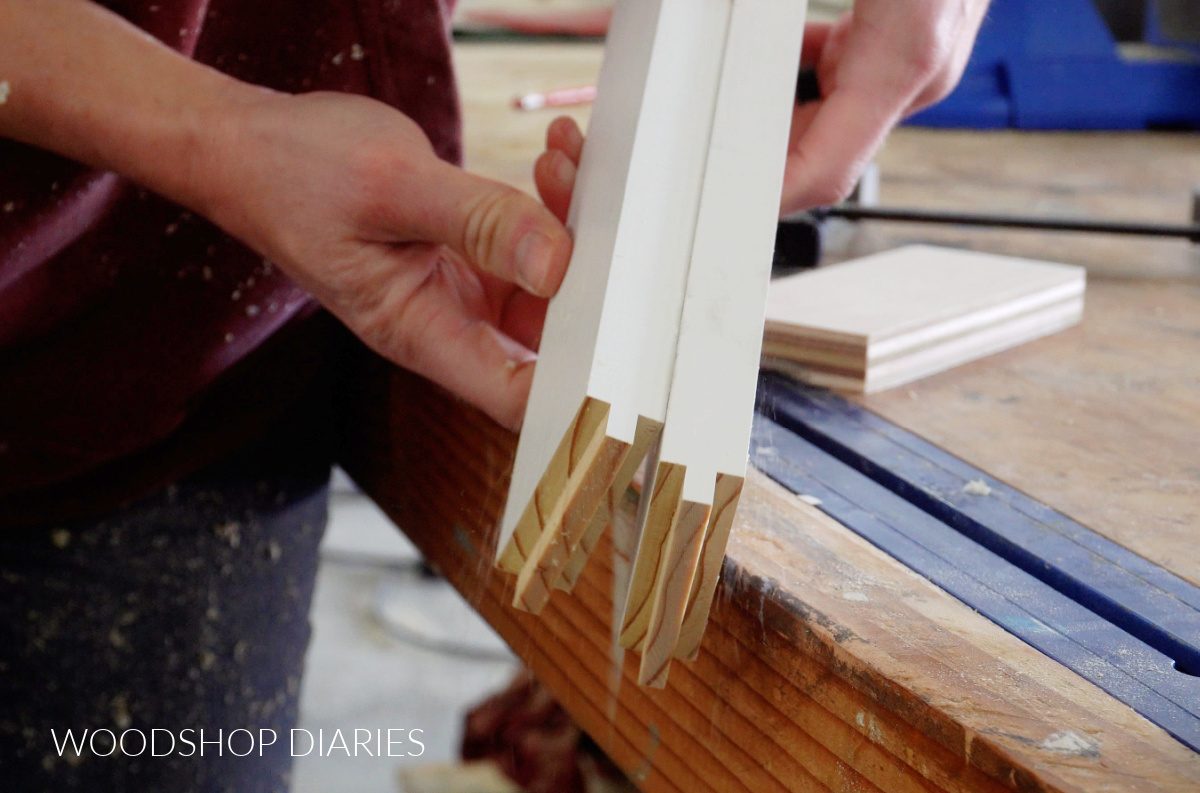
This basically cut a ⅜″ long x ¼″ wide tongue on the ends of my rail pieces. You could also cut these out on a router table or a table saw instead.
Now the tongues are cut, so I need to cut the grooves–which are dadoes.
I used my table saw to cut a ¼″ wide dado ⅜″ deep on the table saw on one edge of both my rails and my stiles. The dado should be cut exactly from the center so that it’s in line with the tongue on the rail.
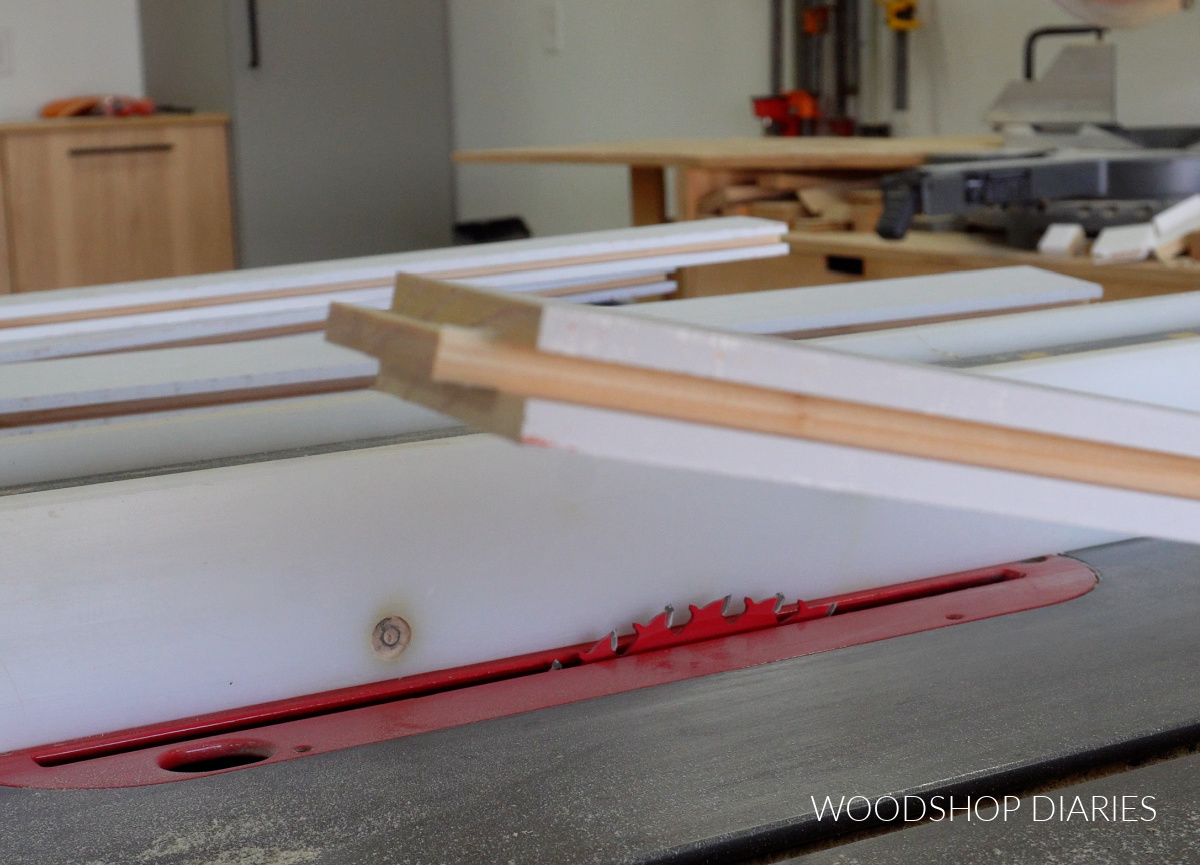
That way, the tongues on the rails should fit snugly into the grooves on the stiles.
NOTE: If you didn’t want to cut these dadoes on the table saw, you could also cut these on a router table instead.
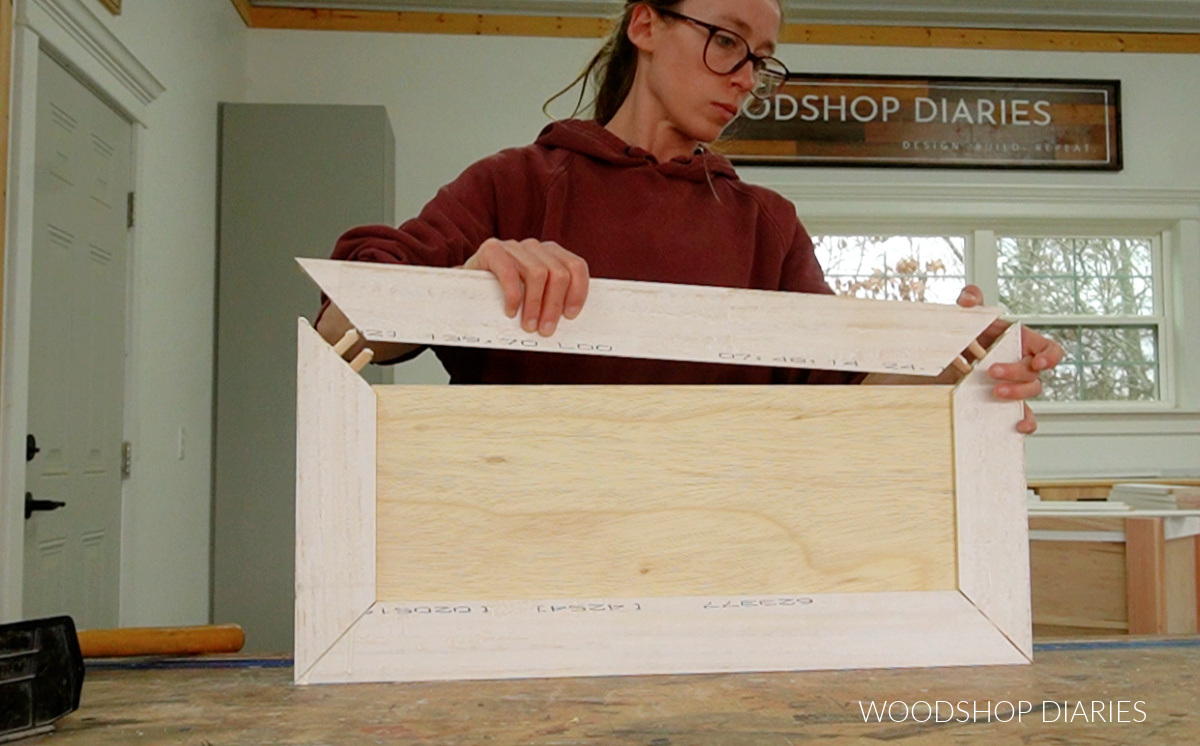
I cut a ¼″ plywood panel to fit into the dadoes, then assembled using wood glue where the tongues go into the grooves at the corners.
Clamp until dry, then sand joints smooth and it’s ready to hang!
Looking for more cabinet and furniture building tips?
Whew! That was a lot of information! These are certainly not the ONLY 7 ways to build a cabinet door, but I hope this helps get you started.
If you’re looking to dive deeper into more cabinet and furniture building, here are some additional guides you might find helpful!

If you’d like to save this post for later, don’t forget to pin it or share to your favorite social channel!
Until next time, friends, happy building!