In this post, I’m sharing how to seal and finish your DIY furniture to keep it’s natural color, but still add protection.
Have you ever built a project that you just didn’t really want to paint or stain. But you just weren’t sure what other options you have?
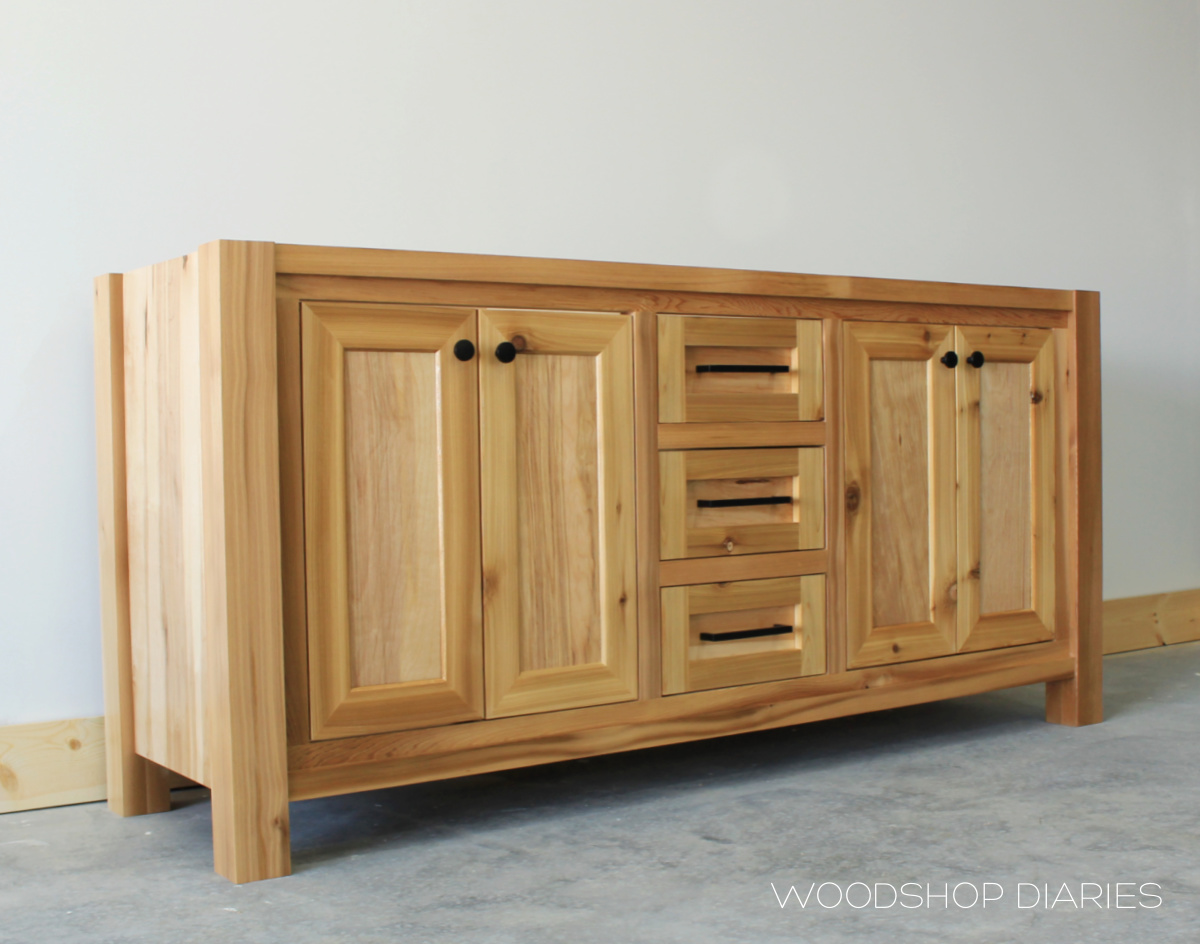
A clear finish seems so simple, but with so many options, it’s not always easy to know what’s best for your project.
Below I’ll discuss some of my favorite clear finish options for DIY furniture, how to choose what’s right for your build, and how to apply them to get the best results.
*This post contains affiliate links. See website policies.
Clear Finish Options
This is certainly not a comprehensive guide on every possible clear finish available on the market–that would be a million pages long!
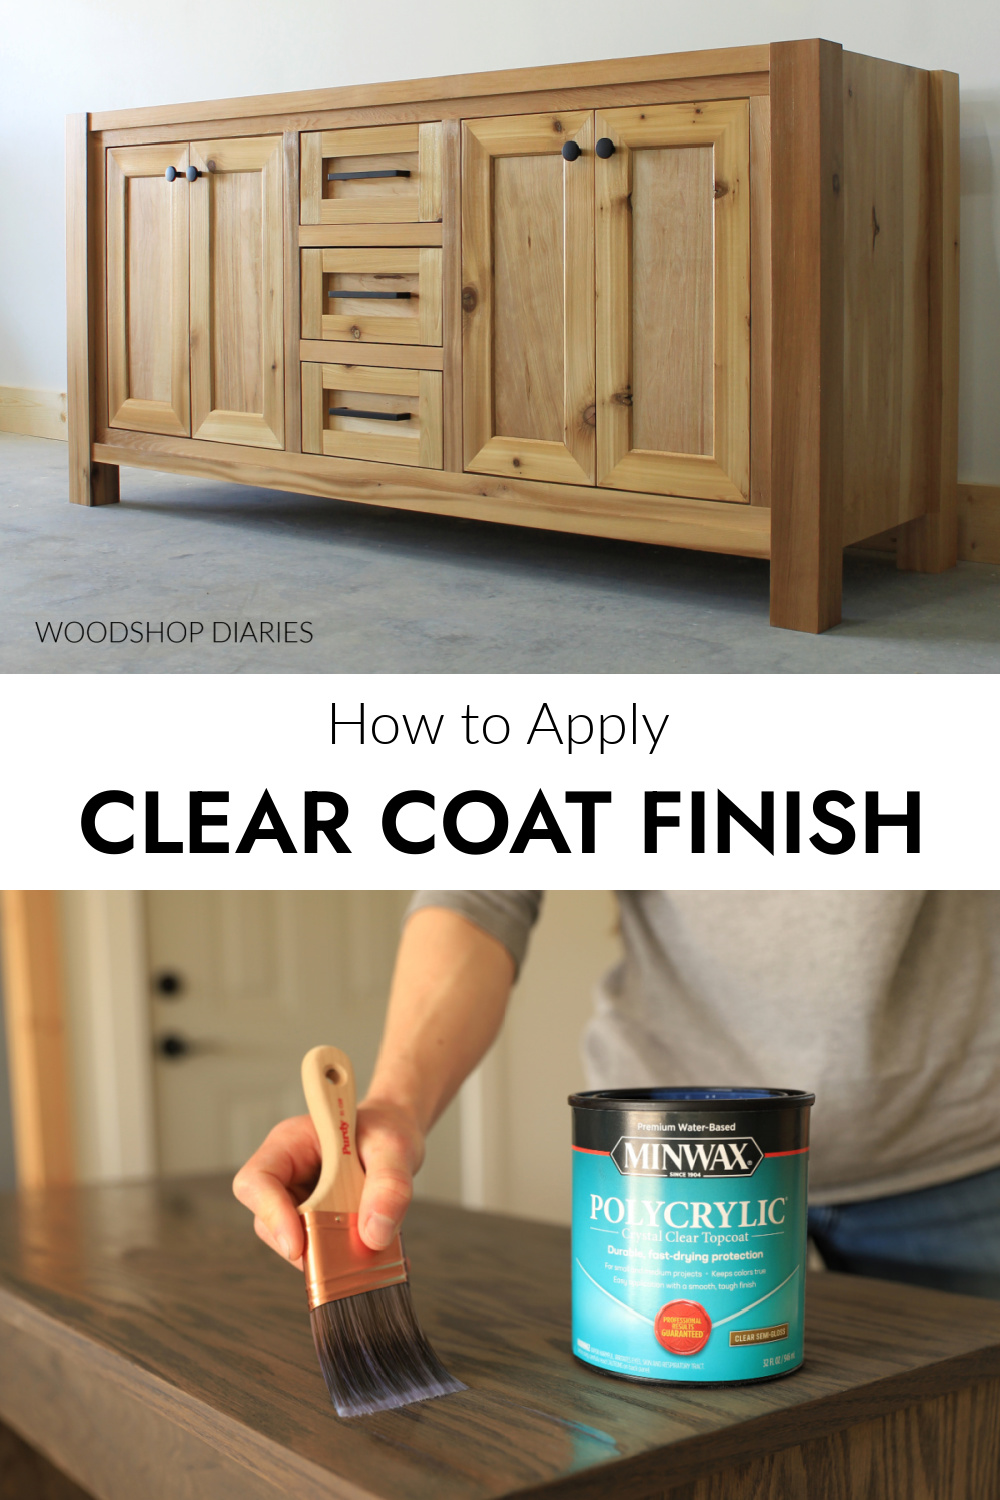
But, here’s a simple list of some of my personal favorite clear finishes that I’ve used on my projects over the years:
- Minwax Polycrylic (water based)
- Minwax Helmsman (available in both oil and water based)
- Walrus Oil Furniture Butter
- Walrus Oil Furniture Finish
- Danish Oil
- Mineral Oil
- Cutting Board Oil
Are DIY projects your thing? Sign up for our newsletter for priority access to the latest projects and build plans!
How to choose a clear finish for your project
What kind of clear finish to use on your project depends on several factors. Here are just a few things to consider:
- Will it be used outdoors?
- Will it be exposed to a lot of water?
- Will it be used with food prep?
- How do you want it to feel?
Water Based Finishes
Water based clear coats are my usual go to because they are easy to clean up, don’t have a strong odor, and don’t yellow over time. However, in some cases, they may not be as durable as oil based finishes.
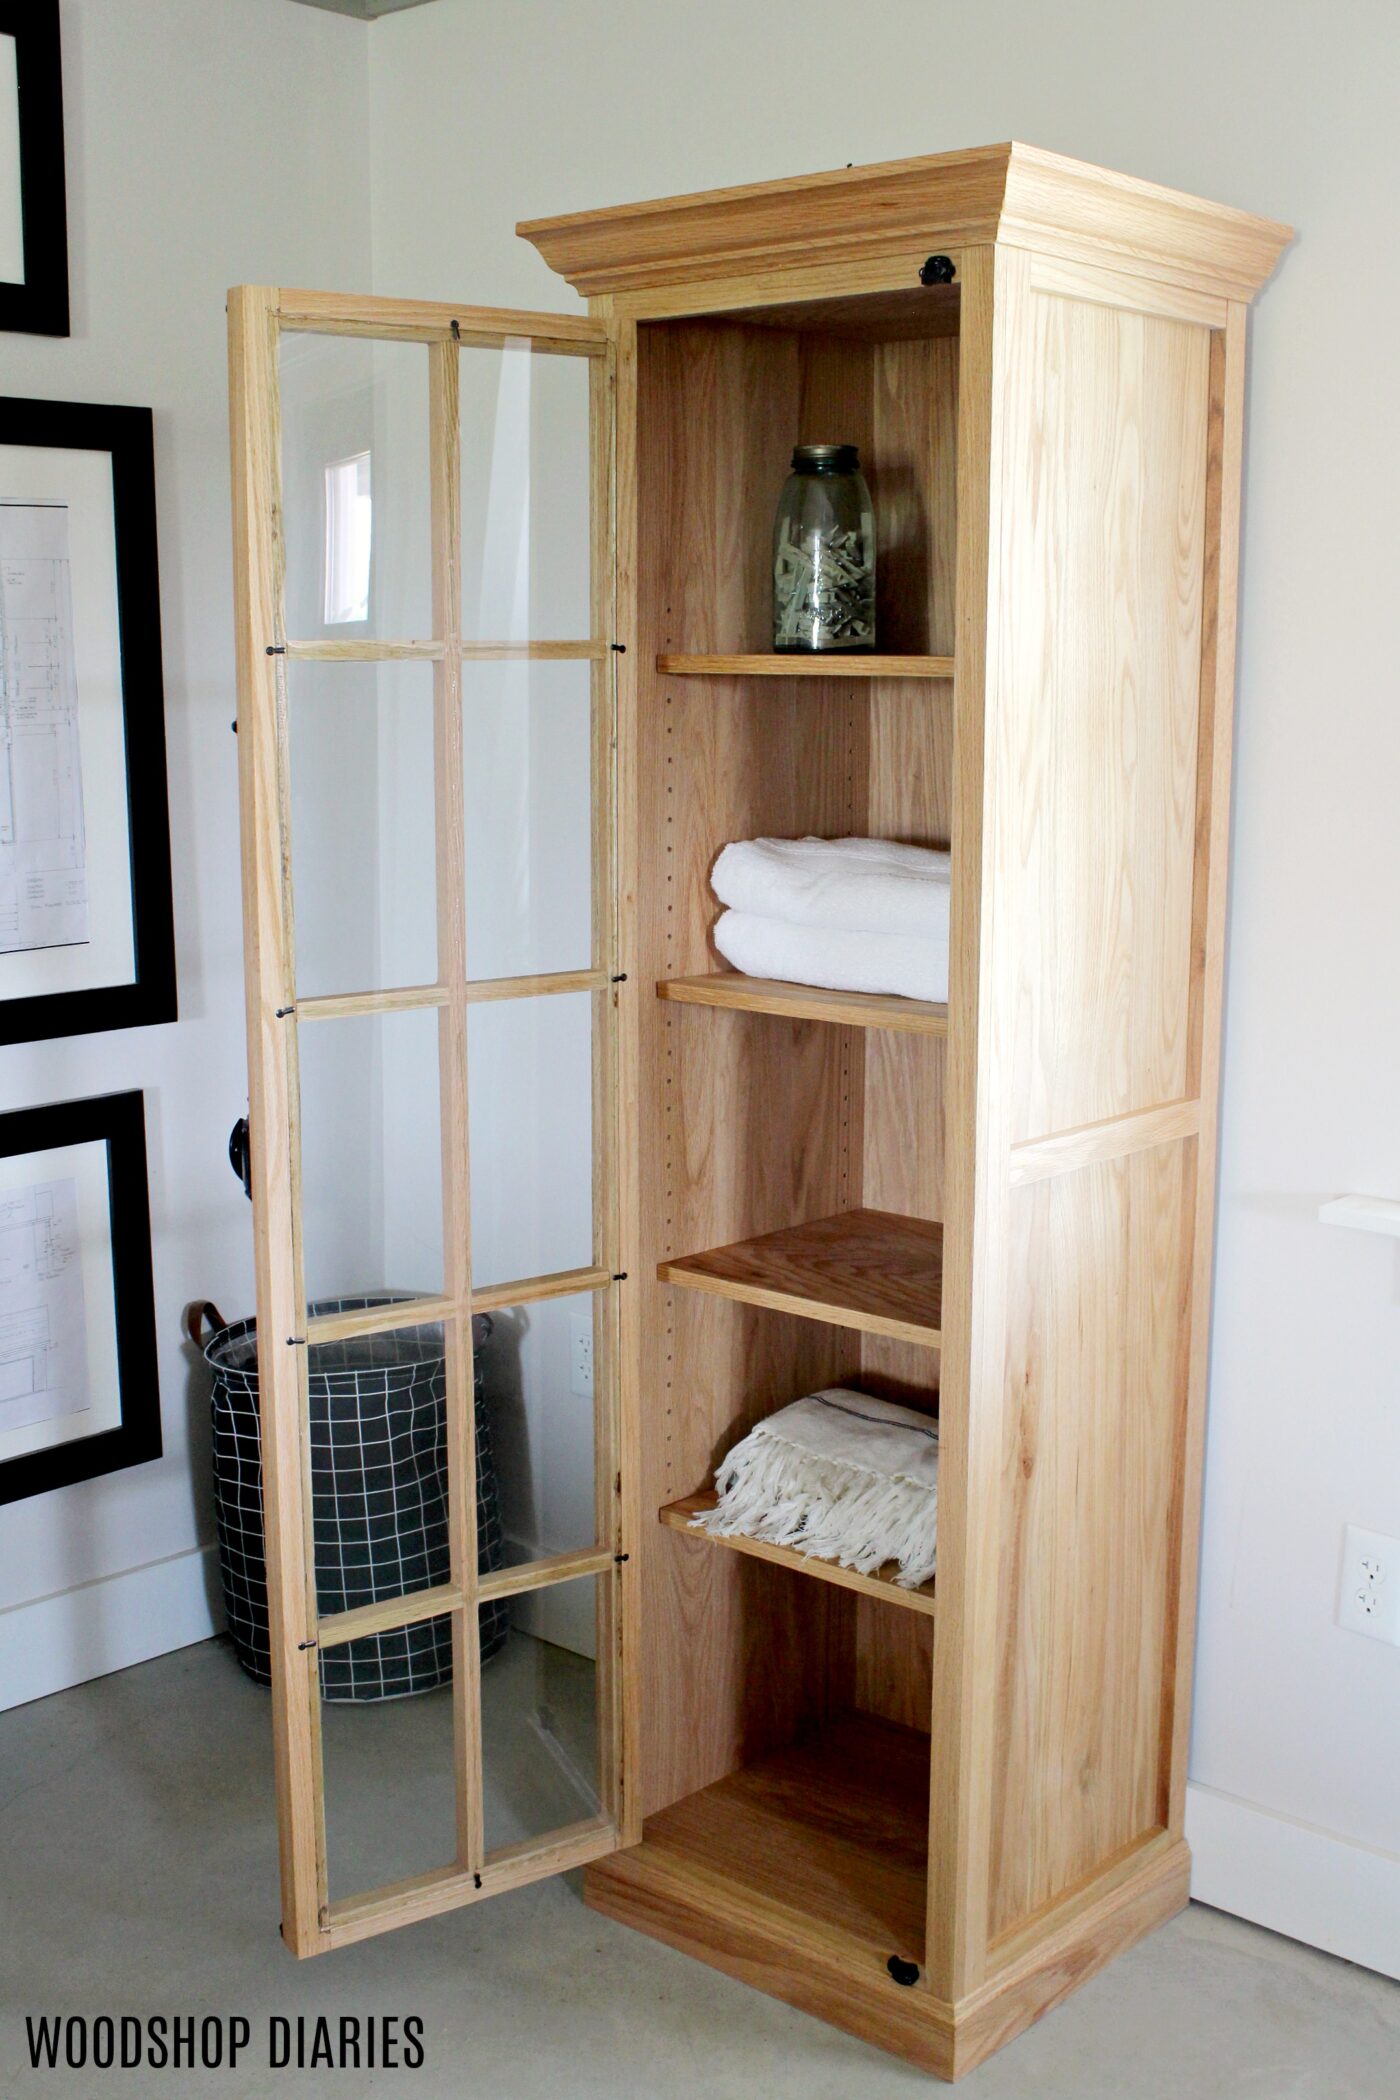
For indoor furniture applications, water based options work well and help enhance the natural wood color while providing a hard, protective layer over the wood. Think of this like paint, only it’s clear.
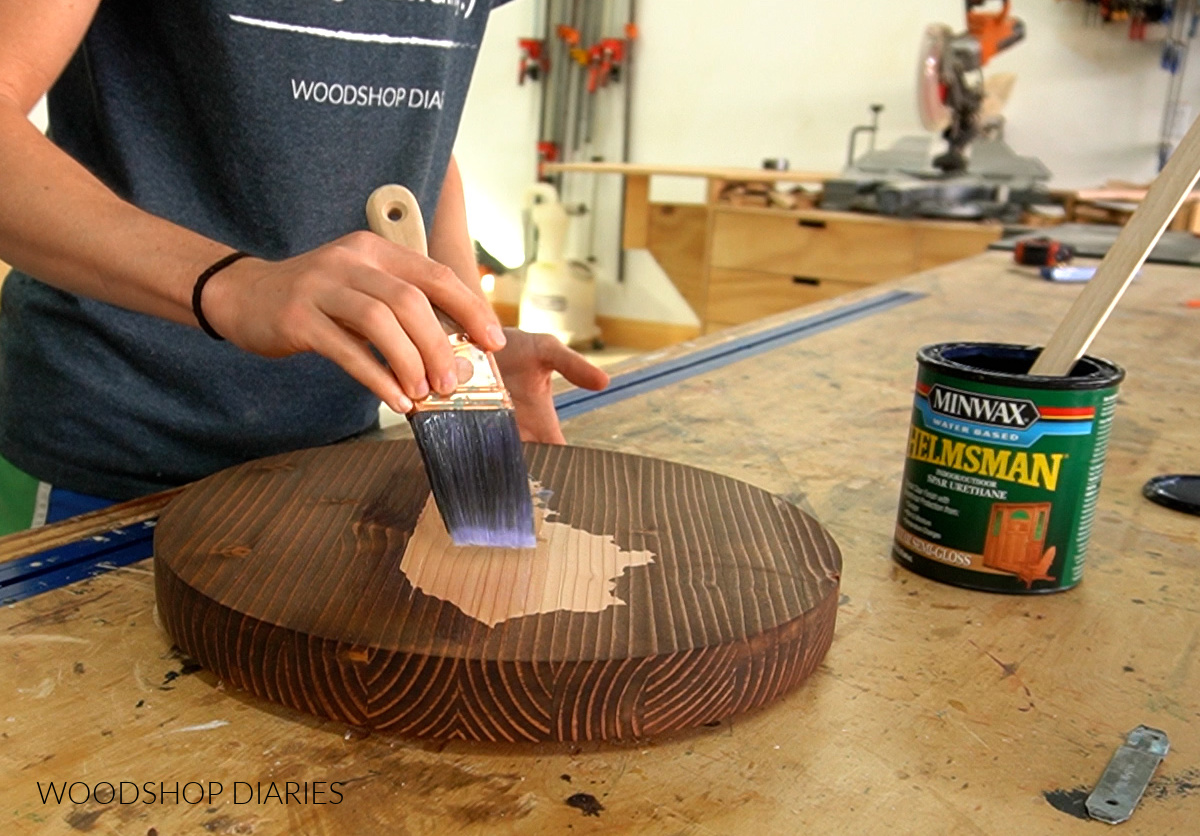
For small outdoor projects or interior projects that will be exposed to a lot of moisture (like a bathroom vanity or countertop), I usually opt for Minwax Helmsman water based finish.
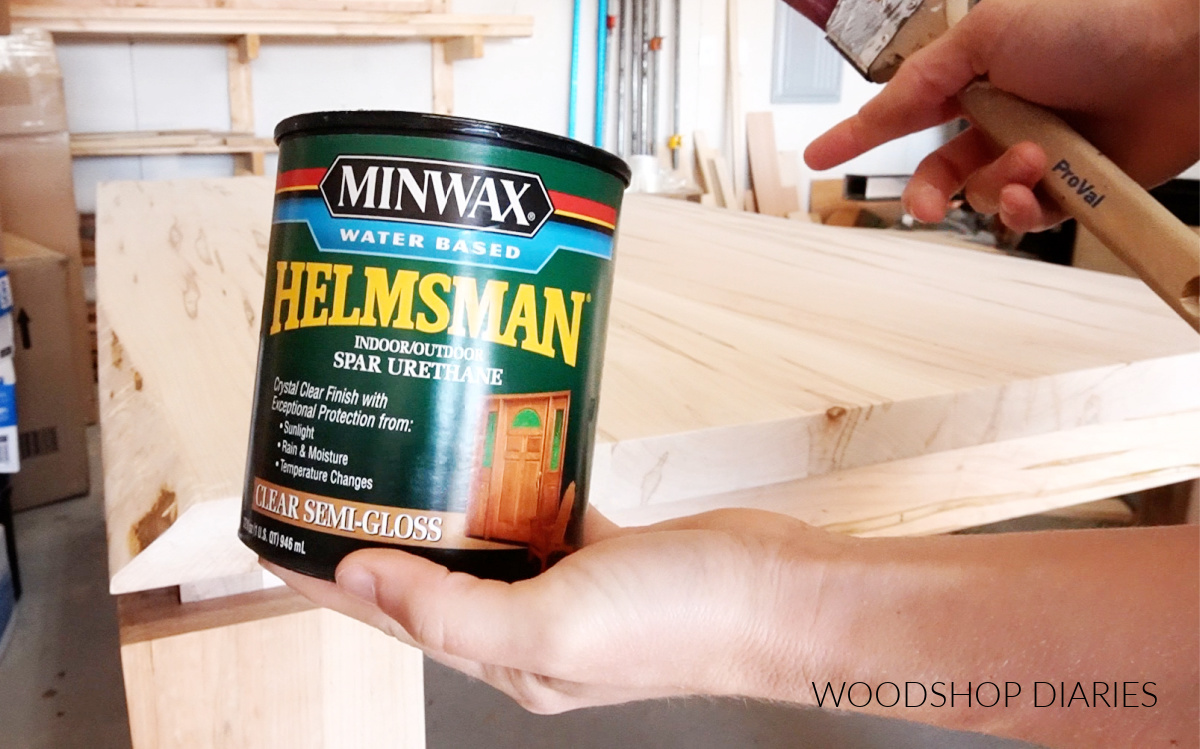
This finish is rated for exterior use, so it protects well against water. It provides a hard, clear, protective layer over the wood to block out the moisture (kind of like paint, only it’s clear).
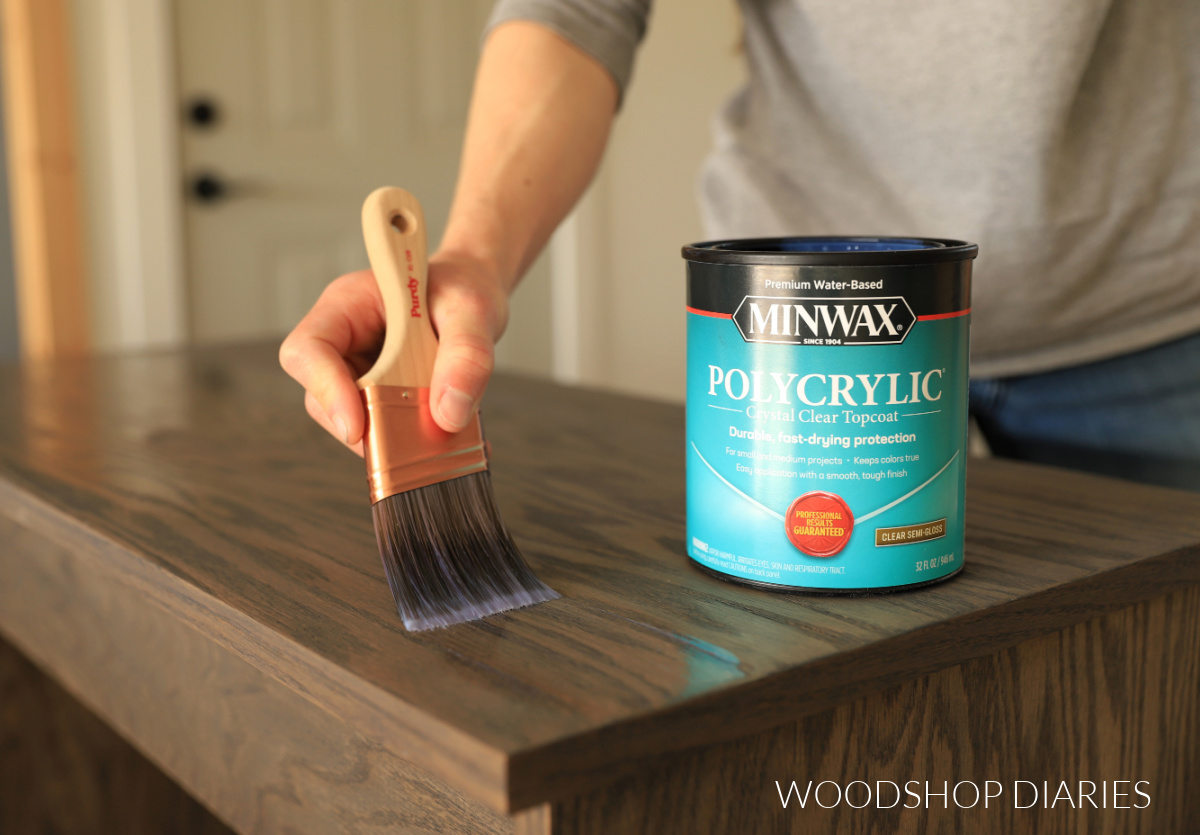
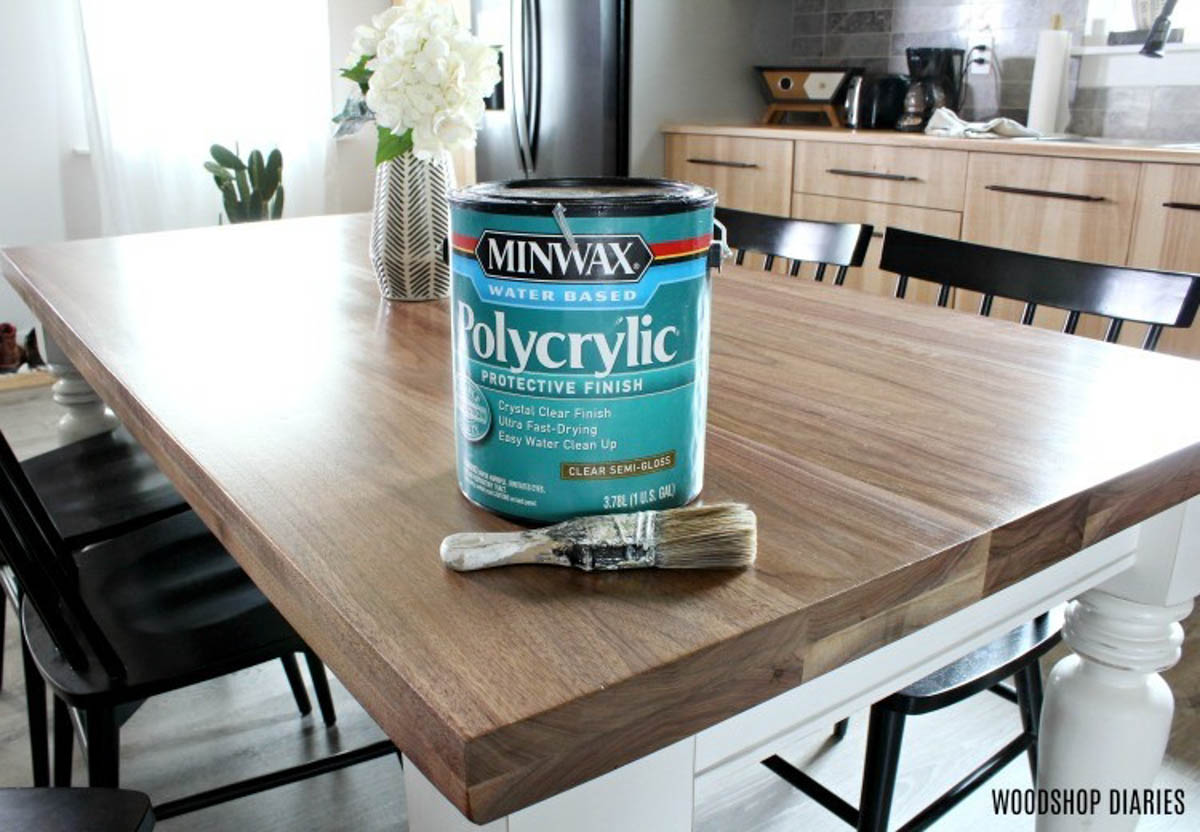
For general indoor furniture pieces, I normally use Minwax Polycrylic. It’s similar to Helmsman, but isn’t quite as “heavy duty.” It’s a crystal clear, water based sealer that works well on unfinished wood, but also on stained wood.
Both of these options come in different sheens (flat, satin, semi-gloss, gloss) and form a hard, clear, protective layer over the wood.
As far as sheen goes, this is really a personal preference. There are pros and cons to each one:
- Flat: This option has no shine to it. It shows the least amount of imperfections, but is the most difficult to clean since it’s not slick.
- Satin: Has a slight shine to it. Shows minimal imperfections, and is reasonably easy to clean.
- Semi-gloss: Leaves wood shiny and smooth. Will show some imperfections, but is easy to clean since it’s so slick.
- Gloss: Very shiny. Shows the most imperfections, but is the easiest to clean.
Personally, I use semi-gloss most often, with satin being a close second.
Oil Based Finishes
Oil based finishes are generally more durable than water based options, but can be messy, challenging to clean up, and usually have strong fumes that can be combustible.
Personally, I don’t love oil based finishes unless it’s on colorful hardwoods, like poplar, cherry, or walnut…or it’s an outdoor project.
Often oil based finishes will give the wood a more yellow-y tone and make the natural color a little warmer. Sometimes this is desirable, but sometimes it’s not.
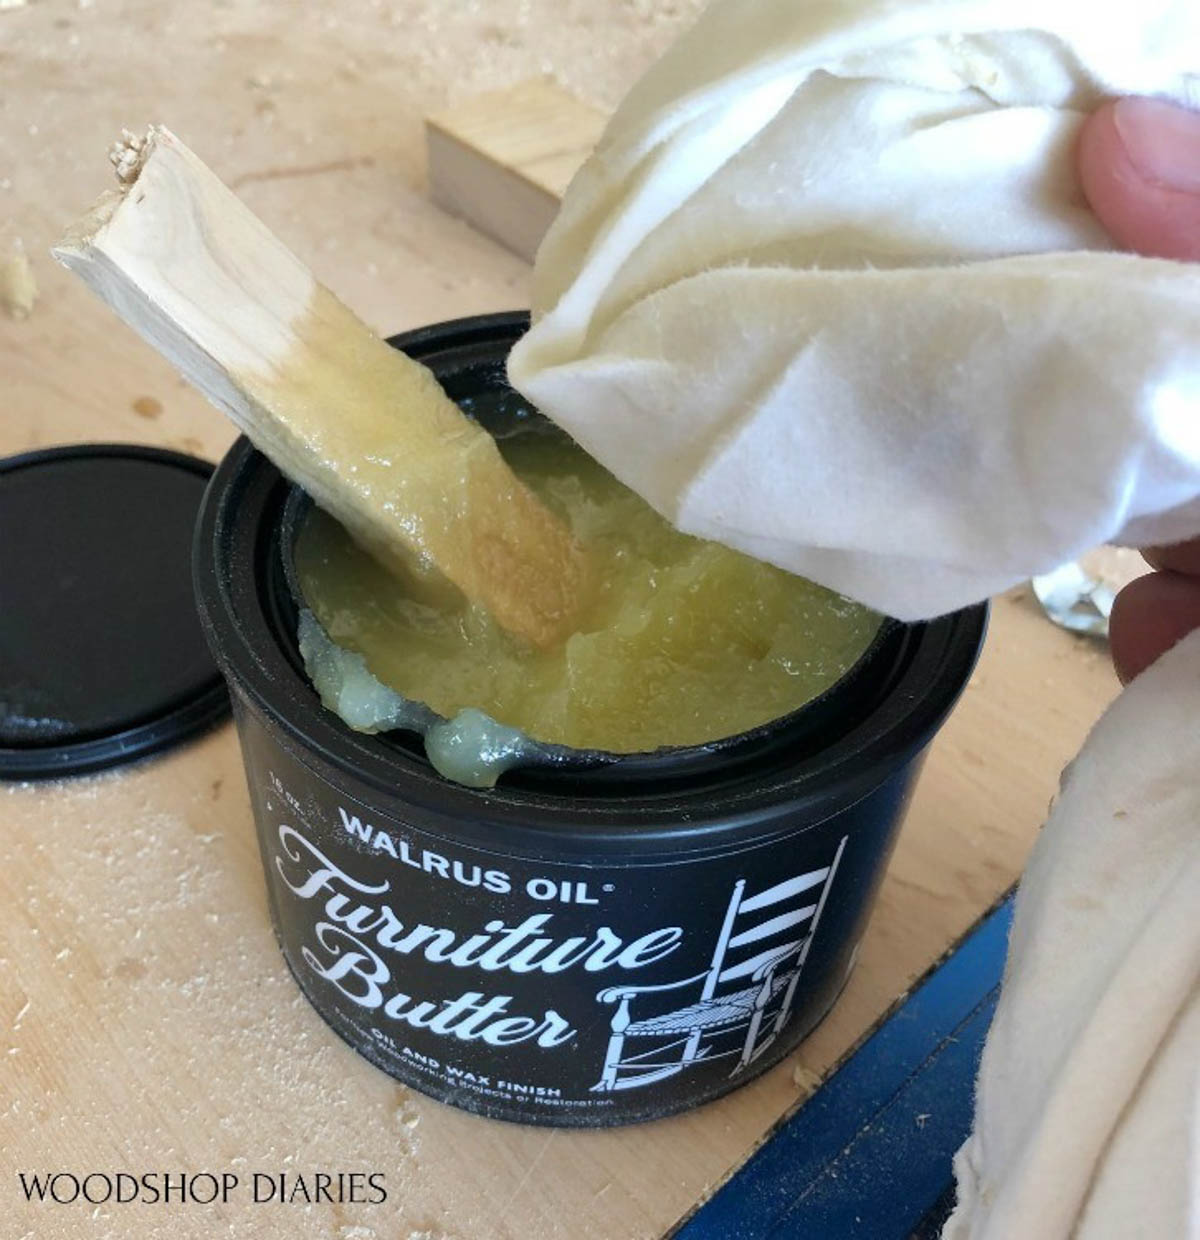
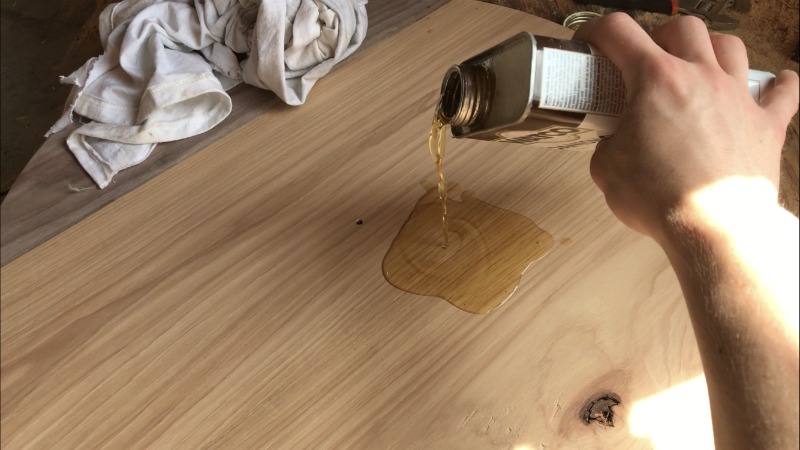
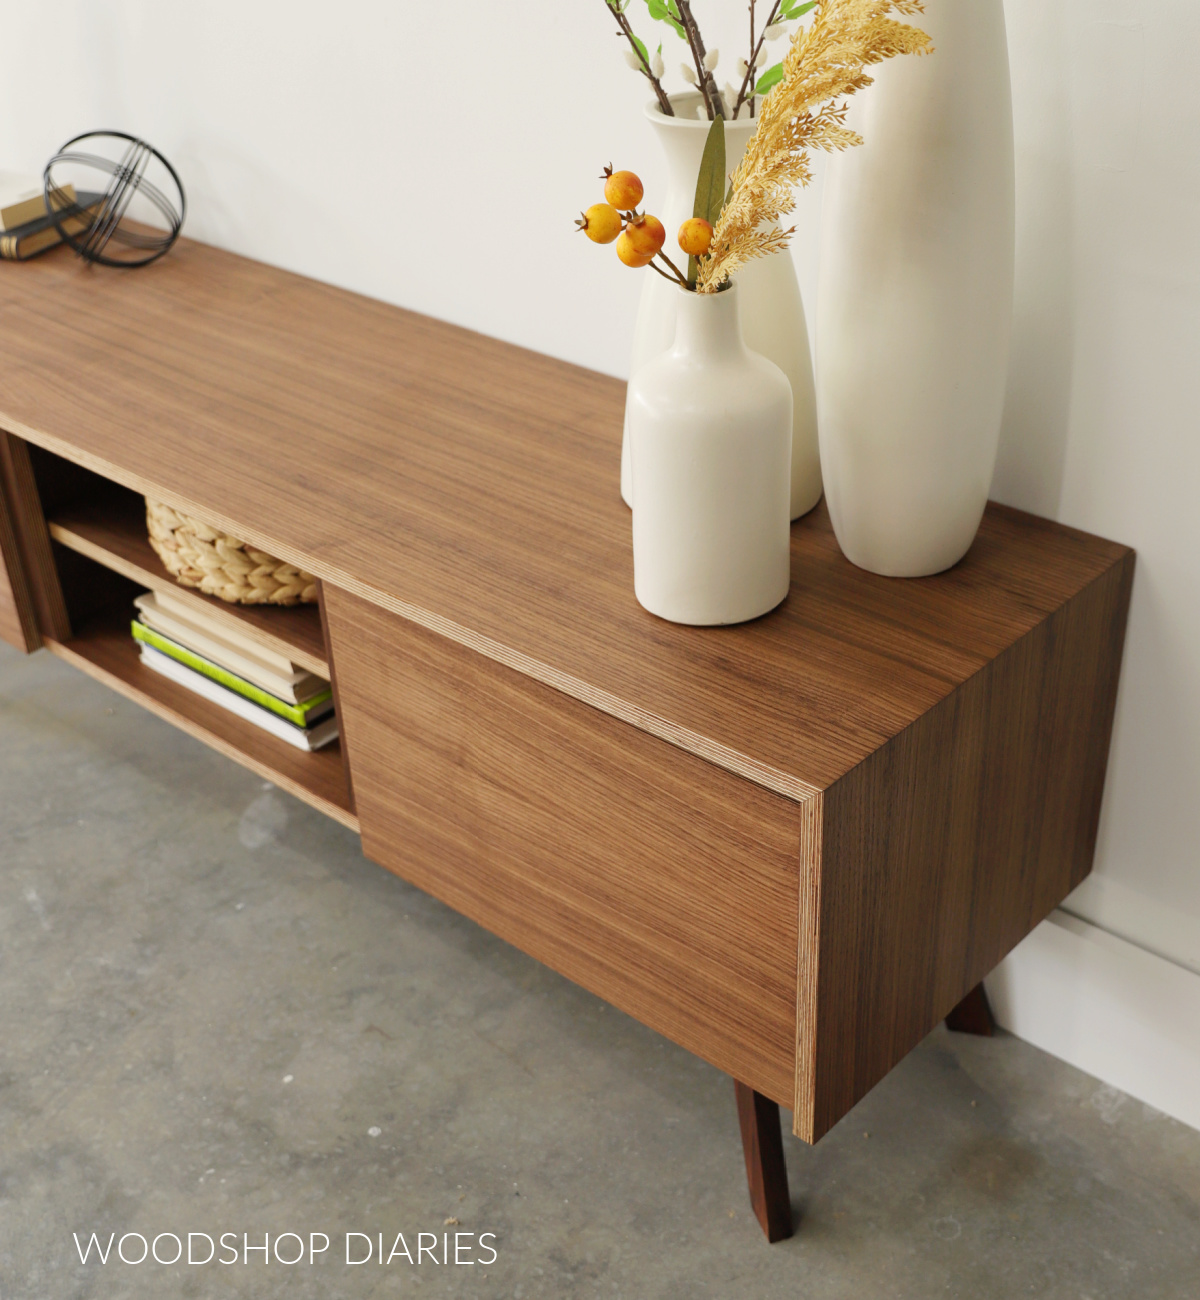
Oily finishes like Walrus Oil Furniture Butter, Furniture Finish (shown in the image above), and Danish Oil absorb into the wood and give a flat or slightly satiny sheen.
If the project will be involved in food prep–like a cutting board, or a serving tray, etc–you want to make sure the finish is food safe. Most cutting board oils and mineral oils are food safe (check labels to be sure!).

These food safe oily finishes absorb into the wood and don’t form a layer on top. They’ll need to be reapplied periodically as the wood gets dry.
For projects that will be exposed to the elements constantly (like an outdoor furniture set not under cover), if you want to use a clear coat, I recommend using an outdoor oil-based deck sealant like Cabot Australian Timber Oil in Natural.
Something to consider: Oily finishes can sometimes leave the surfaces somewhat greasy depending on the type of oil used. Some oils will harden over time, but others won’t. For example, Danish oil will harden, but mineral oil won’t.
HOW TO APPLY A CLEAR FINISH TO RAW Wood FURNITURE
How to properly apply a clear finish to your project will be based on the type of finish you’re using.
In every case, no matter what finish you choose, I always recommend reading the manufacturer’s instructions on the product label. This will give you more specific instructions, but below, I’ll share an overview and some tips from my experience.
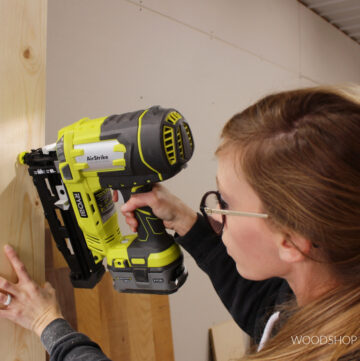
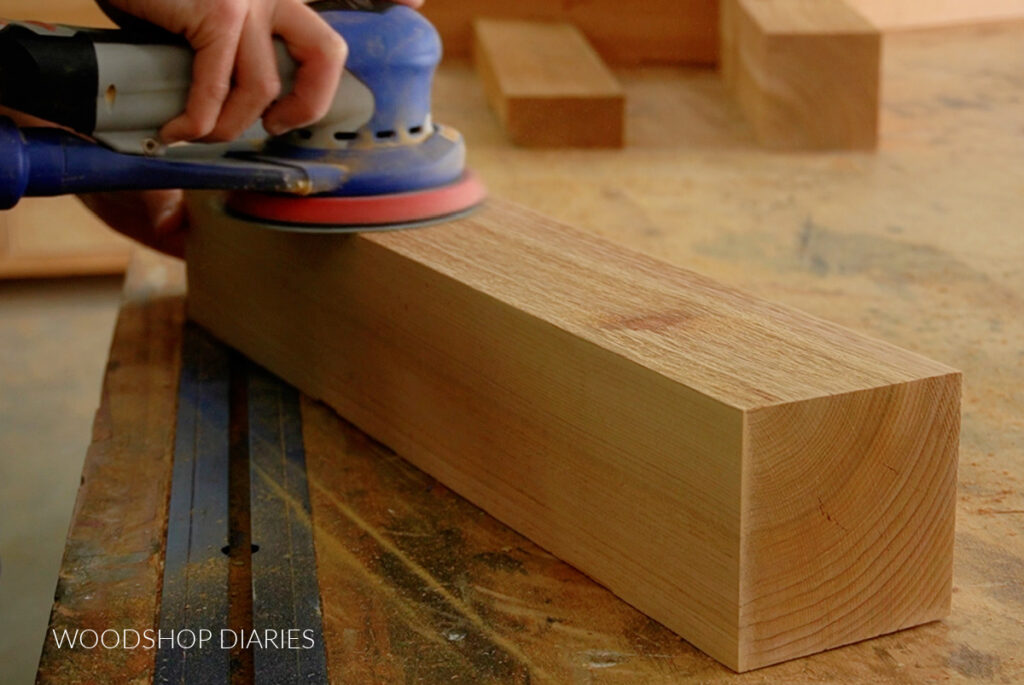
Step 1: Sand
Just like with painting or staining, it’s still important to sand before clear coat as well. Check out this post to learn how to properly sand your projects.
Before applying finish, I sand my entire piece to at least 220 grit WITH THE GRAIN. Sanding against the grain will leave scratches on the wood that will be noticeable when finish is applied.
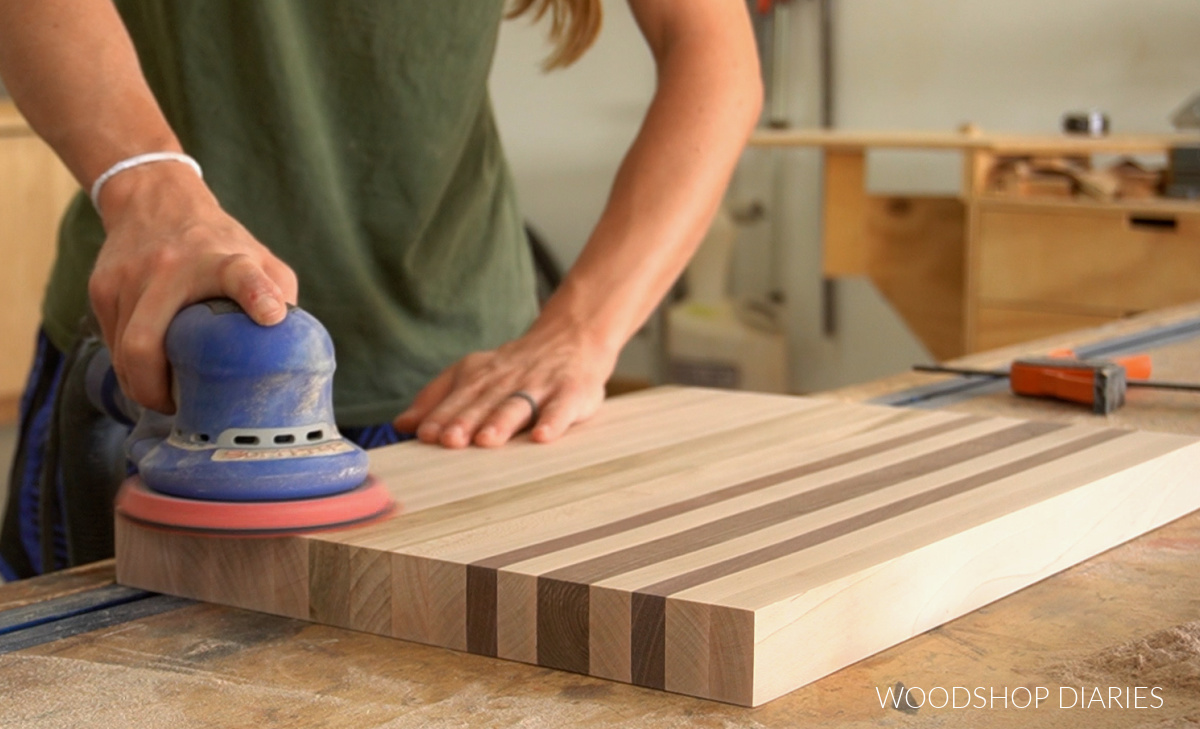
It’s important to sand EVENLY as uneven sanding can result in an uneven or splotchy finish. So don’t sand one spot for twenty minutes and another for just 5 seconds.
Make sure to remove ALL glue and glue residue from wood surfaces before sealing. Glue seals the wood surface, which can cause an uneven finish application–especially with oil based finishes.
Remove all dust after sanding with a clean cloth.
Step 2: Apply Clear Coat
Make sure to follow the instructions on the can/bottle of finish before applying.
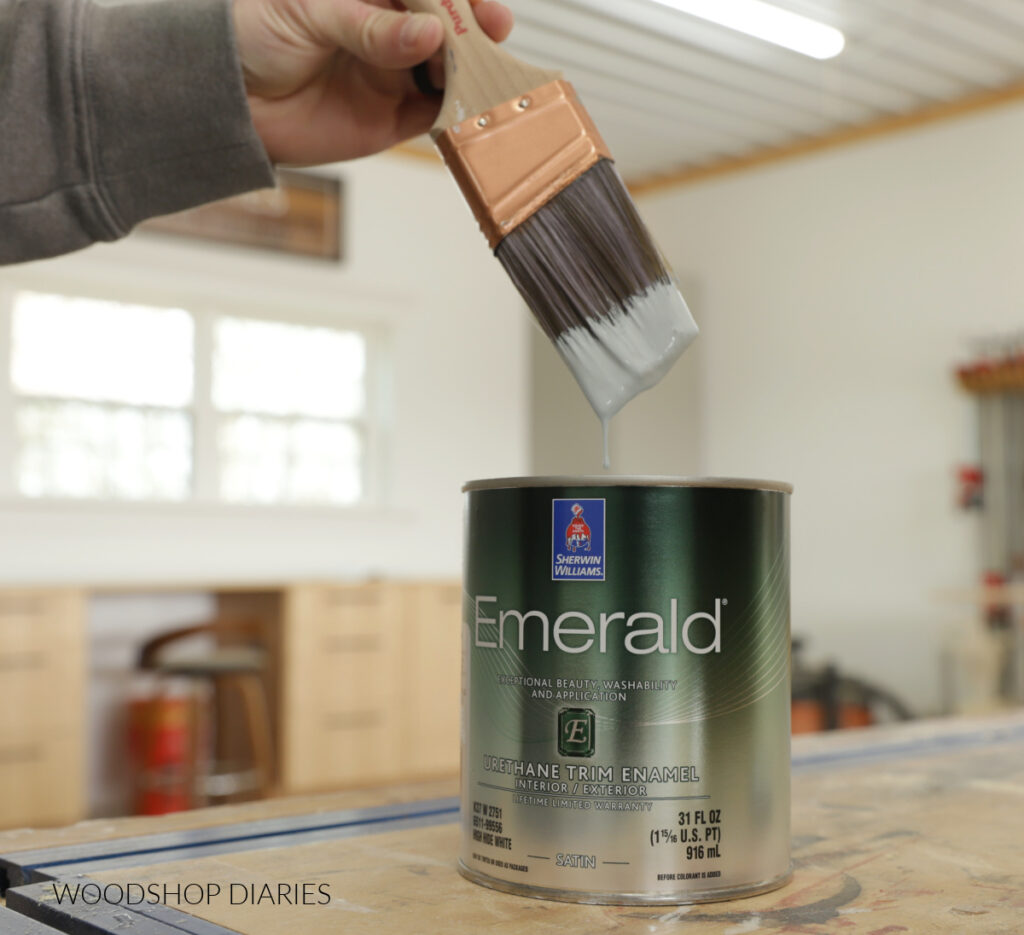
Applying Water Based Finishes
In general, if using a water based clear coat like Minwax Helmsman or Polycrylic, I use a high quality brush designed for water based finishes, or a foam roller to apply.
Make sure to stir well before applying! Skipping stirring can cause a chalky or cloudy look to your clear coat. (Trust me–I’ve learned that the hard way.)
I apply these water based clear coats basically as I would paint–brush or roll in the same direction as the wood in long, smooth strokes.
TIP: Don’t overapply too much finish at once, but do apply liberally. With some hands on practice, you’ll get a feel for it. Basically, you don’t want to overapply the finish so that it pools up in a puddle.
But, if the brush feels dry, rough, or scratchy as you run it across the wood, you probably need more finish on it. The brush should feel like it’s smoothly gliding across the wood leaving a full layer of finish behind.
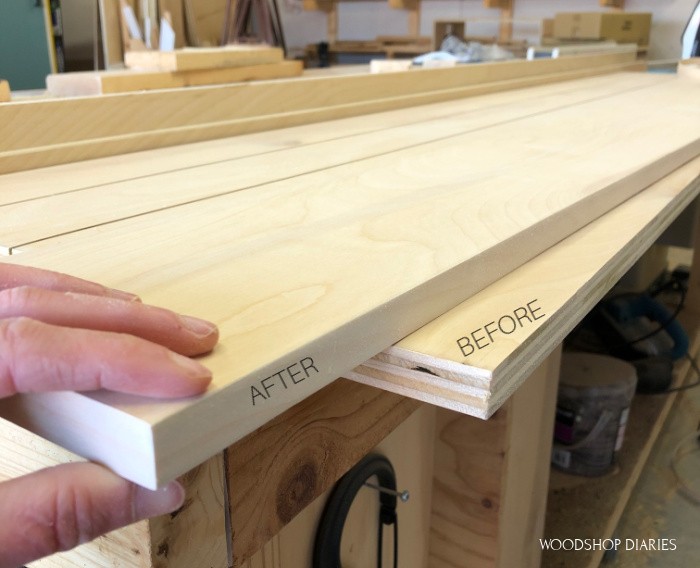
After the first coat, I allow to dry until no longer tacky and lightly sand (by hand) with 400 grit sandpaper.
Water based finishes cause the grain to raise, so sanding between coats helps smooth them back out and reduces brush strokes.
Then, I apply another coat exactly the same way. Apply 3-4 coats (sanding between each one) for best results. DON’T SAND AFTER THE FINAL COAT.
Applying Oil Based Finishes
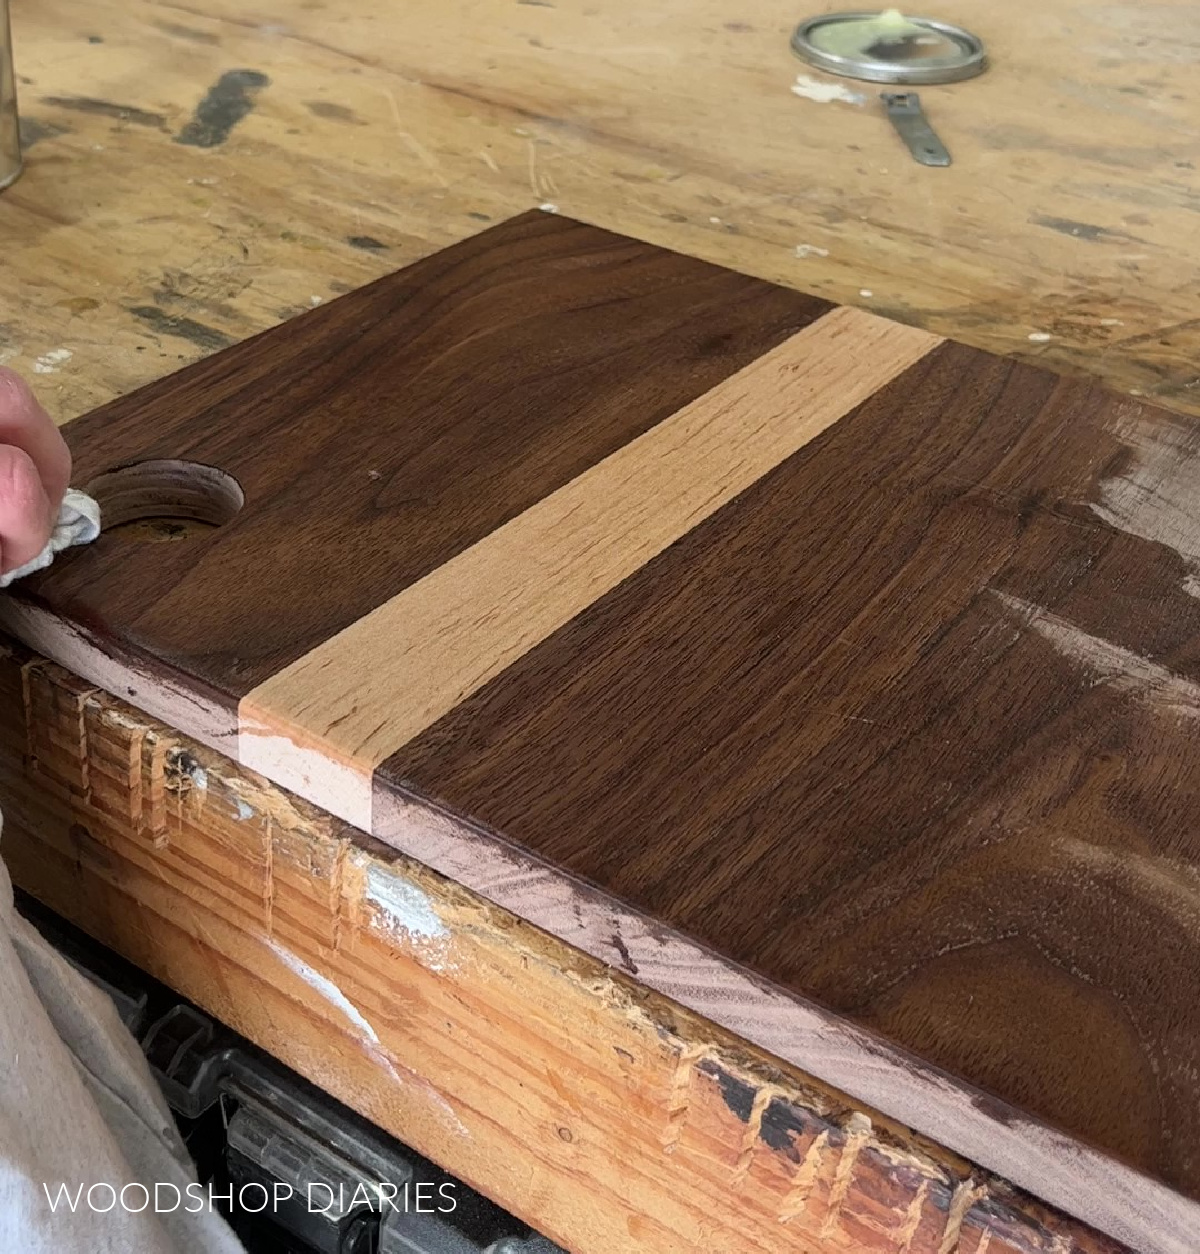
When applying oil based finishes like Danish oil, Walrus Oil Furniture Butter or Furniture Finish, or cutting board oils, normally, I like to use an old (but clean!) t-shirt or a rag.
Since these types of finishes absorb into the wood, basically you just need to apply the oil liberally, then spread it around to cover the entire surface (again, using a rag or cloth).
Then, let it soak in (check the labels for exact soaking times–it may vary by product), and wipe off what hasn’t been absorbed with a clean cloth.
As you can see, the application process isn’t as “careful” as with water based clear coats.
In some cases, you may need a second application to properly saturate the wood if everything soaked in from the first coat.
You can reapply most oil based finishes at any time by simply removing any dust on the surface and applying another coat. Since oils absorb into the wood, you can just wipe on where needed.
NOTE: Check the label on your particular finish for proper disposal of saturated rags as many oil based finishes are combustible.
Step 3: Allow to Cure
Once the finish is applied, allow to cure according to the instructions on the product label. Note that water based finishes dry quickly (like paint). Oil based finishes may take a few days to cure.

Once cured, your project is ready to use!
Looking for more finishing tips?
If you’re looking for more tips on finishing and making your DIY look its best, here are a few helpful posts!


If you’d like to save this post for later, don’t forget to pin it or share to your favorite social channel!
Until next time, friends, happy building!