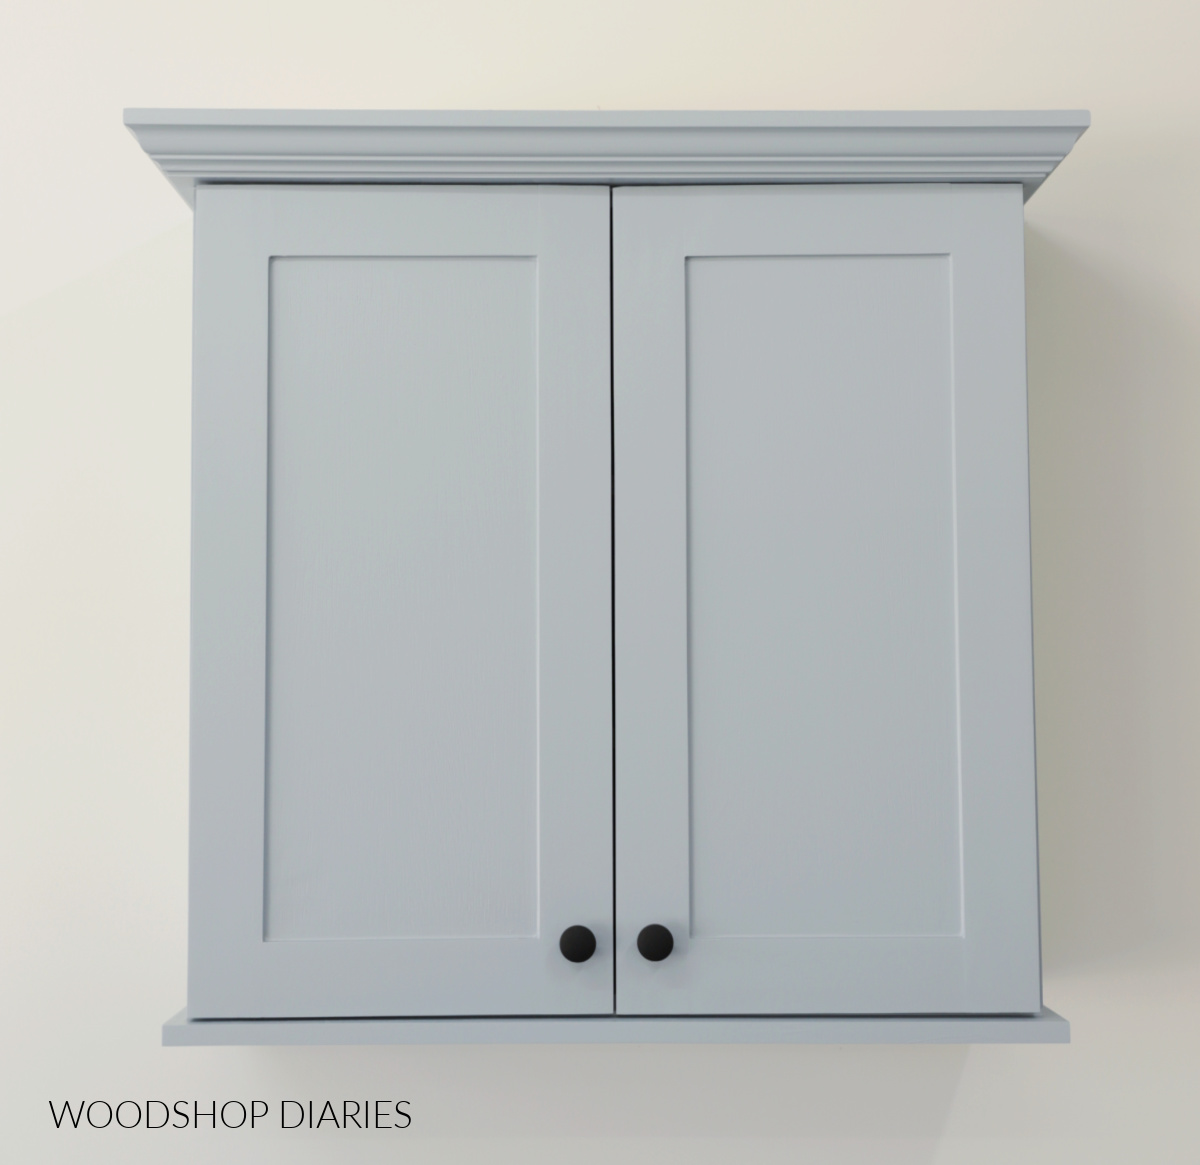
In this post, I’m sharing how to build a simple DIY bathroom wall cabinet that would be perfect for over the toilet storage.
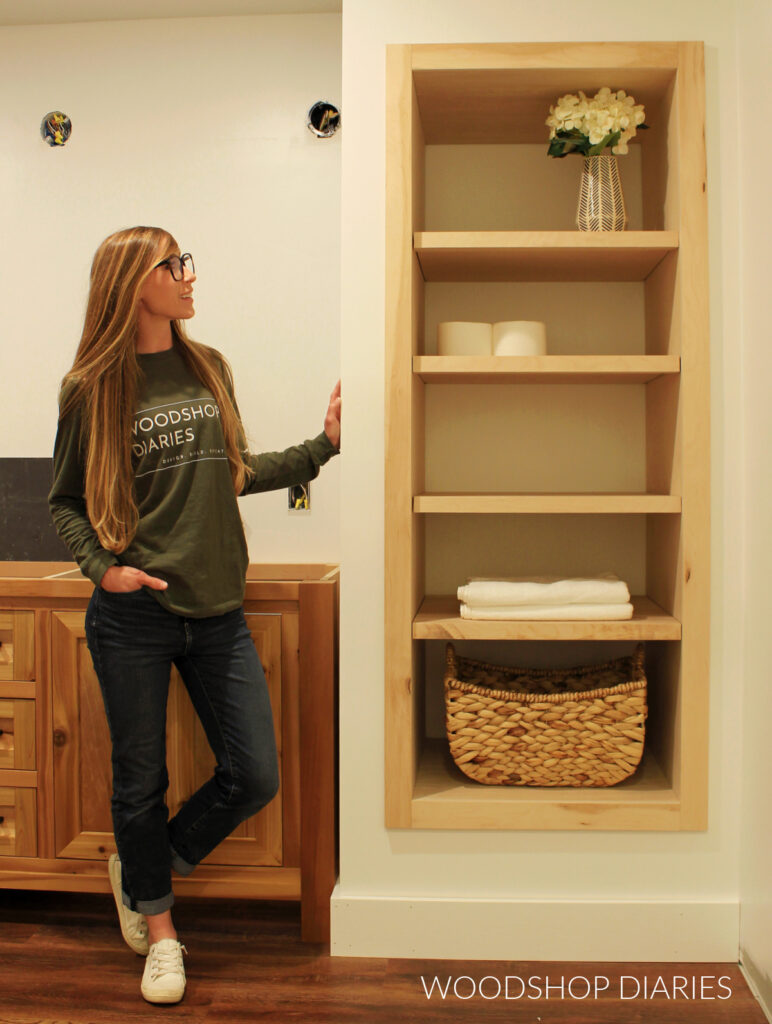
I made this bathroom wall cabinet just wide enough to fit comfortably in a toilet nook in my parent’s tiny powder room. This gave them extra storage for toilet paper, soaps, and hand towels.
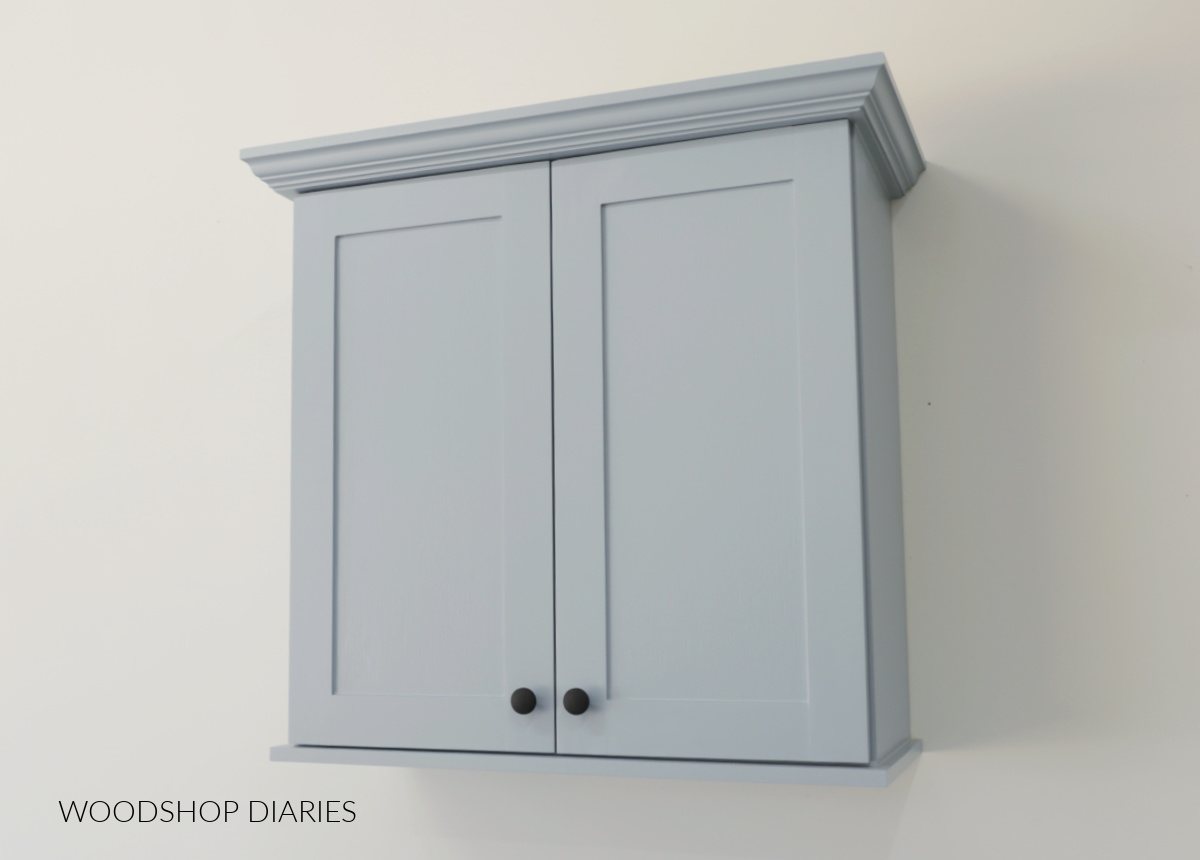
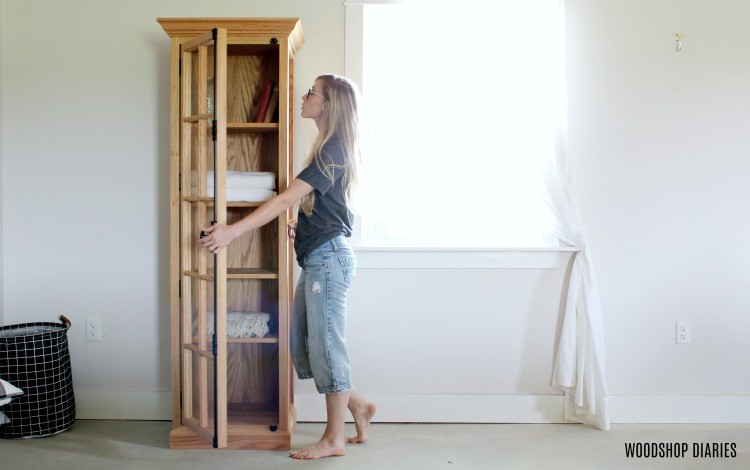
I know the photo above isn’t showing the cabinet in that nook. BUT…the lighting here was better than in my parent’s tiny powder room.
And in a bathroom that small, I literally couldn’t get a photo of the whole thing once it was installed ha! So you’ll just have to trust me–it fit in there perfectly.
I’m sharing how to build this simple bathroom storage cabinet below, so if you’re looking to add some extra storage over your toilet (or anywhere in the house, garage, workshop, etc), let’s dive in!
*This post contains affiliate links. See website policies.
What to know before building
You can easily customize the size and shape of this cabinet, play around with different types of moldings and different styles of doors.
It’s a super simple project, so it’s a great one to “flex your creative muscles” with to make it fit your style and your space.

Inside the cabinet, I added two adjustable shelves, but of course, you can customize the inside for your own storage needs as desired.
Overall dimensions
The overall dimensions of the cabinet shown here is APPROXIMATELY 34″ wide x 16″ deep x 32″ tall.
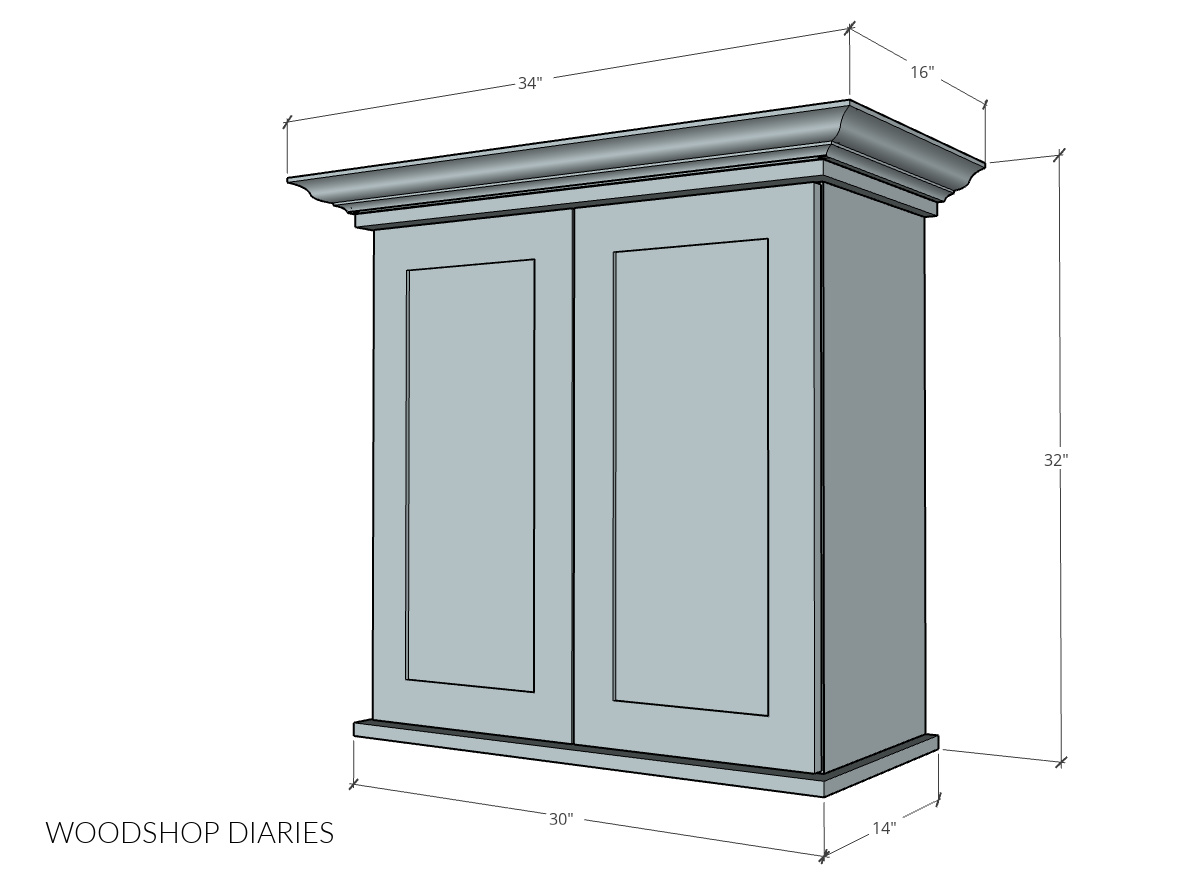
Note that the actual cabinet part is 14″ deep x 30″ tall x 30″ wide. The crown molding adds some width and depth and the exact amount will depend on the exact type and size molding you use.
Wood Type
I assembled this cabinet using ¾″ cabinet grade hardwood plywood (maple). And I used pre-primed pine for the door frames and the crown molding since I was painting it.
If you don’t plan to paint, don’t use preprimed lumber for the door frames or trim. You’ll want to use clear, unfinished lumber so you can apply a stain or clear coat.
Check out this post for more information on choosing the right plywood for your project.
The exact wood type here isn’t critical and is really up to your own personal preference. Pine, oak, maple, birch–these would all work well, so feel free to use what you have available in your area and within your budget.
Helpful Resources
You may find these resources helpful as you build this wall cabinet:
- How to cut plywood
- How to cover plywood edges
- How to use a pocket hole jig
- How to add adjustable shelving to cabinets
- How to build cabinet doors (7 different ways!)
- How to install concealed hinges
- How to cut crown molding
- How to paint furniture (without a sprayer)
Are DIY projects your thing? Sign up for our newsletter for priority access to the latest projects and build plans!
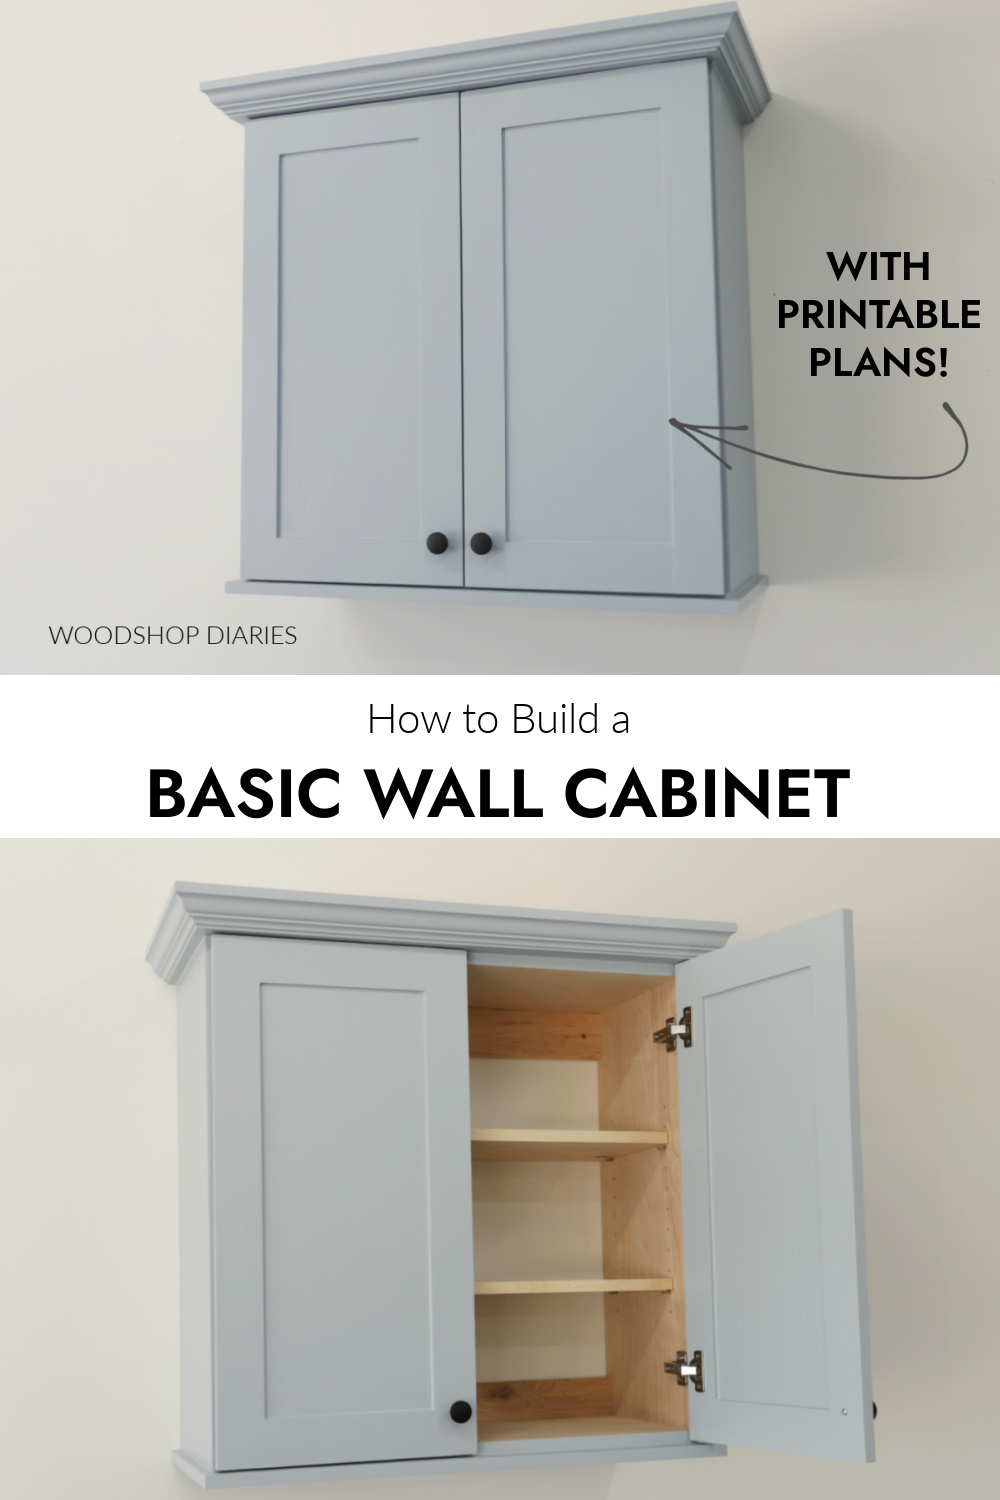
How to Build a Bathroom Wall Cabinet
This is a great beginner project you can easily complete in a weekend. If you don’t feel comfortable with crown molding, you can skip it or use something else for trim.
And if you don’t feel comfortable with doors, you can also skip them and make it an open cabinet instead.
However, I encourage you to give both doors and crown molding a try and make this project a great opportunity to practice!
In the links above under “helpful resources,” I’ve included guides to walk you through how to cut crown molding and how to build doors (7 different ways!). You got this, friend!
Prefer to print? Grab the printable building plans for this simple wall cabinet with shelves here:
Tools & Materials
Tools:
- Circular Saw
- Cutting Guides–Kreg Rip Cut & Kreg AccuCut (optional)
- Miter Saw
- Drill/Driver
- Pocket Hole Jig
- Brad Nailer
- Shelf Pin Jig
- Concealed Hinge Jig
Materials:
- (1) 4’x8′ sheet ¾″ plywood (maple plywood used here)
- (1) 2’x4′ piece ¼″ plywood
- (2) 1×3 pine boards (for the door frames)
- (1) 8′ stick crown molding (optional)
- 1 ¼″ pocket hole screws
- 1 ¼″ & 2 ½″ wood screws
- Shelf Pins
- Edge Banding
- (2) pair concealed hinges for frameless overlay doors
- Wood Finish of your choosing
Step 1: Cut Plywood Pieces for Cabinet
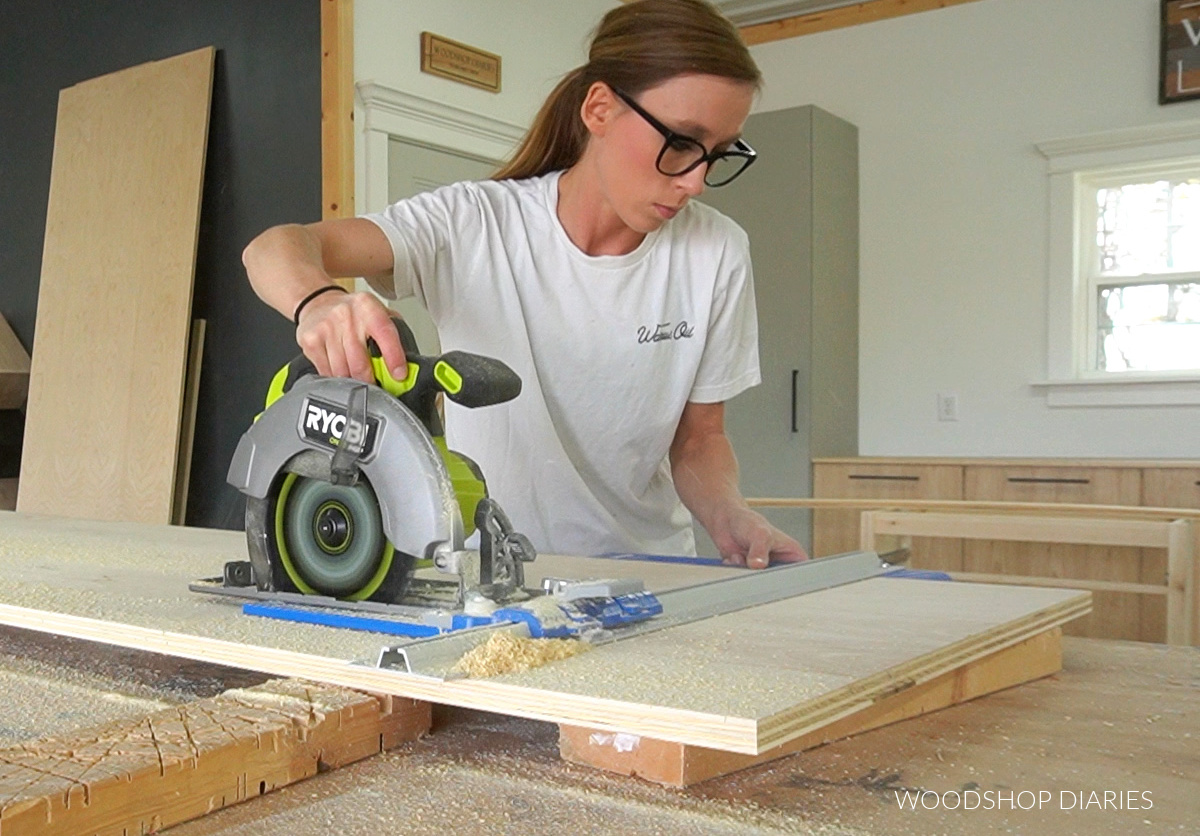
The first step to building is simply to cut down the plywood pieces. Normally, I don’t recommend cutting down all the pieces at once, but in this case, it makes sense to.
Everything for the cabinet box and shelves can be cut from a single sheet of ¾″ plywood. Learn how to cut plywood sheets in this post.
Prefer to print? I’ve included the cut diagram and dimensions in the printable plans.
This cabinet needs:
- (2) side panels
- (2) smaller top/bottom cabinet box pieces
- (2) larger top/bottom panels
- (2) back support strips
- (2) shelves
Before assembling, I applied edge banding to the FRONT edges of the side panels and smaller top/bottom pieces. I also applied edge banding to the front and side edges of the larger top/bottom panels.
Edge banding is always optional, but it makes the plywood edges look cleaner. So I recommend applying it to the edges that will be exposed in the finished build.
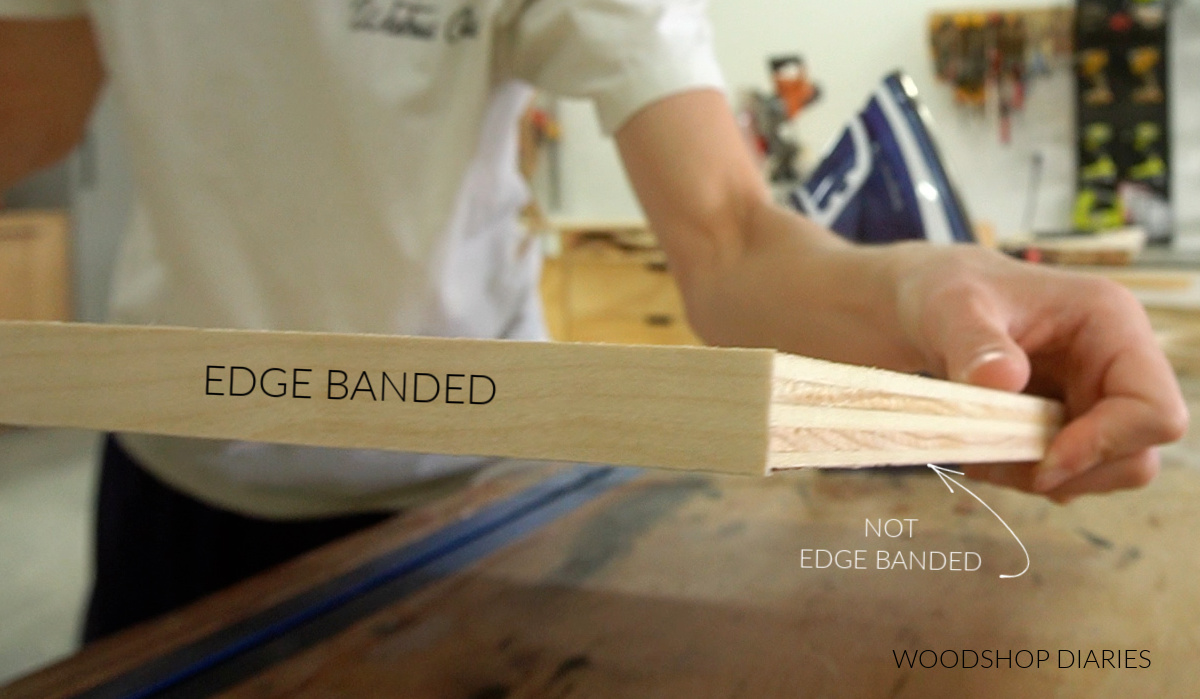
Learn how to apply iron on edge banding here.
Step 2: Assemble Wall Cabinet Box
I drilled ¾″ pocket holes into the ends of the support strips and the smaller top/bottom pieces.
RELATED: How to use a pocket hole jig
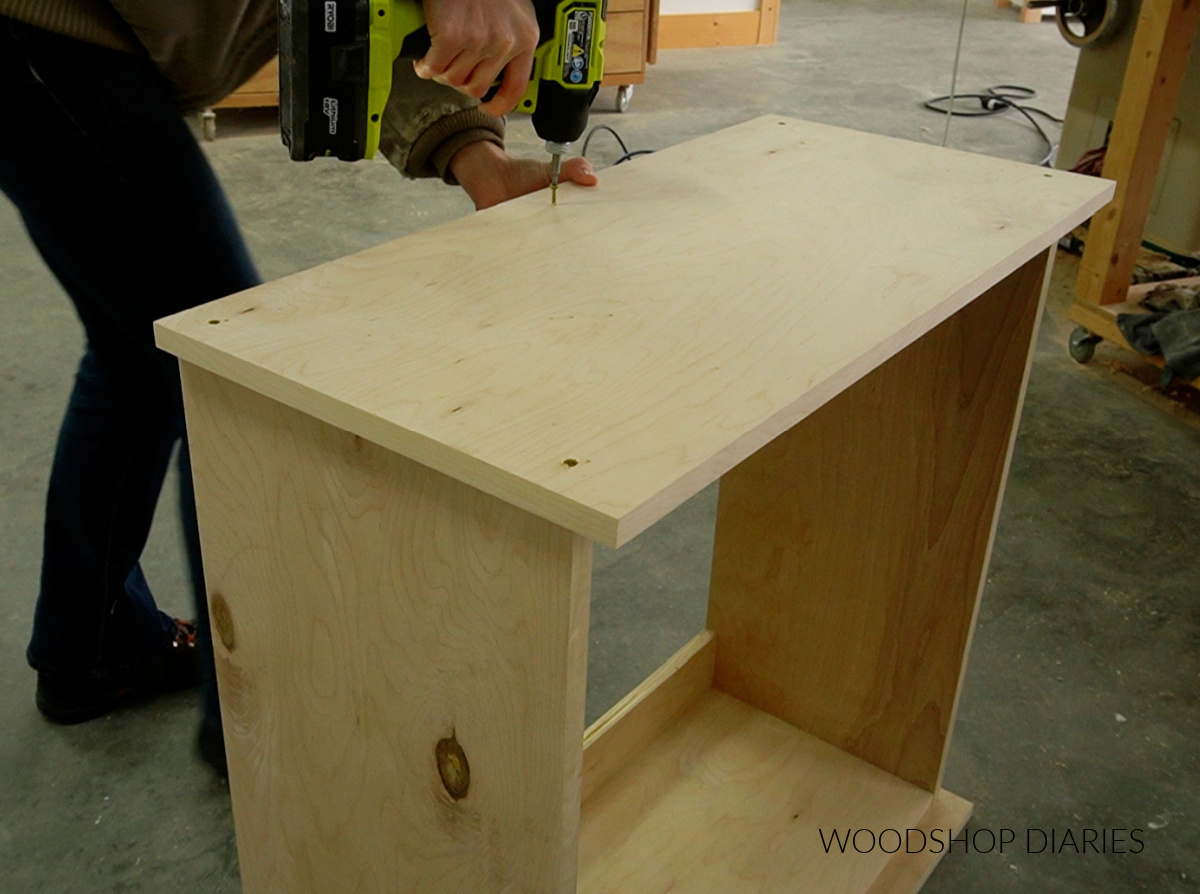
Then, I assembled the main cabinet box like shown below using 1 ¼″ pocket hole screws.
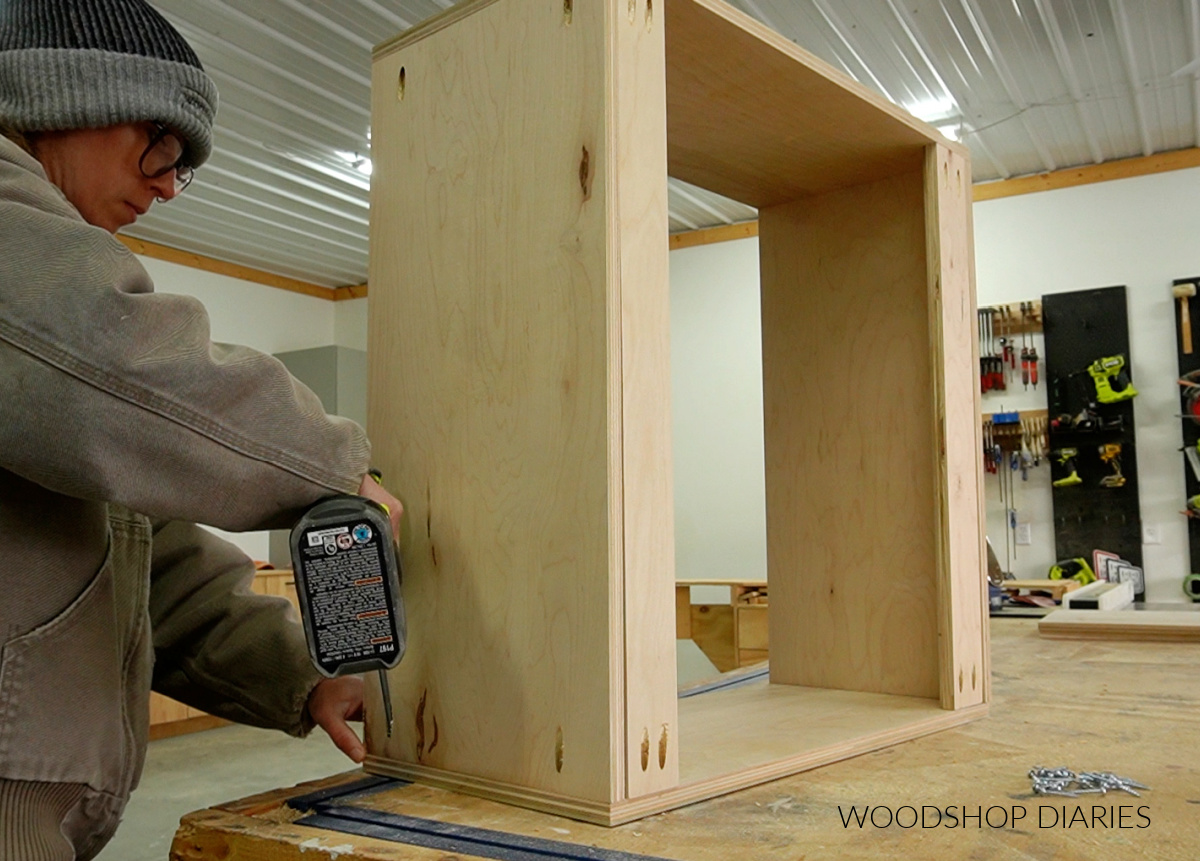
I made sure to place pocket holes toward the outside and back of the cabinet box so they’ll be hidden in the finished build.
Next, I used wood glue and 1 ¼″ screws to secure the larger top/bottom panels onto the cabinet box. These should overhang the sides ¾″ and the front 1 ½″.
I puttied over the screw holes and sanded well once it was dry.
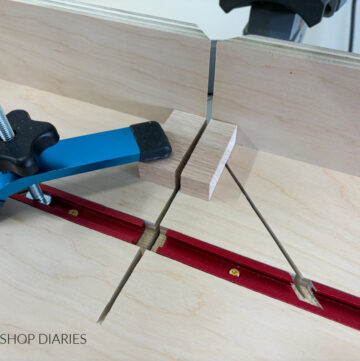
Then, for some extra detail, I opted to add some crown molding around the top. If you didn’t want to use a large molding, you could also go with half round or cove molding–or skip adding molding altogether.
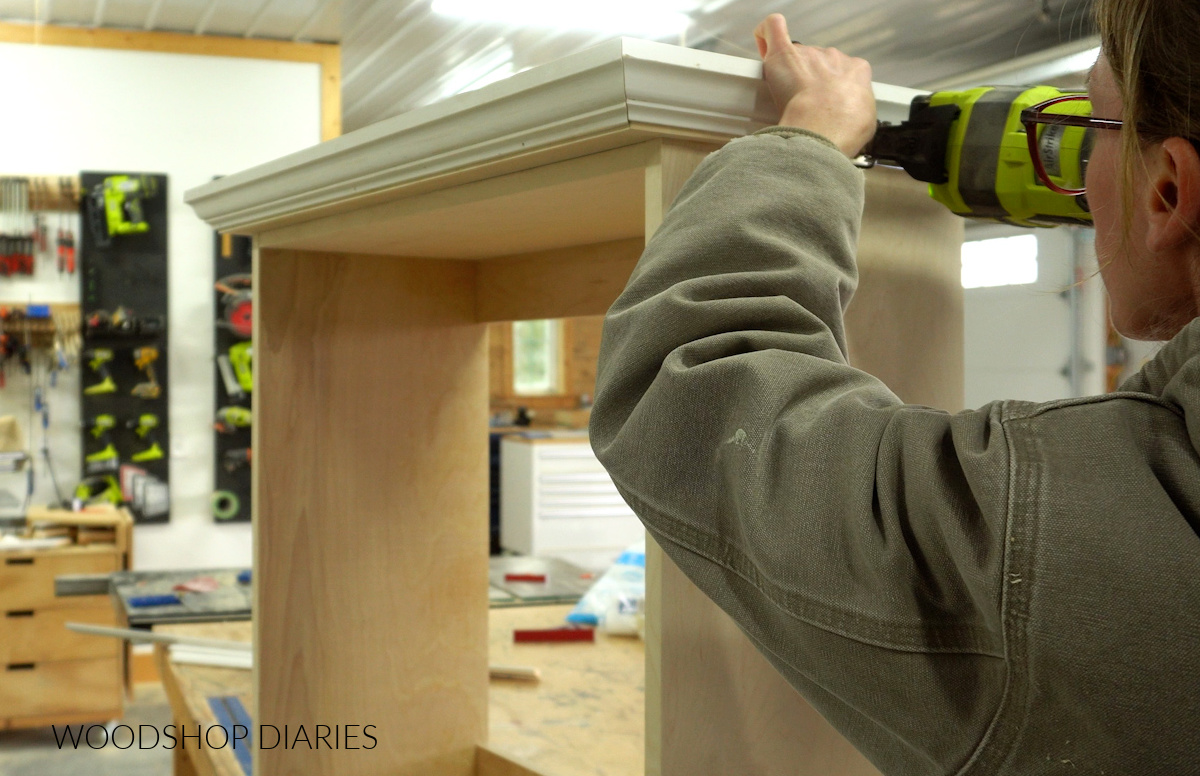
Learn how to cut crown molding here.
Step 3: Assemble Cabinet Doors
Next, I assembled two doors for the cabinet. I made these so that they would overlay the cabinet box.
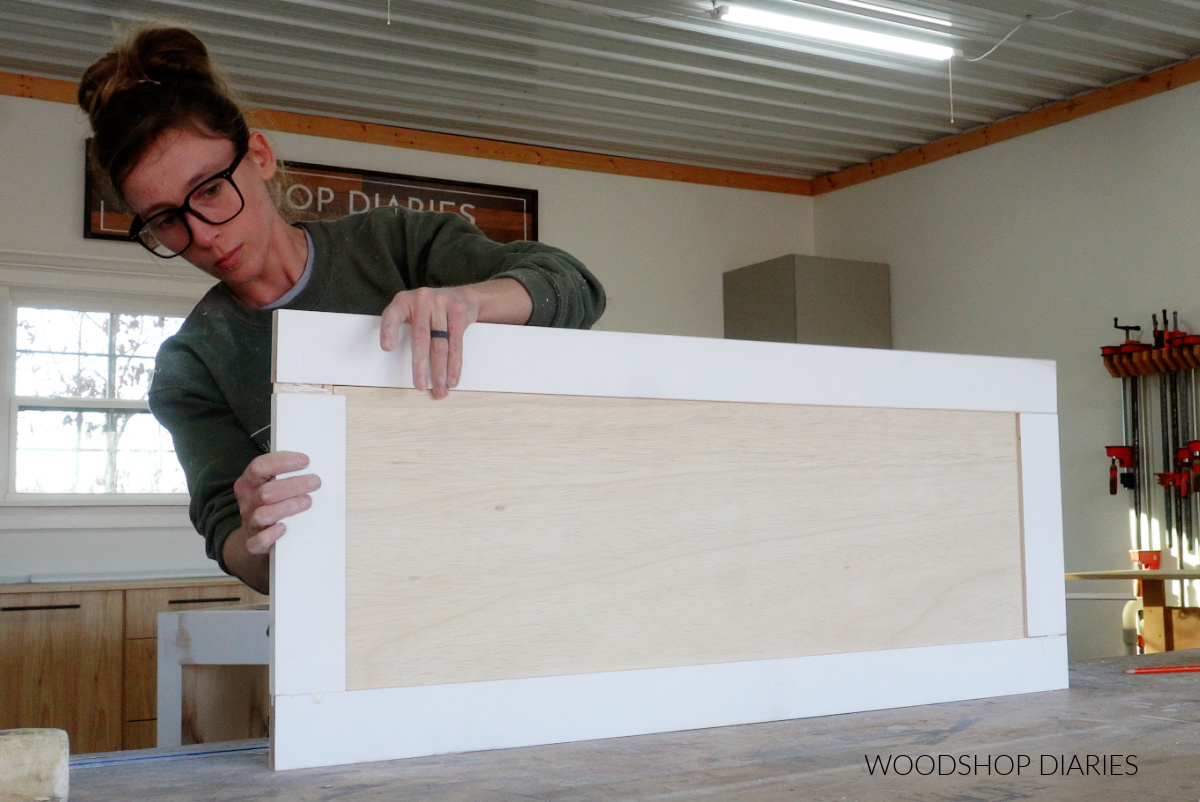
Learn about how to size cabinet doors in this post.
There are hundreds of ways to make a cabinet door depending on your style, skillset, and what tools you’re working with.
This post shows 7 ways to build a cabinet door, so feel free to pick the method (or use your own!) that works best for you.
Step 4: Finish Cabinet as Desired
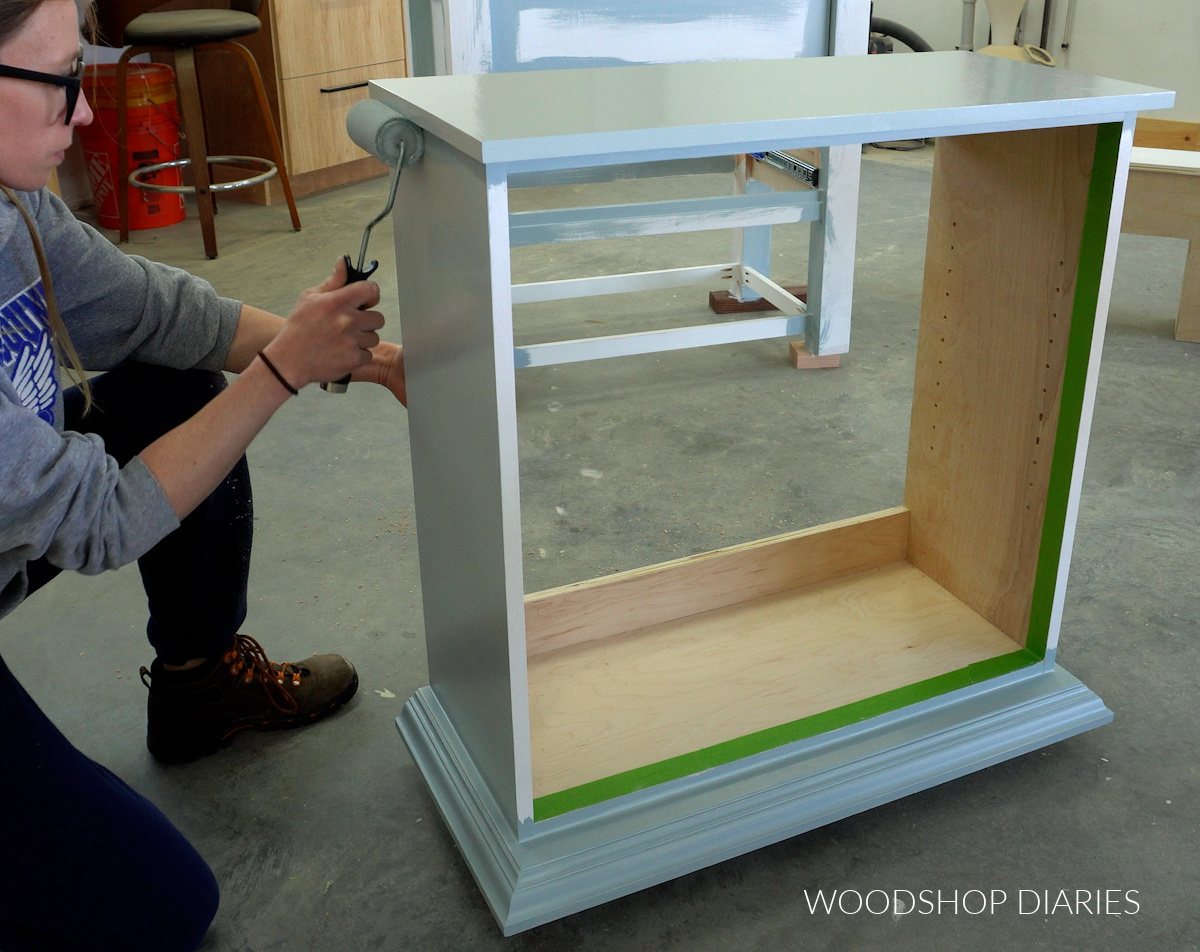
Before attaching the doors, I recommend finishing the cabinet and doors separately.
So, at this point, I painted the cabinet and doors with SW Stardew (the same color as my laundry room cabinets).
Learn how to paint furniture and cabinets here.
I didn’t paint the inside of the cabinet, but you could if you’d like. For some reason, I just always really love the look of wood in the inside of my cabinets, so I rarely paint them.
Step 5: Add Shelves and Attach Doors
I used a shelf pin jig to drill shelf pins along the insides of the cabinet sides to be able to install adjustable shelves.
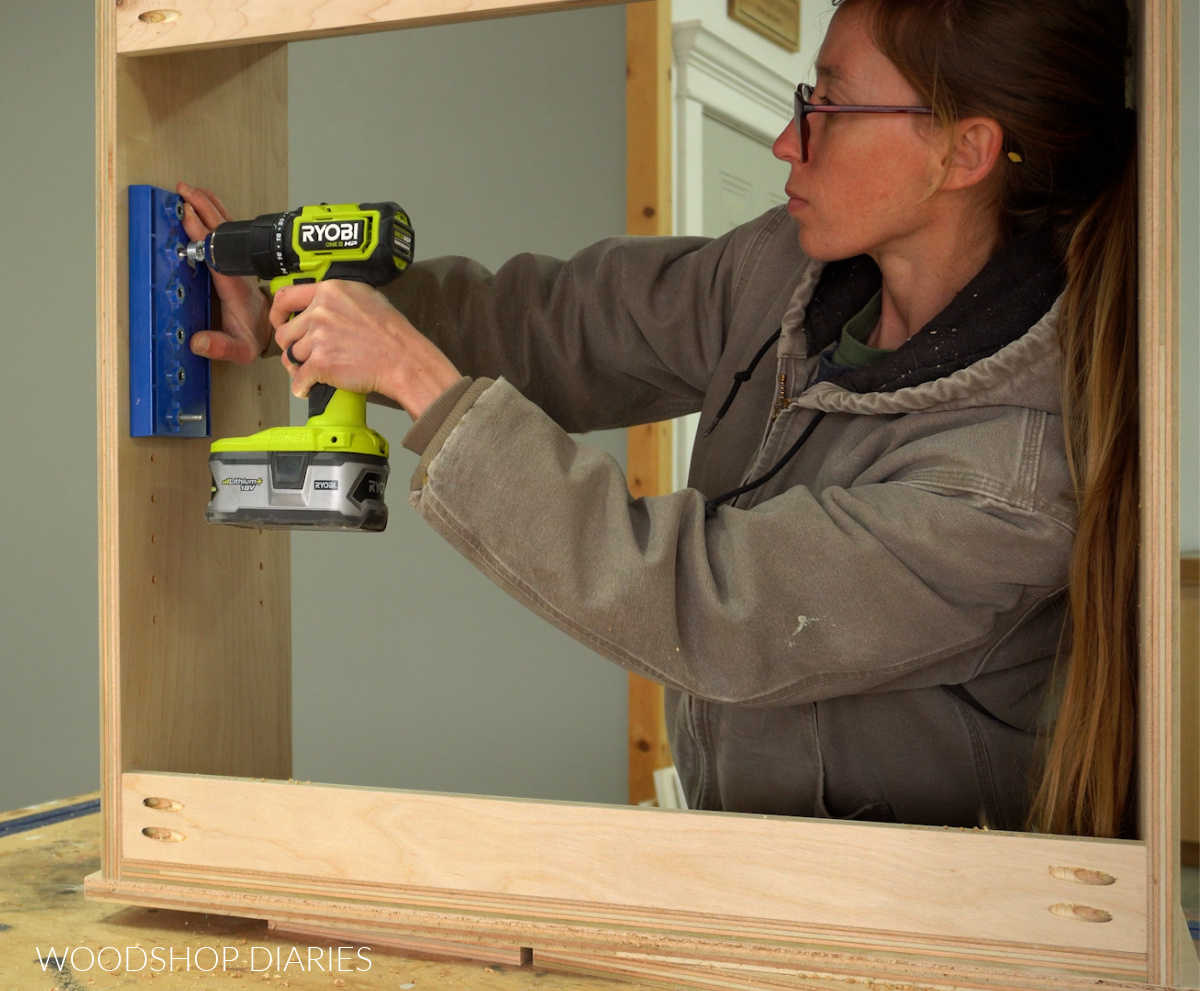
Learn how to use a shelf pin jig here.
At this point, you could go ahead and hang the cabinet on the wall before putting the shelves in and adding the doors.
Or, you can go ahead and install the doors, then hang the cabinet. It’s up to you!
I installed concealed hinges for frameless overlay doors onto my two cabinet doors, then installed these onto the cabinet.
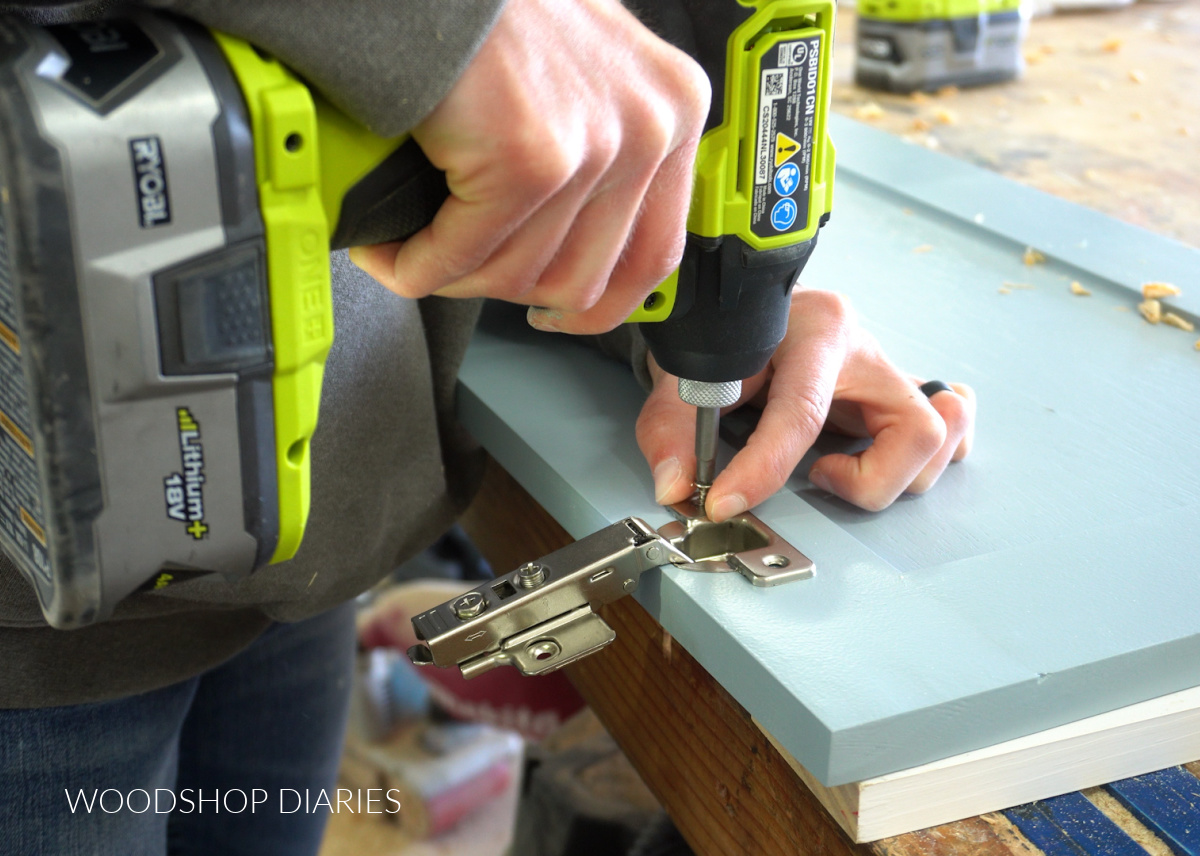
Learn how to install concealed hinges here.
Step 6: Hang Bathroom Wall Cabinet
And now this cabinet is ready to hang! I used 2 ½″ wood screws through the back supports and into the wall studs to hang the cabinet.
I made sure to hit AT LEAST two wall studs and secured through BOTH the top and bottom supports (4 screws total).
Adjust doors as needed to ensure proper alignment once hung and use shelf pins to place shelves where desired inside the cabinet.
And with that, this cabinet is ready for storage! It’s such a simple, practical, but cute storage solution for small spaces like a powder room or bathroom, laundry room, or even in a garage.
If you’d like to build one (or a few!) of your own, don’t forget to grab the printable building plans here!
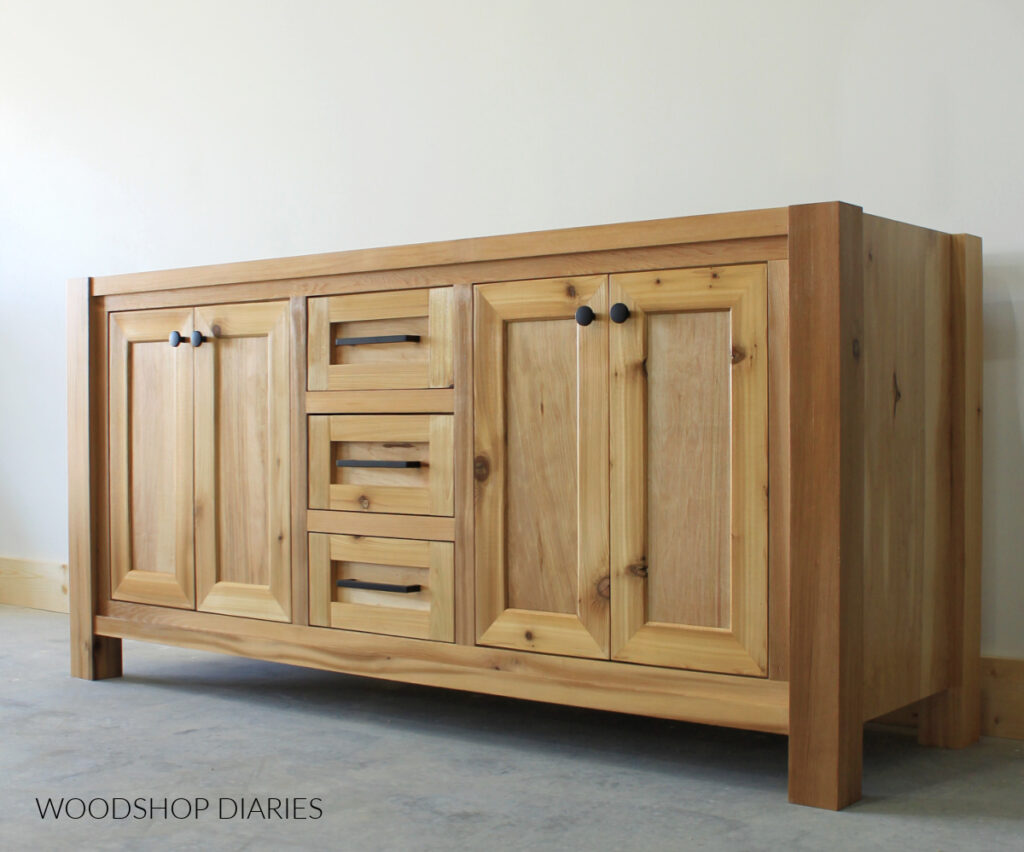
Looking for more bathroom storage ideas?
Looking for more storage ideas for the bathroom? Here are a few fun ideas you might like to check out!
If you enjoyed this post and want to save it for later, be sure to pin it or share to your favorite social channel!
Until next time, friends, happy building!