In this post, I’ll show you how to easily cut crown molding with a miter saw.
This is a useful skill to learn that you can apply to many future projects!
.
Before we dive into cutting, let’s discuss what crown molding is for a minute and how it’s typically shaped.
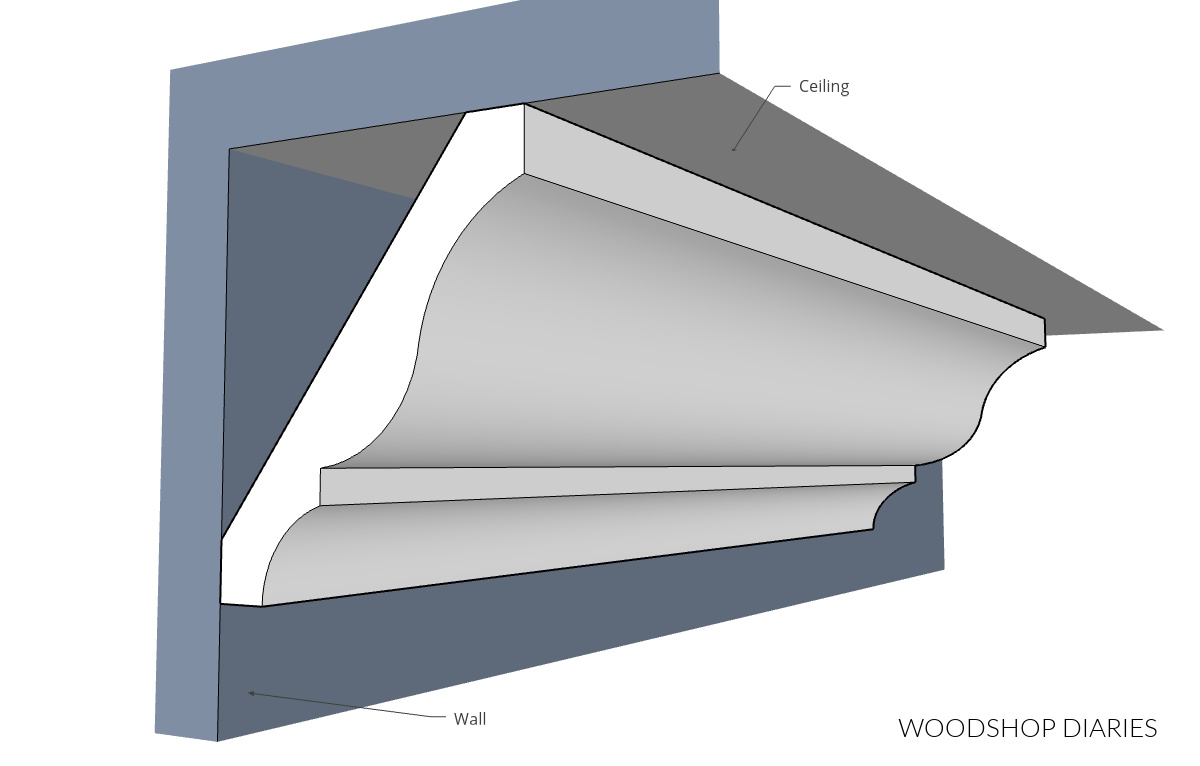
The Anatomy of Crown Molding
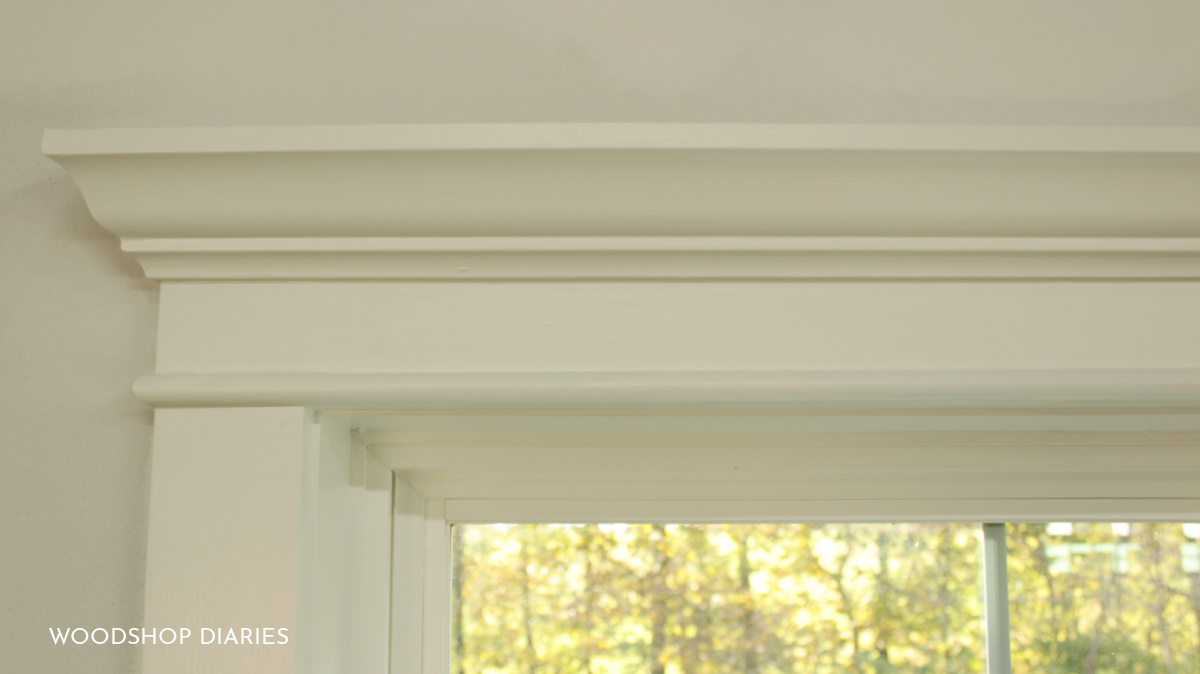
Crown molding comes in many sizes and styles. You’ll notice, though, that most types have these features–a flat surface at the top, a flat surface at the bottom back, and the “corner” section is hollow when installed.

You may occasionally run into “solid” crown molding options where the corner section is solid, but it’s not as common.
.
Note that the bottom, in many cases, has a flat surface area that’s larger than the top. You’re typically nailing through the bottom, so the larger surface area allows for more room to nail and a more secure hold.
.
Also, the flat top and flat back sections are 90 degrees to each other so these should fit square into a corner–like the corner where a wall meets a ceiling.
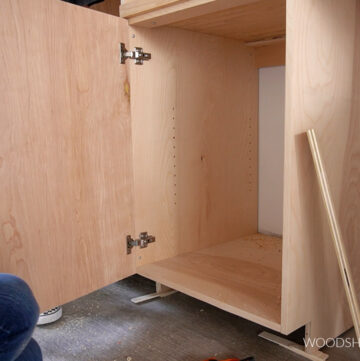
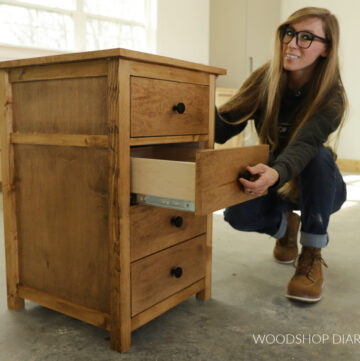
Of course, not every application using crown molding is for walls and ceilings. In many cases, I use crown molding for furniture pieces to give it some extra detail. And in this case, I used it to trim out a window.
.
Check out some furniture projects using crown molding here:

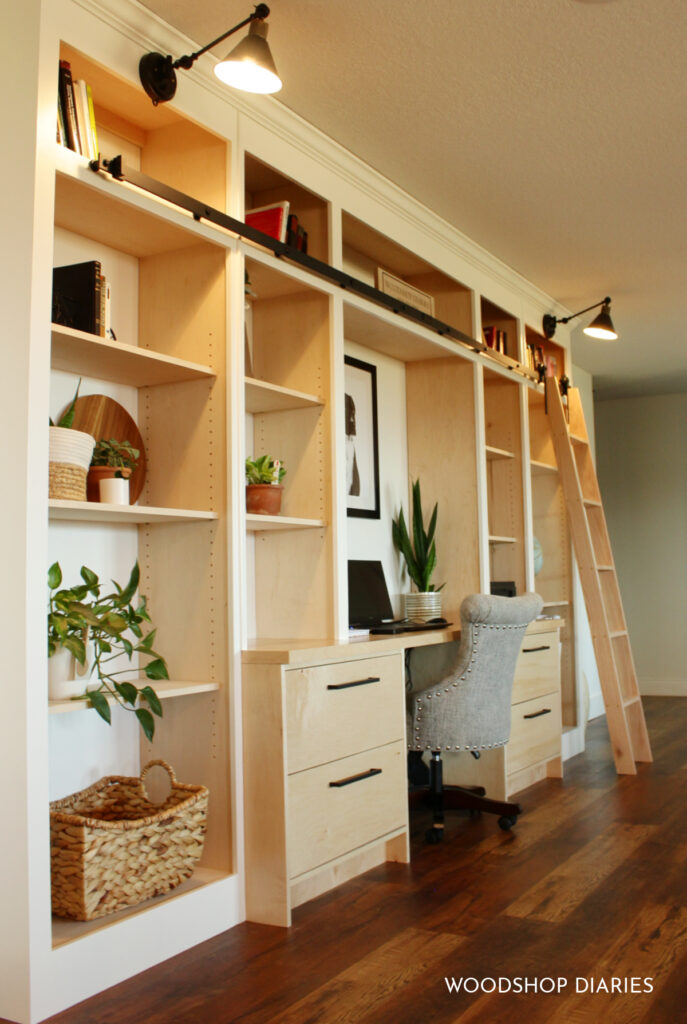
Library Bookshelf with Desk 
Small Linen Cabinet 
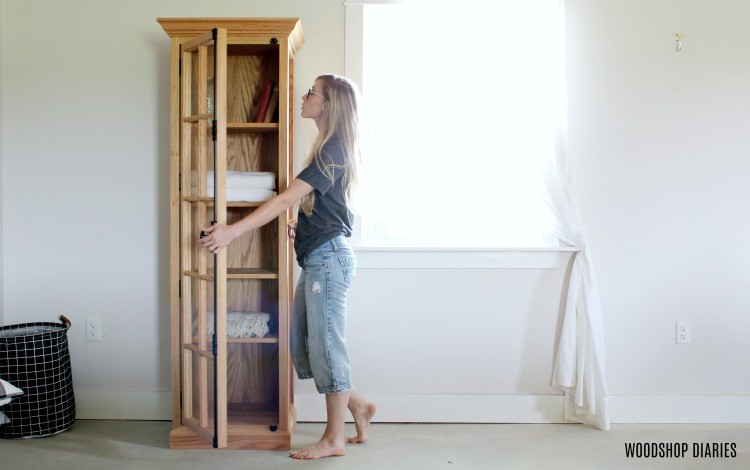
Glass Door Linen Cabinet 
Dog Crate Nightstand 
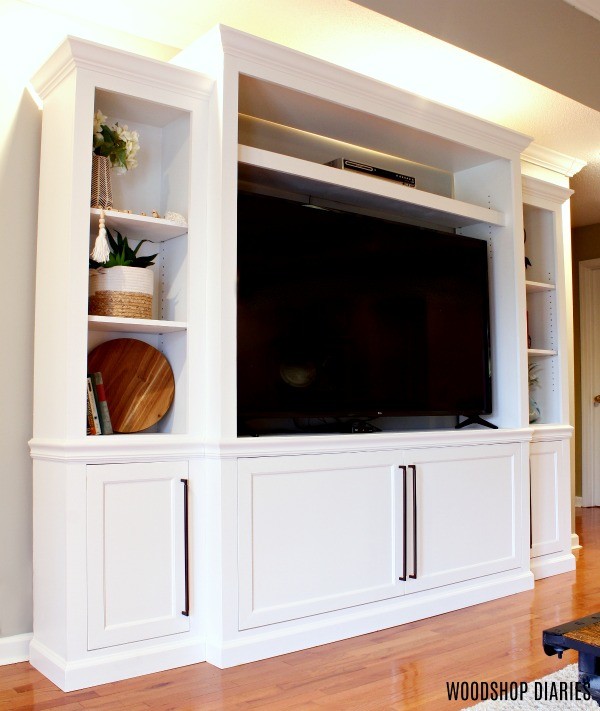
DIY Entertainment Center


.
No matter how you’re using it, the steps to cutting it are still the same. I’ll show you below.
*See website policies before starting any project.
To Cut Crown Molding, You Will Need:
- Miter Saw
- Crown Molding
- Measuring Tape
- Speed Square (helpful to double check angles on miter saw)
.
You can cut crown molding many ways, but a miter saw is a quick and easy way, so that’s what I’m sharing here.
.
Crown molding can be installed in different orientations. I’ll discuss in detail below, but first, let’s compare inside vs. outside corners.
.
RELATED: What type of nail gun should you use to install crown molding?
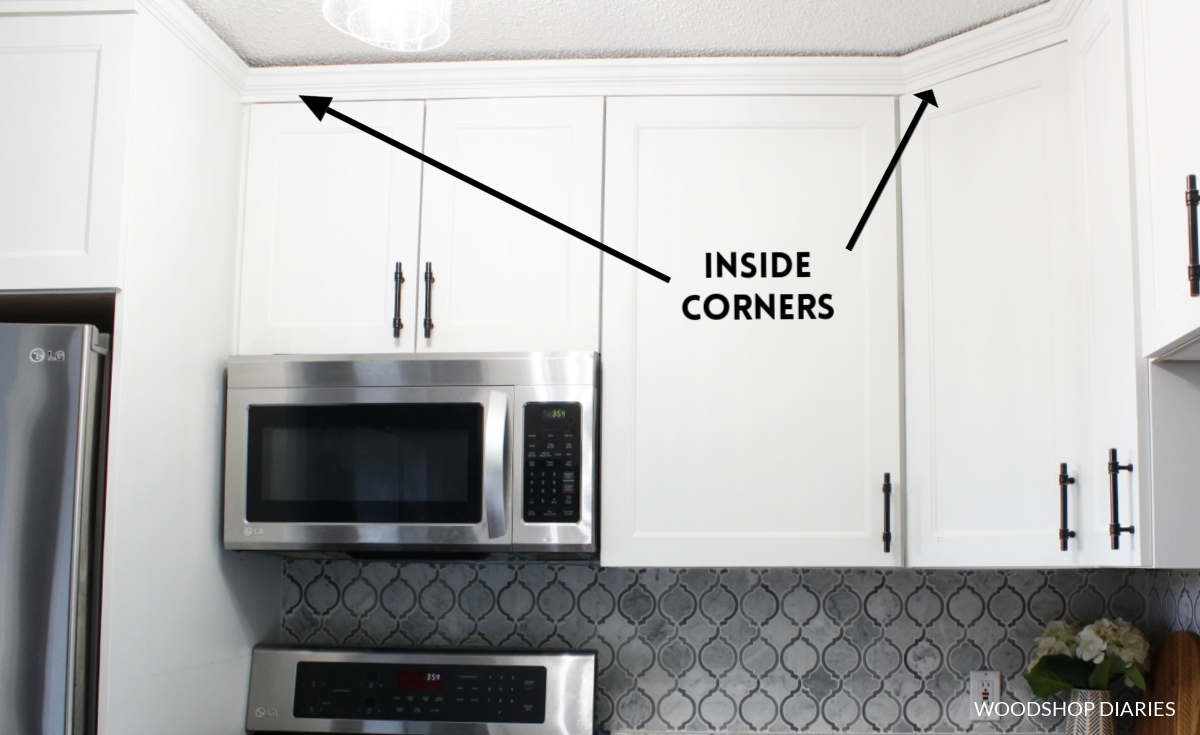
Crown Molding on Inside Corners
Inside corners are corners that meet together to form an internal angle–like the corner of a room. These are corners that don’t protrude outward, but instead, kind of form an “enclosed” space.
.
The key thing to remember when cutting crown molding for INSIDE CORNERS is that the bottom is longer than the top.
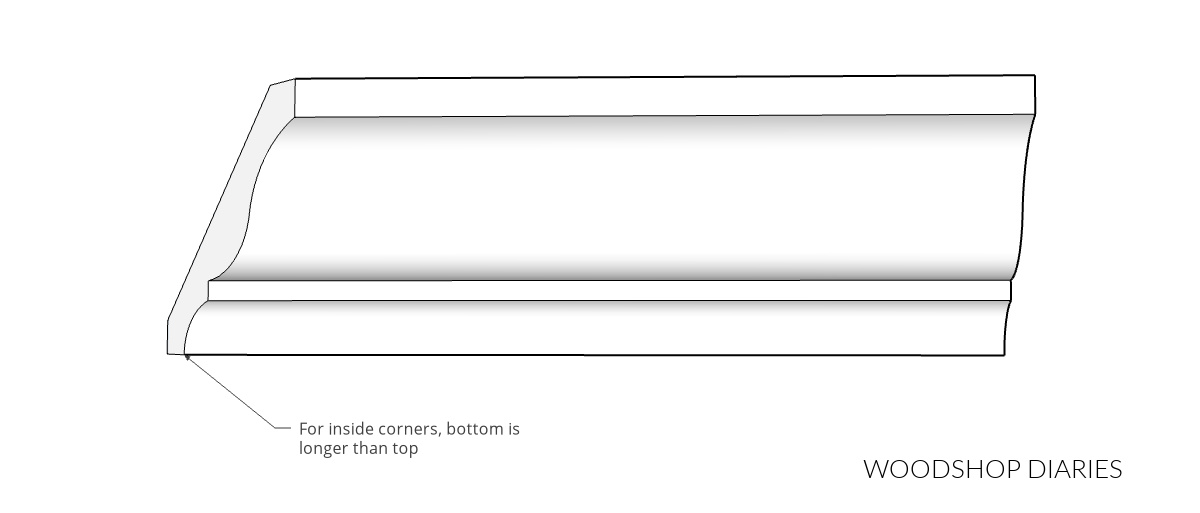
Below is a real life example. Notice that on the inside corners, the bottom of the crown protrudes further into the corner than the top, making it longer.
In this example, the corner on the right is a 45 degree corner and the corner on the left is a 90 degree corner. I’ll discuss that more below.
Crown Molding on Outside Corners
Outside corners are corners that meet together to form an exterior angle–one that protrudes outward into a space. An example of an outside corner would be the corner of a bookshelf that sticks out into a room.
.
The key thing to remember when cutting crown molding for OUTSIDE CORNERS is that the top is longer than the bottom.
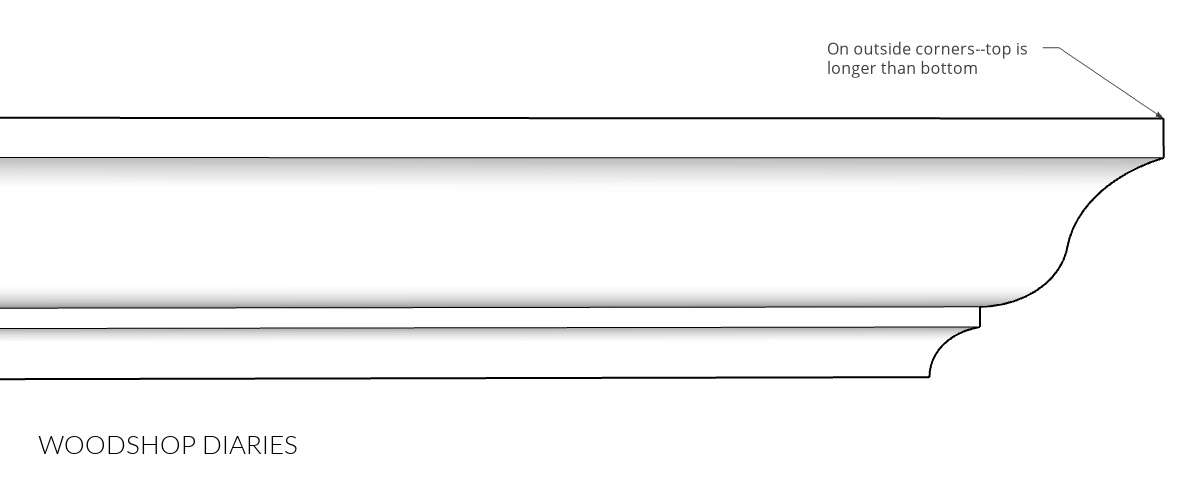
Below are some real life examples. Notice that on the outside corners, the top of the crown sticks out further than the bottom, making it longer.
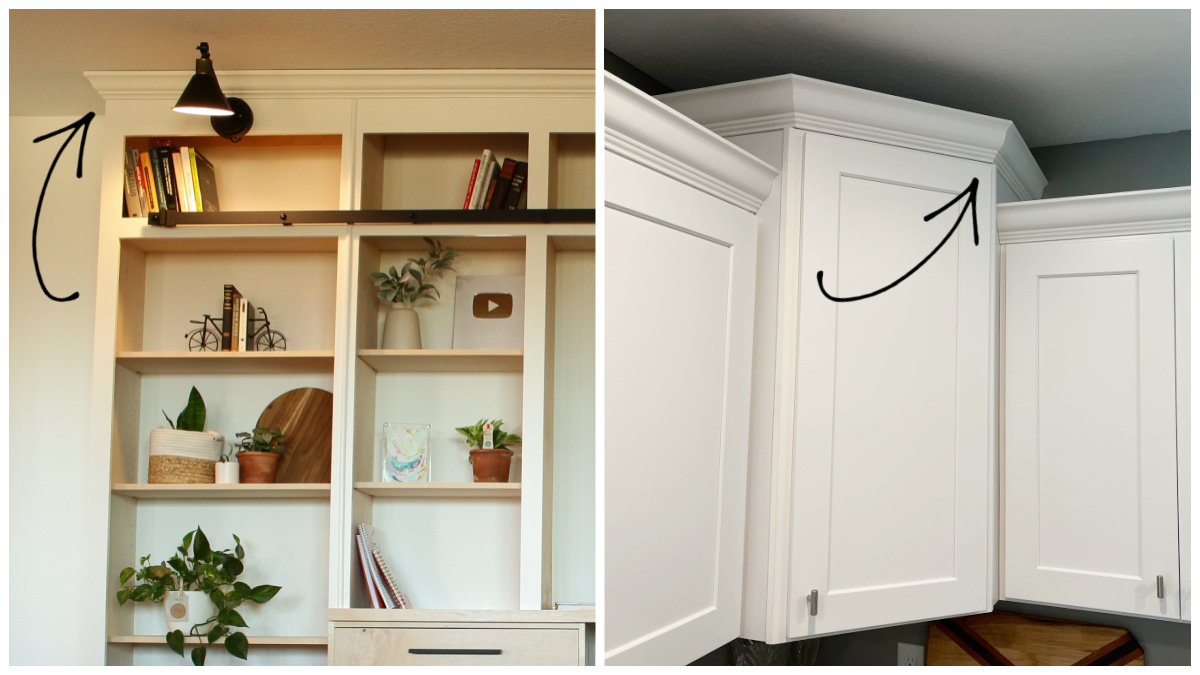
In this example, the left image shows a basic 90 degree outside corner and the right image shows a 45 degree outside corner. I’ll discuss both of these more below.
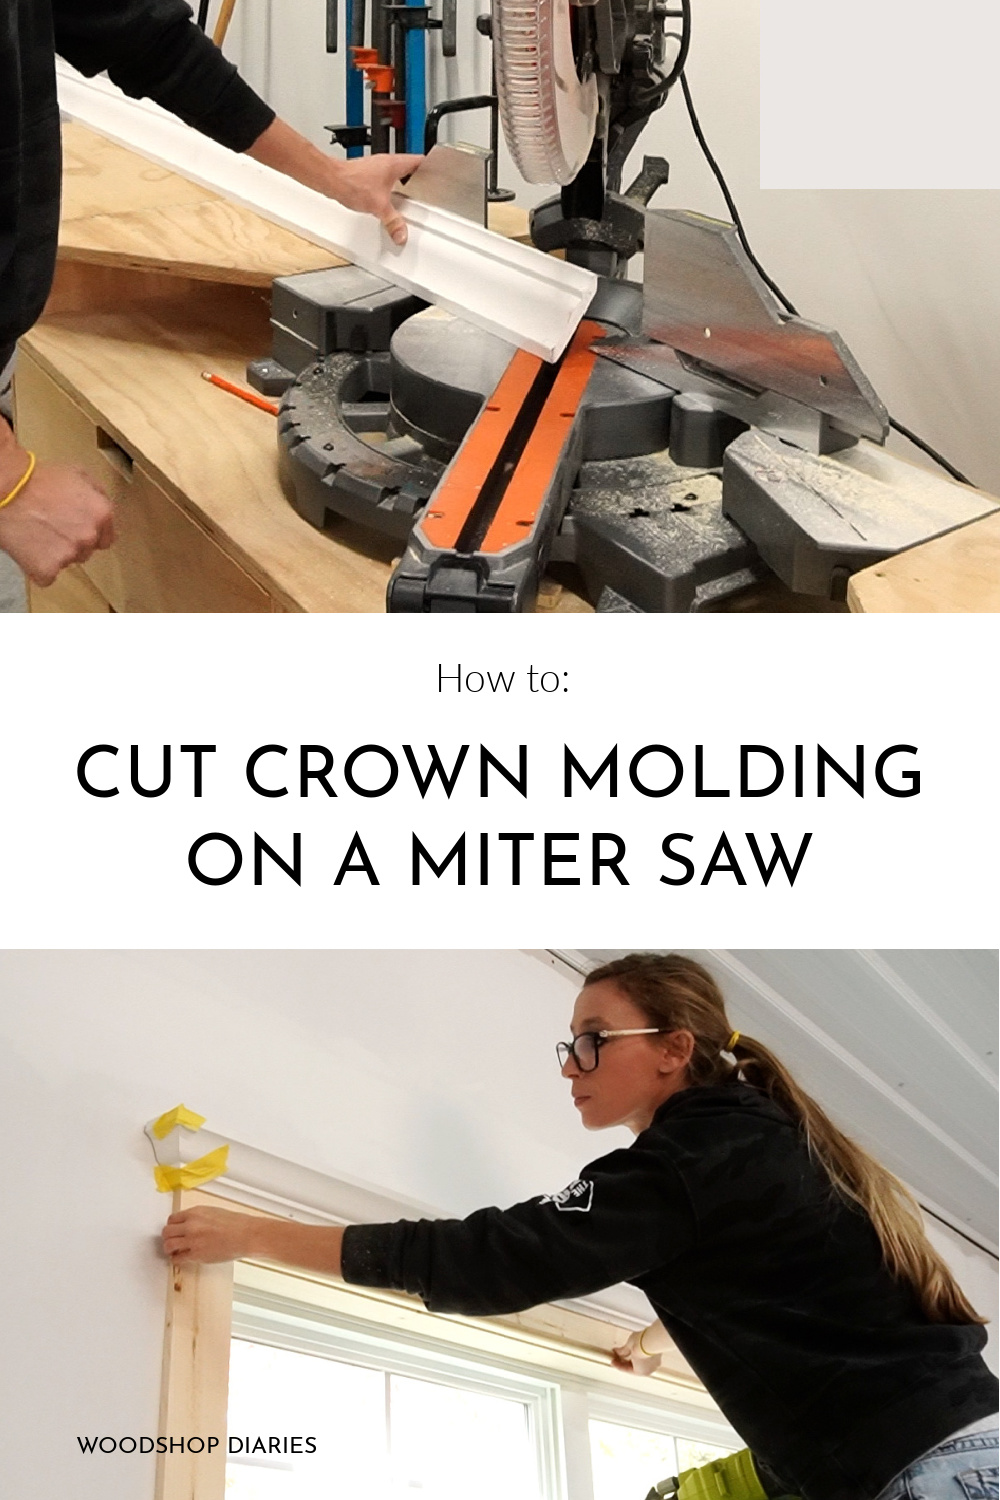
How to Place Crown Molding in the Miter Saw
When using a miter saw to cut crown molding–whether you’re cutting an inside or outside corner, you want to place it into the saw UPSIDE DOWN.
.
Place the flat section of the bottom against the vertical saw fence and the flat top section flat on the saw base.
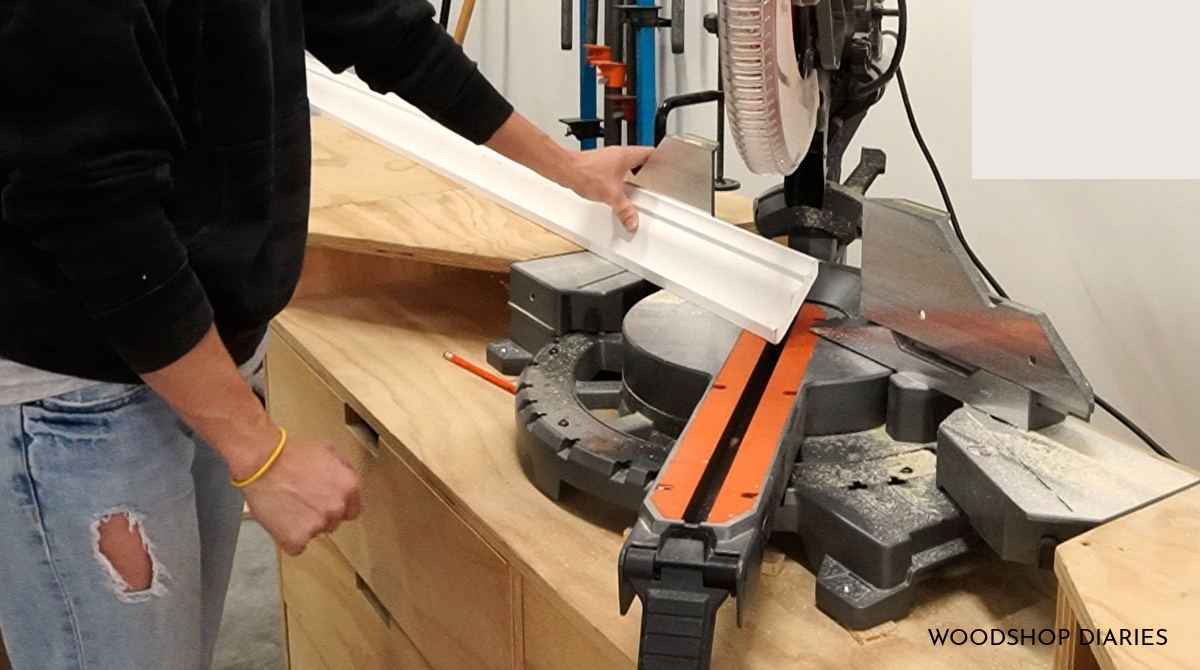
It’s very important to make sure the molding is set into the saw nice and square. Make sure the flat sections at the top and bottom are FLAT against the back fence and the saw base.
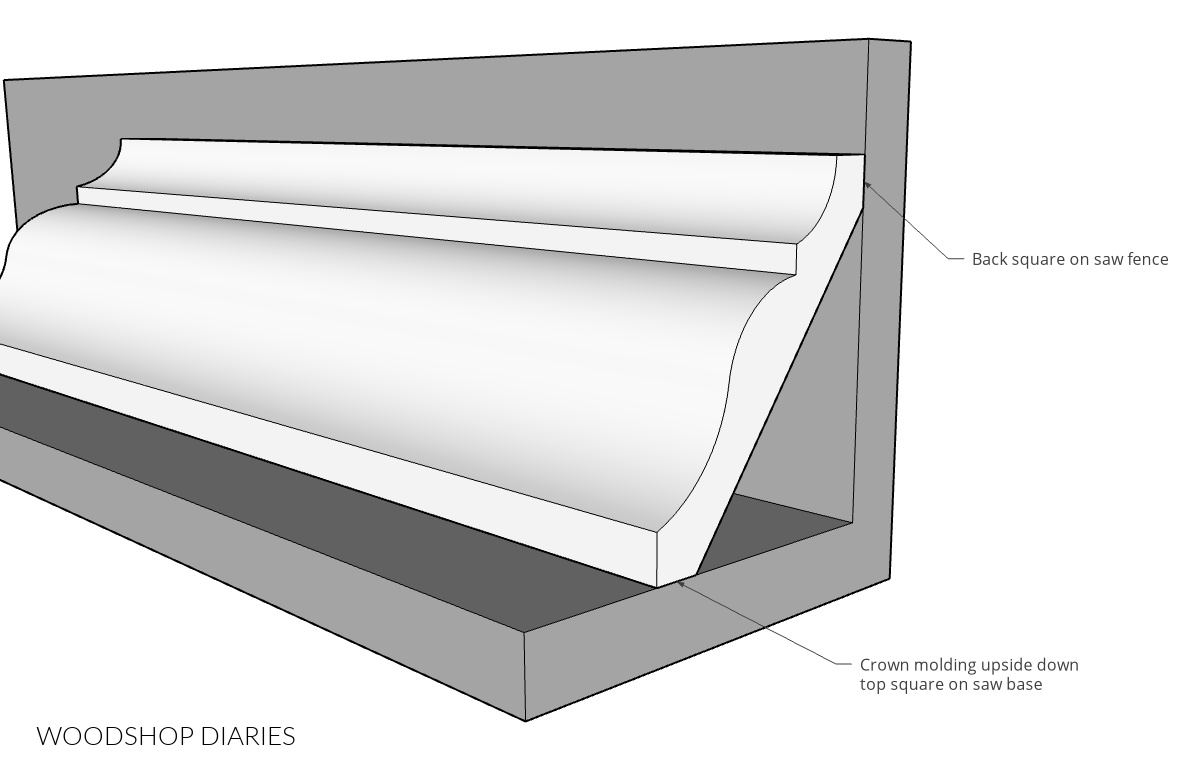
When you make your cuts, make sure to hold this position firmly to avoid the piece shifting.
.
HELPFUL TIP: If you notice that the ends on your cuts aren’t lining up very well, it’s likely that the piece wasn’t sitting square in the saw.
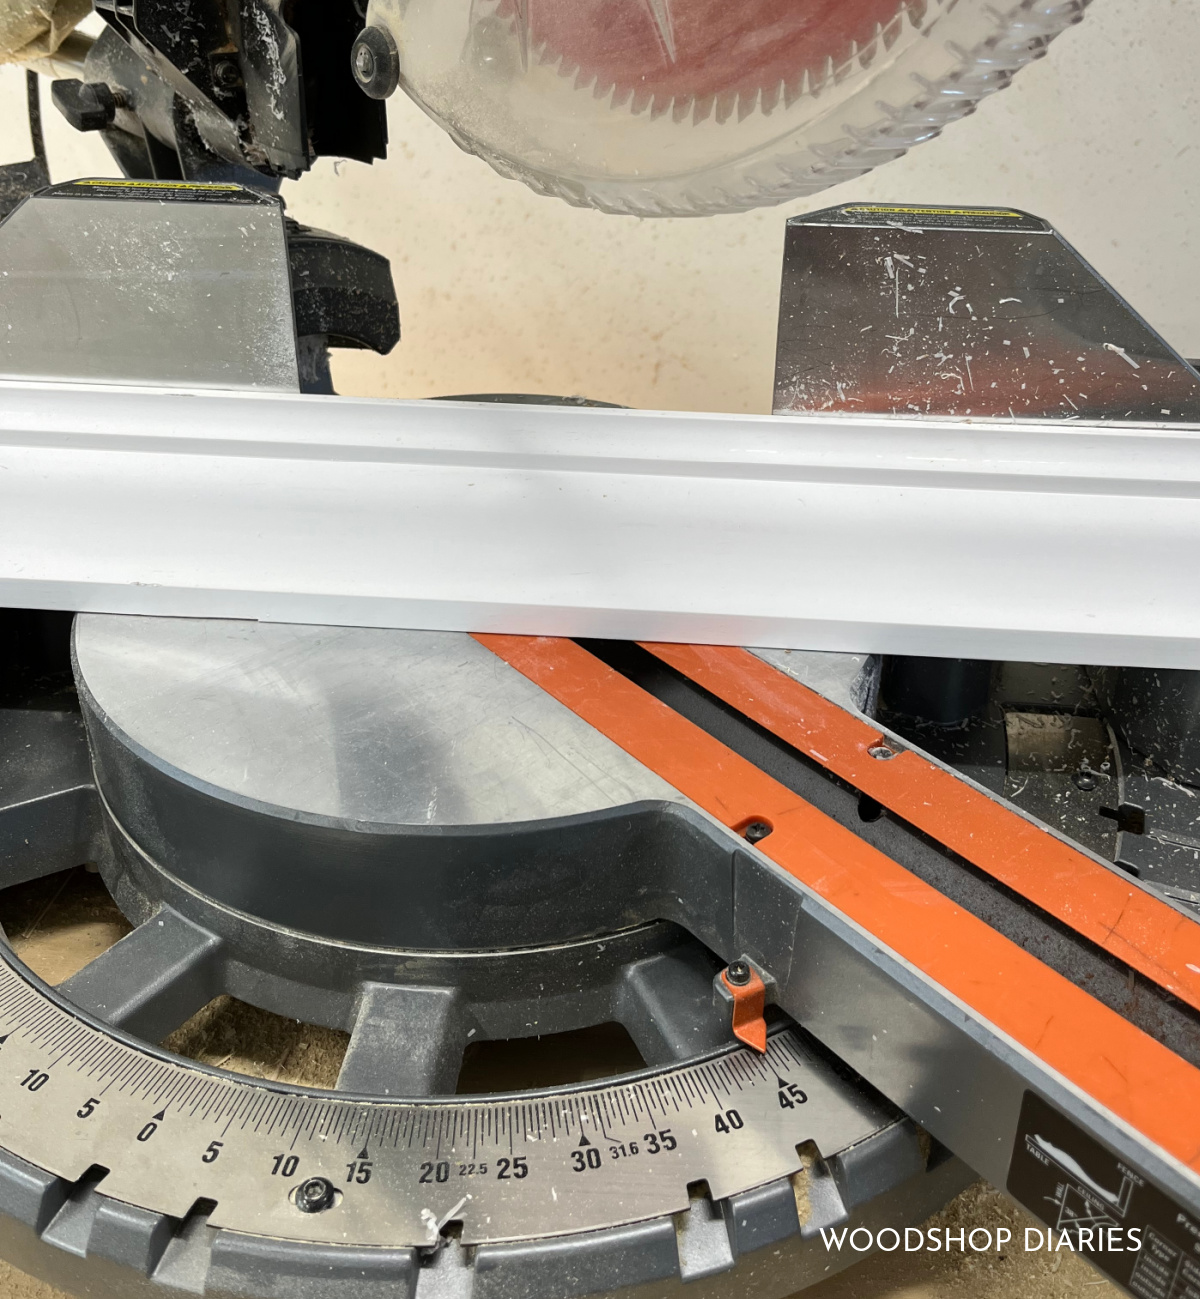
Cutting Crown for 90 Degree Corners
To make cuts for a 90 degree corner, adjust your miter saw’s MITER ANGLE to 45 degrees. Use a speed square to double check that the 45 degree miter saw setting IS ACTUALLY 45 degrees.
.
NOTE: Keep your miter saw’s BEVEL ANGLE set to 0. You only need to adjust the MITER angle here.
.
Depending on which side of the corner you are cutting and whether it’s an inside or outside corner, you may have to miter to the right or to the left. This is where you have to pay close attention.
.
Remember that for inside corners, the bottom is longer than the top and for outside corners, the top is longer then the bottom. So, place your piece in the saw upside down and turn the miter angle based on what you need.
.
If you’re cutting the left side of an outside corner (shown in diagram below) or the right side of an inside corner, you’ll turn 45 degrees to the left.

If you’re cutting the right side of an outside corner or the left side of an inside corner, you’ll miter 45 degrees to the right.
For me, it’s easiest to just remember 3 things:
- Upside down
- Figure out which side (top or bottom) should be the longest in your situation
- Adjust 45 degrees that direction
A Note About Adjusting angles:
In real life situations, you may not be working with EXACT 90 degree corners as things are rarely ever exactly perfect. If it’s close, a little glue, caulk and/or putty will work to fill small cracks.
.
But if your corners are several degrees off, you can adjust each cut slightly off 45 degrees to compensate.
- For corners slightly OVER 90 degrees, adjust your cuts ½ degree less than 45 for every degree the corner is over 90.
- For corners slightly UNDER 90 degrees, adjust your cuts ½ degree more than 45 for every degree the corner is under 90.
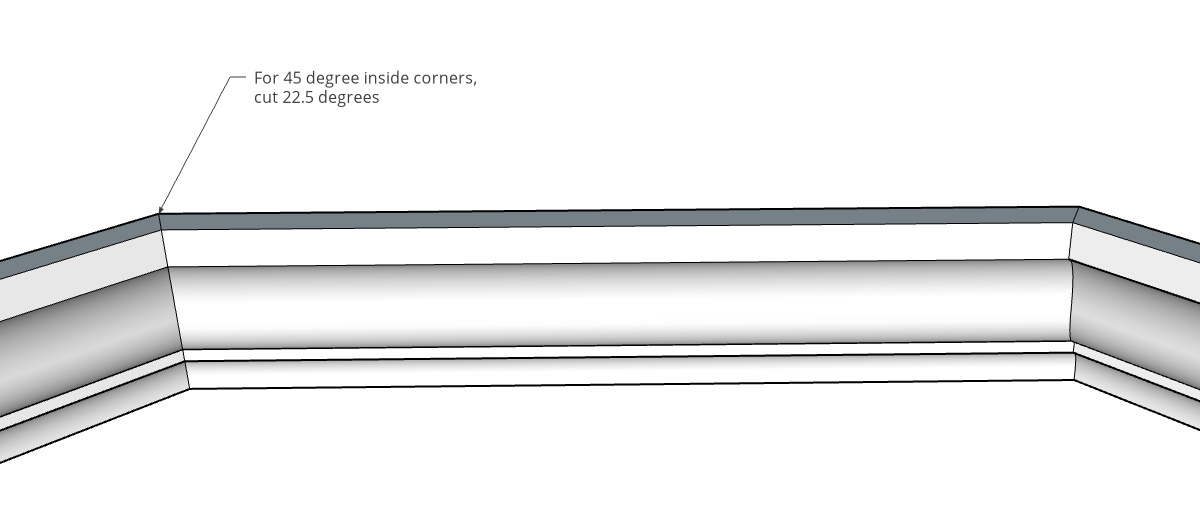
Cutting Crown for 45 Degree Corners
To make cuts for 45 degree corners, the process is exactly the same as cutting 90 degree corners, only this time, you adjust the miter angle to 22.5 degrees instead of 45.
.
Follow the same rules for inside and outside corners, just change the cut angle.
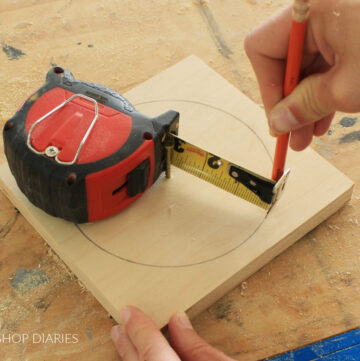
Measuring Crown Molding
Measuring crown molding–especially if it’s a long piece–can be a little challenging. Instead of actually MEASURING, many times, I find it easiest to hold the piece in place and just mark where it needs to be cut.
.
But sometimes (especially for inside corners), you can’t always hold it in place and mark it. So sometimes you do have to measure.
.
Once you measure for how long of a piece you need, keep in mind that the part that the measurement needs to be transferred to is the flat part on the back at the bottom.
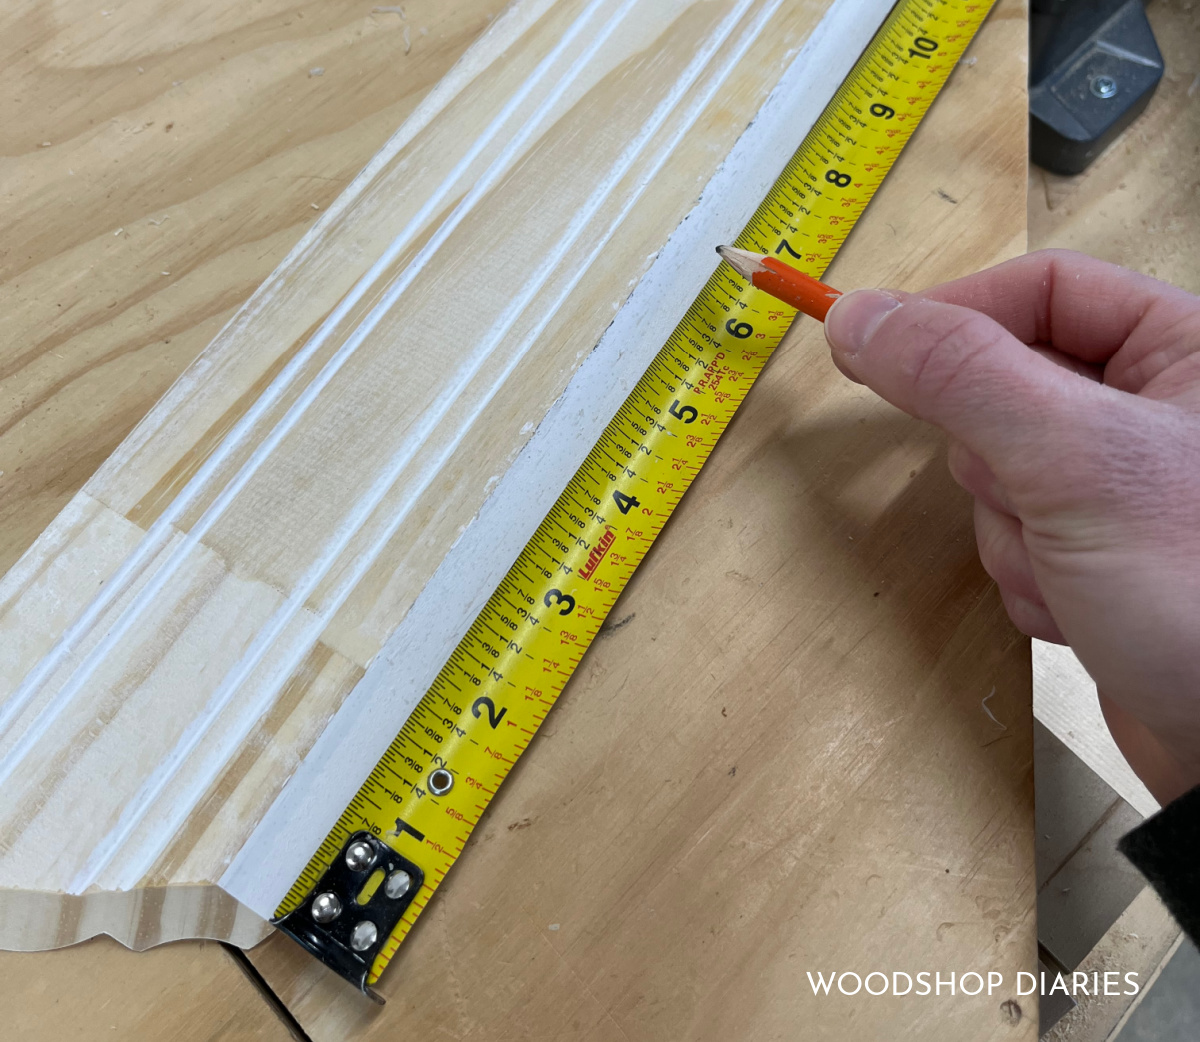
This is the part that gets secured to the wall/piece of furniture so it’s the part that needs to fit where you measured (assuming you measured the wall/piece of furniture).
.
Once I make my mark, or my measurement, I like to trim it a little long (about ⅛″ to ¼″), then cut a little off (half a blade width) at a time and test it until I get a perfect fit. When I say “cut to fit,” that’s what I mean. I literally cut it until it fits haha.
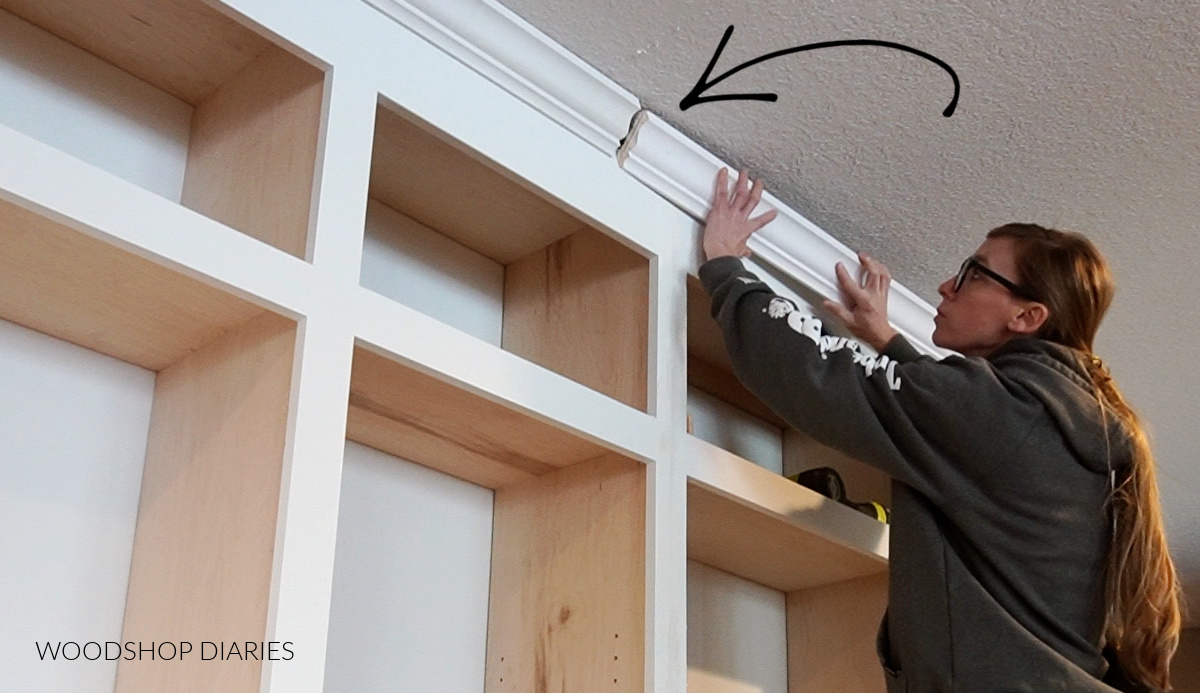
Splicing Long Pieces of Crown Molding
The great thing about moldings is that they are usually fairly easy to splice together if you have a really long piece, or you’re trying to use up some shorter pieces you don’t want to waste.
.
To splice pieces of crown together, you simply cut the end of one piece with a 45 degree bevel and the end of the adjacent piece with a 45 degree bevel the other way so that one overlaps the other.
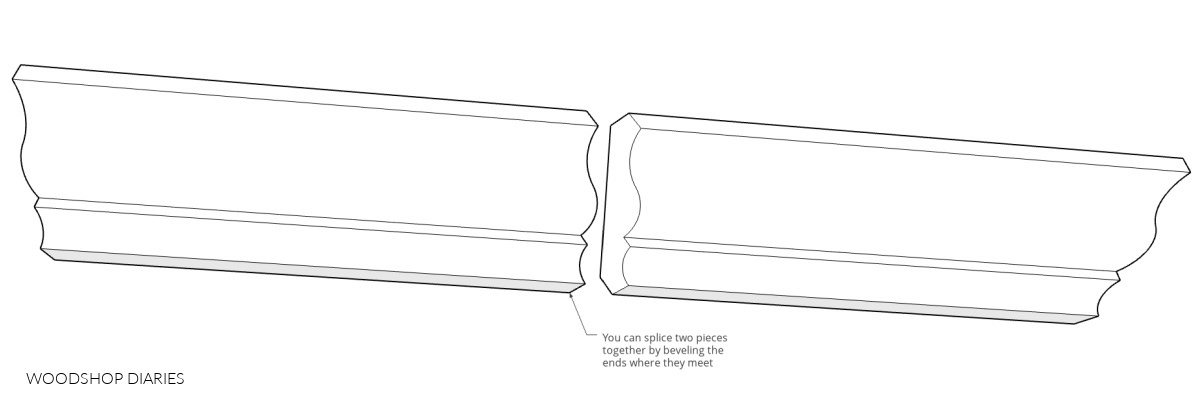
To cut this bevel, place the large, flat “corner” section of the back of the crown molding flat up against the back fence of the miter saw, and cut with a miter angle of 45 degrees.
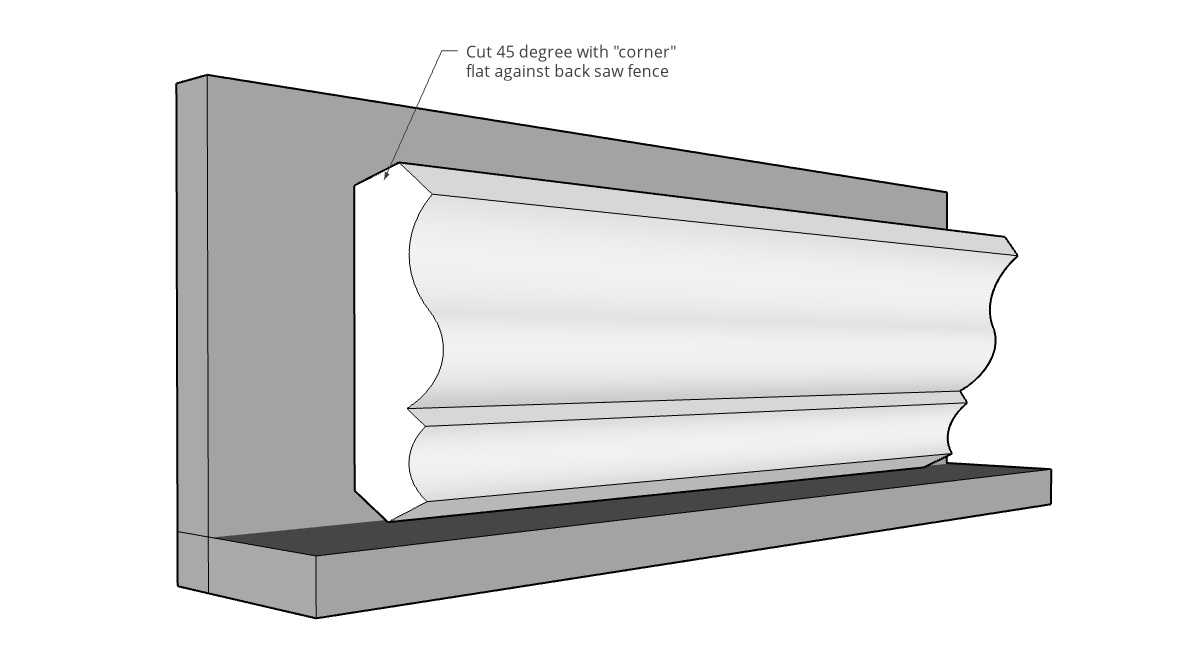
To splice together, apply a little glue to the joint, nail in place, and putty over the seam once dry.
Now you know how to measure, cut, splice crown molding for your next furniture or home improvement project!
.
Check out this post to learn which type of nail gun is best to use when installing crown molding.
.
And if you’re looking for some projects to practice on, here are a few favorites:
I hope you found this helpful and if you’d like to see more woodworking basics, head over to the Getting Started Page!
.
To stay up to date on the latest projects, plans, and DIY tips, be sure to sign up for the FREE Woodshop Diaries newsletter:
Don’t forget to pin this or share to your favorite social channel to save it for later!
Until next time, friends, happy building! 🙂