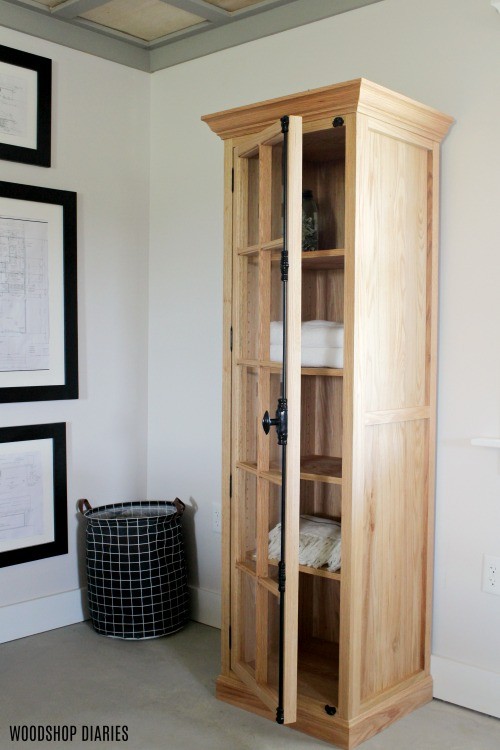
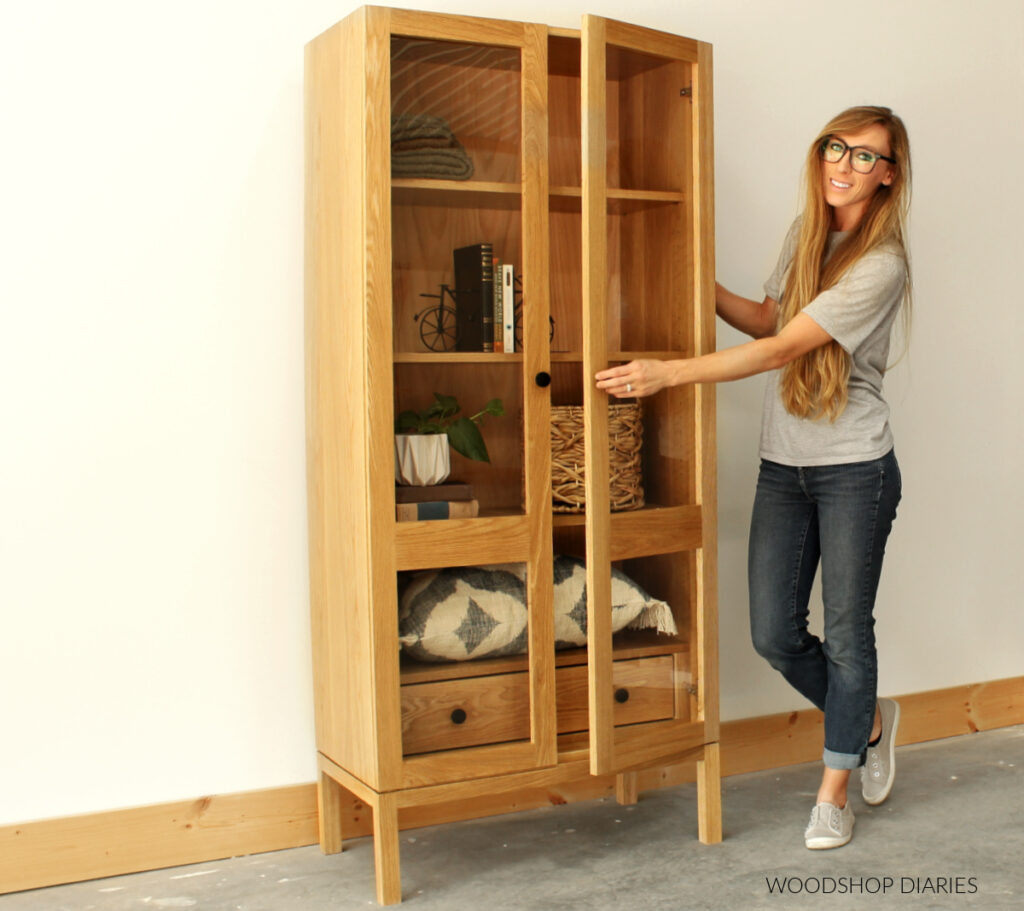
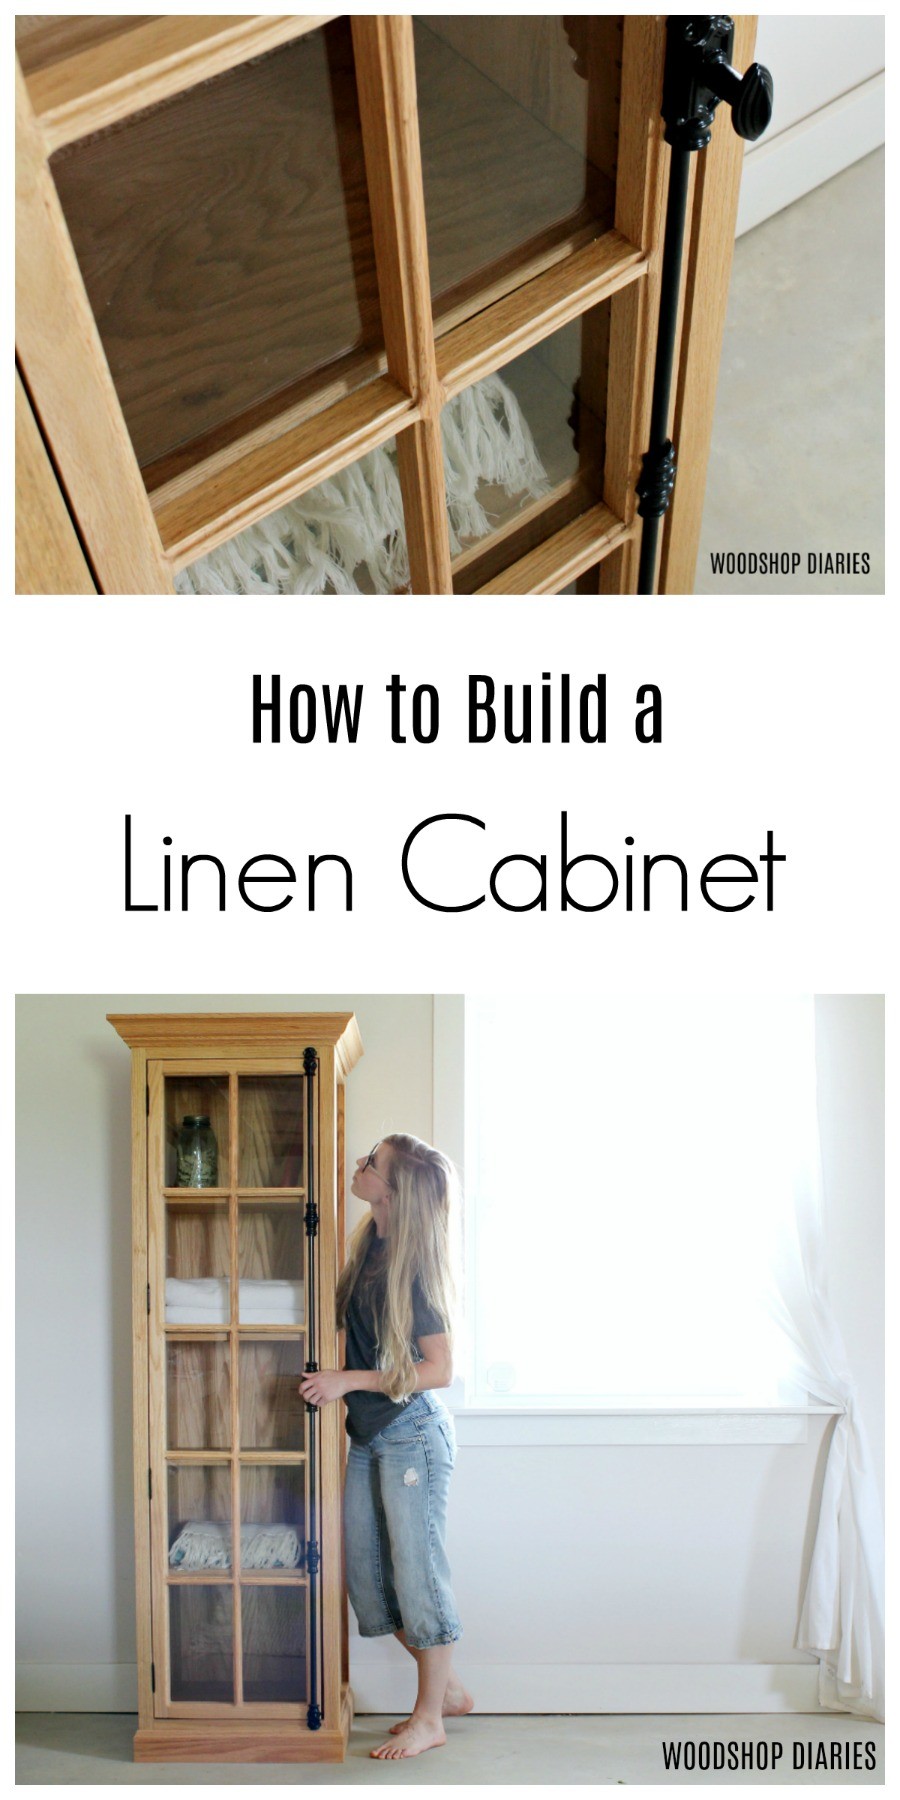
In this post, I’m sharing how to build a beautiful tall DIY linen cabinet.
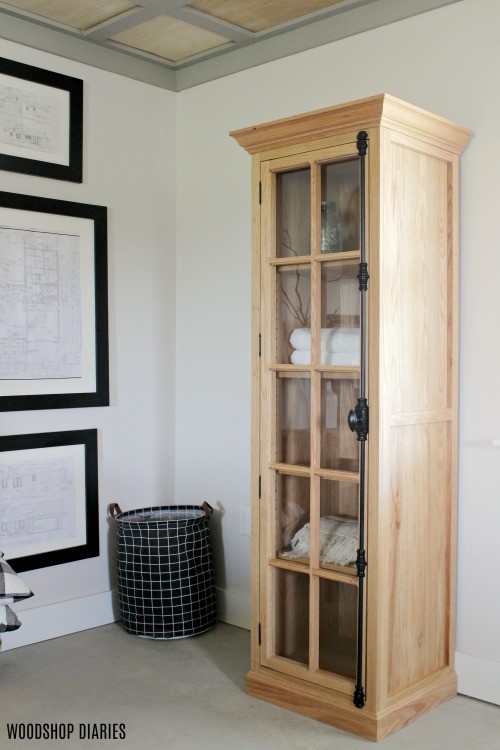
This simple cabinet packs a ton of style with the cremone bolt, the subtle trim details, and the glass door.
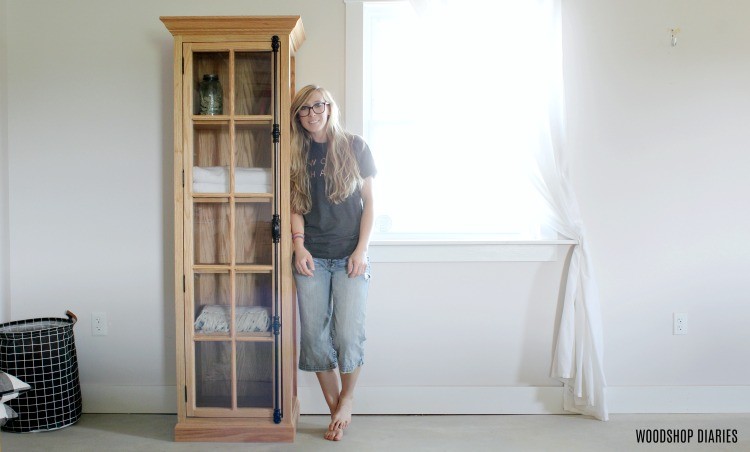
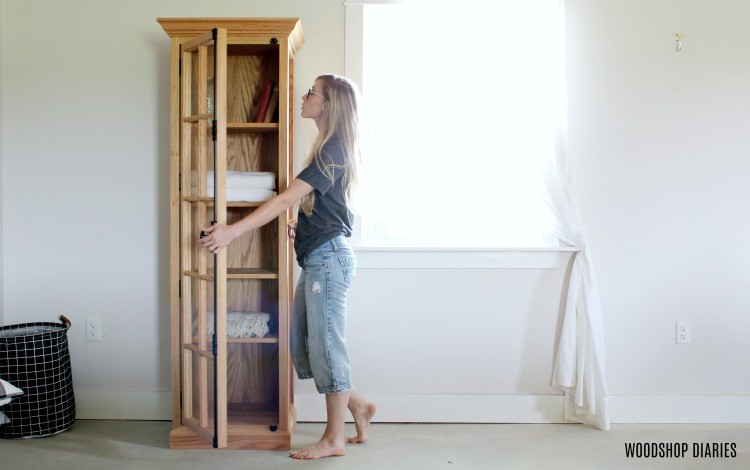
I built this cabinet to go in my bathroom to store away towels, toiletries, and such. But the great thing about this project is that it’s super versatile.
It could work as a display cabinet in a living room or office for keepsakes or awards. It could also work well in a bedroom for extra bedding, blankets, or even clothes.
*This post was originally published July 2019, but has been updated July 2025.
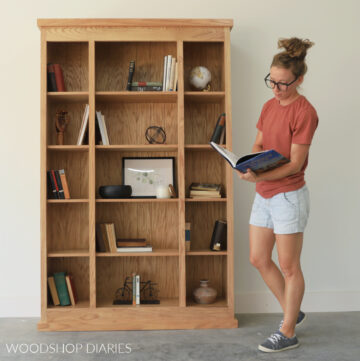
You could even build it without the door to use it as a simple, classic bookshelf. However you plan to use it, it’s a great DIY woodworking project to tackle and I’m sharing how to build it below.
*This post contains affiliate links. See website policies.
What to consider before building
I built this original cabinet almost exclusively from solid red oak boards because Weaber Lumber gifted me the lumber for this build–mostly 1×6 boards.
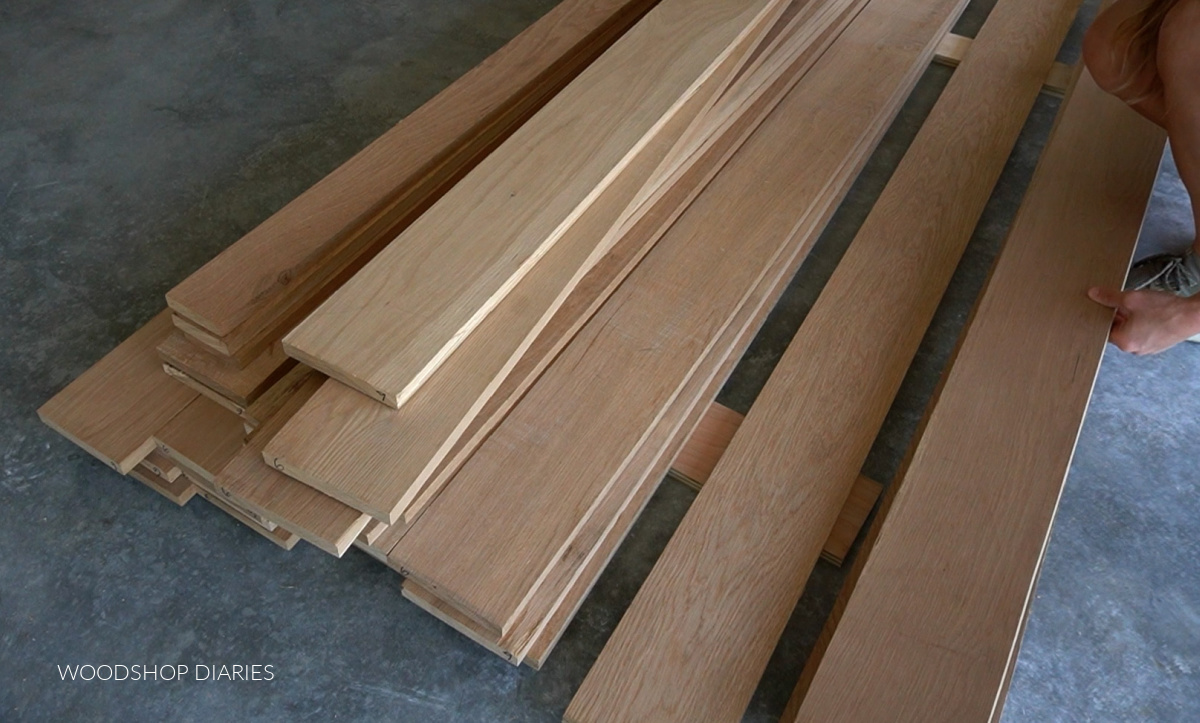
So for the sides and back, I had to glue several boards together to make the larger panels. This was challenging, time consuming, and a bit frustrating. (I really don’t enjoy glue ups.)
That said, if I had to do this over, I would use cabinet grade plywood for the entire cabinet body instead of gluing up solid wood panels. So that’s what I’m sharing in the plans below.
If you’d prefer to glue up solid wood panels like I did originally, you totally can. Plywood is just cheaper and faster and will look just as good (if you get cabinet grade plywood).
Overall dimensions
The overall dimensions of this linen cabinet with glass door is approximately 28″ wide x 75″ tall x 20 ¼″ deep.
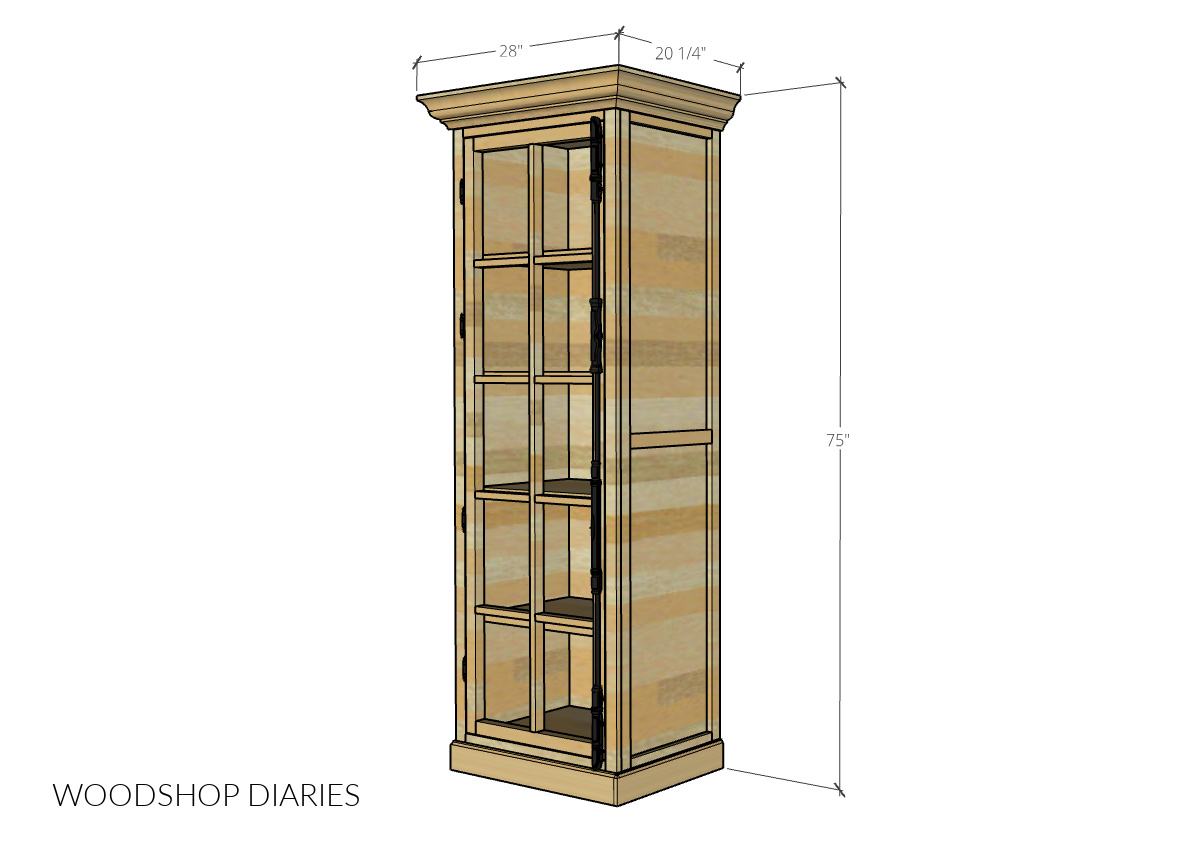
Note that those measurements include the crown molding. Depending on the size and style molding used, this could vary. Cabinet dimensions without the molding are approximately 72″ tall x 23 ½″ wide x 17 ¾″ deep.
You may find these resources helpful throughout the build:
Are DIY projects your thing? Sign up for our newsletter for priority access to the latest projects and build plans!
How to Build a Linen Cabinet with Glass Door
If you prefer to watch, I’ve shared the full build video with tons of tips, behind the scenes, and additional details on my YouTube Channel here.
Please note: This is an old video (from 2019), so don’t judge too harshly. Much has changed and improved since then.
Love watching how-to videos? Subscribe to my YouTube channel for plenty more where that came from!
Prefer to print? Grab the printable glass door linen cabinet building plans here:
Tools & Materials
Tools:
- Miter Saw
- Drill/Driver
- Circular Saw
- Dowel Jig
- Router
- Brad Nailer
Materials:
- (1) 4’x8′ sheet ¾″ plywood
- (1) 2’x8′ (half) sheet ½″ plywood
- (2) 2x2x8 boards
- (7) 1x2x8 Boards
- (1) 1x4x8 Board
- 8′ Crown Molding
- 8′ Base Board Molding (3 ¼″ tall)
- Glass, Plexiglass, OR Acrylic Panel (cut to fit)
- ⅜″ x 1 ½″ Wood Dowels
- Wood Glue
- (4) Non Mortise Butt Hinges
- Large Cremone Bolt
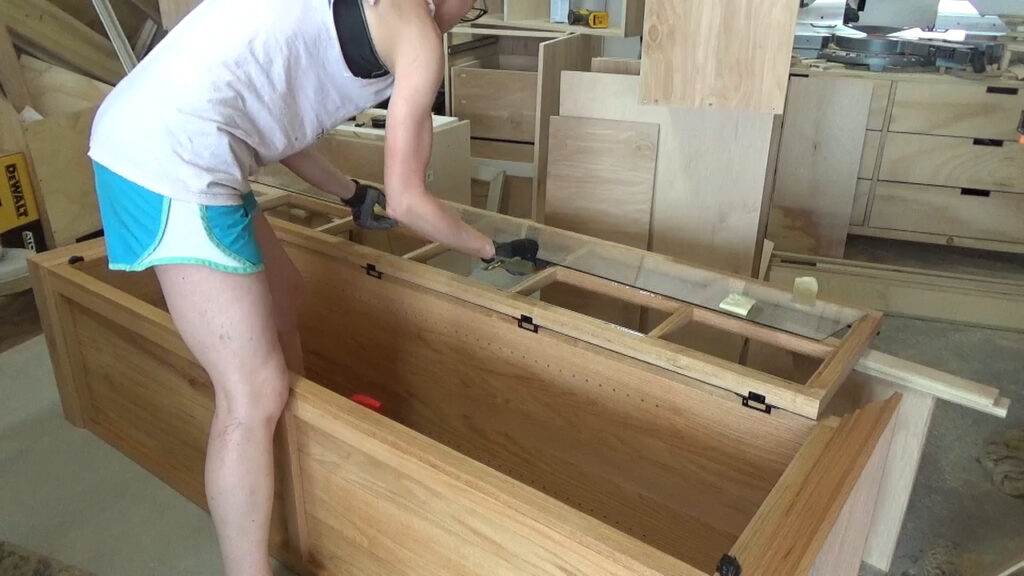
Step 1: Assemble Linen Cabinet
Originally, I built this cabinet by gluing up three 1×6 boards to make each side panel. But, to save a lot of time and trouble, if I were to do it over, I’d cut these panels, instead, from ¾″ plywood.
Gluing up panels takes a lot of time because you have to make sure everything is aligned well, then you have to wait for the glue to dry, then you have to sand down the joints and make sure you’ve removed all the glue residue.
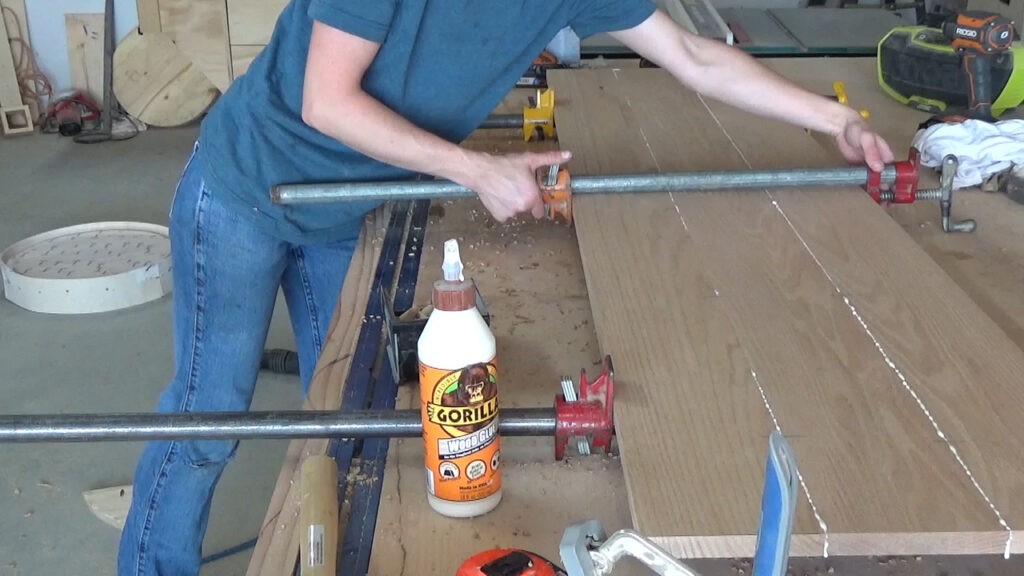
It’s a great option if you enjoy the process, but red oak plywood looks just as nice and is great for projects like this cabinet.
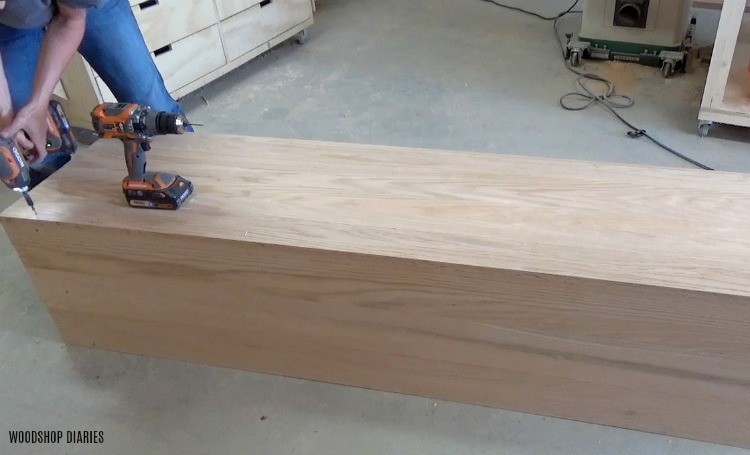
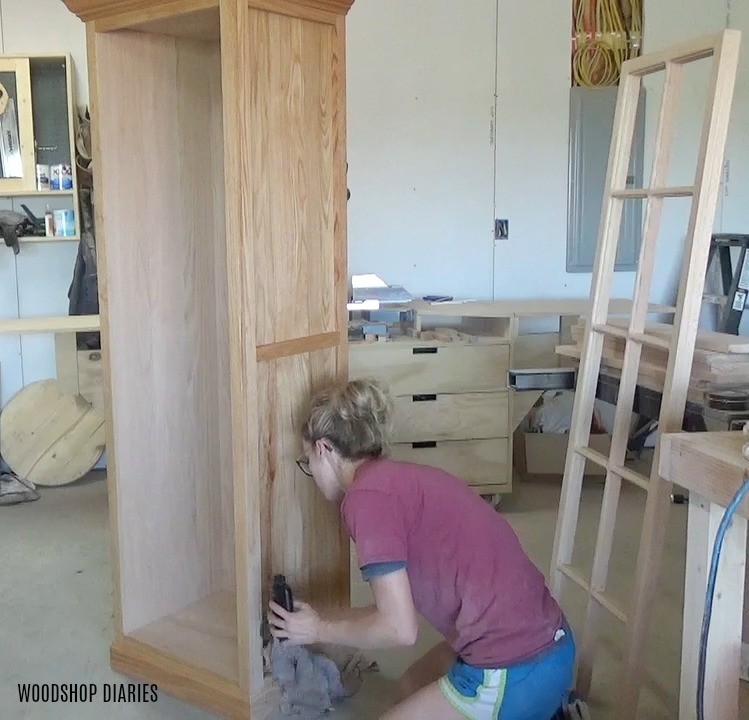
To build the cabinet, I cut two large side panels and two smaller top and bottom panels. .

I used wood screws through the side panels to assemble the cabinet body in the original project (like you see below), but if I were to do it over, I’d use pocket holes and screws.
RELATED: How to use a pocket hole jig
These wood screws will be covered with trim later, so either way works fine. But if you use wood screws like shown, make sure to predrill pilot holes to prevent wood splits!
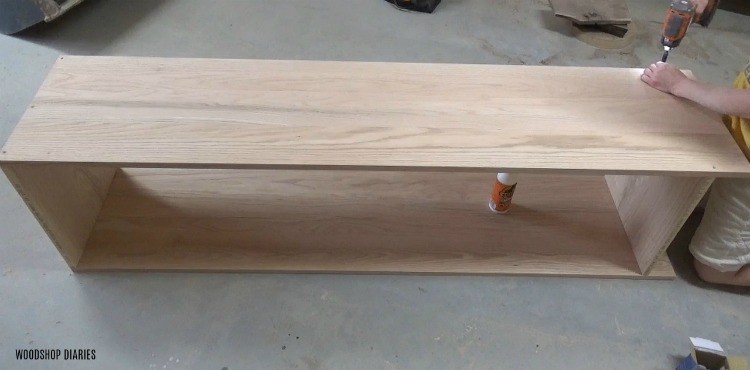
Note that the bottom panel is installed about 3 ½″ up from the bottom edge of each side.
Prefer to print? Grab the printable building plans for this linen cabinet here.
Step 2: Add Back Panel
After assembling the box, I needed to add the back panel. In the original build, I glued up 1×6 boards to make a solid back panel, but again, if I were to do it over, I’d use plywood for the back panel.
Either ½″ or ¾″ plywood would work fine, but I’d recommend ½″ plywood to save a little weight and a few bucks.
I simply cut a panel to fit over the back of the cabinet and glued and screwed it in place.
One fun way to “dress up” this back panel and add some more interest (if you wanted to) is to “fake” shiplap by cutting shallow kerf cuts along the back panel–like I did on this DIY bookshelf.
Step 3: Trim Linen Cabinet Sides
Next, I wanted to add some extra trim on the sides to give it a little more detail. I cut to fit 1x2s to run vertically, flush to the front and back edges. I just glued and nailed these onto each side.
Then, I cut to fit 1x2s to run horizontally between them–one at the top and one in the middle.
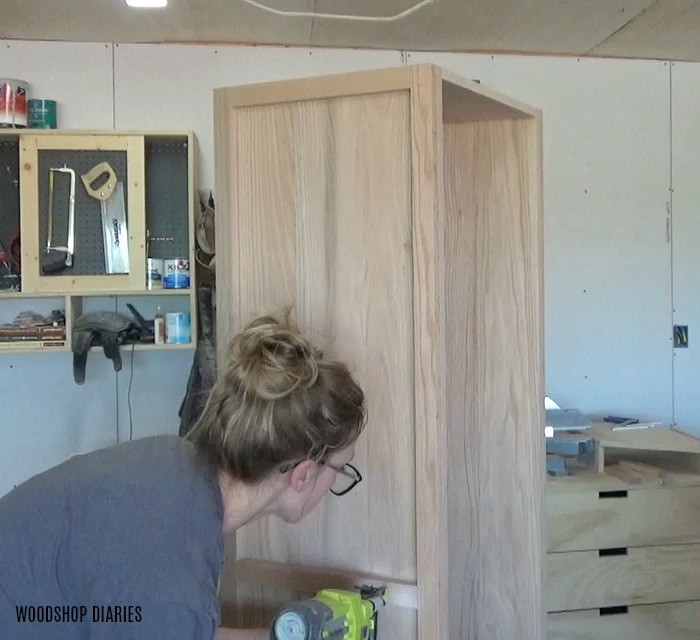
At the bottom, I used a 1×4 because I wanted a “thicker” bottom to add baseboard trim around later.
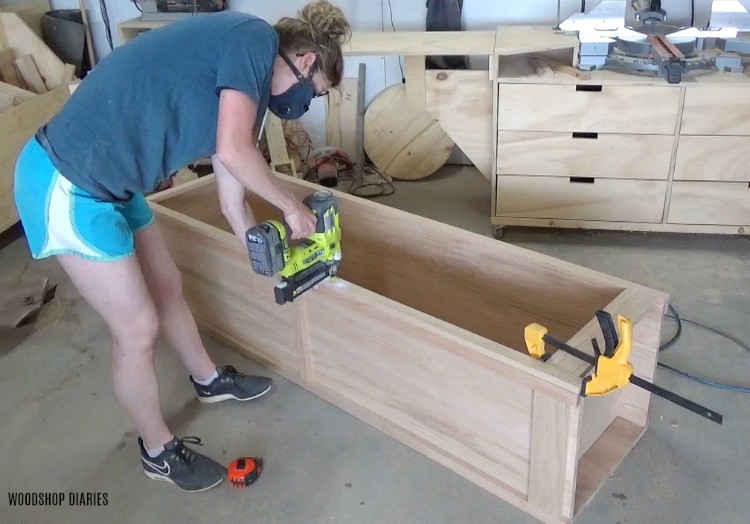
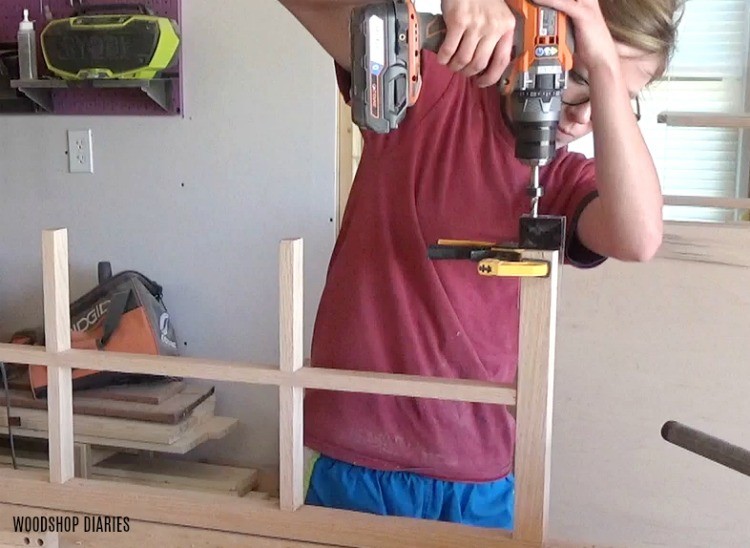
Step 4: Assemble and Attach Face Frame
Now, I needed to frame out the front. I assembled a large face frame using 1x2s on the sides and top and a 1×4 toward the bottom. This face frame can be assembled with wood glue and dowels OR pocket holes and screws.
A standard size pocket hole jig can work fine, BUT, when building face frames, I recommend using a Kreg Micro Jig with pan head pocket hole screws. The smaller holes and screws are less likely to cause splits.
Learn more about how, when, and why to use the Kreg Micro Jig here.
I built this exactly the same size as the front of the cabinet so when I glued and nailed it onto the front, it was flush to the sides, top and bottom.
All the dimensions, details, and cut diagrams can be found in the printable building plans here.
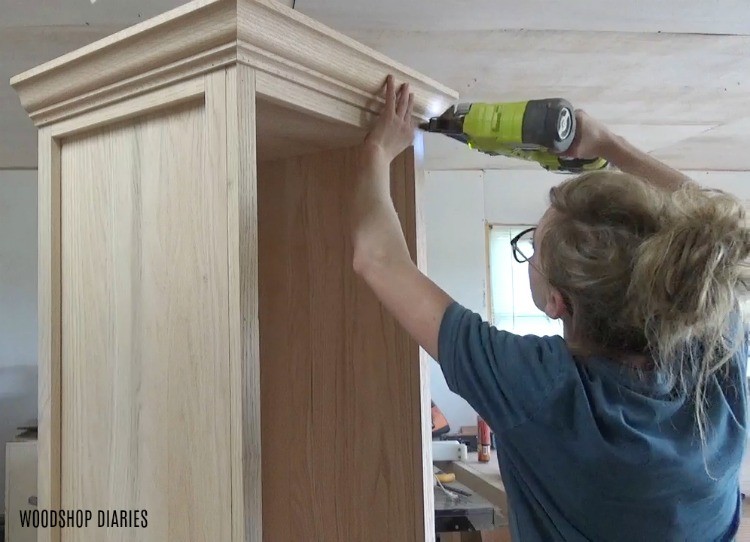
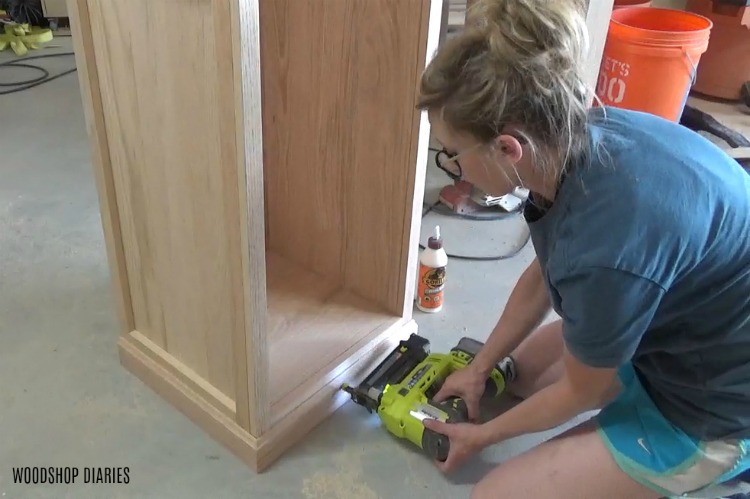
Step 5: Add Molding
Then, I cut to fit crown molding along the top and base board trim along the bottom. I just glued and brad nailed these pieces in place.
RELATED: How to cut crown molding
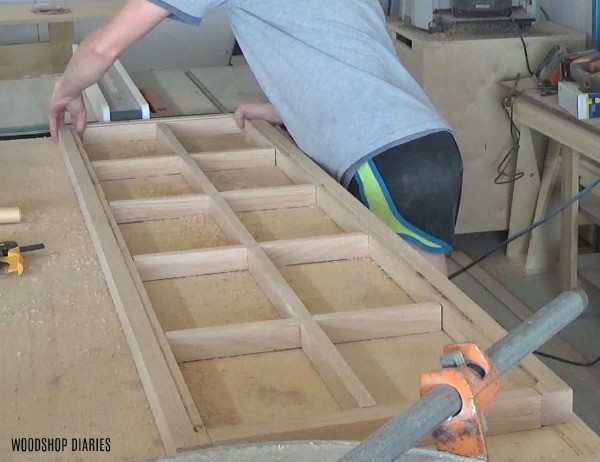
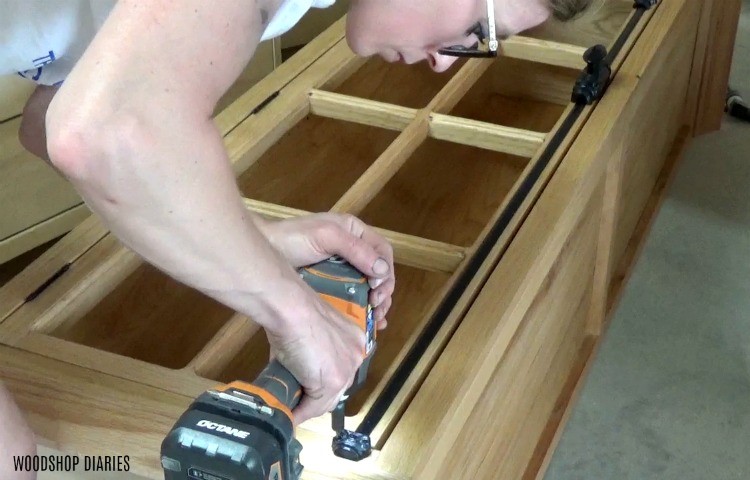
Step 6: Build The Door
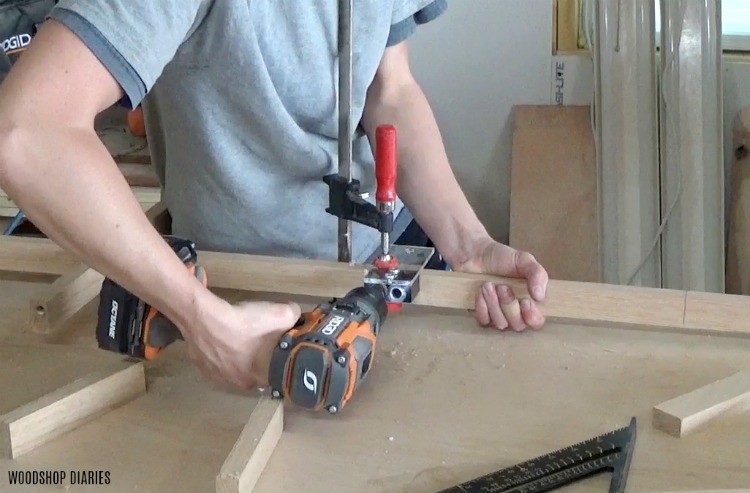
I wanted the door to be 1 ½” thick, so I used 2x2s for the door frame. But I wanted this door to have “panes” so I built a divider to sit inside the frame. I made the divider using 1x2s turned on their edge.
I had planned to use an ⅛″ thick glass panel in this door and I wanted it to sit inside the back of the frame. So I ripped ⅛″ off my 1×2 pieces (this made them 1 ⅜″ wide), and assembled the divider using wood glue and dowels.
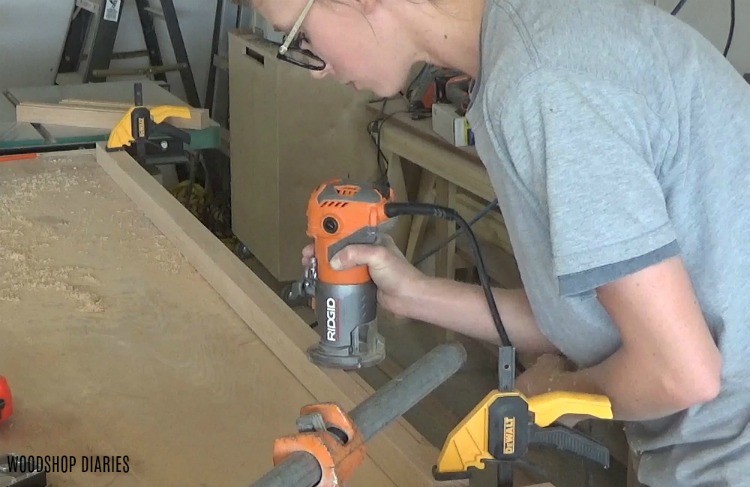
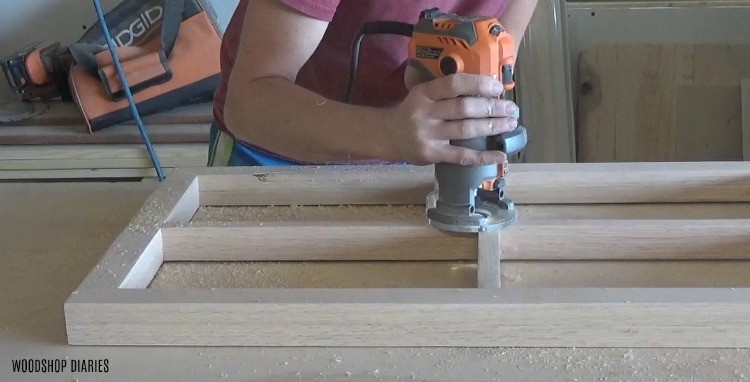
While that dried, I cut my 2×2 pieces to fit around the divider to make the door frame. I used a rabbeting bit to cut an ⅛” deep rabbet along the inside of these 2×2 door frame pieces.
This way, once it’s all assembled, there will be an ⅛” recess in the whole back of the door for the glass panel to fit into.
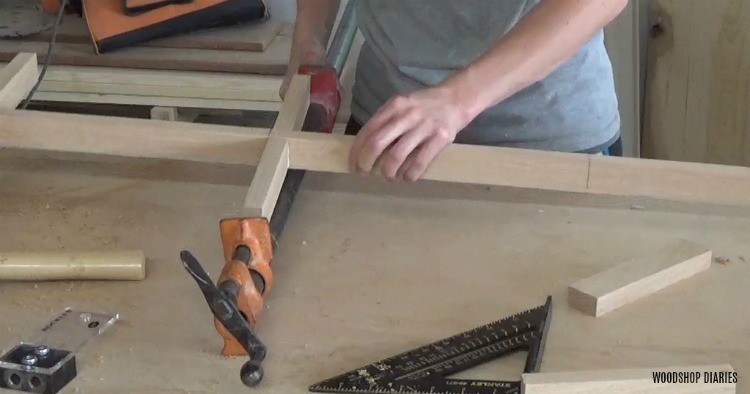
Then, I attached the 2×2 frame along the divider. The divider should be flush to the front edge of the 2x2s and flush to the ⅛″ rabbet on the back side (that’s why I ripped the 1x2s to 1 ⅜″ wide before assembling).
I used wood glue and dowels to CAREFULLY attach the frame together at the corners and attach the divider to the frame.
RELATED: How to use a dowel jig
To add a little extra detail to the door, once the glue was dry, I used a Roman Ogee router bit to add a decorative edge around the openings on the front side.
Then I gave the entire cabinet and the door a nice natural finish using Walrus Oil Furniture finish and wax.
Prefer to print? Grab the printable building plans for this linen cabinet here.
Step 7: Install the Door
I attached four non mortise cabinet butt hinges along the door and installed it onto the cabinet making sure to leave ⅛″ gaps around all sides.
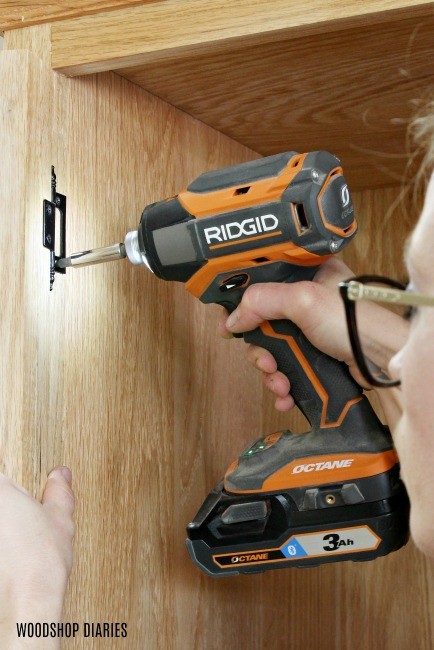
NOTE: Concealed hinges are usually my go to choice for cabinet doors, but they don’t work well for doors this thick. (Standard concealed hinges are for doors ~¾″ thick.) In this case, simple butt hinges are the easiest option, but pivot hinges could also work if you wanted something less visible.
I also drilled shelf pin holes with my Kreg Shelf Pin Jig for the adjustable shelves inside the cabinet. Learn how to add adjustable shelves to any project here.
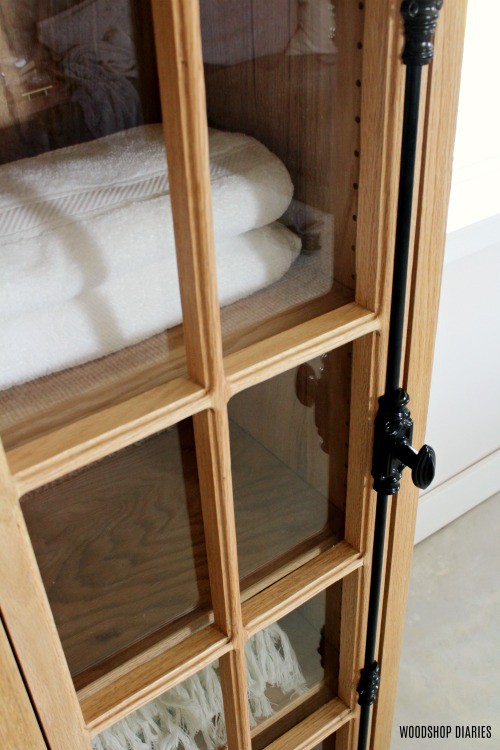
Then, I installed a large cremone bolt to be able to secure the door. You could use another type of hardware, knob, or pull, instead, but the cremone bolt was a fun visual detail.
Step 8: Add Glass Panel
Now, I needed to add the glass into the door. I had a local glass shop custom cut a piece of ⅛″ glass to fit into the rabbet on my door. But, if I were to build this again, I’d opt for plexiglass or acrylic instead of real glass because it’s less likely to break, but also much lighter.
Before gluing it in place, I cleaned it well with a glass cleaner. Then I applied some clear Gorilla Glue along the inside of the door frame and along the dividers and carefully set the glass in place.
The glue alone held well, once dry, but I’d recommend also adding some mirror brackets, picture frame turn tabs or other type of clips around the back side to secure it.
Then, to wrap it all up, I added some shelf pins and placed the shelves inside and it was finished.
I’m so excited with how this turned out. The door was a challenge, but it really makes this piece pop!
If you’d like to build one yourself, be sure to check out the printable building plans here.
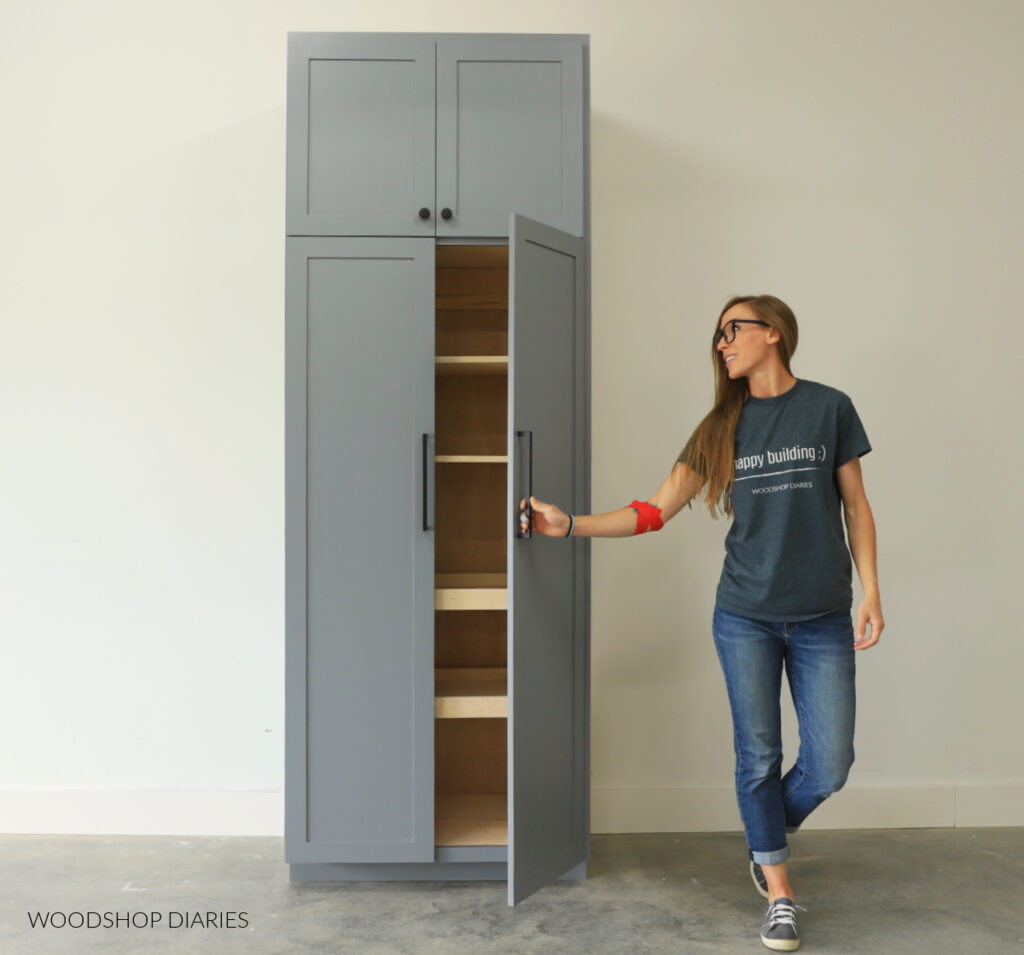
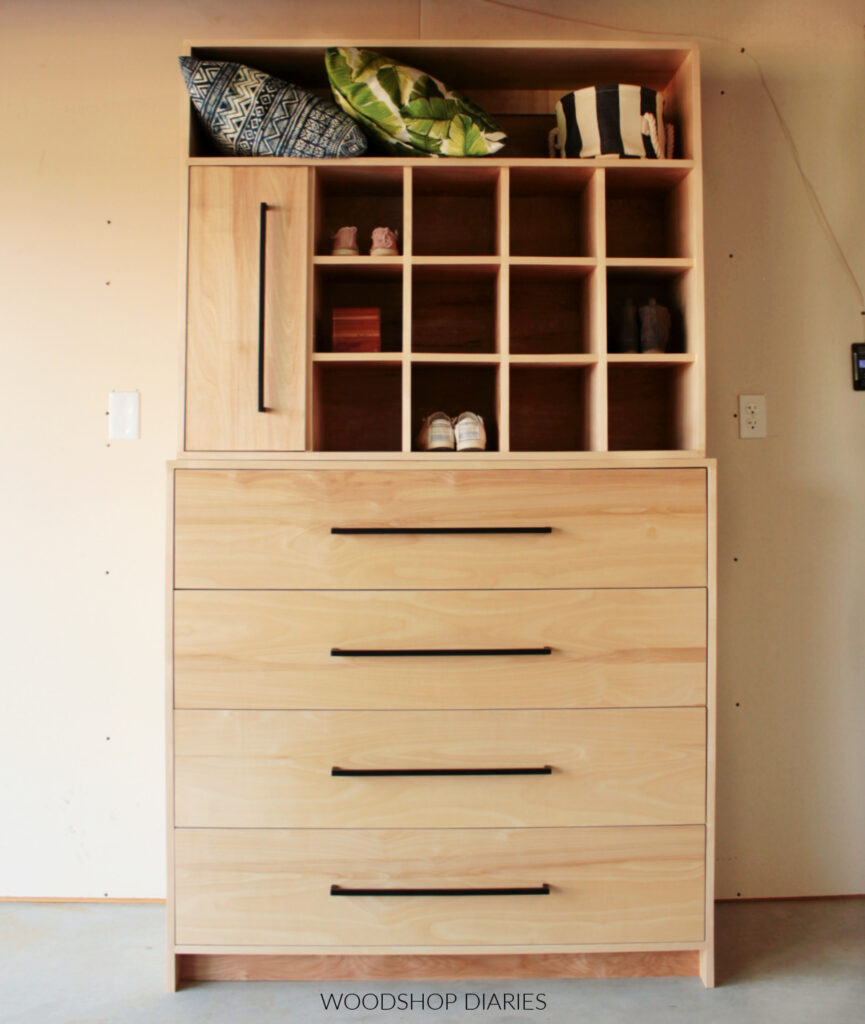
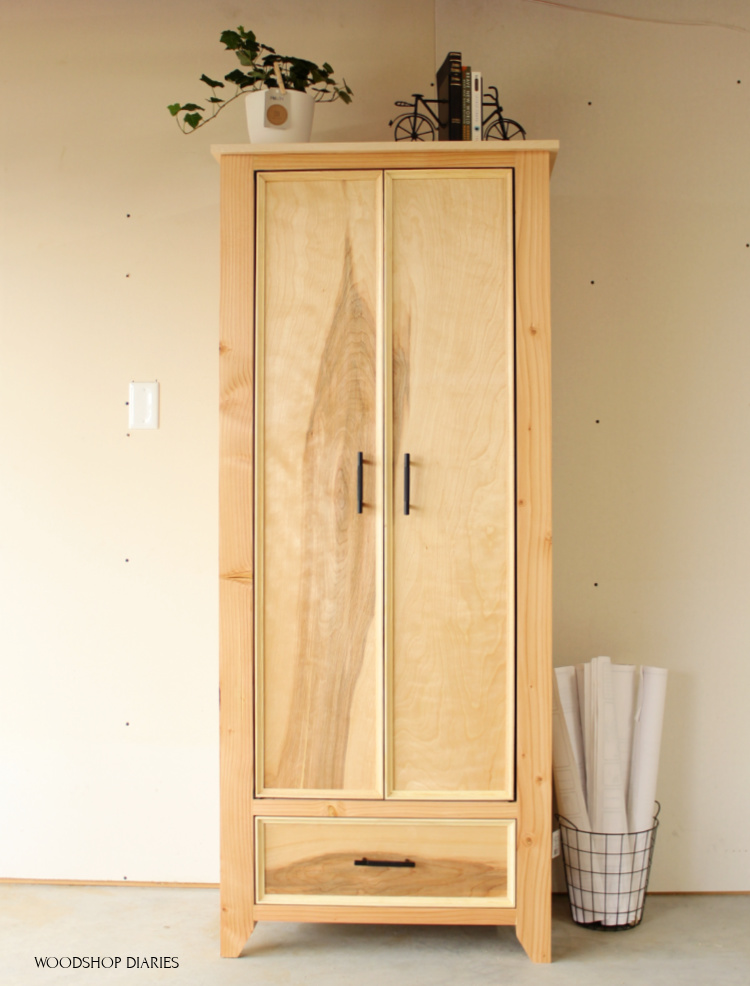
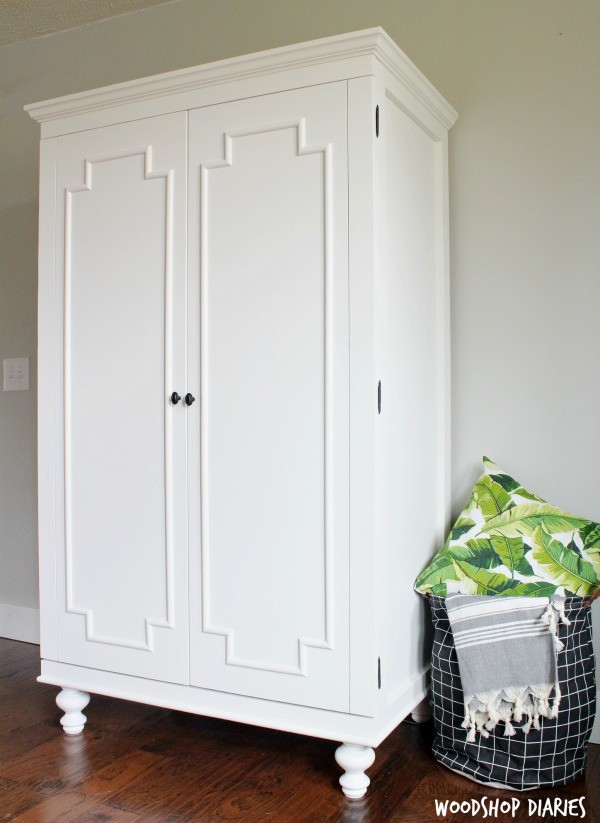
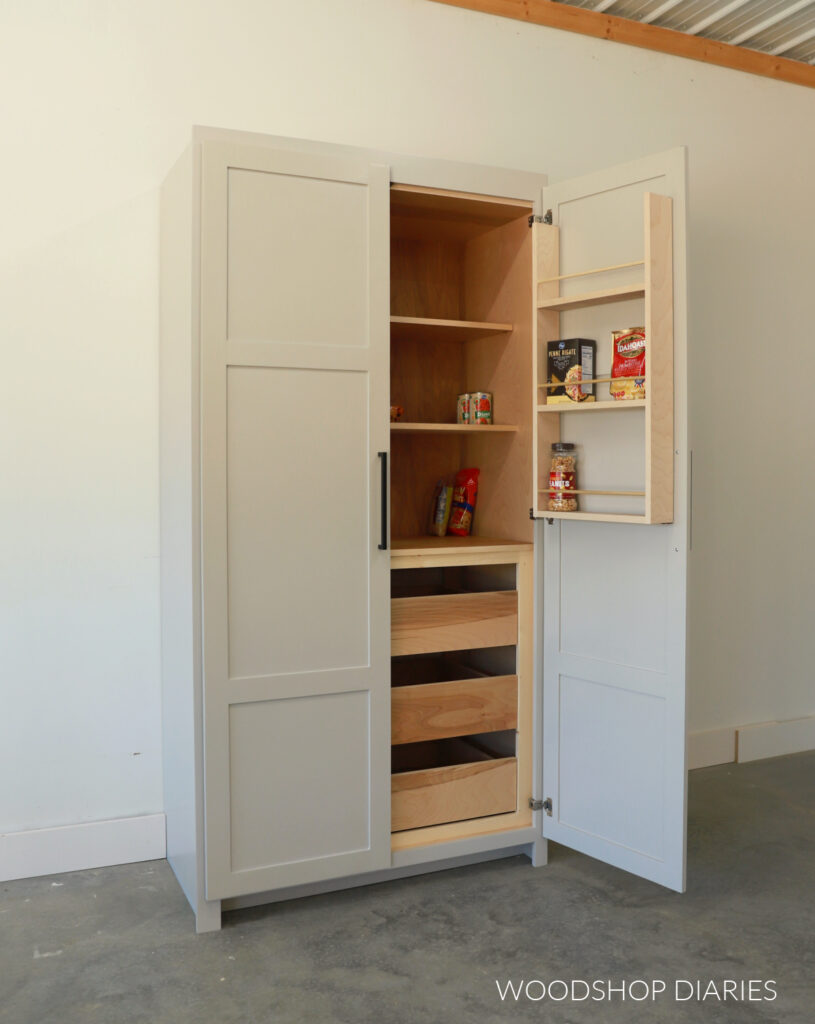
Looking for more storage cabinet project ideas?
If you enjoyed this project, but still looking for more ideas, check out these awesome DIY storage cabinet projects as well. Click on the image(s) below to see how to build each one.
If you’d like to save this project for later, don’t forget to pin it or share to your favorite social platform!
Until next time, friend, happy building!