In this post, I’m sharing how to build a DIY armoire cabinet with shelves!
You’ve probably heard it said that you can never have enough storage. And while I like to keep things minimal around my house, I still have to agree!
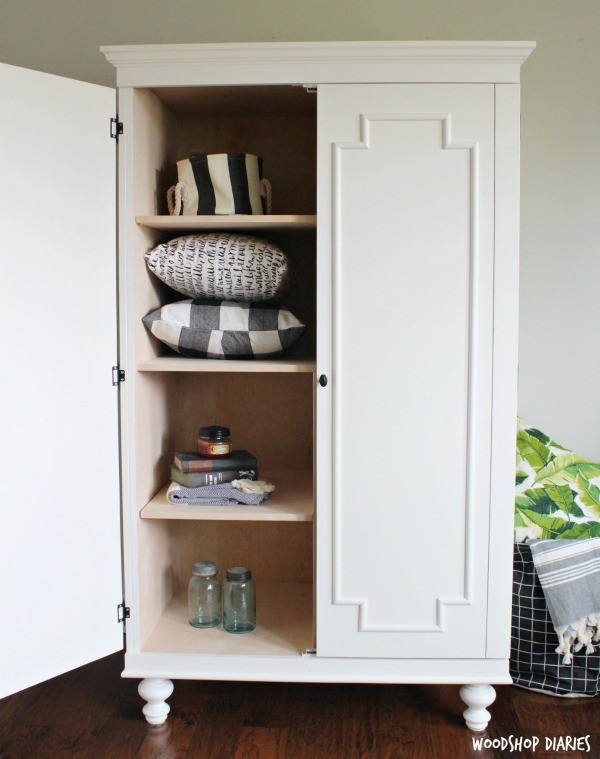
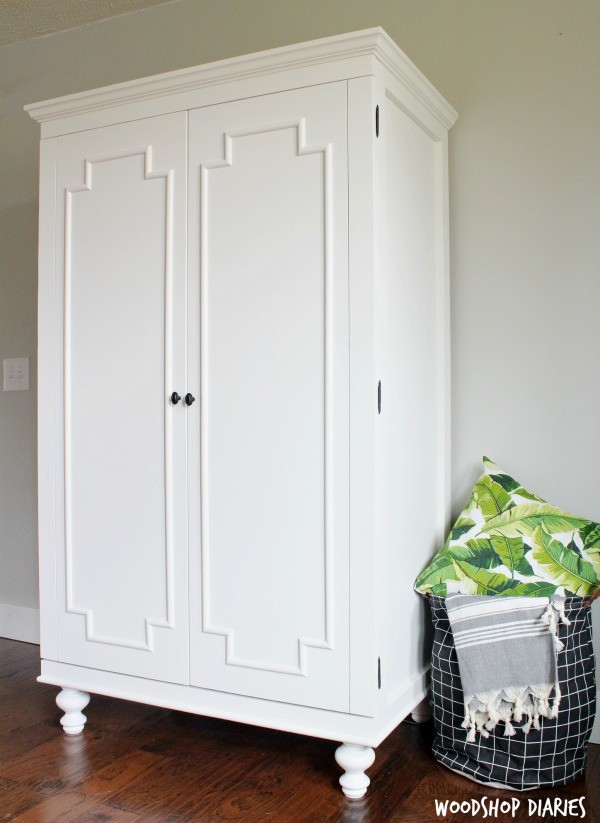
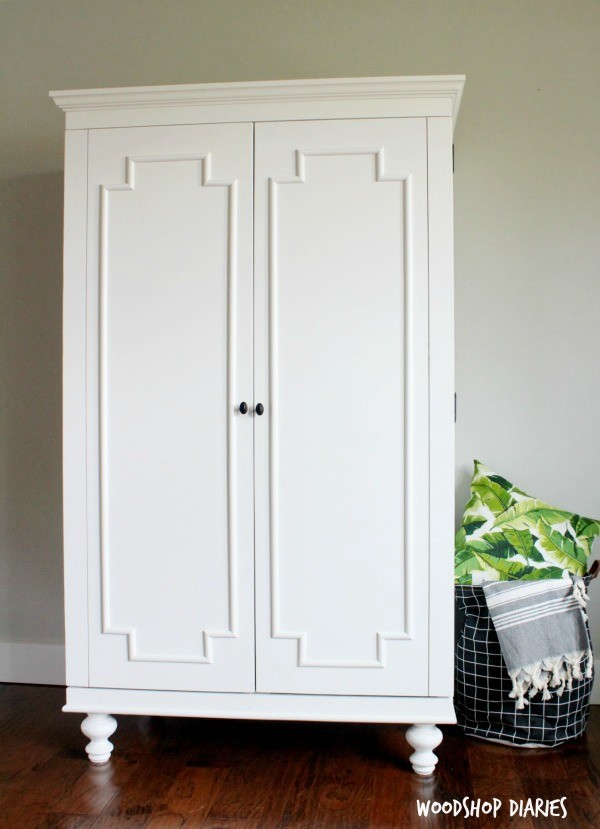
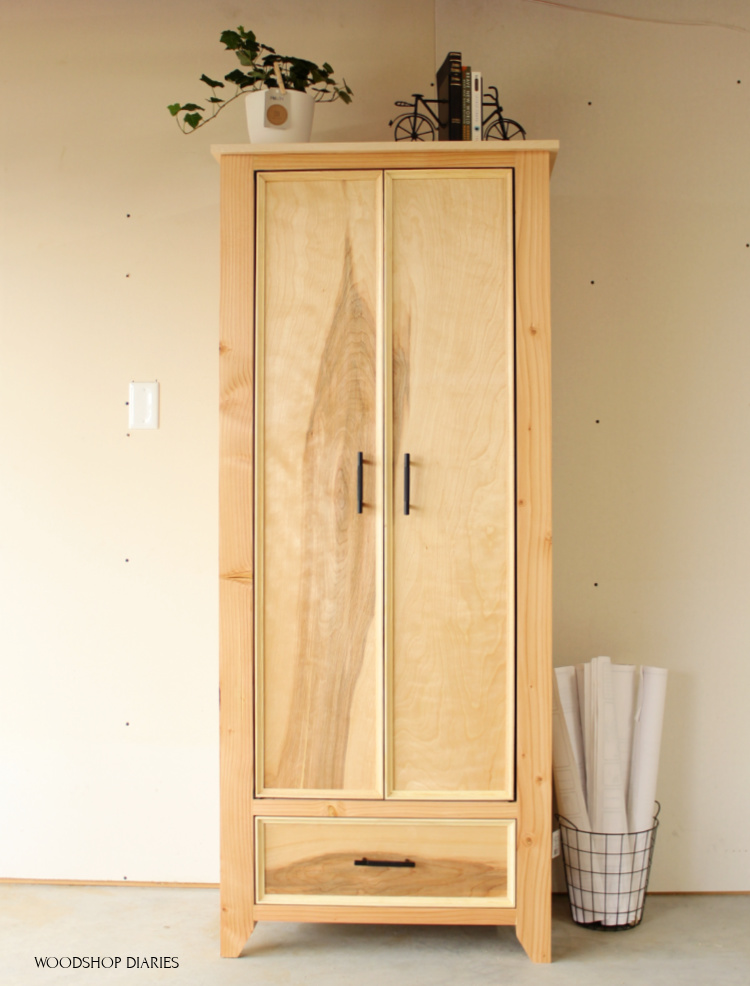
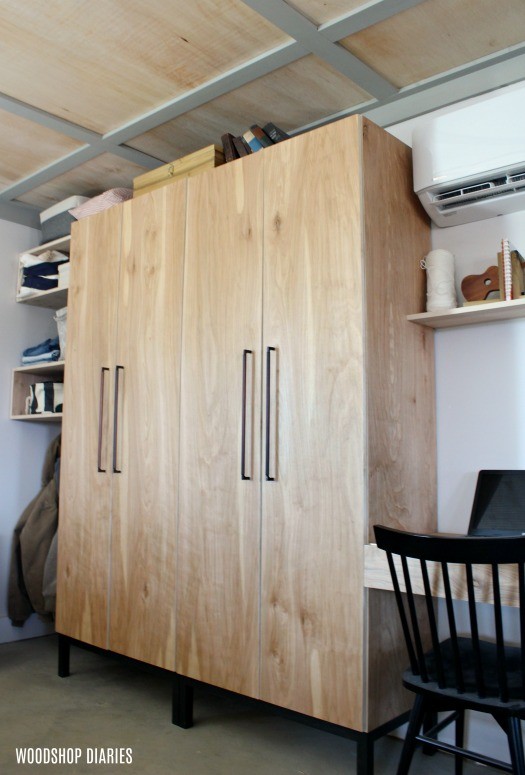
I built this DIY armoire cabinet to be a gorgeous piece of furniture perfect for storing those not-so-gorgeous items in.
Things like mismatched bath towels, various cleaning supplies, my collection of old DVDs I just can’t seem to get rid of (or is that just me?)–these things stay neatly tucked away behind the decorative trimmed doors.
These types of cabinets are typically used for storing clothing and/or linens, an empty storage cabinet is fair game for storing just about anything.
I built this one with adjustable shelves, but if you wanted to hang clothes in here, simply add a hanging rod across the top and you’re good to go.
While the things inside may not be what you want on display, the storage cabinet you hide them in might as well be! I’m sharing the detailed instructions to build your own armoire storage cabinet in the post below.
*This post contains affiliate links. Please see disclosure policy for details.
Thanks to PureBond Plywood for supplying the plywood, D Lawless Hardware for supplying the hinges and knobs, Osborne Wood Products for supplying the decorative feet, and to Sherwin Williams for supplying the paint for this build.
**This post was originally published in June 2018, but was updated July 2025.
What to Consider Before Building a DIY Armoire Cabinet
This is an intermediate level building project. It’s assembled using basic pocket hole joinery, but the addition of the feet, trim details and the doors make this a little more involved than most beginner projects.
This cabinet was made almost entirely from plywood. I recommend using a good quality hardwood plywood for this project–something like birch, maple, or oak.
Learn how to choose the best plywood for your project here.
What is the difference between an armoire and a wardrobe?
There are some slight differences between an “armoire” and a “wardrobe” if you want to get nit picky about it. But really, it’s just a personal preference in terminology.
You can use the terms “armoire” and “wardrobe” interchangeably to mean basically the same thing–a tall, freestanding storage cabinet. These are usually used for storing clothing, but can be used for storing other items as well.
Typically, an “armoire” is a more decorative and ornate version of a wardrobe that has more shelves and/or drawers instead of hanging rods.
Armoires usually have doors and they may have hanging rods, but it’s not the main method of storage in most cases.
Wardrobes, on the other hand, are usually more simple (less decorative), may or may not have doors, and are used mostly for hanging clothes, so the hanging rod is pretty much a necessity.
How big should an armoire be?
Armoires and wardrobe cabinets don’t have a standard specific size. However, if you do plan to hang clothes inside, the depth should be at least 20-24″ to accommodate standard sized clothing hangers.
Typical armoire cabinet widths range from 36-44″ wide and heights range from 72-78″ tall.
These are COMMON sizes, but you may find some smaller or larger.
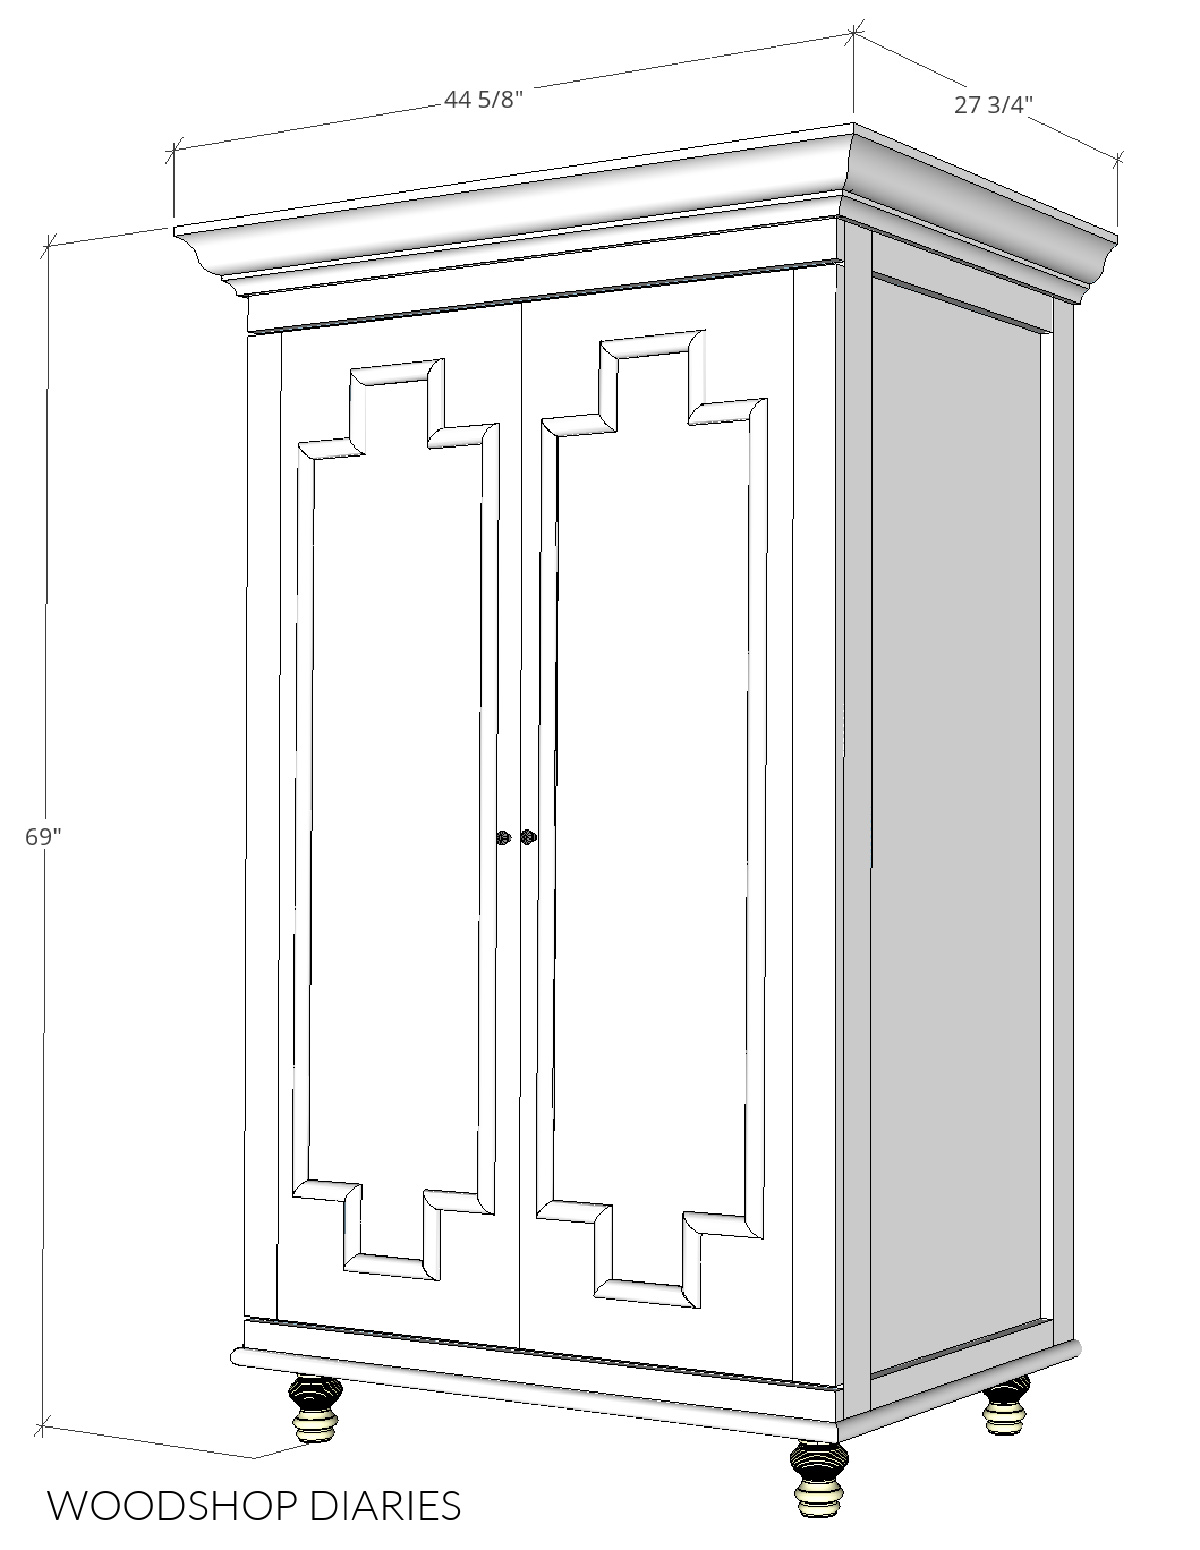
The overall dimensions of this DIY armoire cabinet (including the crown molding at the top) are approximately 27 ¾″ deep x 44 ⅝″ wide x 69″ tall.
The dimensions of the cabinet box alone (not including feet, doors or crown molding) is approximately 25″ x 37 ½″ x 60″.
You may find these resources helpful during the building process:
Are DIY projects your thing? Sign up for our newsletter for priority access to the latest projects and build plans!
How to Build a DIY Armoire Cabinet
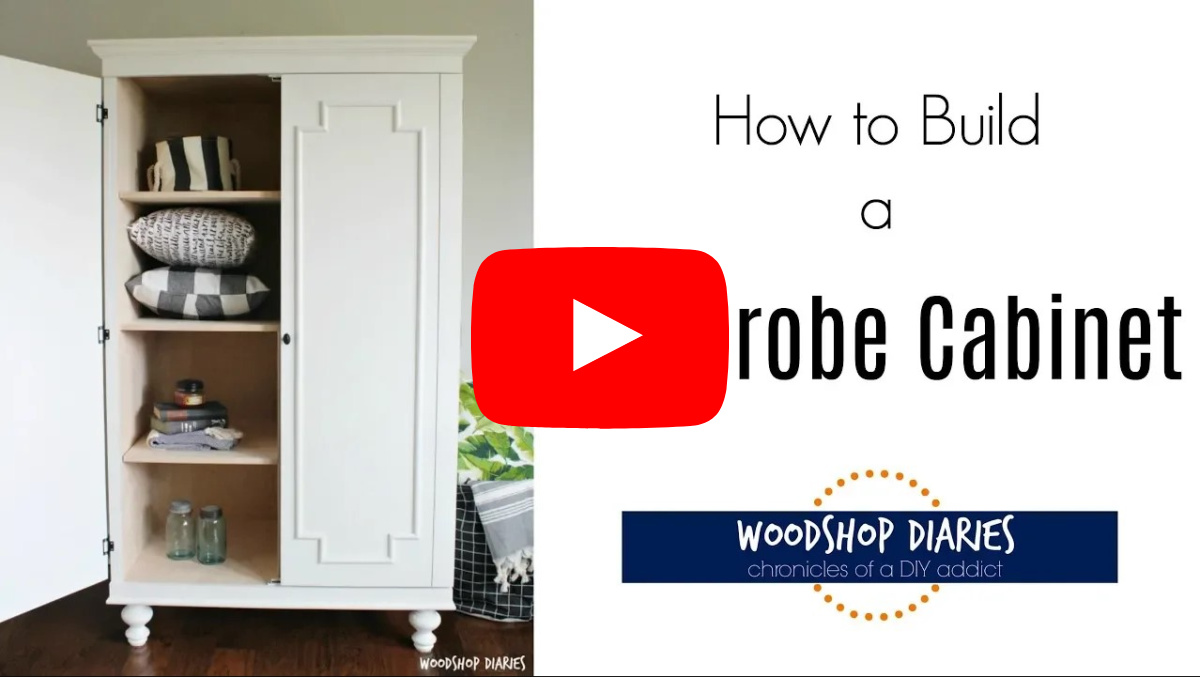
If you prefer to watch, I’ve shared the full build video with tons of tips, behind the scenes, and additional details on my YouTube Channel here.
*Please don’t judge too harshly. This is an OLD video and things have much improved since then, I promise!
I’m sharing the plans in this post below, but if you prefer to print, you can grab the printable plans with cut list and diagrams here:
NOTE: The order of the steps below don’t match the order of the steps in the printable plans. Many of these “steps” don’t have to be done in a specific order. What is shown below is how I ACTUALLY built it. But the plans are how I would suggest building it if I were to do it again.
Tools & Materials:
Tools:
- Circular Saw
- Kreg Rip Cut
- Kreg AccuCut
- Kreg Pocket Hole Jig
- Nailer
- Miter Saw
- Drill
- Kreg Shelf Pin Jig
- Table Saw (optional)
Materials:
- 3 sheets ¾″ PureBond plywood
- 1 sheet ¼″ plywood
- (5) 1x3x8 boards
- (1) 8′ stick of crown molding
- (6) 8′ sticks half round molding
- (4) scrap 2×6 blocks for the feet
- (4) decorative feet
- 6 hinges
- 2 knobs
- 2 double magnetic catches
- Wood Glue
- 1 ¼″ pocket hole screws
- 2″ and 2 ½″ wood screws
- Shelf pins
- Edge Banding
- Painters Tape
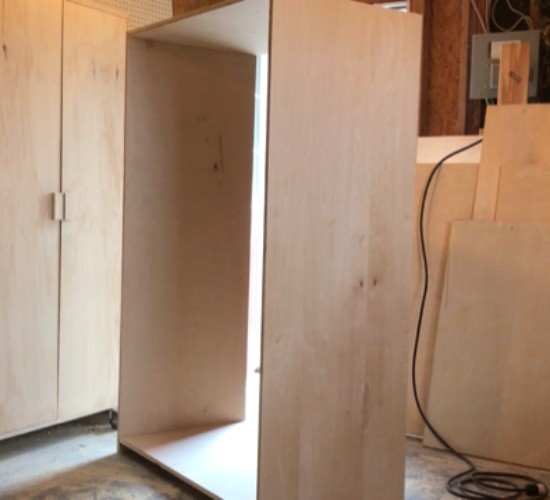
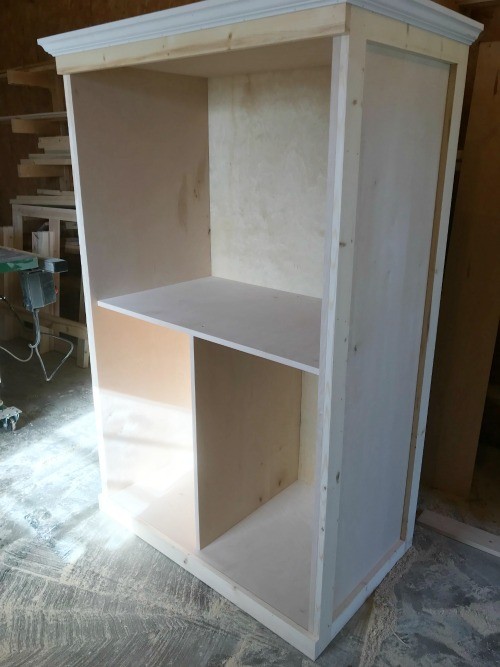
Step 1: Construct the Storage Cabinet Carcass
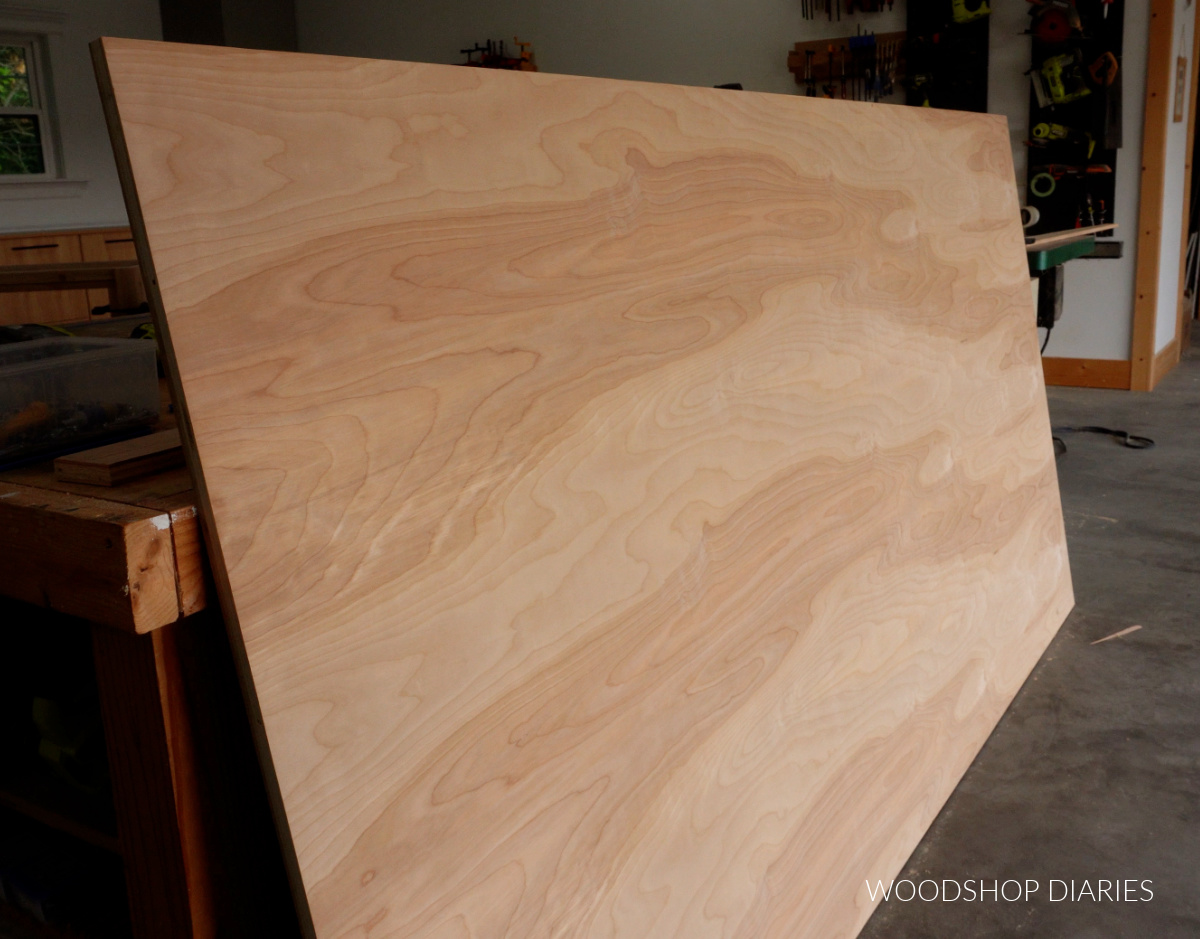
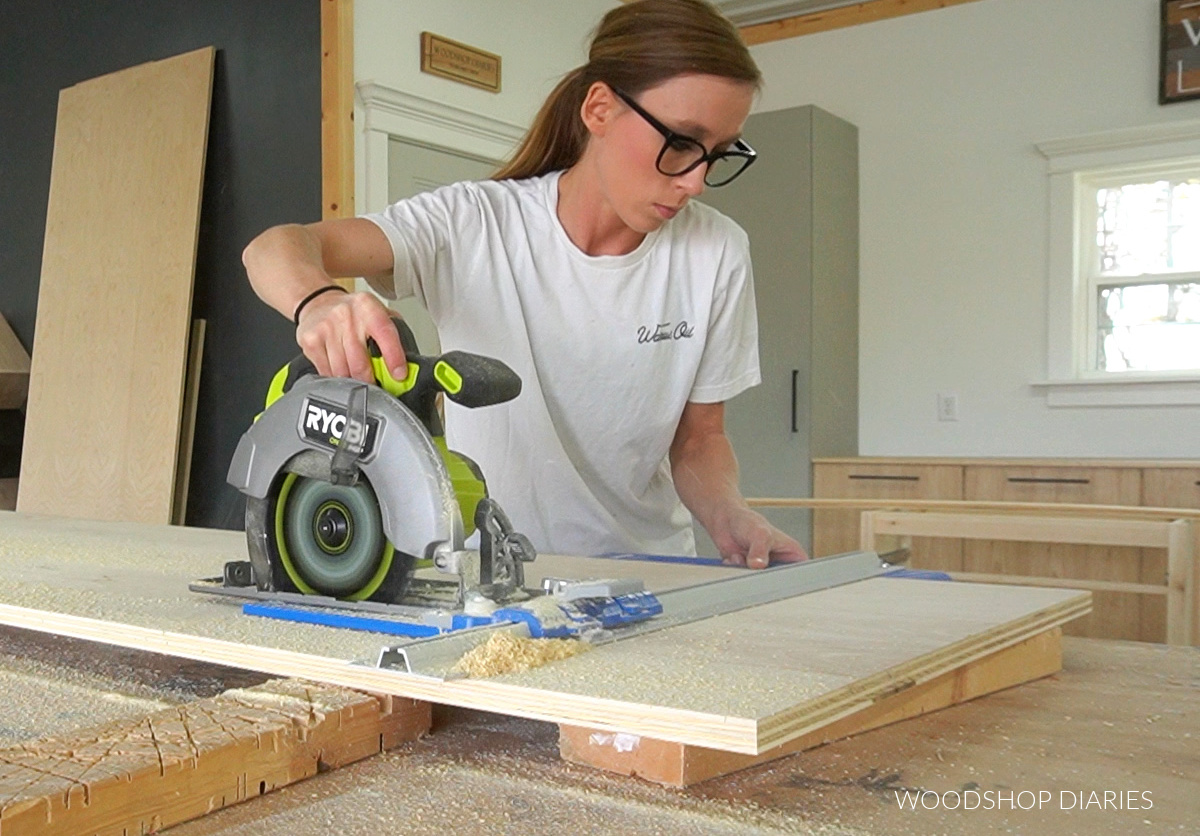
The vast majority of this project is made from ¾″ birch plywood. So the first thing I did was start cutting down my sheets into more manageable pieces.
I like to use my circular saw and Kreg cutting guides to cut down my plywood sheets. You can check out how I cut plywood in this post.
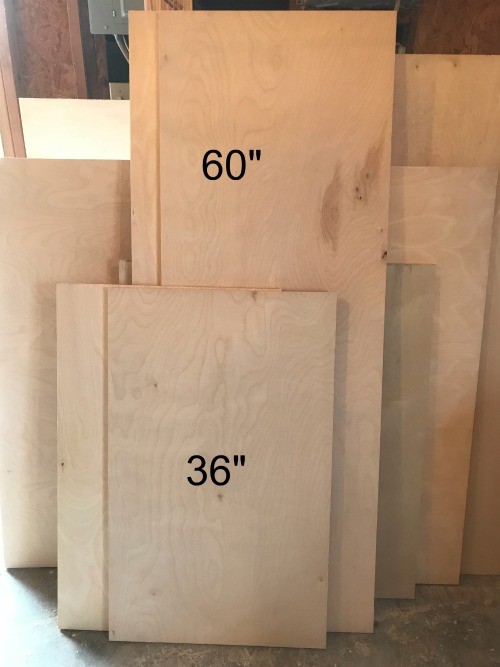
I cut one full sheet of plywood in half down the middle to give me two strips. Then I cut each strip into one long and one short piece.
These will make the main cabinet carcass. You can find the complete plywood cut diagram and cut list in the printable plans here.
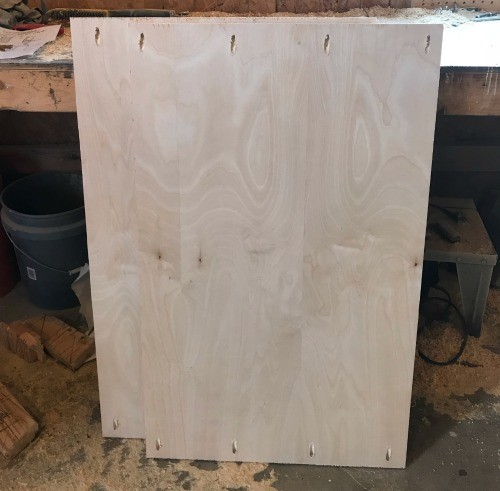
I used pocket holes to assemble, so once my pieces were cut down, I drilled ¾″ pocket holes into the ends of the short pieces.
RELATED: How to use a pocket hole jig
If you aren’t familiar with working with plywood, the edges are not the nicest. Plywood is made from glued together “layers” of wood, so the edges will show these various layers.
If you’re working on a project where these edges will be exposed in the end, you may want to consider covering them with edge banding.
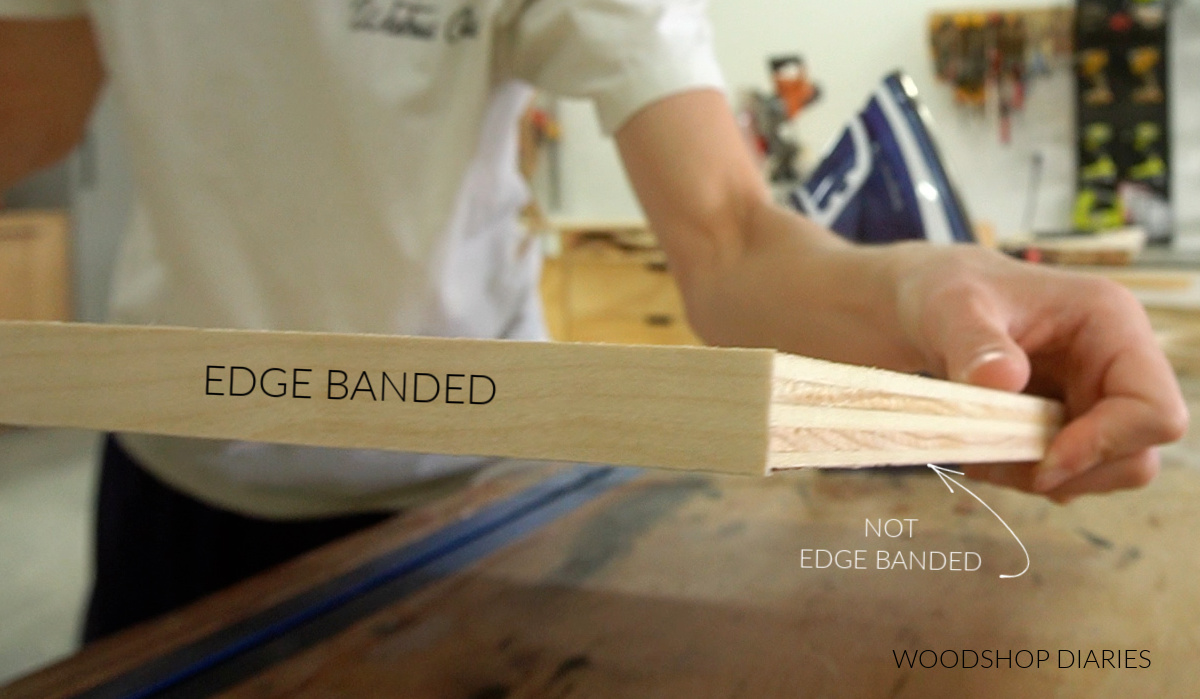
I like to use iron on edge banding and it’s really easy to apply. I’ll show you how to cover your plywood edges with edge banding here.
Because the front edges of this armoire cabinet box will be exposed in the end of the project, I went ahead and added edge banding to these before assembling.
The top and bottom edges of the cabinet will be covered with trim, so I only needed to apply this to the front edges of the side panels…not all four pieces.

After sanding each piece lightly, I assembled the main cabinet box using pocket hole screws.
The top edge of the bottom should be 2 ½″ up from the bottom of the cabinet sides. I faced the pocket holes all toward the outside of the box so they’ll be hidden in the finished project.
Step 2: Add Backing to Armoire Cabinet
Then, I cut a piece of ¼″ plywood to fit over the back side.
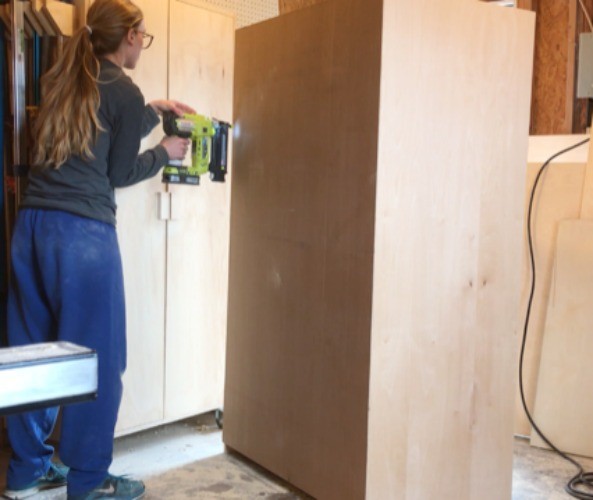
I glued and nailed this piece onto the back side making sure everything is square. If you wanted, you could use staples or screws to secure as well.
Step 3: Add Trim to DIY Armoire Cabinet Carcass
Now it was time to add some trim. Feel free to get creative with the trim details if you’d like to do something different for your project.
To trim out the sides, I cut to fit pieces of 1×3 to run vertically along the front and back. Then I added a piece between them at the top and the bottom.

I used wood glue and brad nails to secure these pieces on BOTH SIDES of the cabinet.
To trim out the front, I cut to fit two more pieces of 1×3 to go across the top and bottom of the front side like shown.
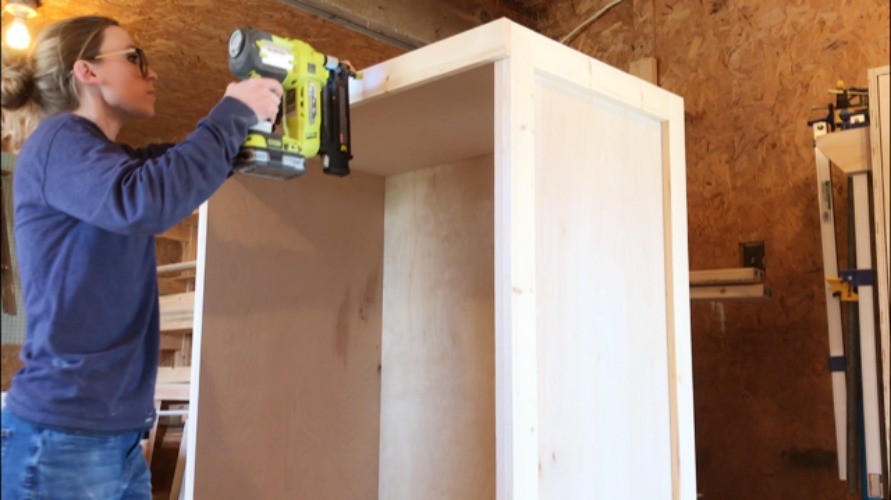
Just like the sides, I glued and brad nailed these in place.
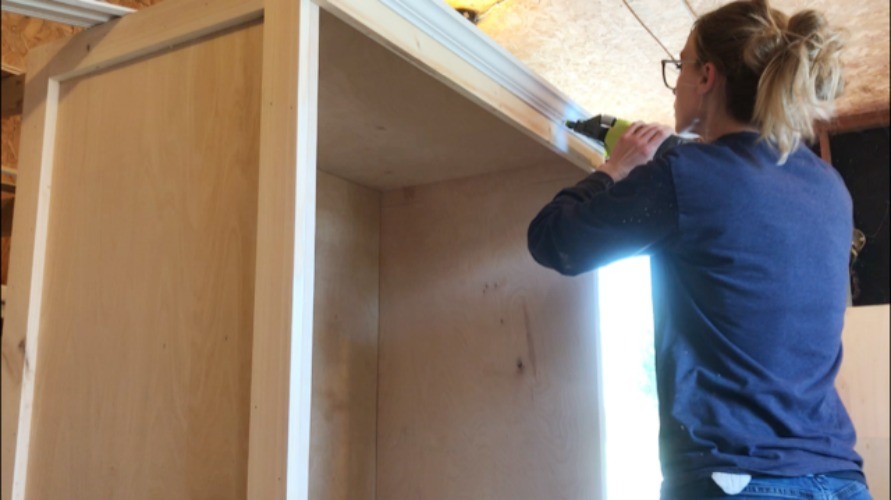
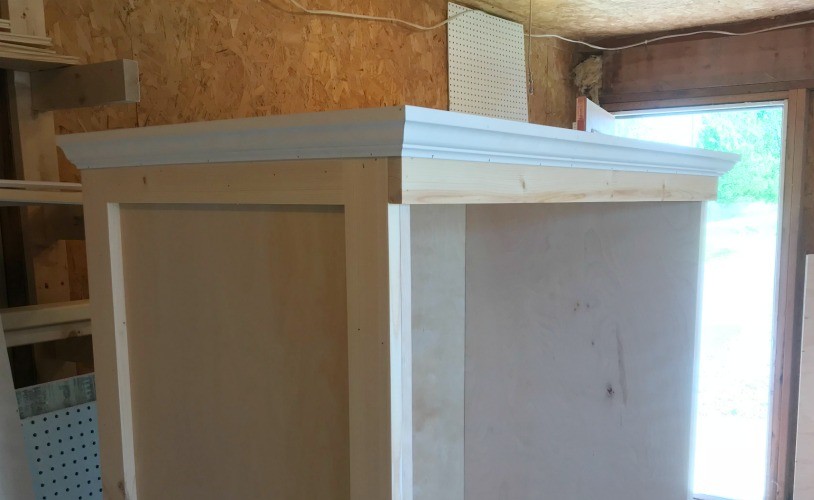
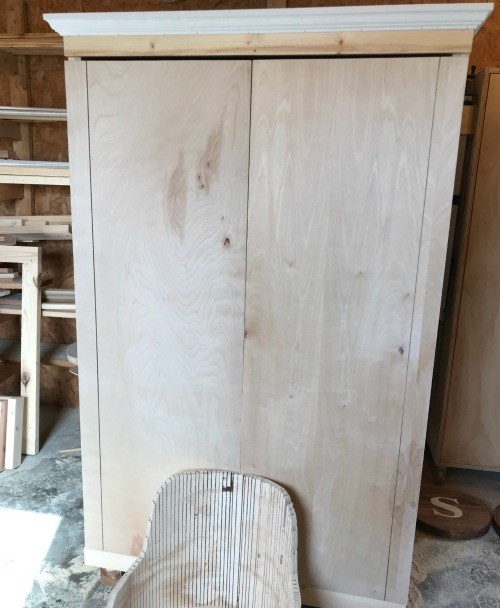
After the 1×3 trim pieces were secure, I added crown molding around the top. Learn how to cut crown molding here.
You could swap the crown molding for cove molding if you wanted something a little smaller.
I cut to fit each piece on the sides and front and attached using wood glue and brad nails.
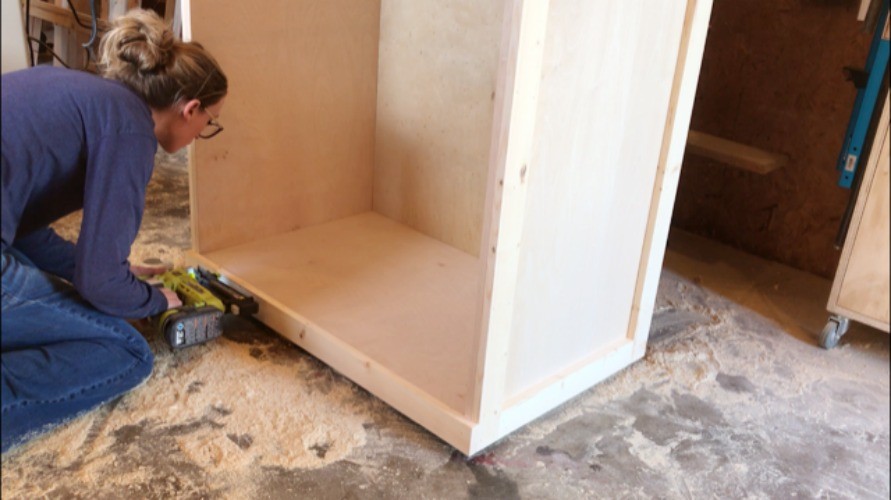
I didn’t decide until later that I wanted to add some extra trim along the bottom side, so you will see in the picture below that I already added the feet.
But while we are on the subject of trim, it’s easiest to go ahead and add this bottom edge trim now vs. later.
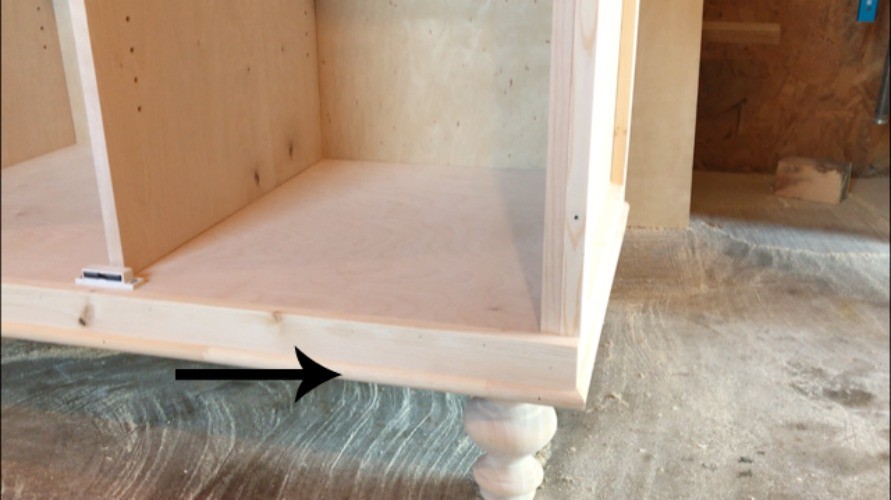
I cut to fit some half round molding to run along the bottom edge of the cabinet like shown above. This is totally optional and you could also opt for cove or another type of molding instead of half round if you’d like.
I just glued and brad nailed these pieces on the sides and front.
Prefer to print? Grab the armoire cabinet printable building plans here.
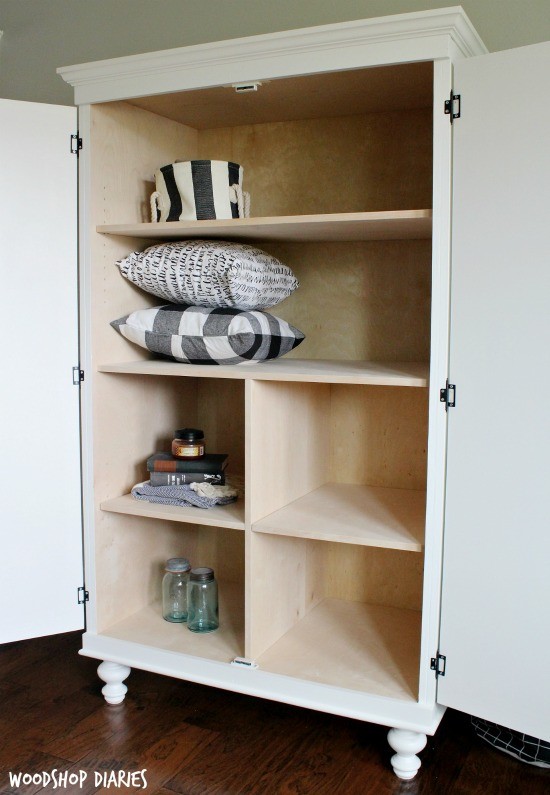
Step 4: Add Middle Shelf and Dividers to Cabinet
Since this cabinet is so wide, I wanted to make sure that the shelves would hold plenty of weight. I also wanted to make sure the the middle of this cabinet didn’t bow outward.
So I attached a stationary middle shelf and a middle divider support underneath it to help with holding up those heavy items.
I cut this divider from ¾″ plywood and attached using pocket holes and pocket hole screws between the side panels.
Notice I also edge banded the front edge since it will be exposed in the finished project.
Then I added a vertical divider in the center between this shelf and the bottom of the cabinet.
I just screwed this in using 1 ¼″ wood screws in the bottom and the top. But you could also use pocket holes and screws if you wanted.
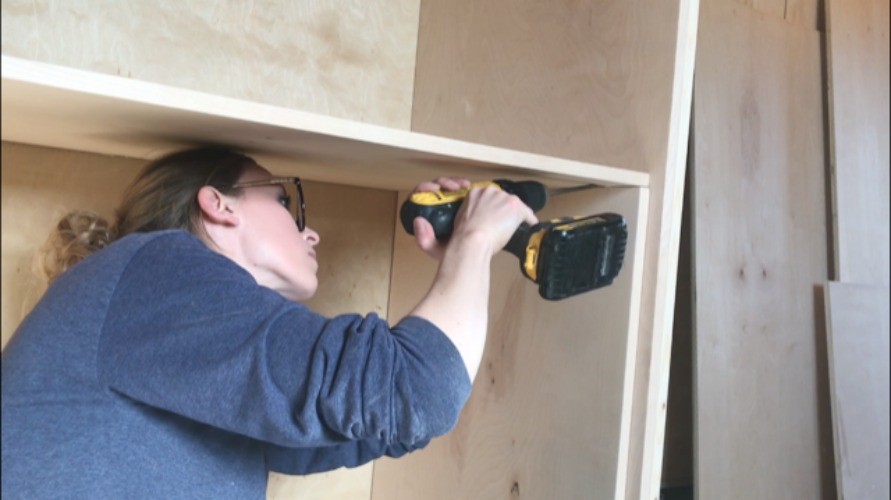
Next, I used a Kreg Shelf Pin Jig to drill shelf pin holes to install adjustable shelves in the top section and the two smaller bottom sections.
Learn how to use a shelf pin jig here.
Of course, if you didn’t want adjustable shelves, you can simply cut shelves and install using pocket holes and screws.
However, I change my mind often, so I like the option to change the shelf locations as needed.
I drilled shelf pin holes along the front and back of both sides of the top half of the cabinet.
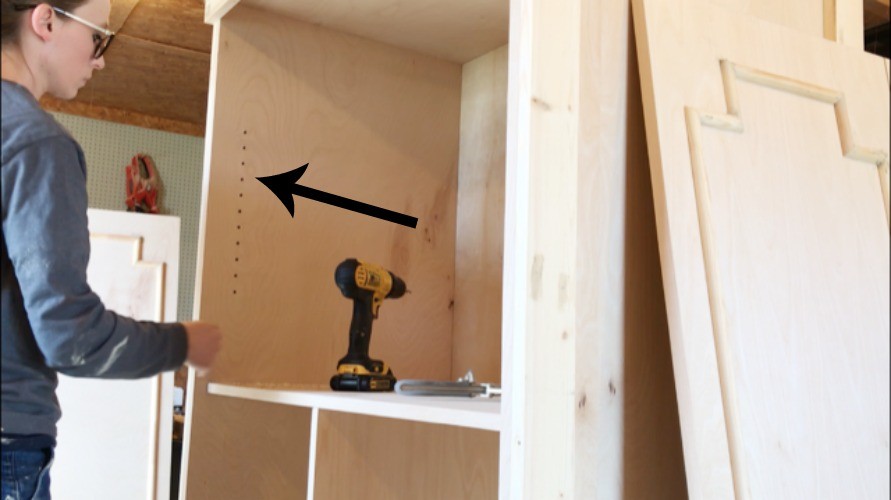
Then I also drilled shelf pin holes along the front the back of both sides of the two bottom sections on each side of the divider.
This will allow me to add large adjustable shelves at the top and smaller adjustable shelves at the bottom.
RELATED: Check out this post about must cave cabinet building tools
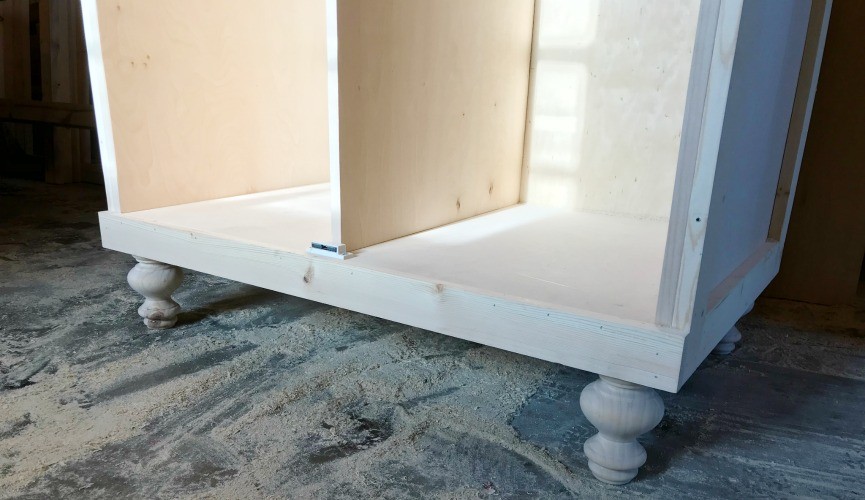
Step 5: Add Decorative Feet to the Cabinet
There are tons of options out there for furniture feet that you could use for this. However, I picked these sofa feet from Osborne Wood Products.
They’re decorative, but not too fancy. Since I was painting this project, I just went with the cheapest wood option, but if you’re staining, you can pick from several wood varieties to match your project.
Now, bear with me as we attach these. It’s not difficult, but you may be wondering what I’m doing haha.
First, I attached each foot to a scrap block. This scrap block can then be attached to the cabinet.
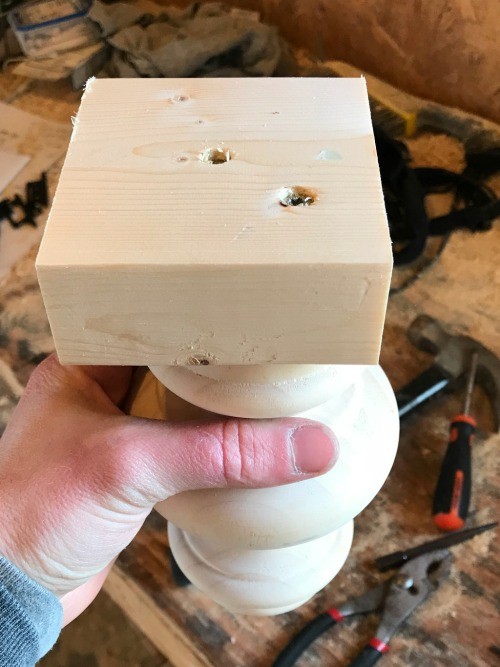
I used wood glue and 2 ½″ wood screws to secure each foot to a scrap 2×4 or 2×6 block. I attached so that the edges of the foot were along two edges of the block–so in the corner.
Then, I glued and screwed these blocks into the bottom corners of the cabinet with 2″ wood screws. Be sure to predrill your holes to prevent the 2x block from splitting.
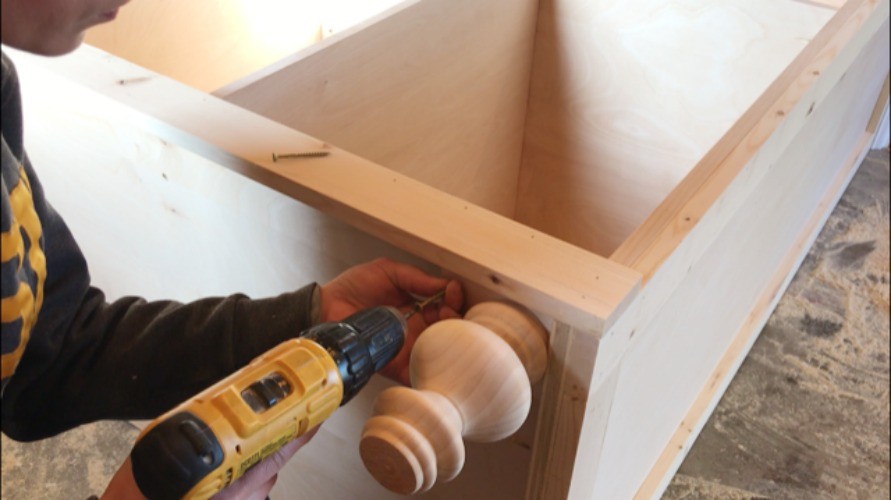
Make sure the screws pull the blocks nice and tight to the bottom of the cabinet and don’t skip the glue!
Step 6: Prepare the Doors for the Armoire Cabinet
The doors of this armoire cabinet are cut from ¾″ plywood. So I cut a two equal size double doors to fit my cabinet.
RELATED: How to size cabinet doors
Because the sides will be exposed (they’re overlay doors), I applied edge banding around the edges of the panels.
Grab the complete cut list and diagrams in the printable plans.
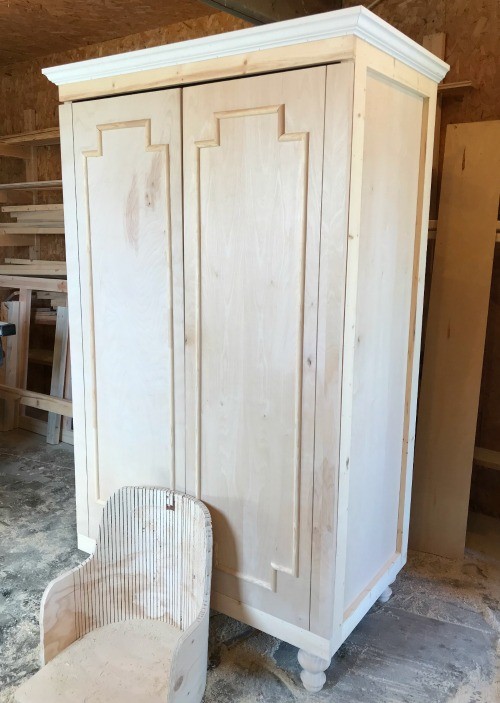
When I first hung these doors to see what they would look like, I felt like it looked a little funny proportionally without having face frames down the sides of the cabinet.
So, to “fake a face frame,” I cut a dado down each door 2 ½″ from the edge about ¼″ deep on the table saw. This mimics the look of a face frame, but still keeps the door as one solid panel.
I used a table saw for that, but you can also just use a circular saw and straight edge. Just remember to set the blade depth to only about ¼″.
You can see the cut in the image below. The doors aren’t attached yet and they kept falling forward, so I stuck this chair seat in front of them to keep them propped up for the picture. Just ignore that ha!
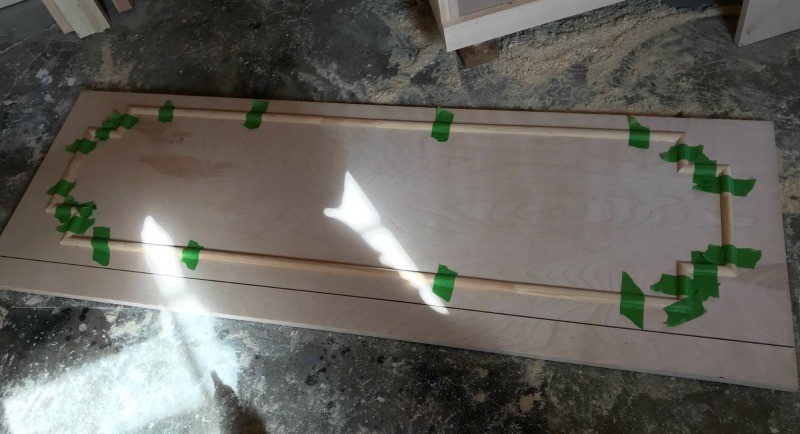
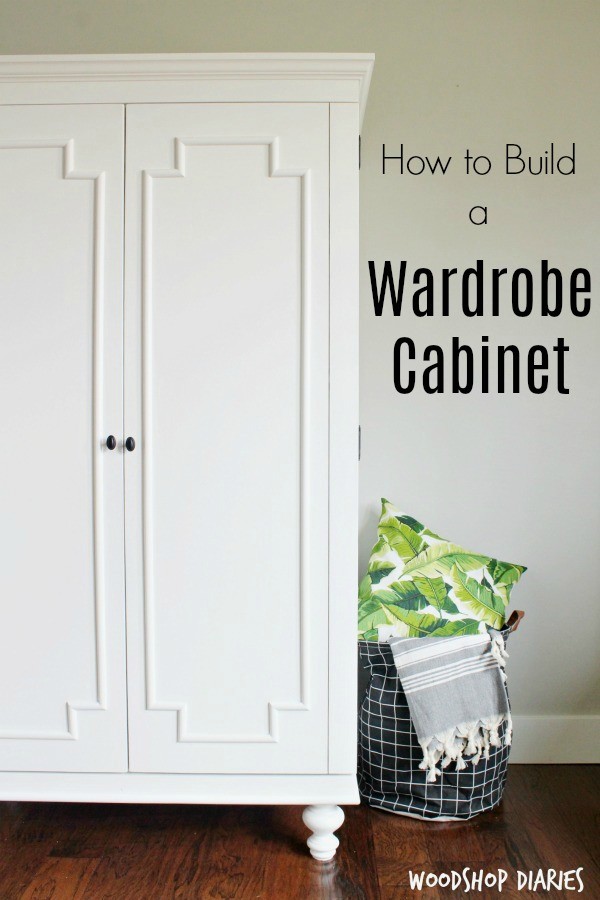
Then it was time to add the decorative molding to the doors. This is all totally customizable. You could use whatever kind of molding or design you wanted.
I cut half round molding to create this design. You can play with the lengths of the pieces to get the design you like.
I cut to fit the rest of the trim and spaced everything out so it looked even and proportionate. There’s no right or wrong here. It’s just what you like the look of.
To attach, I just applied wood glue to these pieces and held them in place until it was dry using painters tape.
Step 7: Finish
All that’s left at this point it to putty, sand, and finish. I used wood filler to fill the nail holes, smooth out the joints on the trim, and fill in any knots in the wood.
I like to caulk the inside corners as well to give a smoother paint finish.
Then, I applied primer and paint. Check out this guide for how to paint raw wood furniture.
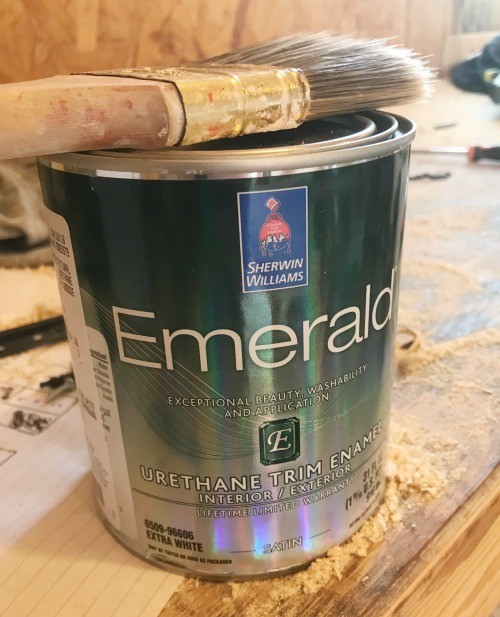
For this project, I used Sherwin Williams Premium Wall and Wood Primer and Sherwin Williams Emerald Urthane Trim Enamel in the color SW 7008 Alabaster.
I painted the cabinet and the doors separately to make things easier. So once the paint was dry, it was time to hang them.
Step 8: Hang Doors and Add Shelves
I’d normally use concealed hinges for something like this, but due to the way these doors are mounted and the trim on the sides, concealed hinges just didn’t work for this specific application.
So I used a non mortise butt hinge instead. For this project, I used these hinges and just put one about 4″ up from the bottom and one 4″ down from the top of each door.
Then, because these doors are kind of heavy, I added a third one in the middle for extra hold. To be honest, four hinges on each door might be even better.
I installed the doors onto the cabinet so that there were even gaps at top and bottom of each door.
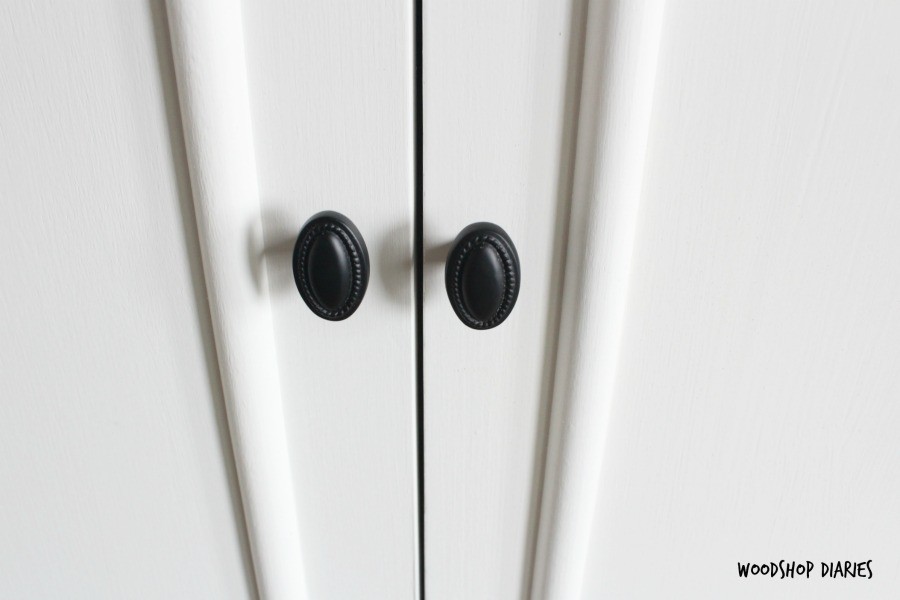
Then I added these knobs to each door and these double magnetic catches help hold the doors closed. I placed one on the top and one on the bottom as you can see above.
And finally, I cut a shelf for the top and two shelves for the bottom sections, applied edge banding to the front edges, and placed them inside using shelf pins.

And now it’s ready to load up with whatever you need to store away!
Prefer to print? Grab the armoire cabinet printable building plans here.
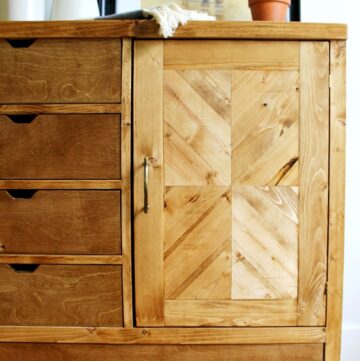
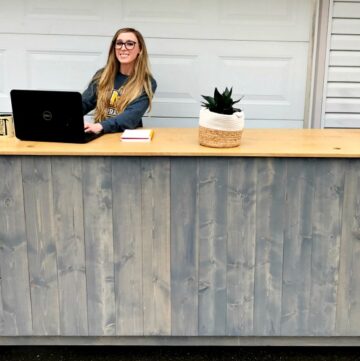
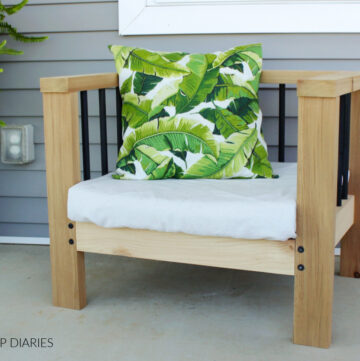
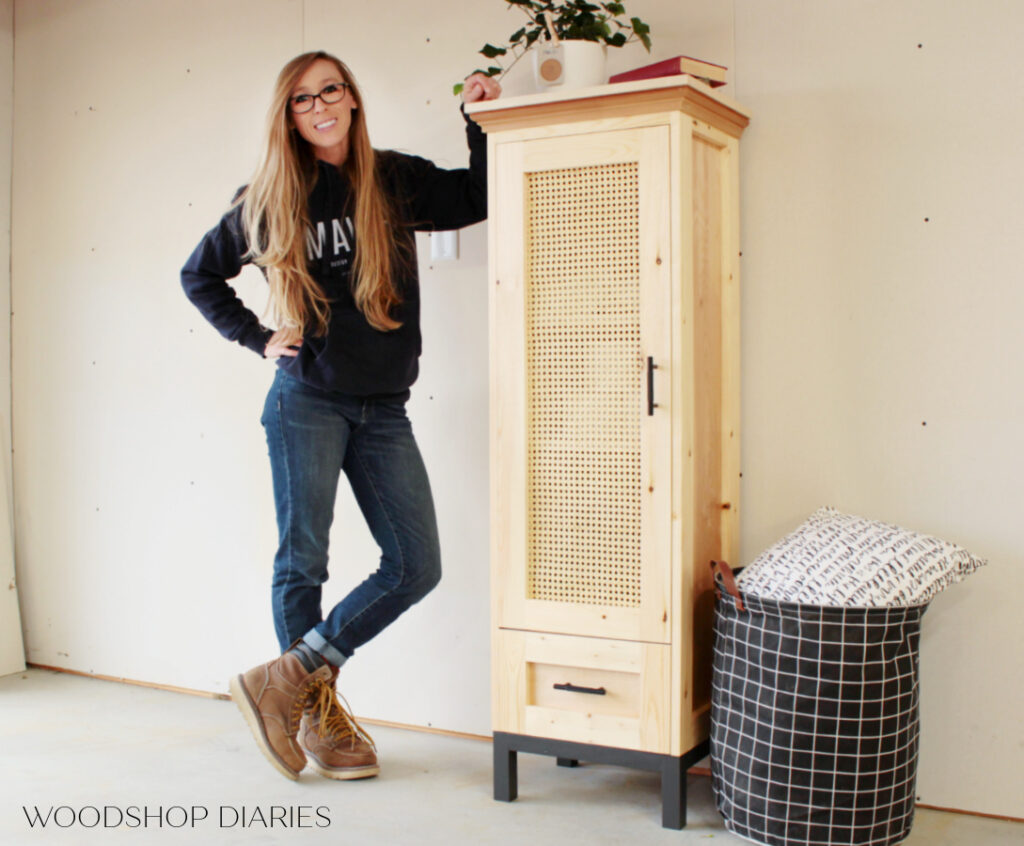
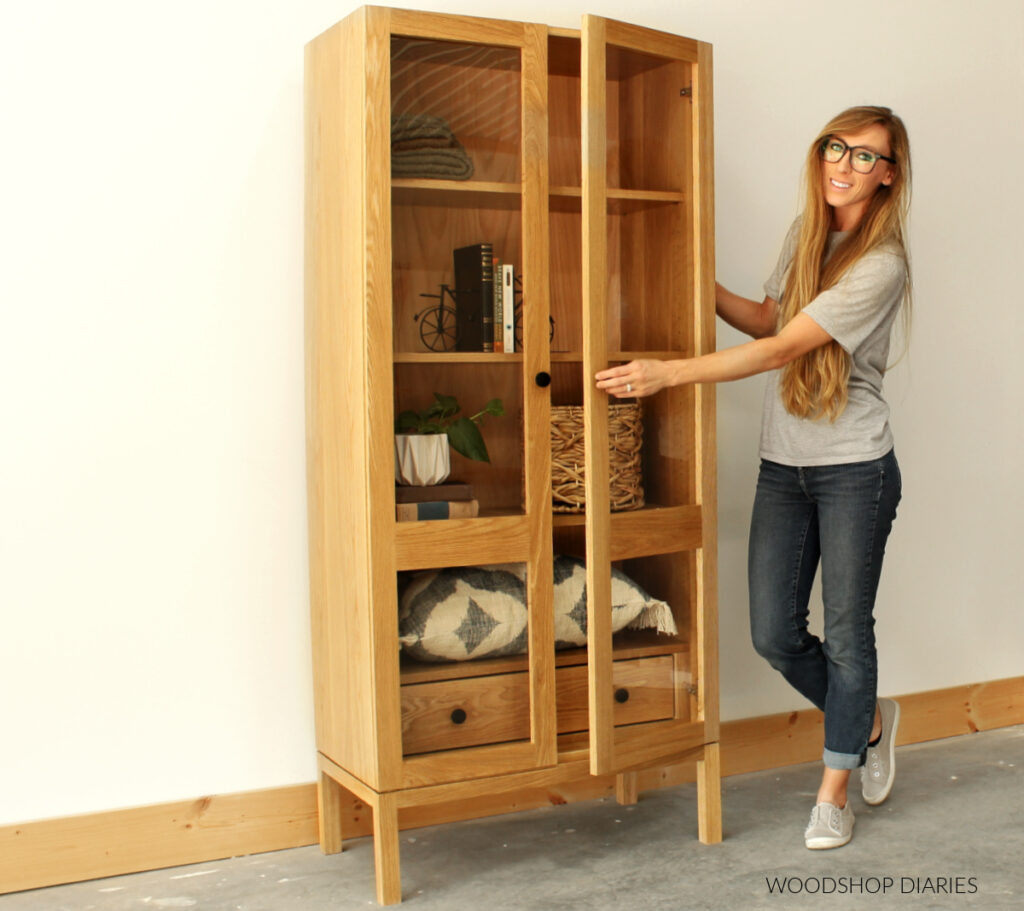
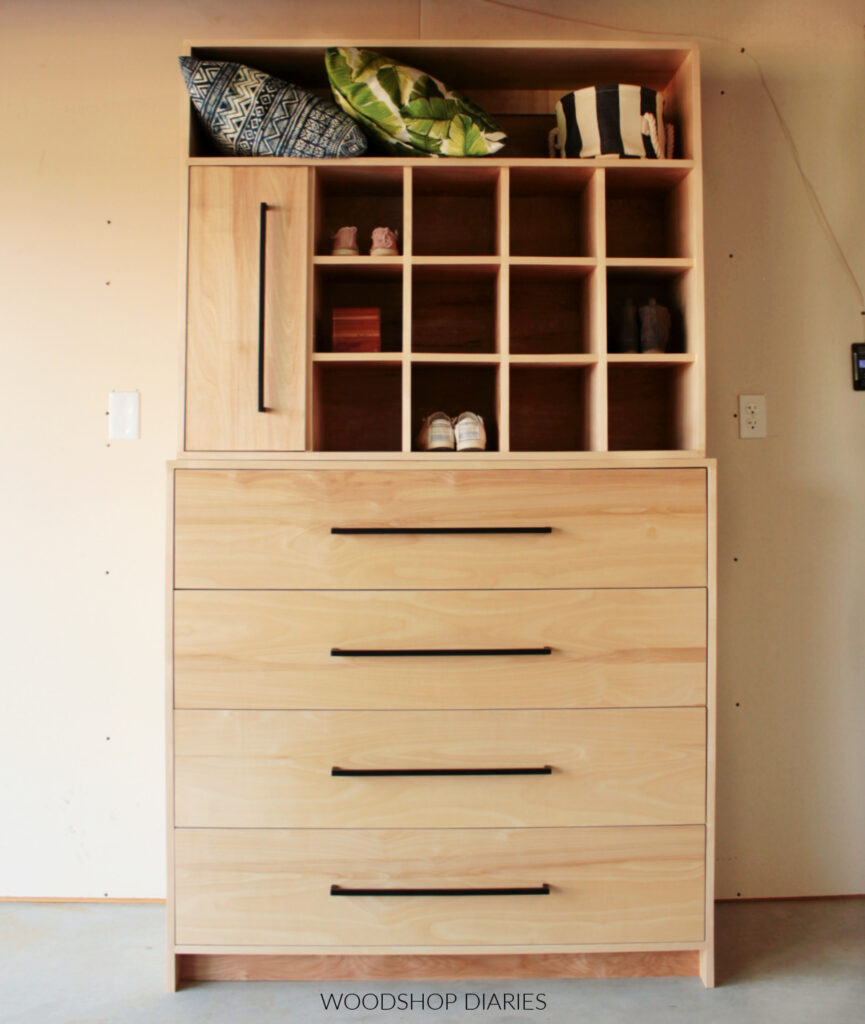
Looking for more storage cabinet ideas?
I LOVE how this turned out and it’s one of my all time favorite DIY furniture projects!
But, if you’d like more tall storage cabinet ideas and building plans to browse, here are a few favorites!
If you enjoyed this project, don’t forget to pin this or share to your favorite social media channel to save it for later!
Until next time, friends, happy building!