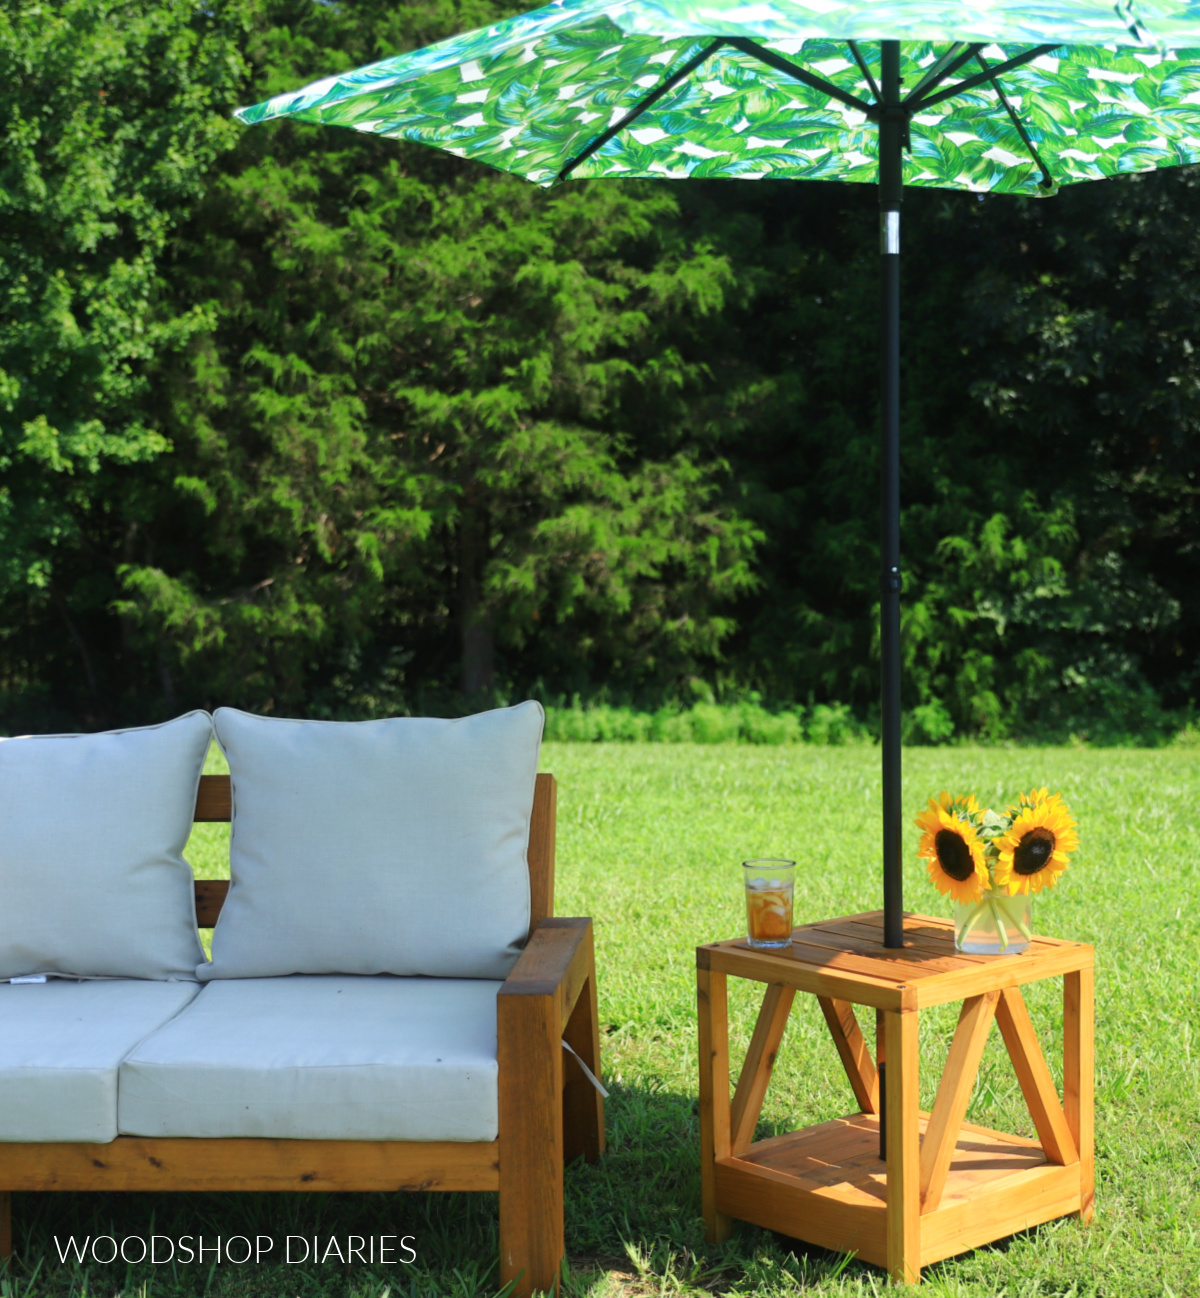
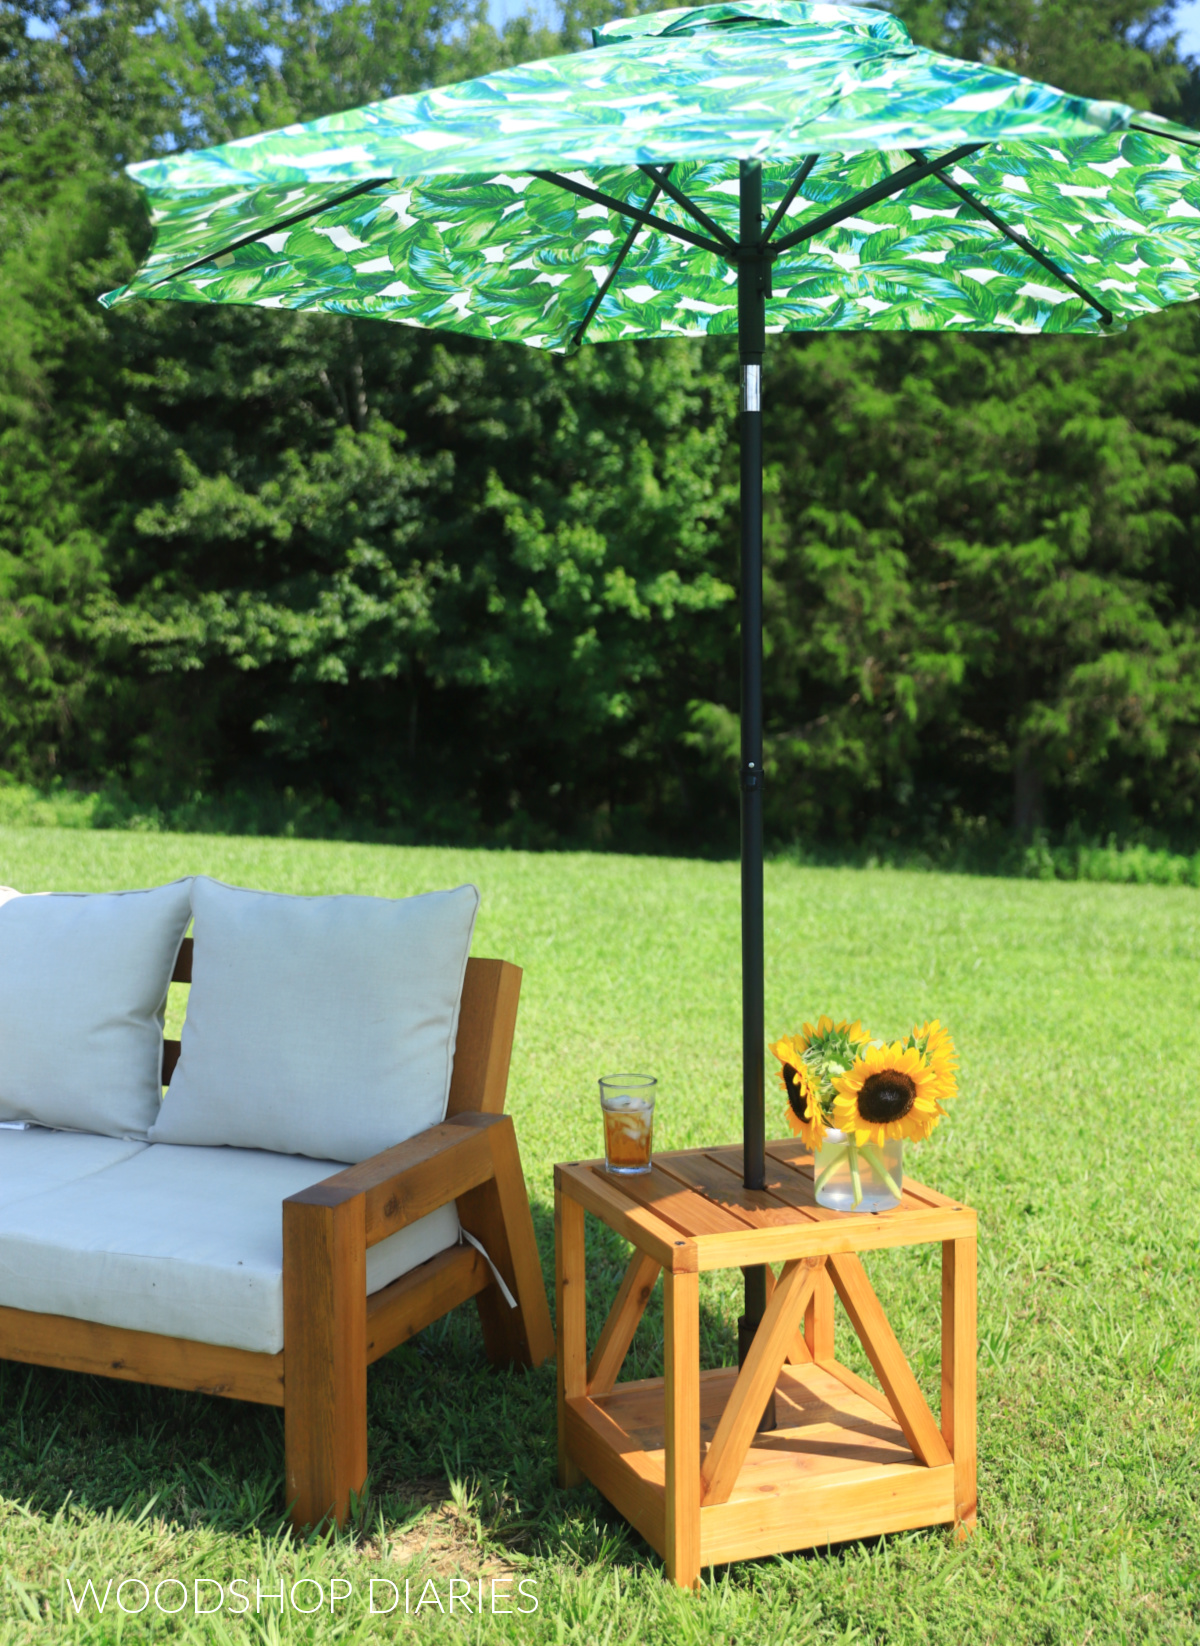
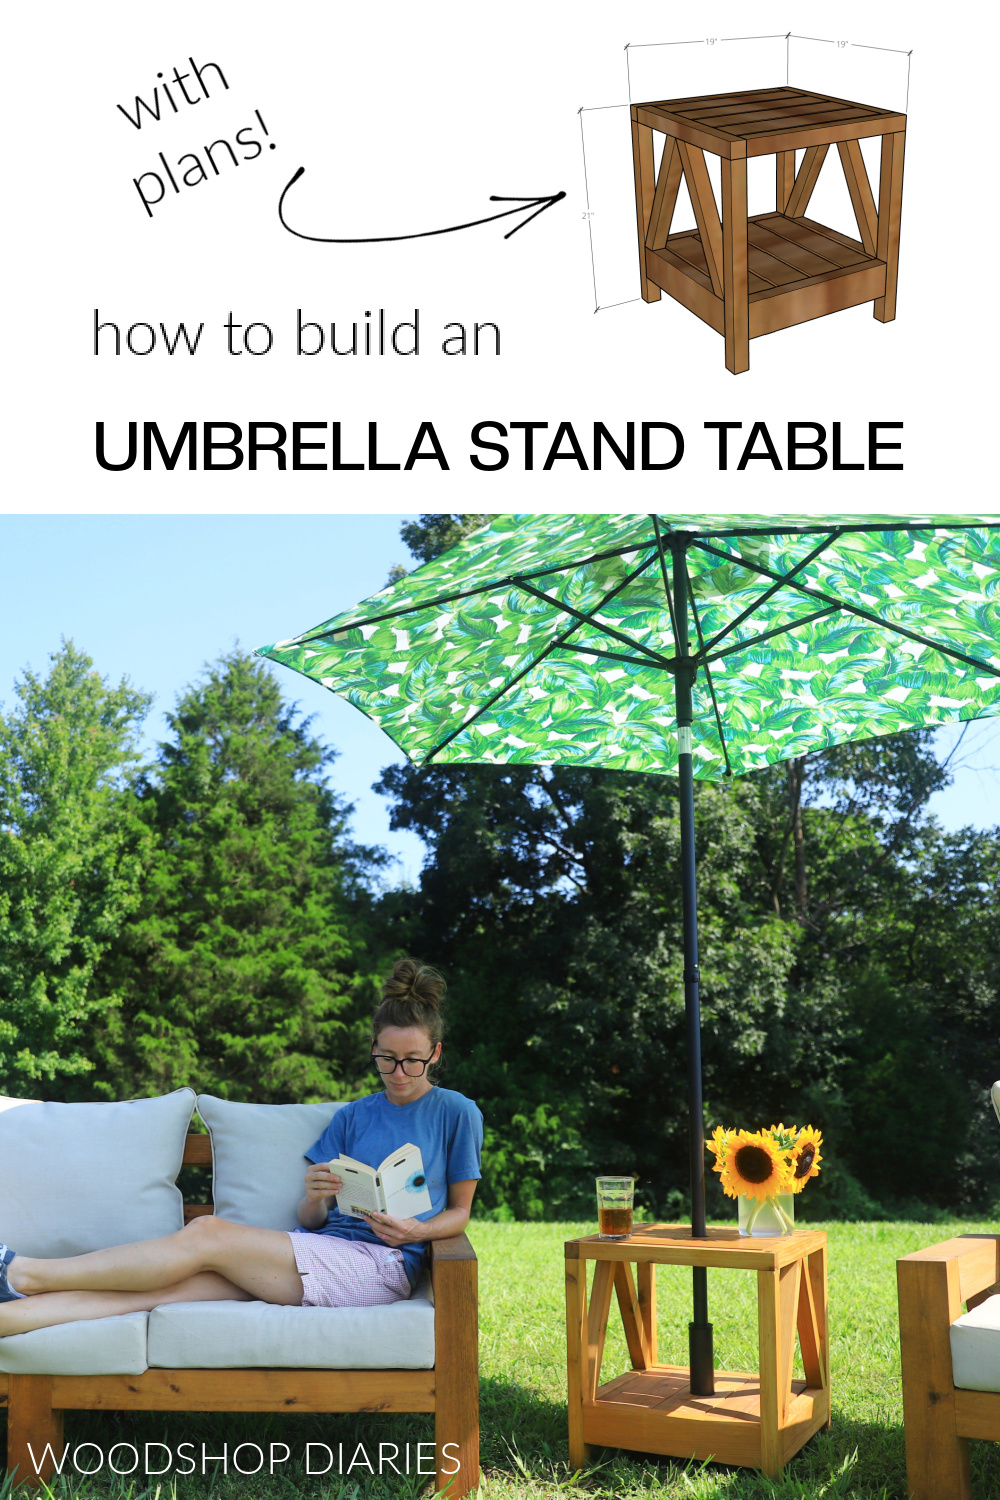
In this post, I’m sharing how to build a simple outdoor side table that can double as an umbrella stand!
It’s the perfect addition to the porch or patio to give you a little shade from the sun and a handy place to set your drinks.
Although I made it for outdoors, if you didn’t need an umbrella stand and just wanted a side table, this could work indoors, too!
This was such a quick and fun DIY scrap wood project and I’m excited to share all the details on how to build it below!
*This post contains affiliate links. See website policies.
What to consider before building
I was able to build this umbrella stand from various scraps I had leftover from a few previous outdoor projects. But, if you don’t have any spare wood lying around, that’s okay!
It’s a small project you can build with just a few boards (I’ve included the materials list below). It’s also a quick project you can easily tackle in an afternoon or a weekend.
While this table functions as an umbrella stand, the umbrella will still require a weighted base. This base will sit underneath the table, so you want to make sure the base you use isn’t too large to fit.
Overall Dimensions
The overall dimensions of this umbrella stand table are approximately 19″ x 19″ x 21″.

What Type of Wood to Use for Outdoor Furniture
You can build outdoor projects from any wood type, but some will last MUCH longer than others.
RELATED: How to shop for lumber
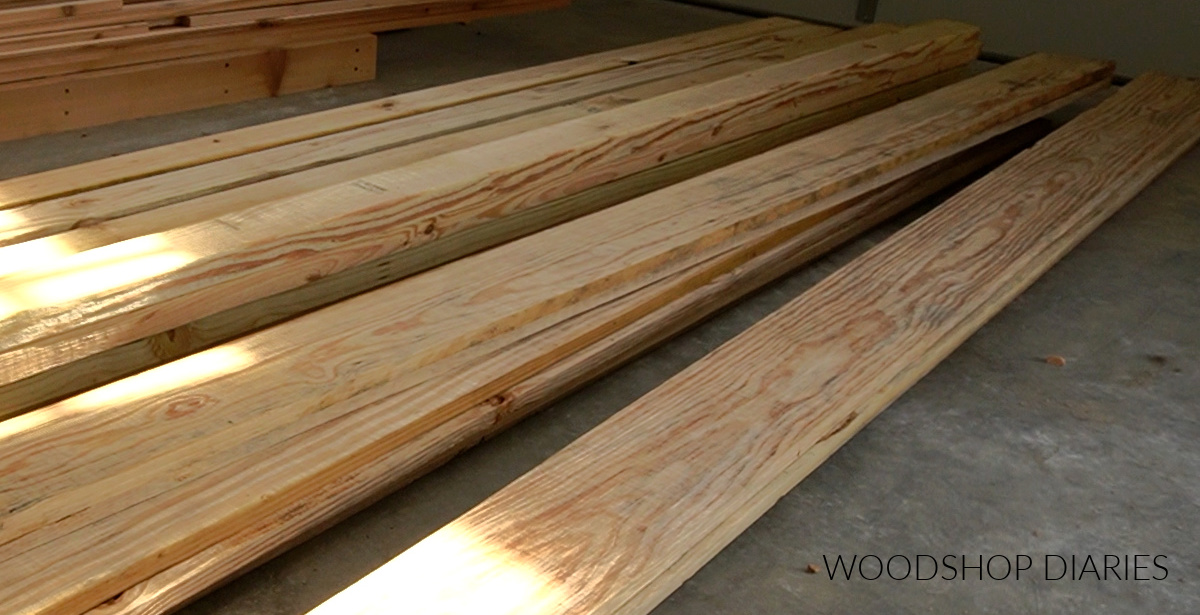
Untreated pine (basic construction lumber) will work fine for outdoor furniture, but is best for projects that will be under cover–like on a porch. If exposed to a lot of sun and rain, it will deteriorate quickly.
It’s the most budget friendly option, but may not be the most durable for outdoor use.
Pressure treated pine is a little more expensive, but is made specifically for outdoor use. It’s a very common material to build decks with.
It’s treated with chemicals to make it more rot resistant and will usually last SEVERAL years outdoors even if left uncovered.
While durable and budget friendly, this material is heavy, treated with chemicals and can take a while to dry out.
Cedar, red wood, and teak are all naturally decay and insect resistant wood options that look really nice.
But, these wood types can be a bit more expensive and sometimes hard to find depending on where you live. For example, I can’t get red wood where I live, but I can get cedar–so that’s what I used here.
So when building for outdoors, consider your budget, availability, and the pros and cons of each option before choosing your wood type.
Don’t forget when building outdoor projects–make sure the hardware (screws), glues and finish you use are rated for exterior use.
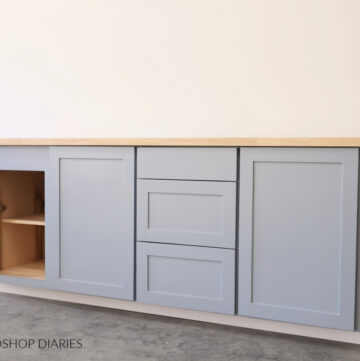
If building this for indoor use, cedar, pine, poplar or oak are all great options to use.
You may find these resources helpful throughout the build:
Are DIY projects your thing? Sign up for our newsletter for priority access to the latest projects and build plans!
How to build an umbrella stand side table
If you prefer to watch, I’ve shared the build video with tons of tips, behind the scenes, and additional information here:
Love watching how-to videos? Subscribe to my YouTube channel for plenty more where that came from!
Prefer to print? Grab the printable umbrella stand table building plans here:
Tools & Materials
Tools:
- Miter Saw
- Drill/Driver
- Pocket Hole Jig
- Hole Saw and/or Forstner Bit (large enough to drill holes for umbrella post)
- Brad Nailer (optional)
Materials:
- (2) 2x2x8 boards
- (1) 2x4x8 board
- (1) 1x4x8 board
- (1) 1x6x6 (or use 1×6 fence picket or 1×4 boards for bottom slats)
- 1 ¼″ pocket hole screws
- 2 ½″ pocket hole screws
- 2″ wood screws
- 2 ⅞″ timber screws (OR 2 ½″ – 3″ long wood screws)
- 1 ¼″ brad nails (optional)
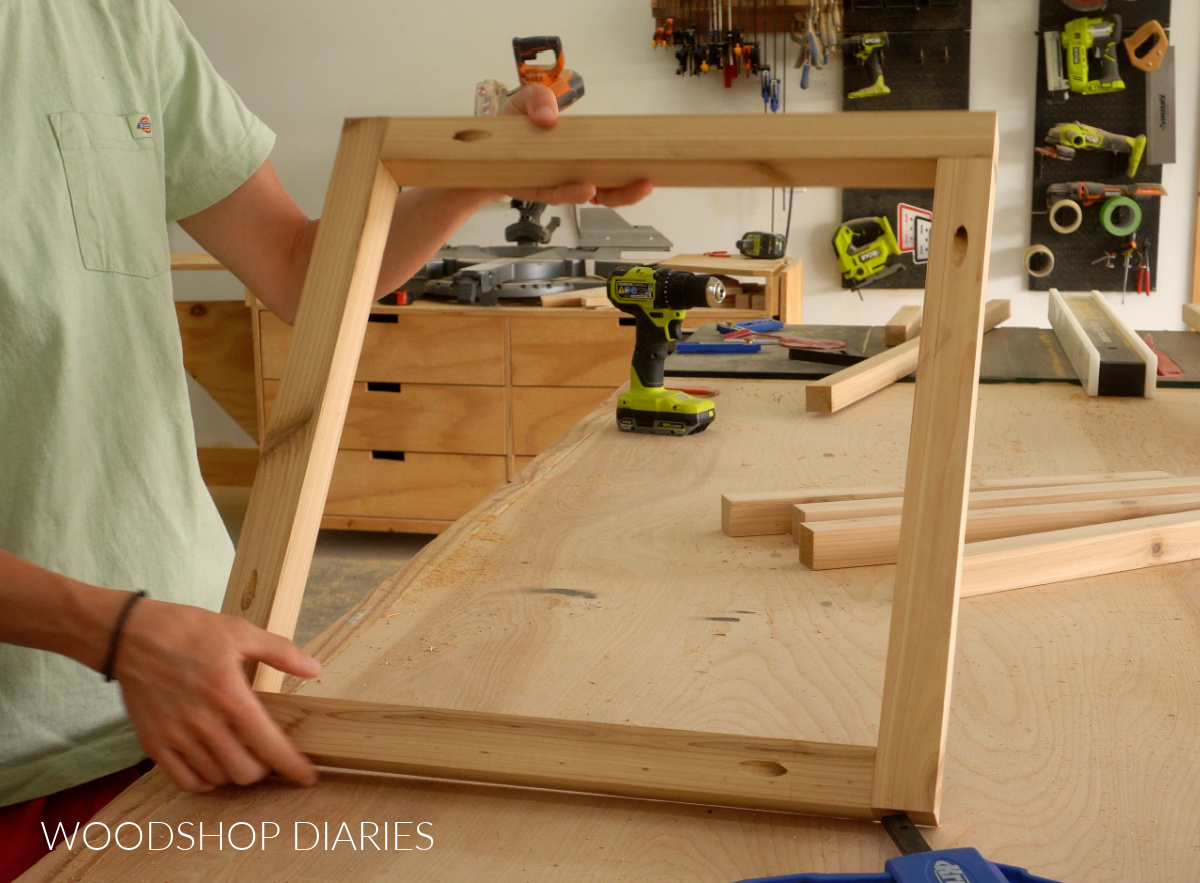
Step 1: Assemble the Top
To get started, I cut four pieces of scrap 2×2 cedar to 17 ½″ long. Once cut, I drilled a pocket hole into ONE END of each piece.
RELATED: How to drill pocket holes
Then, I assembled them together at the corners with pocket hole screws like shown below. Note the orientation of the pieces.
After the frame was together, I cut four pieces of scrap 1×4 cedar to fit inside the frame. I installed these using pocket holes and screws so that the pocket holes were on the bottom side and the boards were flush across the top.
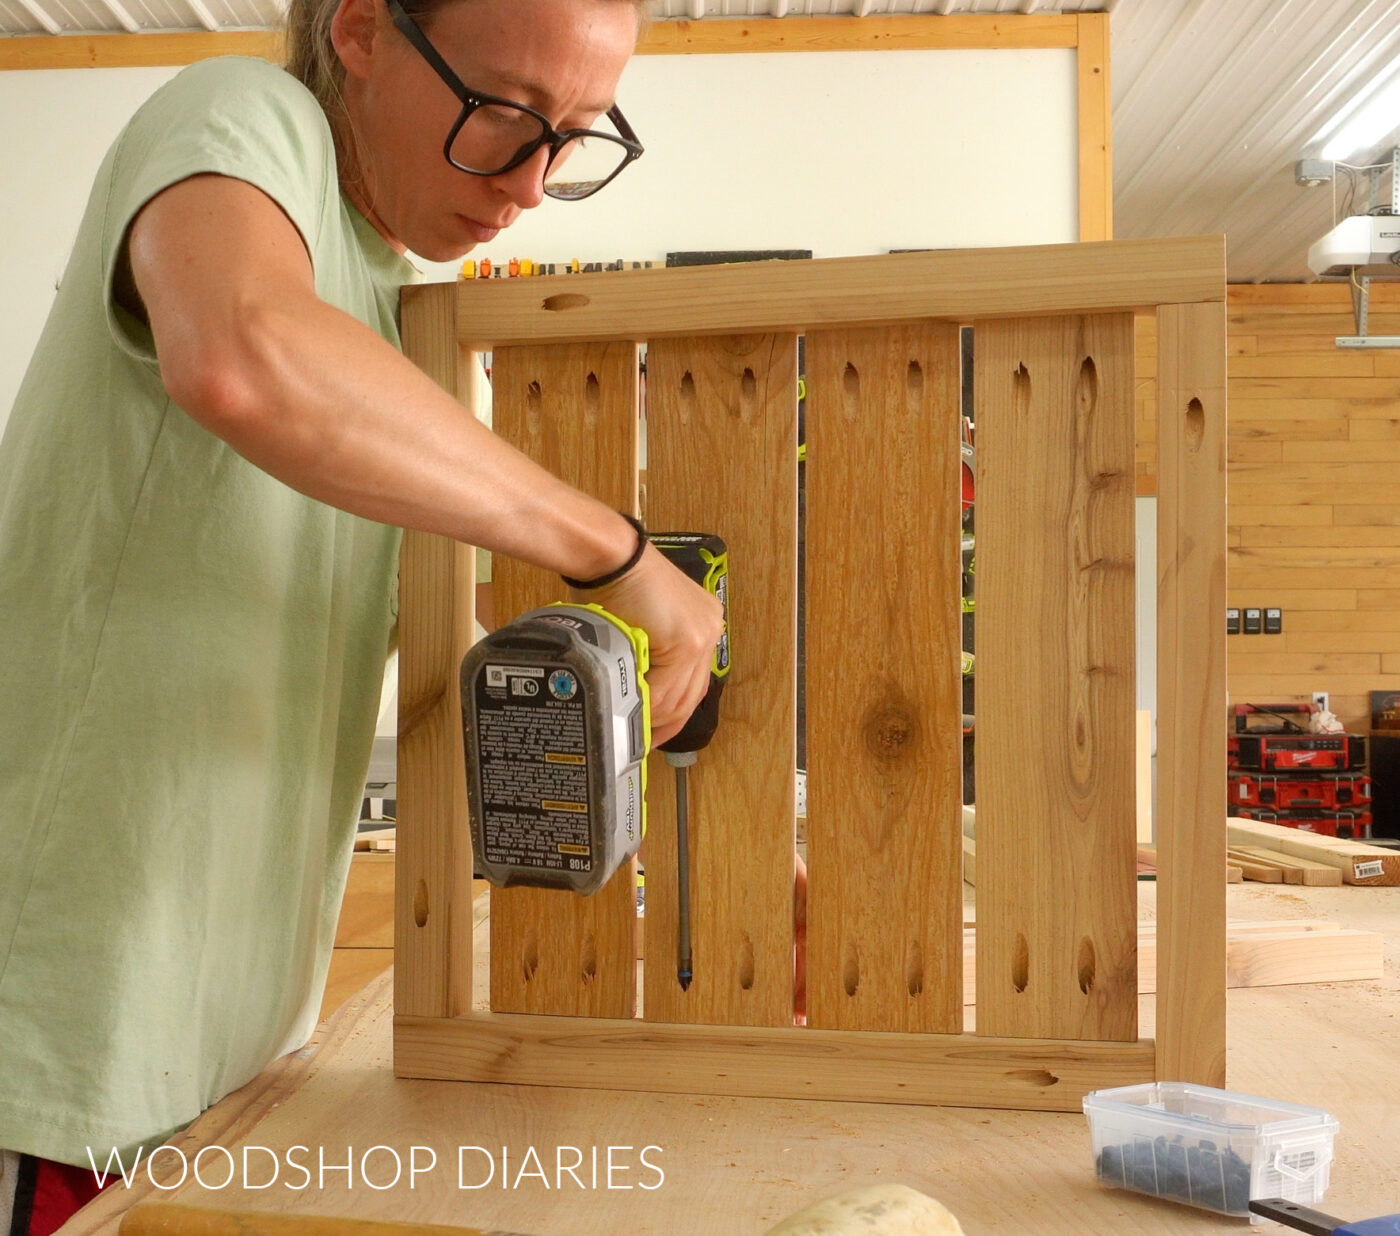
These slats should fit into the frame with some gaps between them. I just kind of eyeballed that the gaps looked even–they don’t have to be specific.
NOTE: Since it’s an outdoor project, it will likely be exposed to rain/snow. When water pools on wood, it can cause warping and/or other damage. So leaving gaps allows water to drain off, preventing damage.
Prefer to print? Grab the printable umbrella stand side table plans here.
Step 2: Assemble the Base
After the top was together, I cut four pieces of 2×2 cedar to 19 ½″ long and four pieces of 2×4 cedar to 16″ long.
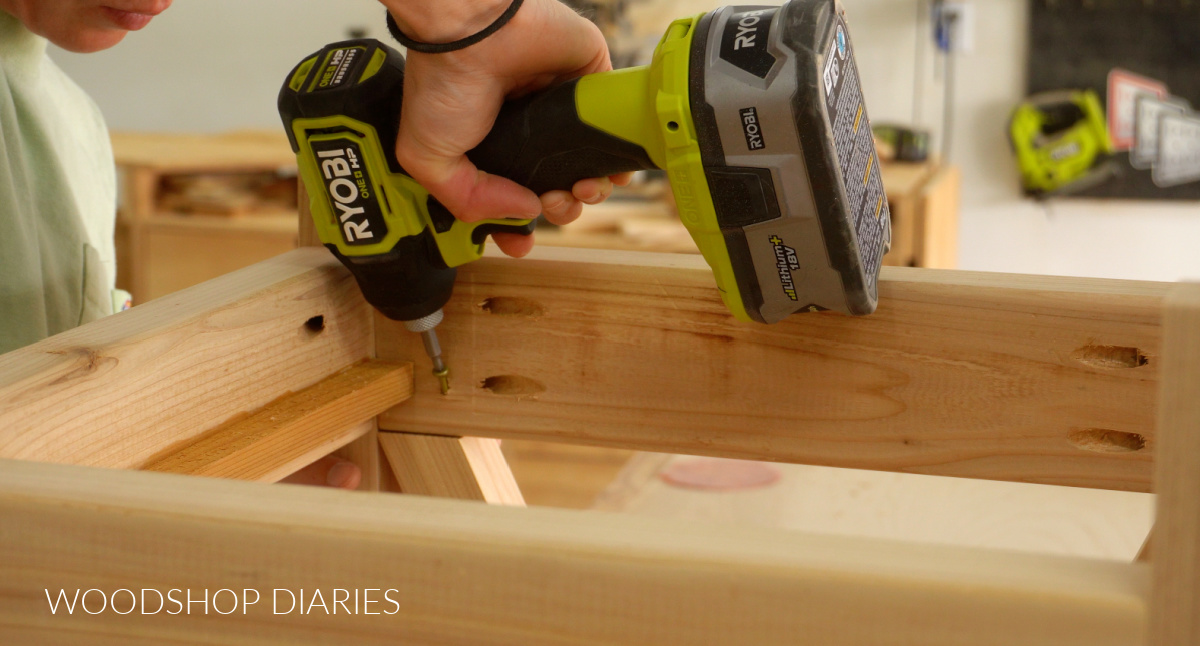
I drilled pocket holes into the ends of the 2x4s and installed them between the 2x2s to make a table base using pocket hole screws.
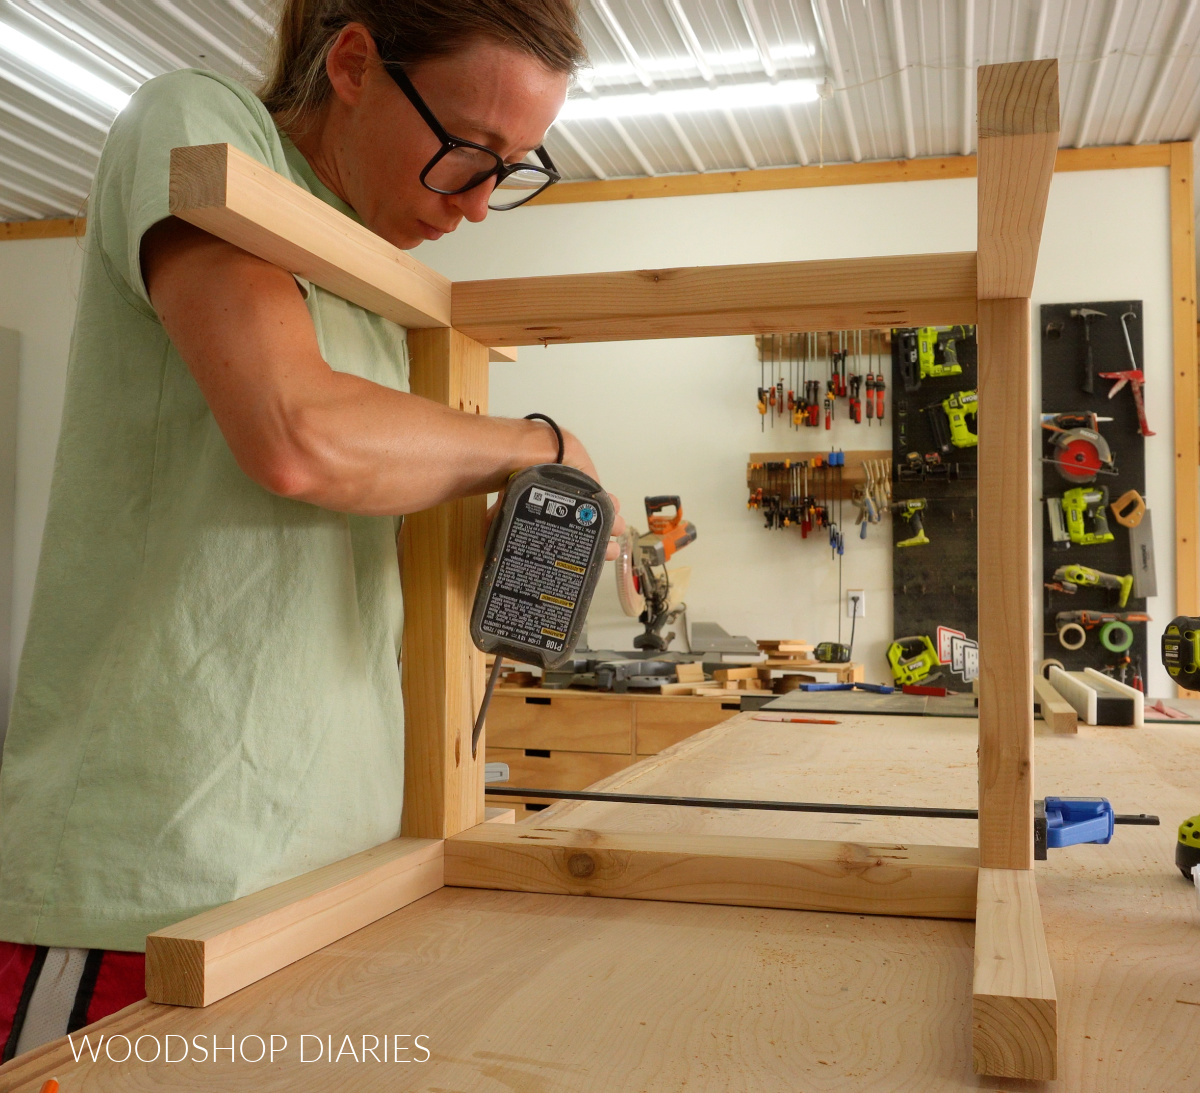
I measured, marked, and installed these 2x4s so that the bottom was about 3″ up from the bottom of each 2×2 leg.
Then, I placed the top from step 1 onto this base and secured with black timber screws at each corner.
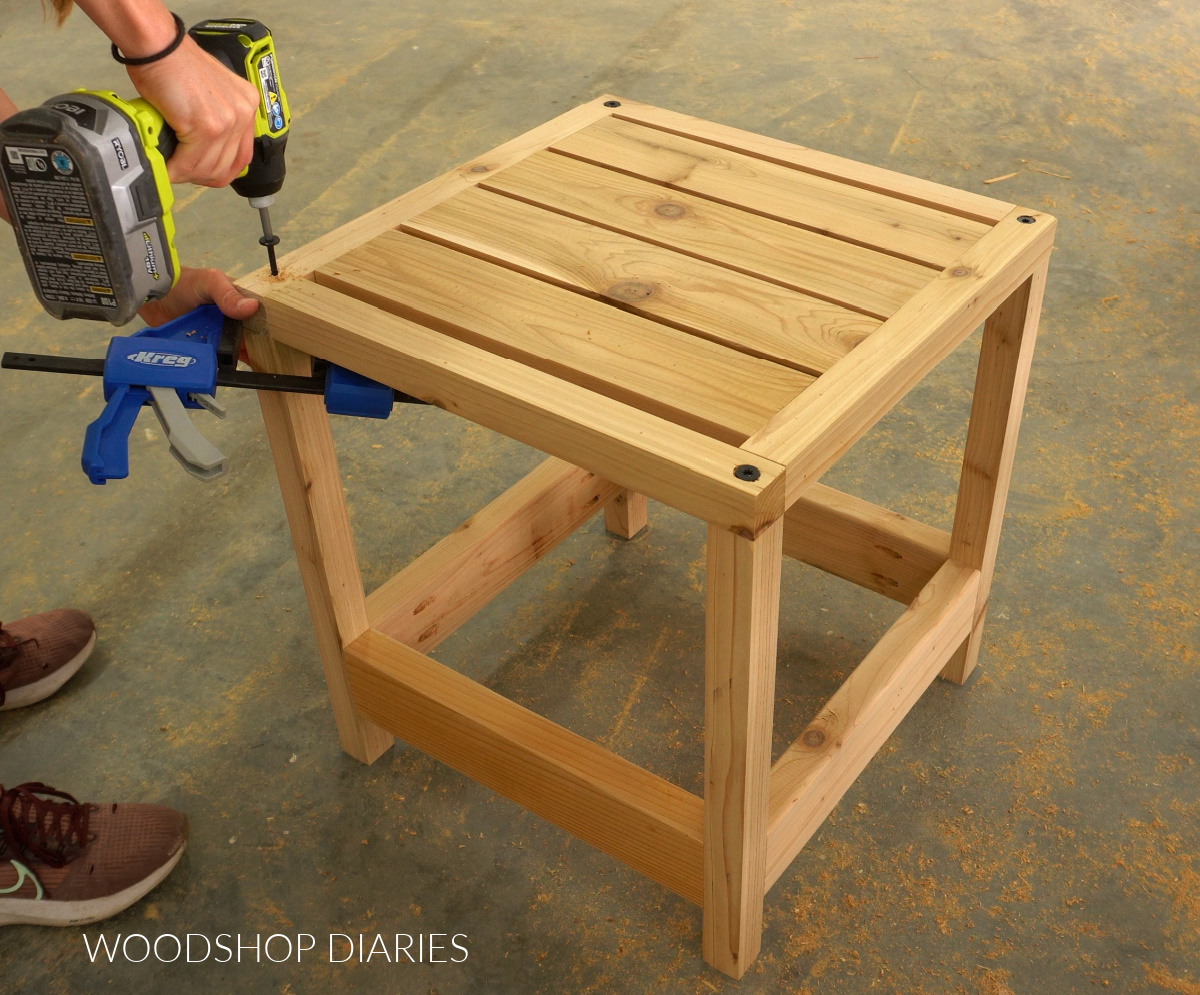
Because the pocket holes in the top frame run along each corner, it’s important to be careful when driving these timber screws. I recommend predrilling first to make sure you’re not drilling into a pocket hole screw. It’s also best to predrill anyway because these large timber screws can split cedar pretty easily.
By the way, the black accent of the timber screws added a little extra character, but if you don’t have any and don’t want to buy them, regular 2 ½″ or 3″ wood screws would work fine here, too.
Before moving on, I cut some scrap ¾″ x ¾″ strips to glue along the bottom supports. If you don’t have any ¾″ square scraps, 1x2s would also work–these don’t have to be a specific size.
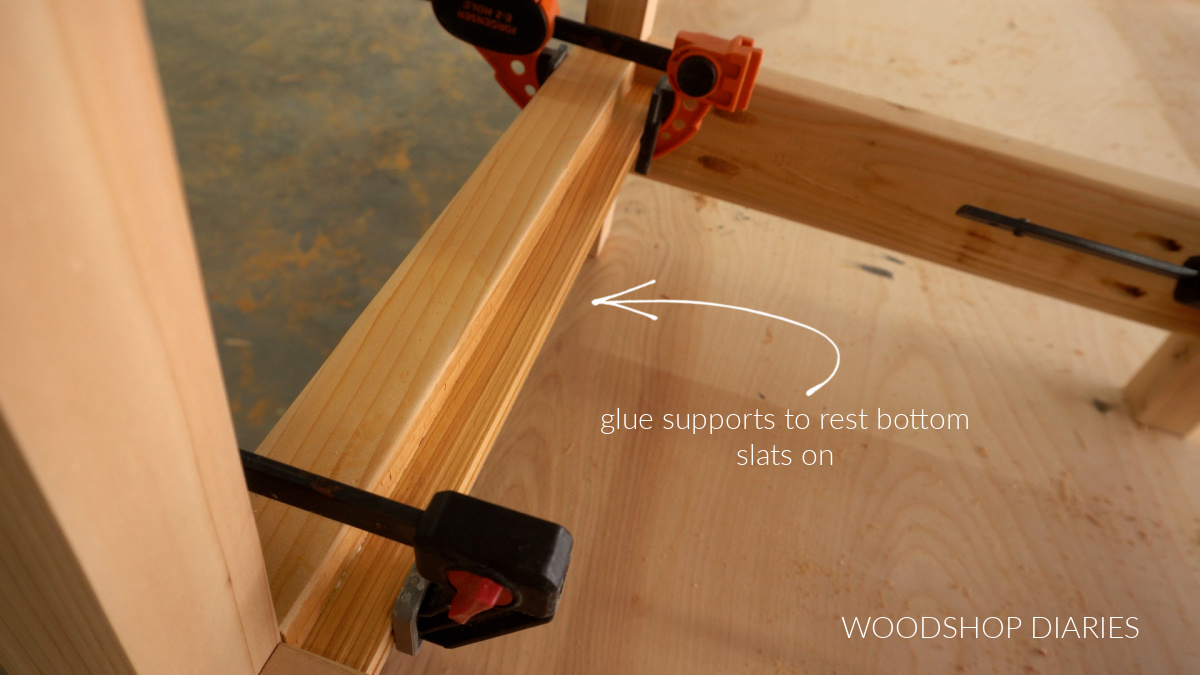
The bottom slats will rest on these in a later step, so I just glued them on two opposite 2x4s about ¾″ from the top. That way, when the slats are placed on them, it’ll be flush (or close to flush) across the top.
Step 3: Install Optional Side Trim
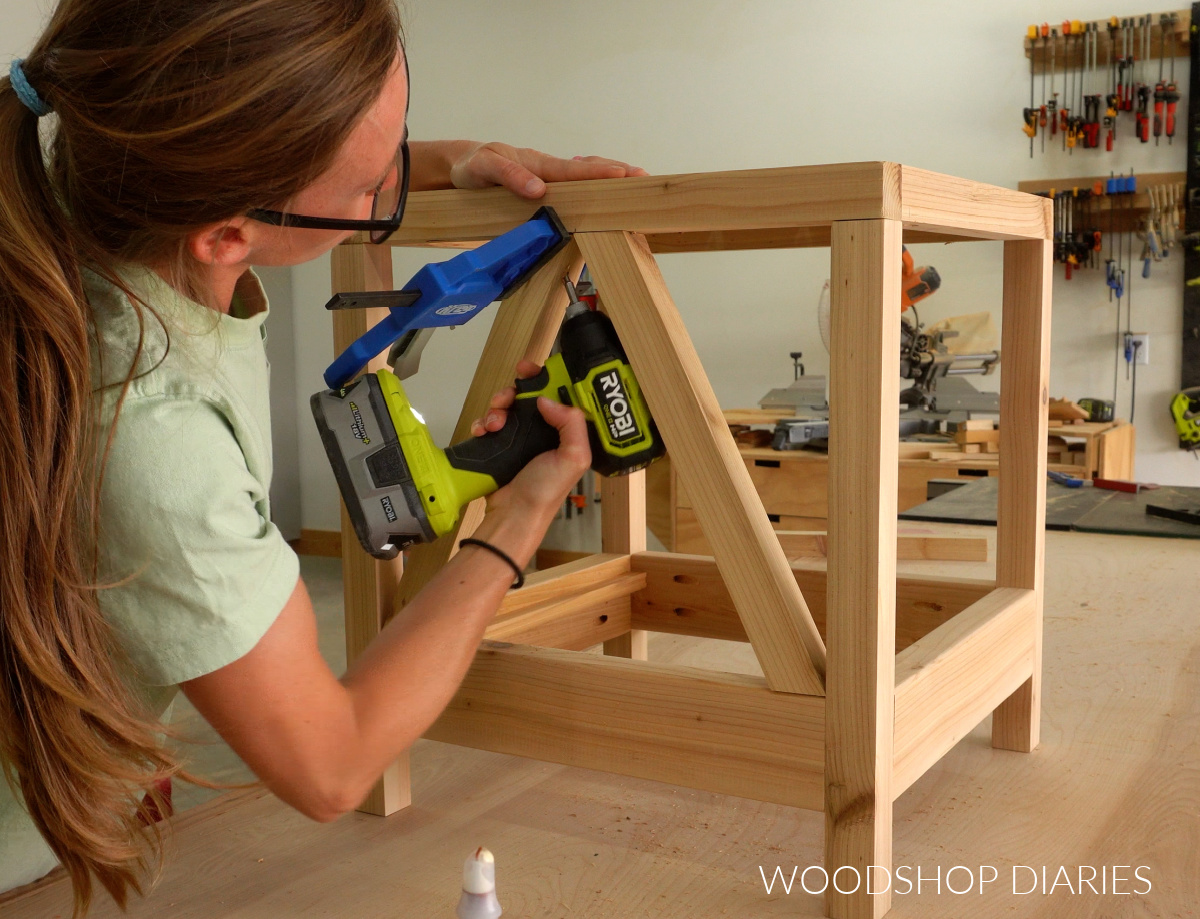
Next, I cut to fit some 2x2s to kind of “decorate” two sides. This is completely optional, but it adds some detail.
I ran these at a diagonal so that they met in the middle at the top, but you could do a full X, run them vertical, or flip them upside down if you wanted.
Once I had cut them to fit, I carefully screwed them in to the top frame.
Then I flipped it over and screwed them in at the bottom. The bottom is a bit trickier–I had to “toe nail” (or drive the screw in at an angle) like you see below to secure each piece.
I repeated on the opposite side of the table so that two sides were open and two sides had these extra trim pieces.
All the details, dimensions, and diagrams for this build can be found in the printable umbrella stand side table plans here.
Step 4: Install Bottom Shelf
Then, I cut three pieces of 1×6 cedar fence picket to rest across the supports I glued on at the bottom. I only used cedar fence pickets here because I didn’t have enough scrap 1x4s. If you wanted to use 1x4s and match the top, you absolutely could.
I had to trim the width of one of my fence pickets to fit. So, I placed that one in the center.
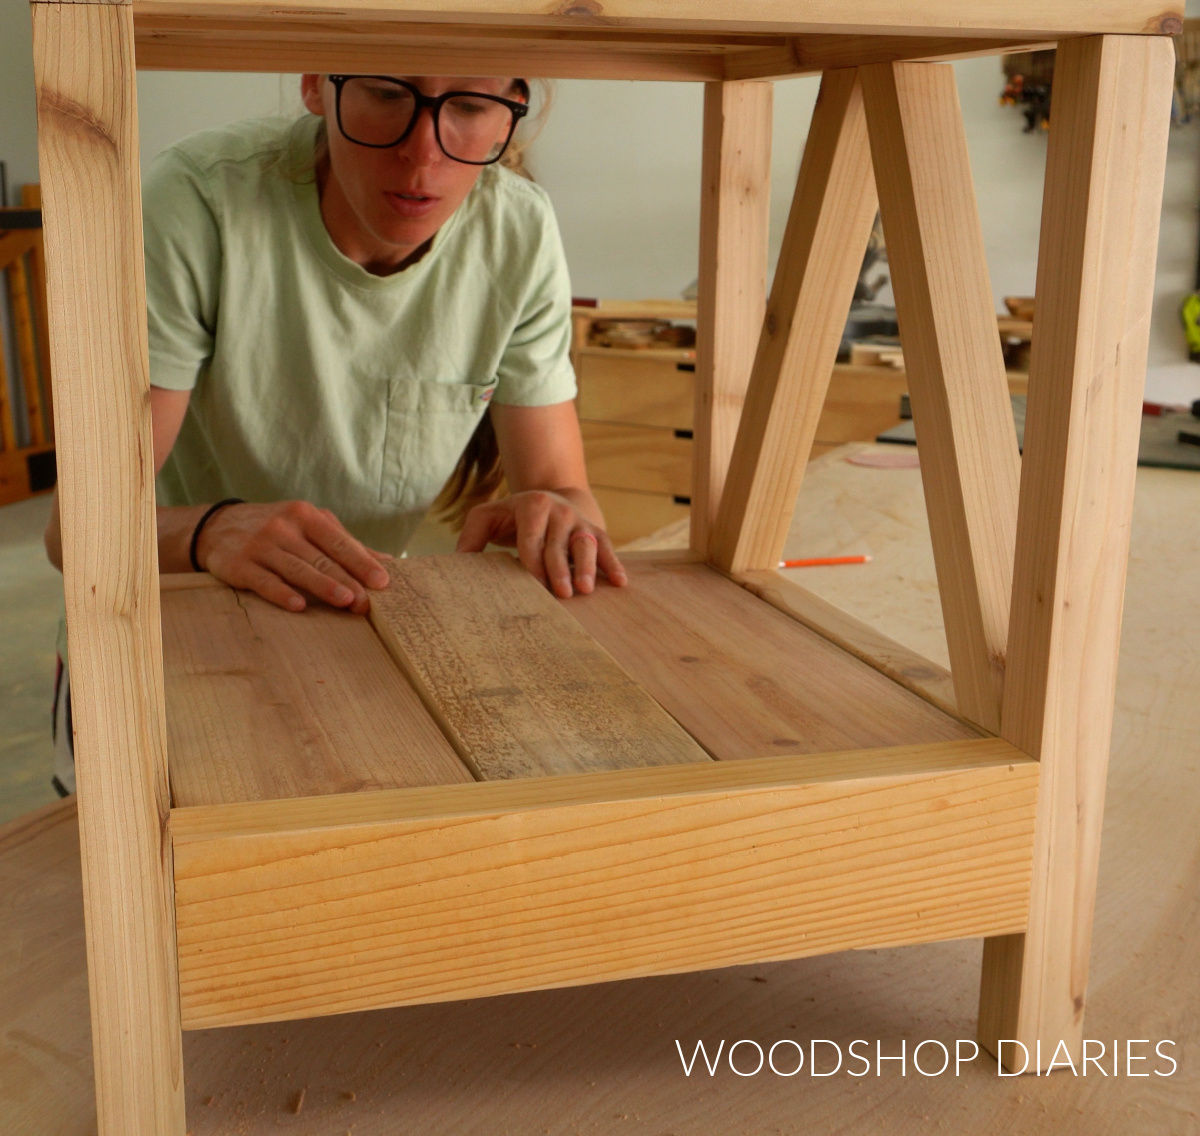
I cut these and made sure they fit, but I didn’t secure them just yet. I wanted to make sure the umbrella would work with it before securing.
But, if you don’t plan to use this for an umbrella stand, you can nail or screw these bottom slats in place.
Step 5: Drill Holes for Umbrella & Stand
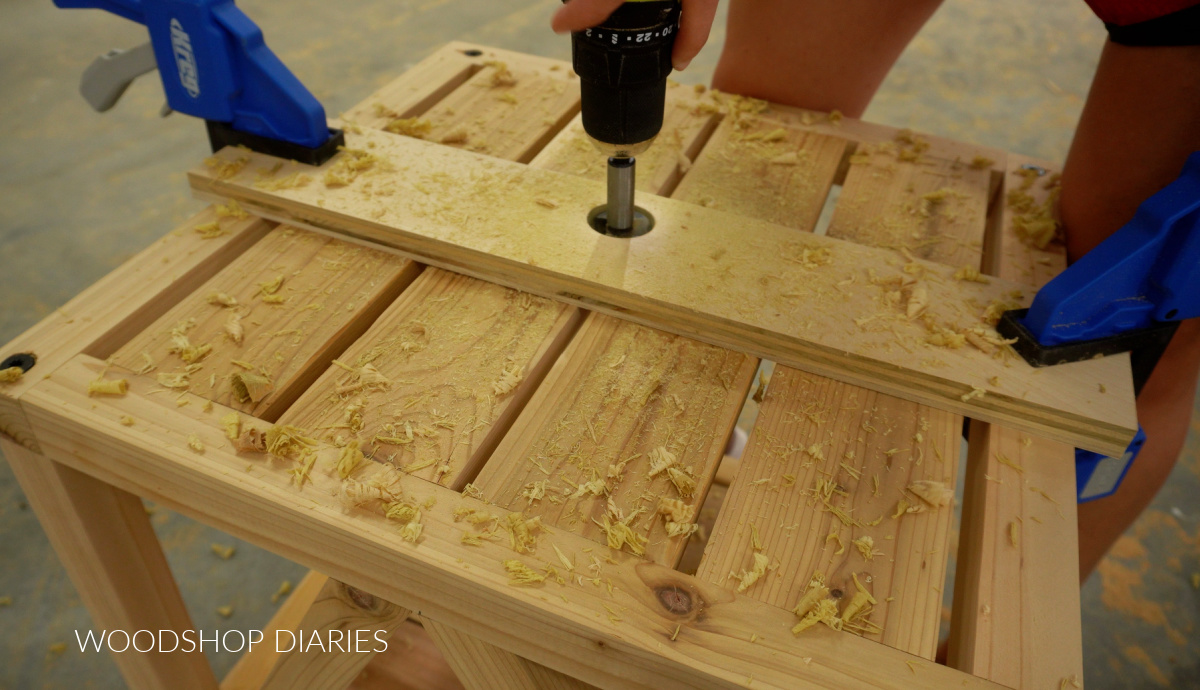
Because I was using this for an umbrella stand, I obviously had to drill holes for the umbrella pole to go into. So I used a forstner bit (a hole saw or spade bit would work, too) a little bigger than the diameter of my umbrella pole to drill a hole out in the center of the top.
Because the center of the hole is in a gap between boards, I clamped a scrap board on top to keep my bit steady. Otherwise, it would be difficult to get it started.
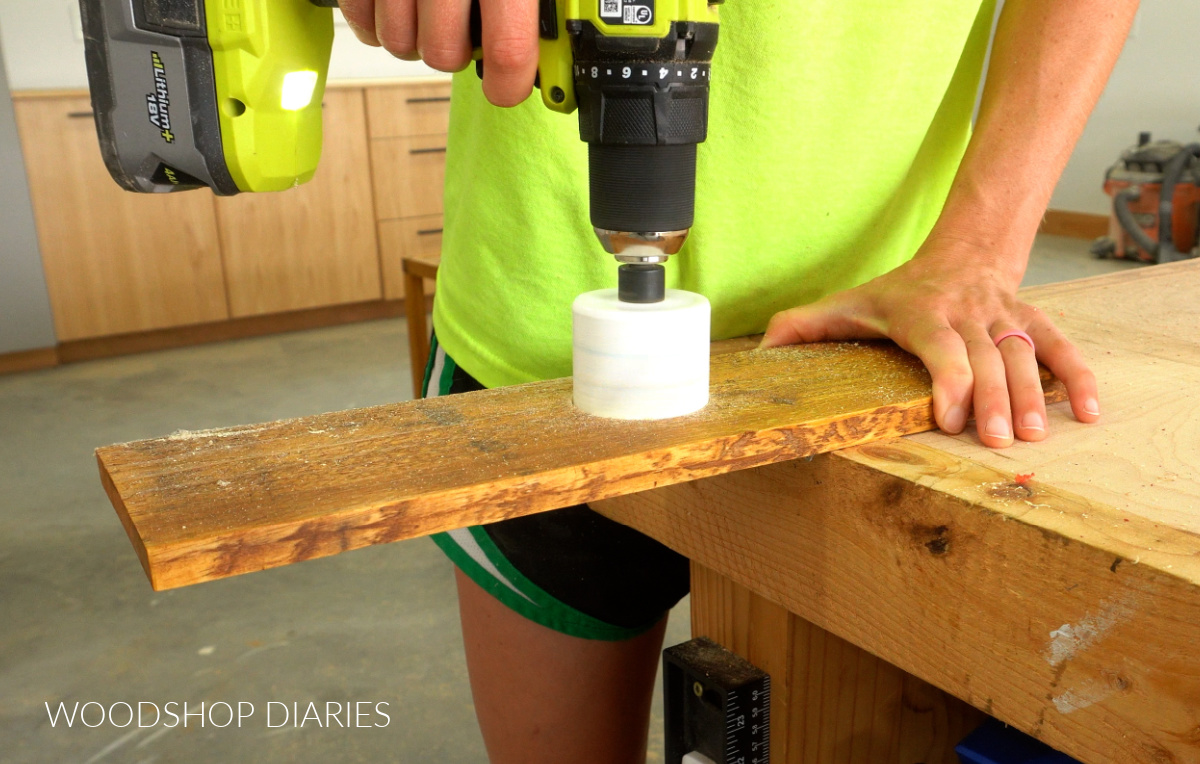
Now, even though this table is an umbrella stand, you still actually need a weighted umbrella stand to go underneath it. So I measured the diameter of my weighted umbrella stand post (which is larger than the pole, so make sure you check it!).
And I drilled out a hole a little larger than the stand post in the center of my center bottom slat.
I know this is a little out of order, but before securing my bottom slats, I went ahead and stained them and the table separately. I applied a coat of Cabot Australian Timber Oil in Honey Teak.
Then, I placed the bottom slats back into the table and brad nailed them in place (you could also screw them if you wanted).
At that point, I test fit it over my weighted umbrella stand to make sure everything fit well.
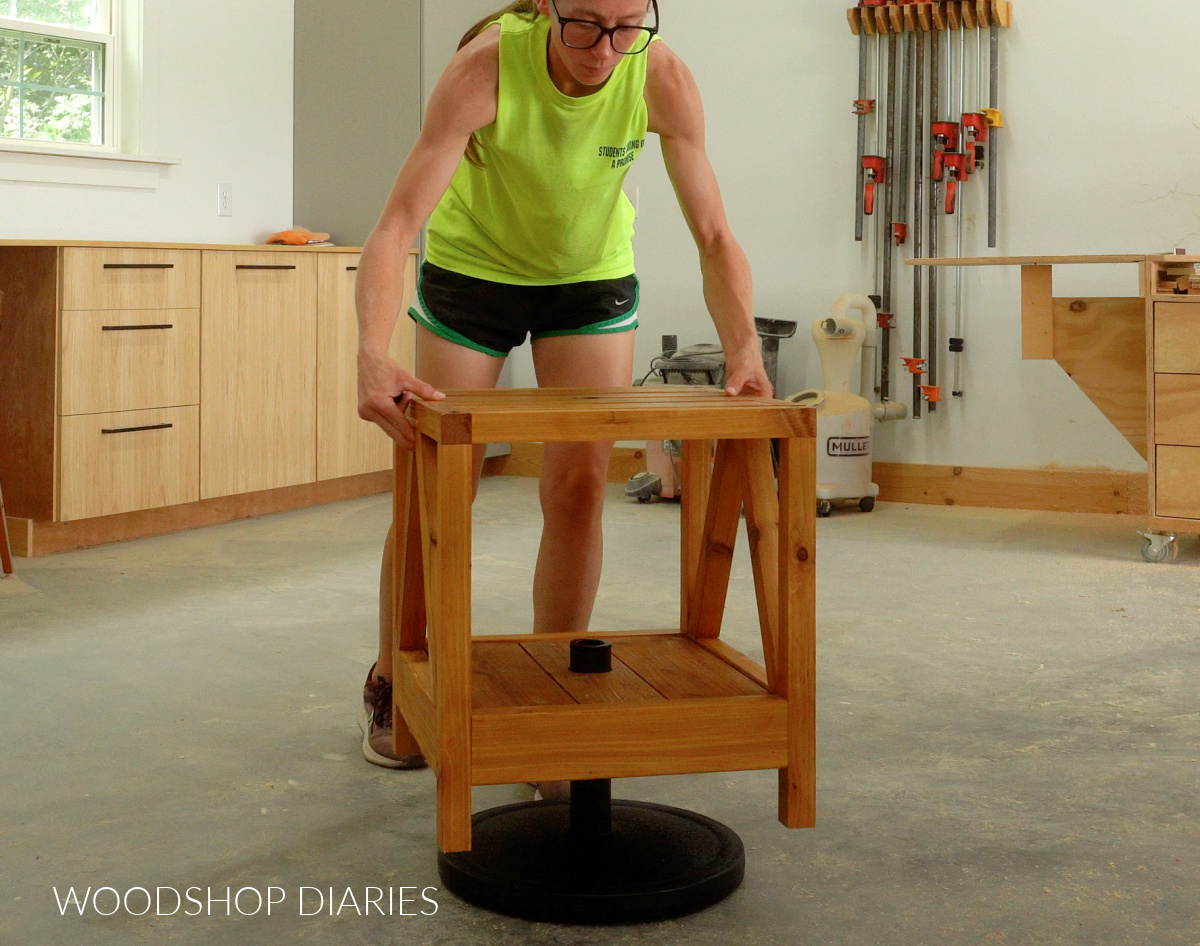
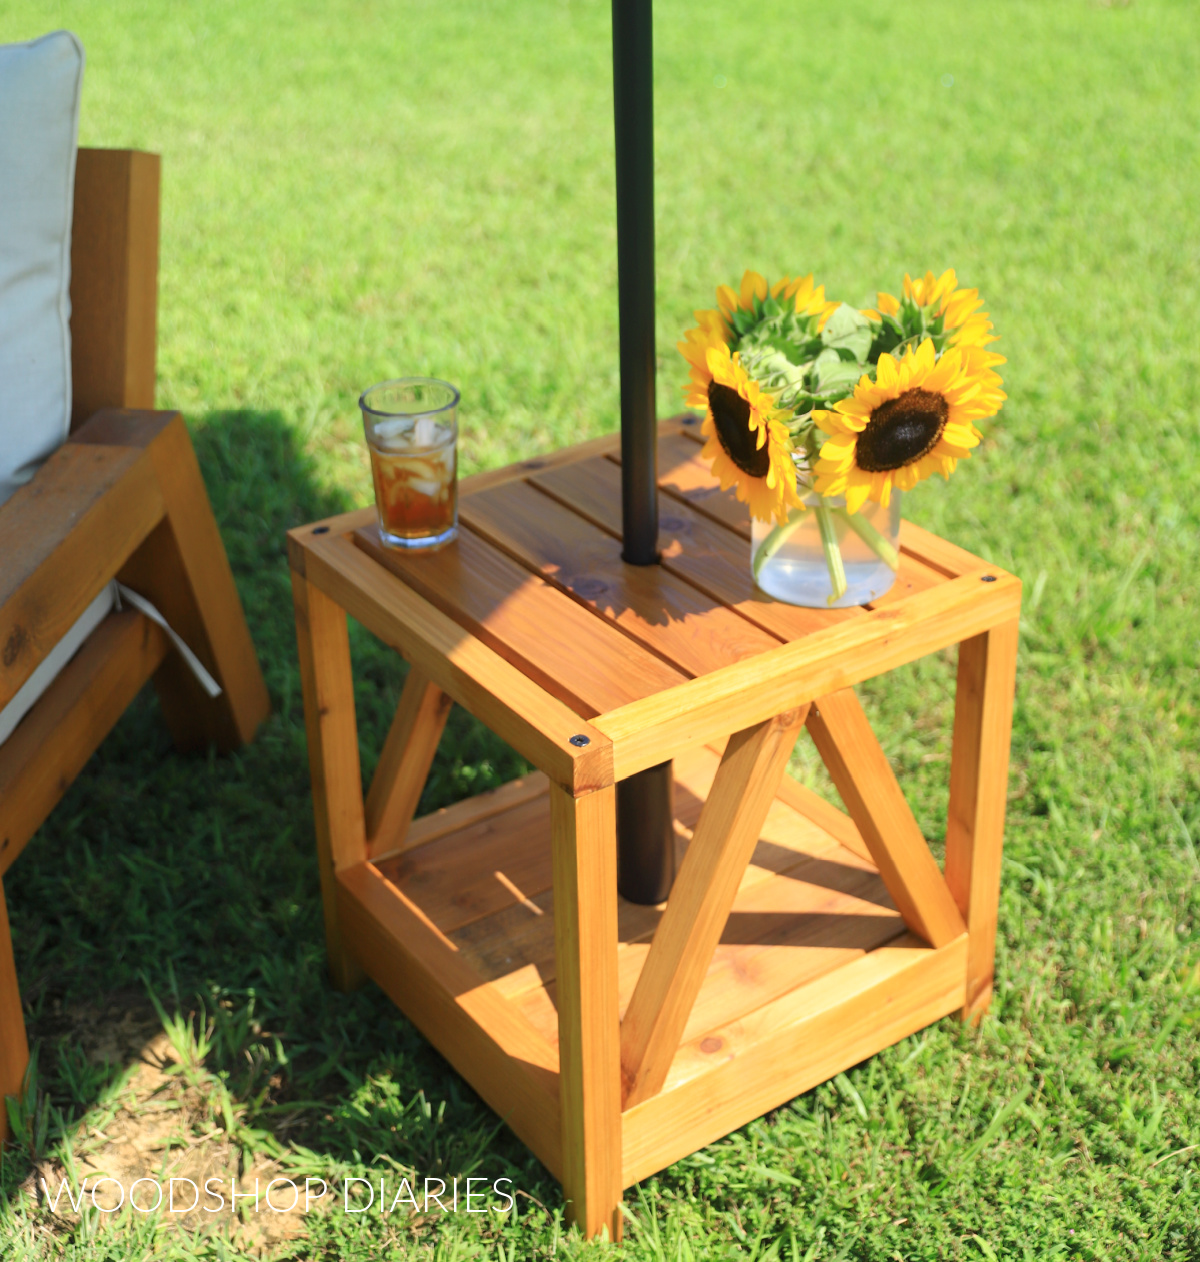
Thankfully, it did, so it was ready for the umbrella, a sunny day, and a glass of tea.
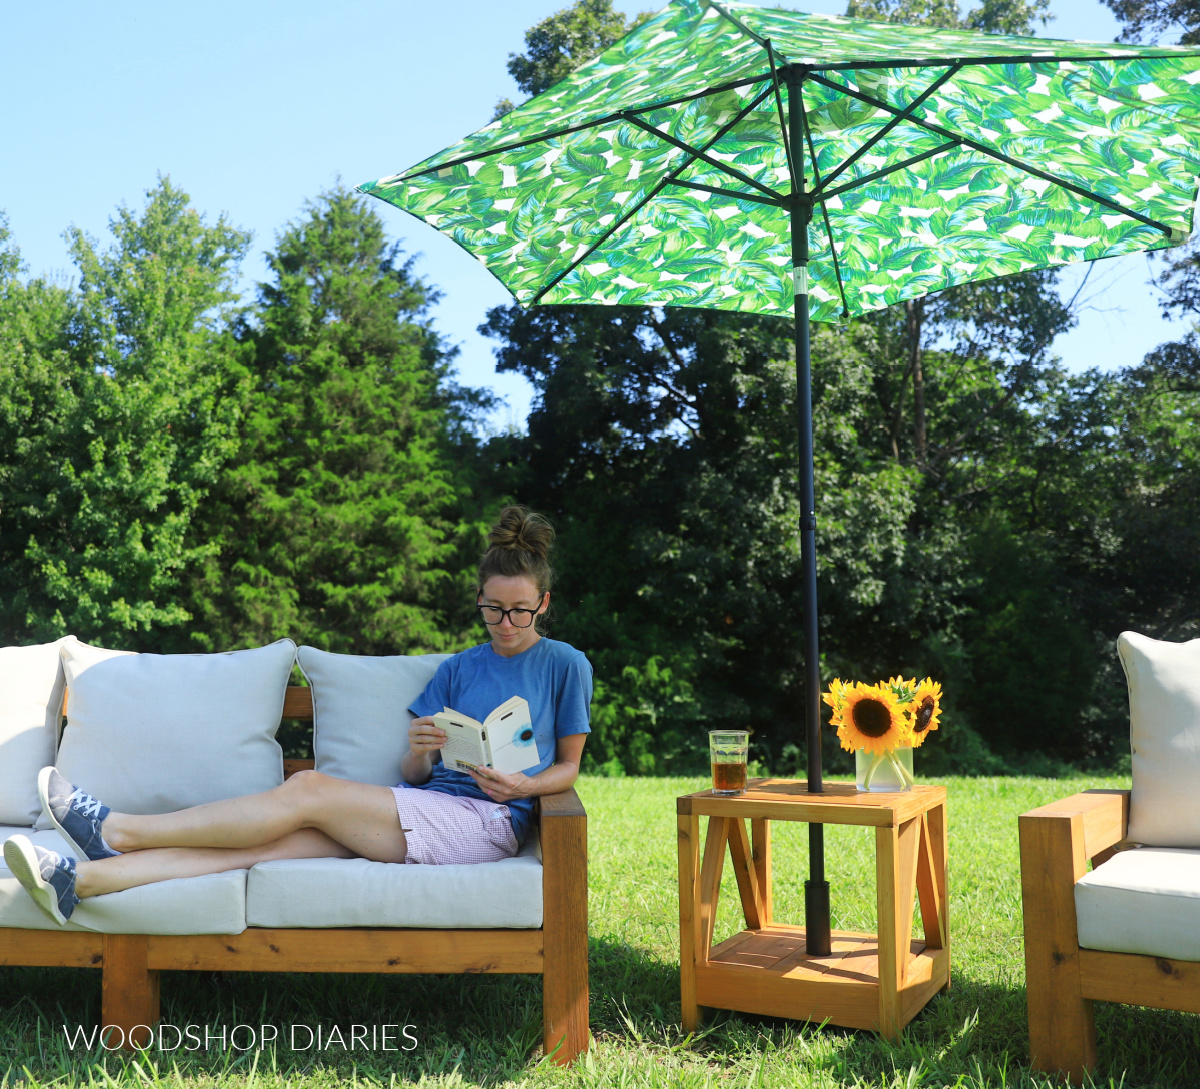
I love that it can double as a side table AND an umbrella stand. I intentionally built it so that it’s easy to slip over the umbrella stand, so if we ever decide to change things out, we can.
While the weighted stand is still used, the table adds a lot of extra stability…and style, of course.
Who knew some wood scraps could look this good?? If you’d like to build your own, grab the printable plans here.
Looking for More Scrap Wood DIYs?
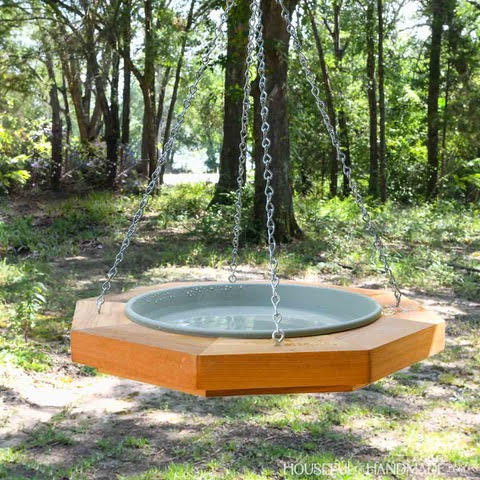
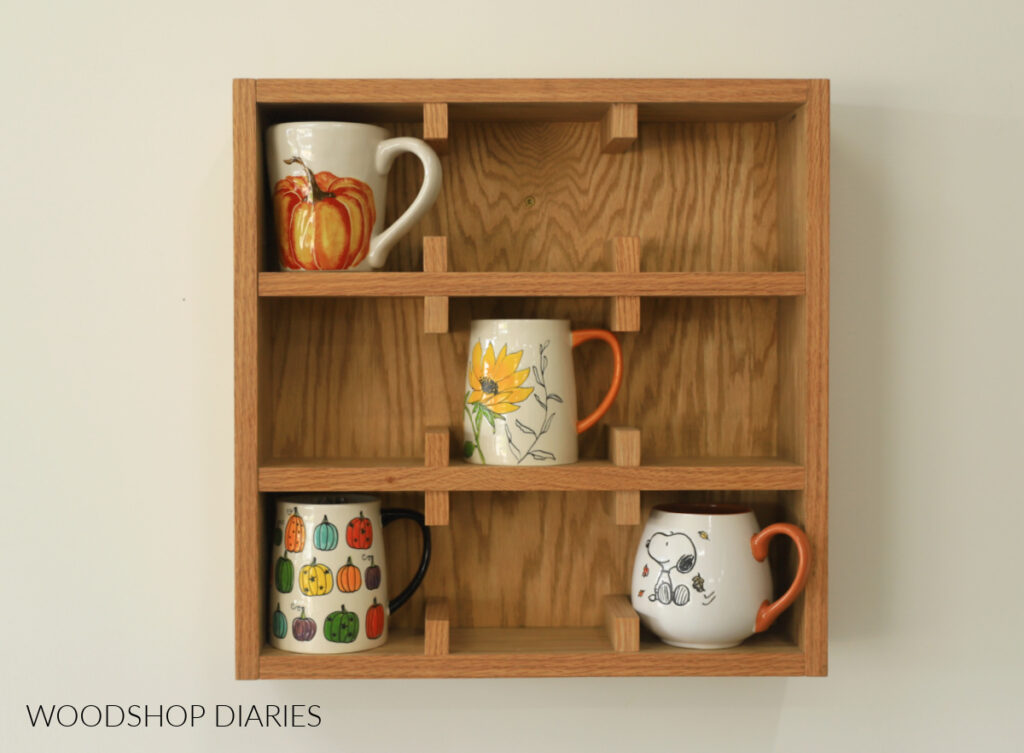
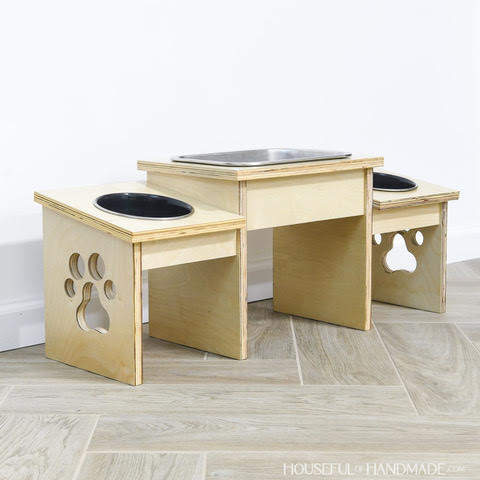
Can’t get enough scrap wood projects?? I’m teaming up with my friend, Kati, from Houseful of Handmade all month long for “Scrap Wood Summer!”
Check out all the projects in the series below. Click on the images to learn how to make each one!

This is our fourth year hosting Scrap Wood Summer and I enjoy it a little more each time. But, if you’ve never heard of it before, that’s okay!
Essentially, we each share a new scrap wood project every Tuesday throughout the month of August. So by the end of the month, you’ve got 8 new project ideas to try.
So stay tuned to see all the other fun ideas we are so excited to share with you!
Can’t wait? Check out previous Scrap Wood Summer projects plus other scrap wood ideas here.
If you’d like to save this DIY umbrella stand table for later, be sure to pin it or share to your favorite social channel!
Until next time, friends, happy building!