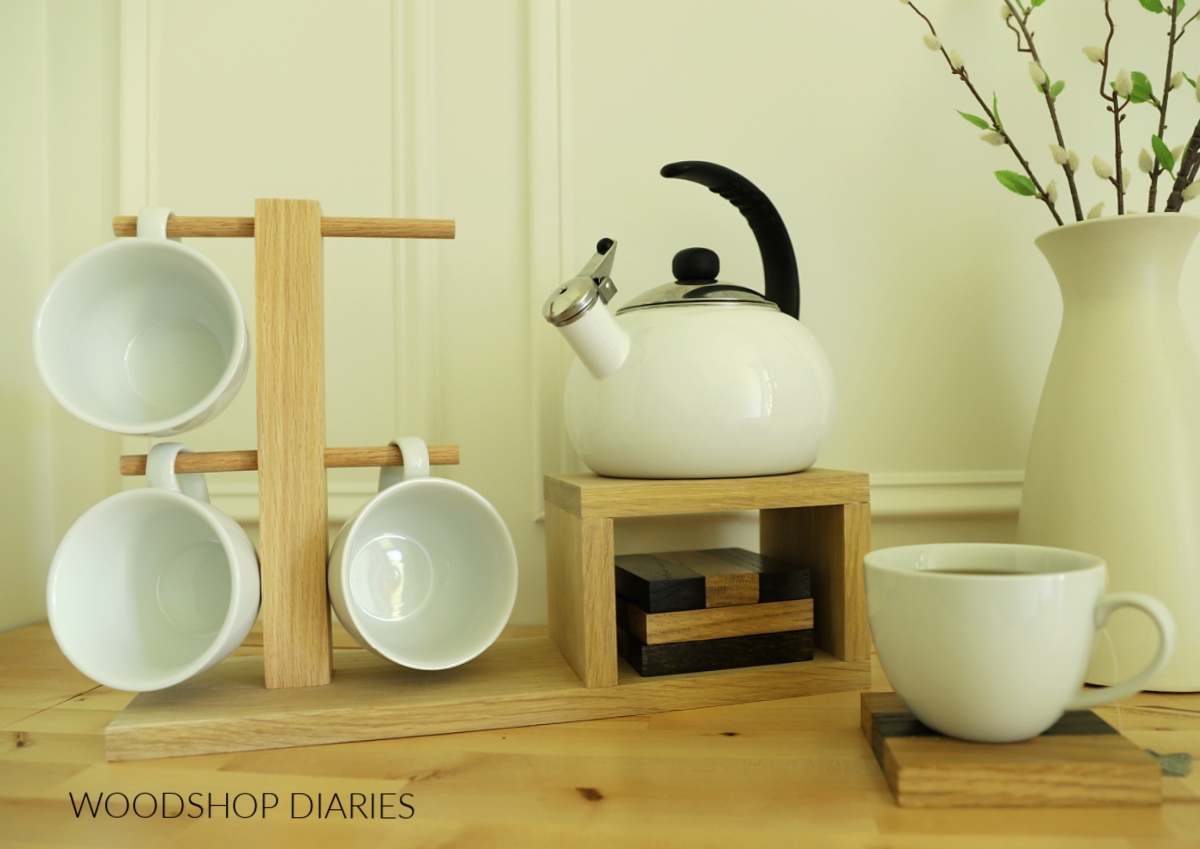
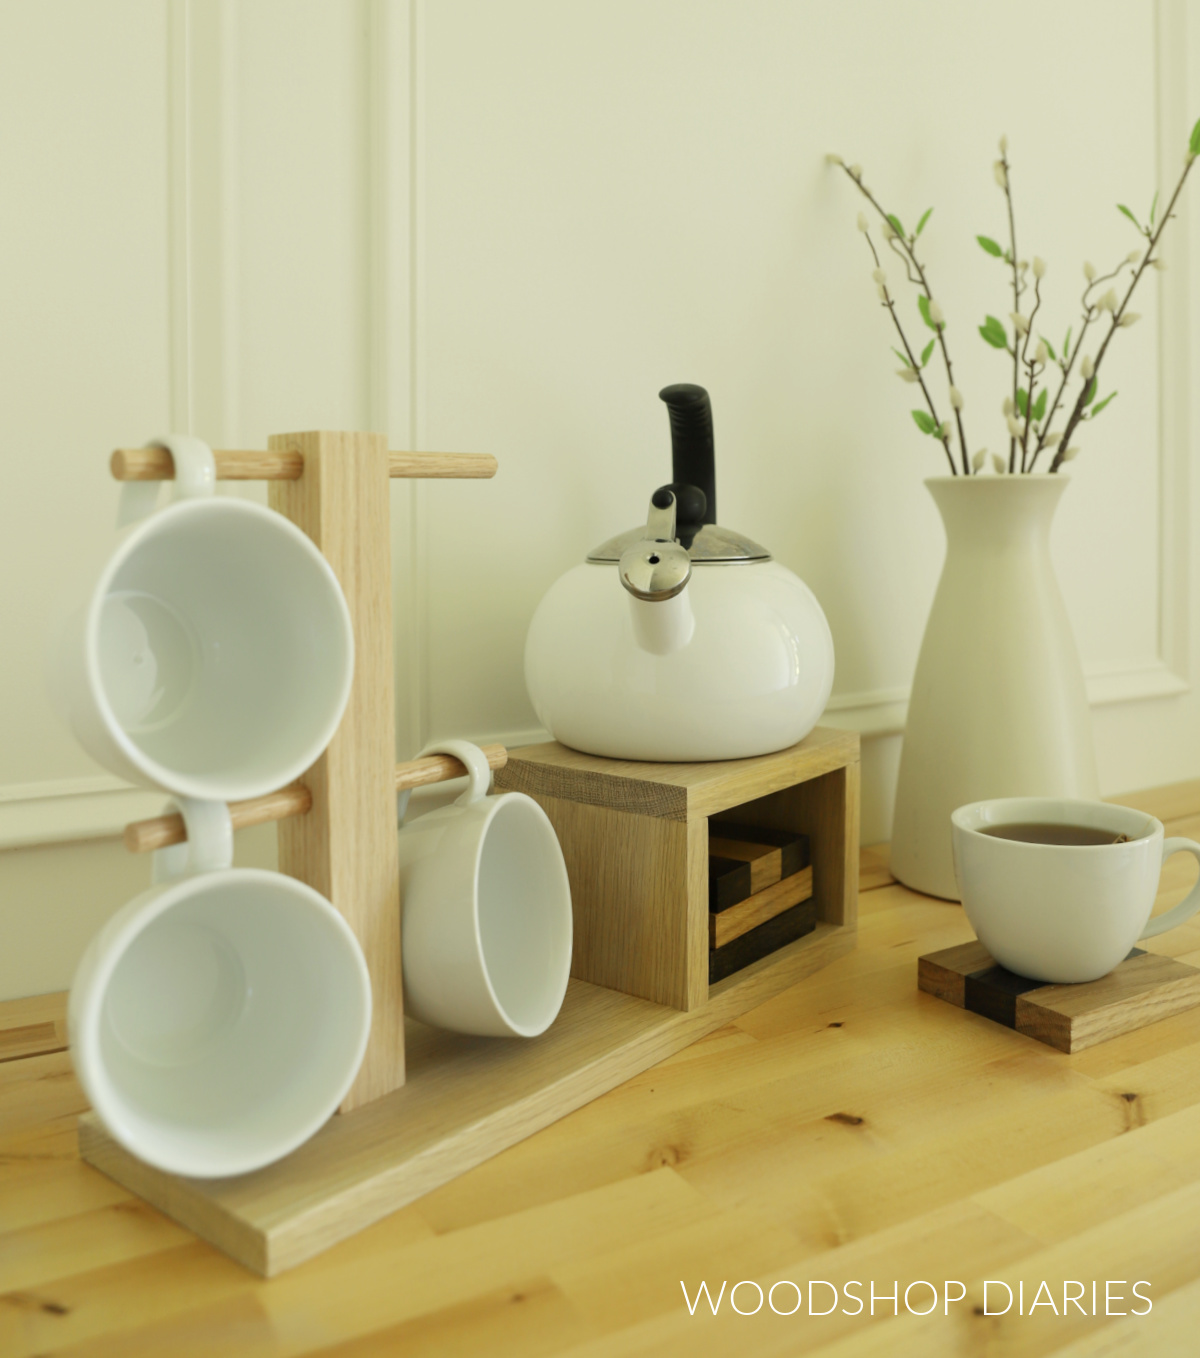
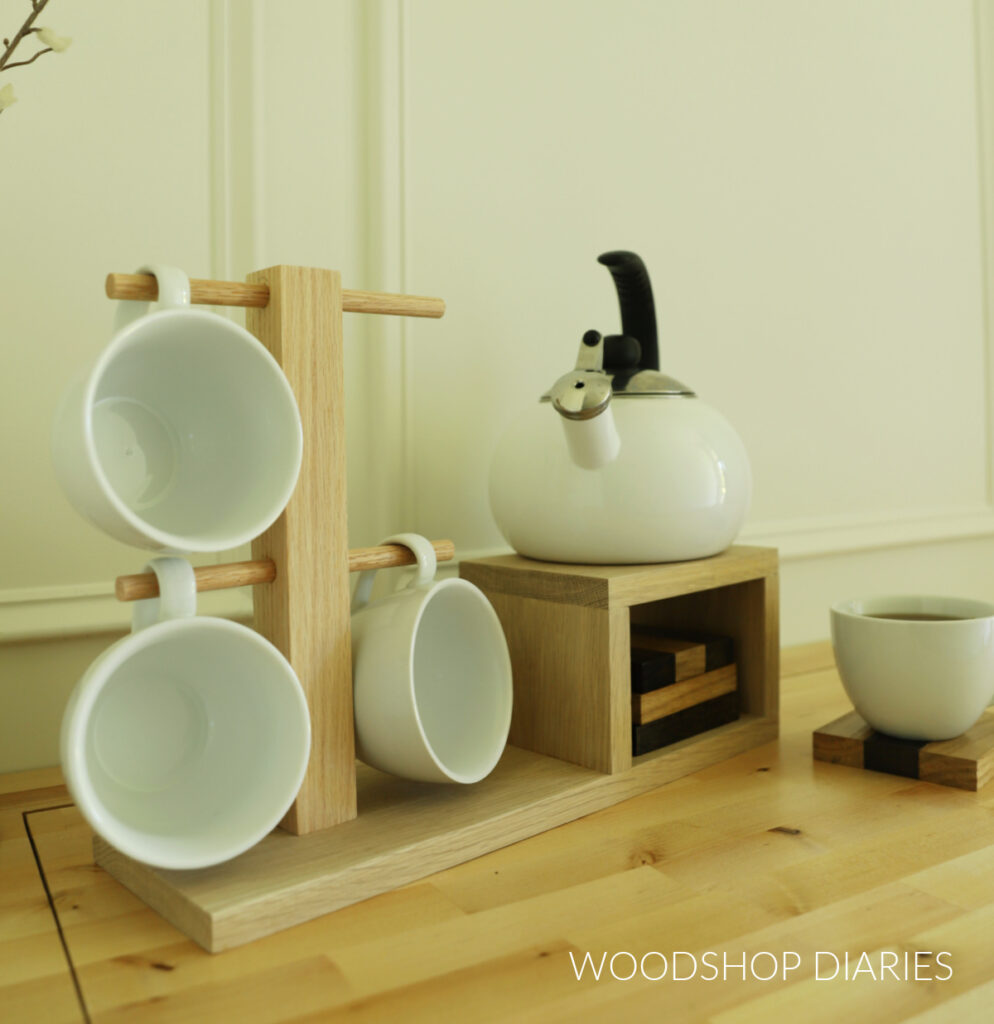
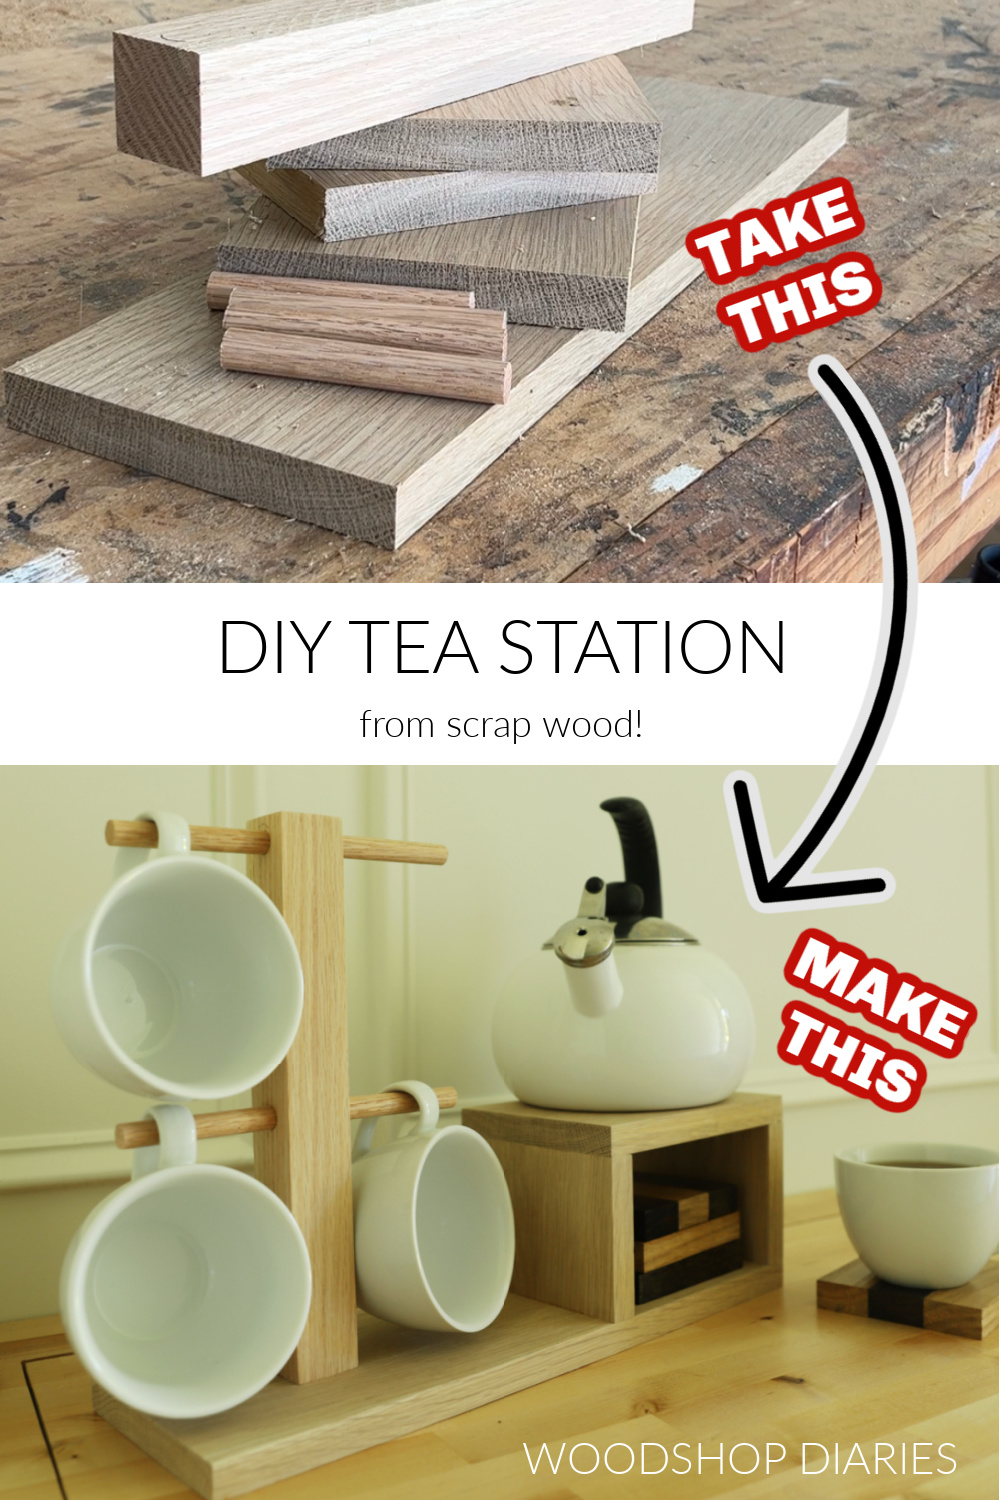
In this post, I’m sharing how to build a DIY tea station tray from scrap wood!
This simple wooden tea tray has a place for hanging mugs, storing coasters, and resting a tea kettle. Plus it’s a perfect DIY gift idea for a friend, host, or a wedding!
My tea kettle has been taking up valuable space on my stove for a while now. It was not only in the way, but every time I cooked, it would get dirty from splatters from the pans (gross, I know).
So I wanted to create a designated spot (a DIY tea station) for my tea kettle–that wasn’t on my stove–and that also kept my coasters and mugs readily accessible.
But, whatever I made couldn’t be anything big or bulky that would take up a bunch of countertop space in my kitchen.
I think I found a great solution with this little wooden DIY tea station tray and I’m excited to share how I made from just a few wood scraps!
*This post contains affiliate links. See website policies.
What to know before building a tea station tray
This easy weekend woodworking project makes the perfect inexpensive DIY gift idea, but it’s also a great addition to your own kitchen or pantry as well. I made mine for keeps!
Here are a few notes about the build before diving in.

What kind of wood to use for a DIY tea station tray
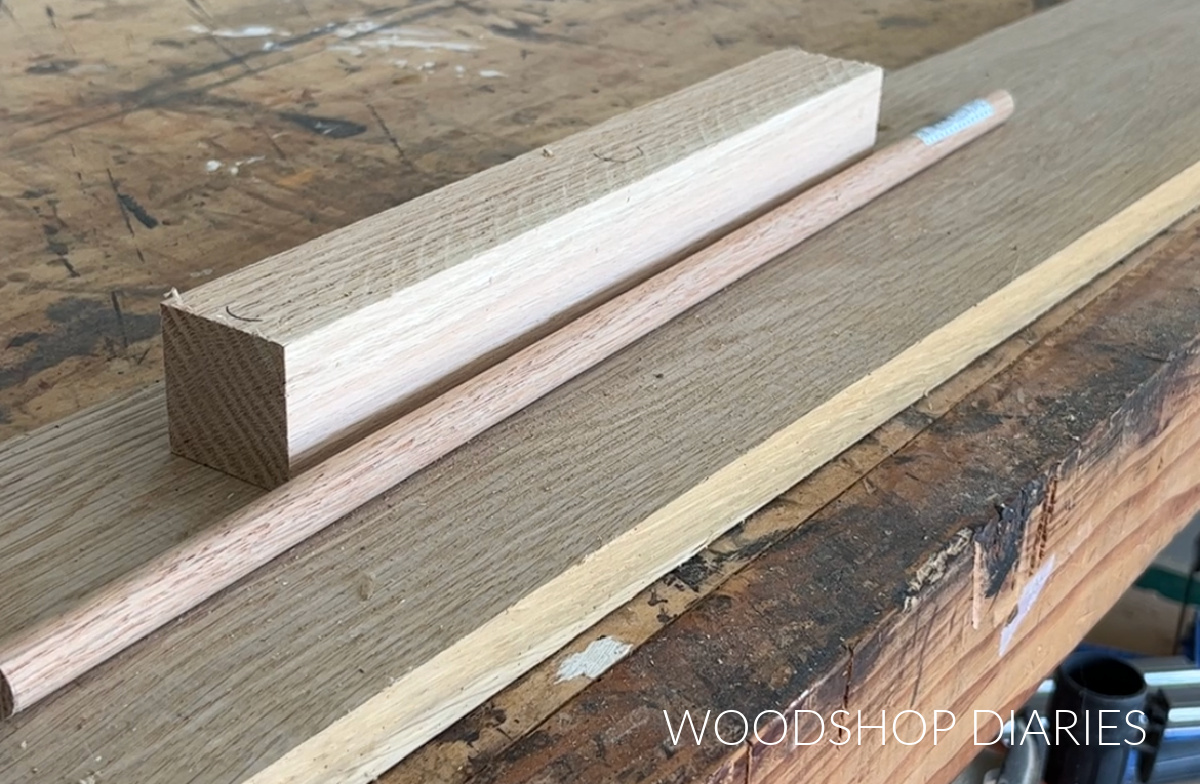
I made this little tray from scrap oak wood I had leftover from previous projects. While oak is a great option for this project, you can also use just about any type of wood you’d like.
All you need to build this project are a few pieces of 1×6, a small piece of 2×2 and a wooden dowel. So it’s a great project to use up whatever off cuts you may have in your scrap pile!
Softer woods (like pine/spruce) and plywood are more likely to be damaged from heat and moisture than hard woods. But either option will work fine here are long as you’re careful.
IMPORTANT NOTE: Setting a hot tea kettle directly onto the wood surface isn’t advised as it can burn the wood and damage the finish. Make sure to use a trivet, tile, or pot holder between a hot kettle and the wood surface.
Whether you opt for a soft wood or a hard wood, you should still place a trivet or pot holder under the tea kettle if it’s hot.
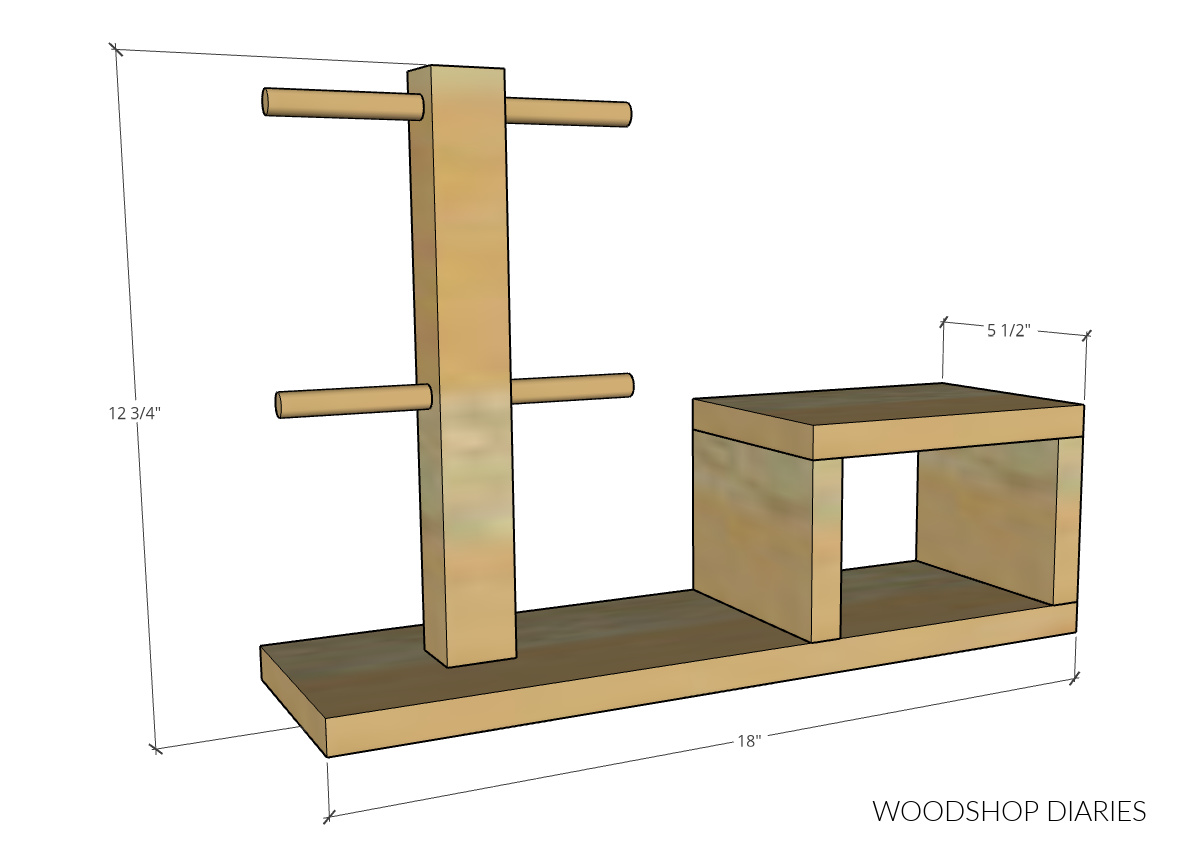
Overall Dimensions
The overall dimensions of this tray are 5 ½″ wide x 12 ¾″ tall x 16″ long. Note that (depending on the size of it) your kettle may stick up further than 12 ¾″ so with the kettle in place, it may be taller.
Are new DIY projects your thing? Sign up for priority access to the latest projects and plans on Woodshop Diaries!
How to build a tea station tray
This is an excellent beginner woodworking project that you can easily complete in just about an hour or so. And it uses minimal tools!
The brad nailer in the tools list is optional. If you wanted to use screws instead of nails, that would work just fine.
Prefer to print? This project is available as a printable build plan if you’d prefer to print and take the instructions to the shop with you.
But I’ve also detailed the step by step instructions below as well.
Tools & Materials
Tools:
- Miter Saw (or any saw that can cut straight lines)
- Drill/Driver
- Brad Nailer
- Forstner drill bit
Materials:
- Scrap 1×6 boards (see step 1 for lengths)
- Scrap 2×2 board
- ½″ diameter dowel rod
- Wood Glue
- 1 ¼″ Brad Nails
- 1 ¼″ Wood Screw
Step 1: Assemble Tea Tray Base
The tea station base is made from 1×6 scraps. You need approximately 34″ of 1×6 OR enough 1×6 scraps to cut down the following pieces.
1×6 Cut List:
- (1) 18″ long piece for the bottom
- (1) 7 ½″ long piece for the top
- (2) 4″ long pieces for the sides
Once I cut my four pieces, I used glue and brad nails to attach the 7 ½″ long piece and the 4″ pieces like shown below. These will make kind of like an upside down U shape.
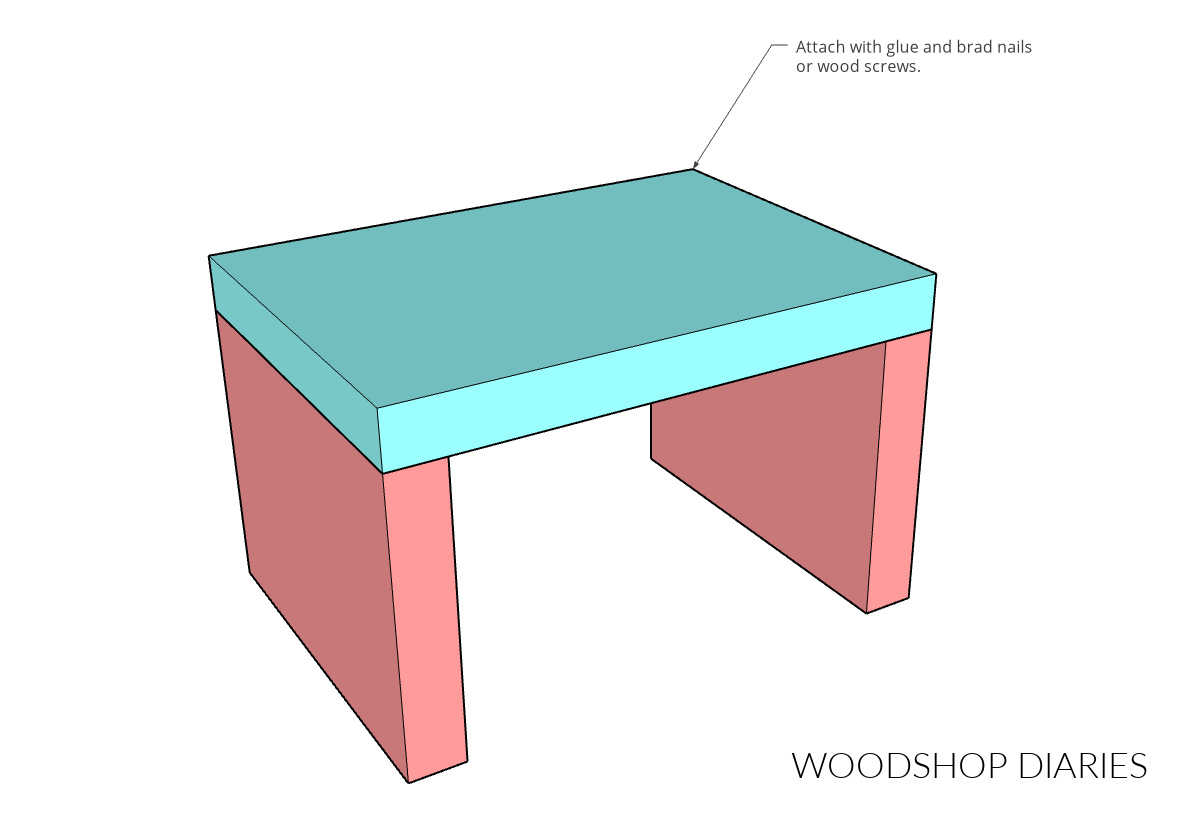
A note on sizing: This “U shaped piece” is what the tea pot will sit on top of and the coasters will sit inside. Adjust the sizing of this piece as needed to accommodate your particular kettle and coasters.
Make sure to remove or wipe off any glue squeeze out and sand the edges if needed. It’ll be a lot easier to sand now than later.
Then I used wood glue and brad nails to attach the 18″ long piece to the bottom side so that the “U shape” was all the way flush to one end of the board.
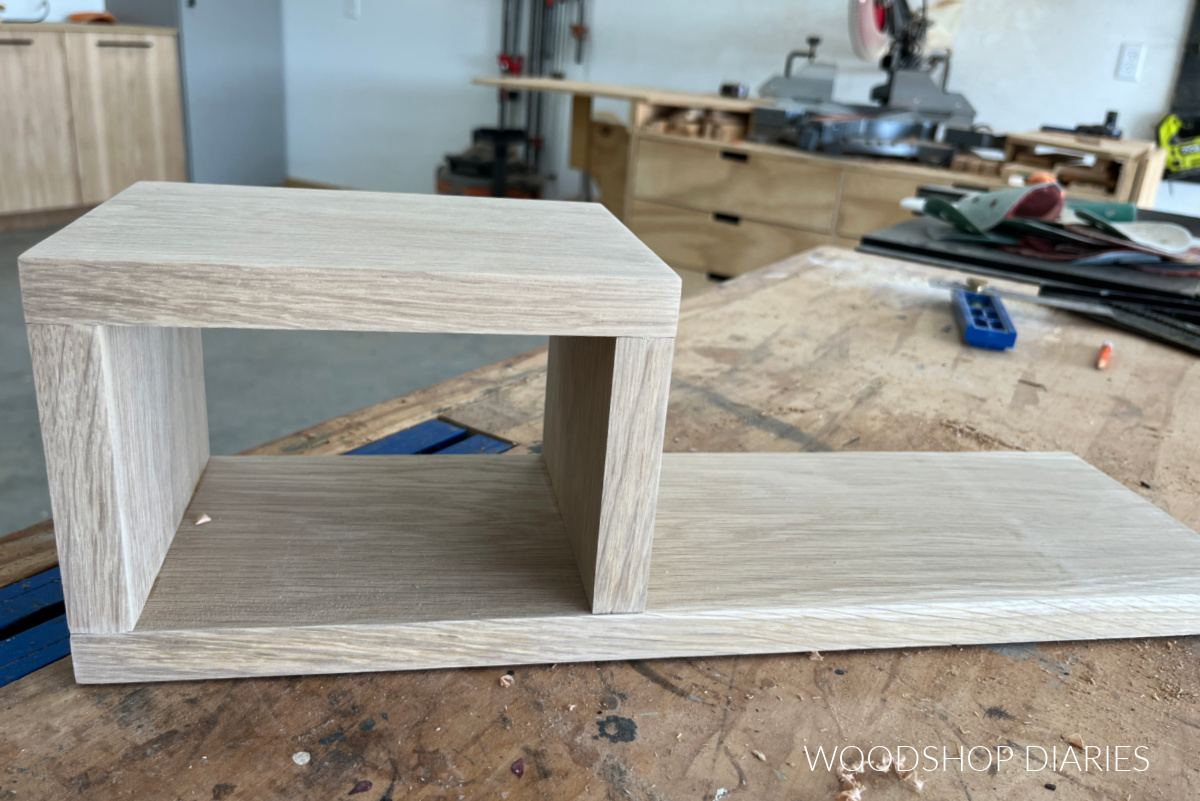
If you’d rather, you can certainly use wood screws here instead, just make sure they are countersunk so the screw head will sit at or below the wood surface.
I made sure to remove all glue squeeze out and set this piece aside to allow the wood glue dry.
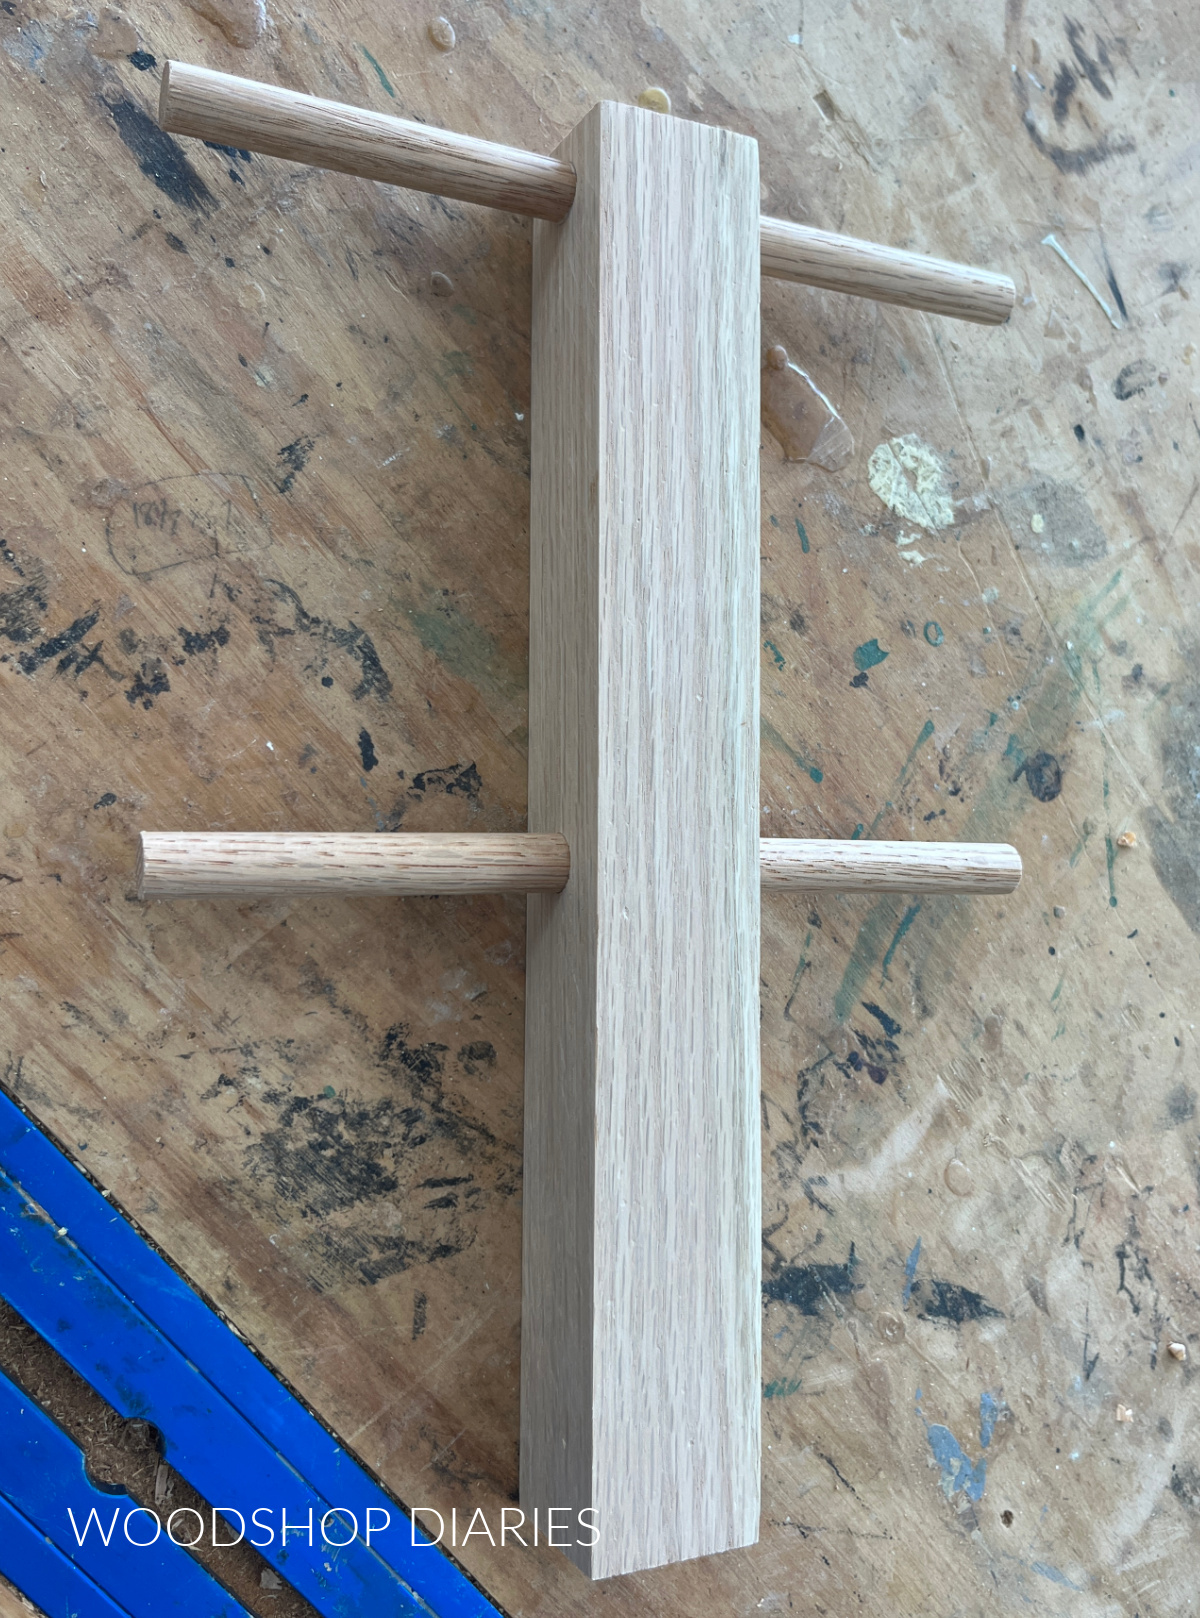
Step 2: Assemble Mug Holder Post
The mug holder is made of a piece of 2×2 for the post and four ½″ diameter dowels for the pegs.
I grabbed a few of my mugs and laid them out on my workbench to figure out how far apart to space my dowels and how long to make them so that my mugs would hang on them, but not hit each other.
I highly recommend checking the spacing needed for your own mugs as yours may be smaller or larger than mine.
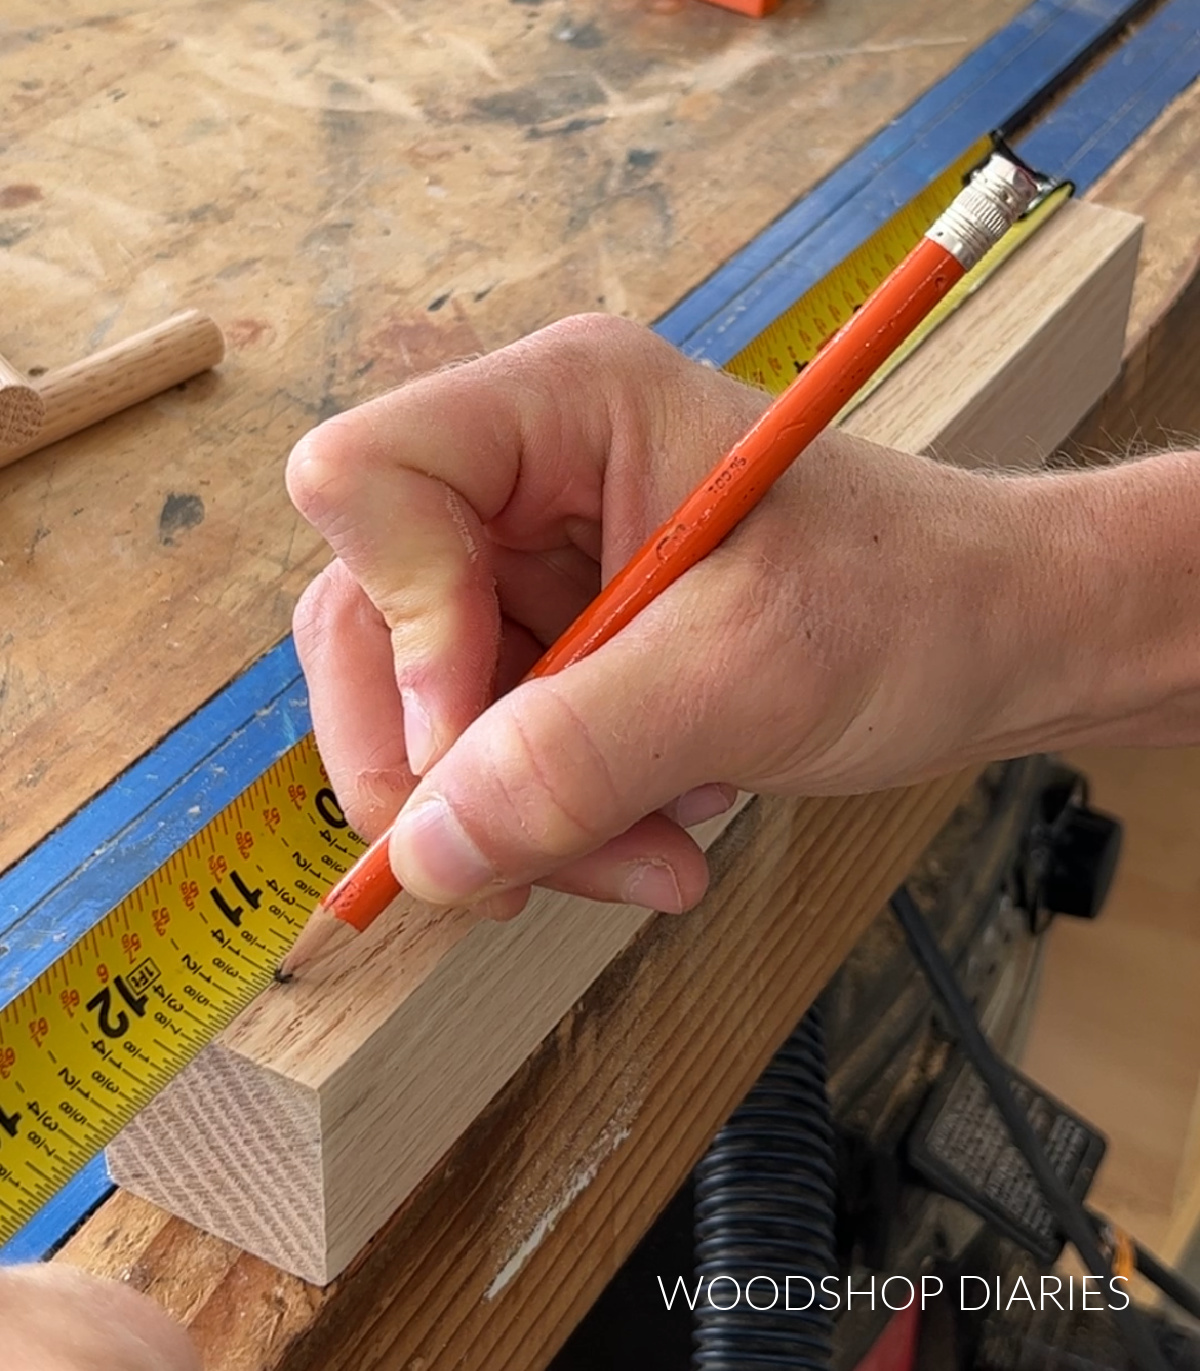
In my case, I determined that a 12″ long 2×2 would work perfect and my dowel pegs needed to be at least 3″ long. So I cut these pieces down and sanded them well.
Then, I marked where to drill my dowel holes on my 2×2 based on the mug spacing I figured earlier. I ended up drilling my holes at 5 ½″ and 11 ¼″ up from the bottom.
I used a ½″ forstner bit to drill holes about ½″ deep at these marks. I drilled two holes on one side of the 2×2 and two more at the same locations on the opposite side.
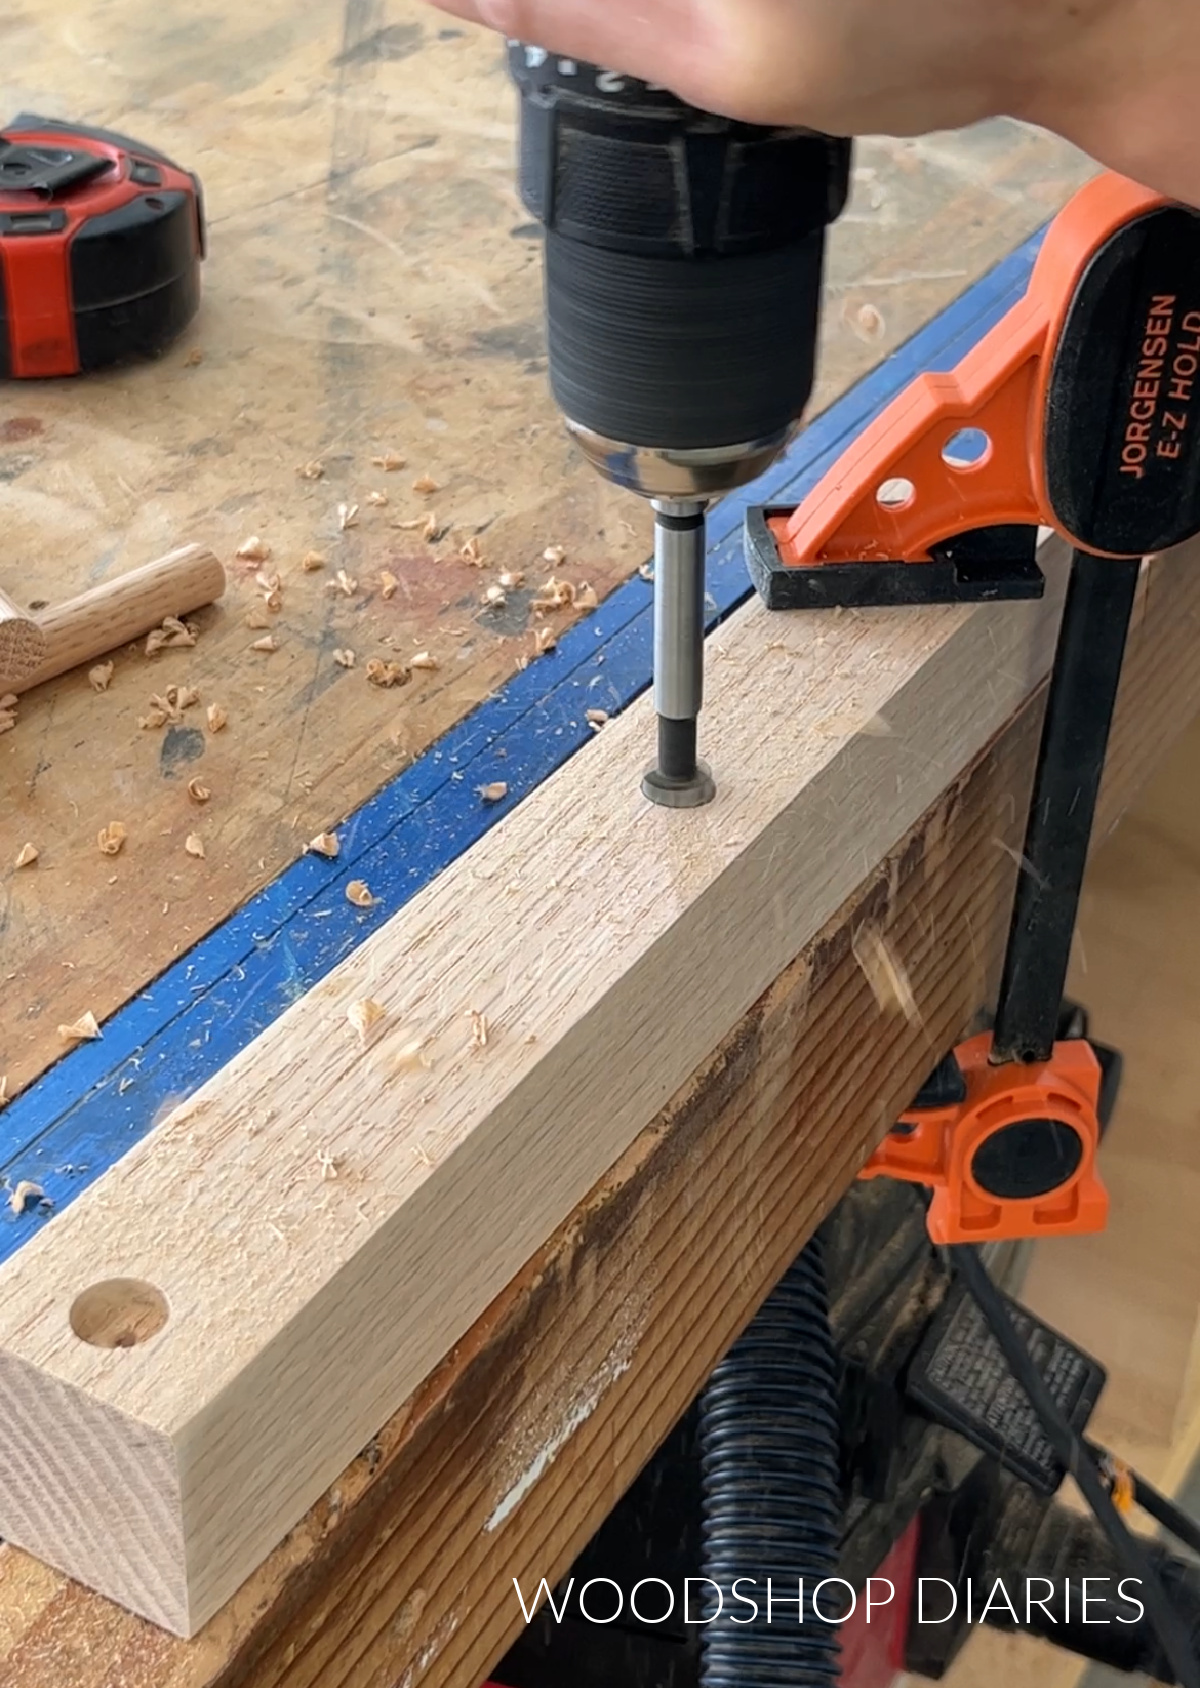
Then, I glued my dowel pegs into these holes, made sure they were straight and square, and allowed the glue to fully dry before moving on.
Prefer to print? Grab the printable building plans for this tea station with mug holder here!
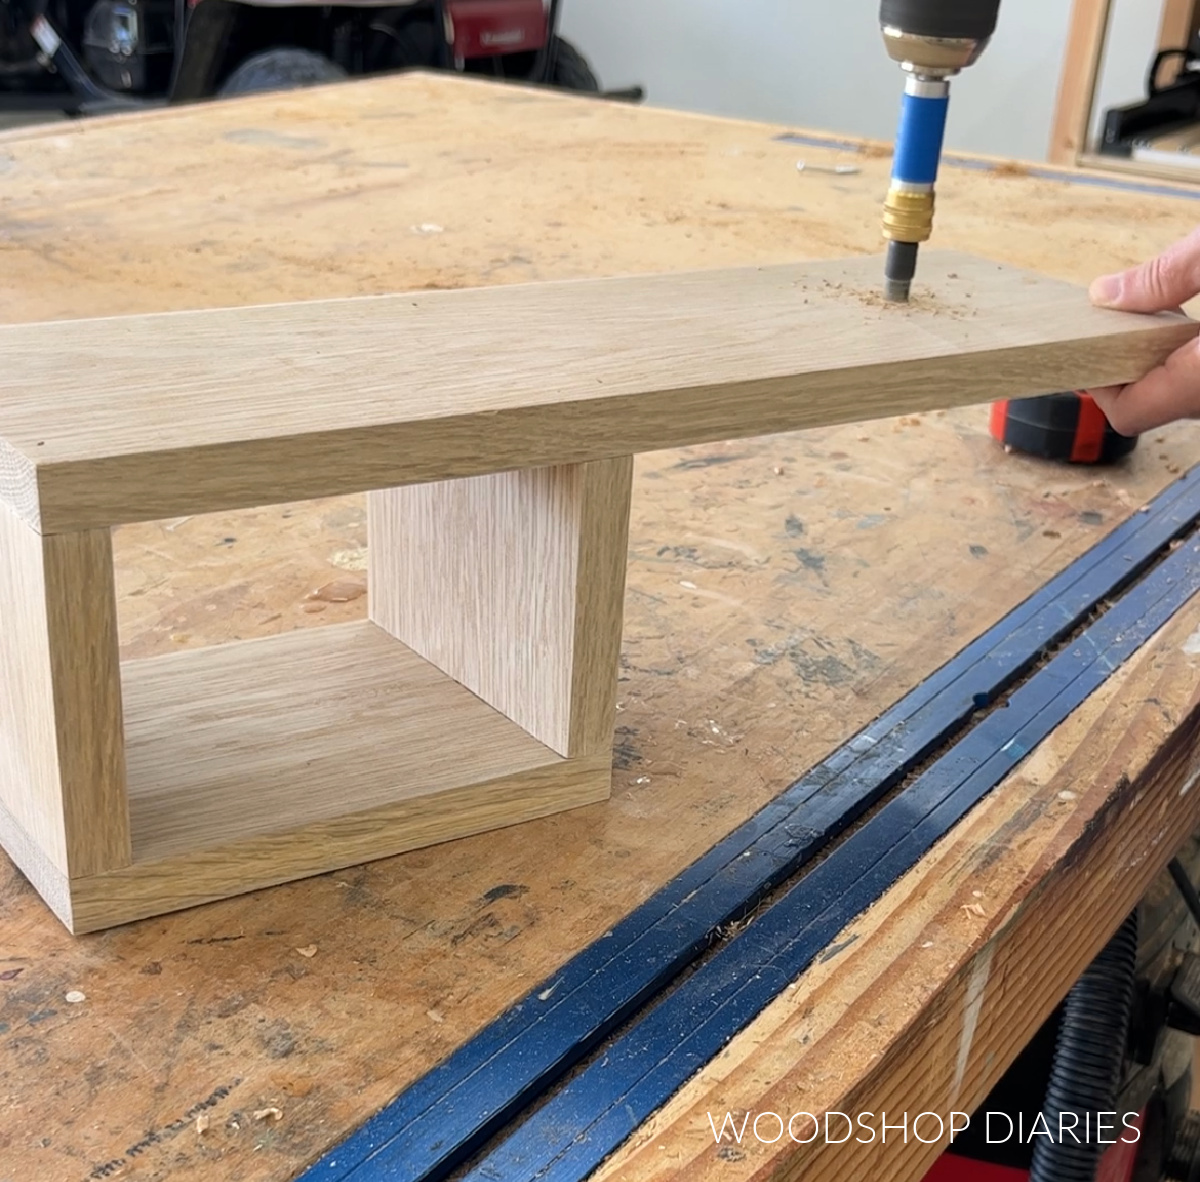
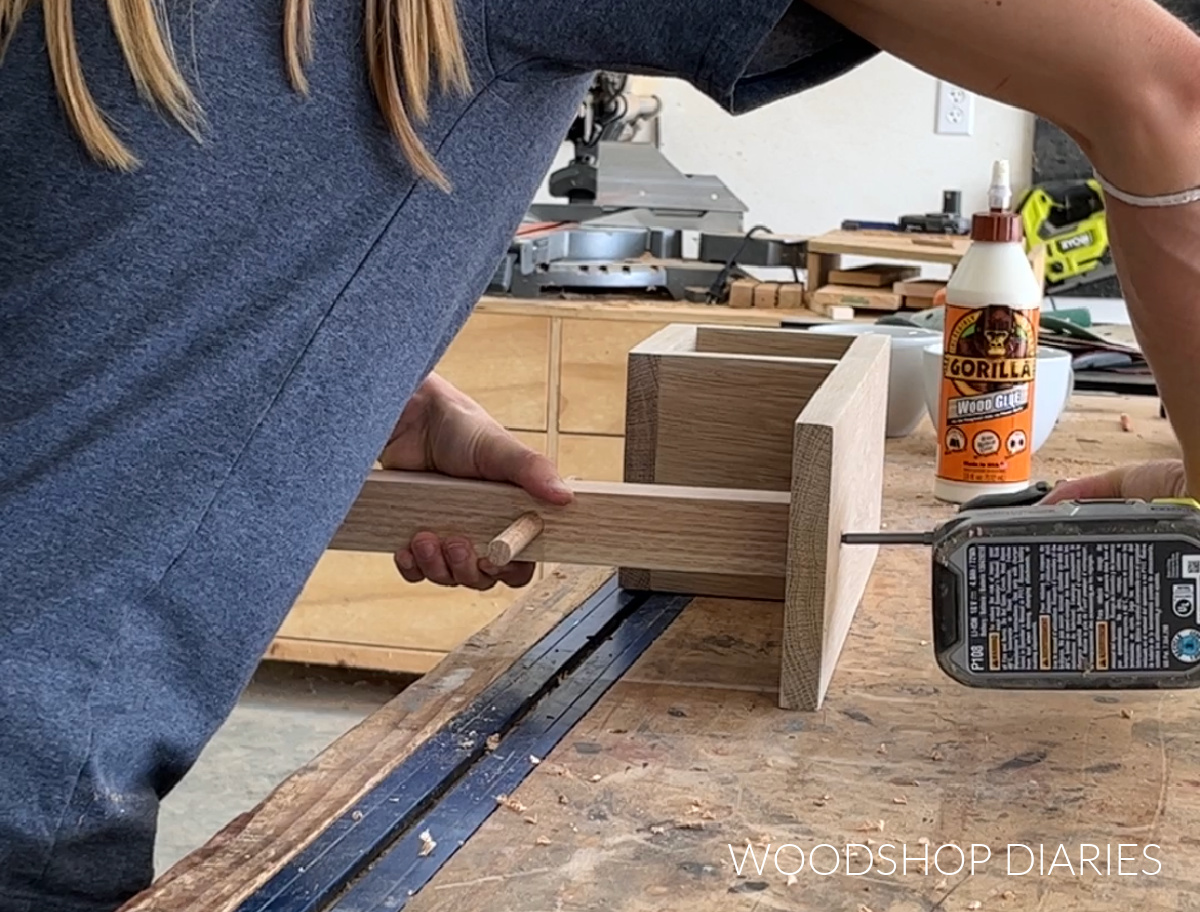
Step 3: Attach Mug Holder to Tea Tray
With the tray from step 1 assembled and the mug holder post from step 2 finished, all that’s left is attaching them together.
To do this, I flipped the tea station tray upside down and predrilled a hole on the opposite end as the tea pot stand to attach the mug holder post. I drilled this hole 3 ¾″ from the end and 2 ¾″ from the front edge.
I also predrilled a hole into the center of the bottom end of the 2×2 post. This will make it easier to line up the screw.
Then, I applied wood glue to the bottom of the 2×2 and used a 1 ¼″ wood screw to secure the post to the tray through the predrilled holes. This screw should be countersunk so it’s at or below the wood surface on the bottom of the tray.
Make sure the post is located far enough away from the tea pot stand that you can slide a mug onto the pegs.
Step 4: Make Coasters (optional)
At this point, the tea station tray is ready for finish. Apply a finish of your choice to the tray (or leave unfinished if desired).
Then, hang up your mugs, store away your tea kettle and stock a few coasters so they’re ready when you need them.
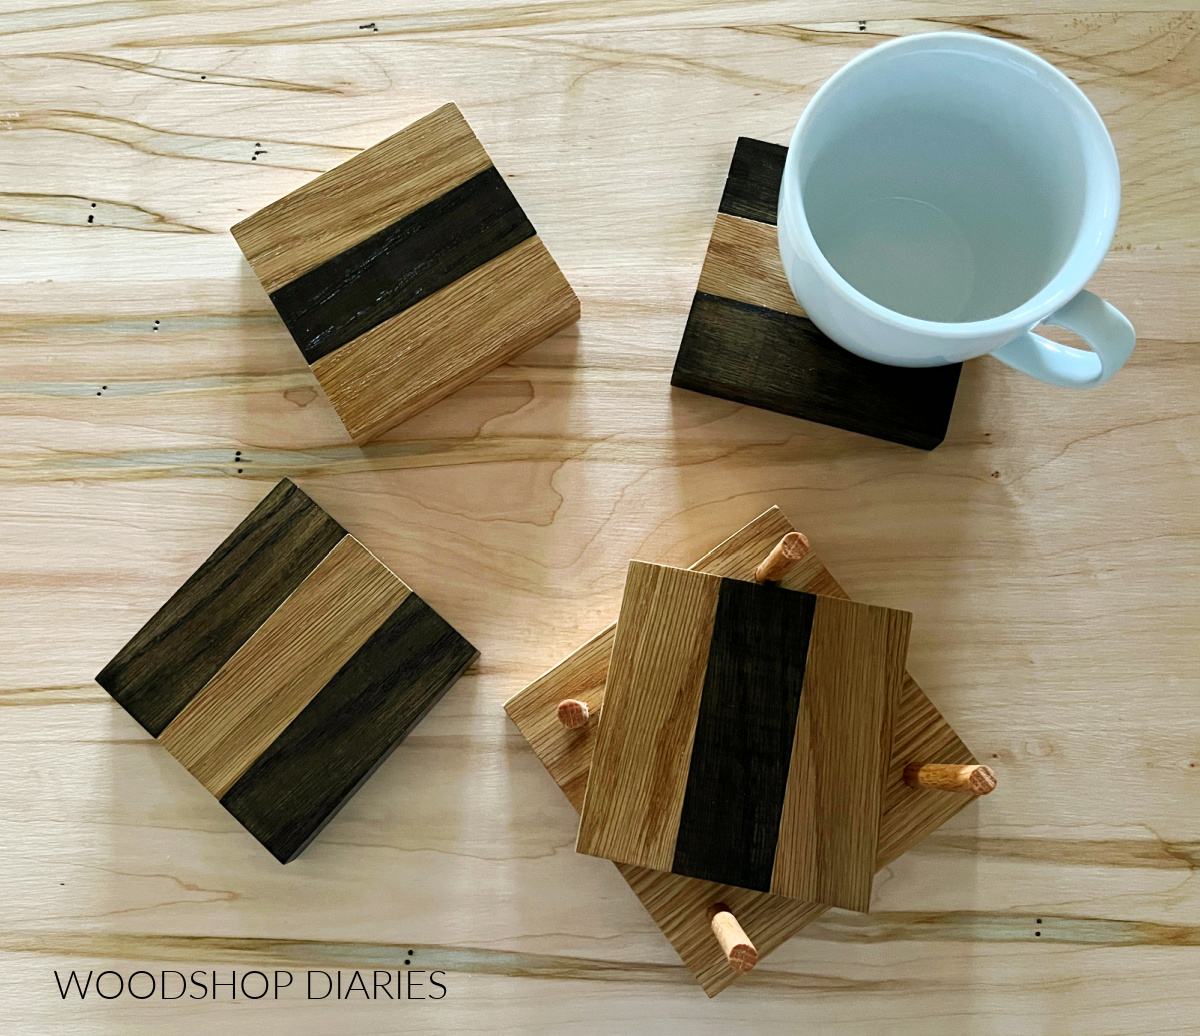
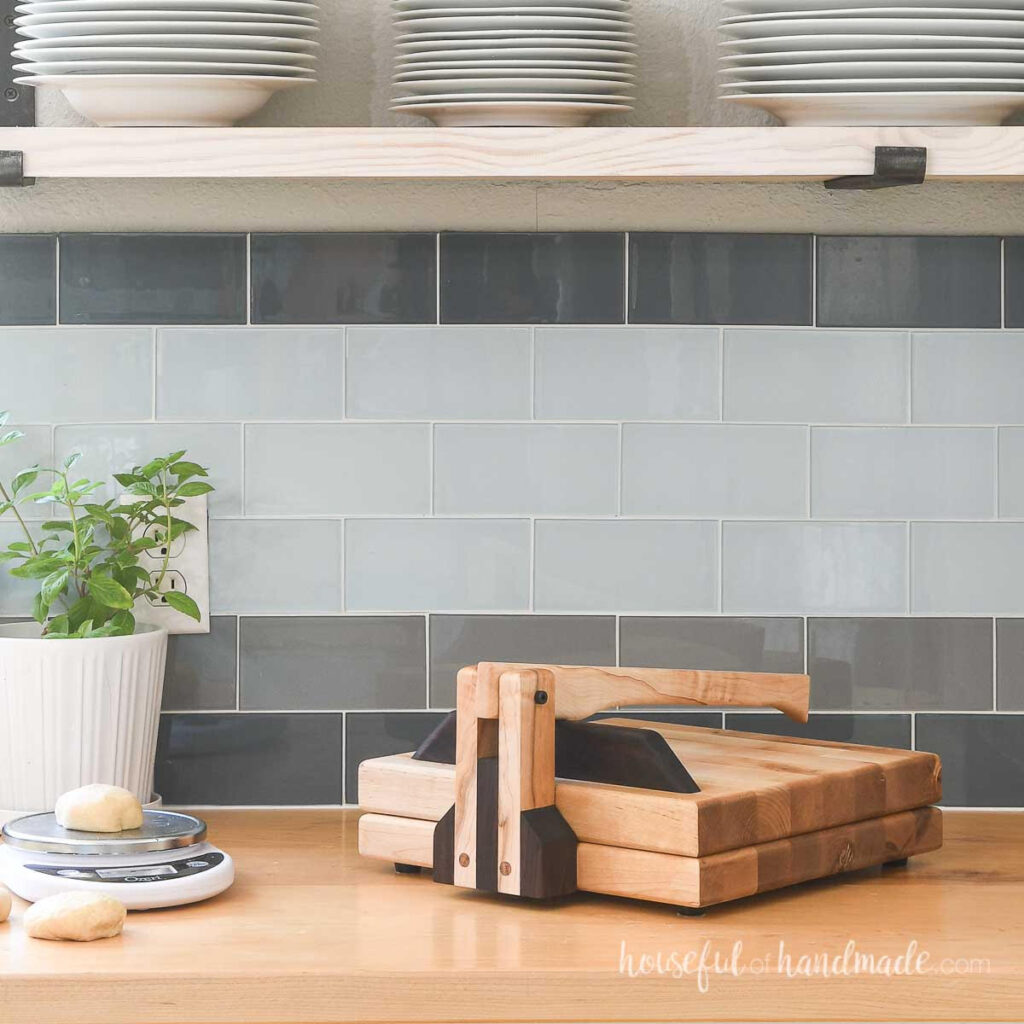
If you don’t have any coasters, don’t worry! These simple two tone coasters are SUPER easy to make and all you need are some scrap 1x2s. Learn how to make these easy DIY wooden coasters here.
And if you need somewhere to store your favorite teas, this DIY tea box is another great tea related scrap wood project you’ll love.
MORE FUN WITH SCRAP WOOD
Can’t get enough scrap wood projects? Me either! That’s why I’m teaming up with my friend, Kati, from Houseful of Handmade all month long to share some “Scrap Wood Summer” Projects!
Check out all the projects in the series so far below. Click on an image to learn how to make each one!
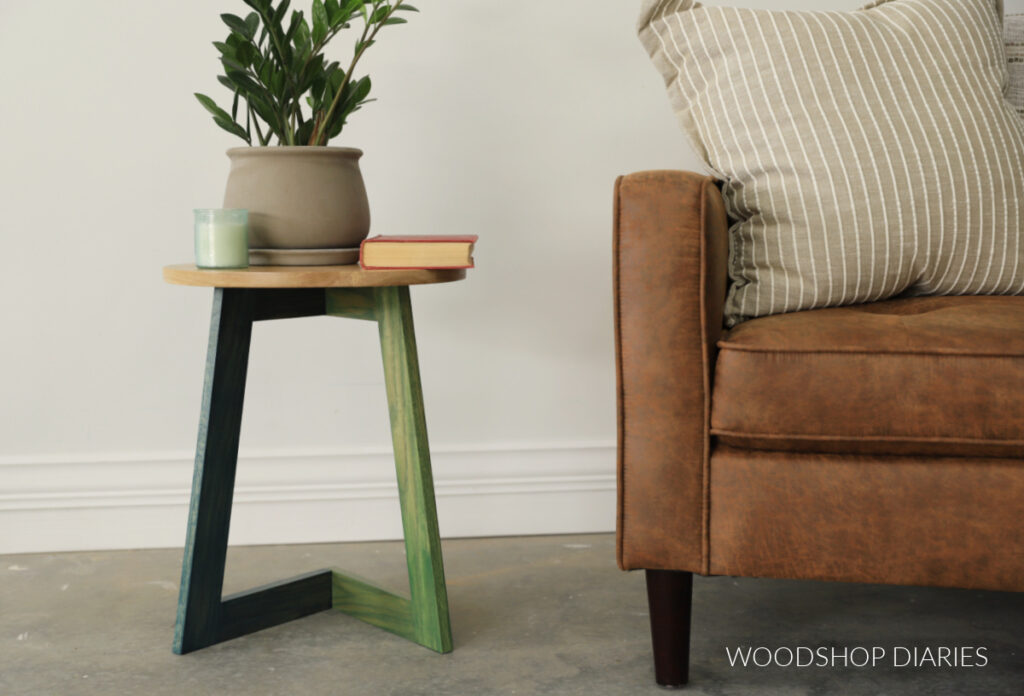
We will be posting new Scrap Wood Summer projects every Tuesday through the month of August (2023). Check out last years’ Scrap Wood Summer projects plus other scrap wood ideas here.
Don’t forget to save this project for later by pinning it or sharing to your favorite social channel!
Until next time, happy building!