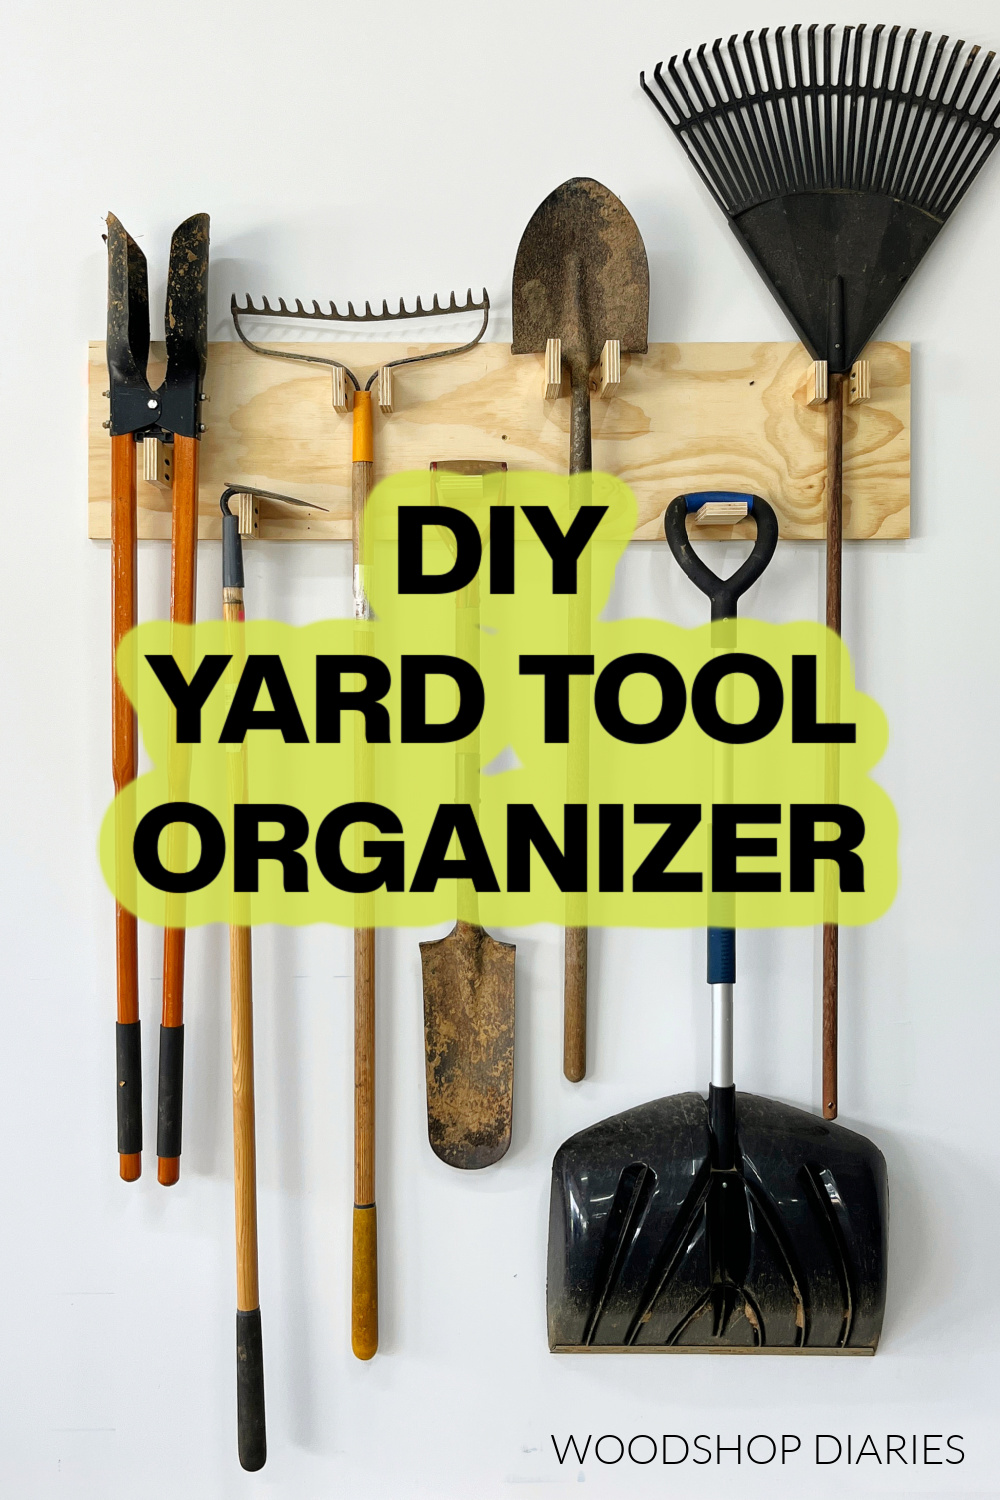
In this post, I’ll show you how to make this easy DIY yard tool organizer from scrap wood!
If you have some leftover plywood pieces in your scrap pile, this is a great way to use them!
This organizer may not fall in the “prettiest projects” category, but it certainly falls in the “definitely practical” category. I’ve been meaning to make one of these for YEARS.
I’ve tripped over the pile of shovels in the garage for the LAST TIME haha.
I have no idea why I waited so long because it literally took me 20 minutes to assemble this yard tool organizer and hang it on the wall. That’s just a 20 minute investment to both make my life a little easier and clear up some floor space in my garage. Well worth it.
So if you’re like me and you’re tired of tripping over your shovels and rakes, let me show you how to easily hang them up with wood you likely already have in your scrap pile. Ready to build? Let’s dive in.
*This post contains affiliate links. See policies.
What to Consider before building a Yard Tool Organizer
This is the PERFECT super easy weekend project for summer. It’s a quick win that helps make those summertime yard projects a little less frustrating.
Plus…it’s summertime. It’s hot and you want a quick project you won’t be melting in the shop for hours making. This checks both the boxes.
Feel free to get creative with your wood scraps here. I used ¾″ plywood because I always have a ton of plywood scraps. However, 1x boards would also work great for this in place of plywood.
This DIY yard tool organizer is designed to be wall mounted so it will need to be screwed or anchored to the wall.
Are new DIY projects your thing? Sign up for priority access to the latest projects and plans on Woodshop Diaries!
How to Build a Wall Mounted Yard Tool Organizer
This project doesn’t have an exact “plan” with dimensions and cut list and diagrams.
Since everyone’s collection, quantity, style, size, and brand of yard tools will vary, I’m sharing this tutorial as a general guide, not a specific building plan. I’ll show you how to customize it to fit your own tools in steps 1 & 2 below.
I actually think this method is much easier as you don’t really even have to measure or cut anything to exact sizes.
Tools & Materials
Tools:
- Miter Saw (or any saw that cuts straight lines)
- Drill/Driver
- Pocket Hole Jig
- Stud Finder
- Level
Materials:
- Scrap ¾″ plywood (size based on steps 1 & 2)
- 1 ¼″ pocket hole screws
- 2 ½″ screws or appropriate wall anchors (to mount to wall)
Step 1: Lay out your Yard tools
Because everyone’s collection of yard tools will vary, I think this method makes it really easy to customize no matter what you’re working with.
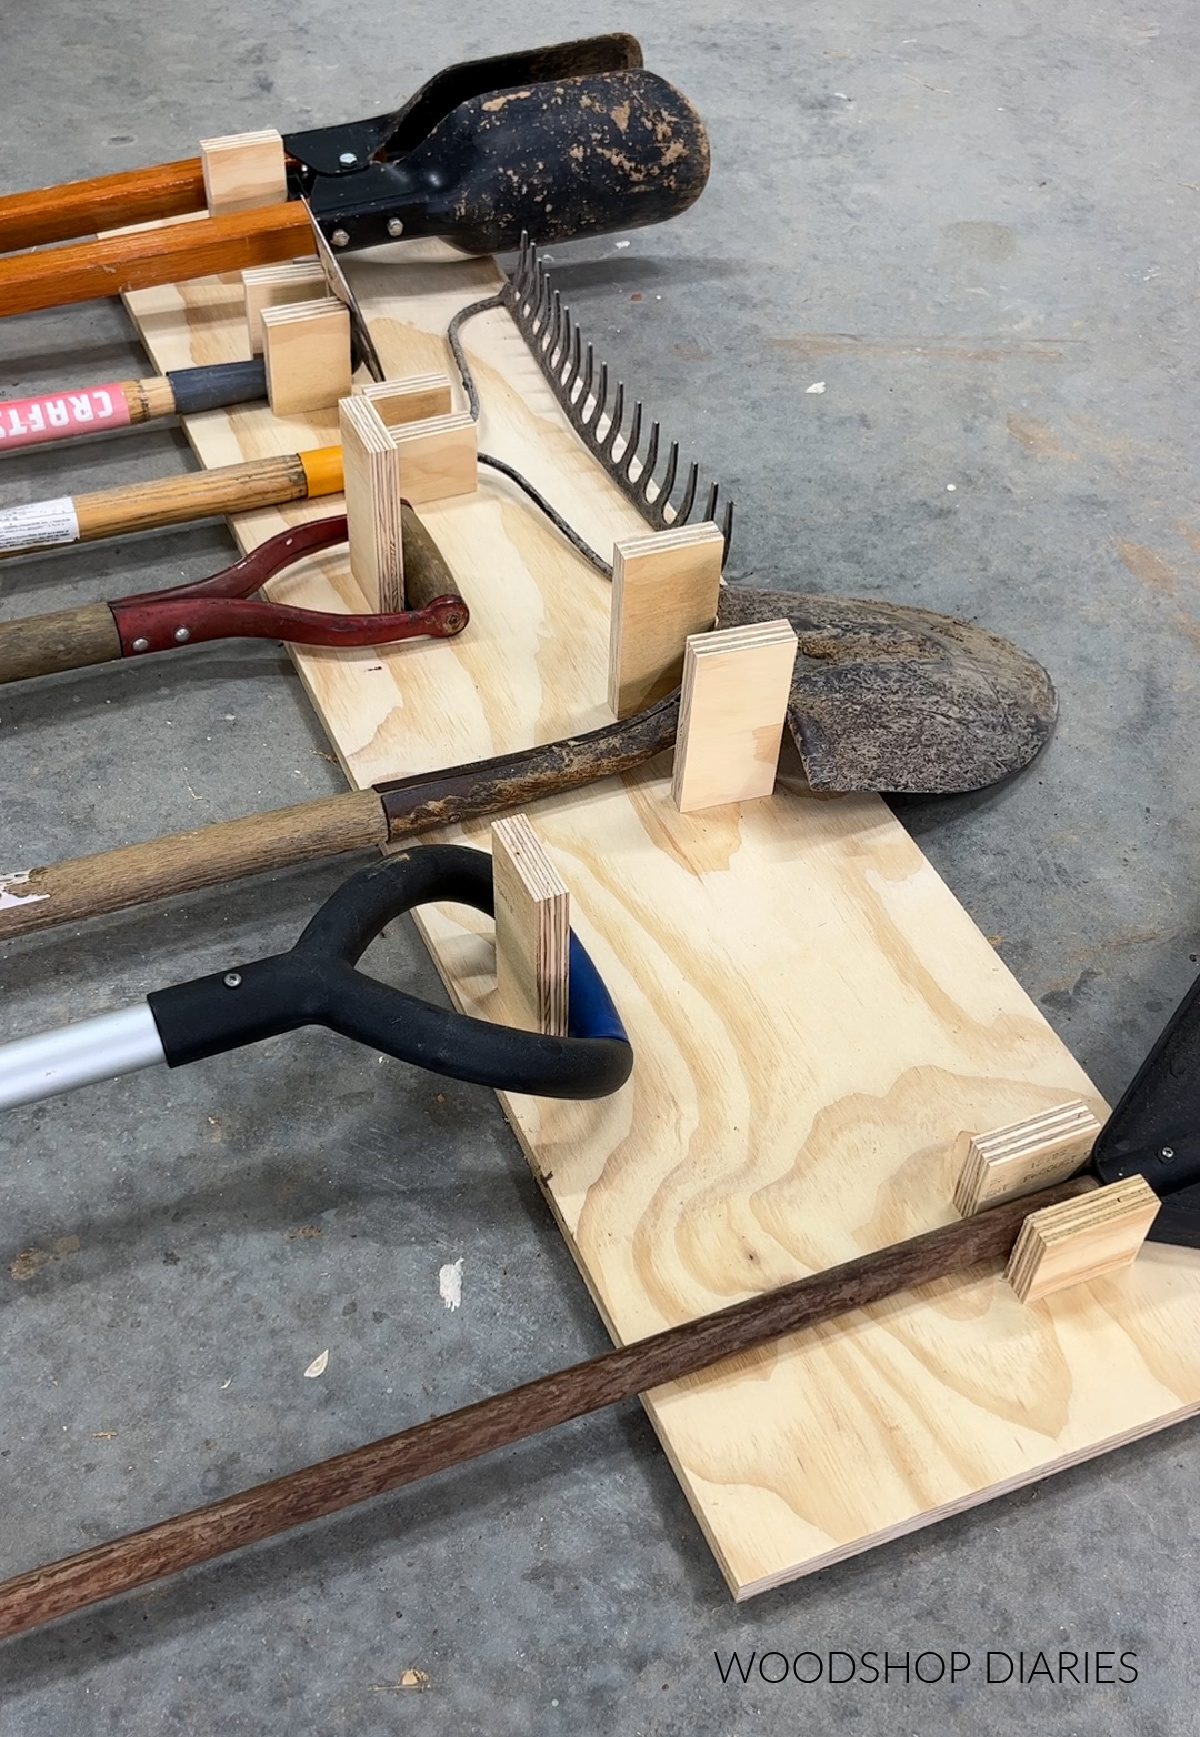
First, I recommend collecting all your yard tools and laying them out on the floor. Try to space them as close together as you can without them interfering with each other.
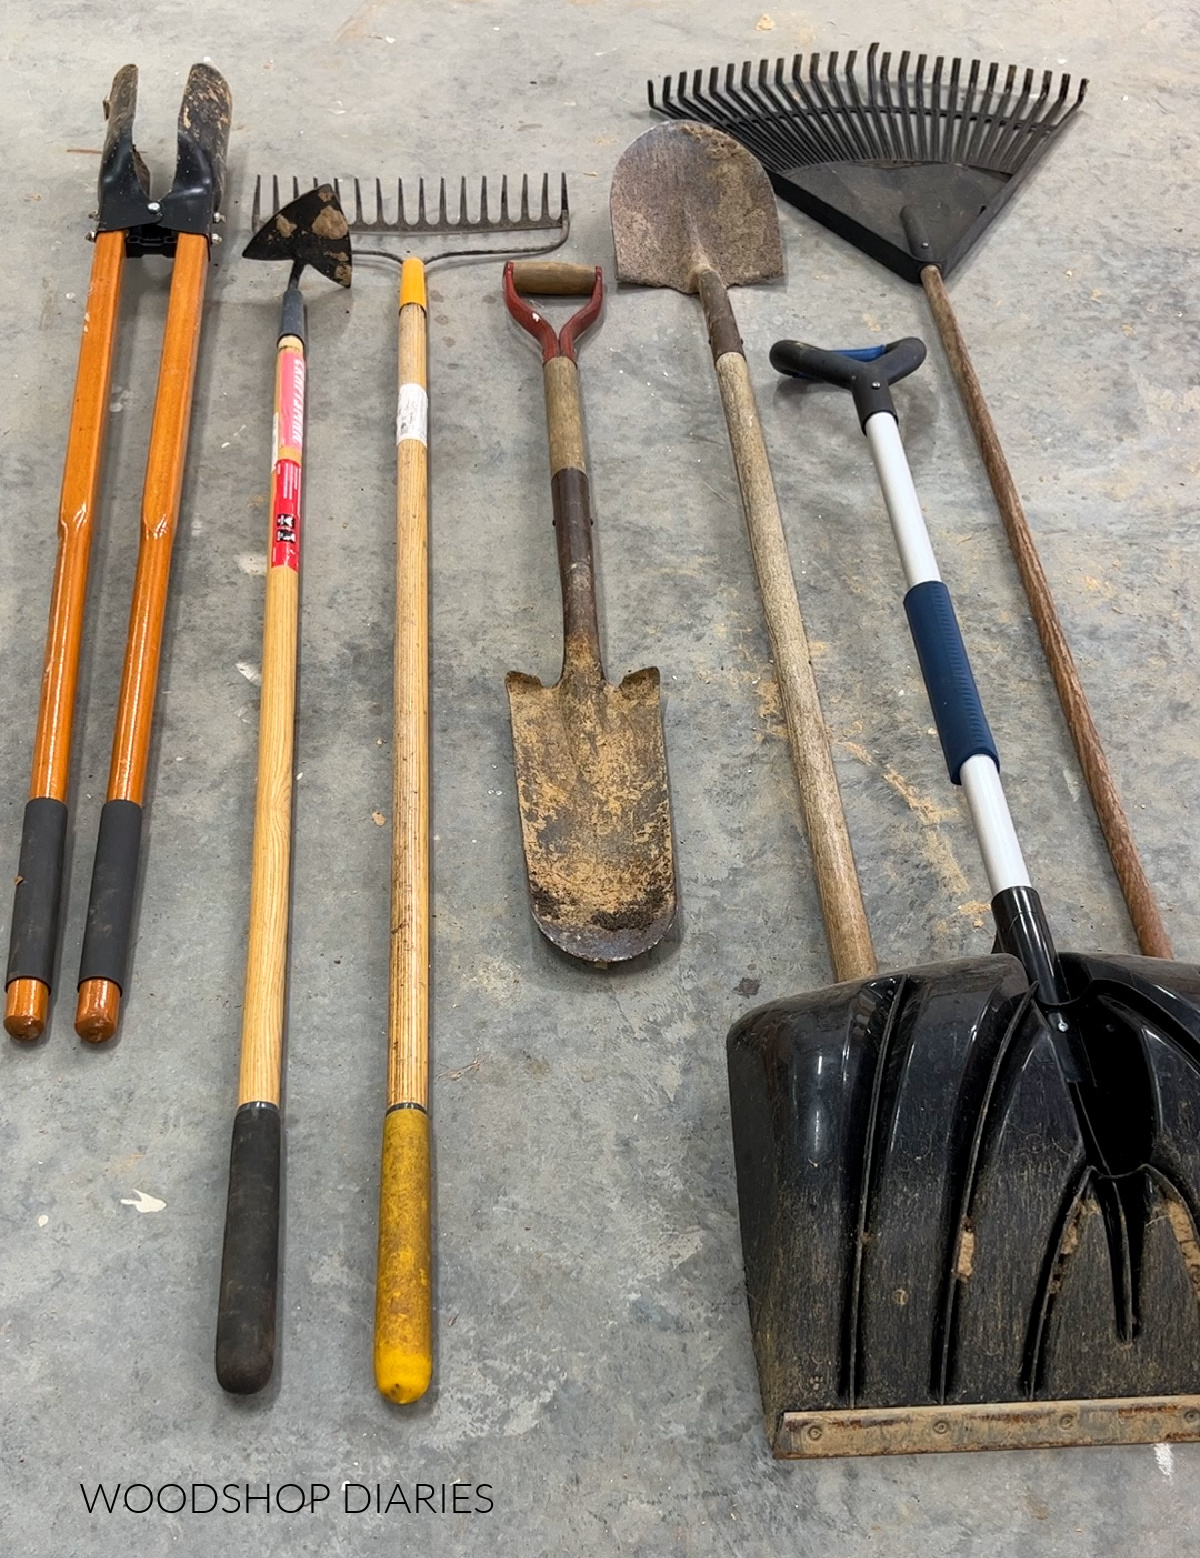
Arrange them so that whatever you plan to hang them from are all close together and toward the top. Some tools may be able to hang from either end, but some may only be able to hang one way.
Step 2: Measure and Cut Wood Scraps to Size
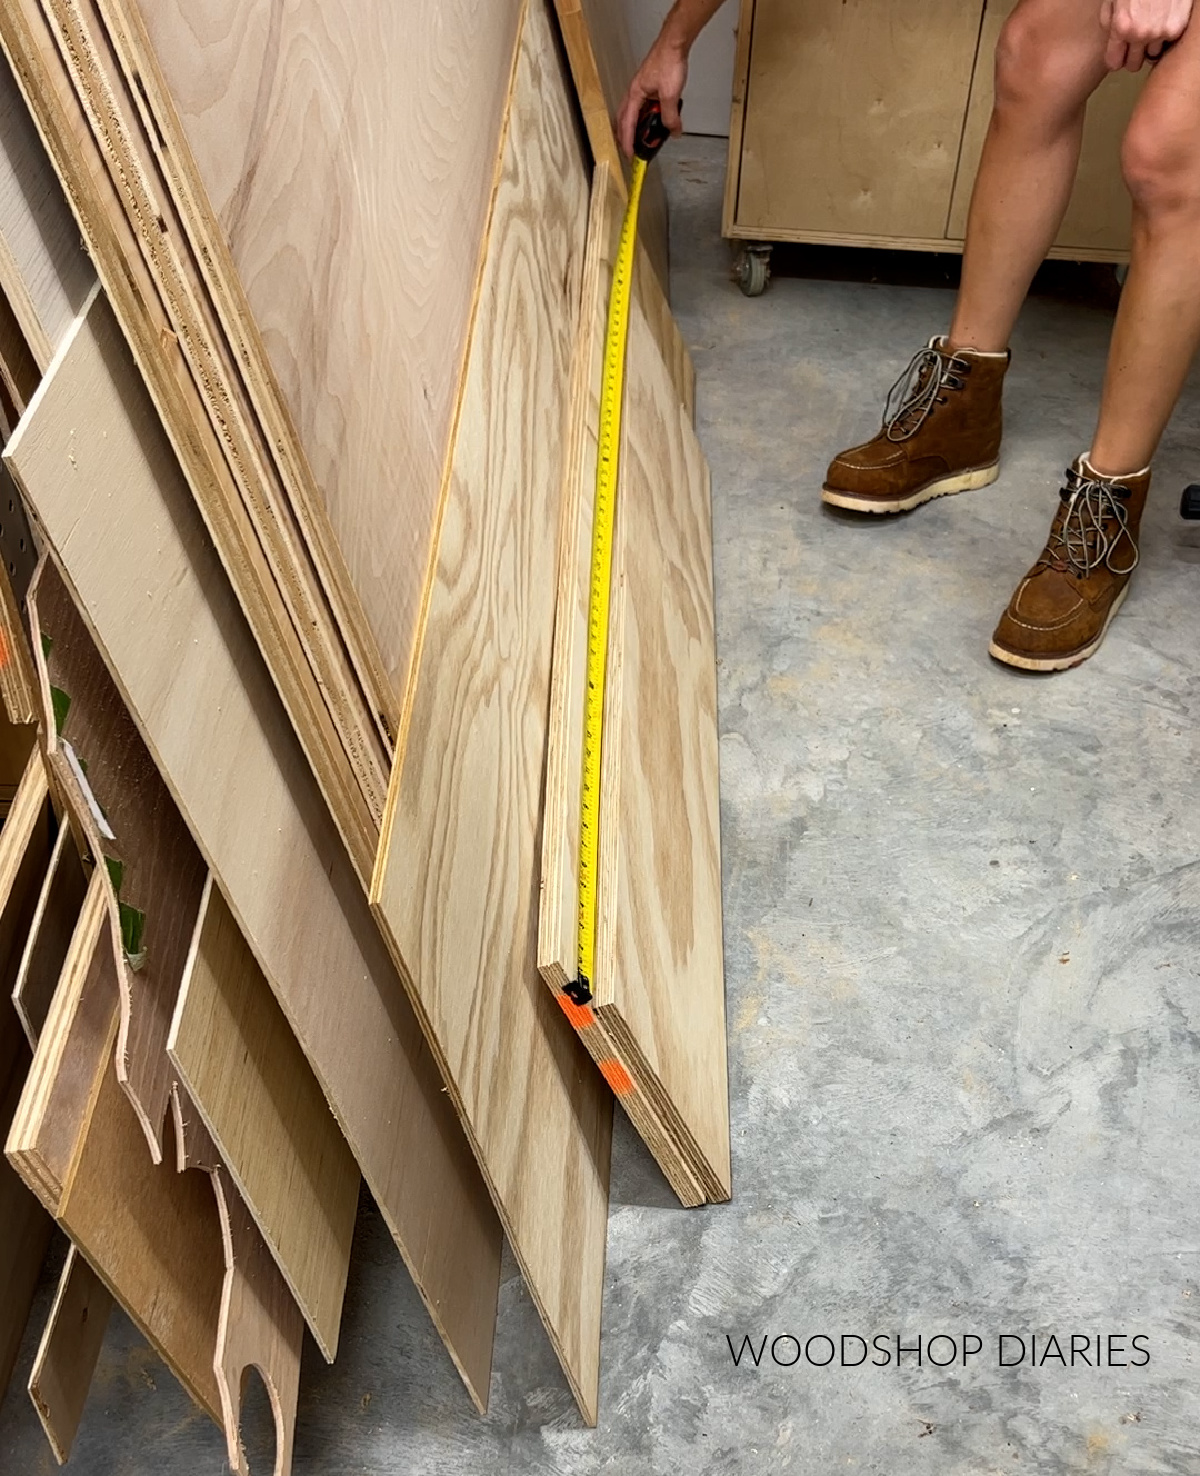
Once your tools are laid out, measure across them at the top to see about how far they span from one side to the other. This will tell you how long you need to make your backer panel.
Then, measure the other way to see about how tall your backer needs to be so everything will have room to hang on it.
In my case, I figured my back panel needed to be about 12″ tall x 48″ wide. So I headed to my scrap pile to see what I could find.
TIP: If you don’t have anything in your scrap pile big enough for what you need, keep in mind that you can make multiple back pieces. It doesn’t have to be all on one big piece.
I found a piece of ¾″ sanded pine plywood roughly the size I needed for the back. Then, I grabbed some small scrap plywood strips to cut down for the hangers that I’ll use to hang the tools on.
These hangers don’t have to be a specific size. I cut mine from approximately 2 ½″ wide plywood strips. If you have some scrap 1x3s, these would work great, too!
Once you have your backer piece (or pieces) picked out and trimmed down (if needed), lay it on the ground and place your tools on it (keeping your original arrangement).
Make sure everything will fit well, then cut hanger pieces from scrap plywood strips the length you need to hold each tool. Again, these don’t have to be a certain size as long as they are long enough to support the tool they’re under.
Step 3: Attach Hanger Braces to Backer
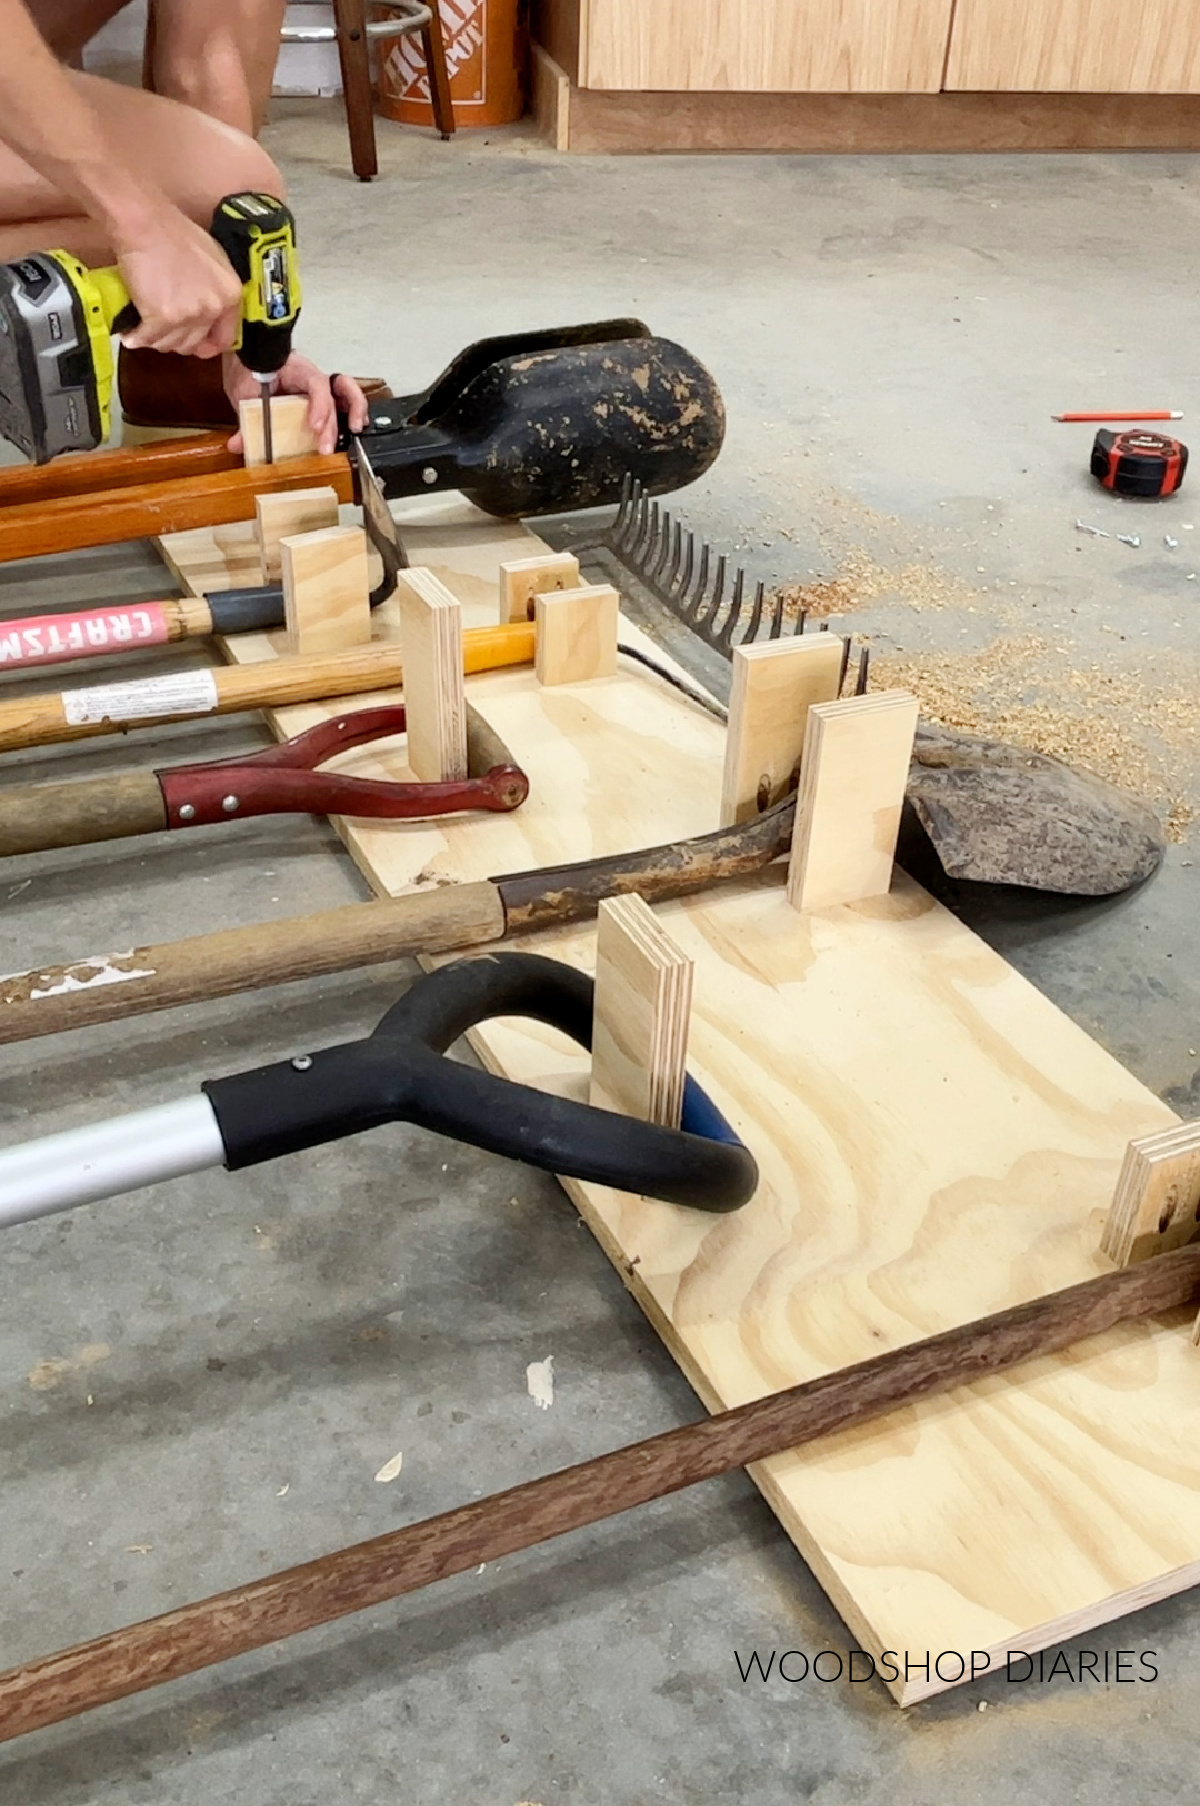
After everything is laid out how you’d like it, drill ¾″ pocket holes into each hanger piece on the edge that will be against the backer.
RELATED: How to use a pocket hole jig
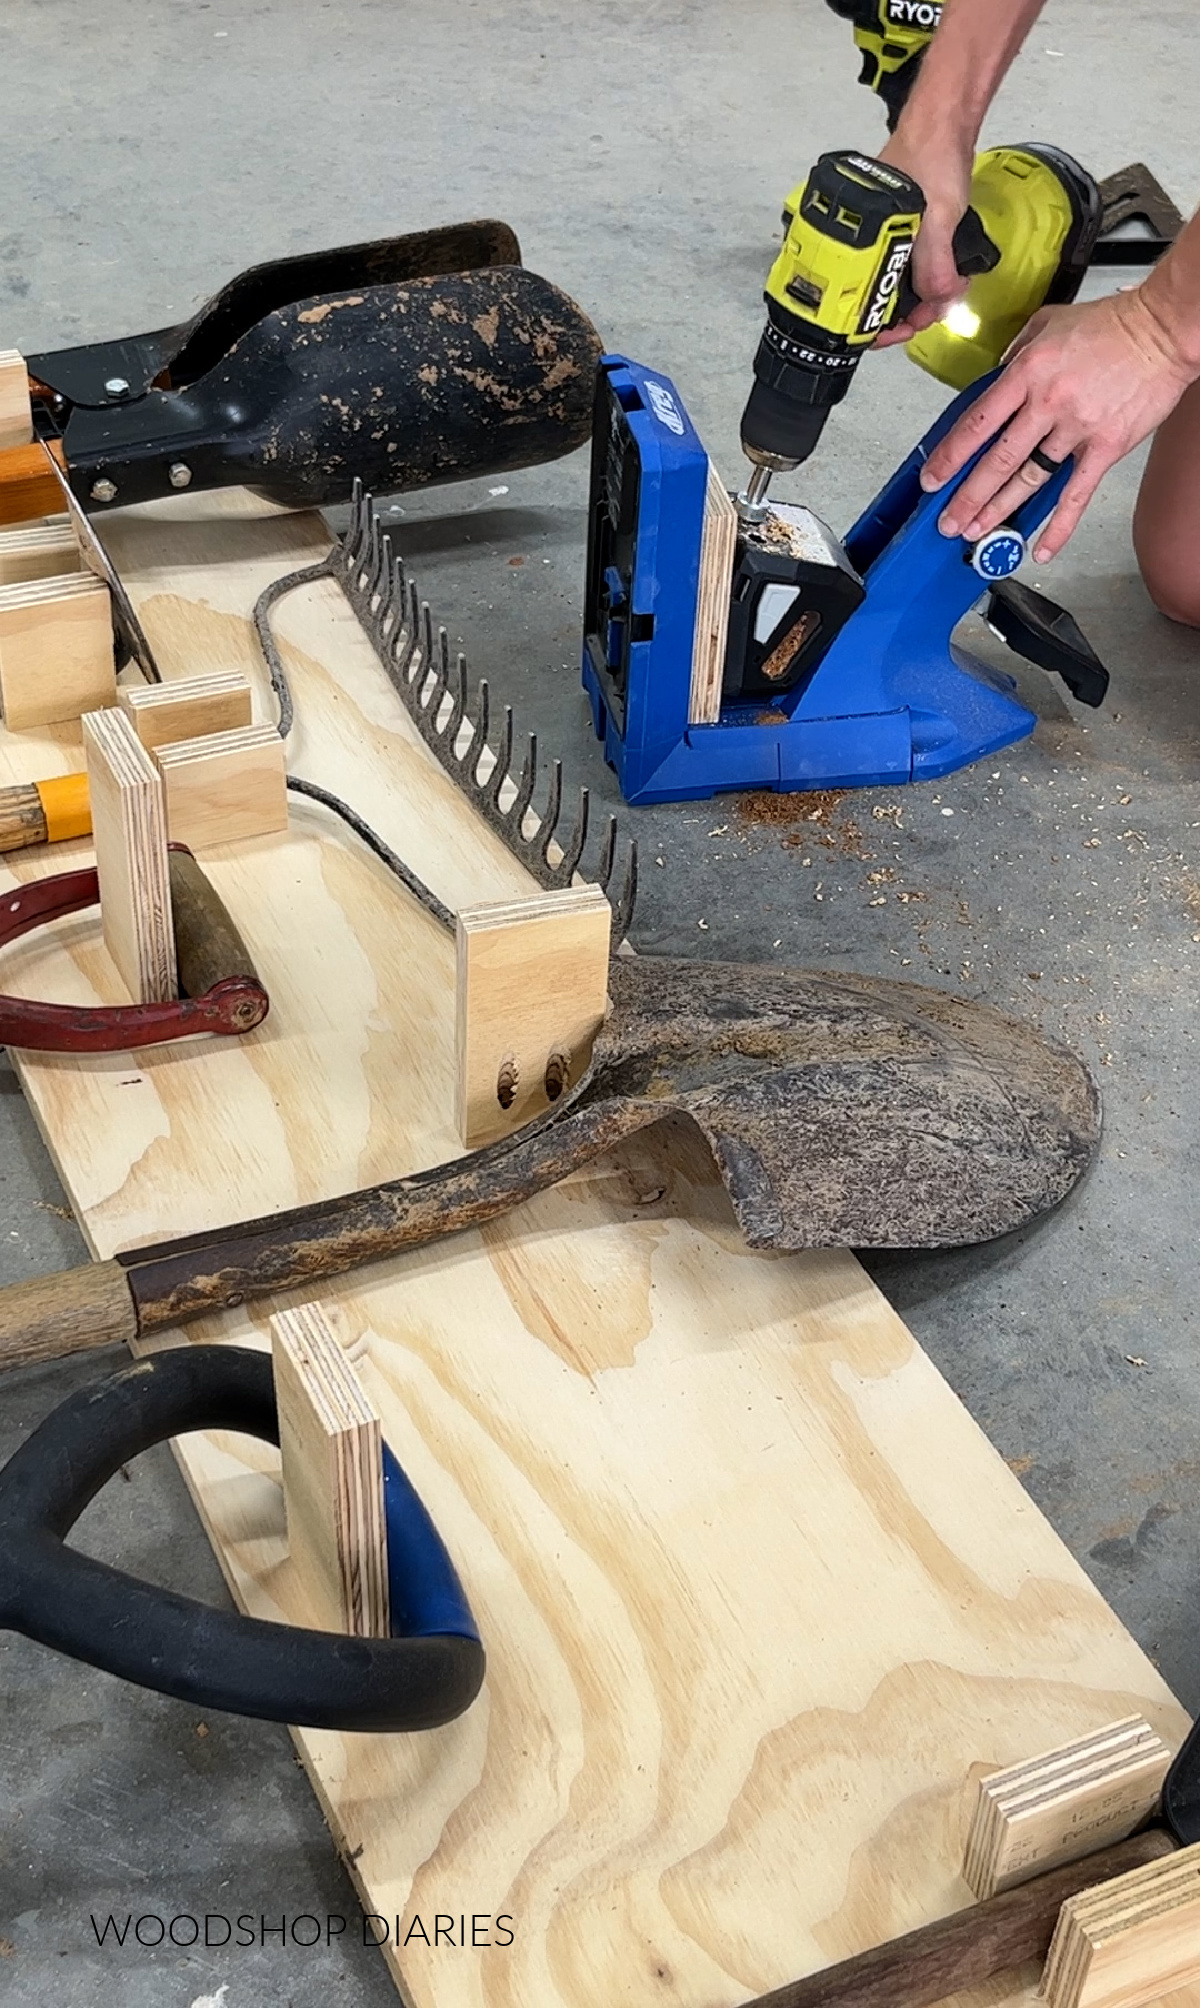
You don’t have to use pocket holes here. Wood screws from the back side to attach these pieces would work just fine.
But the pocket holes allow you to screw in from the top side without flipping it over–which makes this much easier.
Attach each hanger piece to the backer based on your layout from step 2 using 1 ¼″ pocket hole screws.
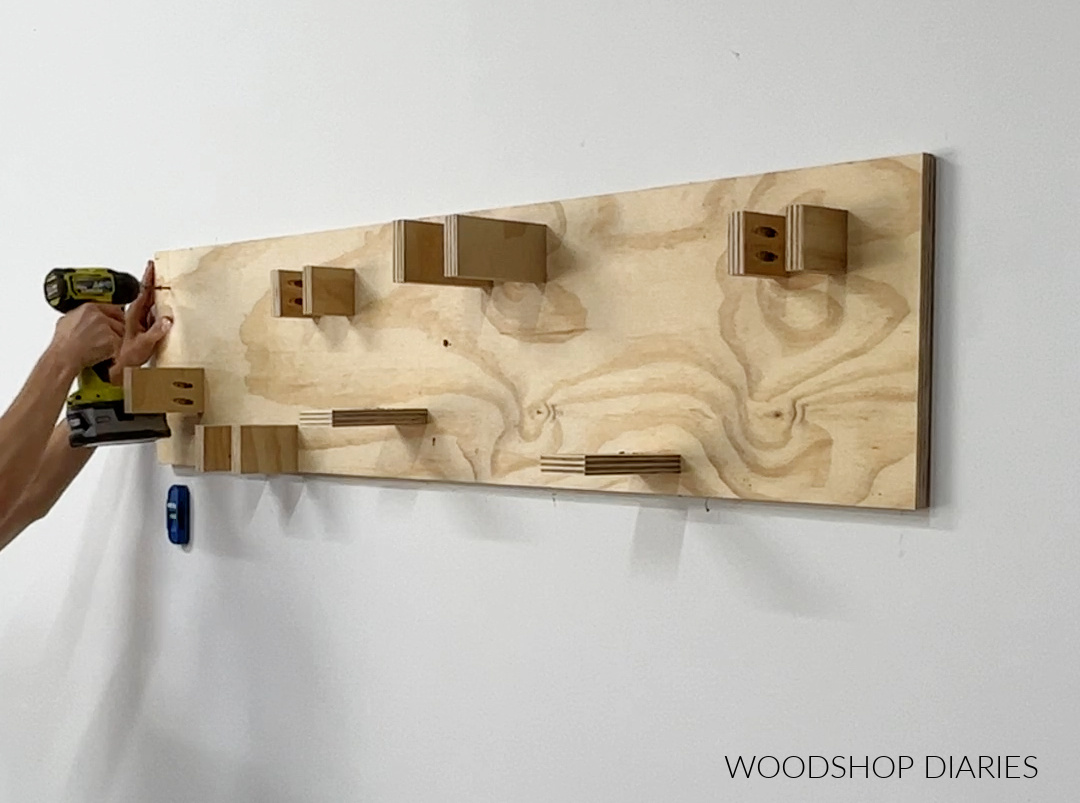
Step 4: Mount Organizer to Wall
Once all hangers are attached, it’s ready to mount to the wall. Use a stud finder to locate at least 2 studs, preferably 3, in the area you’d like to hang your organizer.
For wood studs, use 2 ½″ screws through the backer and into the wall studs to secure. Use at least 3 screws. Use a level to ensure it’s straight while securing–you don’t want to hang it crooked!
If you don’t have wood studs or are installing into a cement block wall, use appropriate anchors to mount the organizer based on what you’re installing onto.
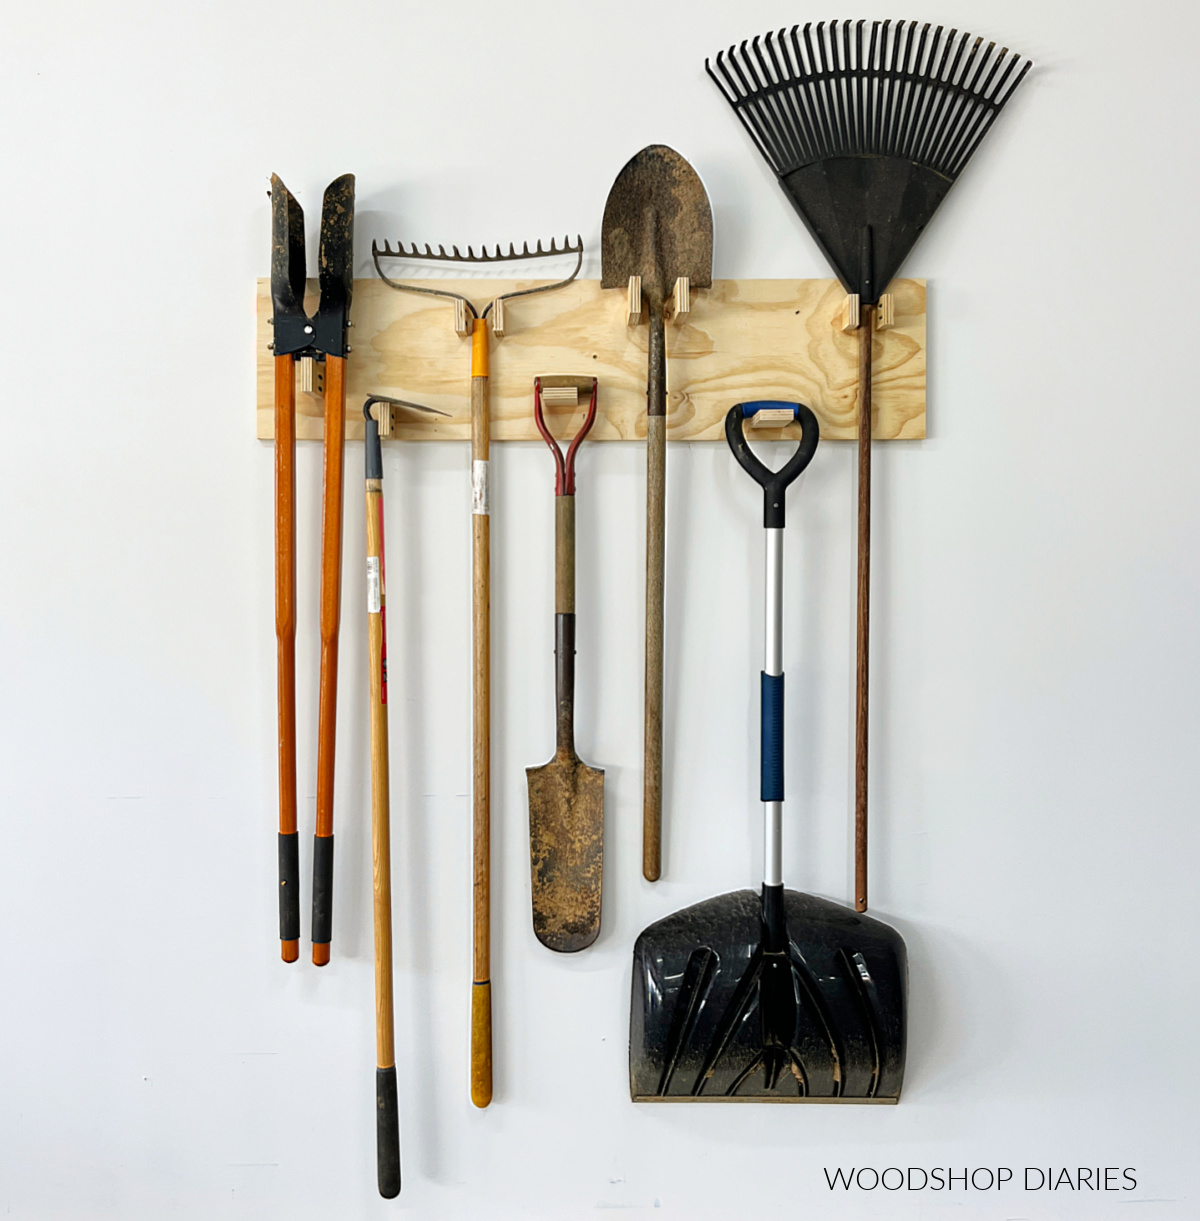
Then, hang up your yard tools and enjoy taking back the extra floor space these tools aren’t taking up anymore!
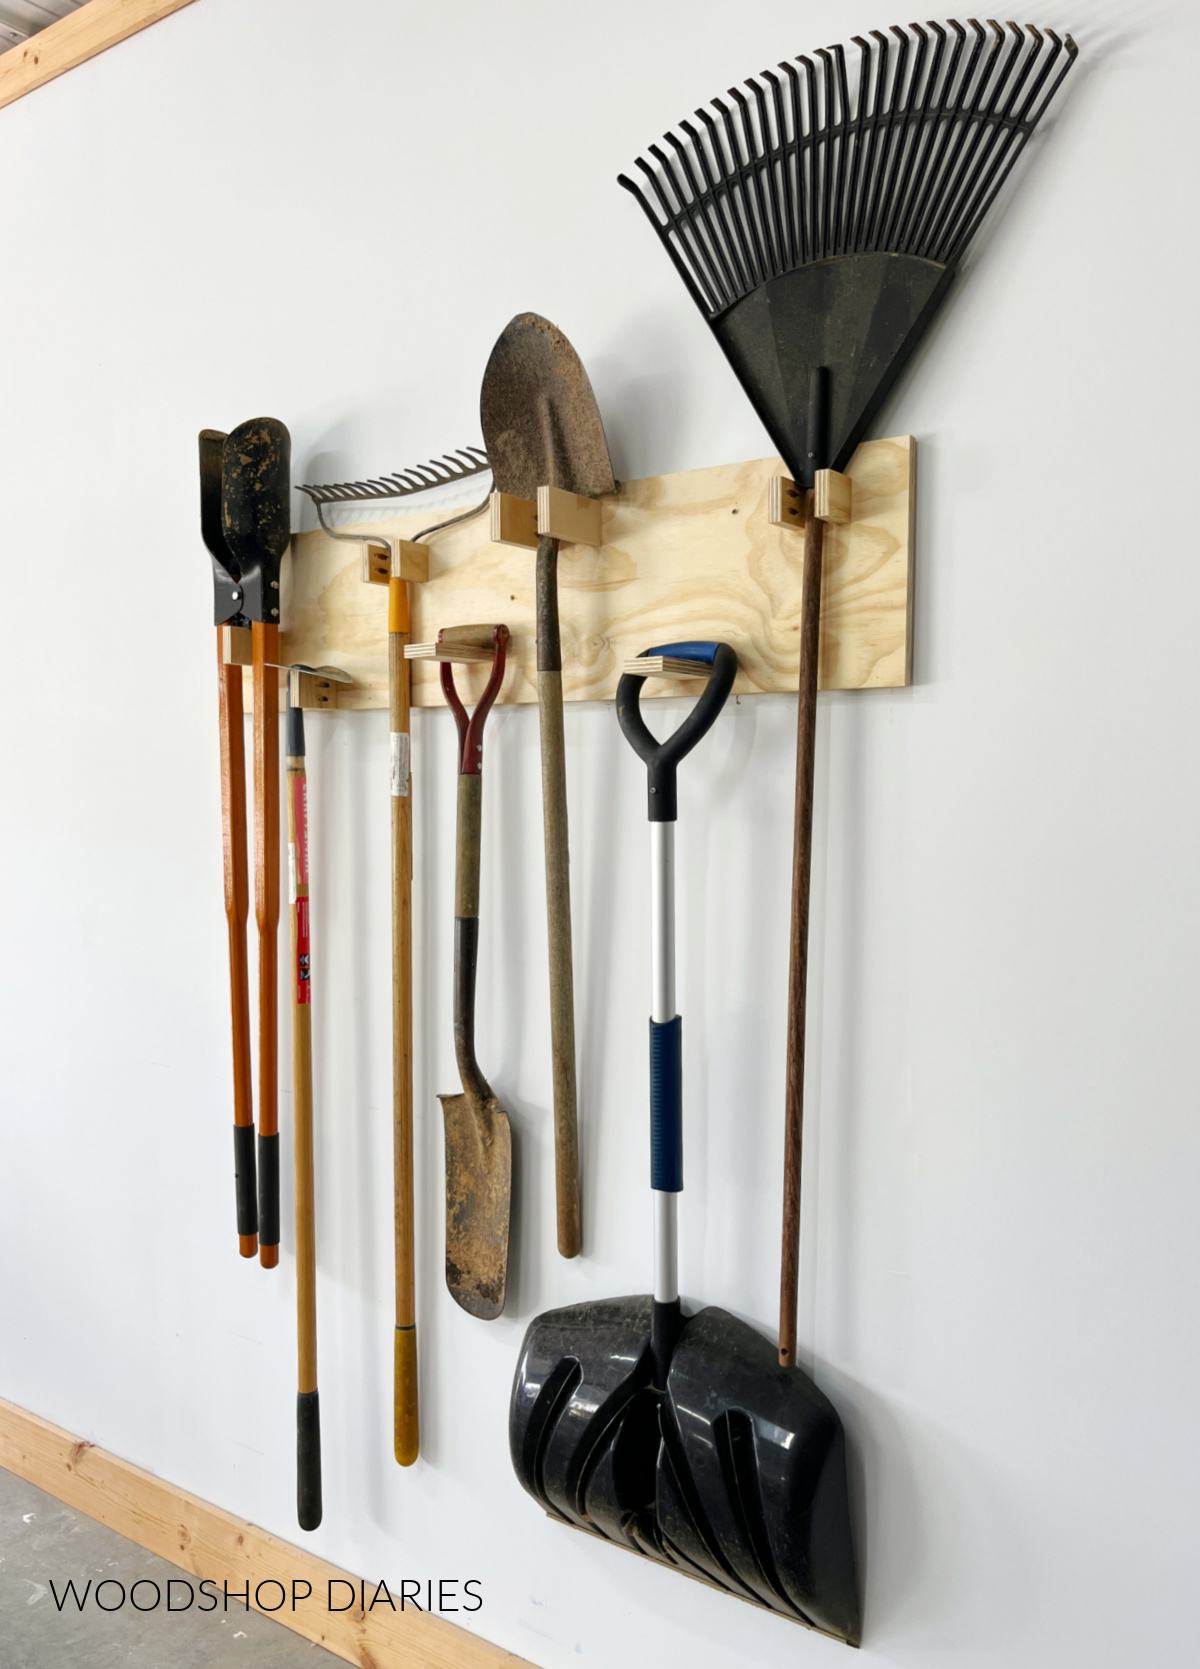
This is such a useful and simple addition to any garage or garden shed to help keep those tools stored up and out of the way. I hope you enjoyed watching it come together!
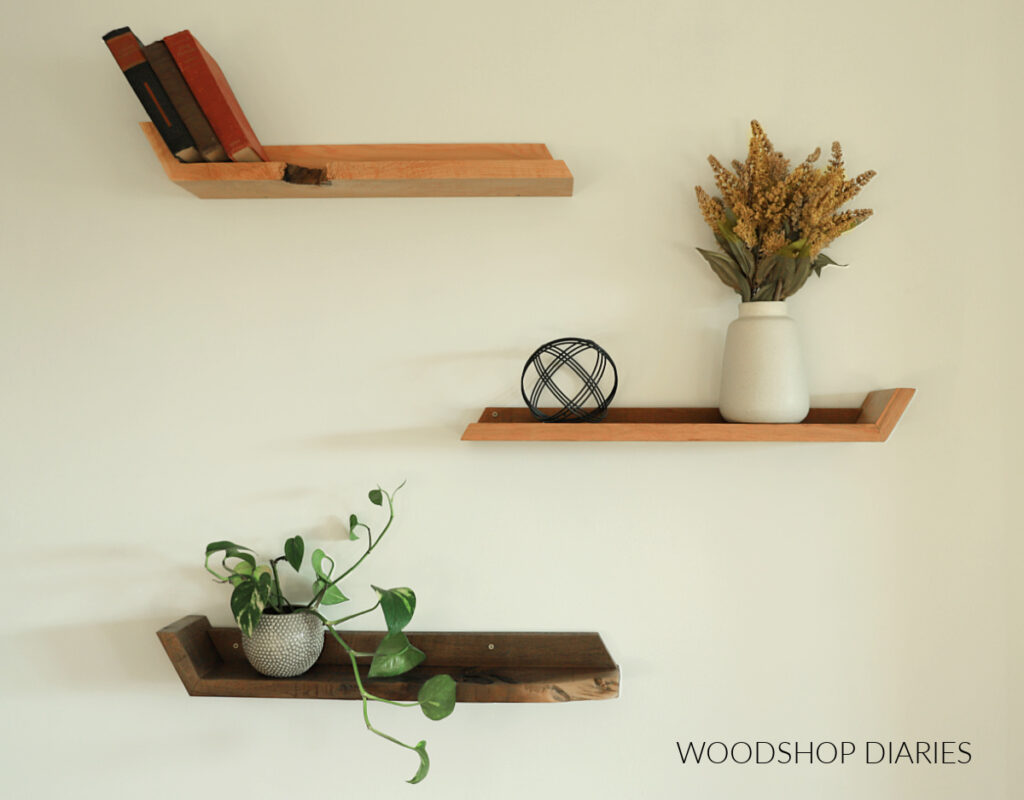
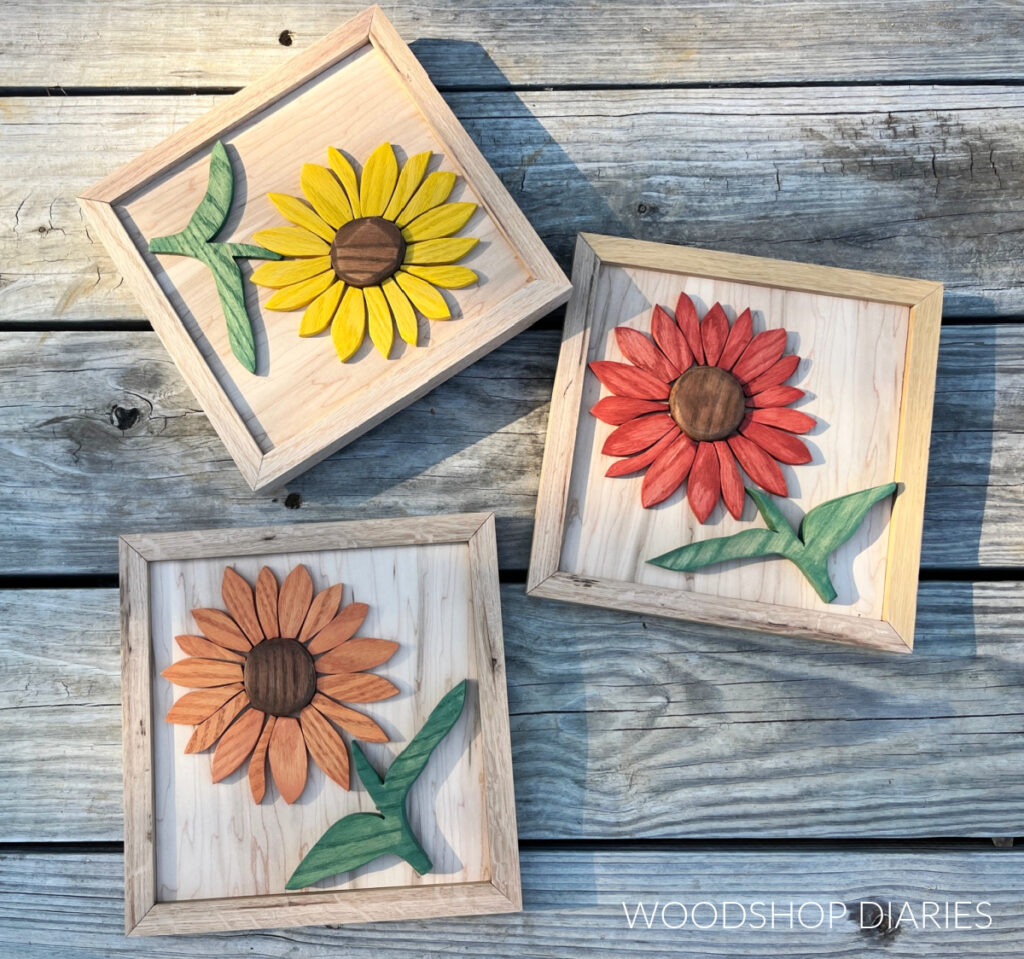
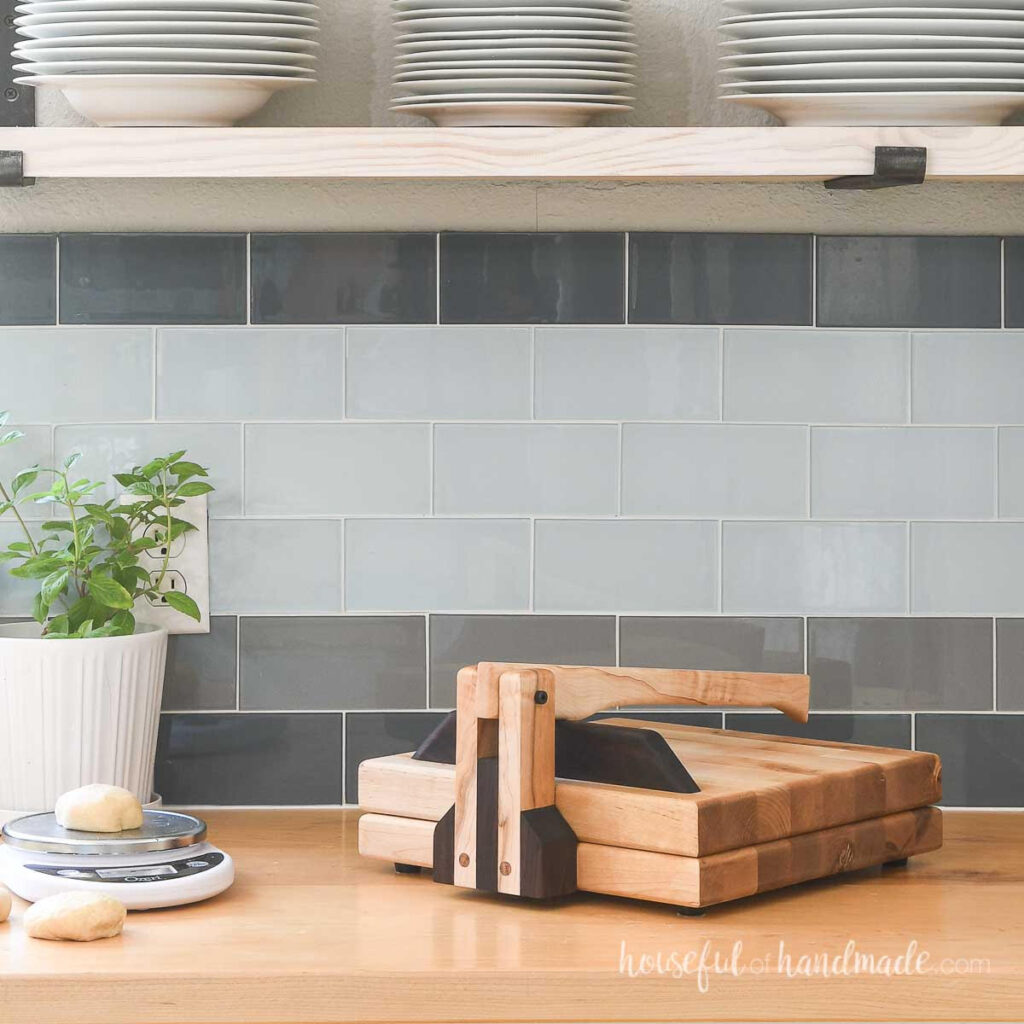
More fun with scrap wood
Can’t get enough scrap wood projects? Me either! That’s why I’m teaming up with my friend, Kati, from Houseful of Handmade all month long to share some “Scrap Wood Summer” Projects!
Check out all the projects in the series so far below. Click on an image to learn how to make each one!
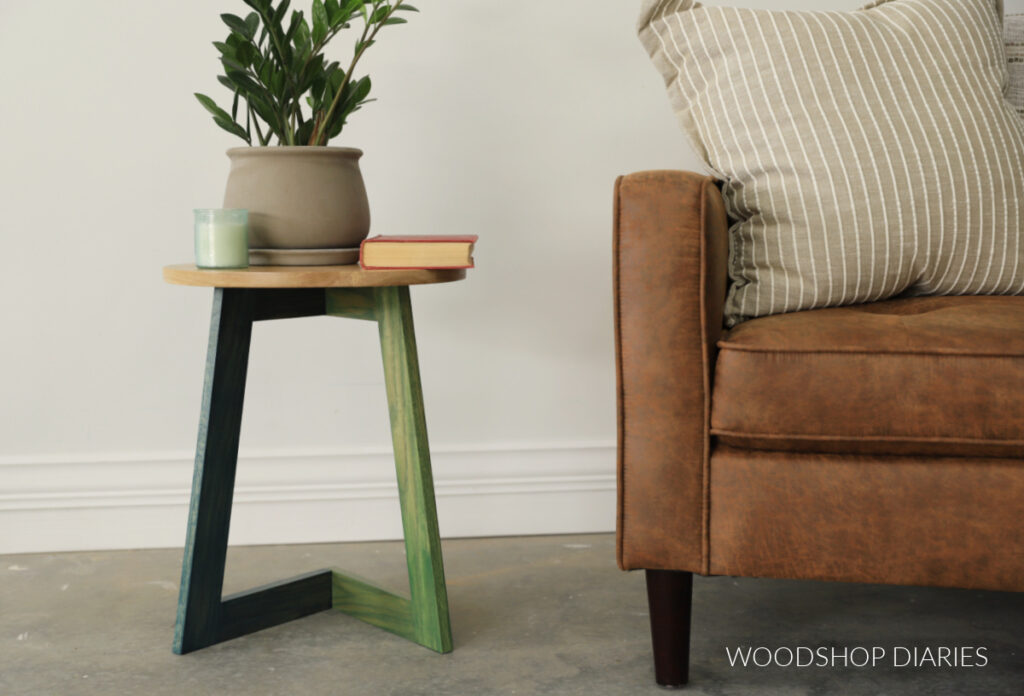
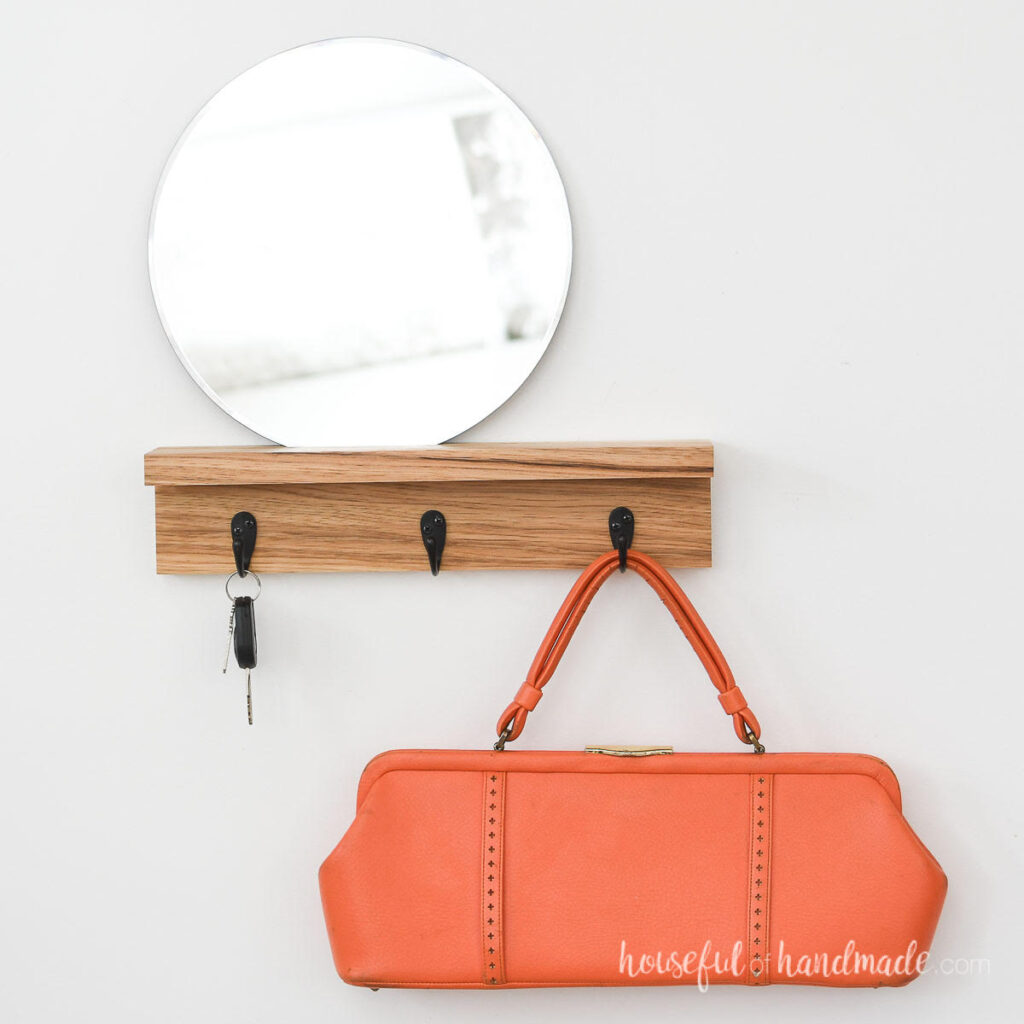

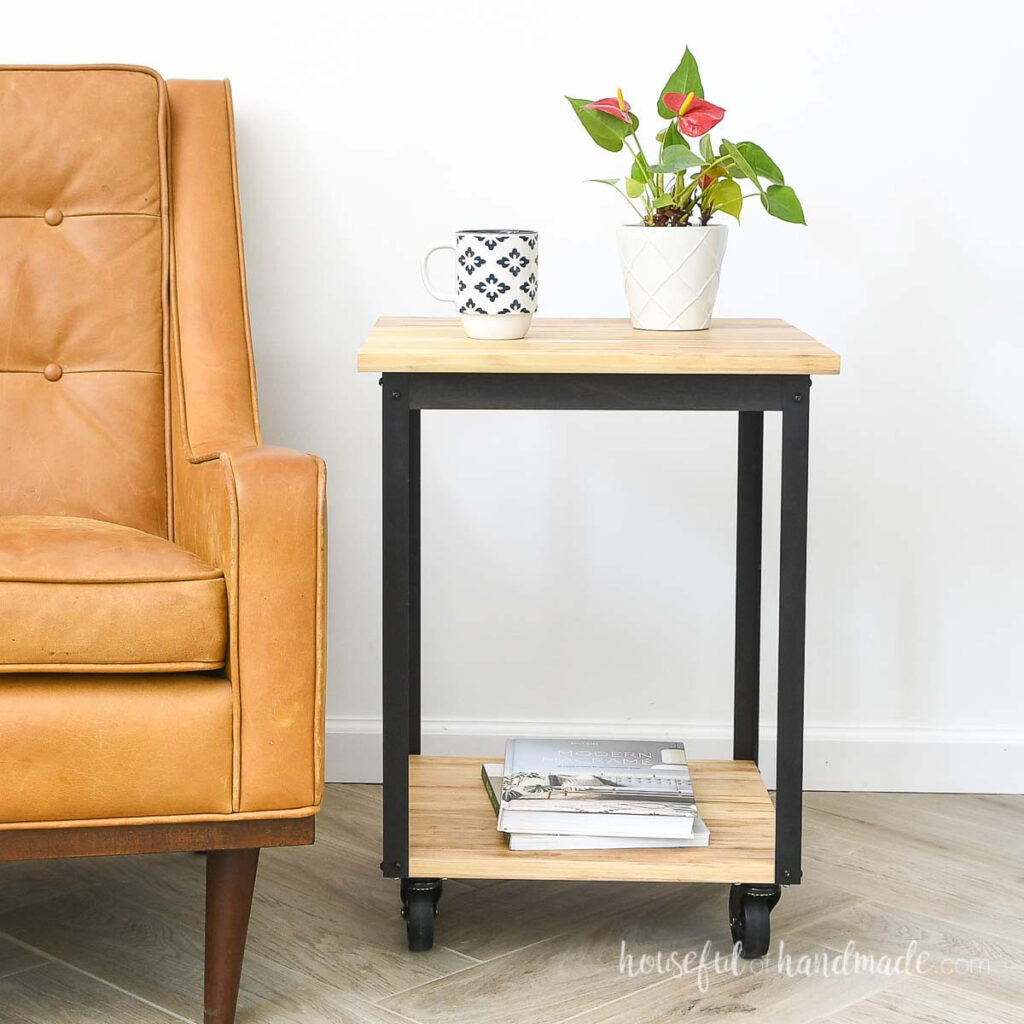


We will be posting new Scrap Wood Summer projects every Tuesday through the month of August (2023). Check out last years’ Scrap Wood Summer projects plus other scrap wood ideas here.
Don’t forget to save this project for later by pinning it or sharing to your favorite social channel!
Until next time, happy building!