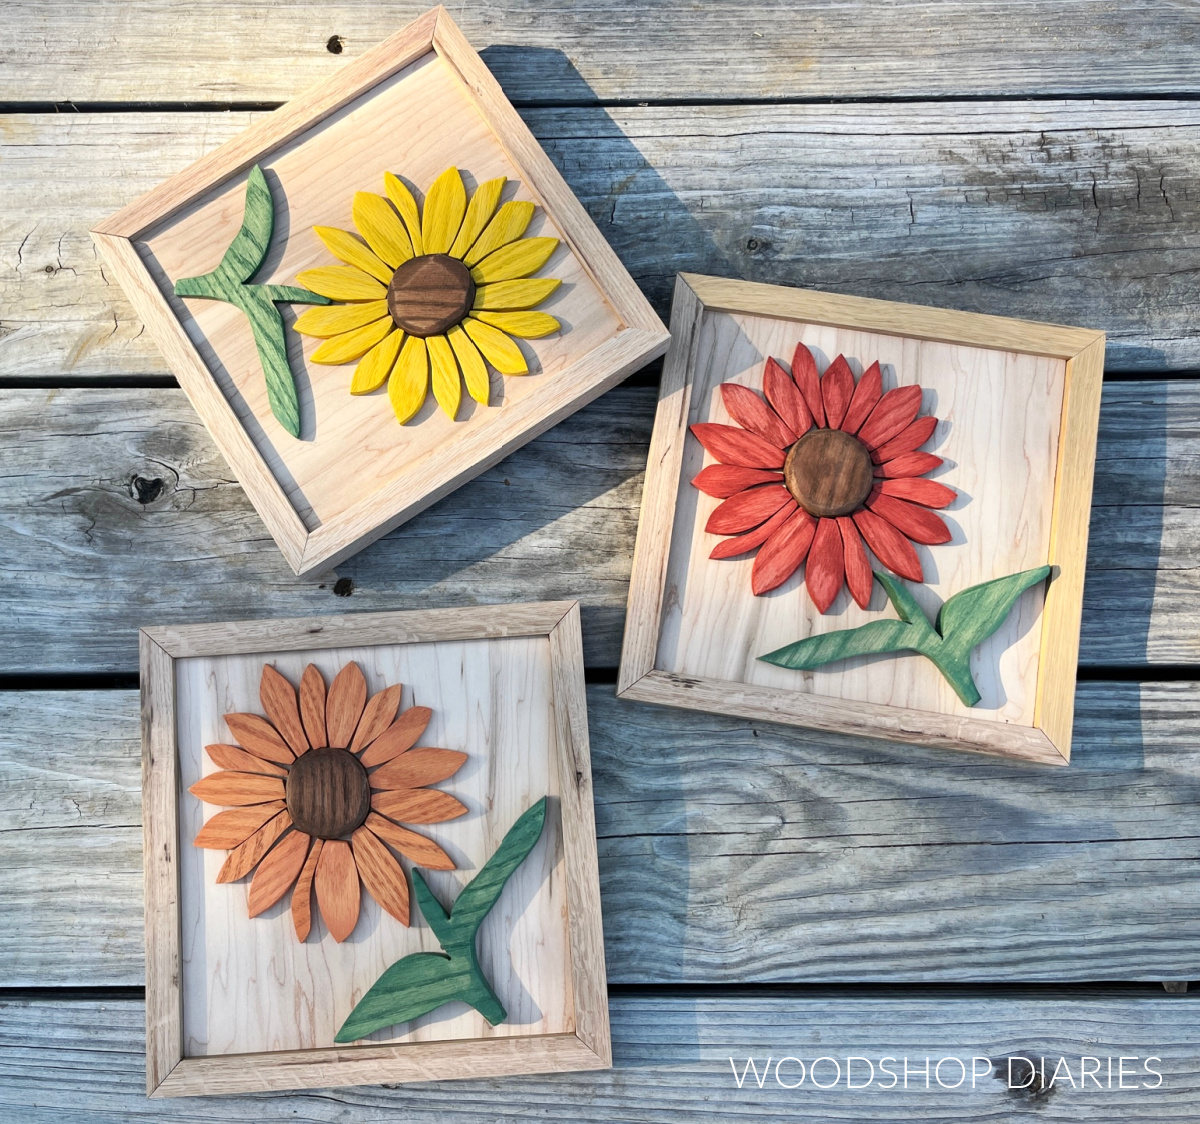
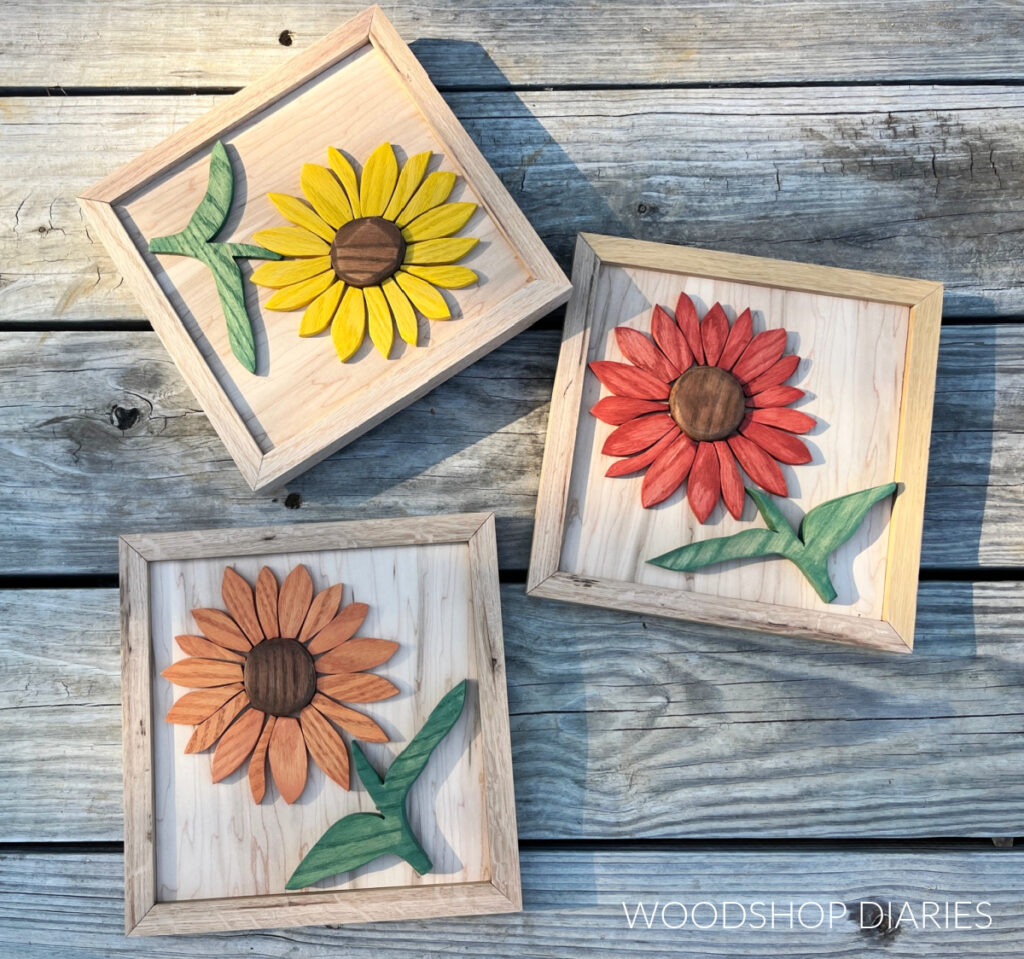
In this post, I’m sharing how to make these ADORABLE wood sunflowers from scraps you probably already have in your shop!
These colorful wooden flowers are perfect for decorating your home for fall.
Last year, I made a wooden pumpkin from scrap wood and although it was so small and simple, it’s been one of my favorite projects I’ve ever made. It just turned out so cute!
So this year, I thought I’d like to try the same concept, but make wooden sunflowers instead of pumpkins! And I’ll be honest, these turned out so much cuter than I even imagined!
I’m SO excited to share with you how I made them, so if you’re ready to dive into the how to, let’s go!
*This post contains affiliate links. See website policies.
What to consider before making scrap wood sunflowers
These wooden sunflowers are ADORABLE. I love them a little more every time I look at them.
BUT…sunflowers aren’t the only option here. Feel free to get as creative as you want with different kinds of flowers, seasonal décor, or any items you’d like to create and display.
The best scraps for this project
There is no right or wrong way to make this project–any type and size of wood could work. However, the thickness of the wood here is something to consider.
Thicker material will work well for the backer and the frame, but for the petals and small flower parts, I recommend searching your scrap pile for some thinner material that’s easier to cut tiny pieces from.
Both ¼″ and/or ½″ thick material would work well.
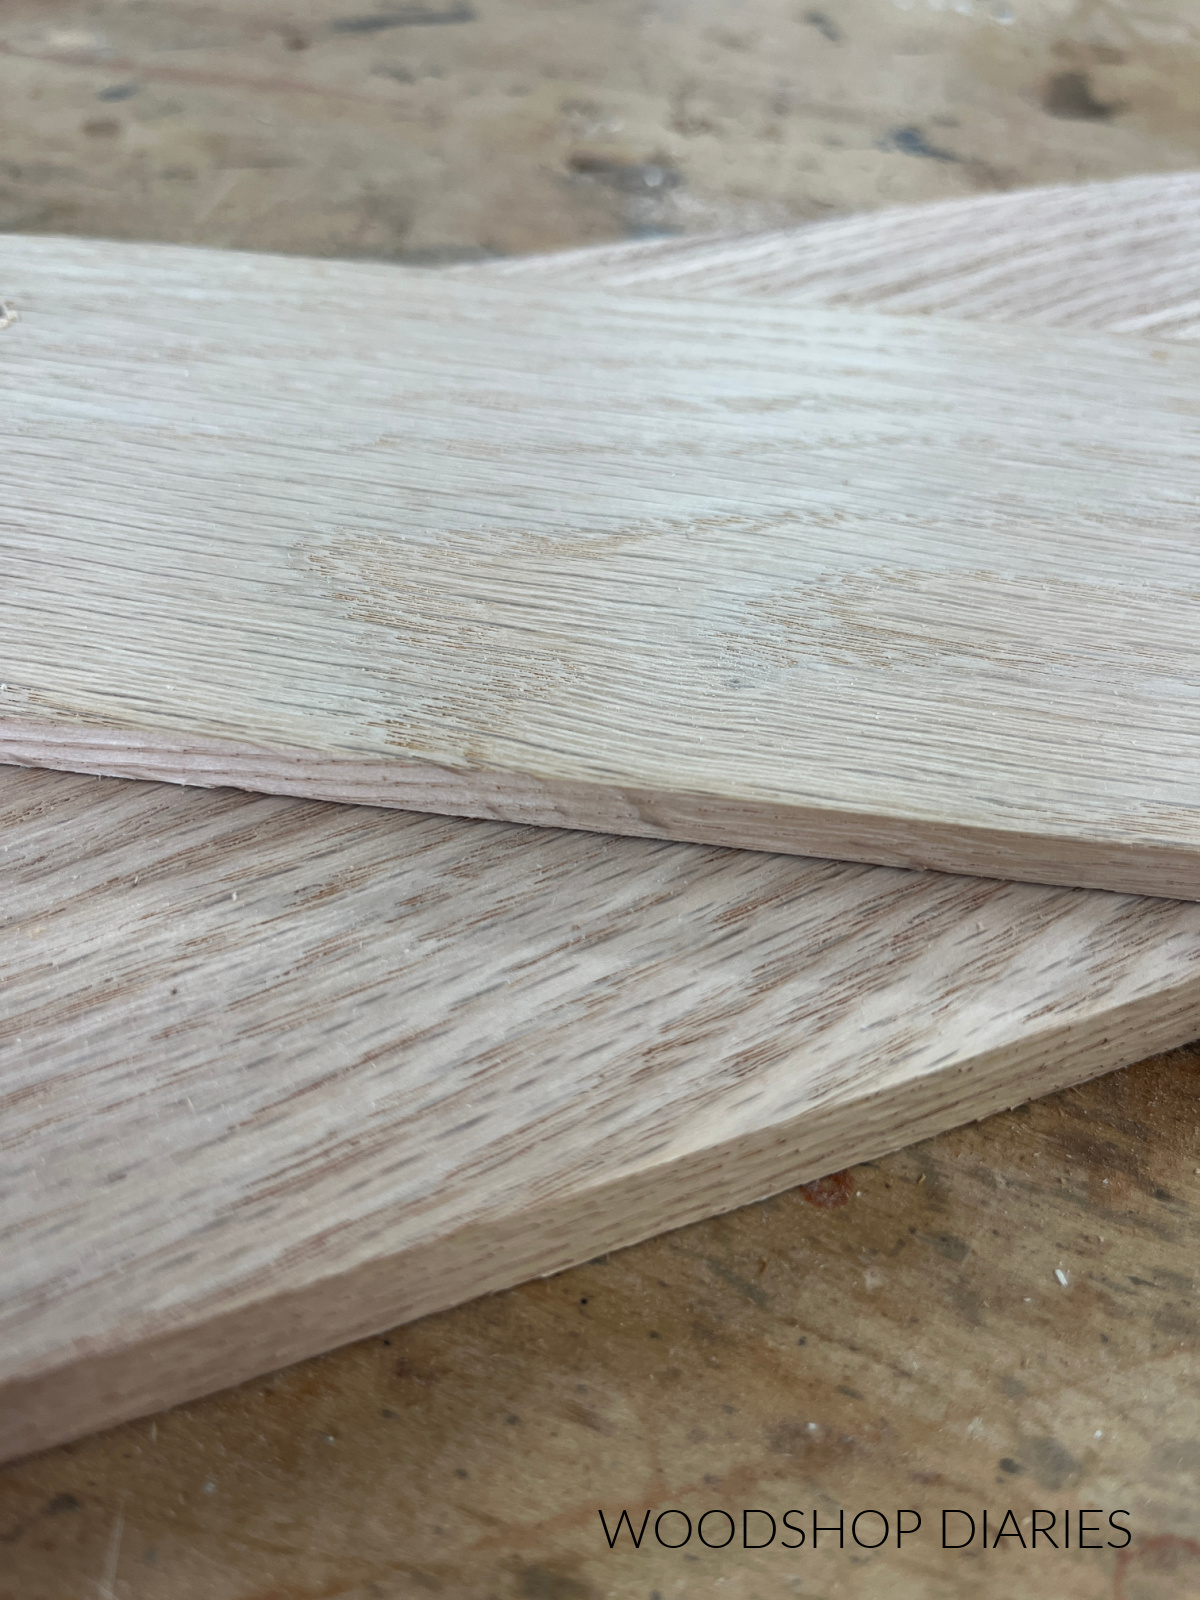
For the flower parts, I suggest cutting from solid wood (like shown above) if possible. Plywood would work okay for this, but when cutting out these small pieces, the veneers are pretty easy to chip. So, using plywood may not give the best results.
Oak is a great option for cutting the flowers out because the deep grain lines give these petals some really nice dimension and character.
If you don’t have any oak scraps in your shop, most big box stores carry small pieces of ¼″ and ½″ thick oak for a few bucks, so you could “cheat” and buy a few of your materials instead of using only scraps.
But, you can certainly use other wood types instead. If you’re not using oak, consider using a wire brush to scuff your pieces up a little to kind of “mimic” the deep grains.
For these wooden sunflowers, I used ¼″ solid oak for the petals, ½″ solid oak for the flower centers and stems, ¾″ maple plywood for the backers (the solid pieces I glued the flowers onto), and 1x2s oak scraps for the frames around the outside.
Creating a Sunflower template
This is the fun part where you can get really creative. You can freehand draw your own flower or find one to use as your template.
If you’re looking for a template, check online for a shape you like, check in a coloring book, or even use an actual or artificial flower and pluck a petal or two off to trace it.
Basically, you just need a shape to cut. Since the center is just a circle, really, you only need a template for the petal and stem.
I found a sunflower shape I liked in a coloring book and cut the petals, the center, and the stem out to trace around on my board.
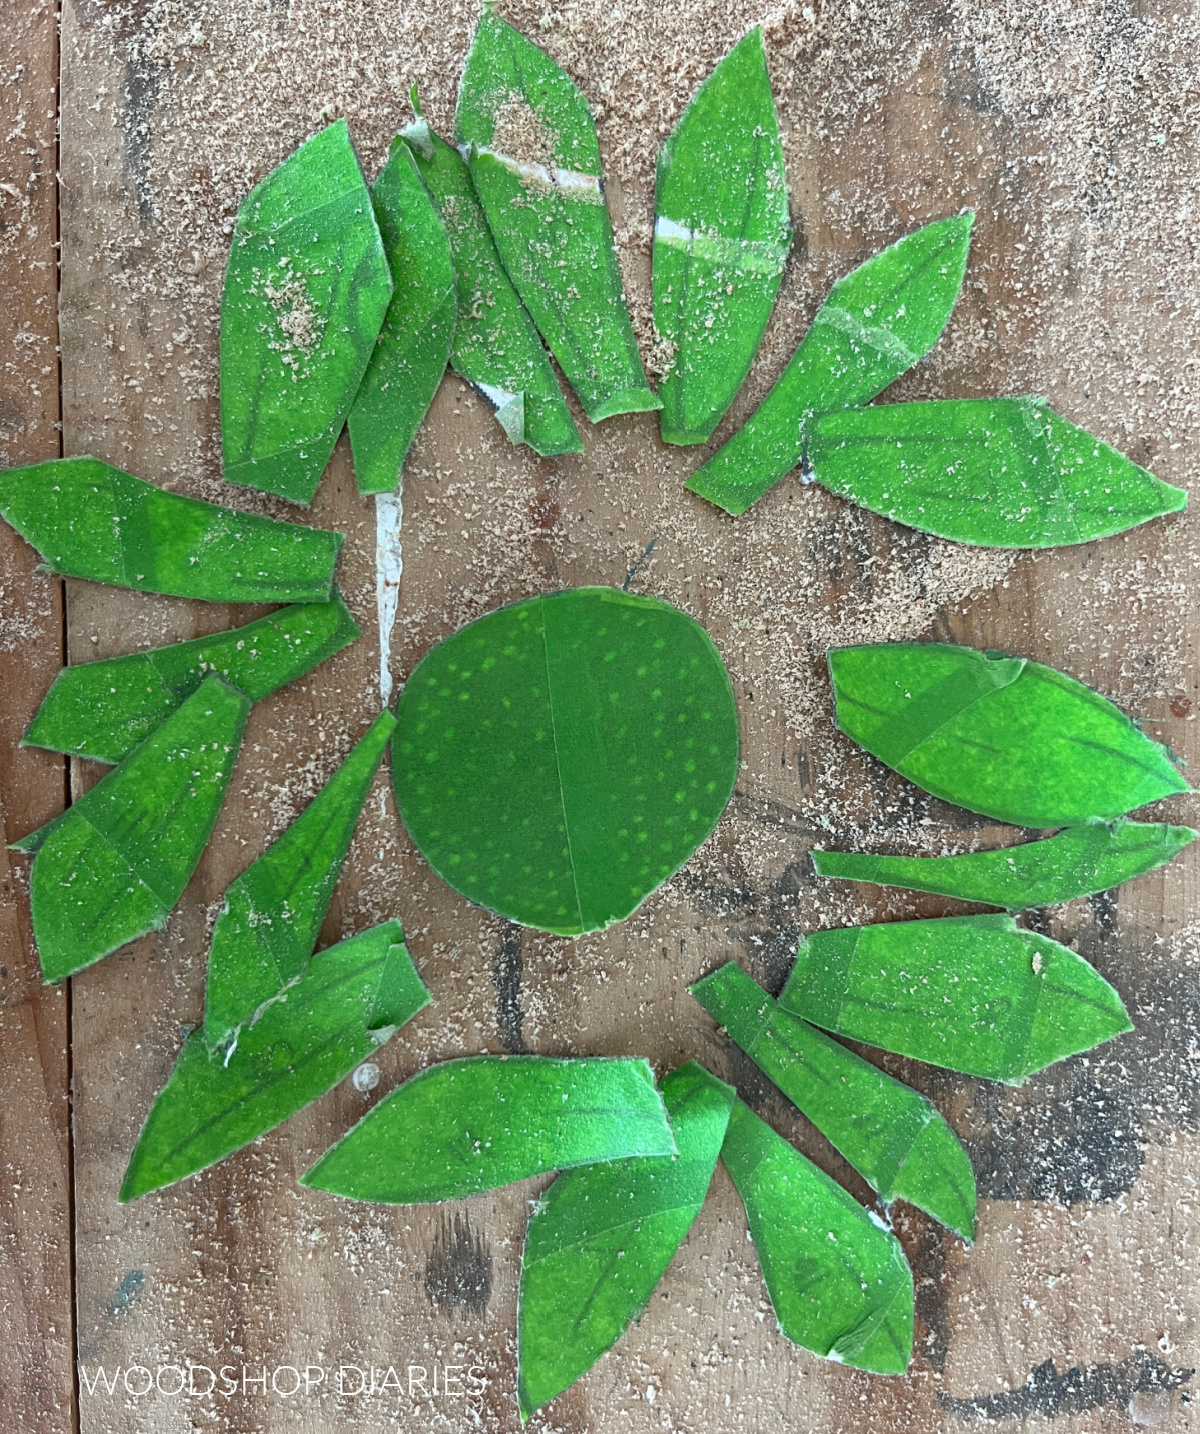
NOTE: I covered the paper in painters tape before cutting out the pieces because this makes them thicker, more durable, and easier to trace around.
I’ll use this as my template when I’m ready to cut my flowers. See step 1.
Enjoy DIY projects and woodworking plans? Sign up for priority access for the latest posts on Woodshop Diaries!
Tools for Cutting the flowers
I used a jig saw with a scrolling blade to cut my pieces. I like using the jig saw and when cutting these from ¼″ thick material, it was pretty quick and easy.
But, I know many people don’t enjoy using a jig saw for things like this. If you’re not a jig saw fan, you can certainly use a scroll saw instead.
If you’re using a jig saw, make sure to use a scroll or fine finish blade for best results. These types of blades are thin and have more teeth for cleaner cuts especially on these tight turns around the petals.
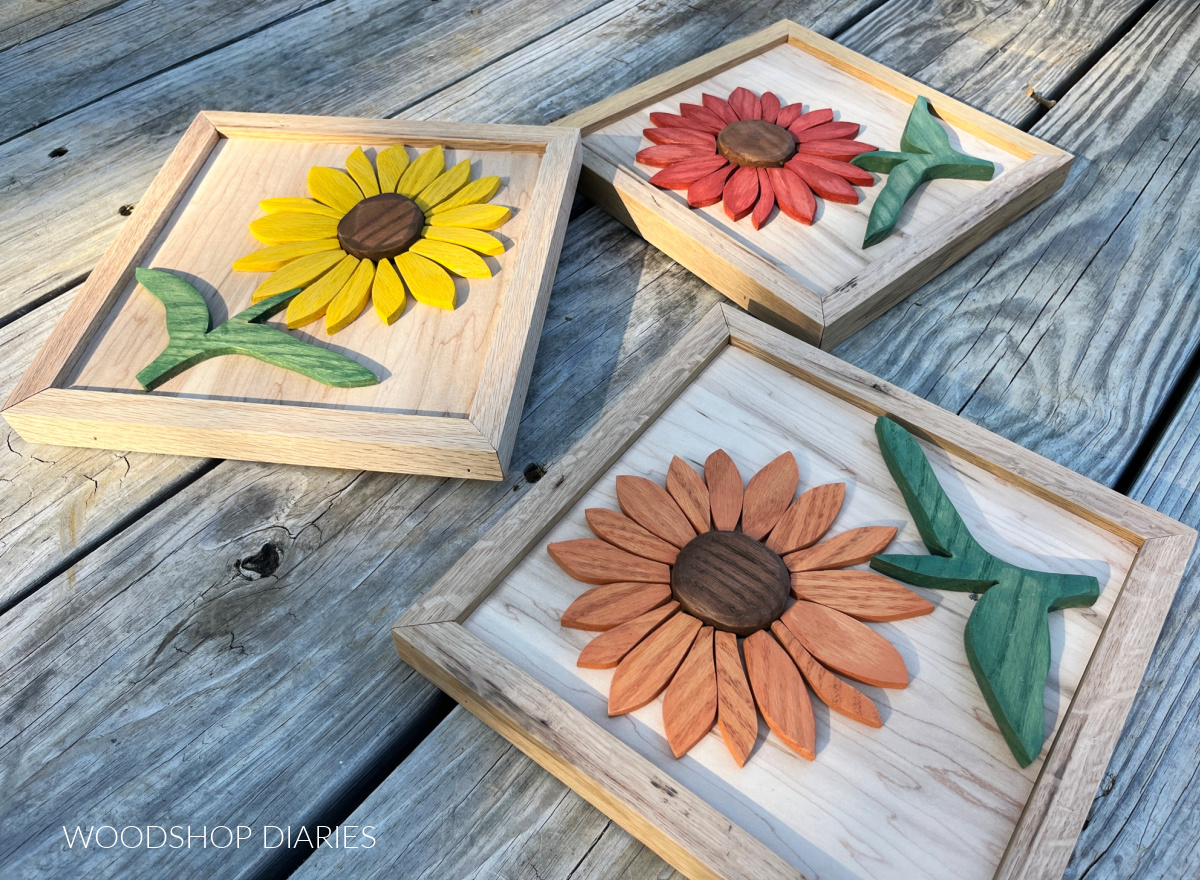
Stain Colors
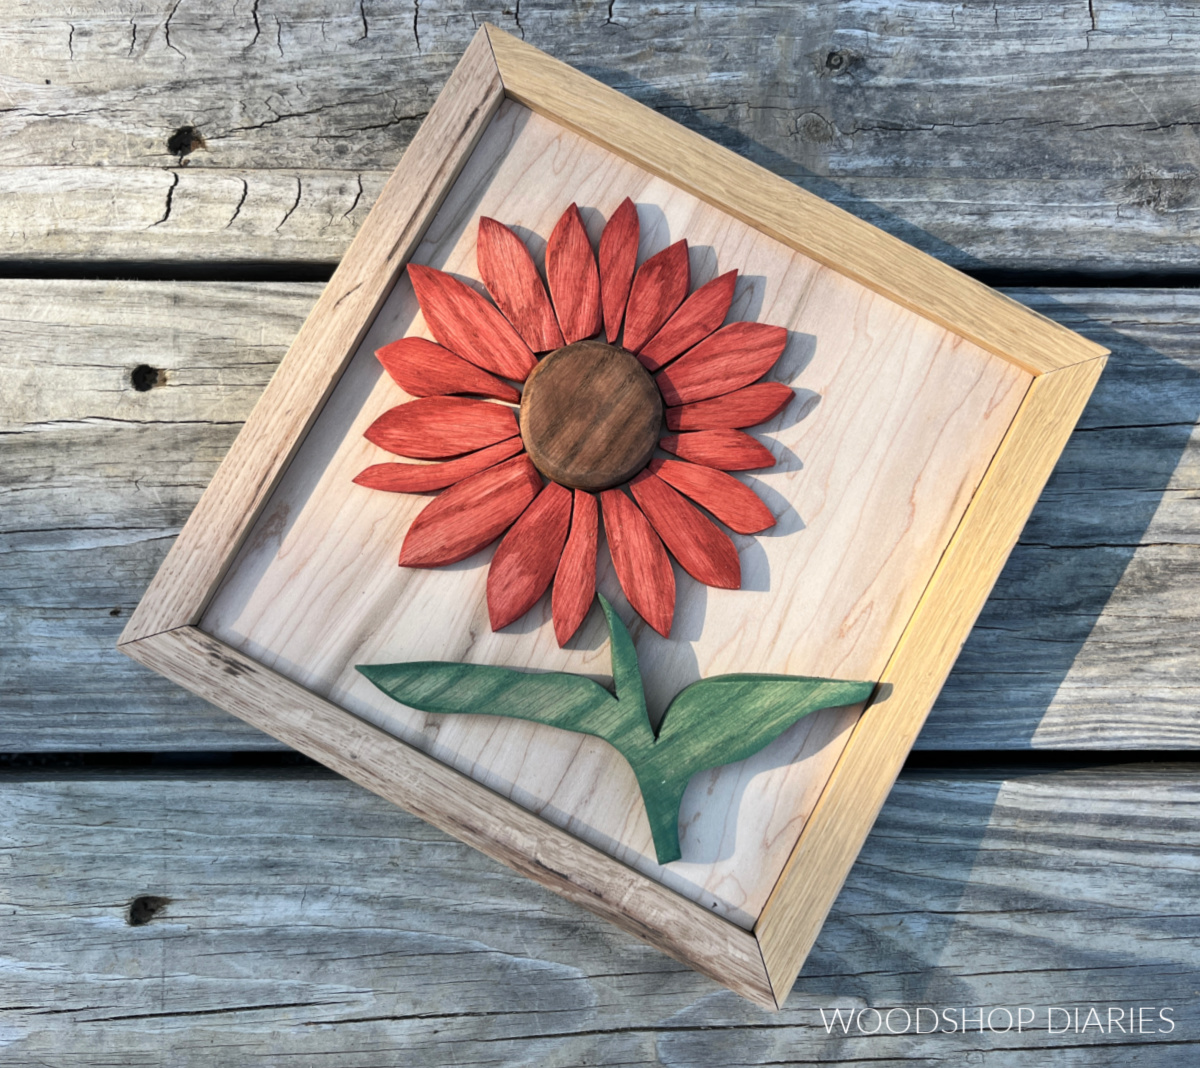
What makes these pieces really “pop” are the colors. I LOVED bringing each of these three different sunflower colors to life.
If you’re curious what colors are used here, I’ve listed them below. These are all Minwax Water Based Stains.
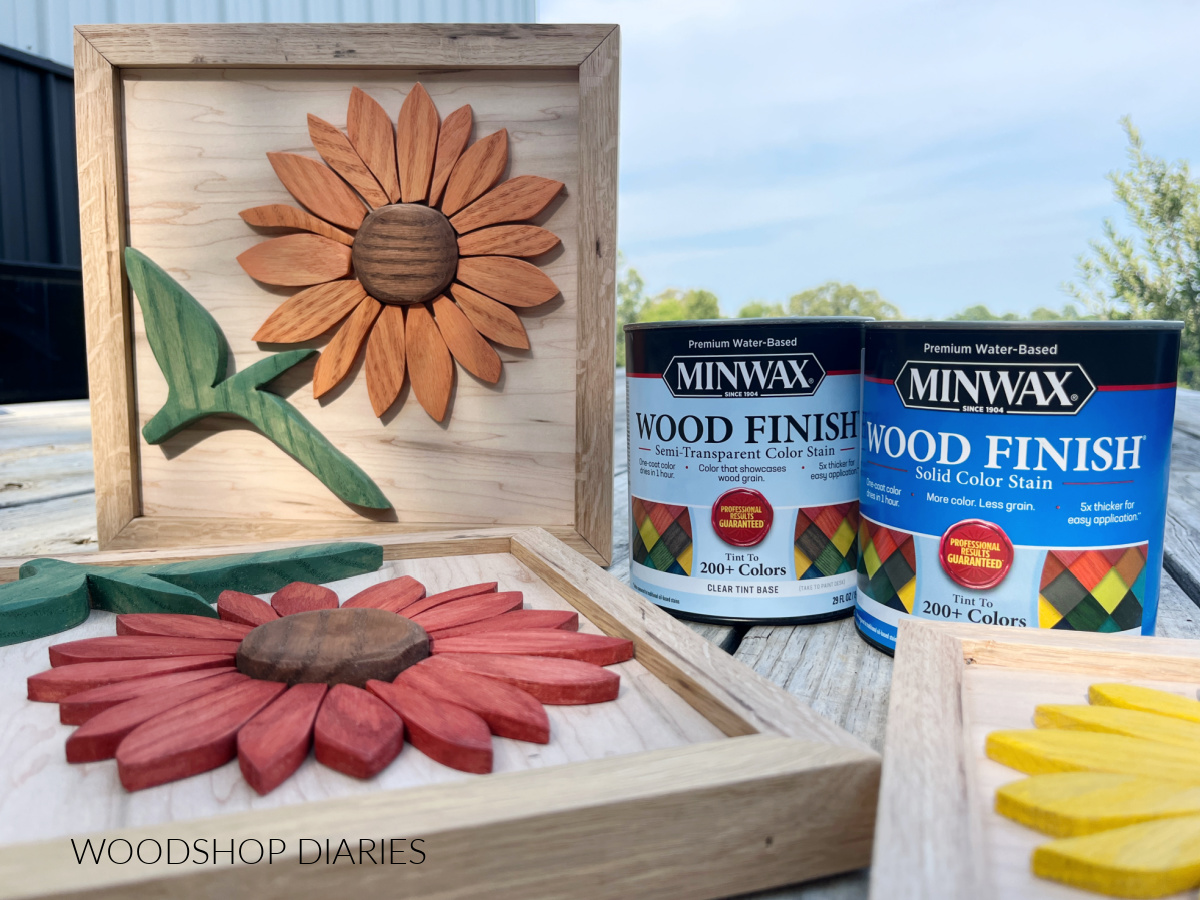
These come in either Semi-Transparent or Solid opacities. Solid provides a deeper color and hides more wood grain and semi-transparent provides a lighter color that shows more wood grain.
Stain Colors Used Here:
- Stems: Early Spring in Solid
- Centers: Pecan in Semi-Transparent
- Yellow Petals: Lemon in Semi-Transparent
- Orange Petals: Cinnamon in Semi-Transparent
- Red Petals: Spice in Semi-Transparent
These water based stains are easy to apply and clean up, but fair warning–they dry QUICK, so make sure to follow the directions and wipe off the excess before it dries.
How to Make Scrap Wood Sunflower Art
These are SO much fun to make. But, be prepared–since there are a lot of small pieces, it’s not the quickest project to complete.
Take your time and enjoy the process. It’s worth it!
Tools & Materials
Tools:
- Jig Saw
- Sander
- Brad Nailer
Materials:
- ¼″ thick oak scraps (solid wood works best–for the flower petals)
- ½″ thick oak scraps (solid wood works best–for the flower center and stem)
- Plywood scraps (½″ or ¾″ recommended–for the backer)
- 1×2 scraps (for the frame)
- 1 ¼″ brad nails
- Wood Glue
- Stain (see notes above)
Step 1: Gather Supplies and Trace Flower Parts
First, I gathered the oak scraps that I planned to cut my flower pieces from.
I used ½″ thick solid oak scraps to cut the center and stem from. I used ¼″ thick solid oak scraps to cut the petals from. See notes above.
Then, I cut out my sunflower template (see notes above). Feel free to get creative with your template shape and size.
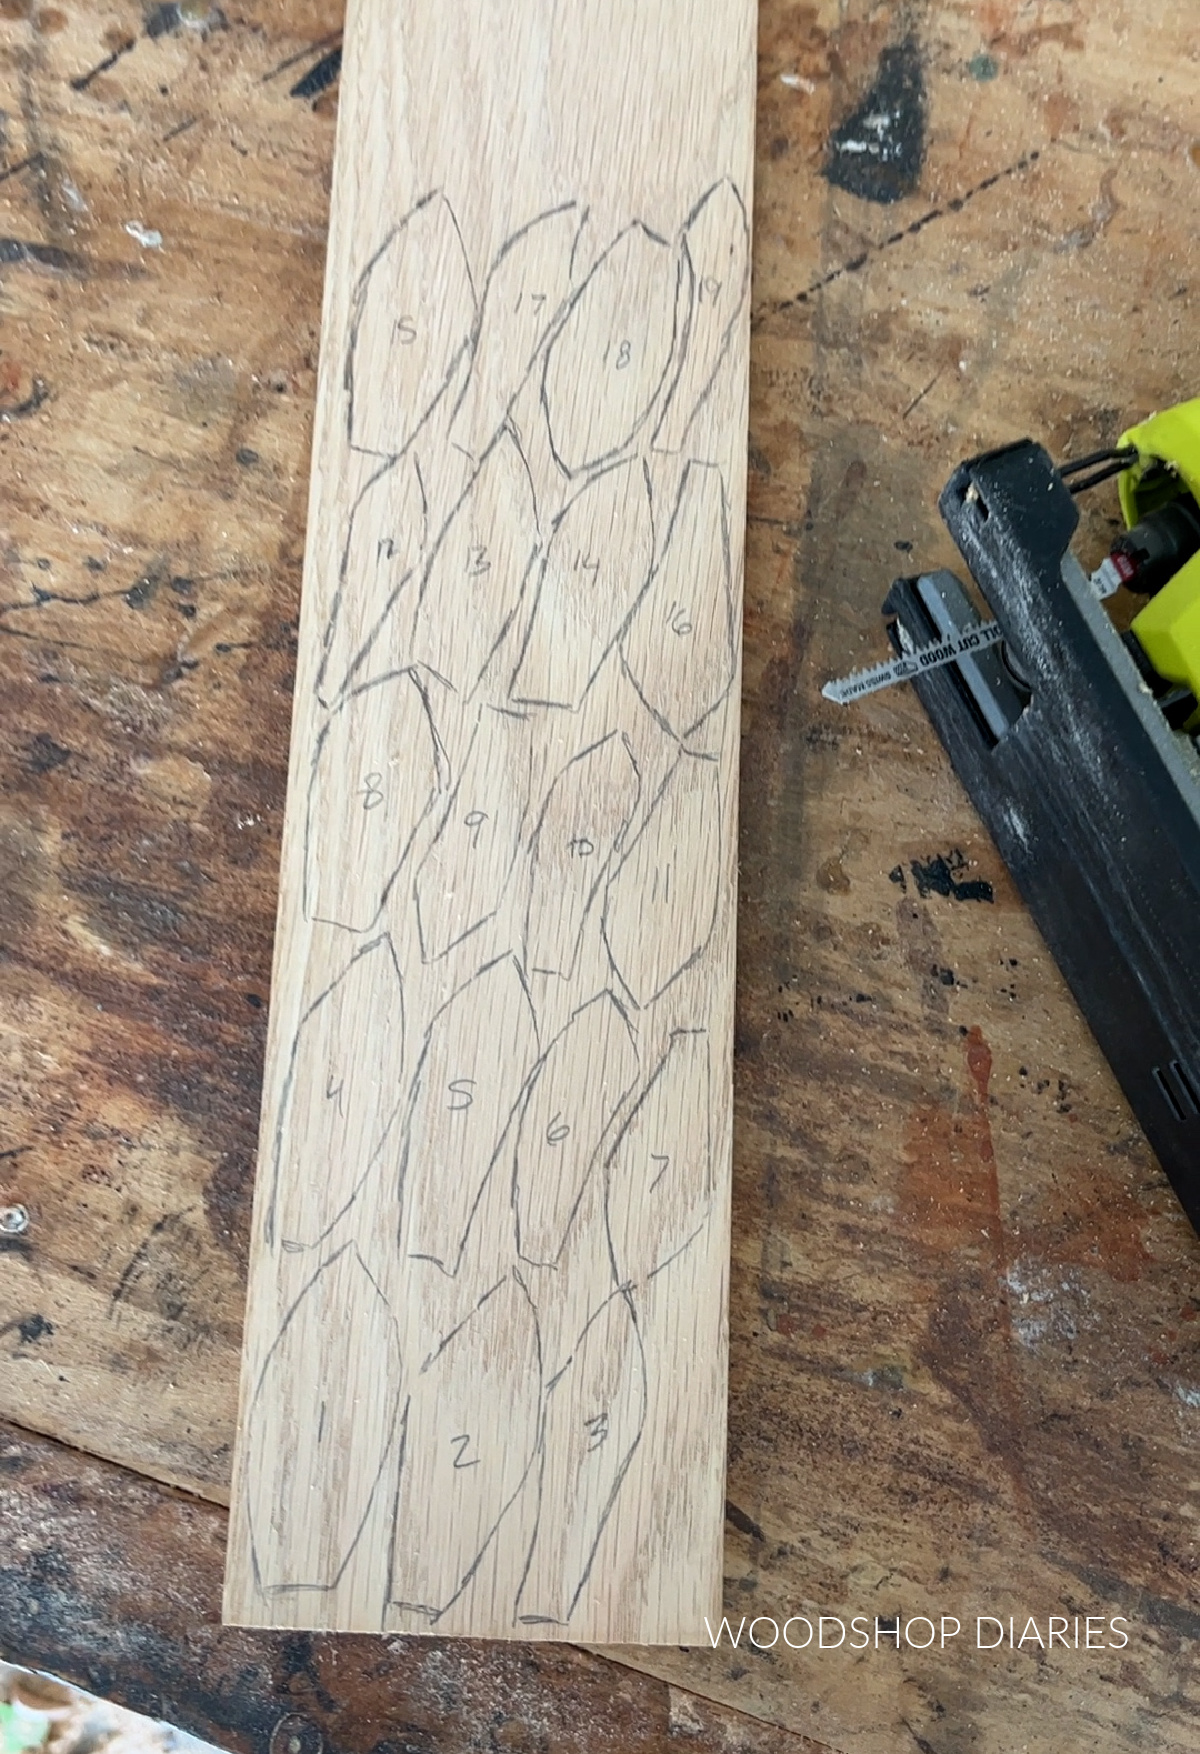
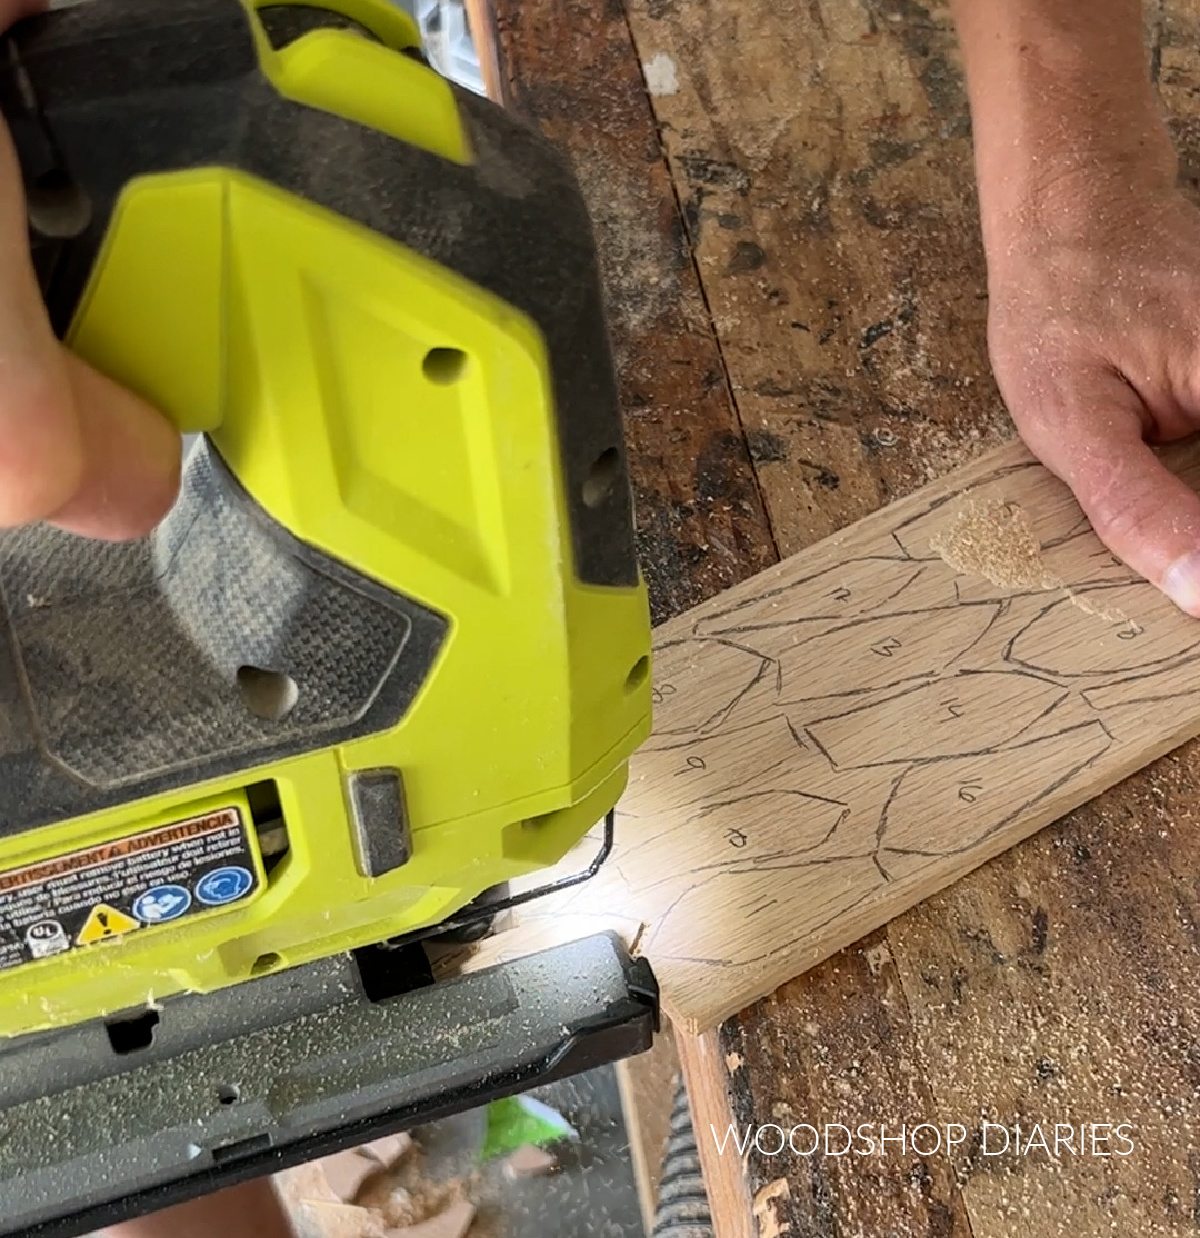
I traced the pieces of my template onto these scrap boards (see image above) and labeled each one so I didn’t get anything mixed up.
Step 2: Cut out wooden Sunflower Parts
I CAREFULLY cut these pieces out using a jig saw. A scroll saw would probably be easier for this if you have one, but I don’t.
TIP: Don’t worry too much about getting these cuts perfect. Imperfections add character and you can always sand down any rough spots after cutting.
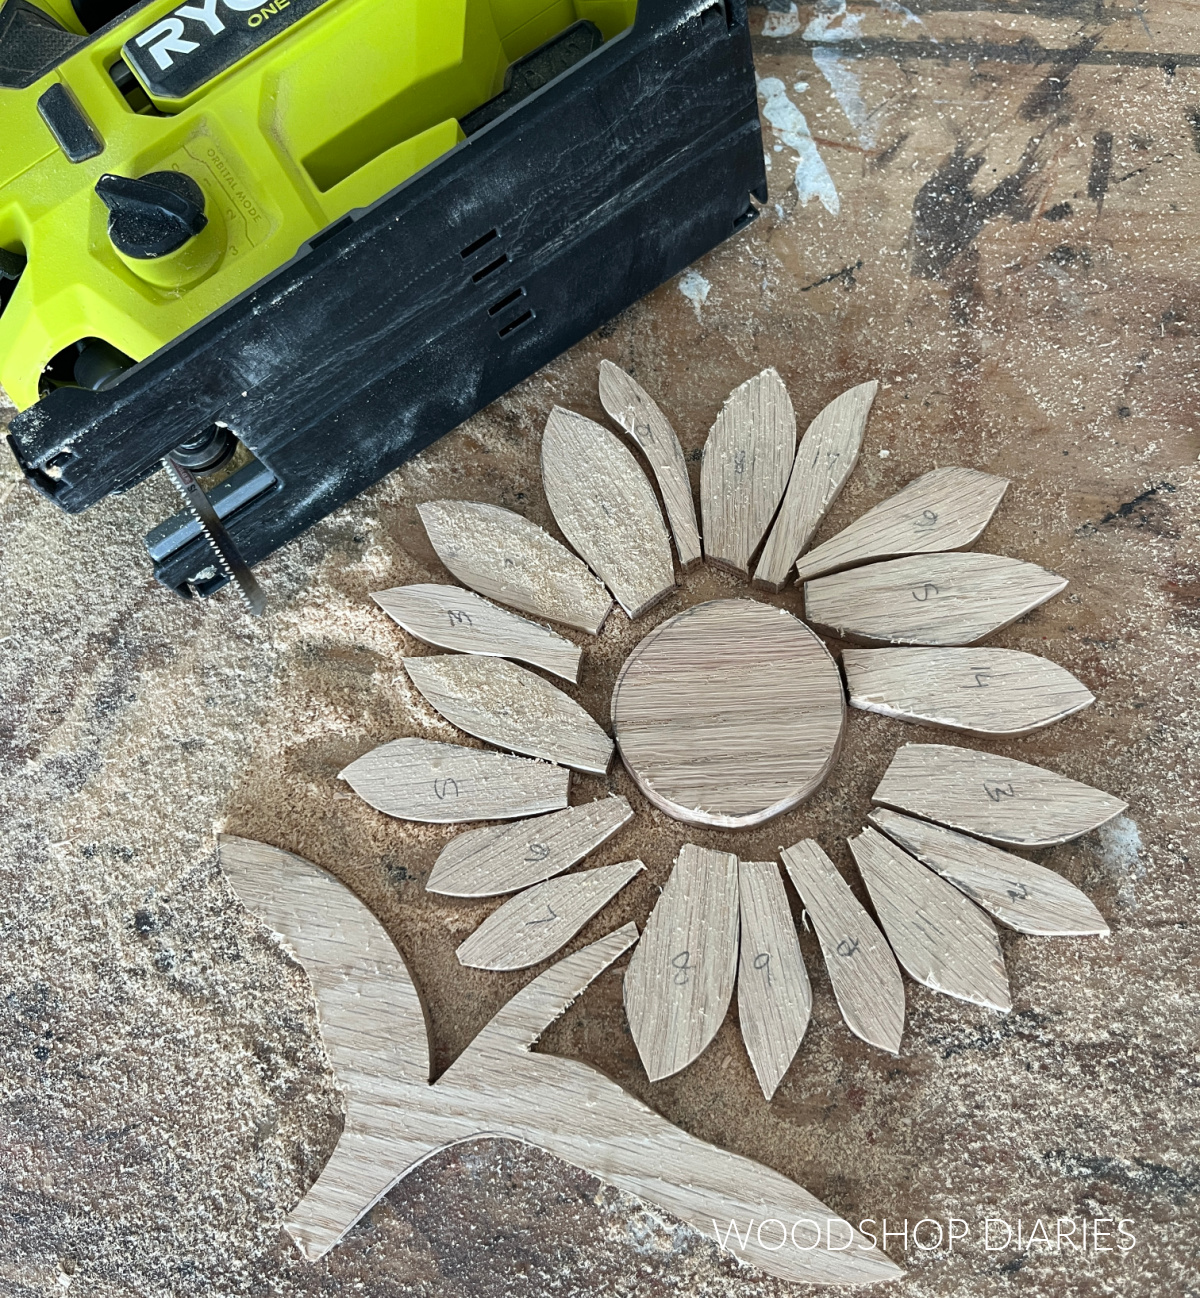
Once everything was cut, I used an orbital sander to sand these pieces smooth and kind of “shape” them. In some tight spots and on the really small pieces, hand sanding may be necessary.
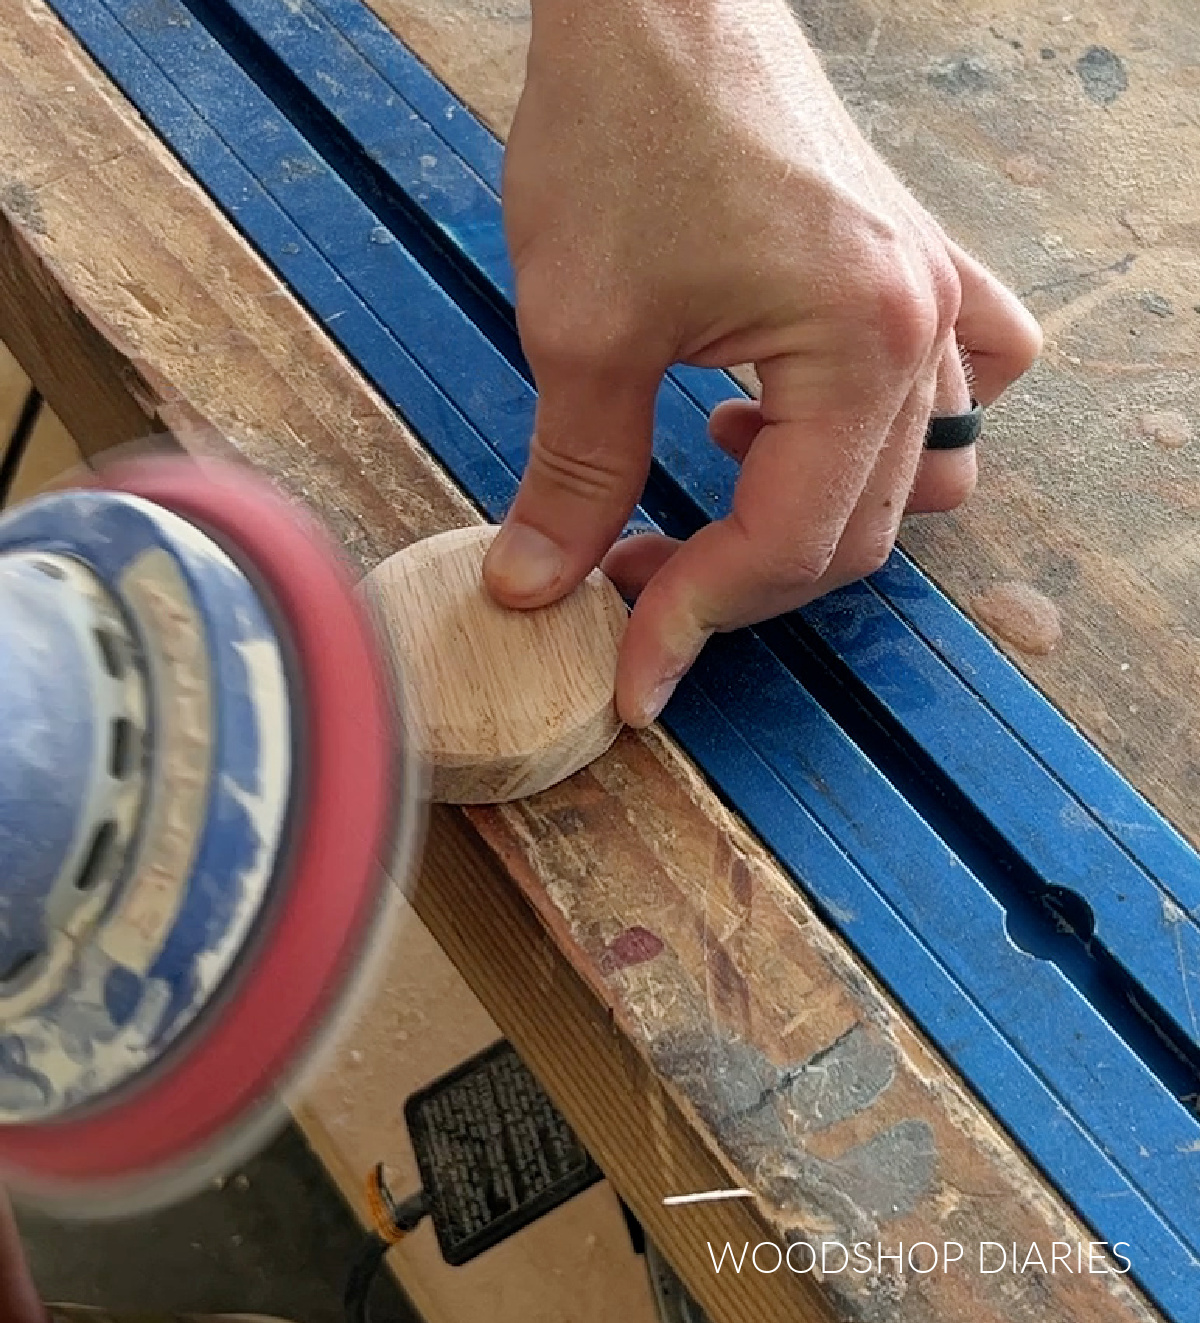
If you want to knock down some of the sharp edges and give the pieces more character, use a low grit (like 80 or 120) sandpaper to kind of shape them how you’d like.
Step 3: Stain flower pieces
Once the pieces are sanded, it’s time to add some color! I stained the stems, center, and petals of these wooden sunflowers separately before attaching them to the backer.
I used Minwax Water Based Stains for these pieces and just applied with a shop rag.
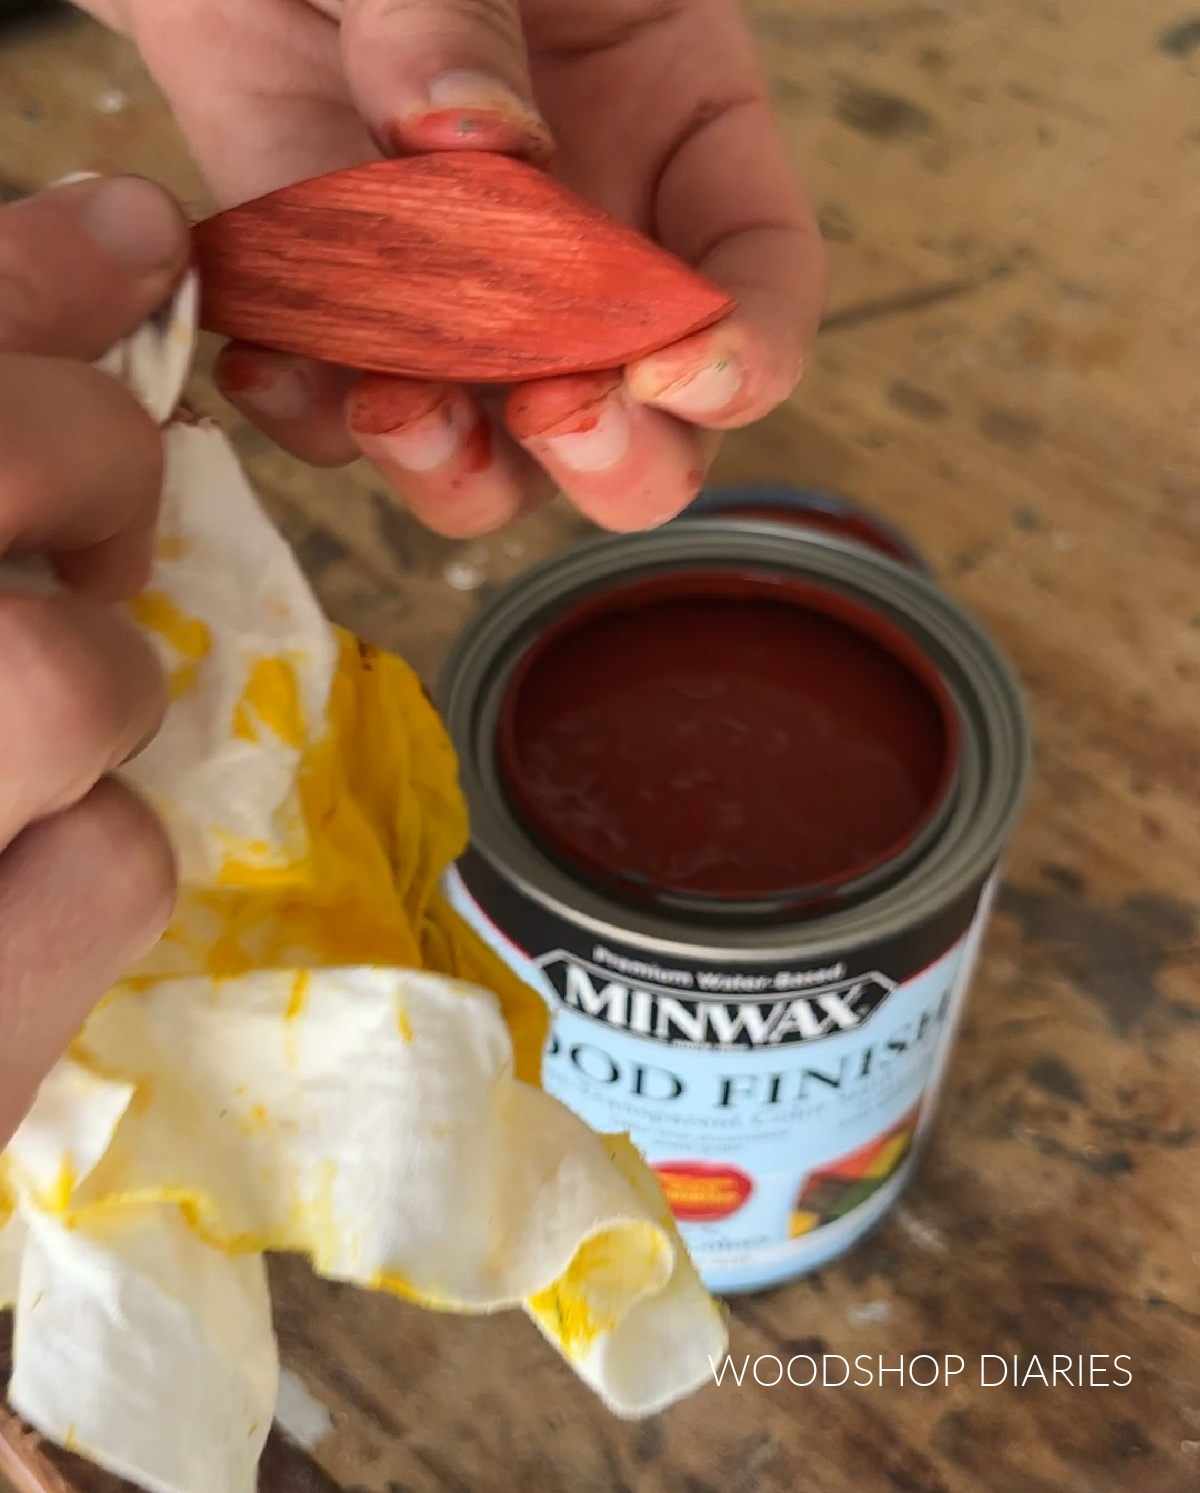
I stained the centers in Pecan, the stems in Early Spring. I made three different sets of petals and stained one Lemon (yellow), one Cinnamon (orange), and one Spice (red).
Make sure to follow the instructions on the can and work quickly as these water based stains dry fast. Allow pieces to dry fully before moving on.
Step 4: Assemble and Frame Wood Sunflowers
I found some scrap ¾″ maple plywood in my scrap pile and cut these large enough to fit my flowers. If you make several flowers, you can arrange them all on one piece or on separate pieces.
There’s no right or wrong way to make these.
Once I had my plywood backers cut to size, I arranged the flowers on each one how I liked them, and glued them in place piece by piece.
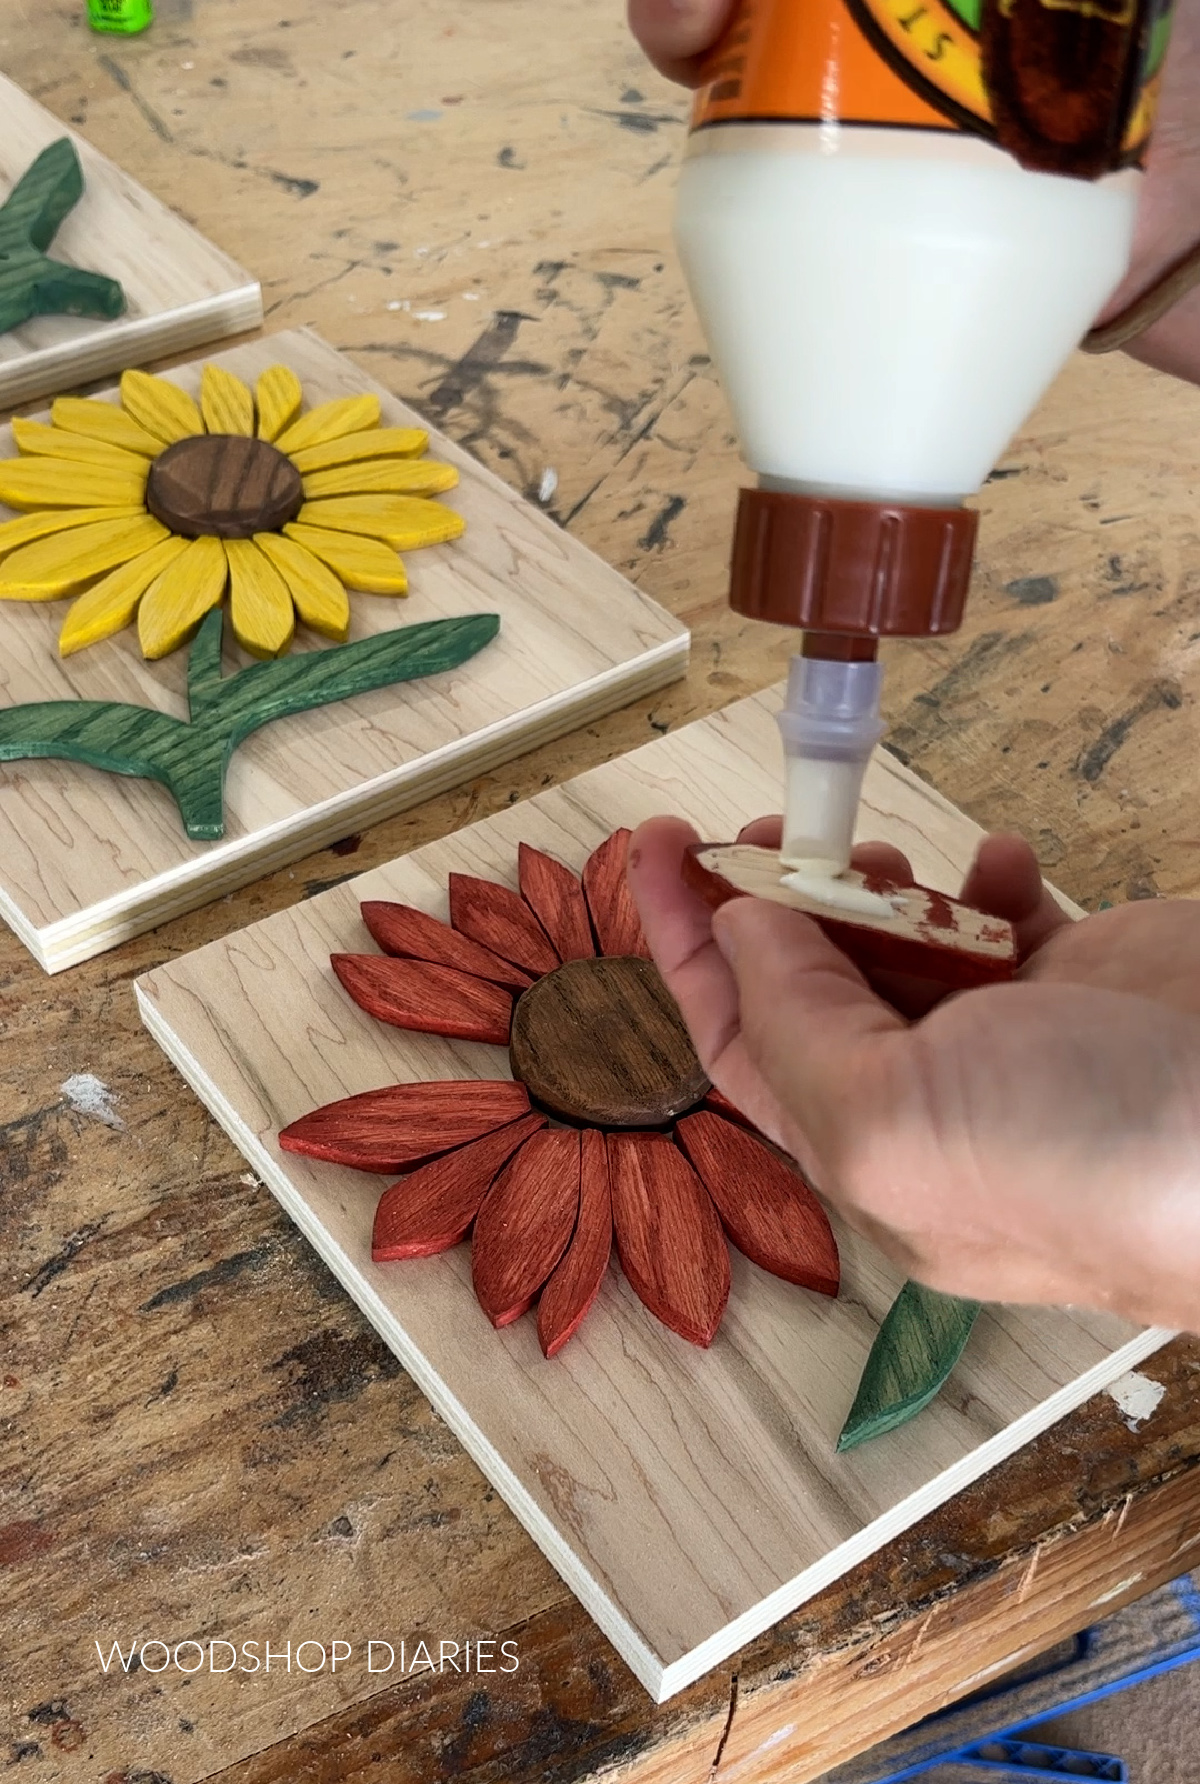
You can use a fast dry wood glue for this if you’d like, but I recommend using a regular wood glue with a longer working time so you can get everything in proper place.
I added a dot or two of glue on the back of each piece and placed it on the backer.
Once all the pieces were glued, I still had a little time to move the pieces around and space the petals out how I liked them before the glue cured.

After the glue on the flower was dry, I added 1x2s around the edges of the plywood backers using brad nails. And with that, these pieces are complete!
I plan to put these on a shelf, but if you wanted to hang them on the wall, you can simply add a small sawtooth hanger on the back side or use some Command Strips to stick it to the wall.
More Fun with Scrap Wood
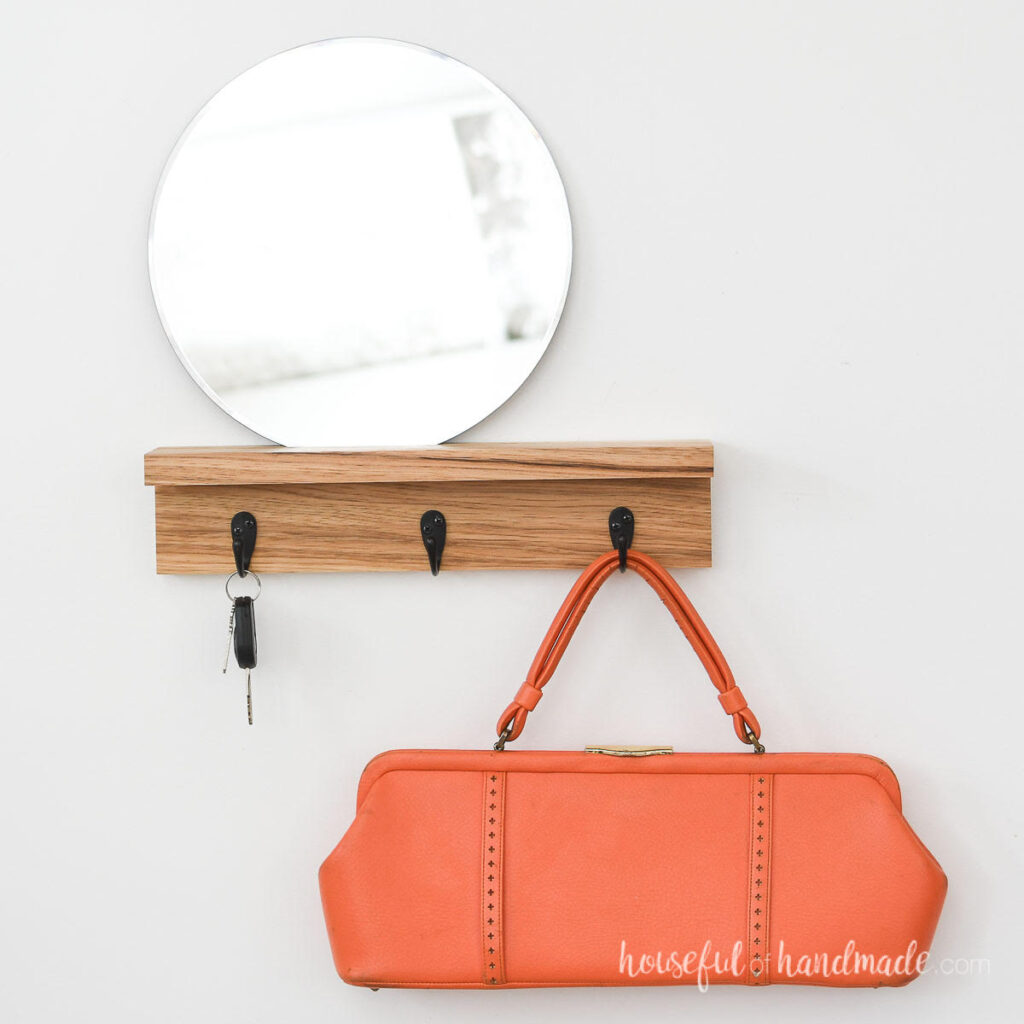
Can’t get enough scrap wood projects?? I’m teaming up with my friend, Kati, from Houseful of Handmade all month long to share some “Scrap Wood Summer” Projects!
Check out all the projects in the series so far below. Click on an image to learn how to make each one!
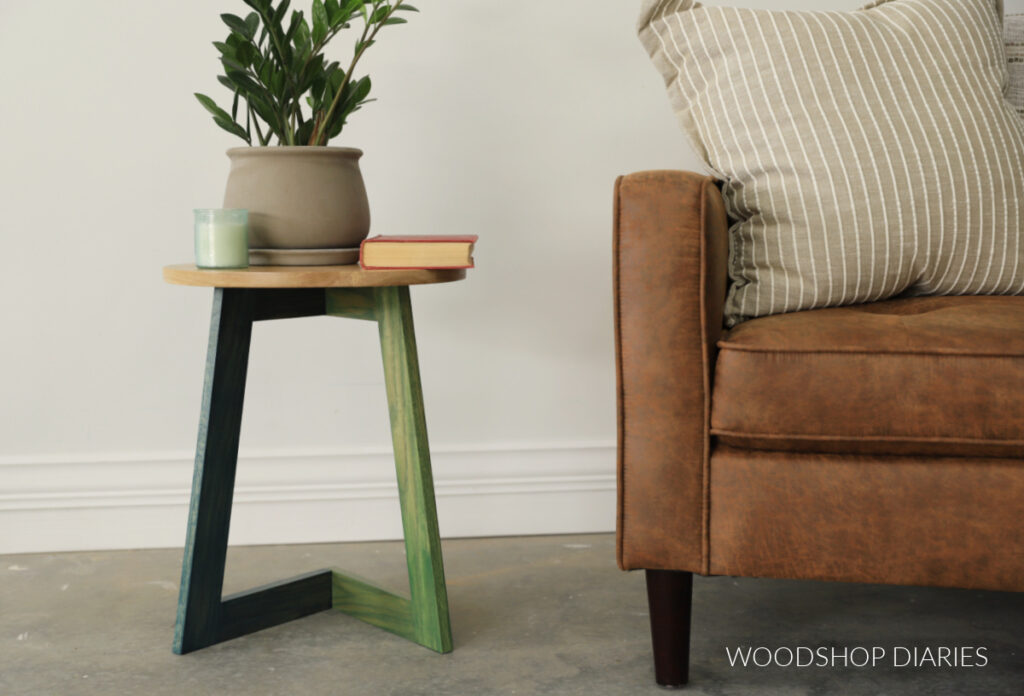
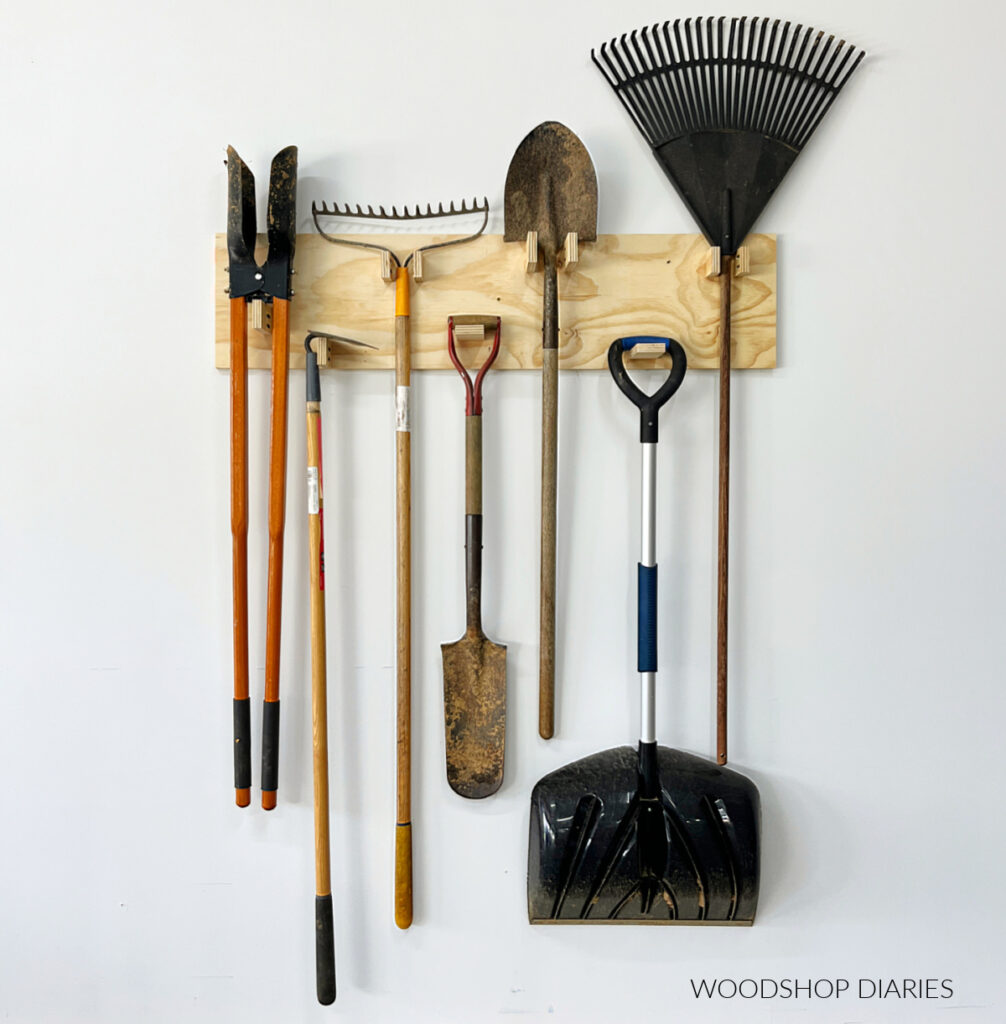
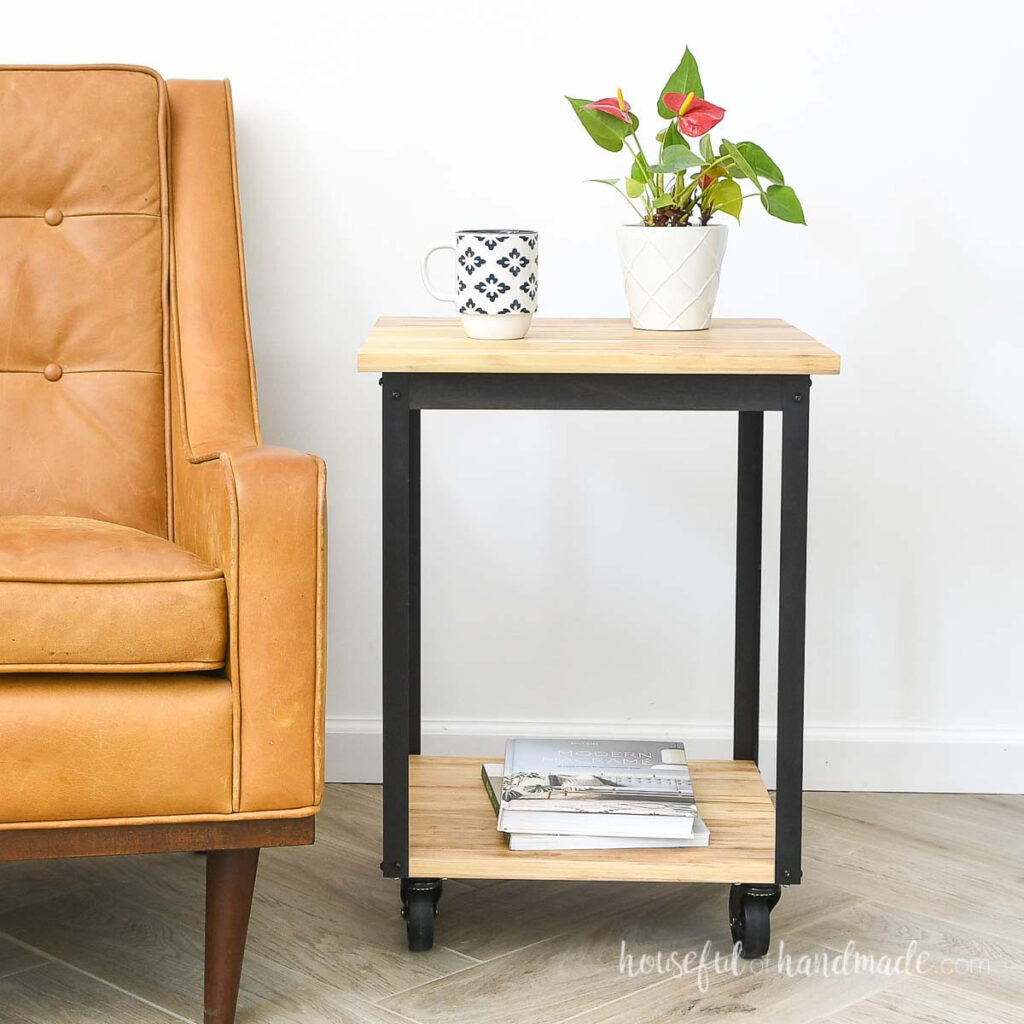
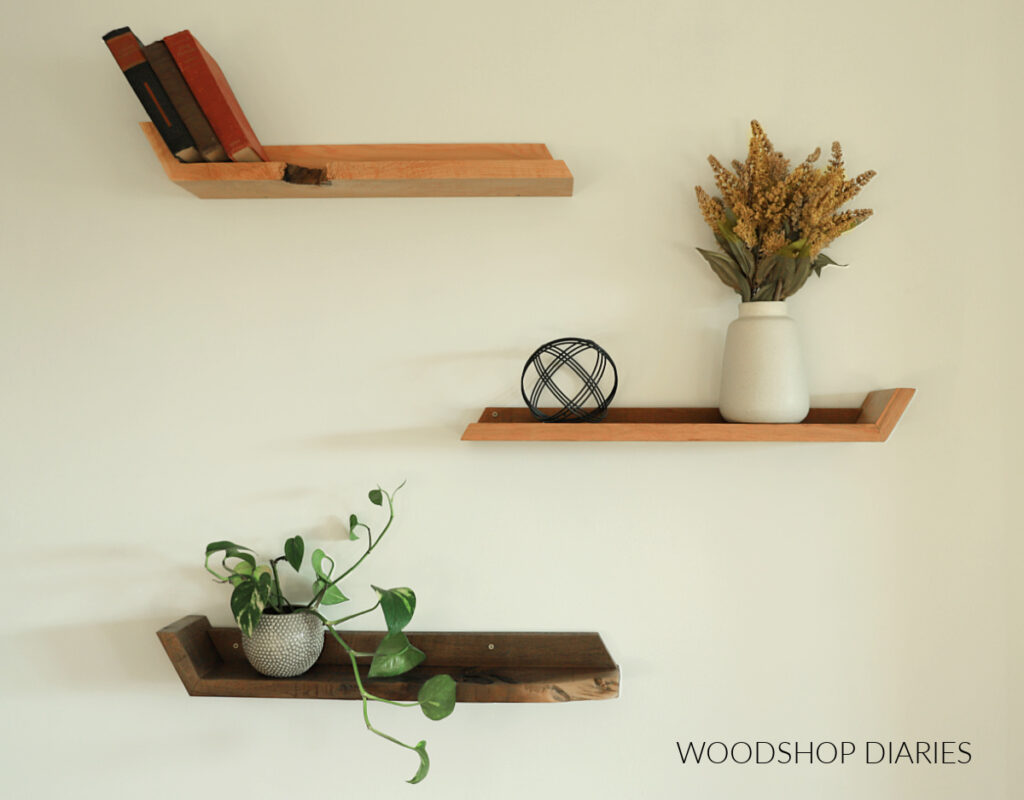
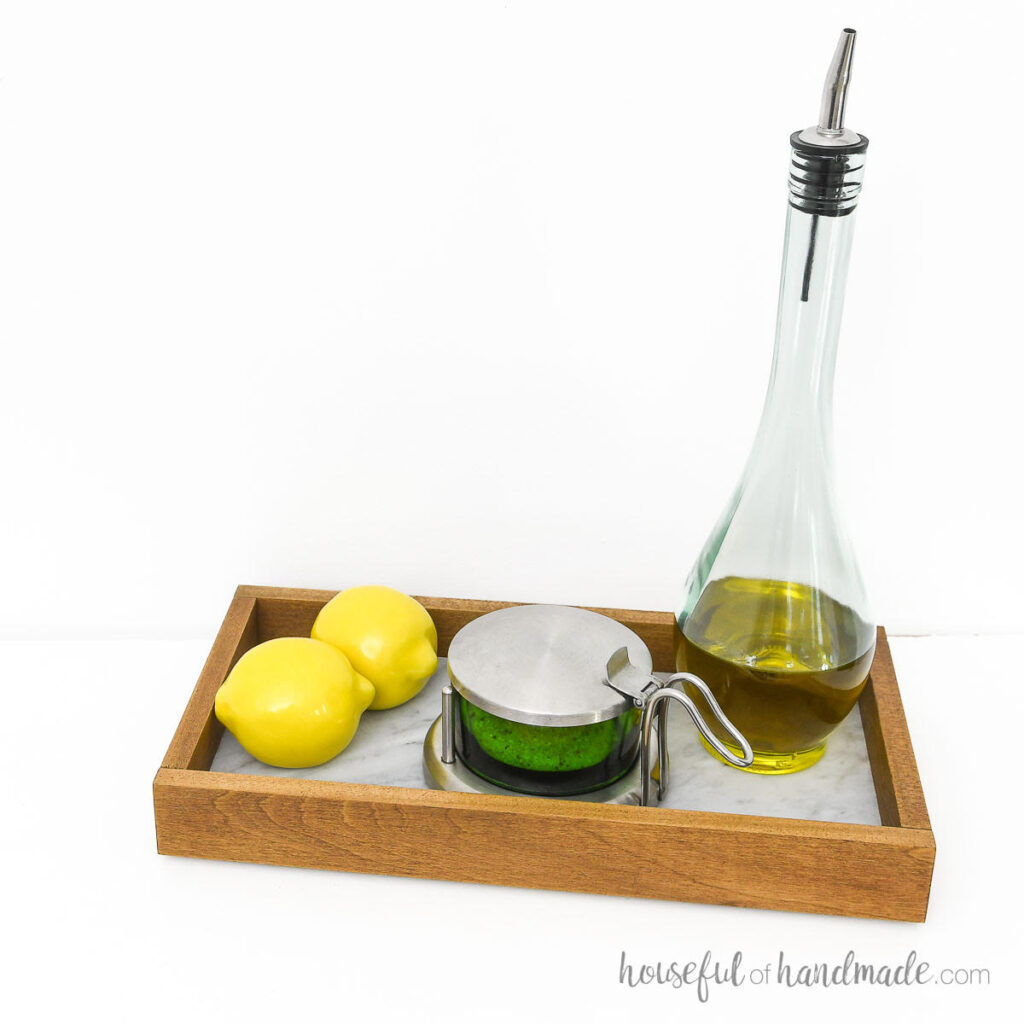
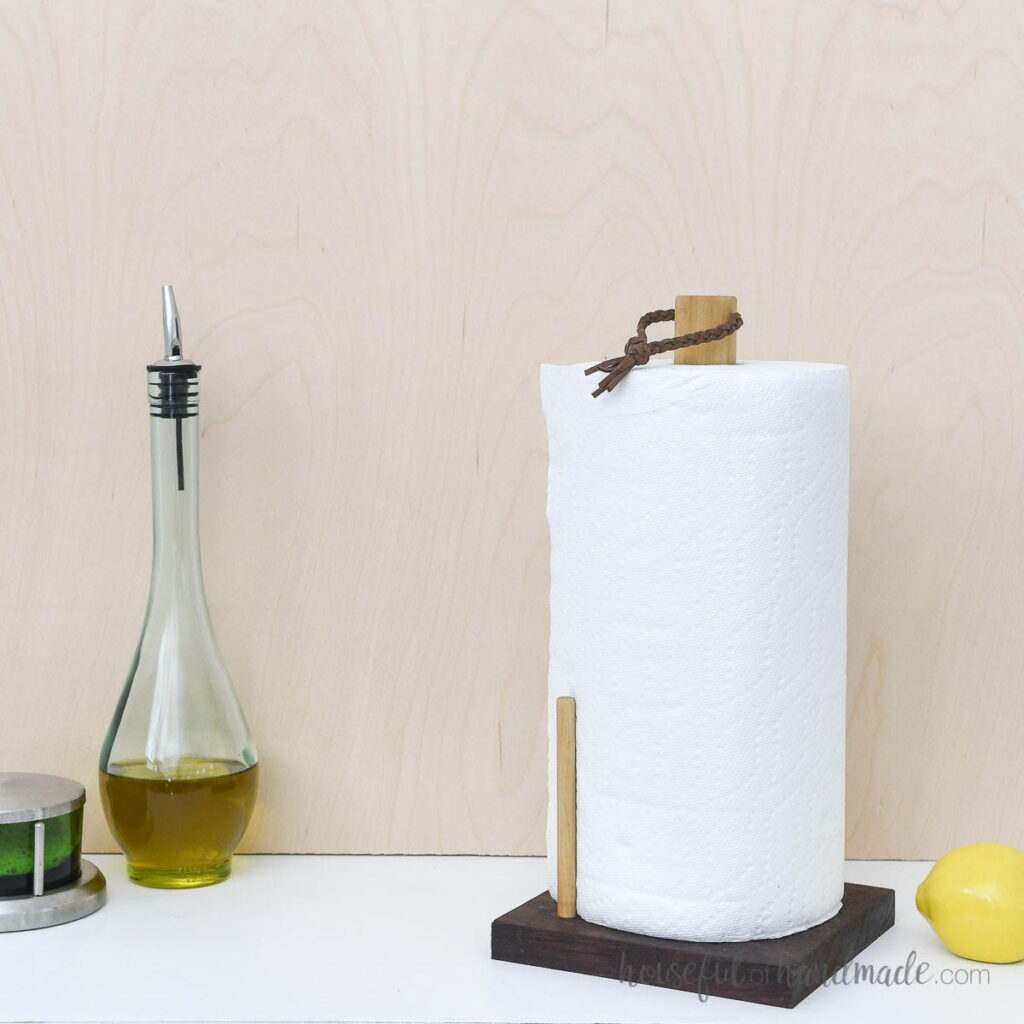
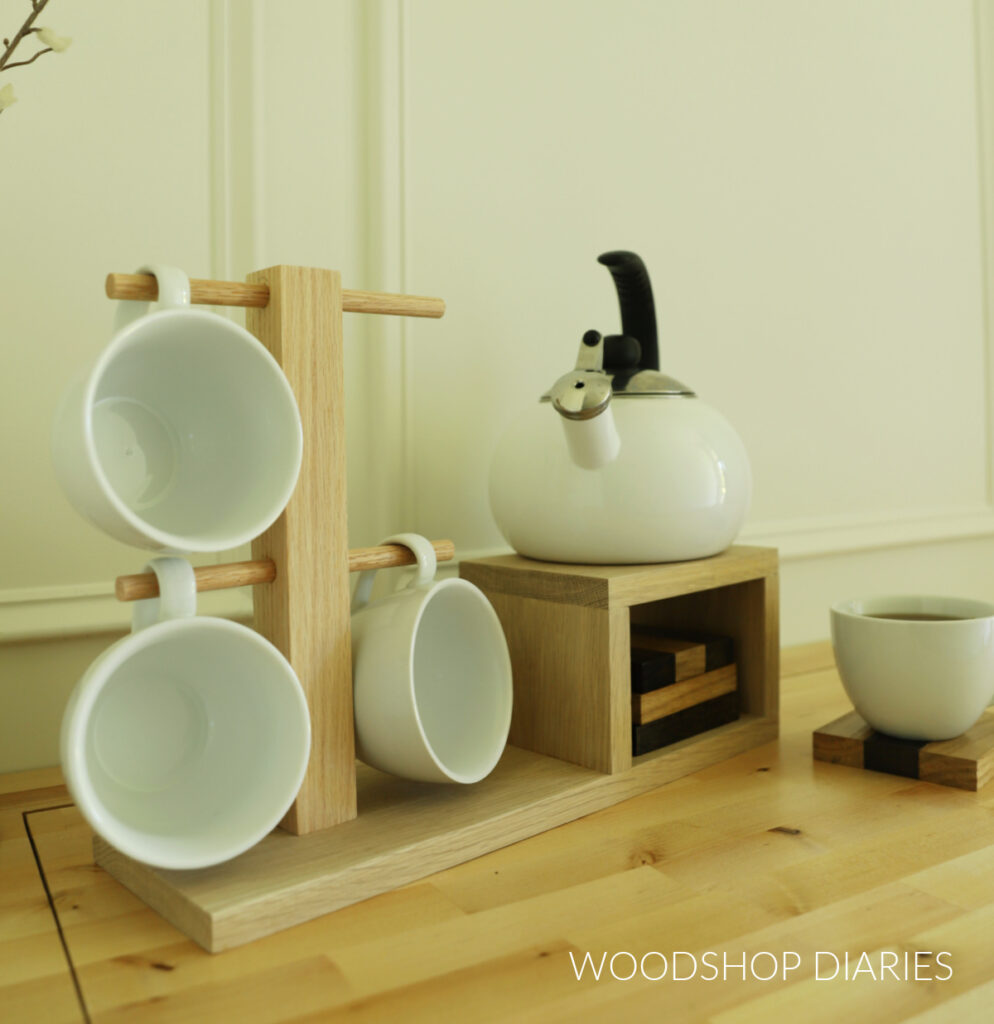
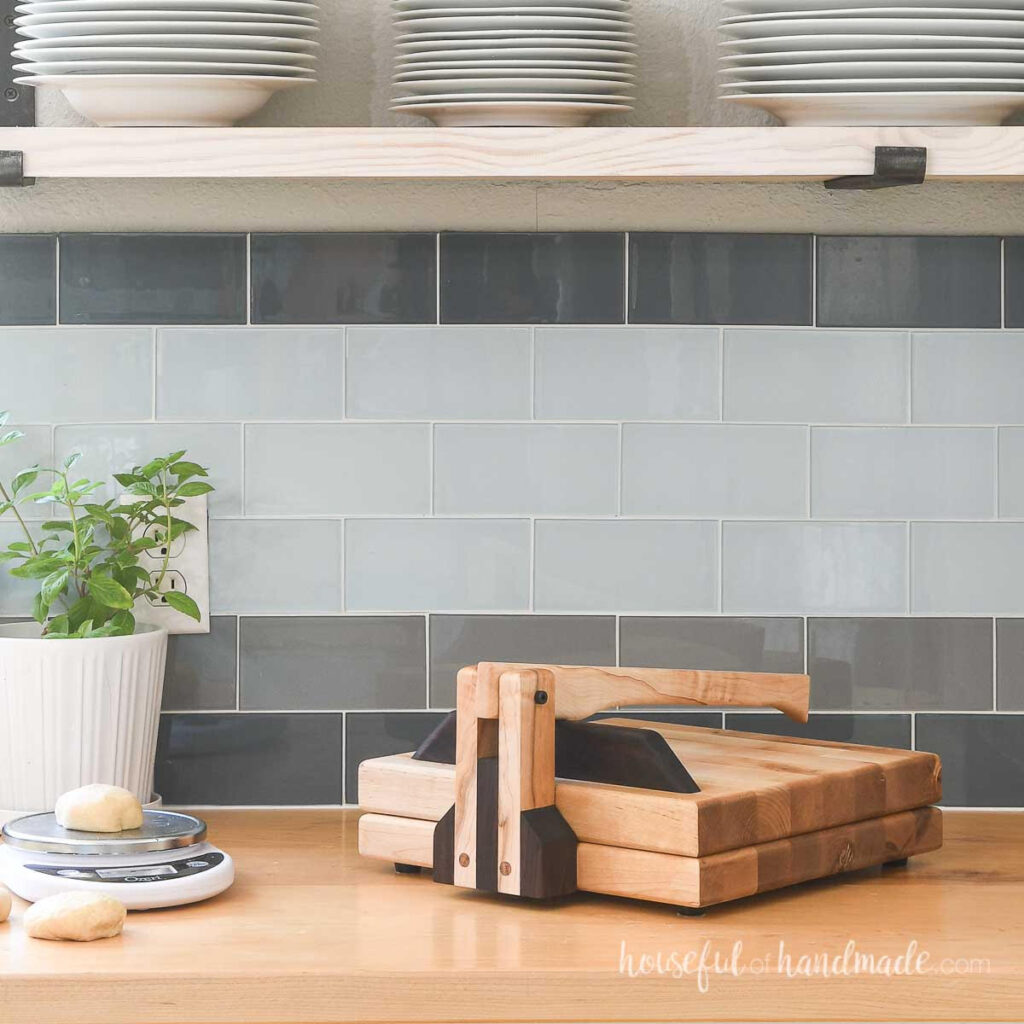
We will be posting new Scrap Wood Summer projects every Tuesday through the month of August (2023). Check out last years’ Scrap Wood Summer projects plus other scrap wood ideas here.
If you’d like to save these fun DIY wooden sunflowers to check out again later, be sure to pin it or share to your favorite social channel!

Until next time, friends, happy building!