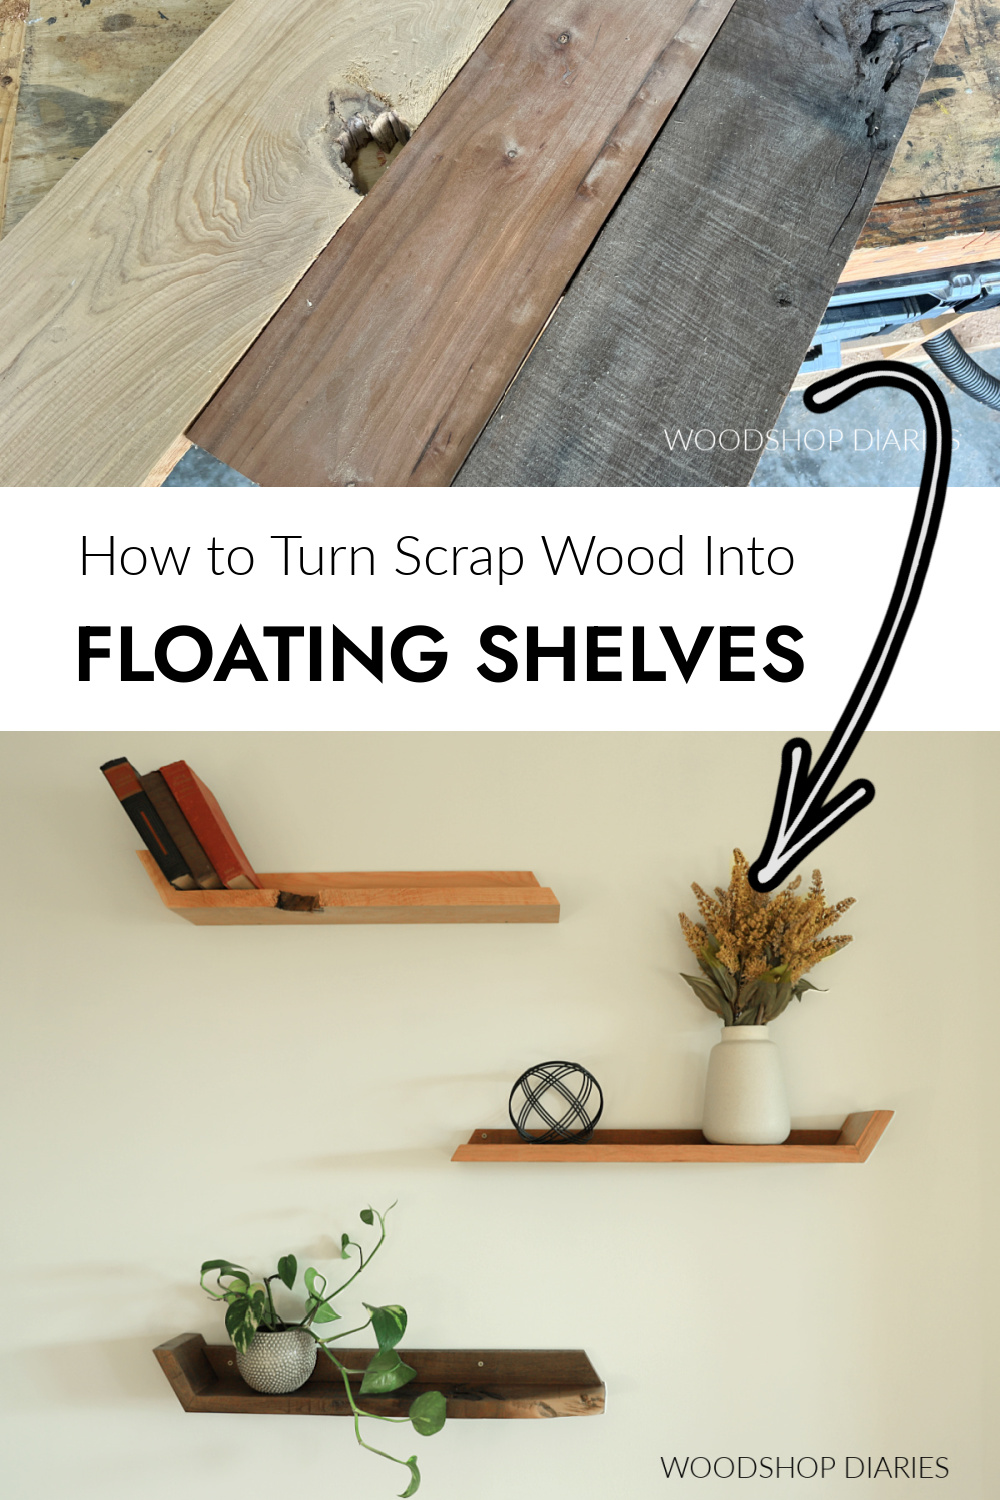
In this post, I’m sharing how to make simple, modern DIY floating shelves from scrap wood!
This is a great project to use up some of those small boards and you can get creative with different species or wood stains to make them different colors, too!

I don’t know about you, but I like to keep my wall décor pretty minimal. But, I had a blank wall in my living room that I’ve been considering adding something to.
I definitely didn’t want anything excessive, so I thought some small floating shelves might work well. But, I wanted them to be unique somehow while still being pretty minimalist.
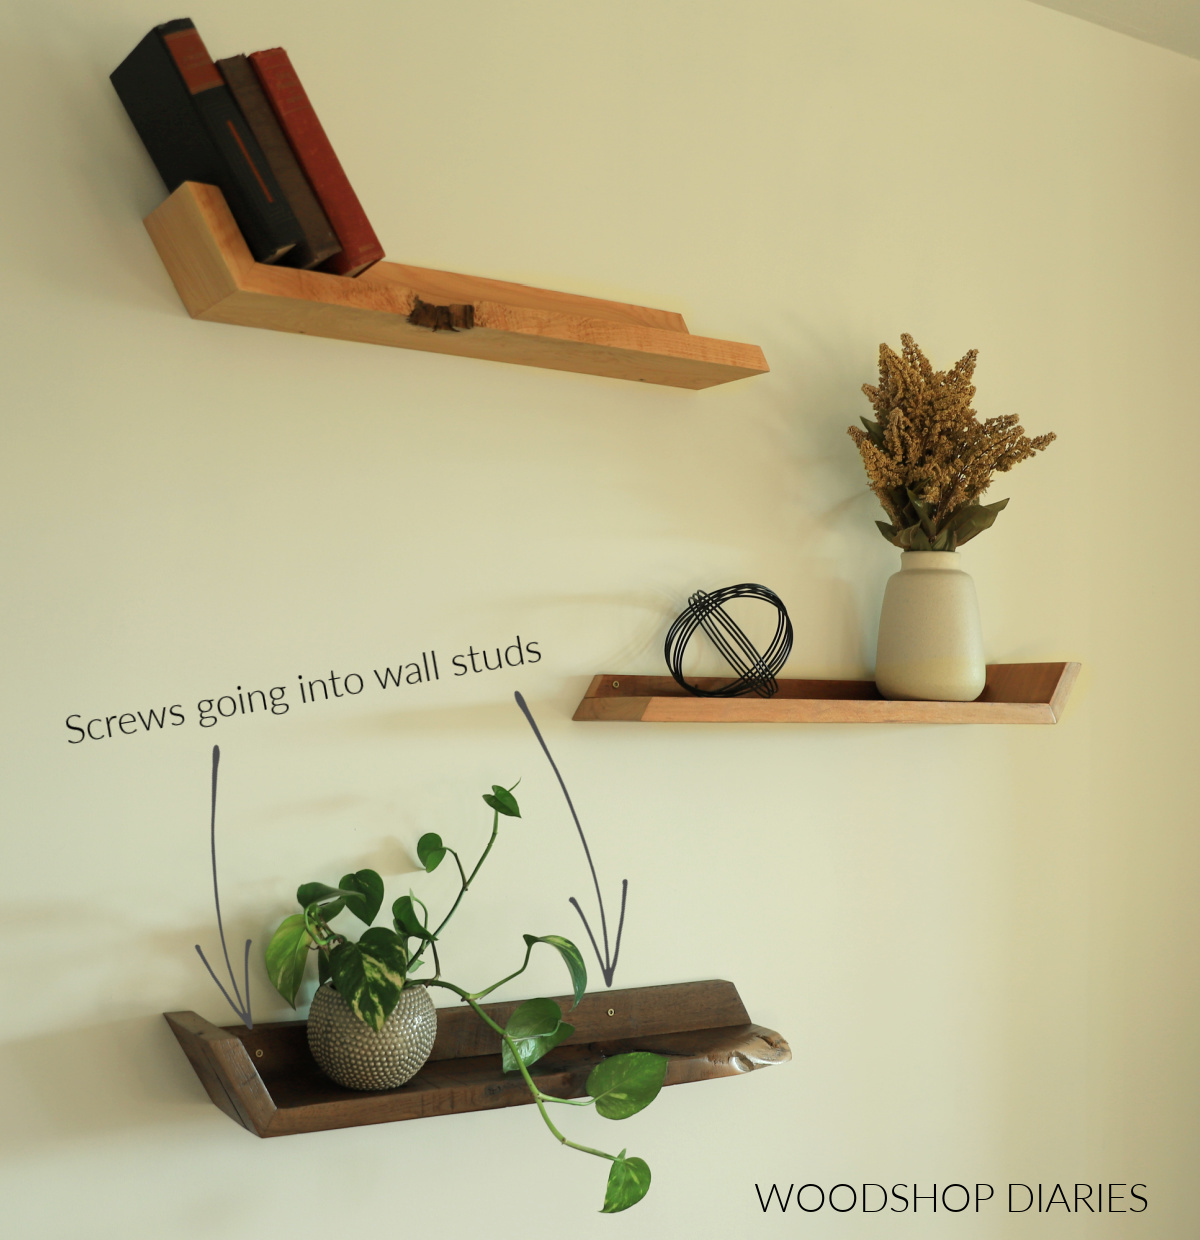
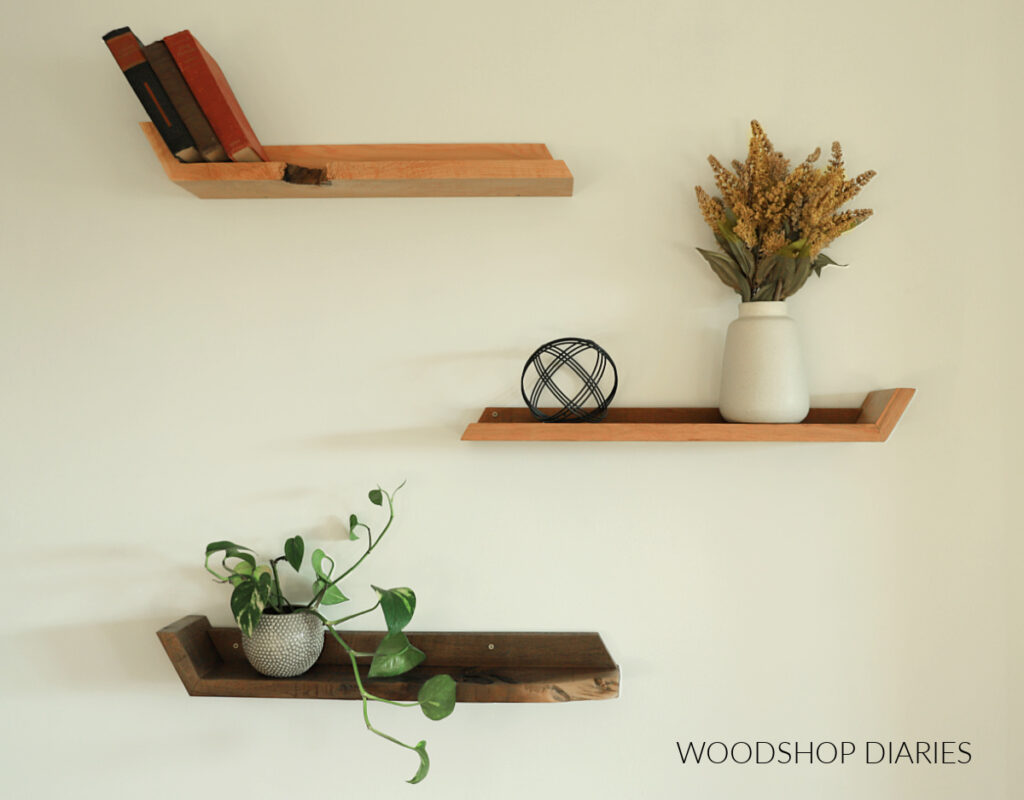
After digging around my wood scrap pile, I had a lightbulb moment–make three shelves in different colors! The “fade” from light to dark is such a neat feature that doesn’t take away from the minimal design.
But of course, you are welcome to make more (or less) than three and customize the colors however fits your style. I’m just excited to show you how easy they are to make below!
*This post contains affiliate links. See website policies.
What to Consider Before Building
These are a super fun and simple build and there are a million ways to customize them.
Here are some things to think about before building and tips to make this project go smoothly.
What type of wood to use for floating shelves
The short answer is: any of them! When it comes to making simple floating shelves, there’s no “right” or “wrong” wood type to use.
But since this is a great scrap wood project, I suggest diving into your scrap wood pile and seeing what you’ve got available.
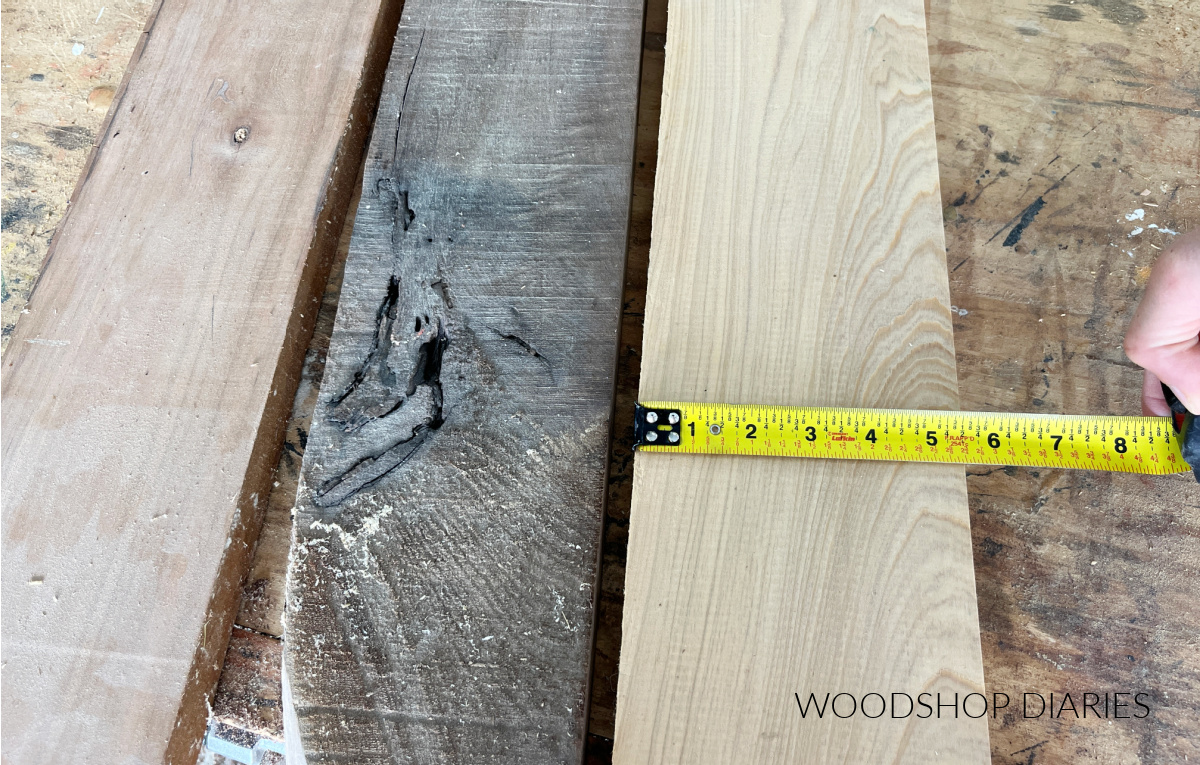
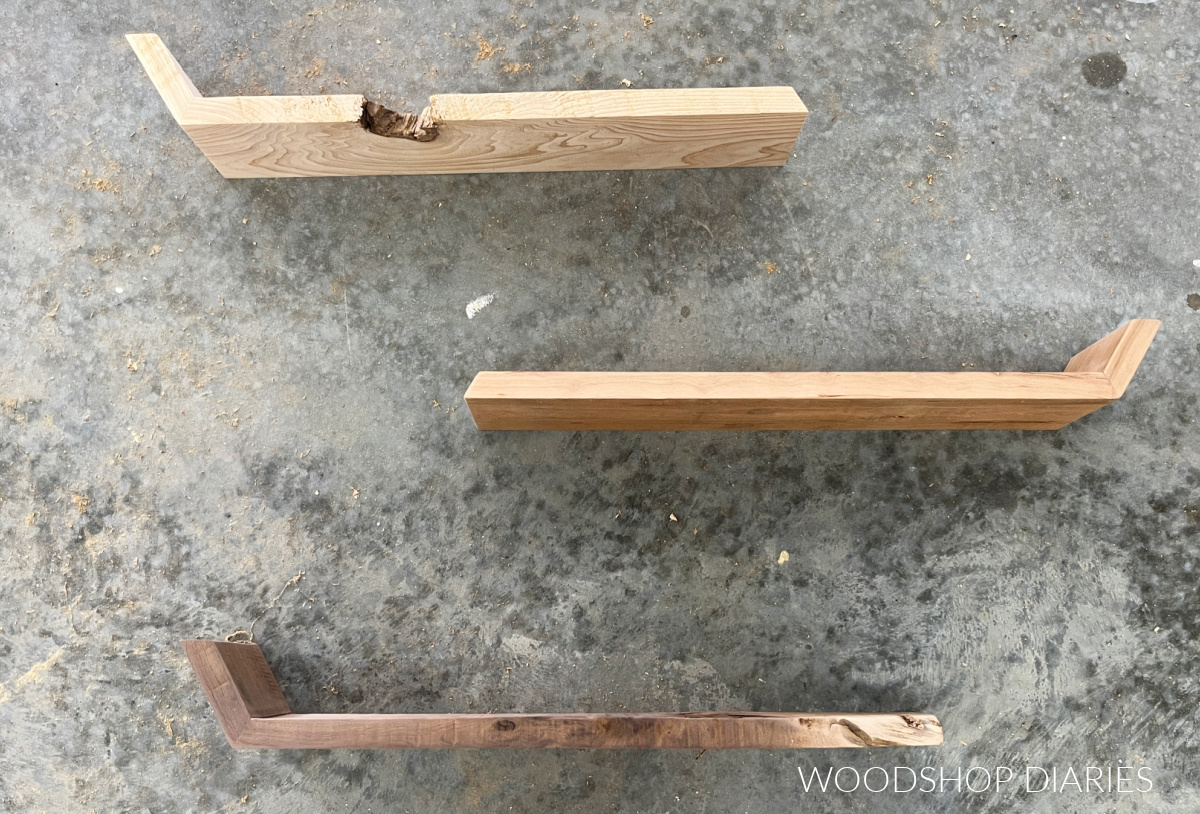
In this case, I thought it would be fun to make three separate shelves. I made each of them from a different wood since I had a small piece of three different species available–cypress, cherry, and walnut.
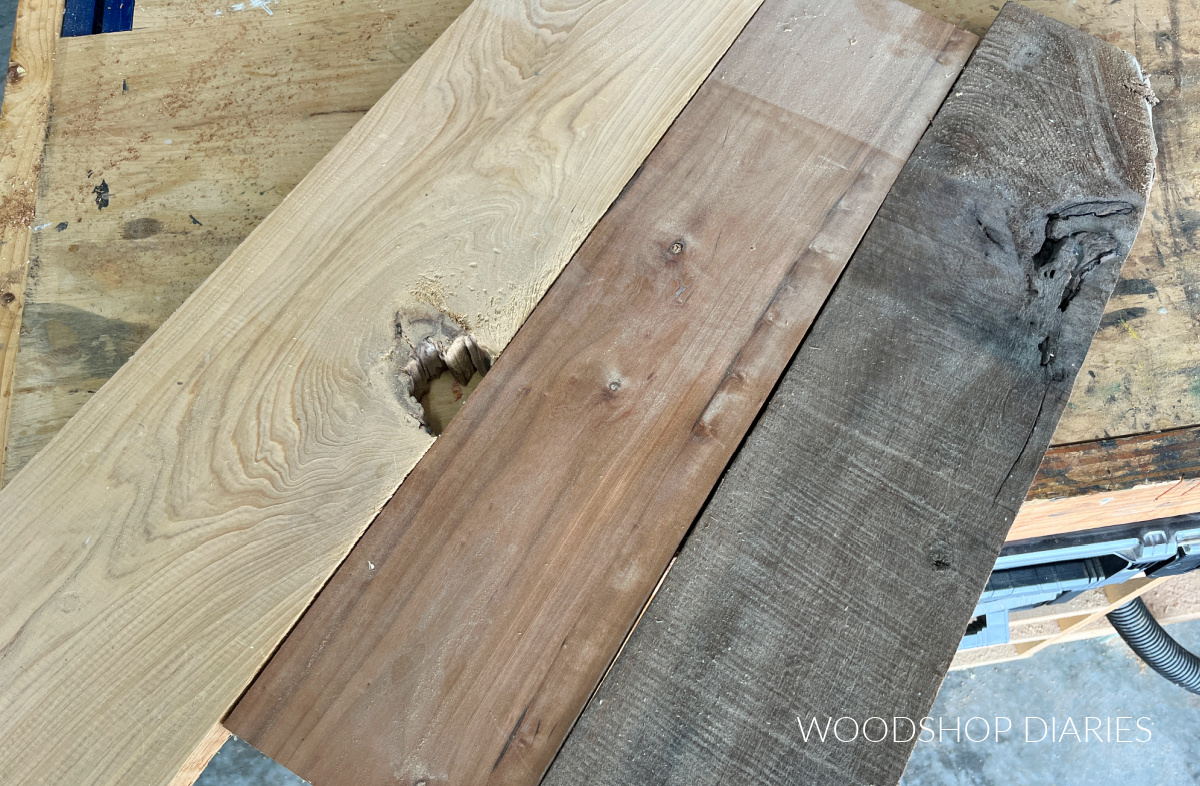
These boards were all about 1″ thick. But, if all you have in your scrap pile are standard size boards, you could certainly use 1x or 2x boards for this, too.
RELATED: Understanding lumber sizing
I don’t recommend making these shelves very deep, so a board width of approximately 6-8″ wide would work great.
A Tip to Give Your Shelves Some Extra Character:
Choose boards with imperfections like a large knot, a chipped edge, etc. as these are cool features to highlight here. These modern floating shelves are a great project to use up those “discarded” off cuts.
Are new DIY projects your thing? Sign up for priority access to the latest projects and plans on Woodshop Diaries!
How long should floating shelves be?
Your floating shelves can be just about any length you’d like. However, since these were made of scrap wood, they were fairly short.
I made each of these shelves approximately 24″ long and they were about 5 ½″ deep.
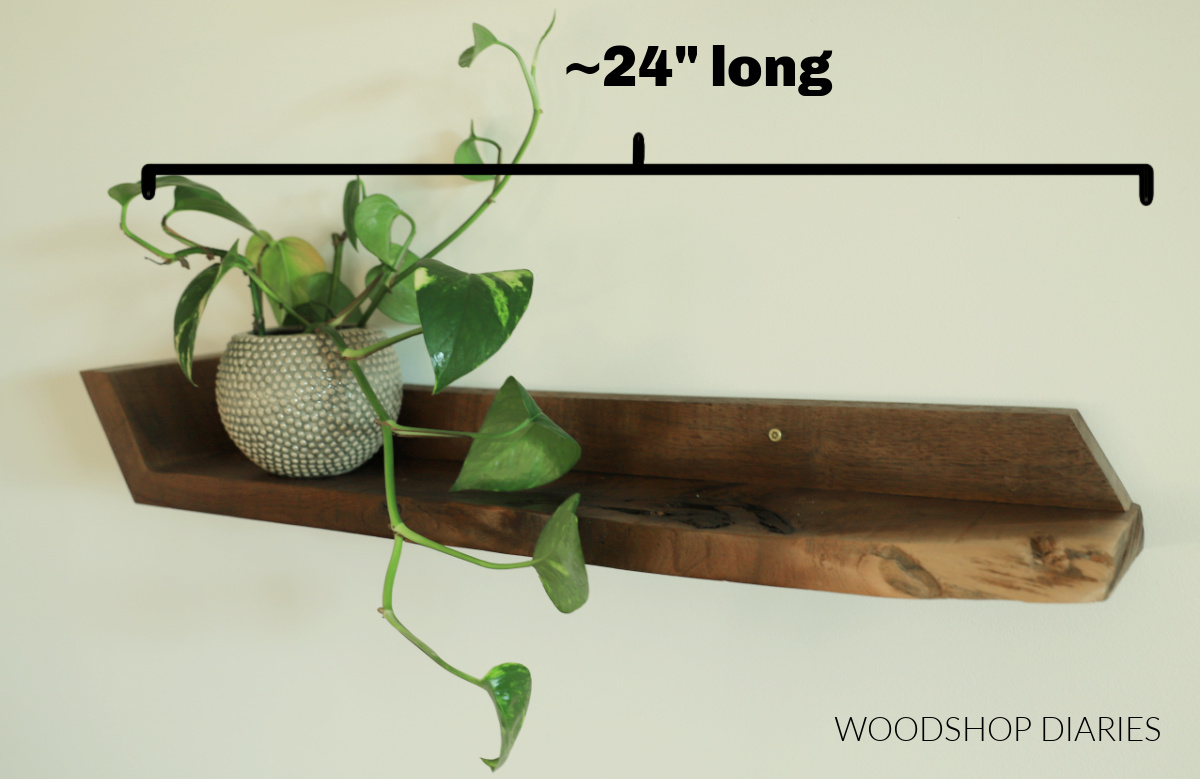
If your scraps aren’t long enough to make your shelves 24″ long, try to at least make them 18″ or more so they can span across at least two wall studs.
NOTE: Normally, wall studs are spaced 16″ on center. But not ALL of them are. Double check your wall studs where you plan to hang these to determine how far apart they are. Make your shelves long enough to span across at least two of them.
If you’re not limiting yourself to scraps and have longer boards to work with, feel free to make them as long as you’d like to fit in whatever space you’re adding them to.
I do recommend that no matter how long you make them, you secure them into each wall stud that they span across.
How do I hang these floating shelves?
These floating shelves are hung by simply driving a screw through the back board of the shelf and into the wall studs behind it. Personally, I think this is a little easier and cheaper than using metal brackets.
But, if you prefer to use brackets, these floating shelf brackets are another great option.
Either of these installation methods are simple and create strong and sturdy shelves without needing any additional tools.
How to Build Modern DIY Floating Shelves
This is a simple and quick DIY project perfect for the weekend or an evening build. The worst part is simply waiting for the glue to dry.
Tools required here are minimal and listed below. The table saw is only needed to rip down your boards to different widths. If you have another method for ripping, or don’t need to trim your board widths, a table saw is not required.
Tools & Materials
Tools:
- Miter Saw
- Drill/Driver
- Table Saw (optional)
- Stud Finder
Materials:
- Scrap wood (see step 1 and notes above)
- Wood Glue
- Painters Tape
- 2″ Wood Screws
- 3″ Wood Screws
Step 1: Choose Your Shelving Material
First, select the wood you want to use for your shelf. I recommend checking your scrap pile for ¾″ or 1″ thick boards. Thicker boards will work, too, but may make these shelves quite heavy.
For each shelf, I grabbed a piece 5-8″ wide and about 28″ long. See notes above.
If your boards are 5-6″ wide, you’ll need to find some scrap 1x2s or 1x3s to use for the back supports OR use floating shelf brackets to hang them. If your boards are wider, you’ll need to rip them down in the next step.
Step 2: Cut Floating Shelf Pieces
I mentioned earlier that I made my shelves about 5 ½″ deep. You can certainly make yours narrower or wider, but I recommend keeping it under 6″ unless you use floating shelf brackets to hang them.
My boards were all between 6 ½″ to 8″ wide, so first, I ripped them down to 5 ½″ wide so they were all the same.
I saved the strips I ripped off to use as the back supports in step 4. But if you don’t rip your shelf boards down, you can use other scraps for the back supports instead. There are a million ways to make these.
Then, I took these boards to the miter saw to trim them to length. I mentioned earlier that I made my shelves approximately 24″ long, but feel free to modify your length as desired.
To give these floating shelves a modern feel, I set my miter saw’s bevel angle to 30 degrees for all of these cuts.
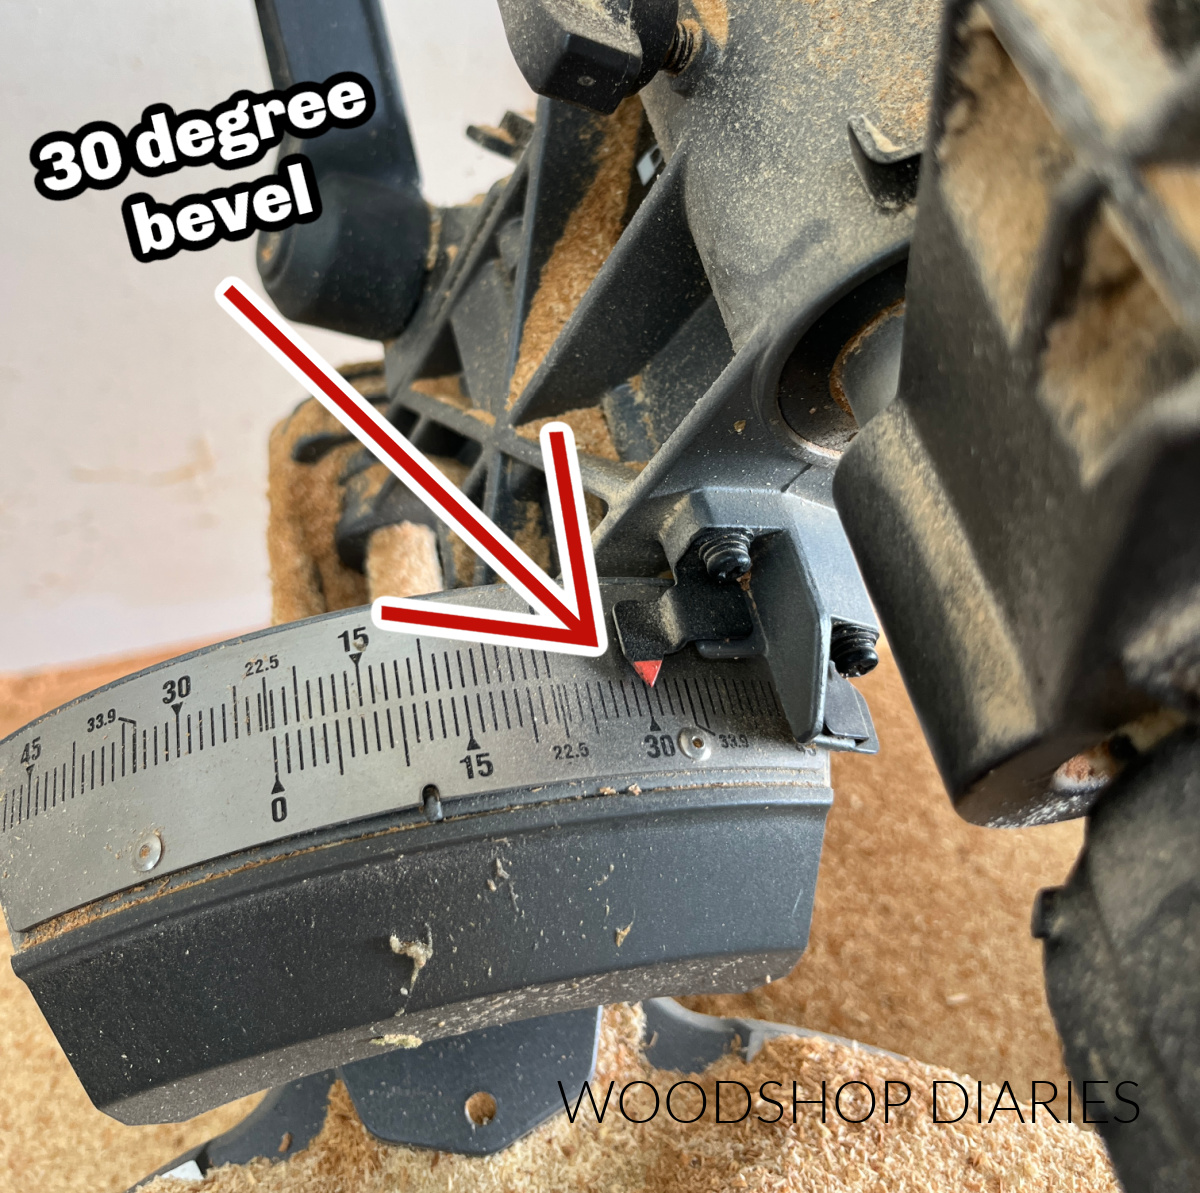
Then I cut a shelf piece 24″ long and a side piece 4″ long like shown in the diagram below. Note that all the cuts are made with bevel of 30 degrees.
I repeated this for all three boards paying attention to which end I cut the side pieces from. The side piece can go on the left or right side of the shelf board, but cutting them so it’s a continuous grain along the bottom is ideal.
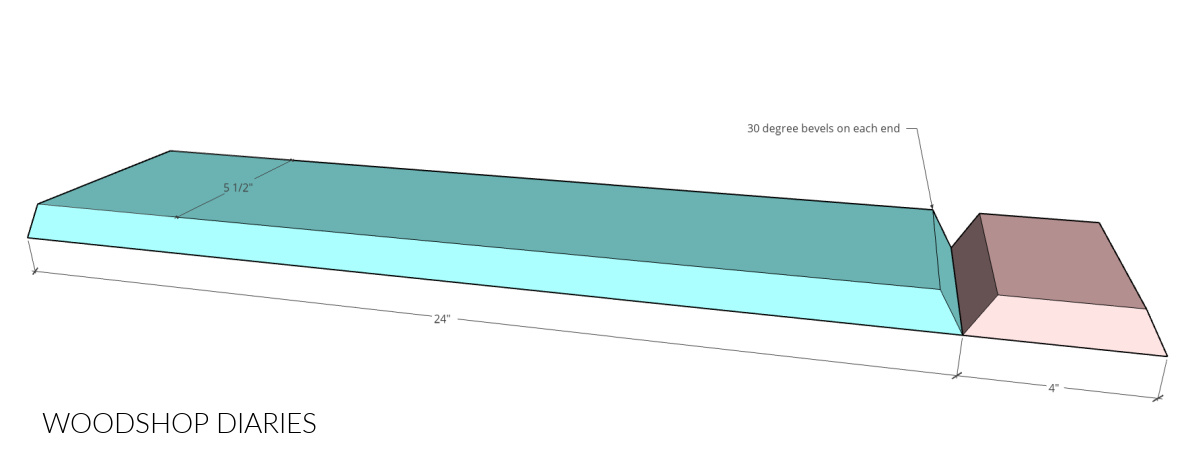
For two of my shelves, I cut the side piece from the left (opposite of what’s shown in the diagram above) and for the third shelf, I cut the side on the right (like what’s shown in the diagram above).
Step 3: Glue Up Floating Shelf
Once the pieces for each shelf were cut, I needed to glue them together. So I laid them out on the workbench upside down so that the long sides of the boards faced up.
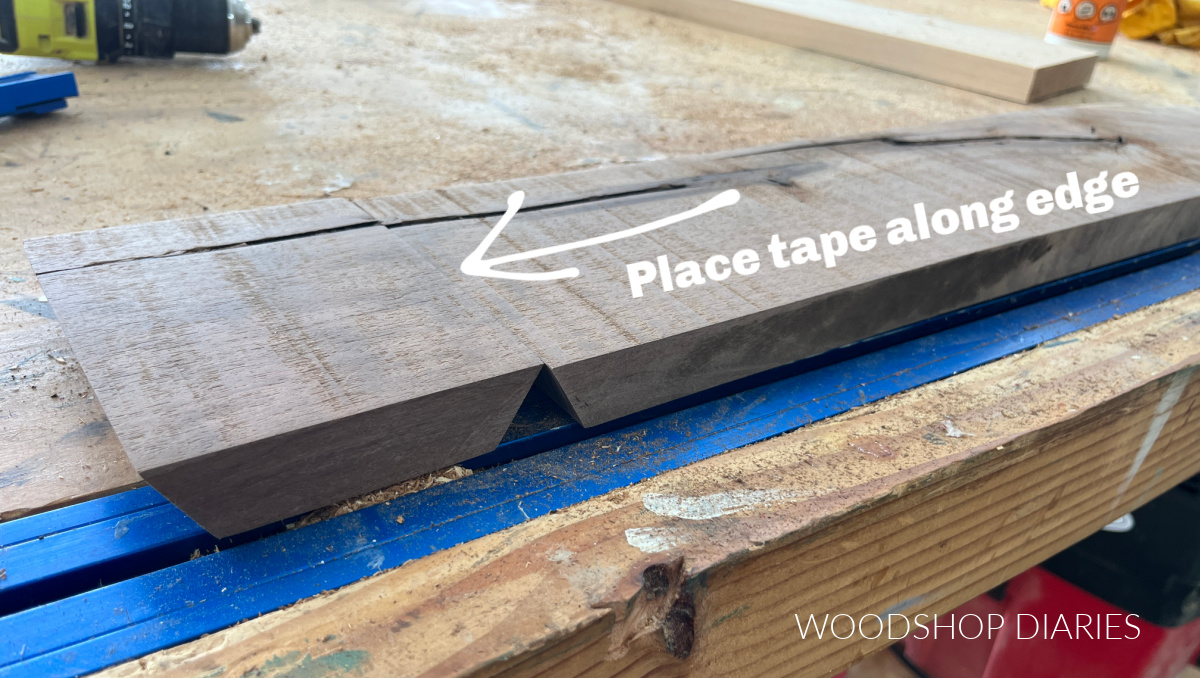
I lined up the edges of the board and placed some painters tape along the joint where they met. Then, I flipped it over, and applied some wood glue to the joint.
Then I folded the side piece over like shown below and allowed the glue to dry.
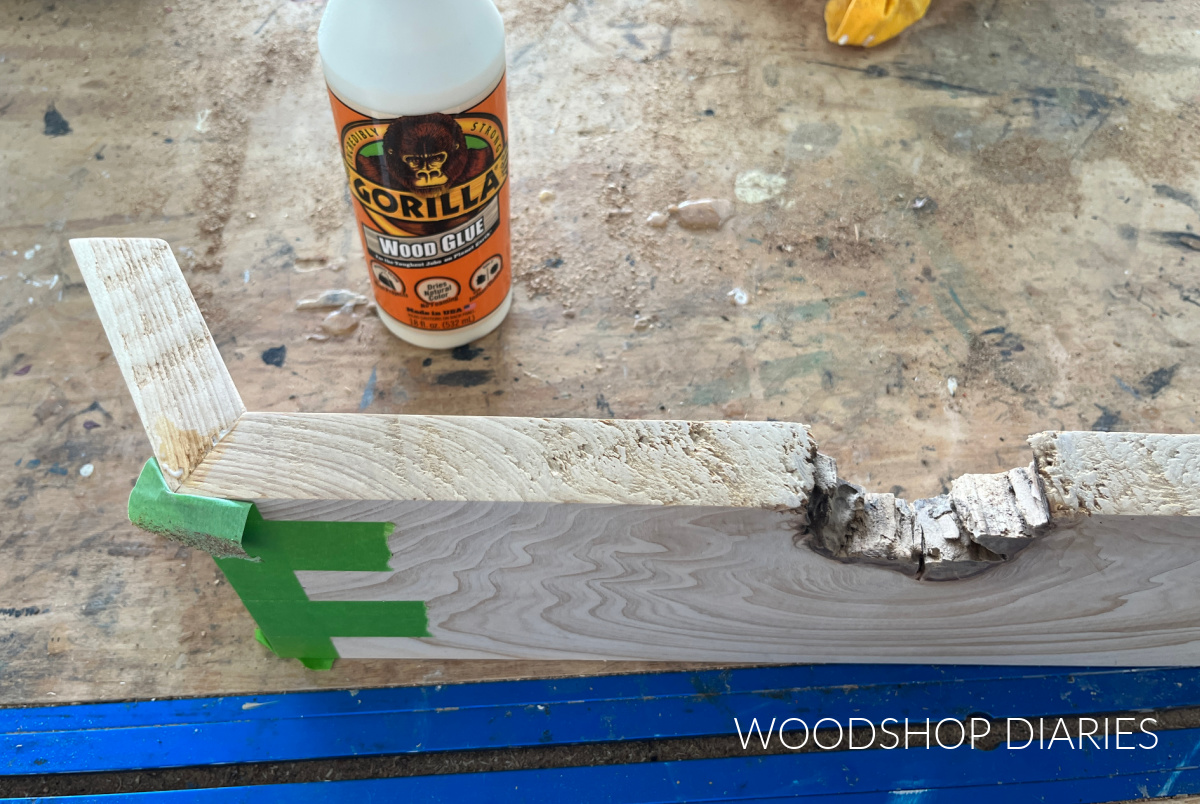
The glue should squeeze out a little (this is a good sign everything inside is covered if it squeezes out the edges), so make sure to wipe away the excess before it cures.
Once the glue was dry, I removed the tape and gave the piece a good sanding to remove any remaining glue residue.
Step 4: Attach Back Shelf Support
If you plan to use brackets to hang your shelves, you can skip this step. This back support is only here to give you something to screw through to attach these to the wall.
Remember those strips I cut from my boards in step 2? Here is where they come back into play. If you didn’t rip your boards in step 2, a scrap 1×2 or 1×3 piece would work fine for this, too.
I cut a piece from these thin strips to run along the back edge of each shelf. Note that the ends are mitered 30 degrees.
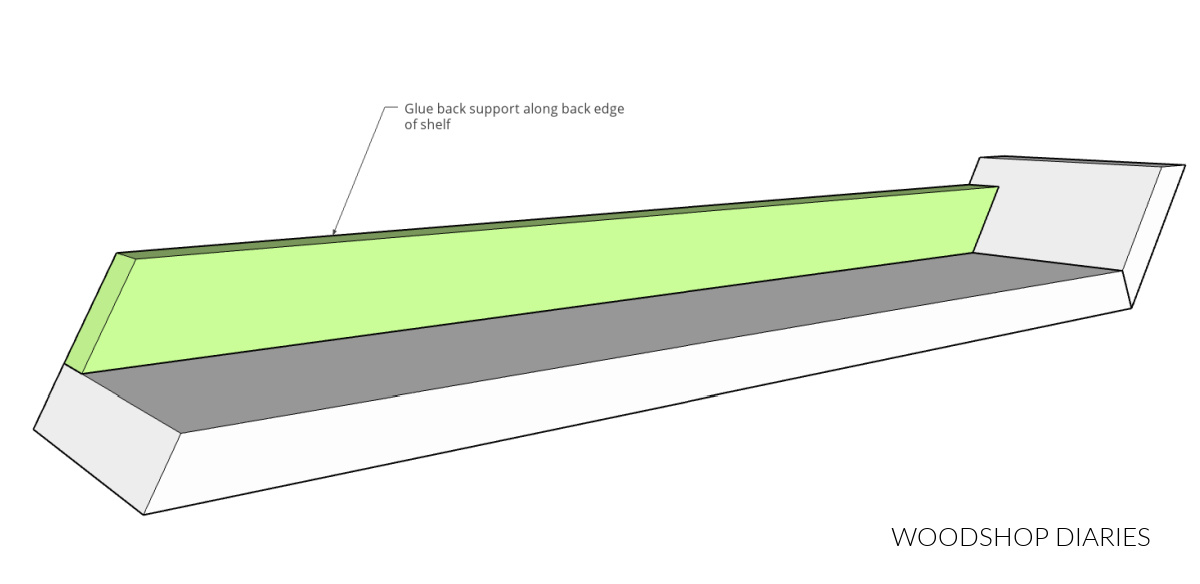
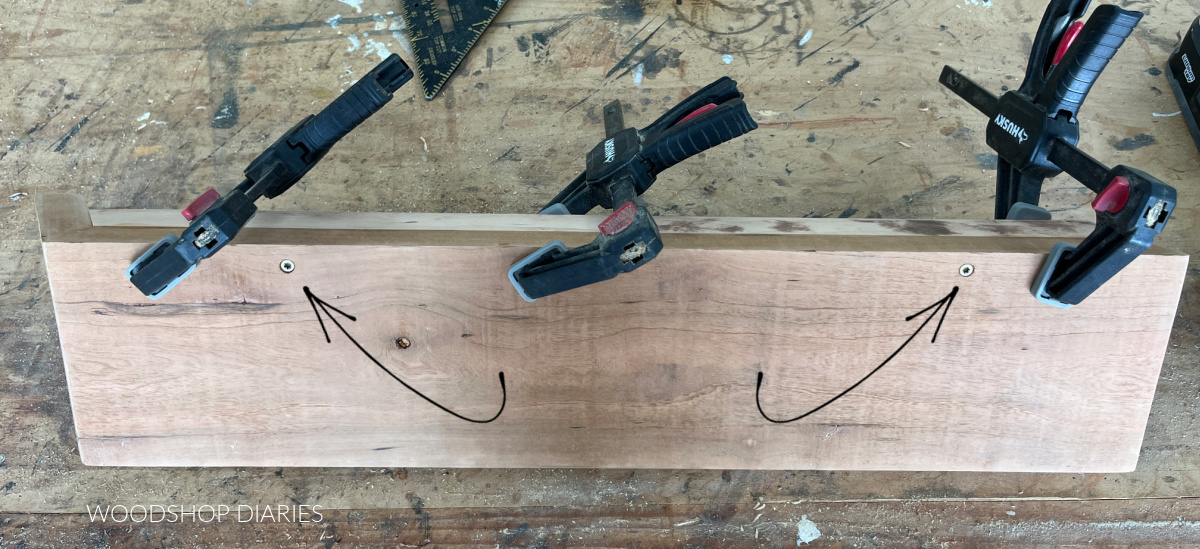
To attach these, I applied a bead of wood glue along the edge of the board, placed it on the shelf so it was flush to the back edge, then clamped it tight while it dried.
For a little extra holding power, I also added two 2″ wood screws through the bottom (shown below) up into these back support pieces.
Step 5: Finish and Hang Floating Shelves
Before hanging, I finished these shelves with a couple coats of Minwax Polycrylic clear coat. Feel free to paint or stain your shelves as desired.
If you didn’t have different species of wood to work with, an alternative way to make these in different colors is to use different color wood stains!
Once the finish was dry, I used a stud finder to locate and mark my wall studs where I wanted to hang these. I used 3″ wood screws through the back supports from step 4 to secure these to the wall studs.
Use at least two screws per shelf and use a level to ensure they’re straight and level while installing. You can obviously space your shelves out however you’d like, but mine are approximately 14″ apart here.
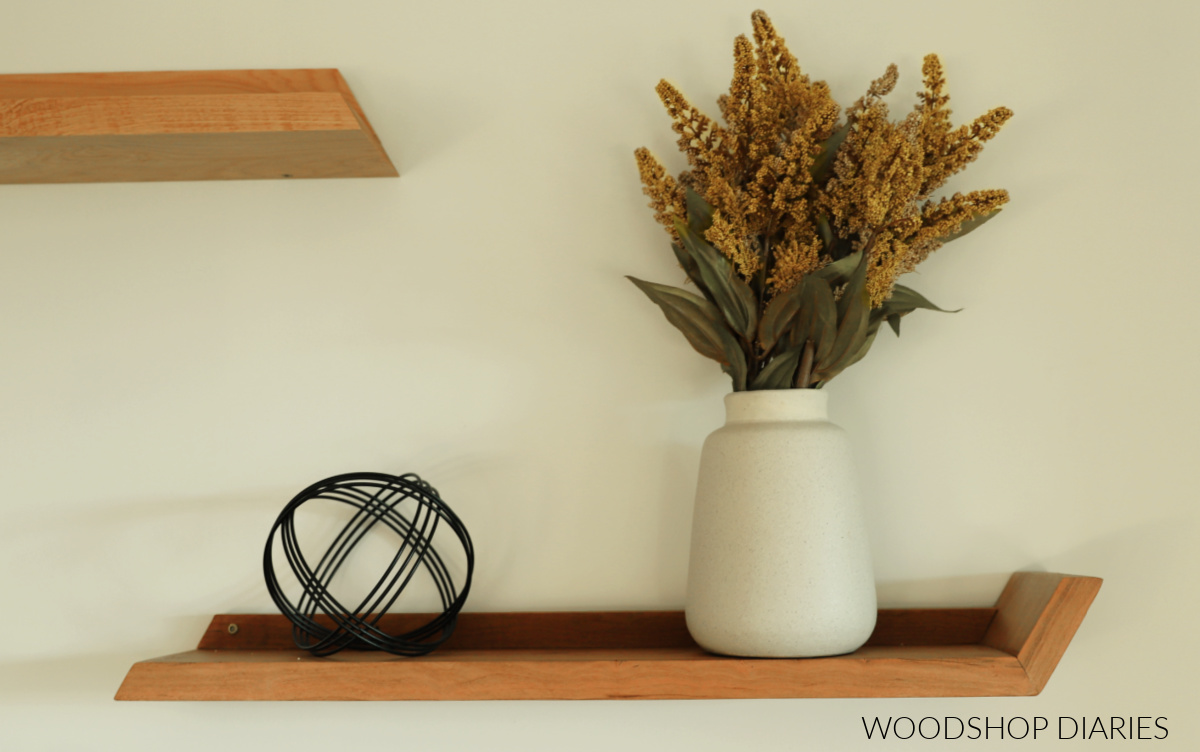
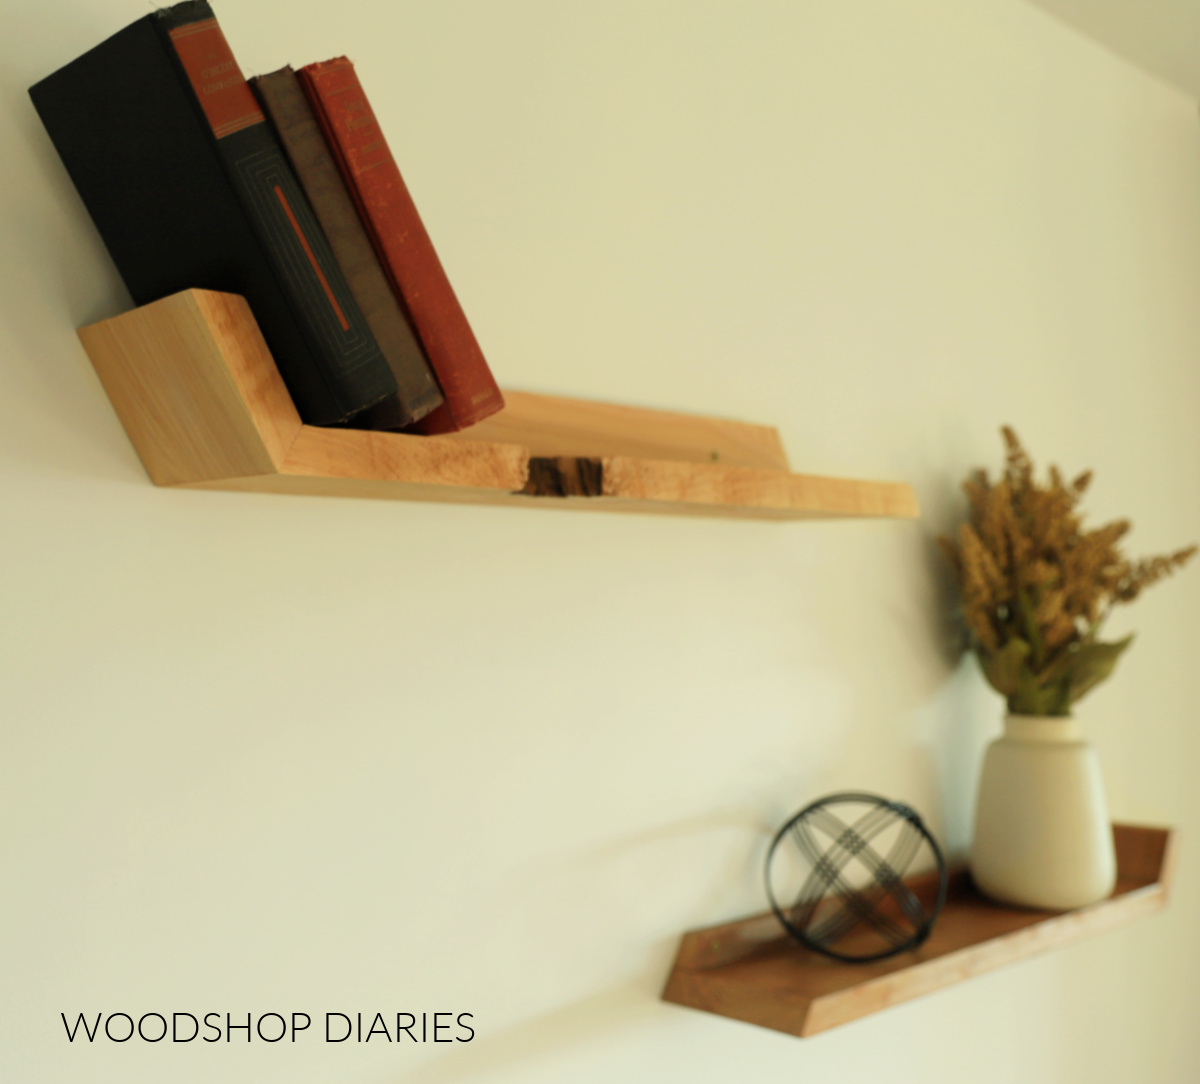
And with that, these shelves are finished and ready for decorating! My shelves, once installed, felt really secure. I wouldn’t hesitate to put books, plants, or any kind of décor on them.
The exact amount of weight they’ll hold will vary depending on the type of wood, type of screw, thickness of material, depth of shelf, etc.
If you opted to use brackets for hanging, the amount the shelves will hold will be based on what the bracket is rated for.
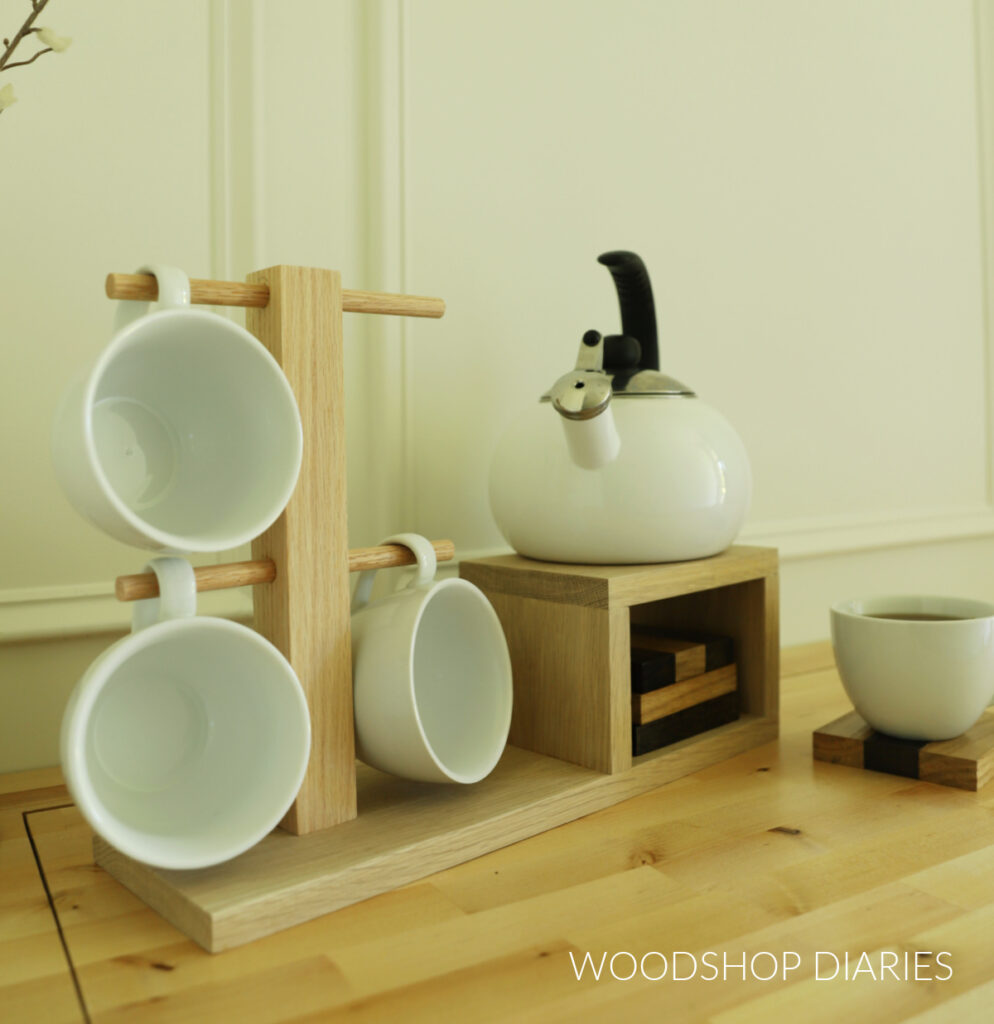
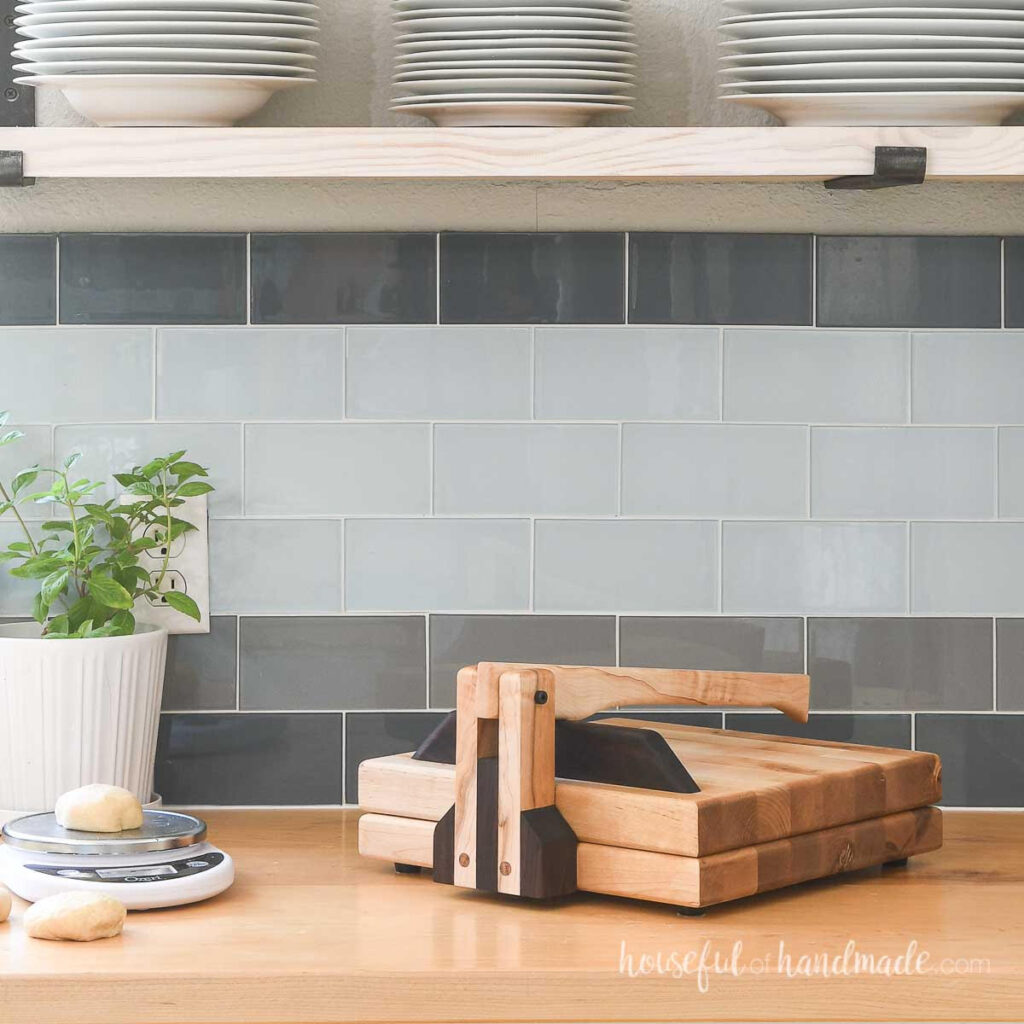
These are perfect for displaying photos, small plants, home décor, maybe even cutting boards or mugs.
More Fun With Scrap Wood
Can’t get enough scrap wood projects? Me either! That’s why I’m teaming up with my friend, Kati, from Houseful of Handmade all month long to share some “Scrap Wood Summer” Projects!
Check out all the projects in the series so far below. Click on an image to learn how to make each one!
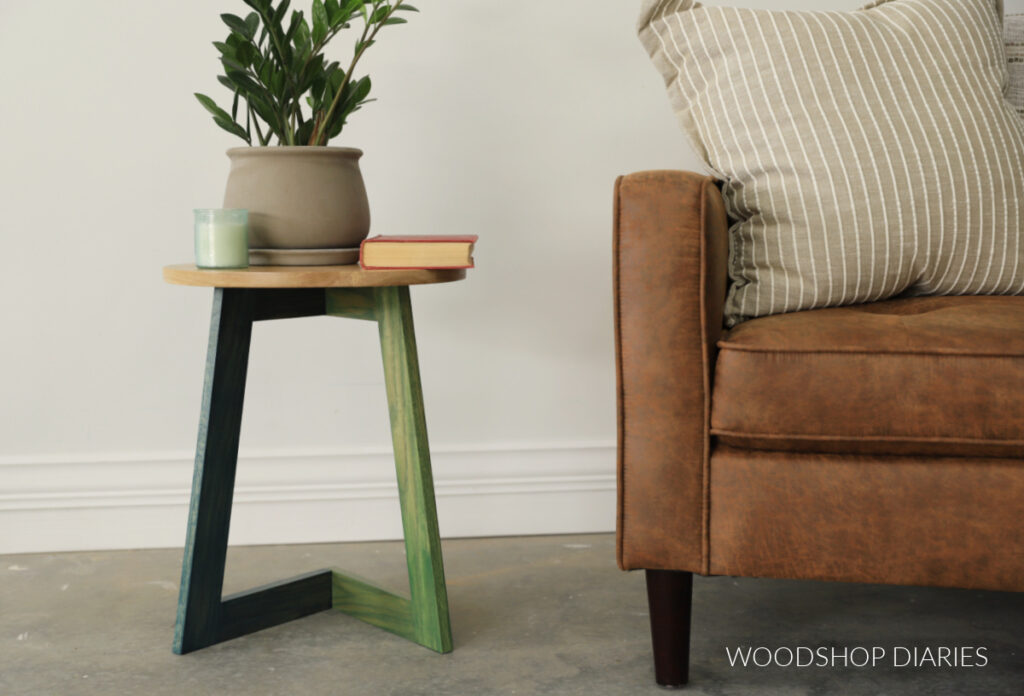
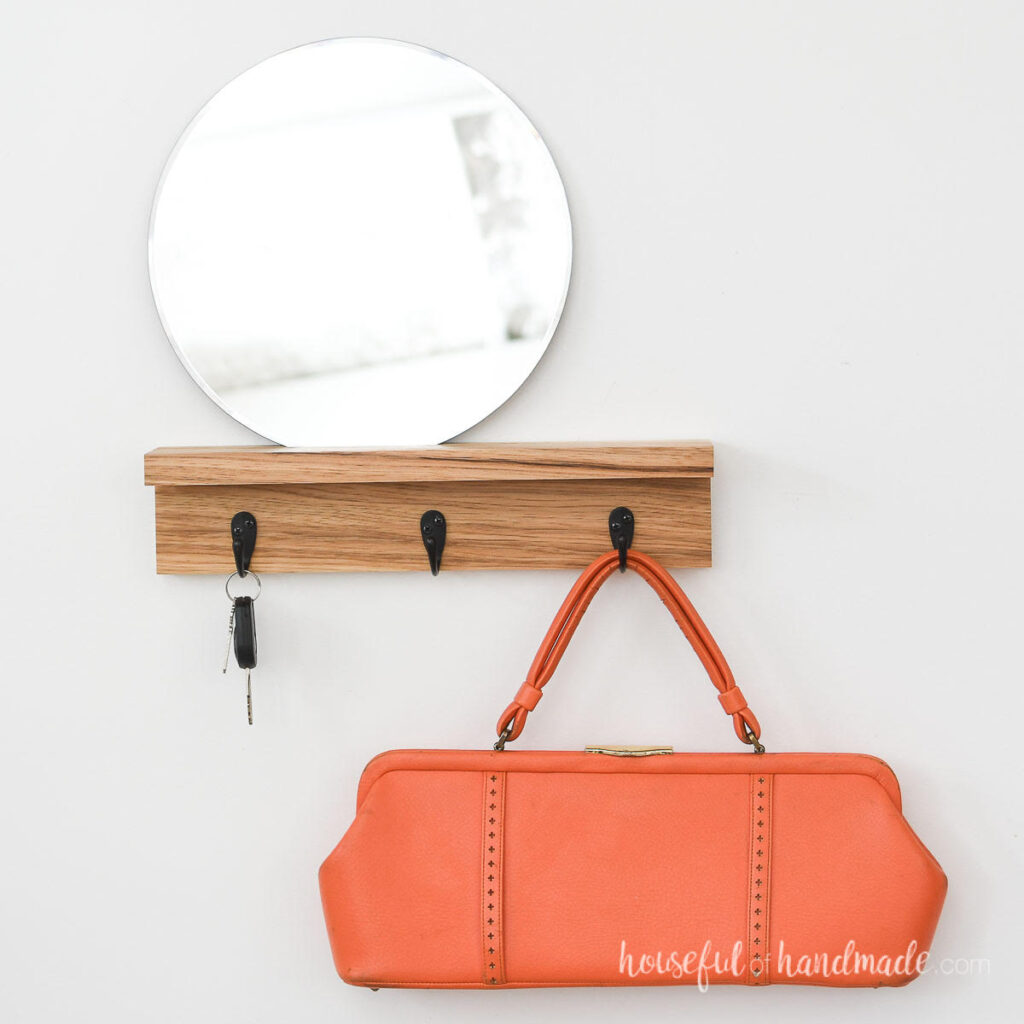
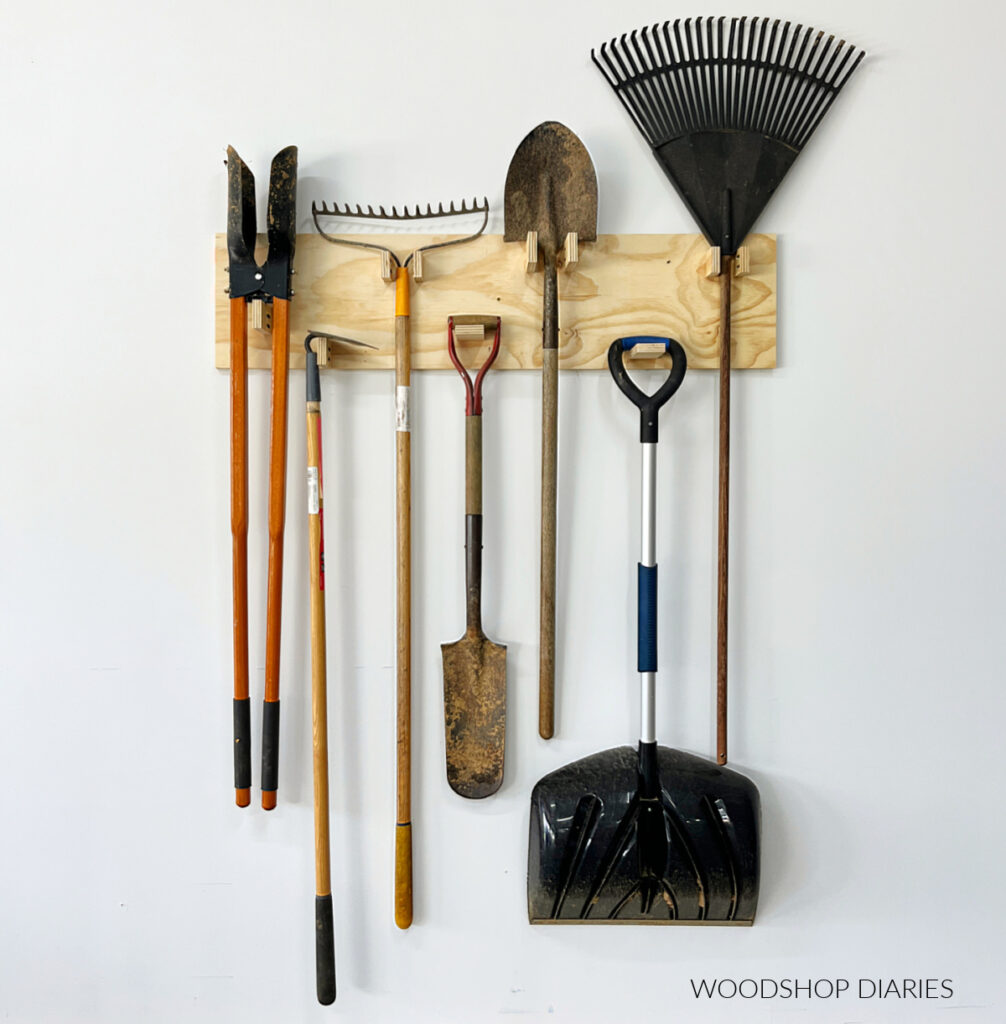
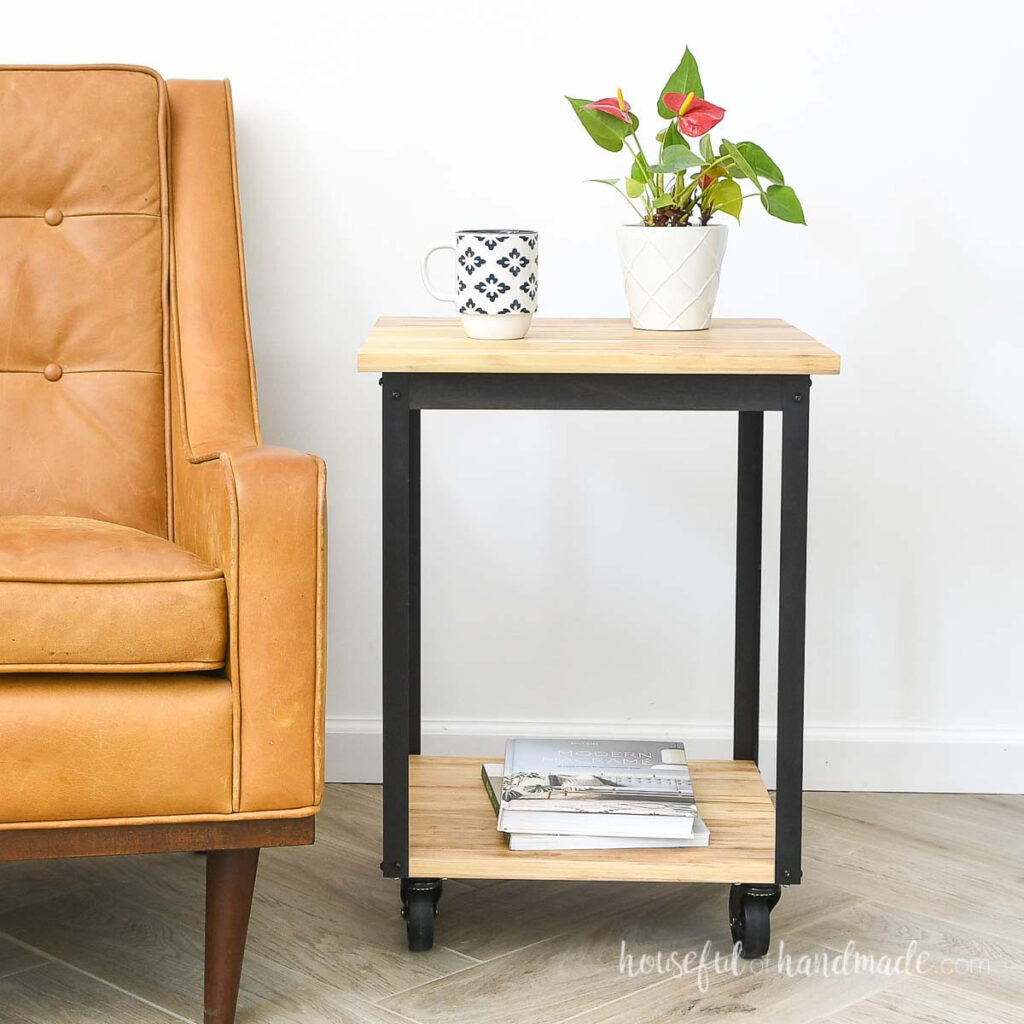
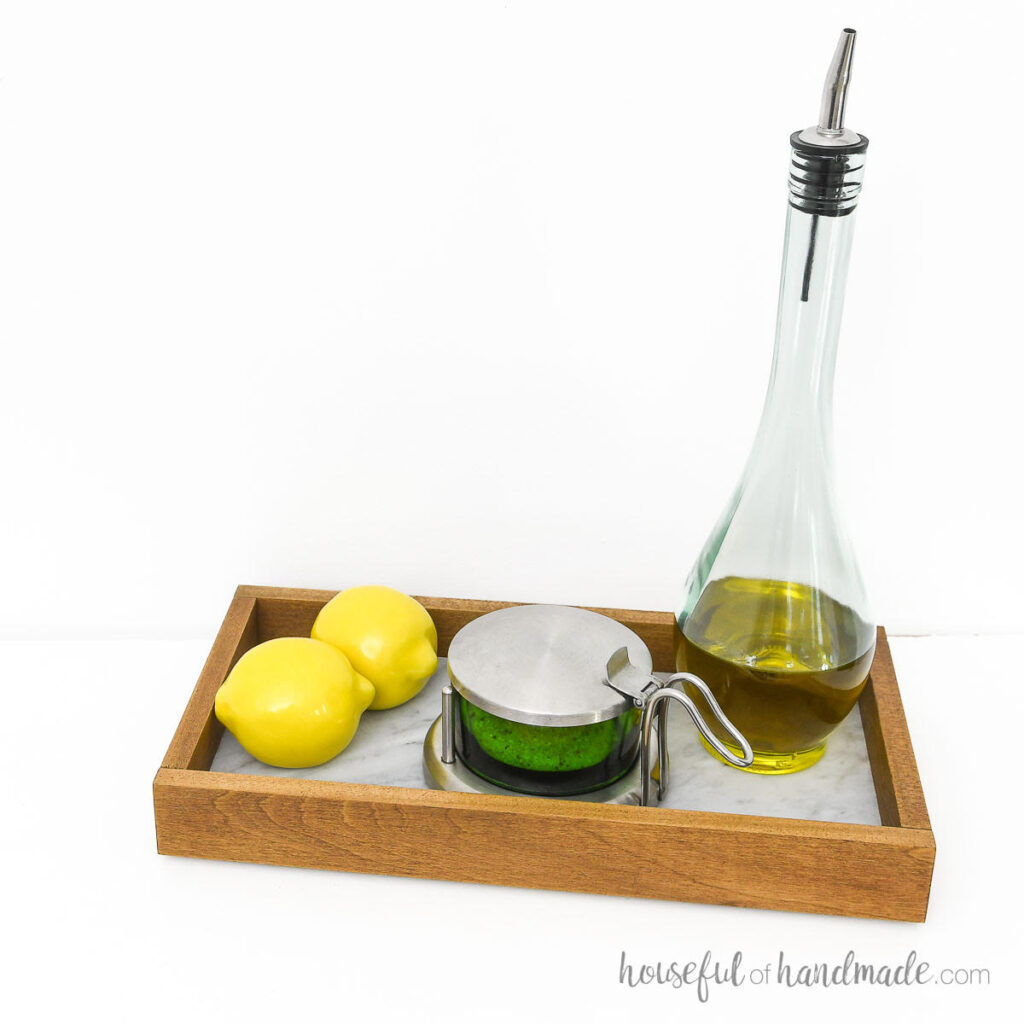
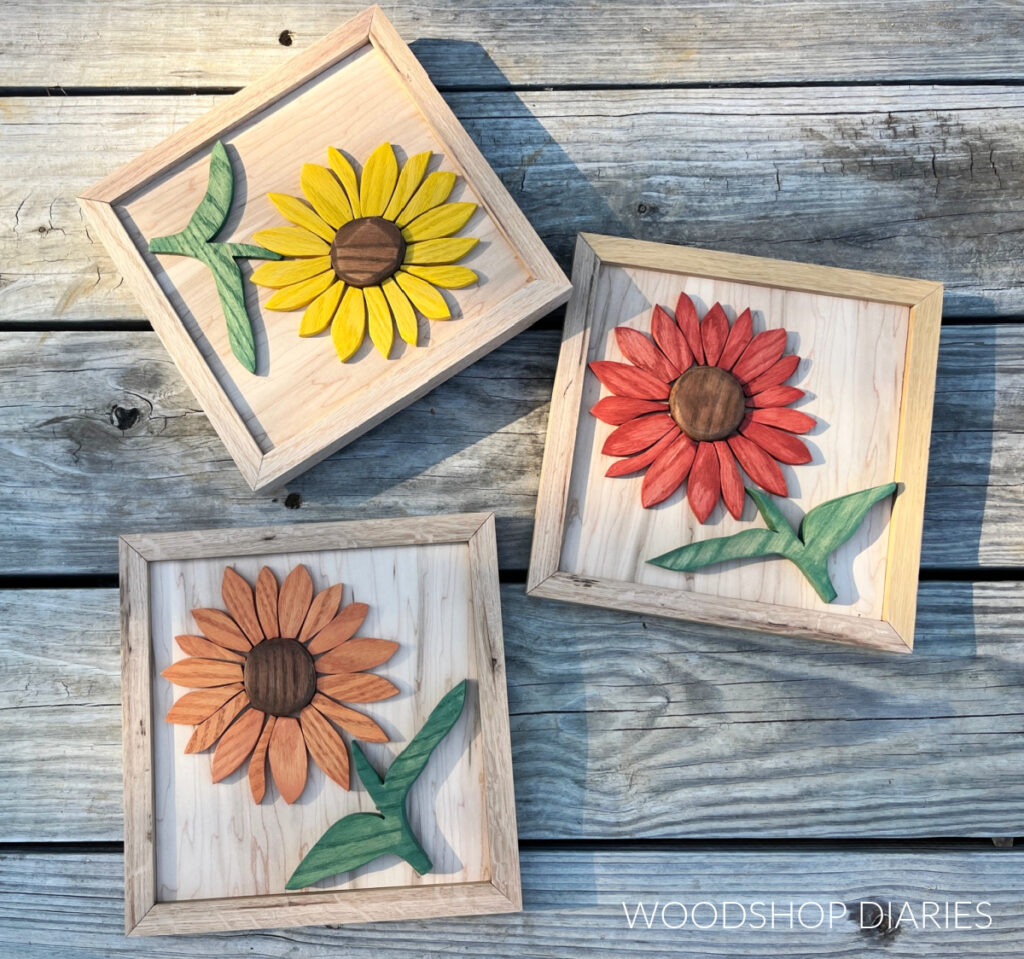
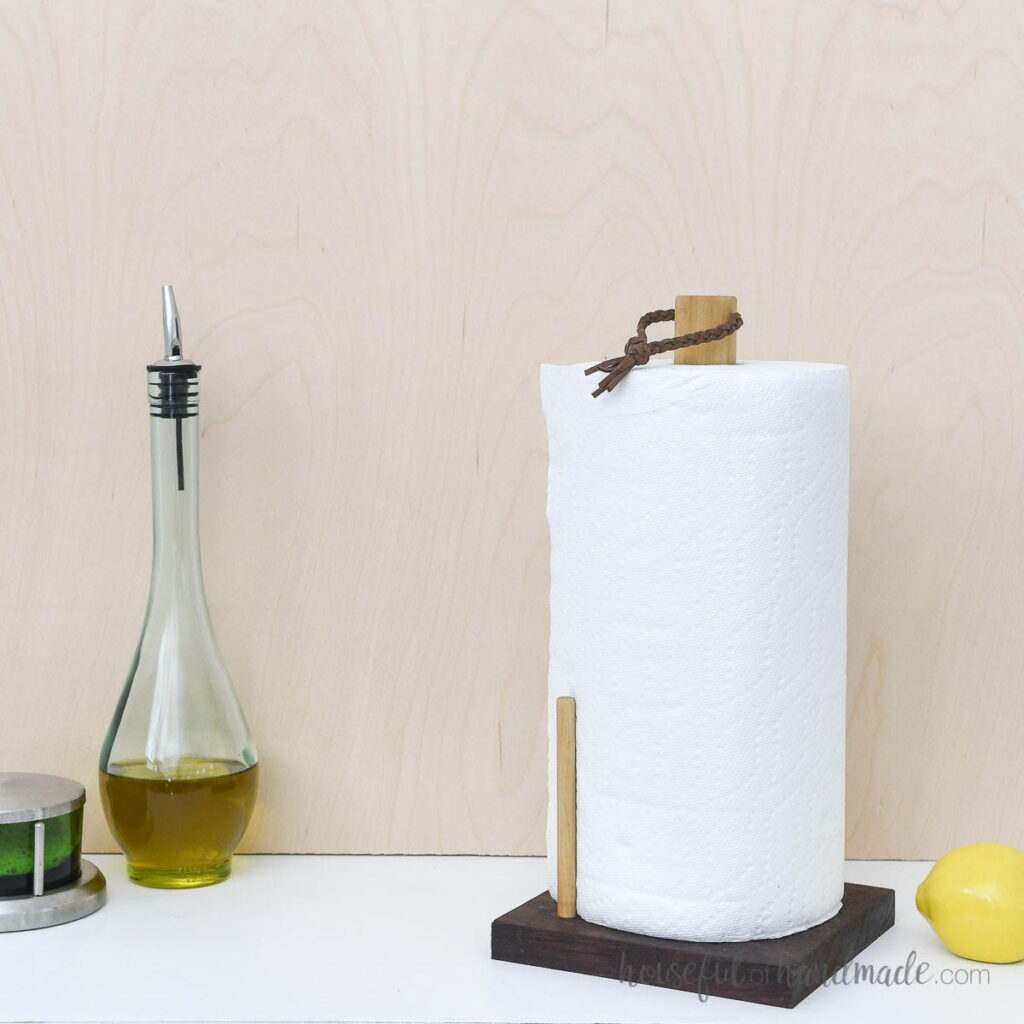
We will be posting new Scrap Wood Summer projects every Tuesday through the month of August (2023). Check out last years’ Scrap Wood Summer projects plus other scrap wood ideas here.
Don’t forget to save this project for later by pinning it or sharing to your favorite social channel!
Until next time, happy building!