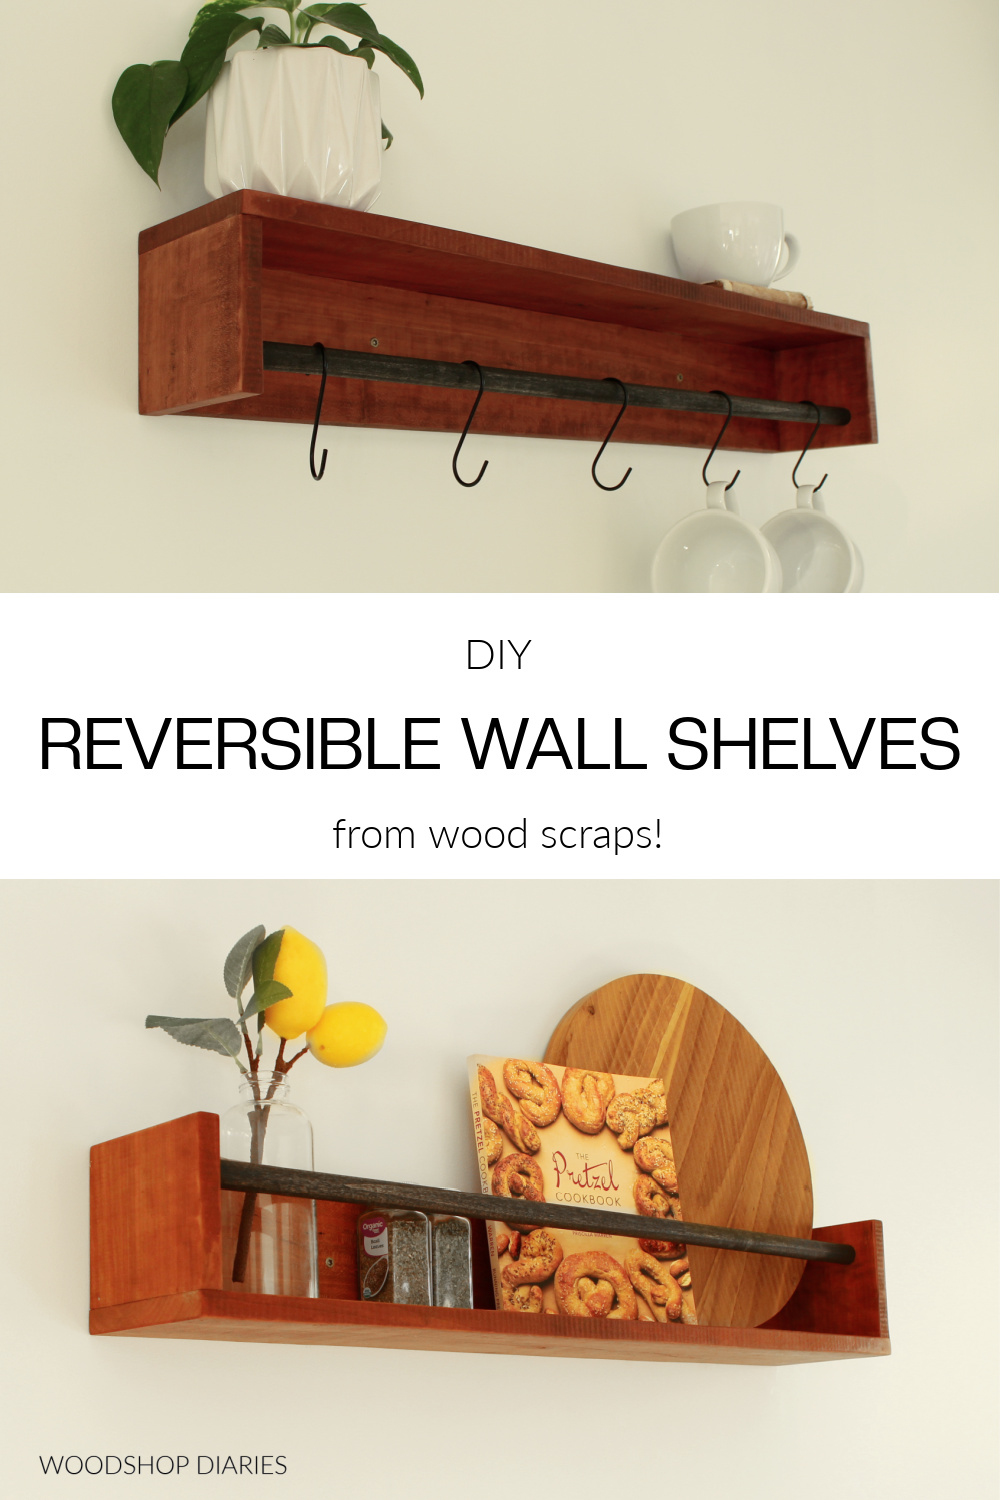
In this post, I’m sharing how to build a simple DIY reversible wall shelf using scrap wood!
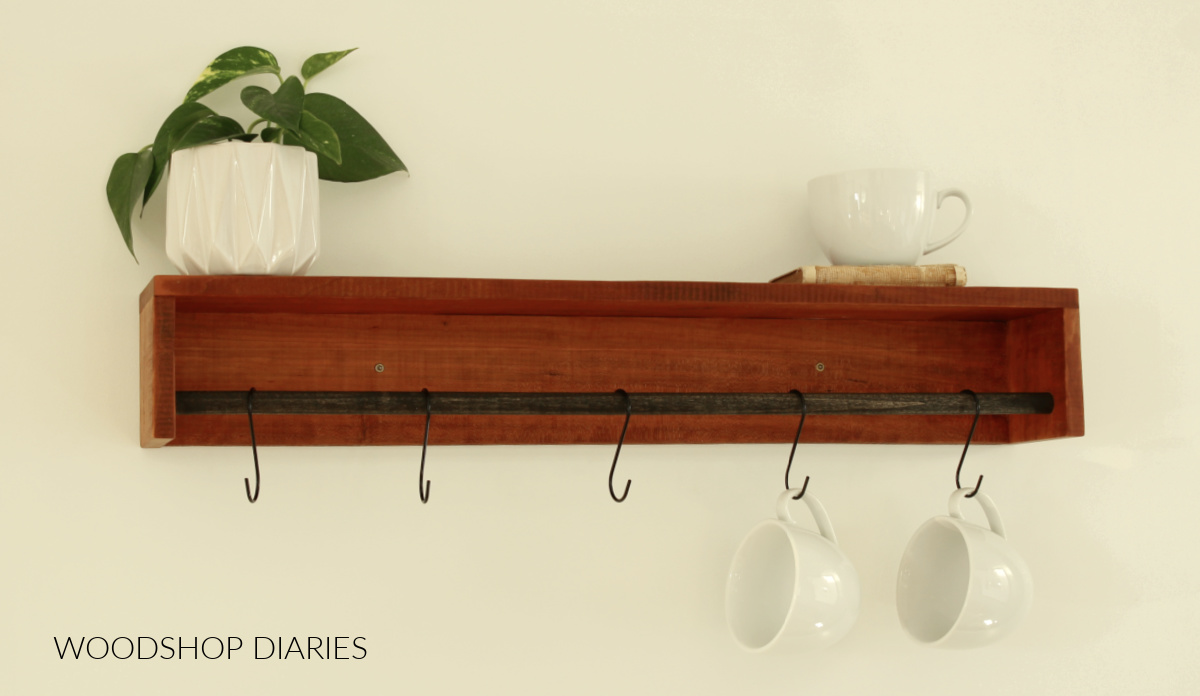
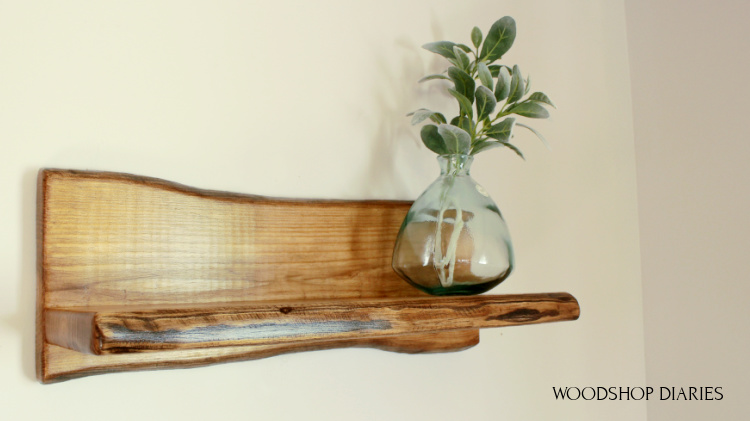
This simple DIY wall shelf can be hung up like shown above to give you a place to hang coffee cups, tea towels, plants, etc.
.
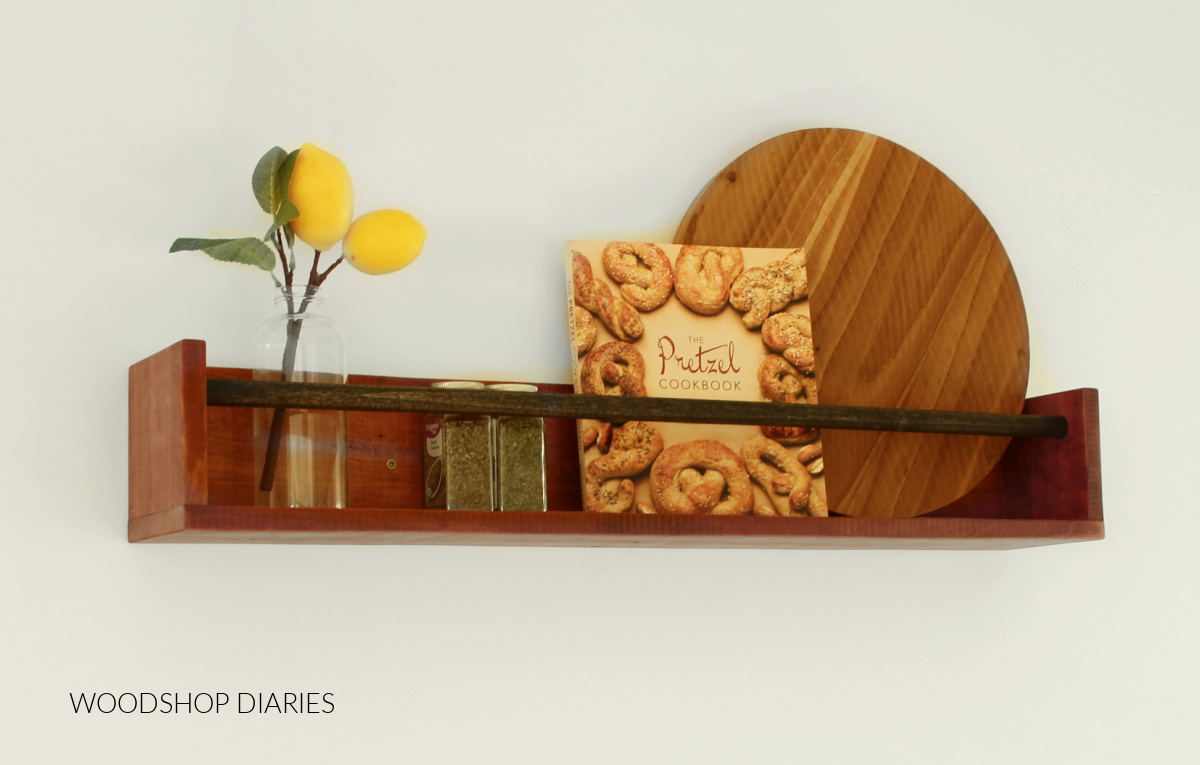
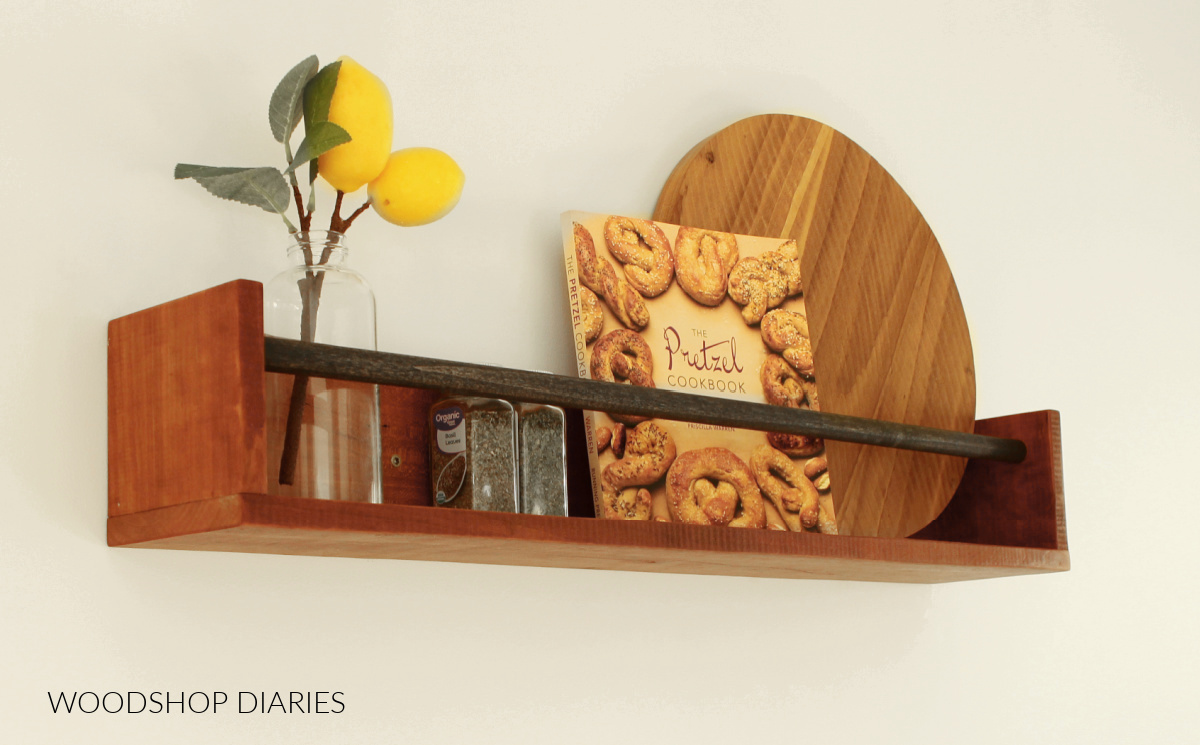
Or, you can reverse it and hang it like shown below to use as a spice rack, for books, or for displaying plates or cutting boards.
It’s quick and easy enough to build, so you could just build two so you can do both at the same time! *wink wink*
.
The dimensions for this are easily customizable, so I encourage you to dig around your scrap pile as you can likely find everything you need there to build your own!
Tools & Materials:
*This post contains affiliate links. See website policies.
Tools:
- Miter saw
- Circular or Table Saw (optional–only needed if you rip your boards)
- Pocket Hole Jig
- Drill/Driver
- Brad Nailer
- ¾″ Forstner Bit
- Clamps
Materials:
- Wood Scraps (see notes below)
- ¾″ diameter dowel rod
- Wood Glue
- 1 ¼″ pocket hole screws
- 2 ½″ wood screws (to hang with)
- Brad Nails
- Wood Finish
- S hooks (optional if you want to hang things from shelf)
Some Notes About Building a DIY Reversible Wall Shelf
You can build this shelf from almost any size wood–it really just depends on what you’d like to use it for and how deep you want your shelf.
.
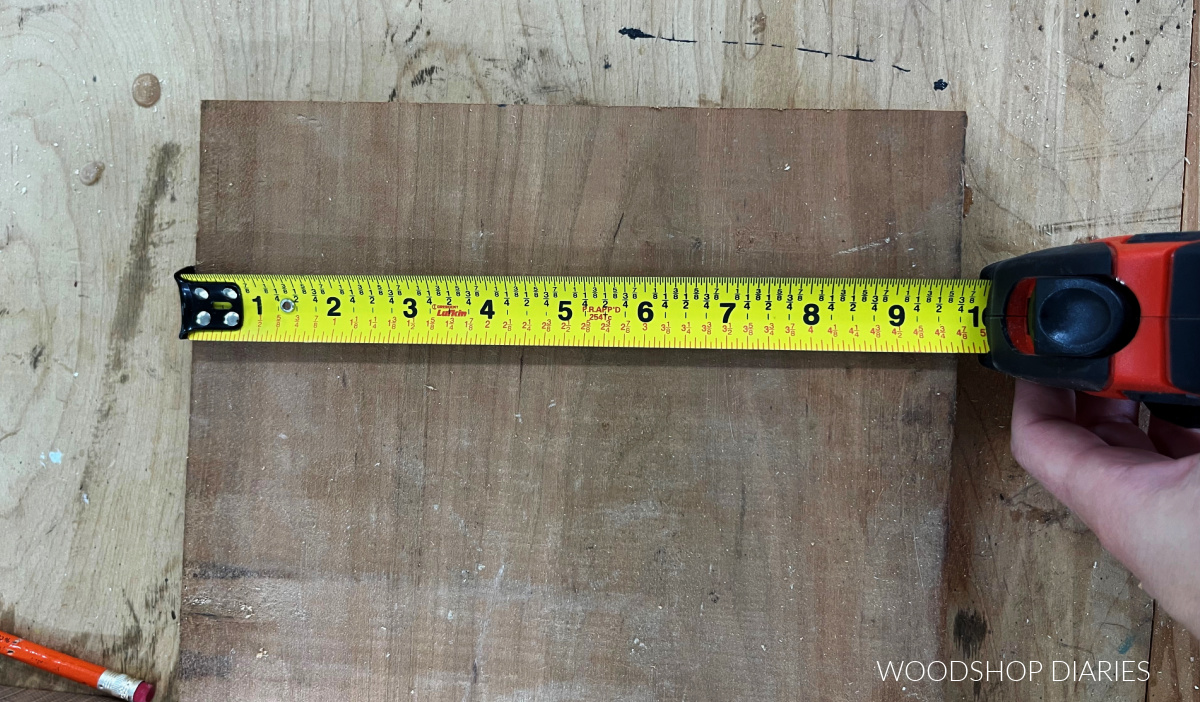
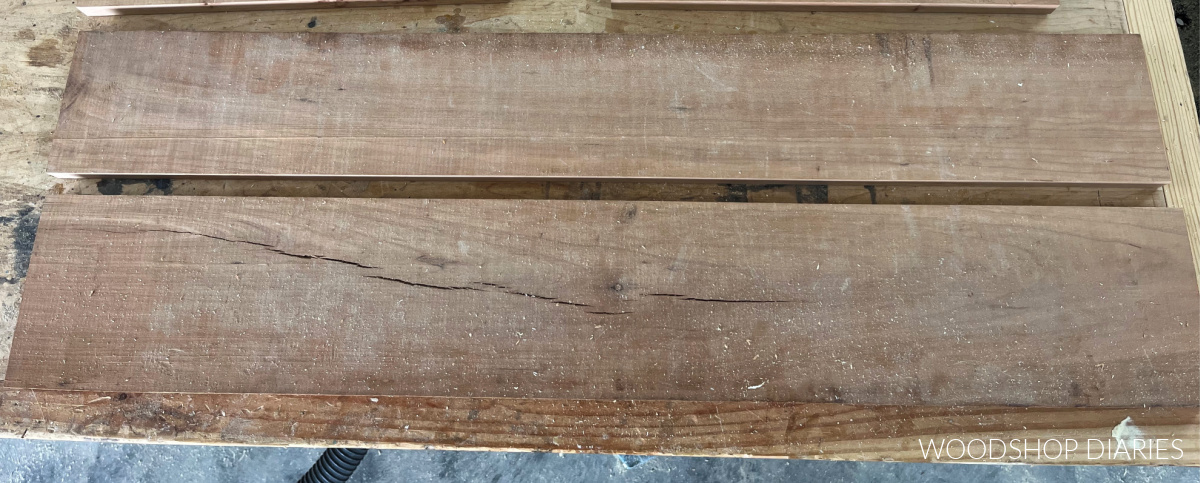
In my case, I had a wide scrap board about 9 ¾″ wide that I ripped into two 4 ½″ wide strips for this.
I used one piece for the back and one for the top and cut a side piece from each (see step 1 below).
.
However, if you had some scrap 1×4 or 1×6, you could just use that instead. Feel free to shop your scrap pile and find whatever you can work with.
As far as length, I made my shelf about 30″ long. Of course, you can make it longer or shorter.
.
My overall shelf dimensions were 4 ½″ deep x 5 ¼″ tall x 30″ long.
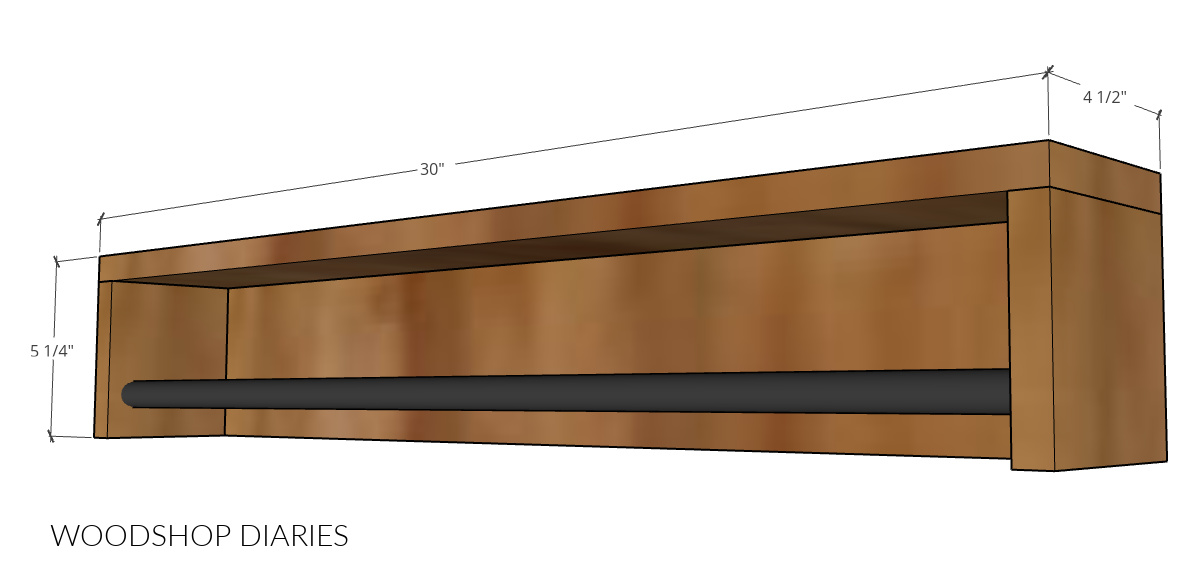
BUT…the dowel will tend to sag if you make it too long and hang several heavy things from it. So if you plan to hang items, I’d keep it 30″ or less OR use a thicker dowel.
How to Build DIY Reversible Wall Shelves From Scrap Wood
Alright, let’s get building!
.
This is a really quick project, and I’m sharing the step by step plans below.
.
But if you prefer to watch, I’ve also put together a quick video overview so you can watch how it’s made:
Step 1: Cut Pieces to Assemble Wall Shelves
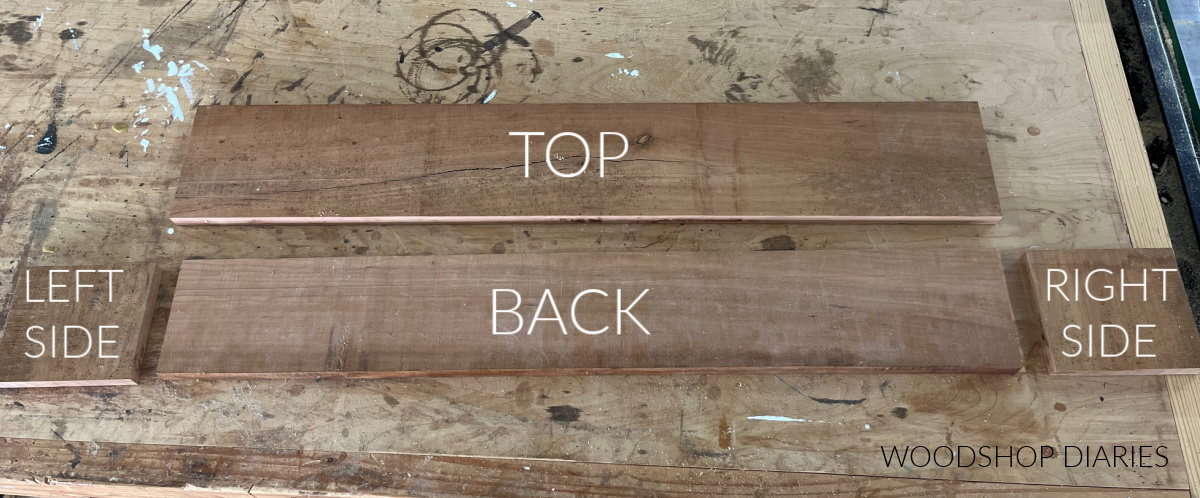
First, I cut down my scrap wood board into four pieces. I used 1x material, so it was all ¾″ thick.
.
Now, again, yours don’t have to be exactly the same as mine. But I cut the following:
- (2) 4 ½″ x 4 ½″ sides
- (1) 4 ½″ x 30″ top
- (1) 4 ½″ x 28 ½″ back

These pieces should fit together to create kind of a “partial box.”
Then, I cut my ¾″ diameter dowel rod to 1″ longer than the back board. So in my case, it was 29 ½″ long.
.
If you want to stain or paint your dowel rod a different color than your shelf, I recommend doing it now before installing it as it’ll be much easier.
.
I stained my wooden dowel Rustoleum Ebony.
Step 2: Drill Pocket and Dowel Holes for Assembly
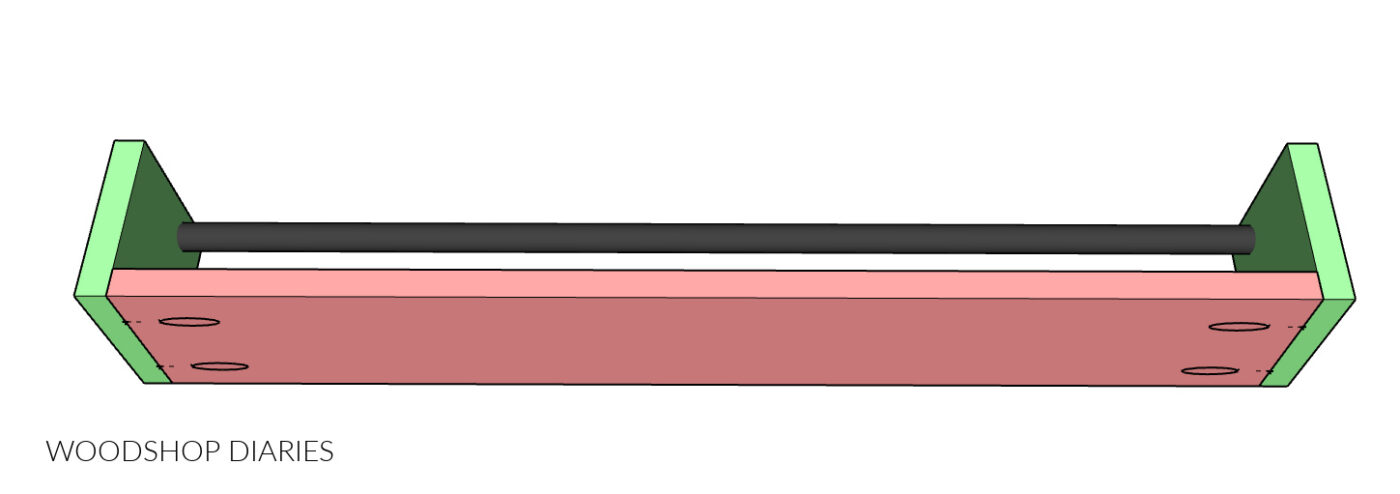
I drilled ¾″ pocket holes into the ends of the back board (on the back side, so they’ll be hidden in the finished project).
.
Then, I used a ¾″ forstener bit to drill out ½″ deep holes in the side pieces to install the dowel rod into.
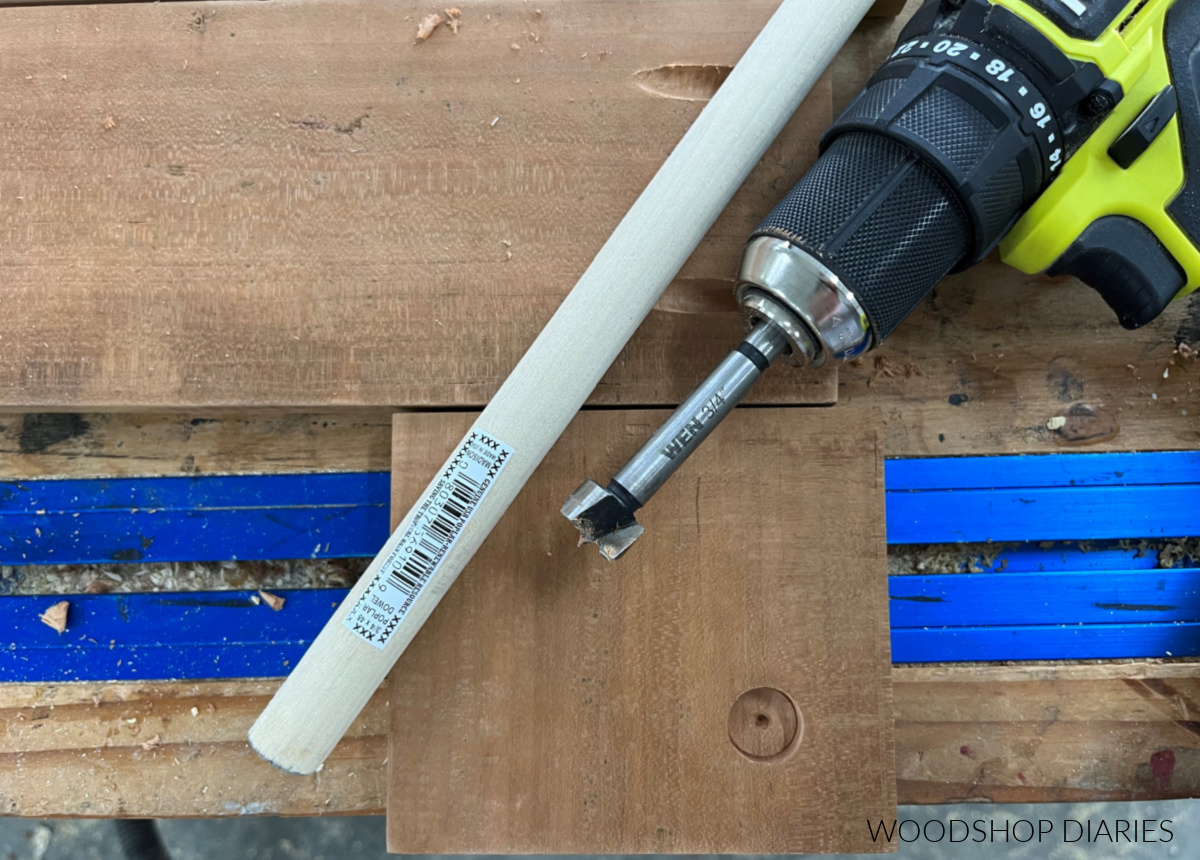
You can adjust the location of the dowel however you’d like, but I drilled mine with center 1 ¼″ from the bottom and front edges of each piece.
Step 3: Assemble Scrap Wood Wall Shelf
I used 1 ¼″ pocket hole screws to attach one side to the back. Make sure to orient the dowel hole correctly on the side piece before driving the screws.
.
Before securing the second side, I stuck the dowel rod into the shallow holes.
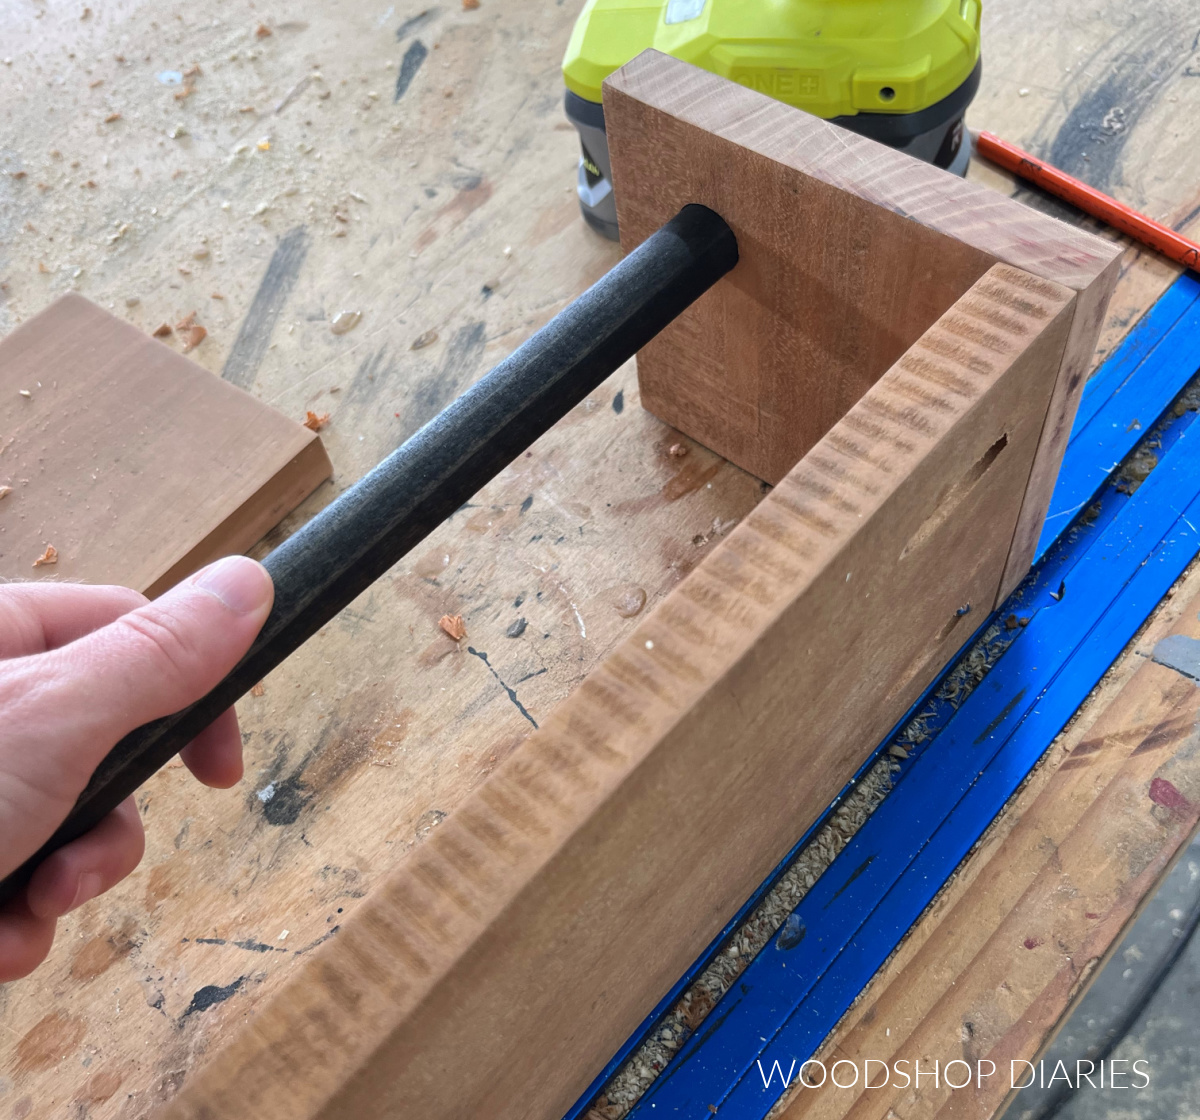
Then, I screwed the second side on using 1 ¼″ pocket hole screws.
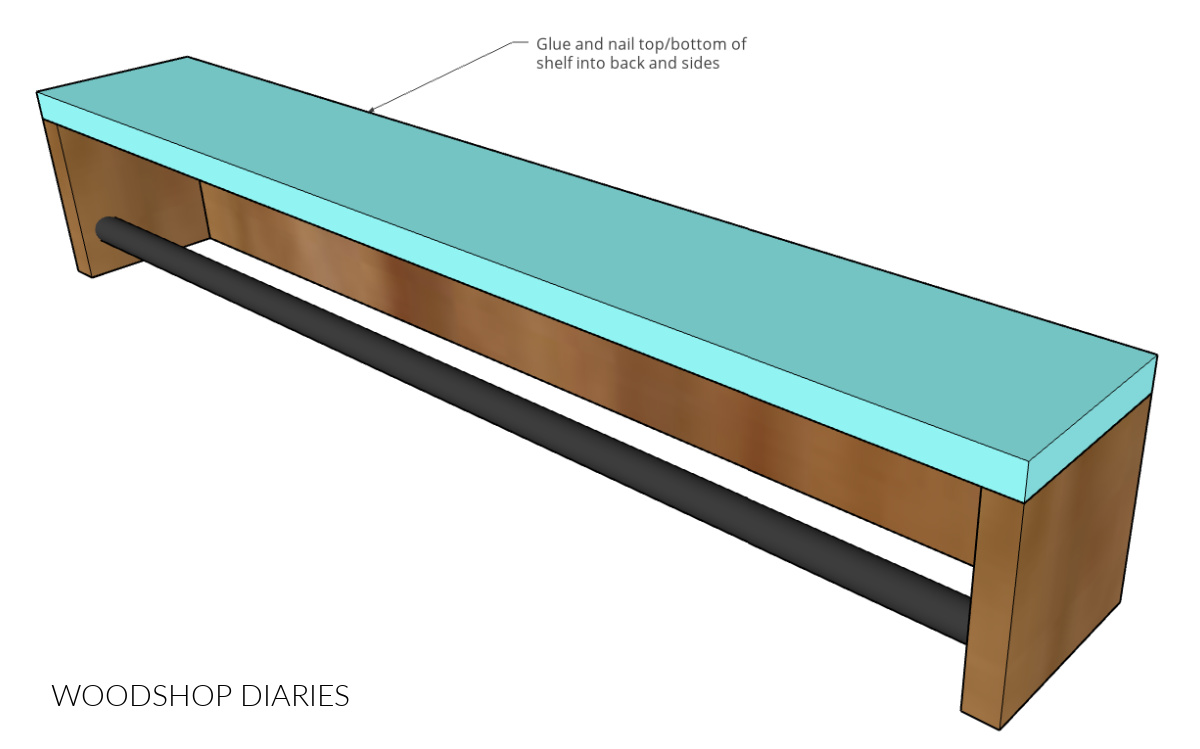
Finally, I attached the top using wood glue and brad nails.
Step 4: Finish and Hang Reversible Shelves
I gave the piece a final sanding, then applied Walrus Oil Furniture Butter for finish.
.
You can paint or stain however you’d like. For more wood finishing tips and ideas, check out how I finish my wood furniture pieces here.
.
Then, I located the wall studs where I wanted to hang the shelves and used two 2 ½″ wood screws through the back side of the shelf into two wall studs behind it.
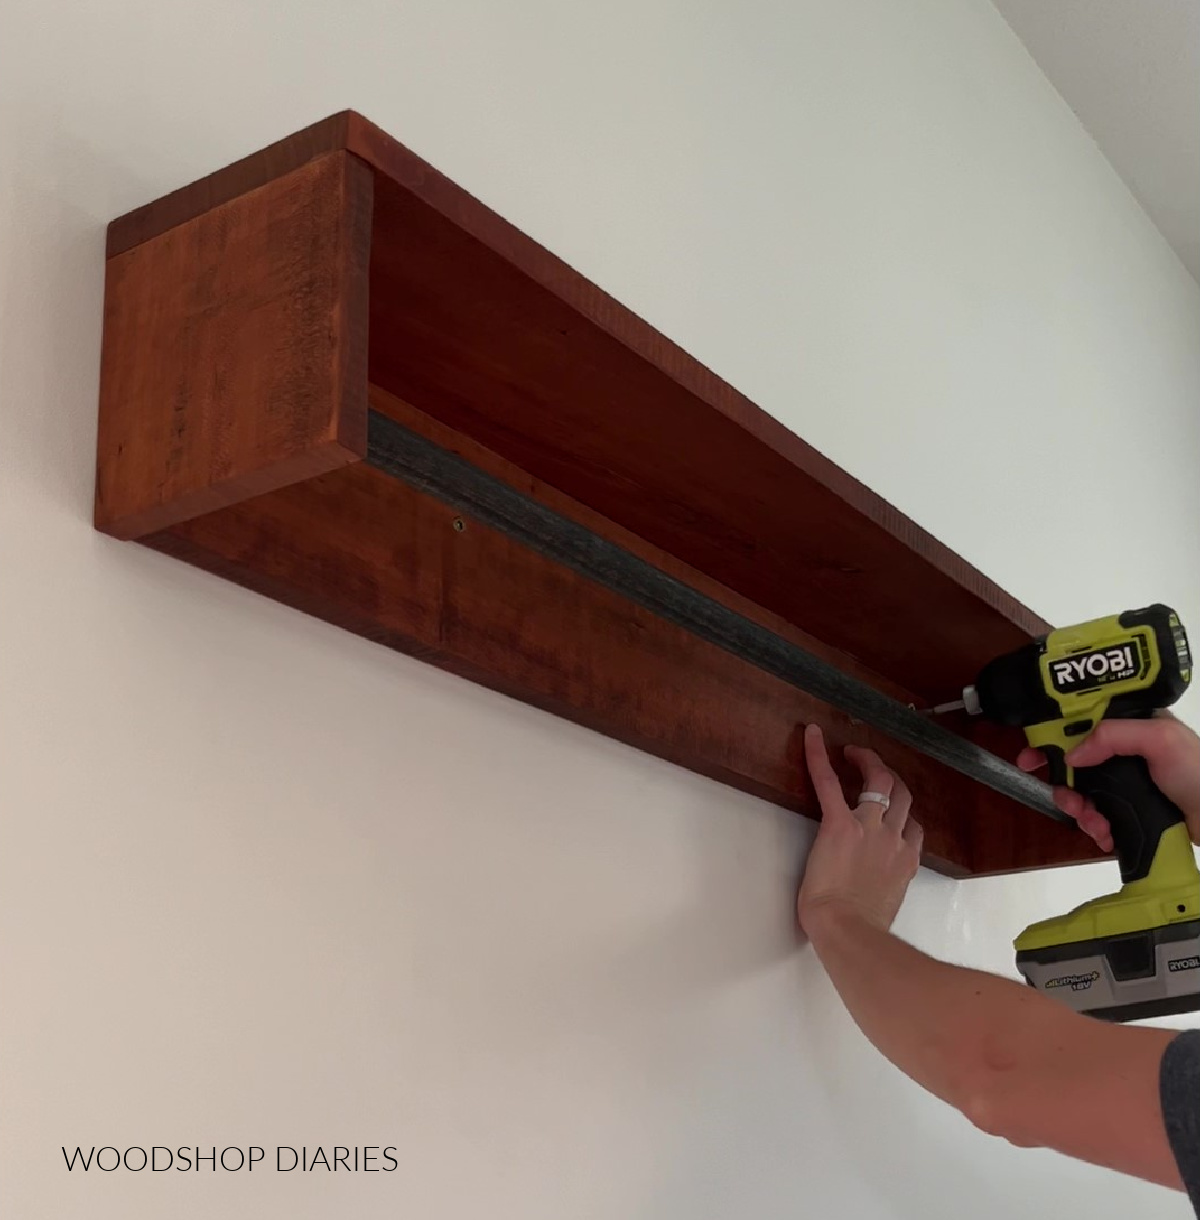
Make sure to use a level so it’s not sloping.
.
You can install these so that the dowel is toward the top to use it as a plate, book, or spice rack.
Or, you can install these so that the dowel is toward the bottom and use S hooks to hang coffee mugs, towels, or utensils from.

This is such a simple shelf idea, but it’s got so many possibilities!
.
I love the minimalist style of it added to our dining room wall. This would be great in a kitchen, for a coffee station, or even in a kids room for a book rack.
Want More Storage and Shelving Ideas?
I hope you enjoyed this fun and simple DIY wall shelf project and if you’re looking for more shelving ideas, here’s a few favorites!
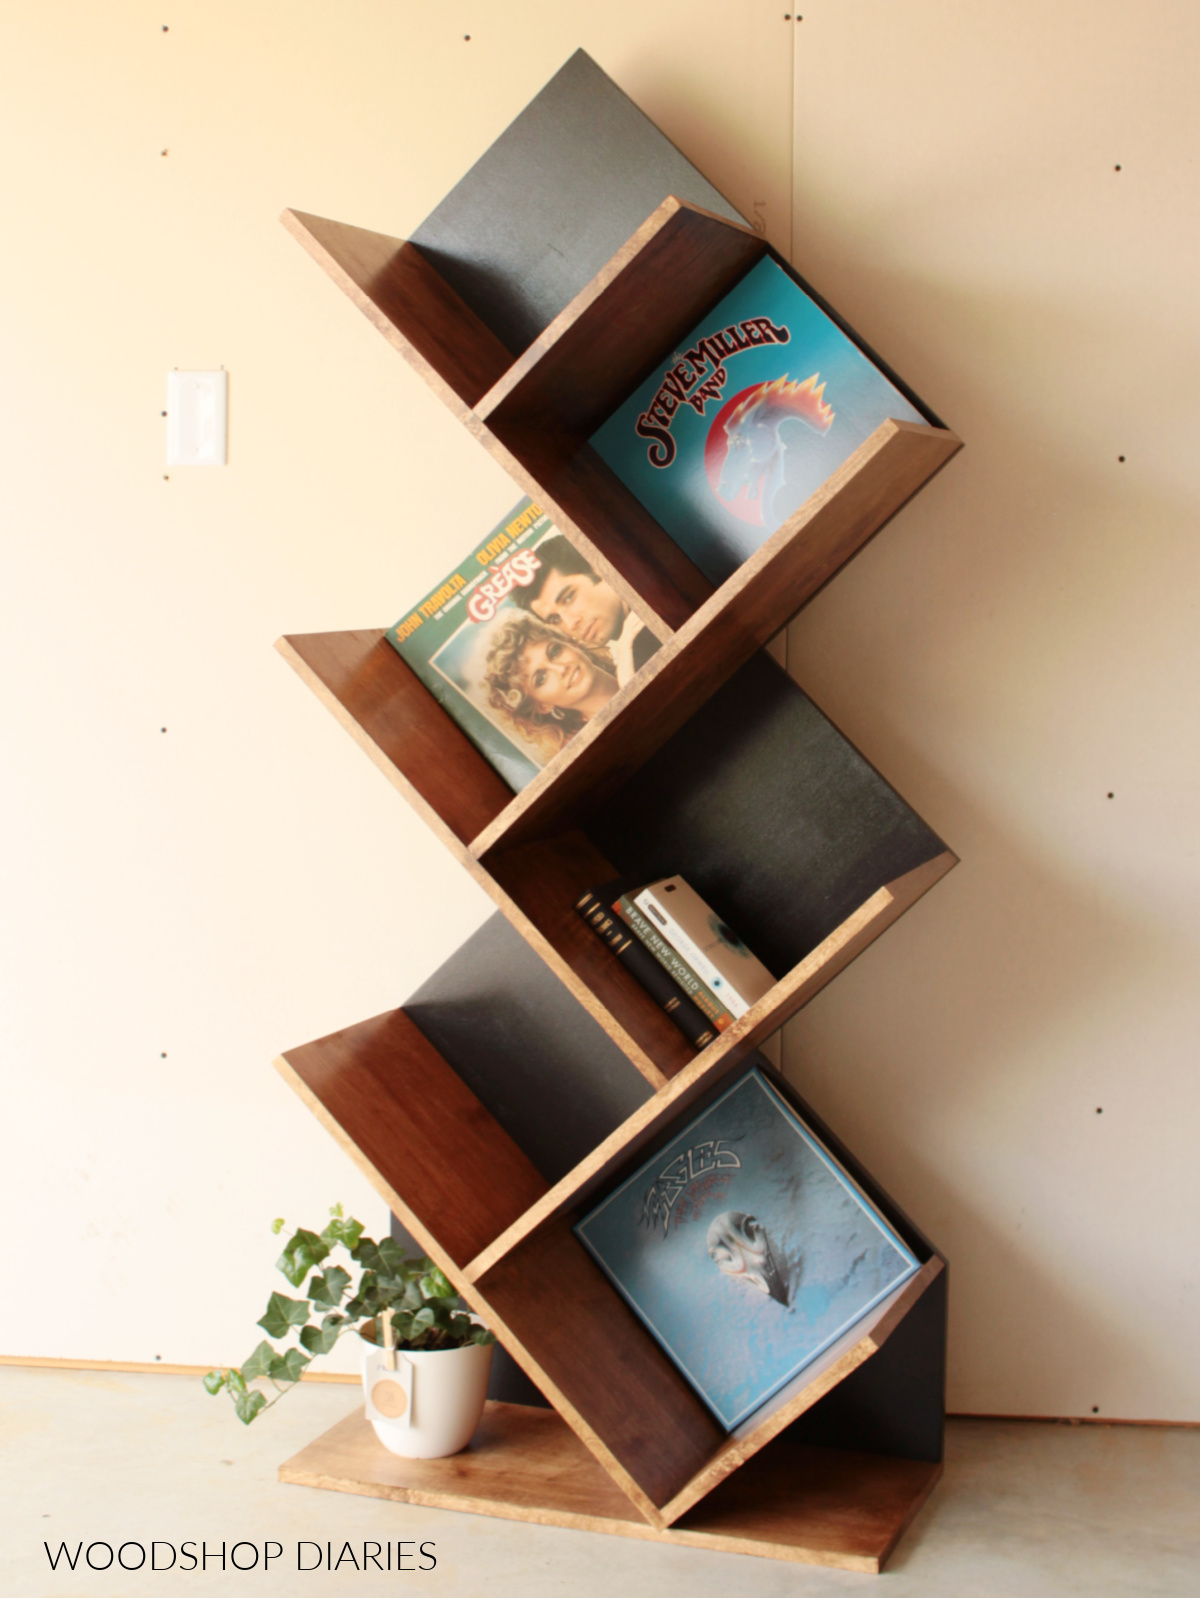
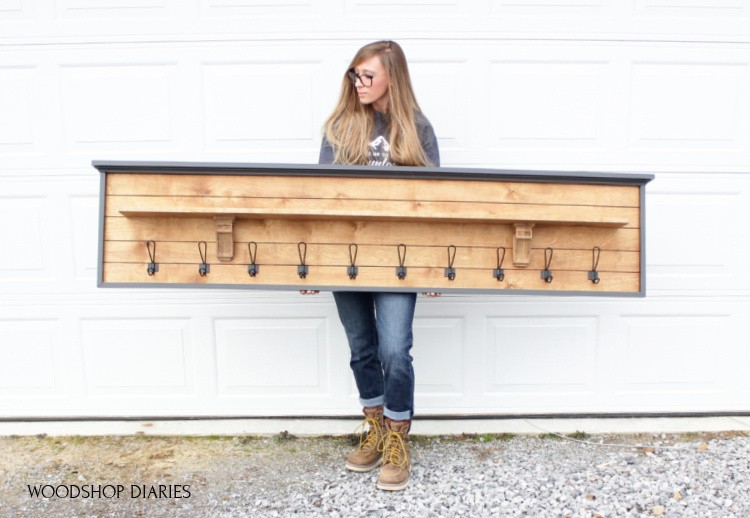
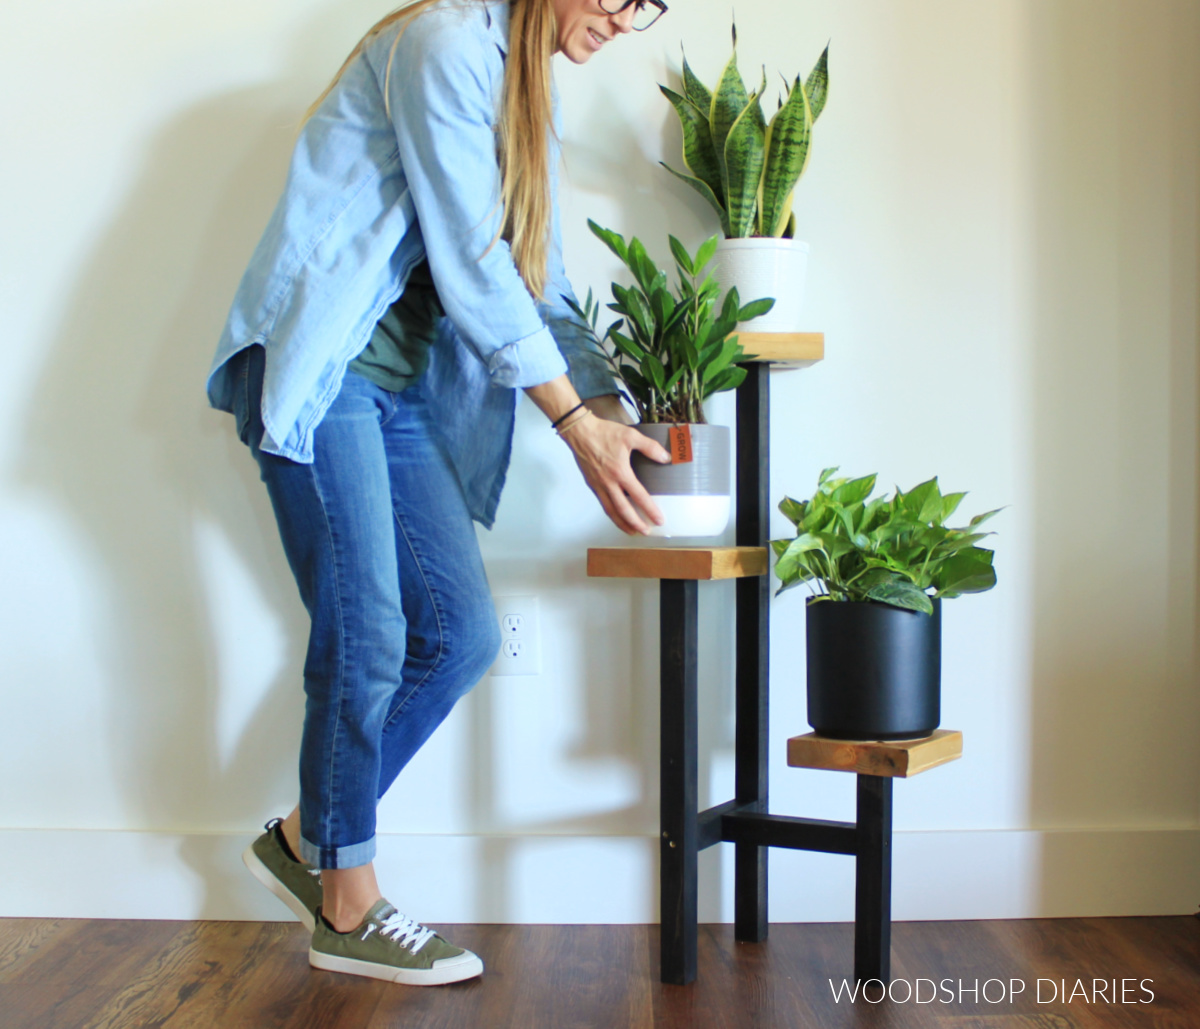
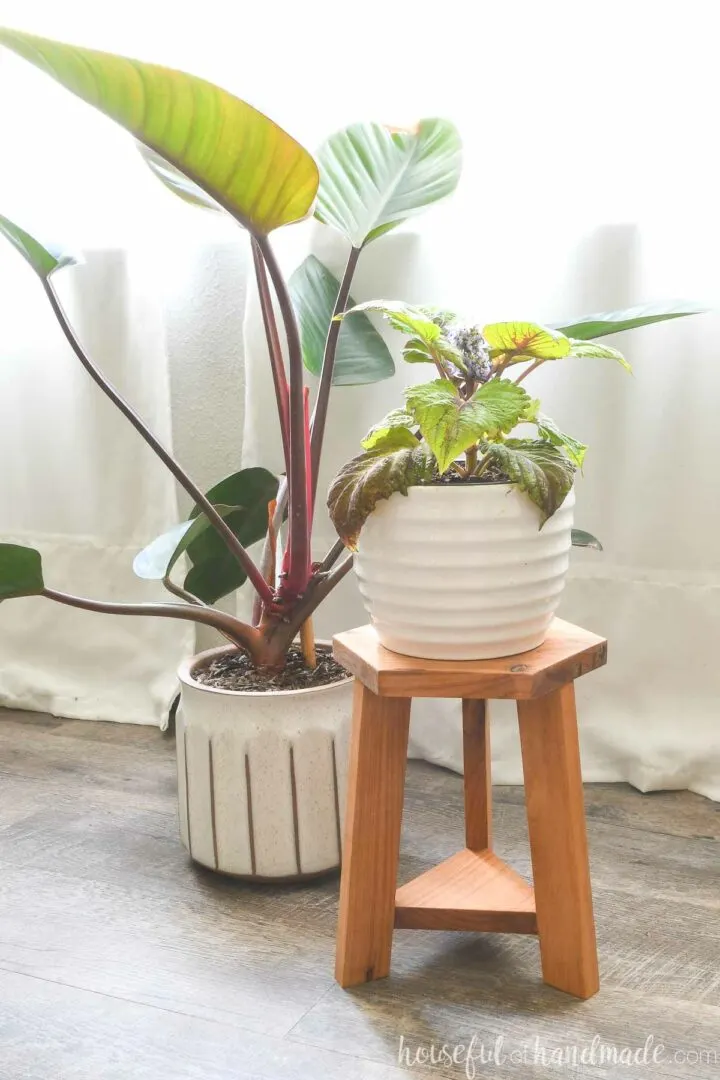
More Fun With Scrap Wood
Can’t get enough scrap wood projects?? I’m teaming up with my friend, Kati, from Houseful of Handmade all month long to share some “Scrap Wood Summer” Projects!
.
Check out all the projects in the series so far below. Click on an image to learn how to make each one!

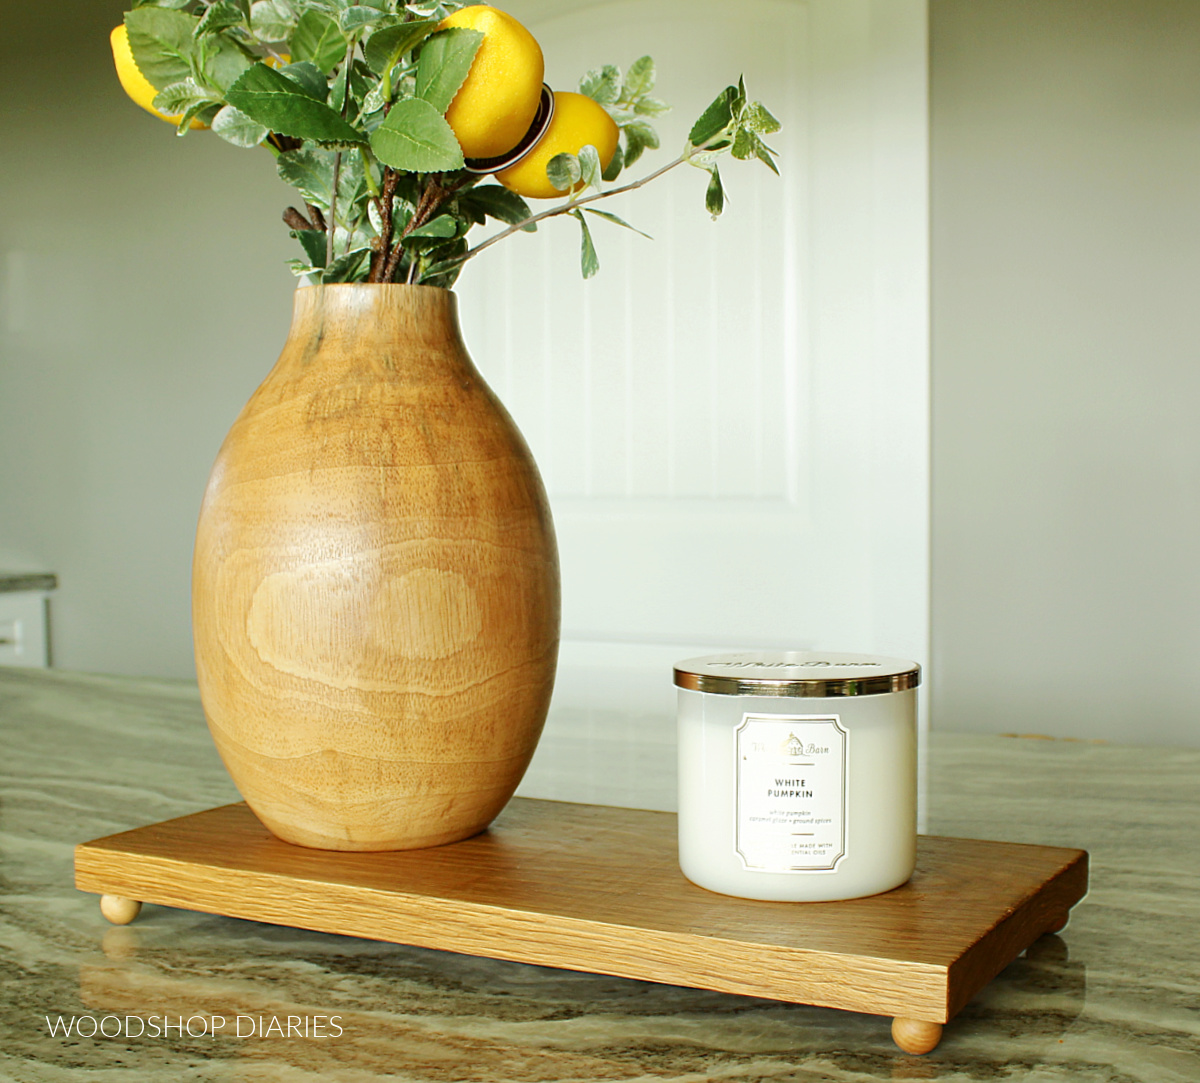

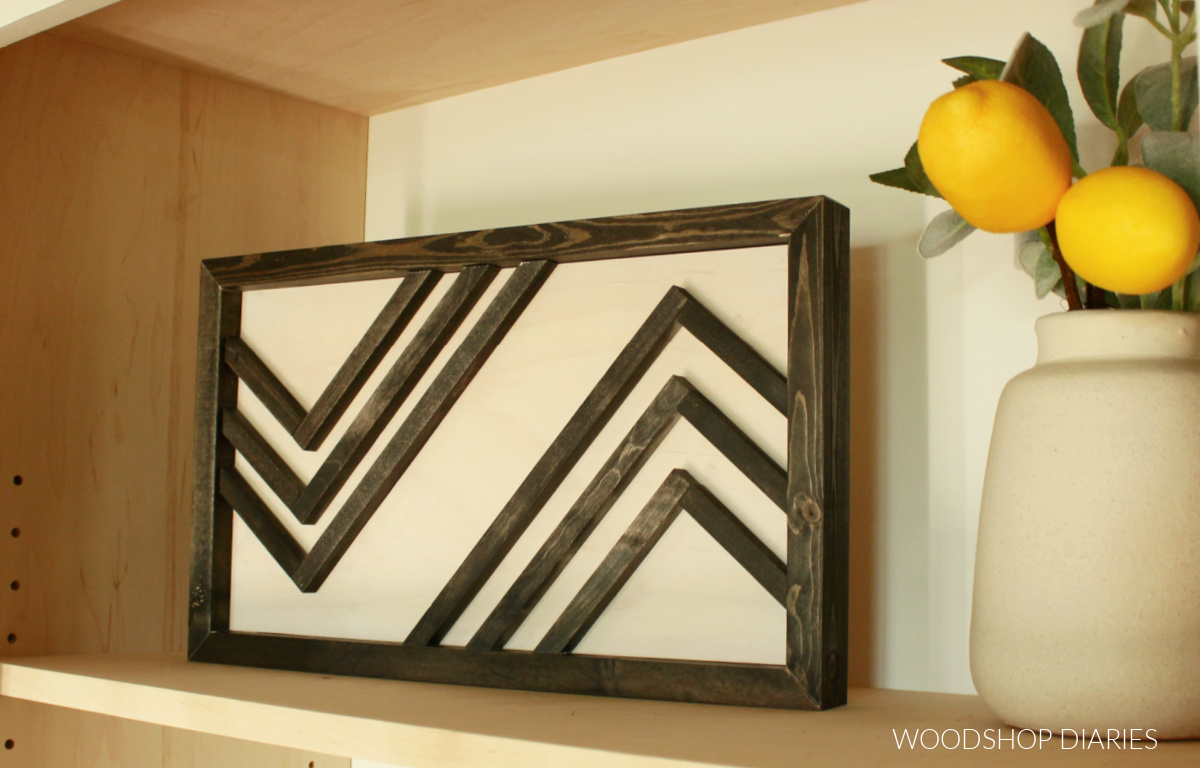
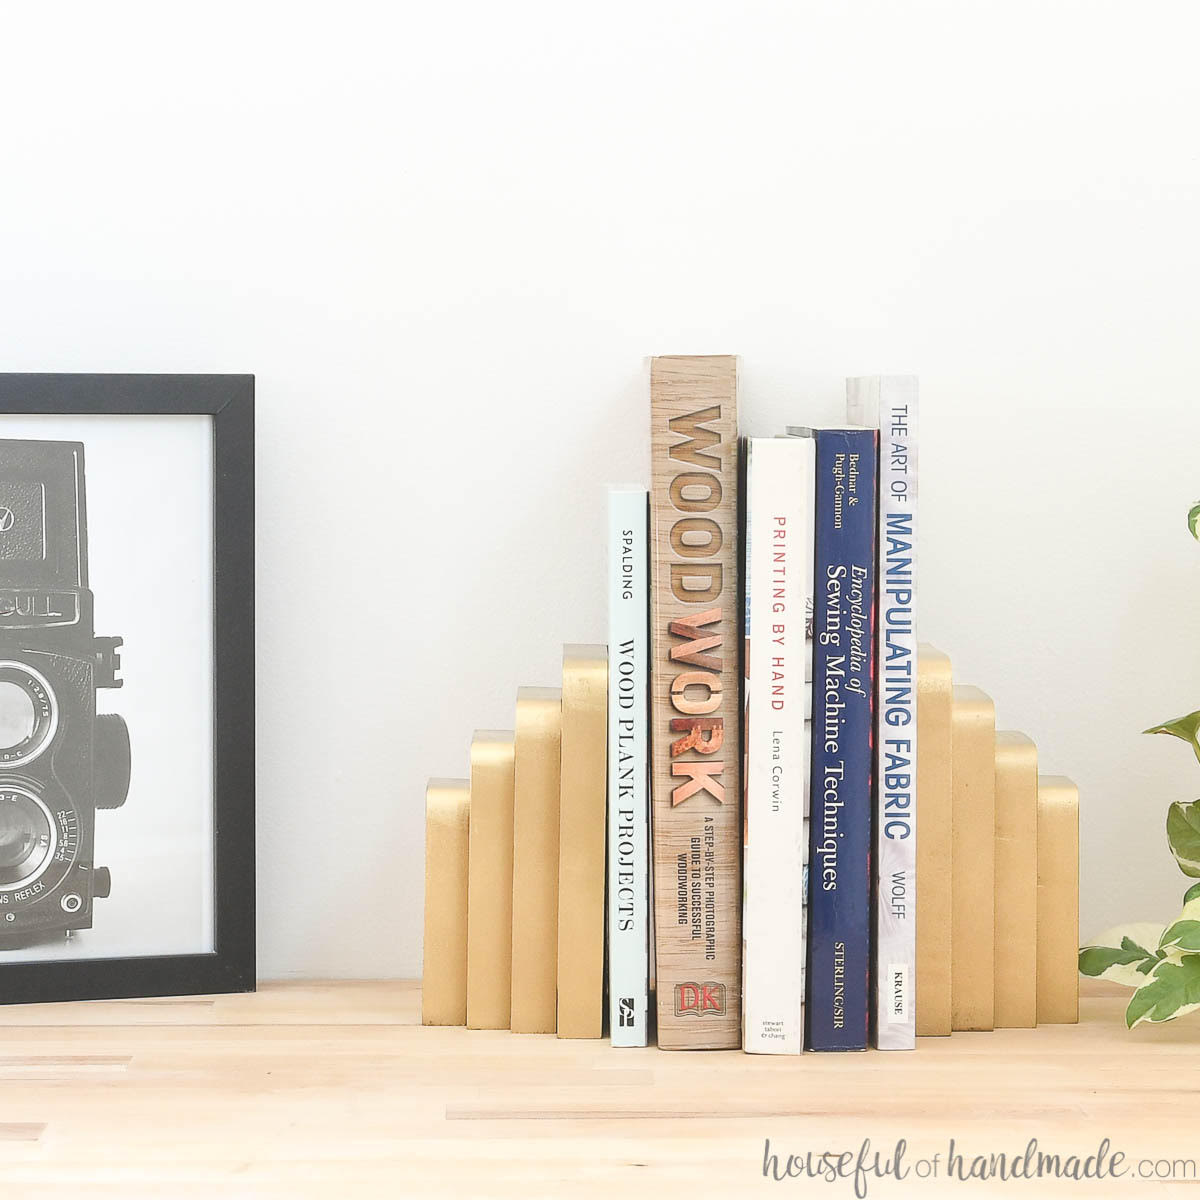
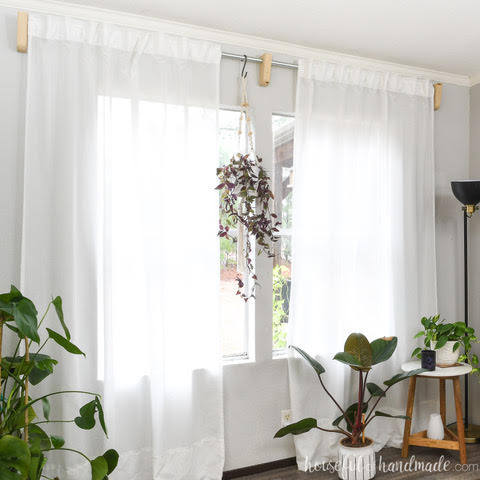
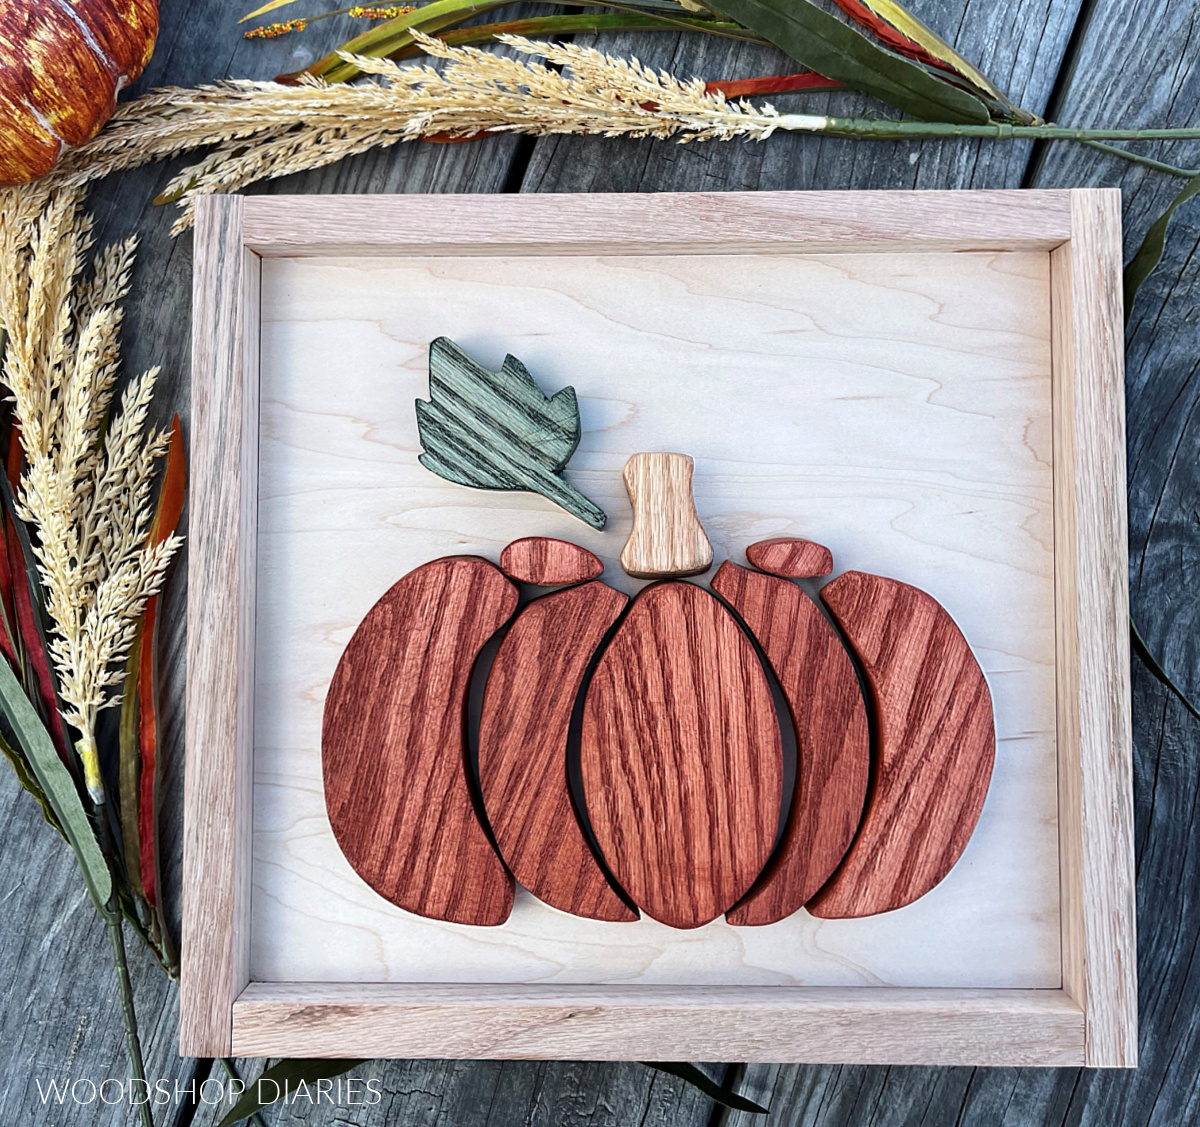
We will be posting new Scrap Wood Summer projects every Tuesday through this entire month.
.
Subscribe to the newsletter to be the first to know when the new scrap wood projects come out!
If you’d like to save this project for later, don’t forget to pin it or share it to your favorite social channel!
Until next time, friends, happy building!