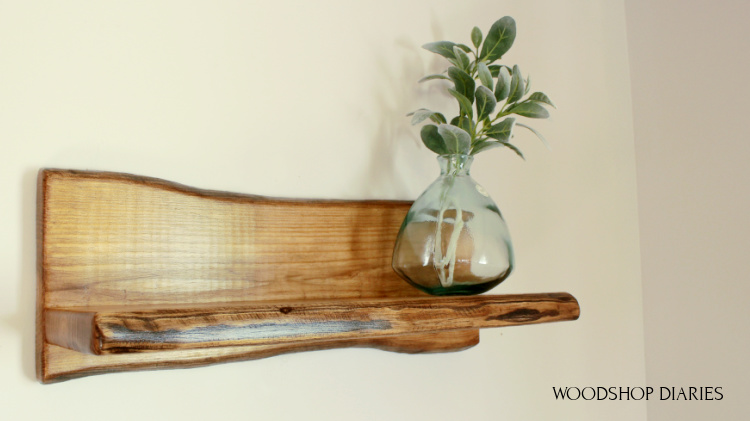
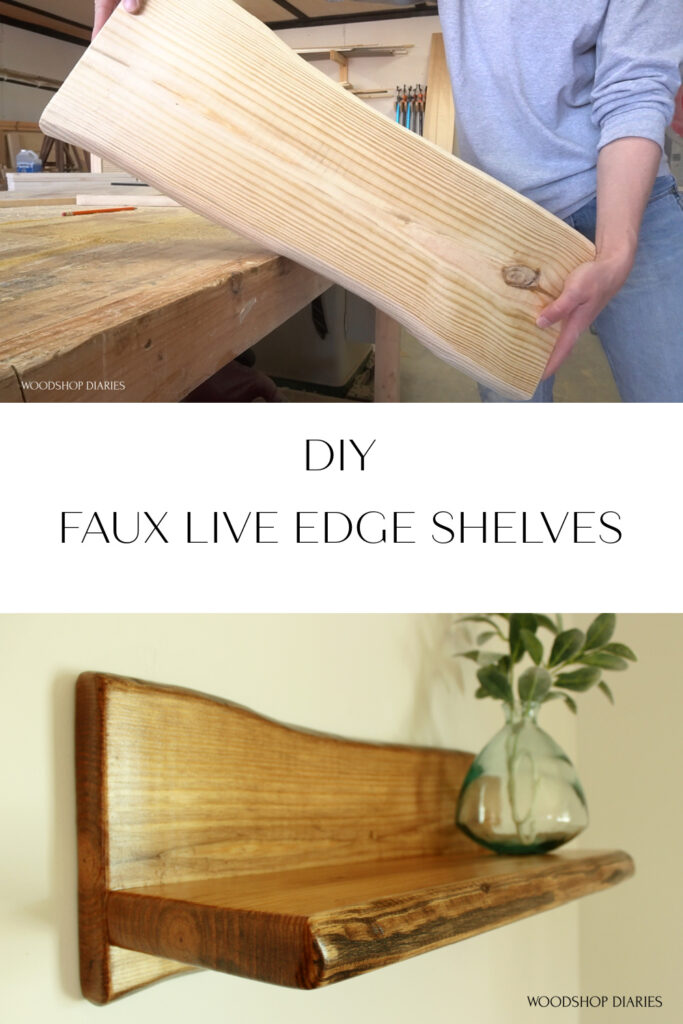
Check out how to make your own DIY faux live edge wall shelves in this post!
Live edge projects are all over the place these days but, in my tiny town, lumber selection is limited and no one within a two hour drive has much to pick from as far as live edge slabs go.
.
So after thinking about it for almost a year, I finally decided to give making my own FAKE live edge a try from some basic construction lumber.
.
I’m honestly surprised how well these turned out. You may still be able to tell they’re pine boards if you look close enough, but for about $11 in lumber, I’d say it’s a reasonable knock off.
.
So if you’re ready to see how I made these faux live edge shelves, let’s get building.
.
I’ve got a video here and the step by step instructions below 🙂
This post contains affiliate links. See policies.
.
I wanted to try something small for my first attempt at faking live edges, so I made two small shelves from a single 2×10. These were really great for getting started and I definitely want to try this again on a larger scale project in the future–so stay tuned 🙂
To Make DIY Faux Live Edge Shelves, You Will Need:
- (1) 2x10x8 board (will make two 24″ long shelves per board)
- Jig Saw
- Angle Grinder
- 40 grit flap disc
- Drill (driver optional)
- 3″ wood screws
- Wood glue
- Stain (see step 5)
- Wire brush (optional)
- 80 grit sandpaper (optional)
Step 1: Cut 2×10 Board into Pieces
I began by cutting the 2×10 board into four pieces roughly 24” long—they didn’t have to be exact. I used two pieces for each shelf. You can use a jig saw, circ saw, or miter saw to cut these.
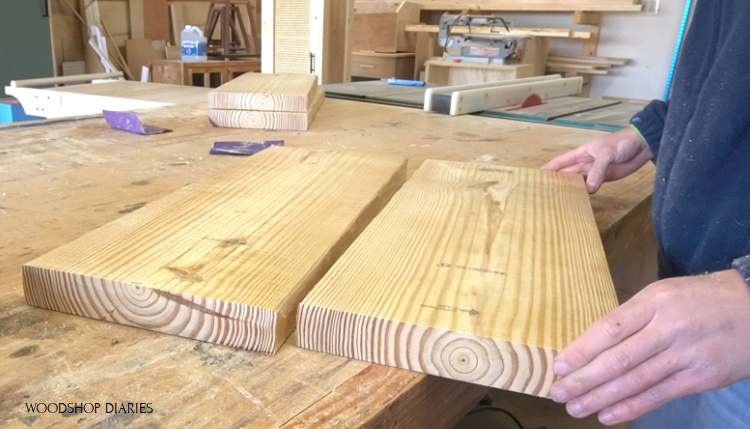
Then, I separated the boards into pairs–two pieces for each shelf.
Step 2: Trace and Cut Faux Live Edge on Back Piece
I began with the piece I wanted to use for the back and used a pencil to kind of freehand a faux live edge shape on the top and bottom edges.
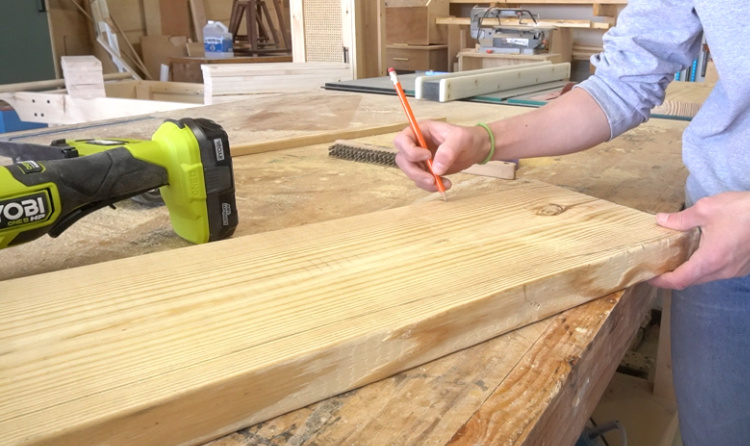
Ideally, you’d want to find a board with some crooked grain that you can trace along. The more you can trace along the grain, the more realistic it will look.
.
Wildly crooked grain isn’t super common among basic construction grade pine, so I just kind of tried to keep the shape as realistic looking as possible—nothing crazy haha.
.
Then, I used a jig saw to cut along these lines. You can bevel the blade on the jig saw if you’d like—I tried it with and without a bevel and found it a little easier to cut if I didn’t bevel it.
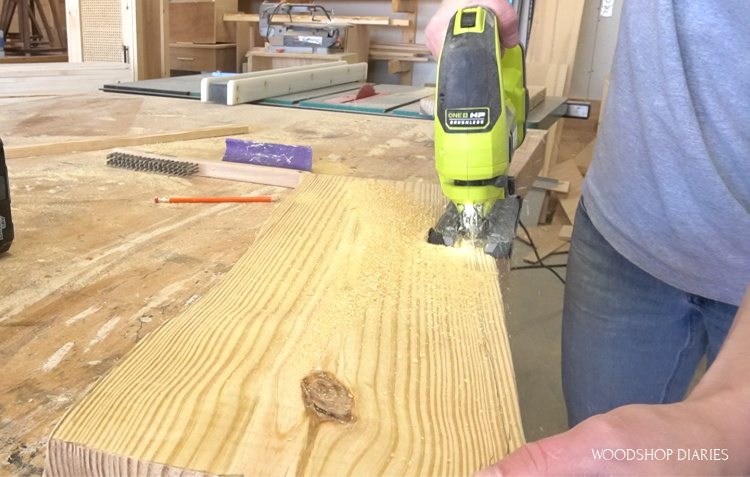
One of the best parts of this project is that it leaves room for creativity–there’s no right or wrong in this process and you can simply “free style” it however you want.
Step 3: Shape Back Panel Live Edges
Once both fake live edges were cut on the back panel piece, I clamped it to the workbench and attached a 40 grit flap disc into my Ryobi HP cordless angle grinder.
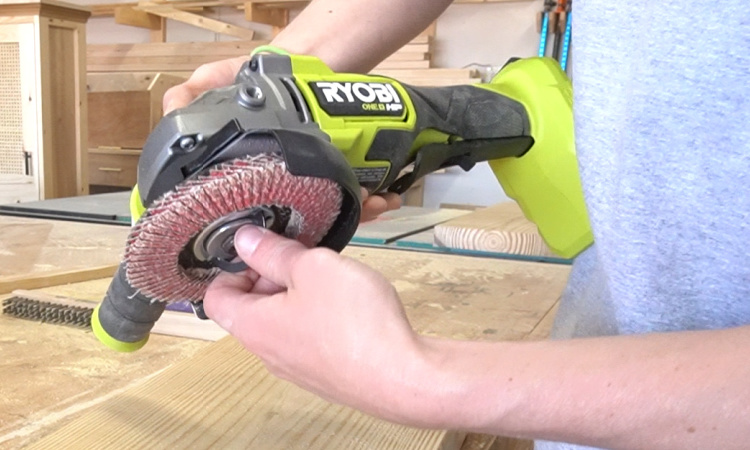
Now, there are specific angle grinder discs made for wood carving. And they’re pretty pricey. I didn’t want to invest in expensive discs just to try one project and find out I didn’t enjoy wood carving with an angle grinder and never use them again.
.
So I tried the 40 grit flap disc to kind of test things out. It worked really well for this small project, but for the future, I think I’ll be investing in some specific carving discs because I thoroughly enjoyed this process.
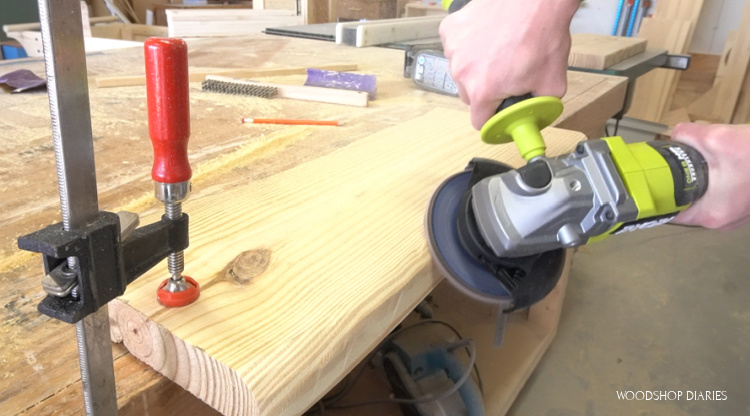
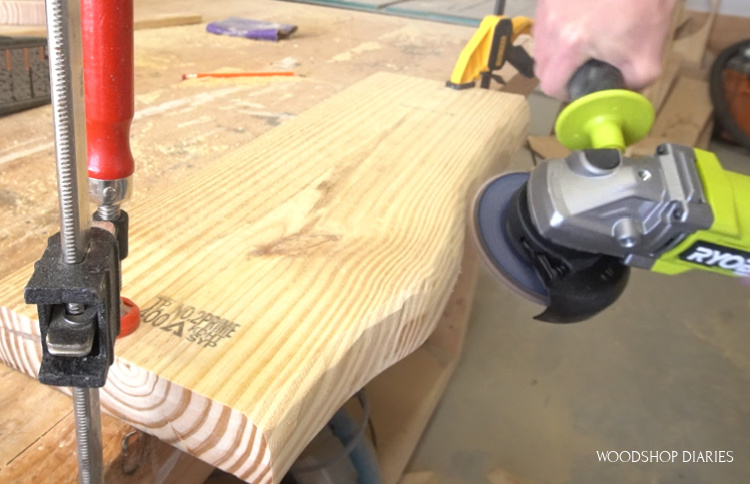
This is where you can just turn on your music and free style. I sanded all over these edges to give it a rough, uneven texture to simulate what a real live edge would look like. I carved some places out more than others and tried to just get creative here.
.
I did both sides of the board and also did a little on the board ends. Basically, I just used the grinder to sand all the edges into the shape I wanted.

Step 4: Cut and Shape Live Edge on Shelf Board
Once I was happy with the general shape of this back board, I worked on the shelf board.
.
I’ll be gluing and screwing this board onto the back board, so to give it a smooth, square surface to attach to, I squared off one board edge on the table saw. This is totally optional and if you don’t have a table saw, you can get away with skipping this step.
.
Then, I repeated the steps with the jig saw and angle grinder on the front edge of this piece. You can make this shelf piece as deep as you want, but I ended up cutting off enough to make the shelf about 7” deep.
Step 5: Sand and Finish Shelf Pieces
Once both pieces were cut and shaped, I gave them a good sanding just to smooth out the edges a little. The angle grinder left some scratches on the edges and I was careful not to sand all of these off as they add to the character of the piece.

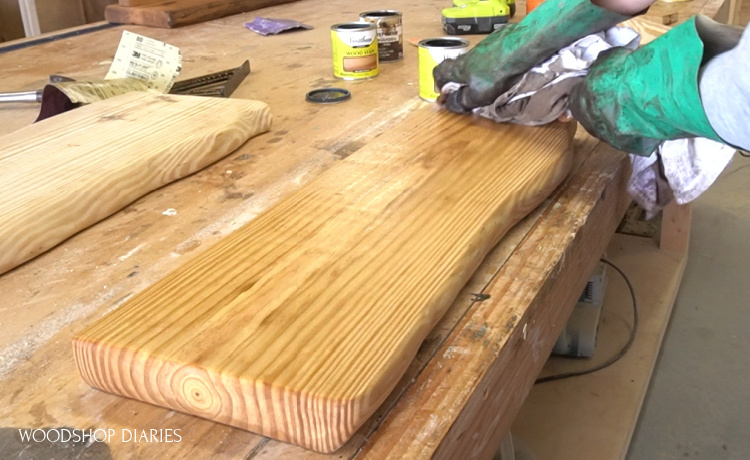
Then it was time to apply stain. I think the finish process made a big difference on how well these turned out, but it was a lot of trial and error to figure out what looked best.
.
I kind of put together a “recipe” that seemed to work well, but feel free to experiment as you wish because there is no science to this haha.
.
I applied a golden pecan stain all over the entire back and shelf board, followed by special walnut stain all over both boards as well.
Then, I applied dark Kona stain to just the rough “faux live edges” to help highlight them.
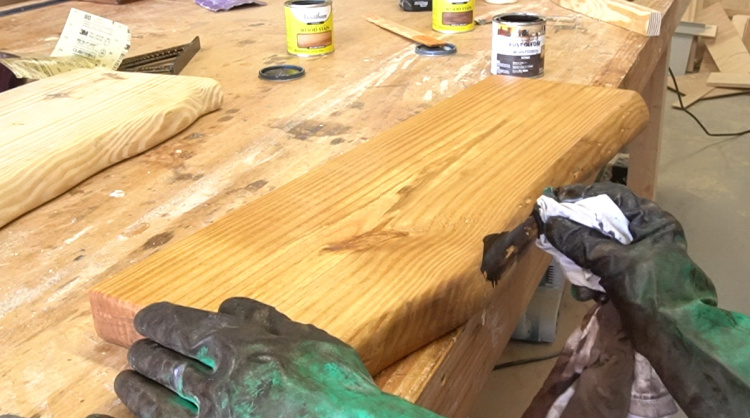
After the boards were stained, I used a wire brush to scrape some indentions on the live edges, then applied a little more of the Kona stain into these indentions.
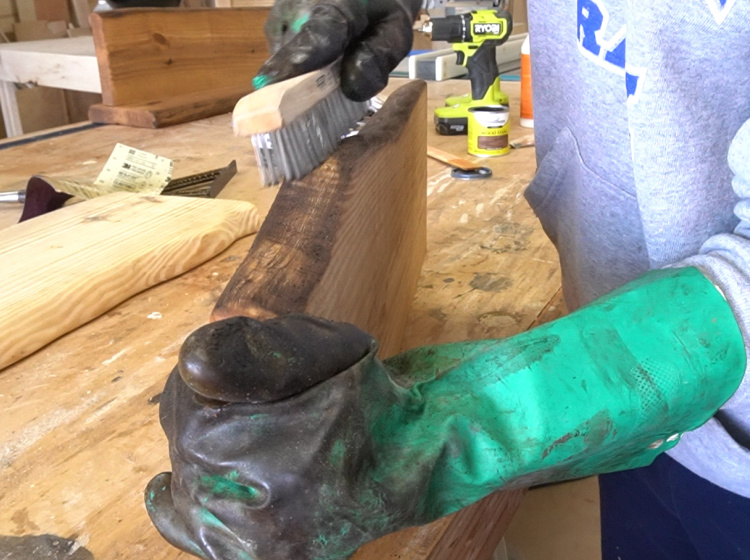
This almost gave the appearance of bark. You could beat up these edges a little more with a hammer or some chisels if you wanted, too.
.
Then, just to soften and blend in the color variation, I hand sanded around the edges with 80 grit paper and applied some special walnut where the finish was sanded off.

This just helped blend in the colors a little and made it look more natural.
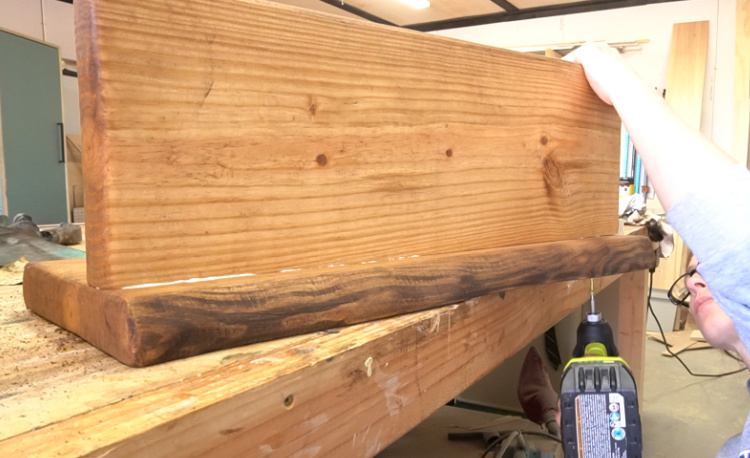
Step 6: Attach Shelf to Back Panel
Once both pieces were stained, I used some wood glue and 3” wood screws to attach the shelf piece onto the back piece. I used three screws per shelf.
.
These were surprisingly sturdy, but if you felt you needed more strength, you could use longer screws, or add some corner brackets, too.

I used a square to keep the shelf square to the back panel while I drove the screws.
.
Now, I made these for my dad and he wanted the shelf piece to be attached toward the bottom of the back piece. I’m not sure why, but that’s what I did haha.
But, you could also flip these upside down and have the shelf be at the top and add some hooks underneath to use in an entryway for dog leashes, coats, hats, etc.
Step 7: Hang Shelves on Wall
Once the glue was dry, I gave the shelves a couple coats of clear poly and used some 3” wood screws to attach them into the studs in the wall.
.
I just hung this one for pictures before I installed them in my Dad’s office, so I only used one screw in the center.
.
But I’d recommend using at least two screws per shelf. You can screw straight through the back panel into either wall anchors or just screw directly into the wall studs.
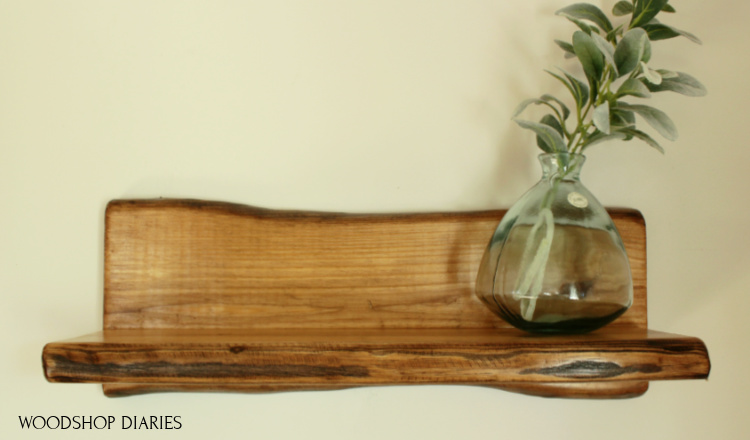
I was seriously impressed with how realistic these came out. I’m definitely going to try this fake live edge technique on a larger scale like a coffee table or side table soon.
But these shelves were the perfect way to kind of test the waters and learn a few things.
.
If you enjoyed this project and can’t wait to see more, I’d love if you’d subscribe so you don’t miss out on what’s coming next.
For more one board projects, check out a few of my favorites here:

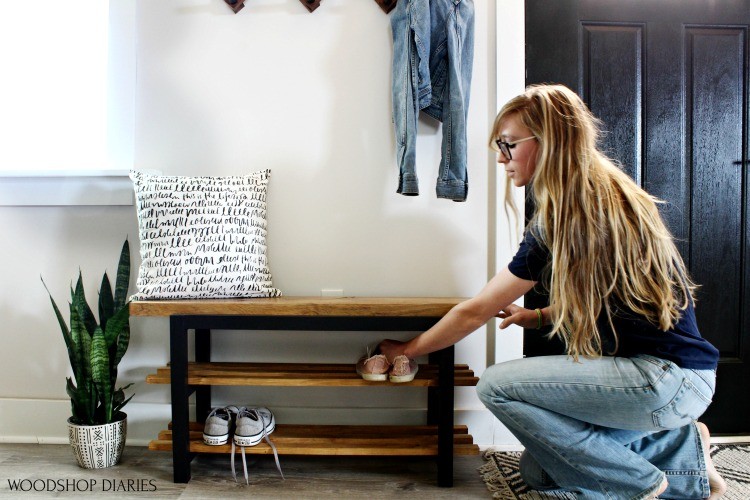
One board Shoe Bench 
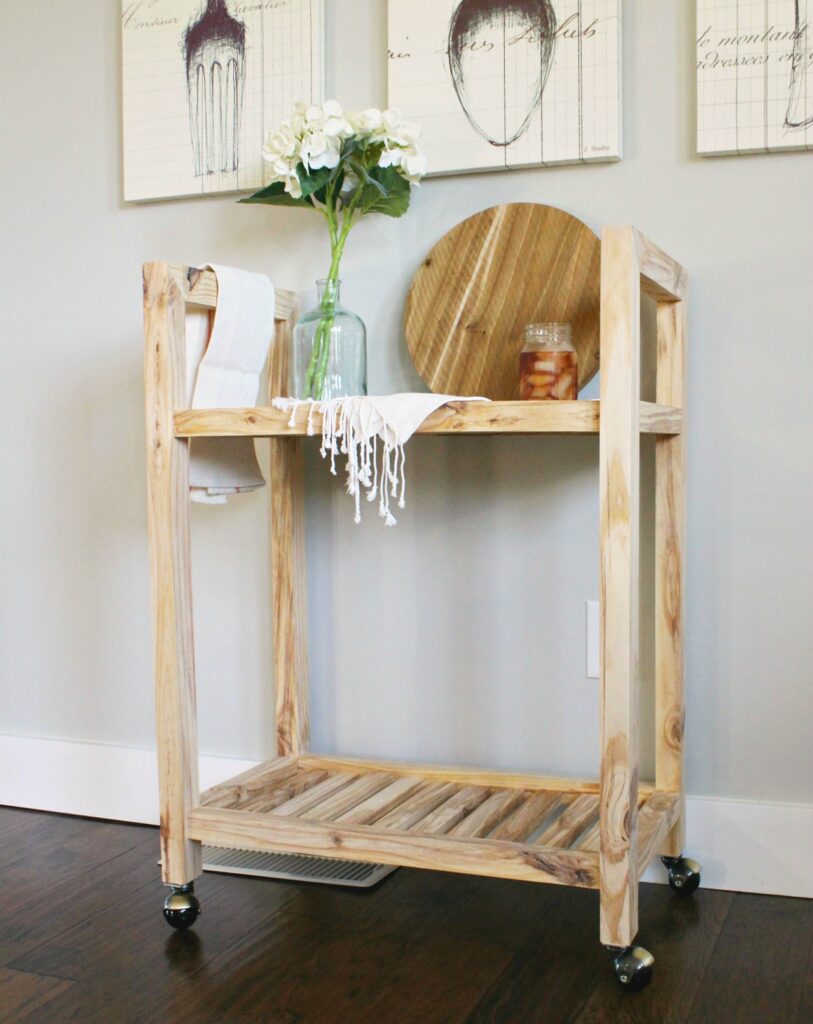
One Board Bar Cart 
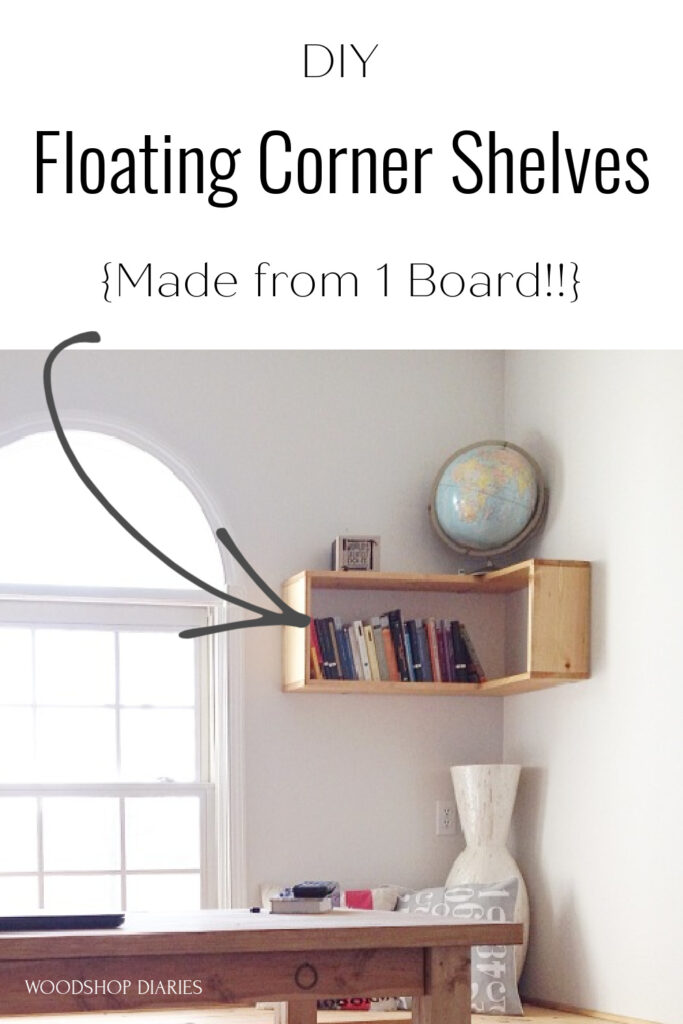
One Board Corner Shelves
And if you’d like to save this DIY faux live edge project for later, don’t forget to pin it!
Until next time, friends, happy building!