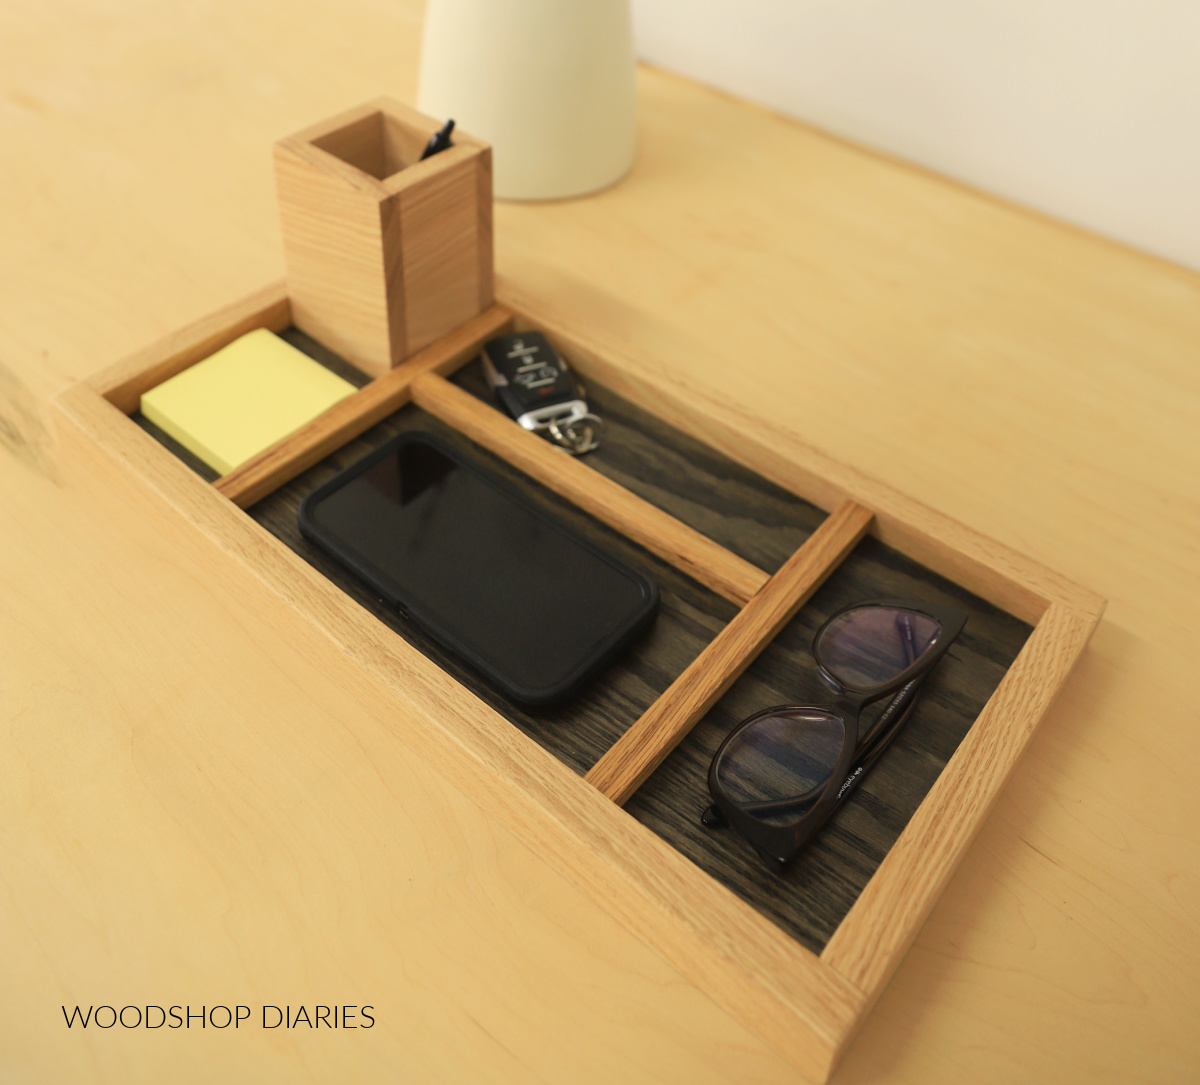
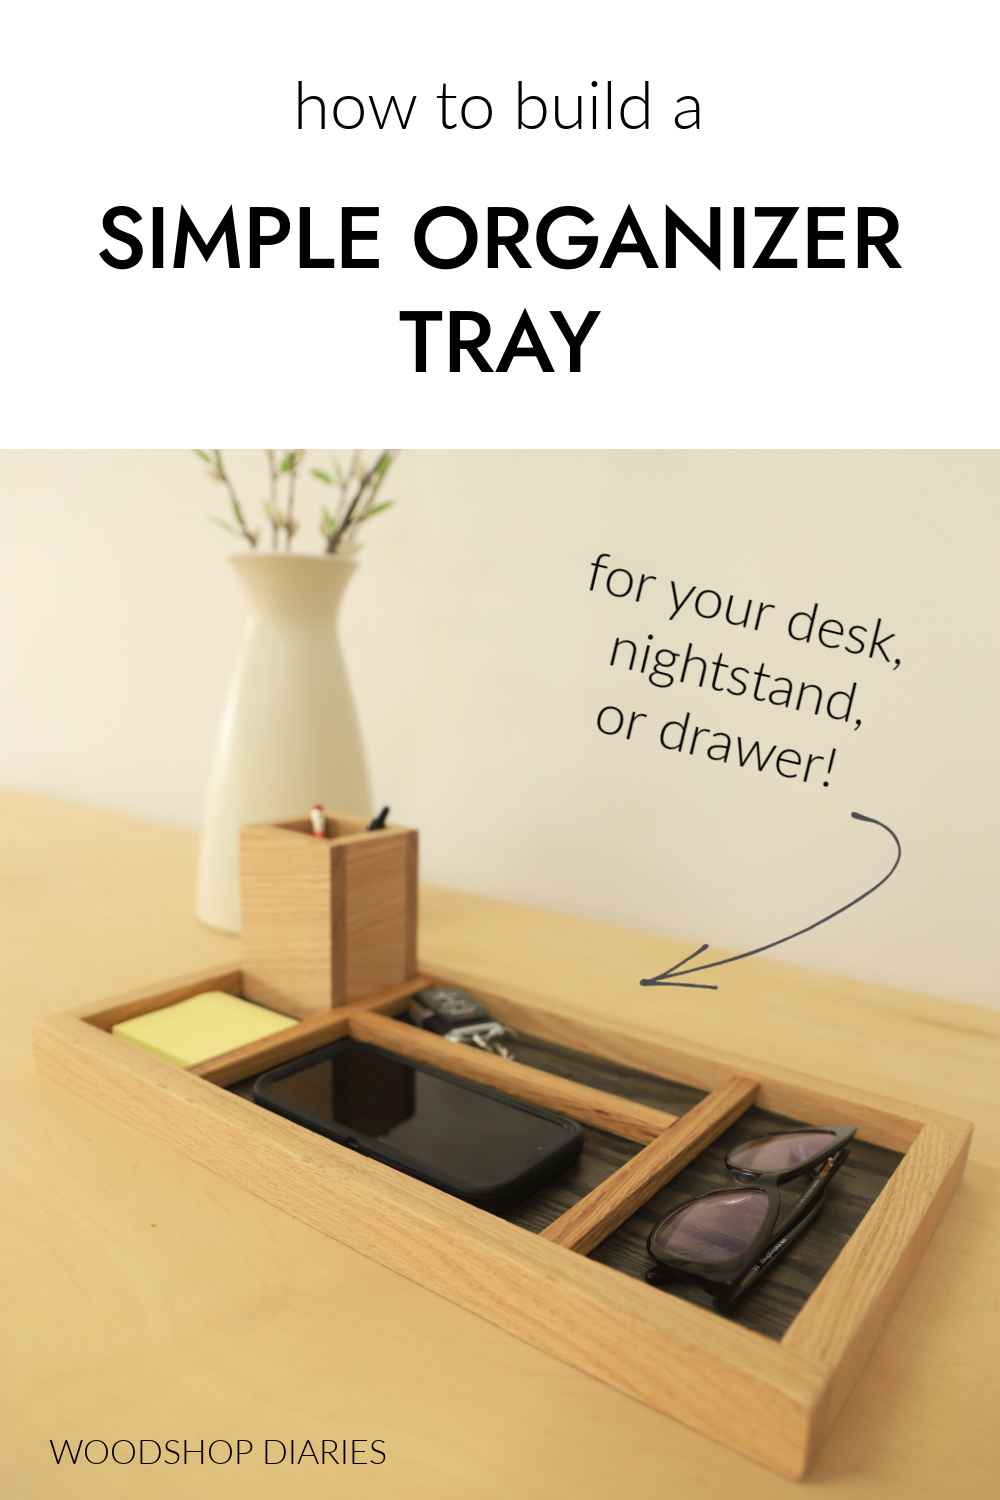
In this post, I’m sharing how to make a simple catch all organizer tray for your desk, nightstand, or entryway.
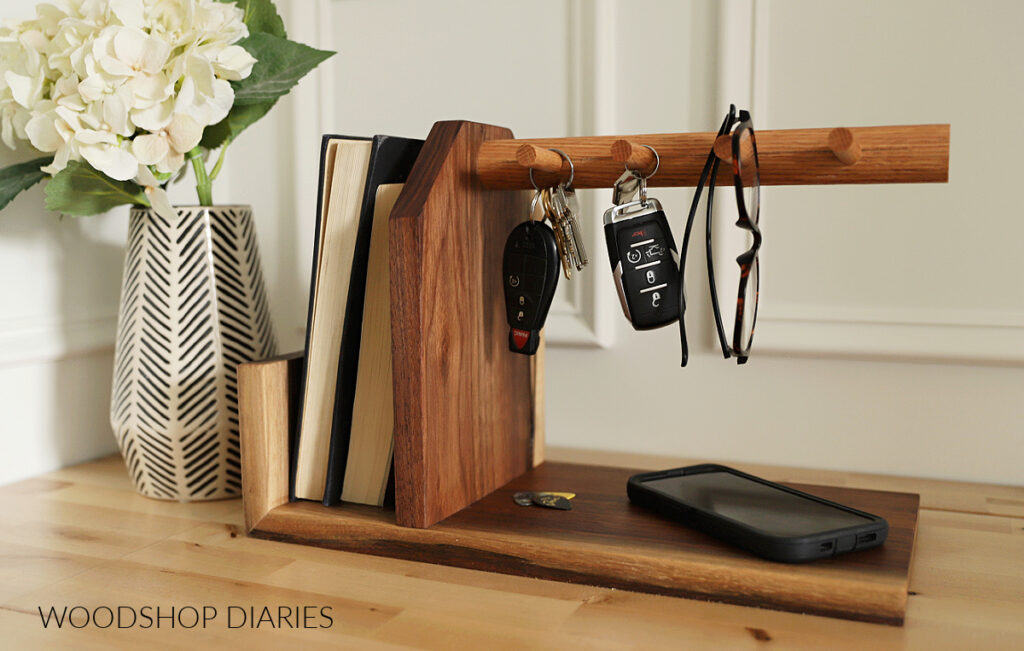
This simple project provides a great place to toss your keys, pens, paper clips, wallet, glasses, etc. without them just piling into a mess.
But it also makes a great handmade gift, too! I’m actually making this one for my Dad for Christmas to help him keep his desk organized (and quit losing his keys–hopefully!).
You can customize the size and go a little bigger to fit in a drawer, or keep it small just for the essentials.
If you’re ready to get building (and organized!), let’s dive in.
*This post contains affiliate links. See website policies.
What to consider before building
Keep in mind that this project is not a one size fits all kind of DIY. Think about how you (or the person you’re making this for) would most likely use it and customize it however makes sense.
What type of wood to use for this project
You can use just about any type of wood you’d like for this project–pine, poplar, oak, maple, etc.
If you want, you could mix and match different species to create some contrast between the sides and the bottom or between the bottom and the dividers.
Here, I used red oak plywood for the bottom and solid red oak lumber for the sides and dividers. But to give it some contrast, I stained the bottom. See step 1.

Either ½″ or ¾″ plywood would work fine for the bottom of the tray. And either 1×2 or 1×3 would work fine for the sides of the tray (1×3 would make a taller lip around the edges).
For the dividers, you can use some ¼″ or ½″ square dowels, or just cut your own thin strips of wood whatever size you’d like.
Organizer Tray Size
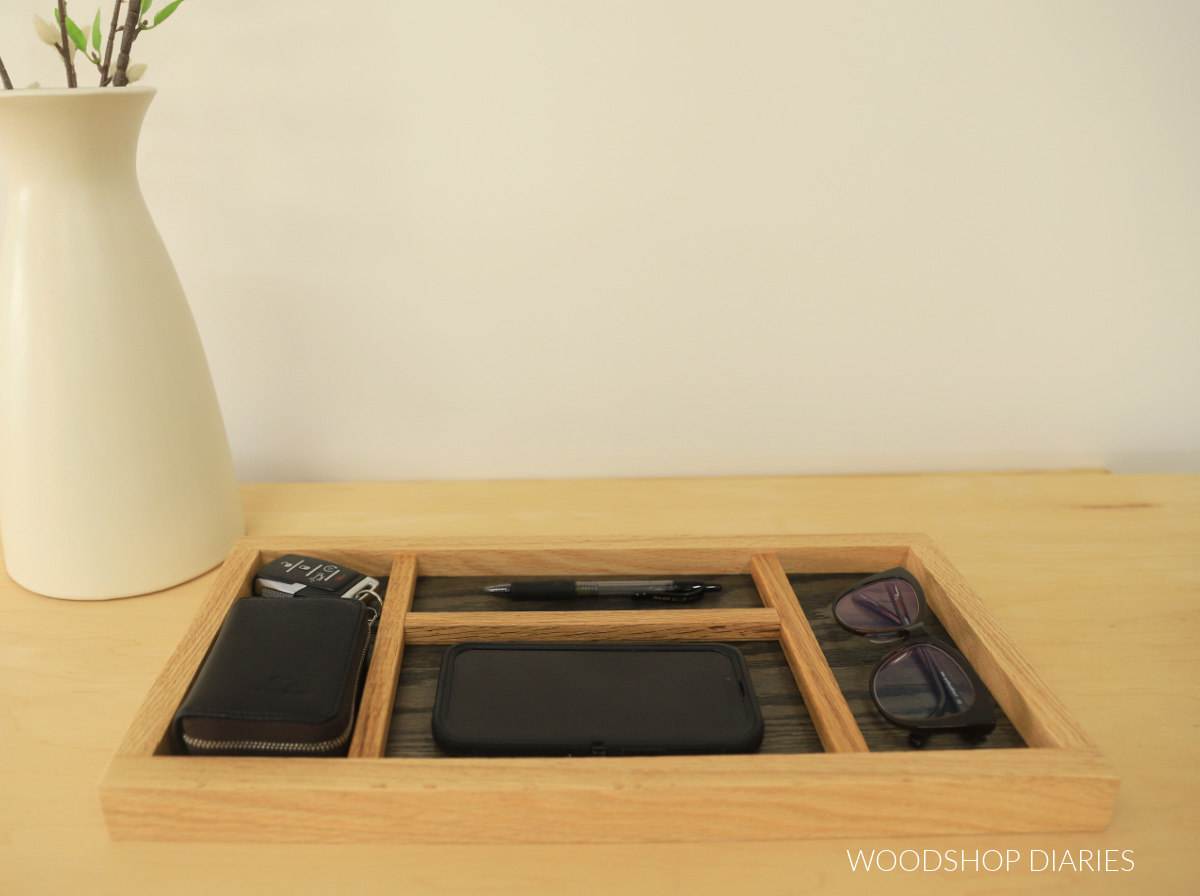
This particular tray ended up being 1 ½″ tall (not including the pencil holder) x 9″ deep x 17 ½″ wide.
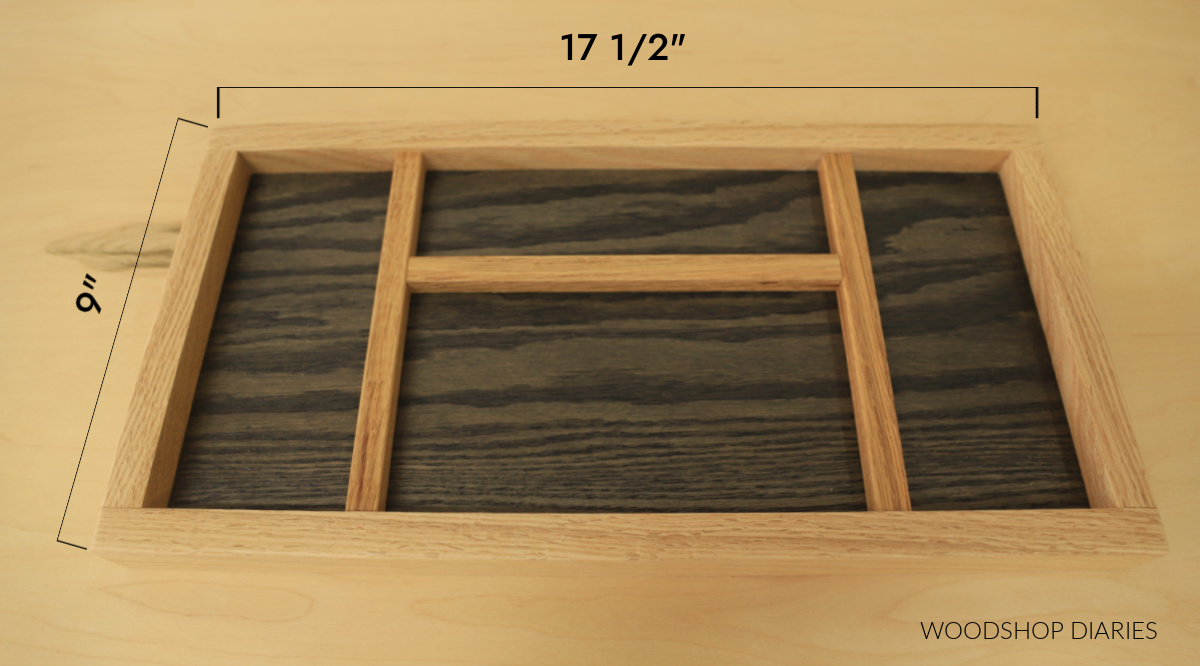
But, you can adjust your size however you’d like by simply cutting your tray bottom in step 1 a different size.
Enjoy DIY projects and woodworking plans? Sign up for priority access for the latest posts on Woodshop Diaries!
How to make a DIY organizer tray
If you prefer to watch, here’s a quick video showing how to make this simple DIY tray organizer:
Love watching how-to videos? Subscribe to my YouTube channel for plenty more where that came from!
Tools & Materials
Tools:
- Miter saw (or any saw that can cut straight lines)
- Table or Circular saw (optional for cutting plywood if needed)
- Clamps
Materials:
- ½″ OR ¾″ plywood scrap (for tray bottom)
- 1×2 board (enough to frame all sides of tray bottom)
- ½″ square dowel (for dividers)
- ½″ thick wood (solid or ply–optional to make pencil holder)
- Wood Glue
- Wood Finish of your choice
Step 1: Cut Tray Bottom
To get started, I dug around my scrap pile to see what plywood pieces I had. I found a piece of ½″ red oak plywood that was 7 ½″ wide x 16″ long.
This was just about the perfect size I had in mind for my tray, so I didn’t bother trimming it down any.
However, if you don’t have a scrap piece the size you want, trim down a piece of either ½″ or ¾″ plywood to make the organizer tray bottom.
I wanted the bottom of my tray to be dark, so I stained this piece with Minwax Water Based Stain in Black.
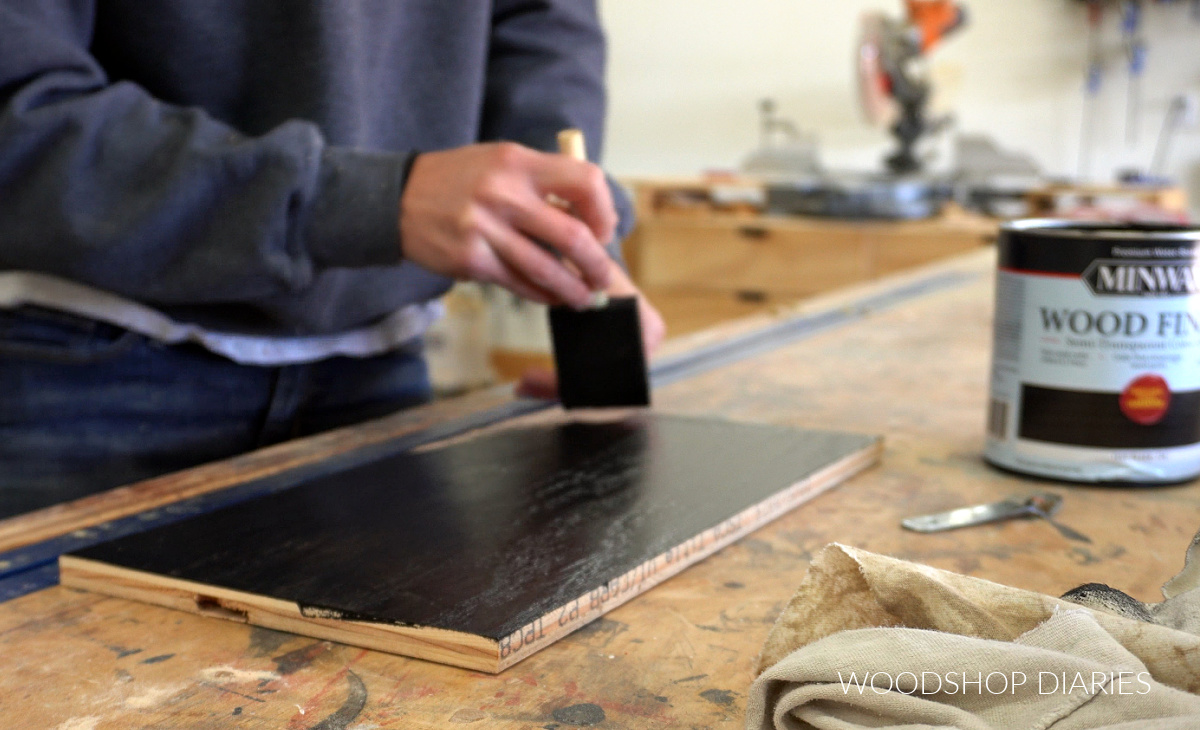
Of course, you can stain/paint/leave your plywood bottom however you’d like.
Step 2: Attach Tray Sides
I cut some red oak 1x2s to fit around the sides of this plywood piece to form a tray. (I cut these before I decided to stain it in step 1, so just ignore that.)
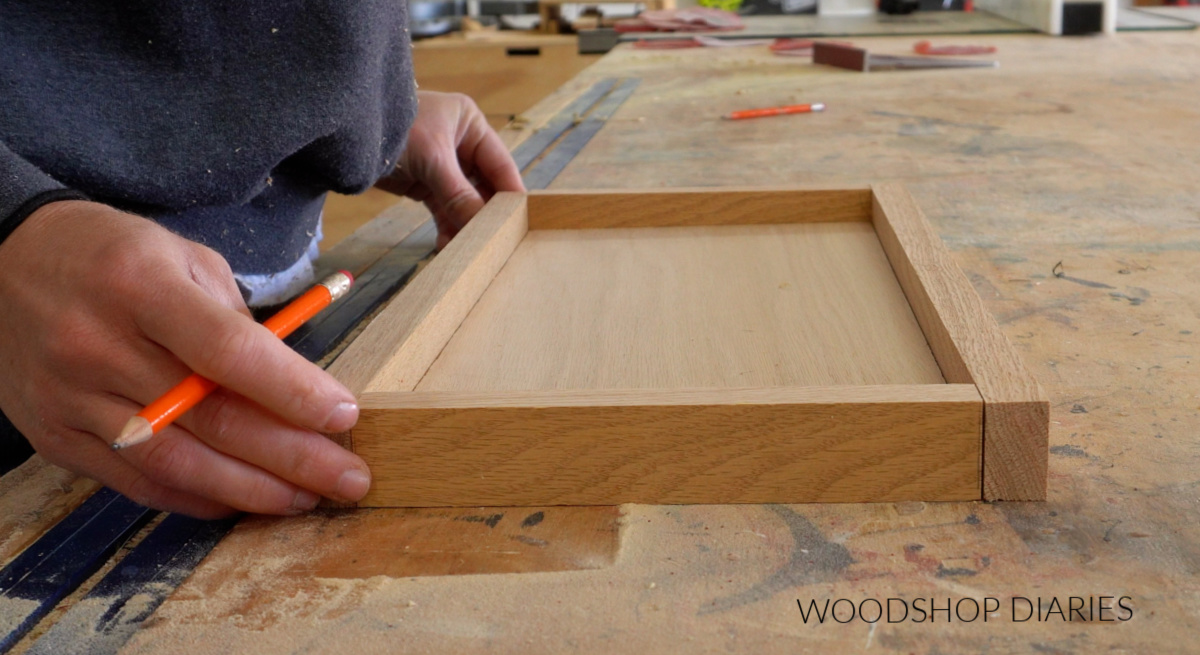
You could miter the ends where they meet at the corners, but I just butted them together.
Once I made sure the pieces fit around the plywood, I glued them onto the sides.
I glued the short sides first, and clamped them tight. Then I glued on the long sides and clamped those as well.
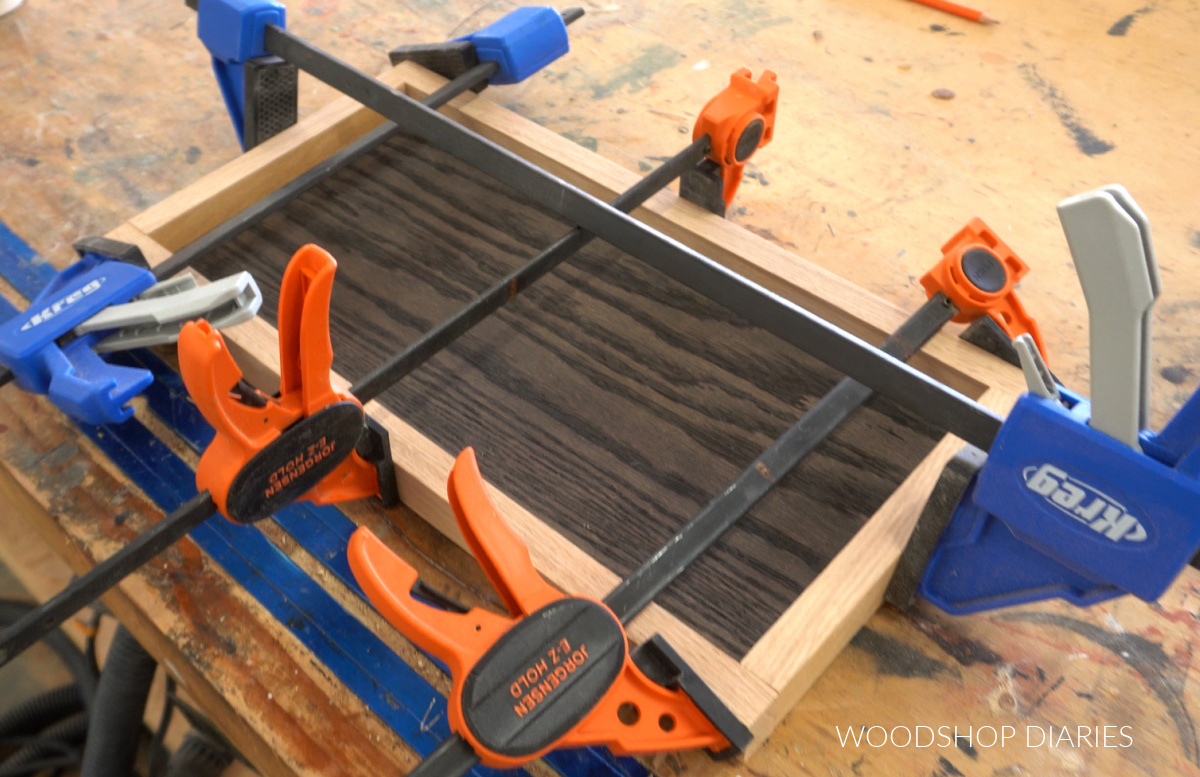
If you didn’t want to wait for the glue to dry, you could add a few brad nails to hold them in place instead of using clamps.
Step 3: Add Optional Pen Holder
If you’re using this DIY tray organizer as a catch all on the nightstand or in a drawer, you may not want to add this optional piece.
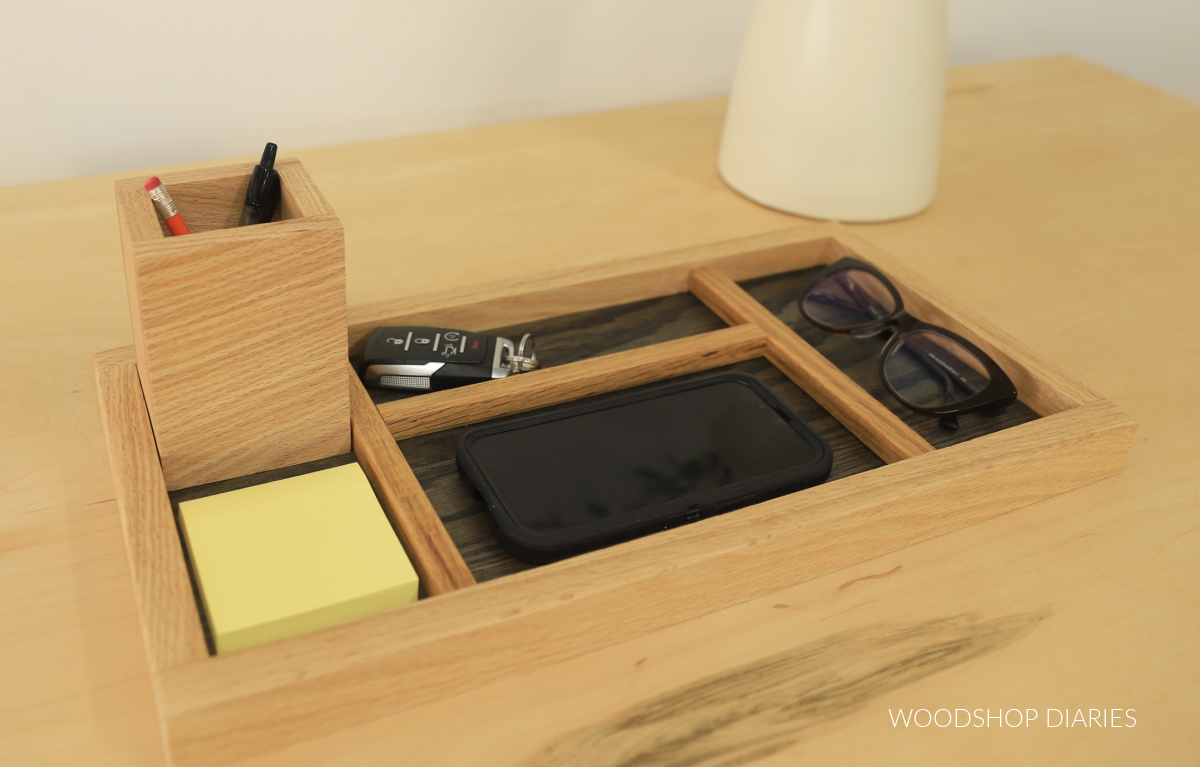
But if you’re using it for a desk organizer, it might come in handy. I added a little wooden “cup” to this tray for my Dad to put his pens/pencils into.
You can make this from ½″ plywood, but I had some ½″ red oak leftover from when I made these wooden sunflowers, so I trimmed this down into four pieces to make a “box.”
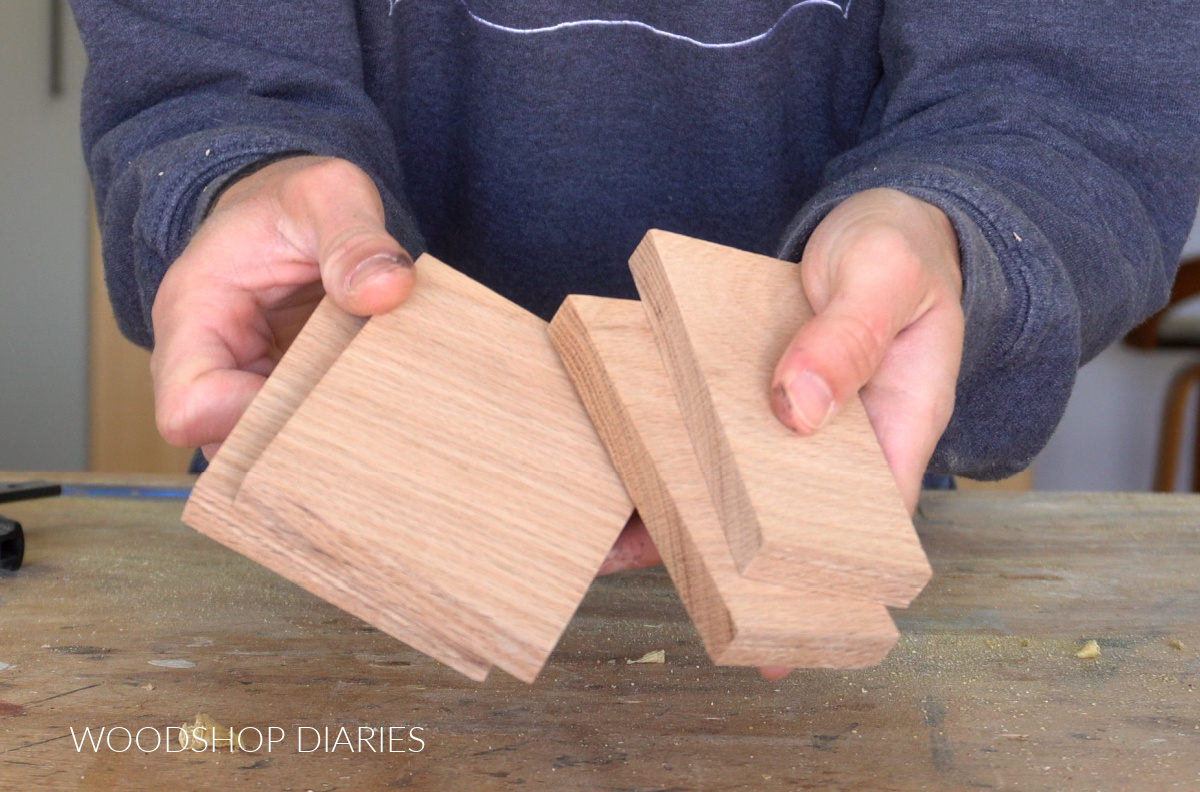
NOTE: You could use thicker material instead, but it’ll be pretty chunky.
I cut two sides 2″ and two sides 3″ and glued them together.
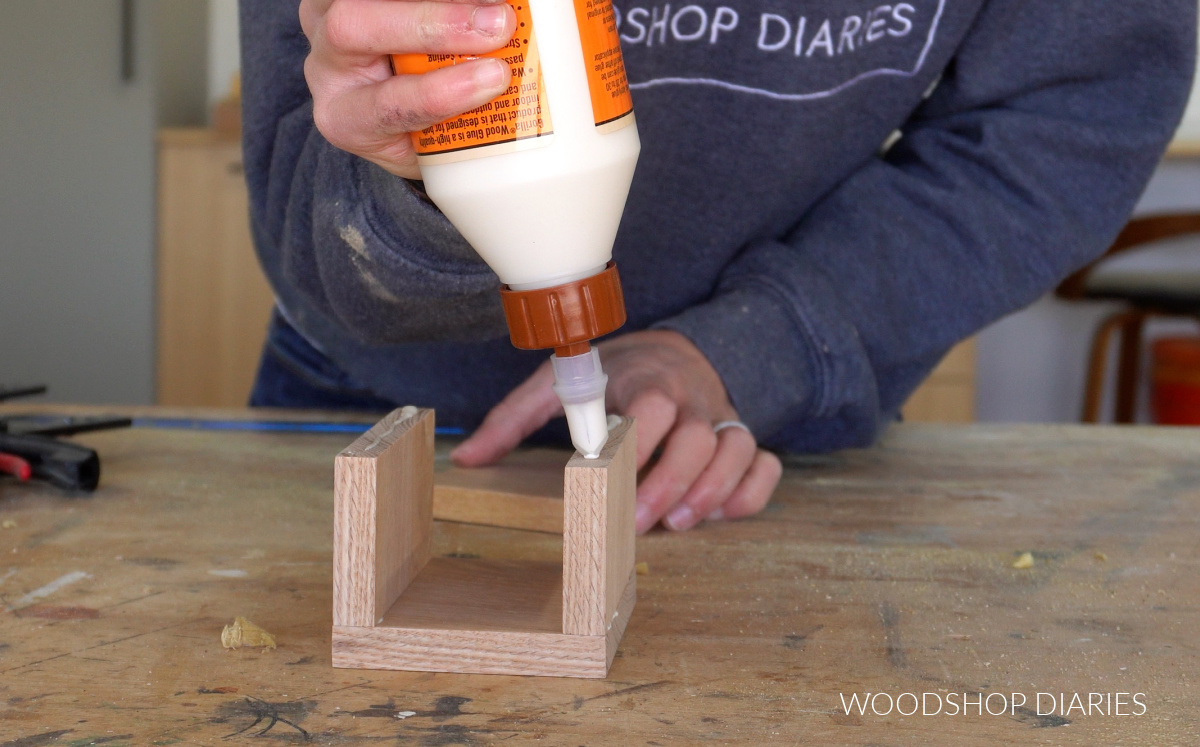
These pieces were about 4 ½″ wide, so my box was 4 ½″ tall–which seemed to be about the perfect size for basic pens.
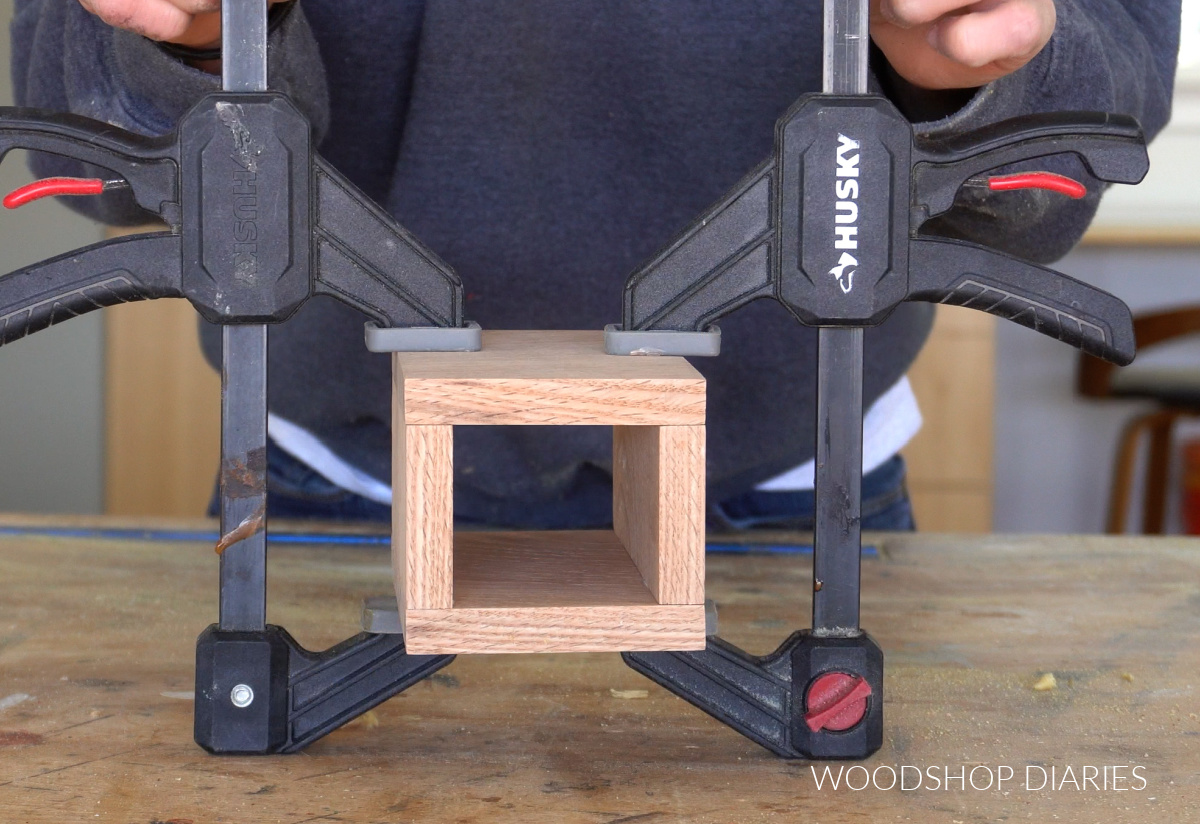
Once the glue was dry, I sanded the edges and set it aside for now.
Step 4: Install Dividers
Now it’s time to divide out this tray into sections to make it easy to keep organized.
For my tray, I used ½″ square dowels for the dividers, but you could also use ¼″ square dowels or cut your own thin wood strips. Anything that can separate the sections will work fine.
Here is where you really want to consider what you plan to use this for.
I cut a few pieces of square dowel and just kind of played around with the layout to figure out how I wanted to space them.
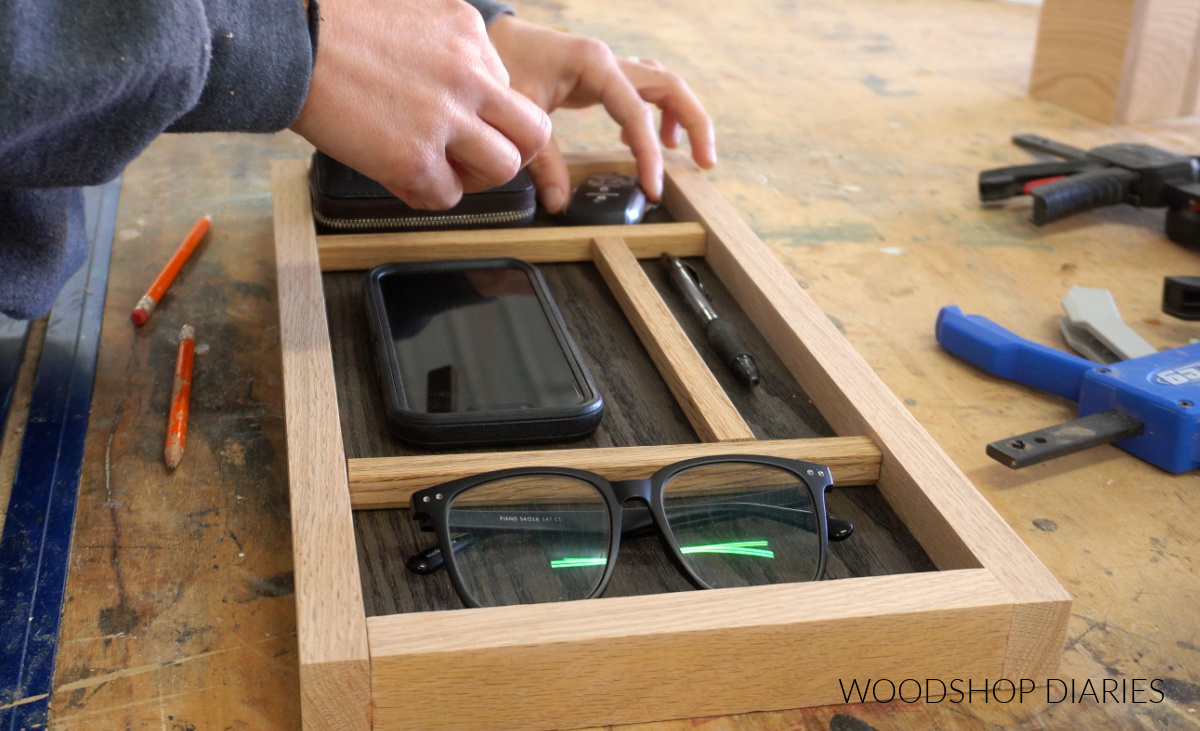
I placed my glasses, keys, phone, etc in the tray to see what would fit where.
If you made a pen/pencil holder in step 3, make sure you fit that where you want it within your dividers.
Once I was happy with my spacing, I glued each piece into the tray.
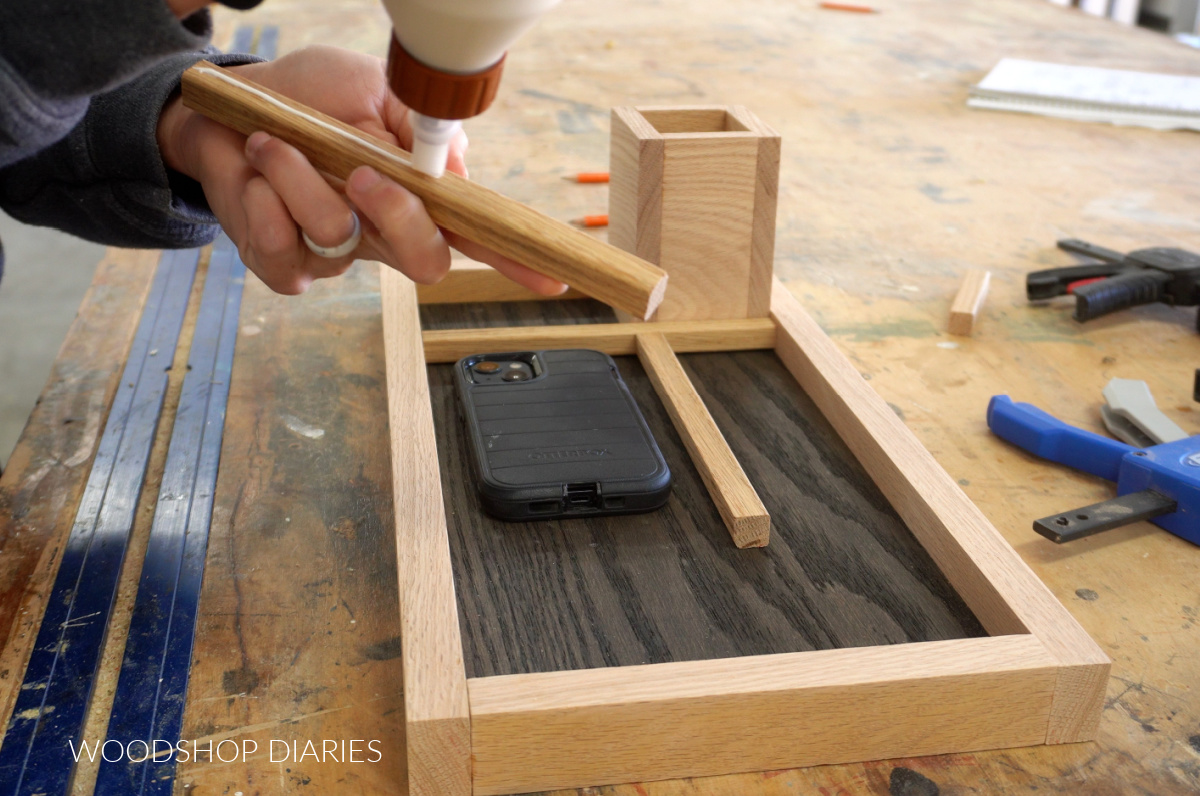
TIP: If you want to glue your pen/pencil holder onto the tray, you absolutely can. Just keep in mind it won’t be removable if you ever change your mind and want to move/replace it.
Step 5: Finish
To seal the tray, I applied a few coats of Minwax Polycrylic and once that was dry, this simple organizer is ready for work.
I know this is such a basic project, but it’s so handy to have. It’s one of those projects that you think “why didn’t I make this sooner?!” (Or is that just me? HA!)
I can’t wait to give this to my Dad for Christmas as a practical, and thoughtful gift that I know he can put to good use.
Looking for more handmade gift ideas?
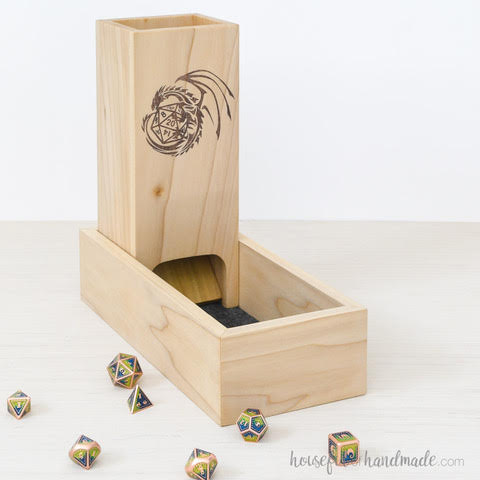
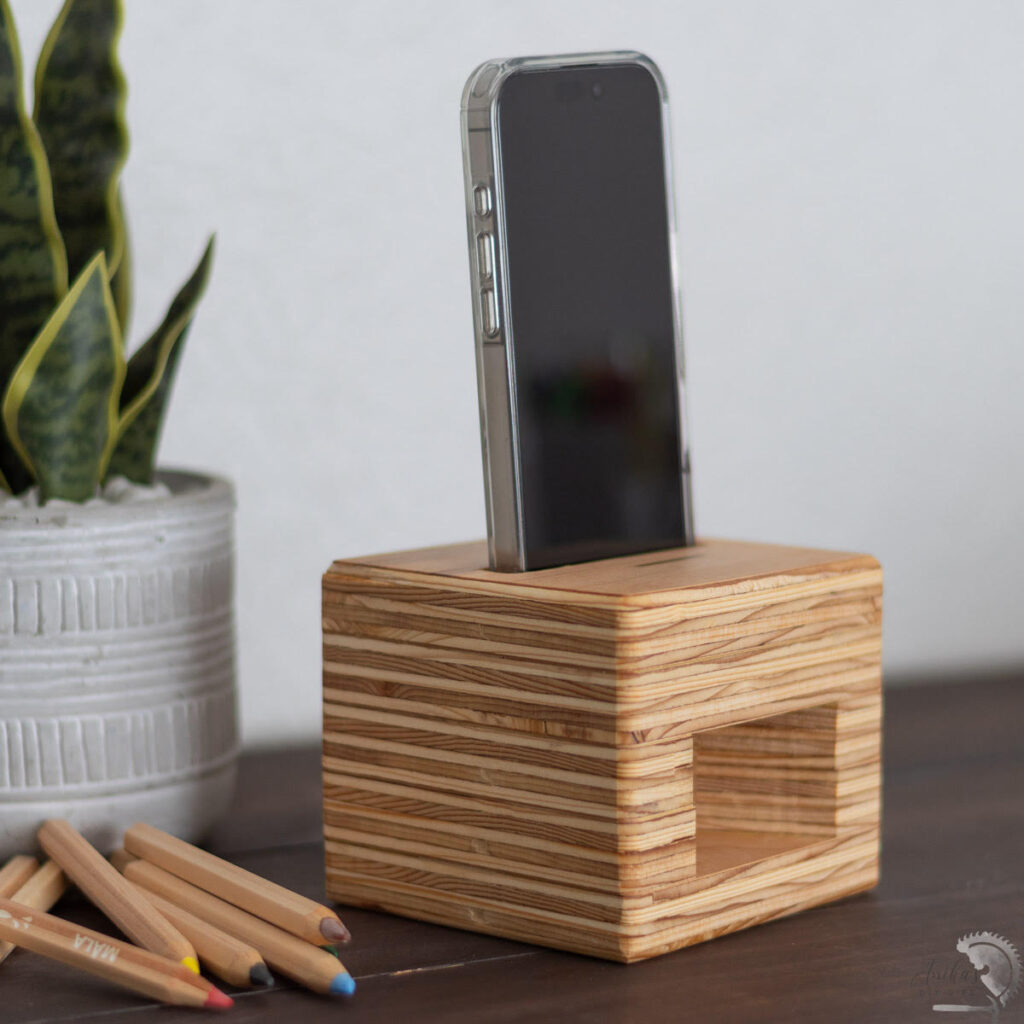
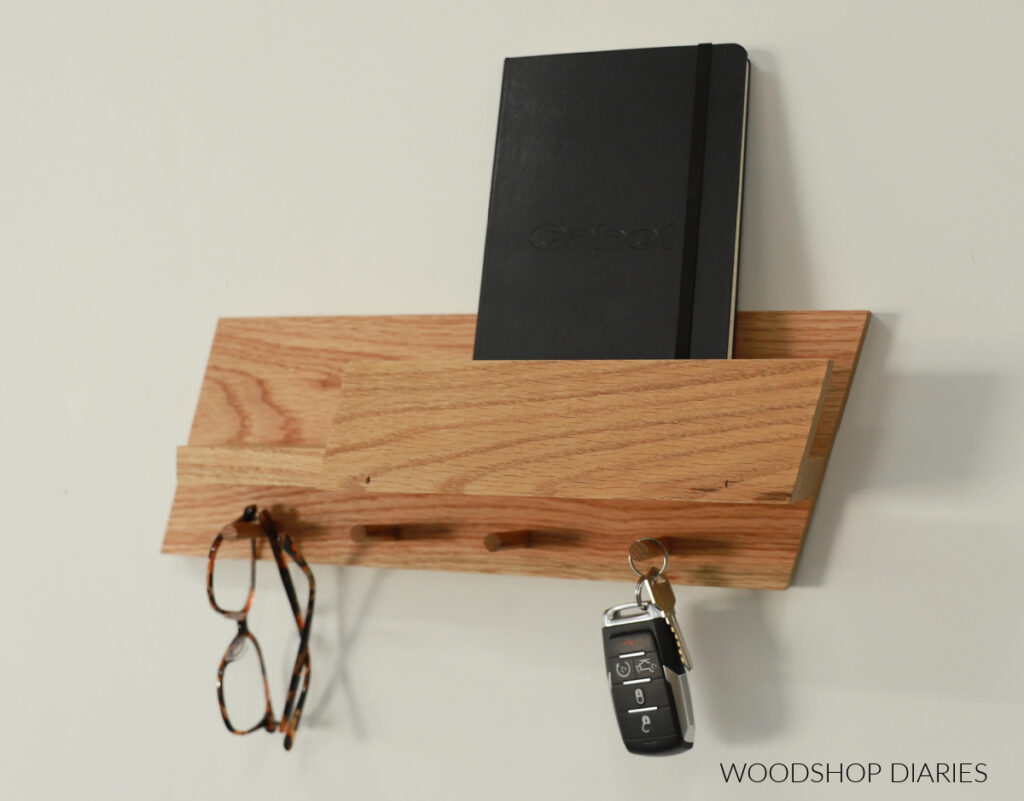
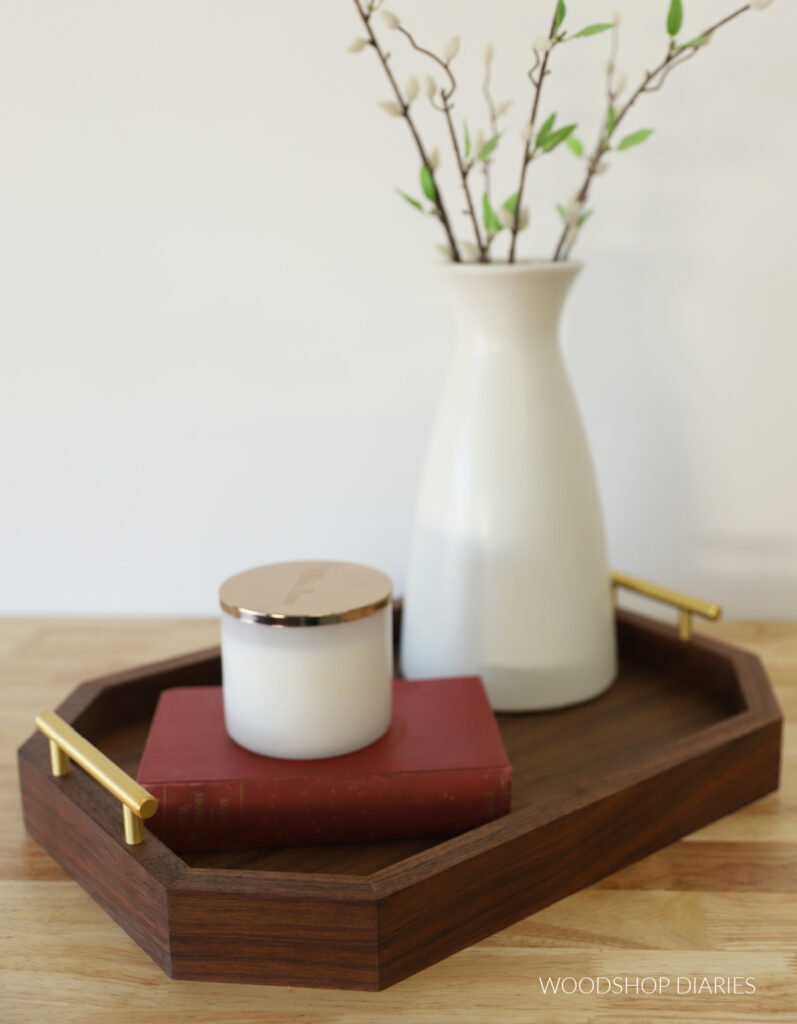
With the upcoming holidays, I’ve teamed up with my friend, Kati, from Houseful of Handmade and Anika from Anika’s DIY Life to share some easy and fun gift ideas that you can make this season!
I’ve included their projects in the gallery below plus a few of my own (click on the images to see how to make each one).
Enjoyed this project and want to save it for later? Be sure to pin it or share it to your favorite social channel!
Until next time, happy building!