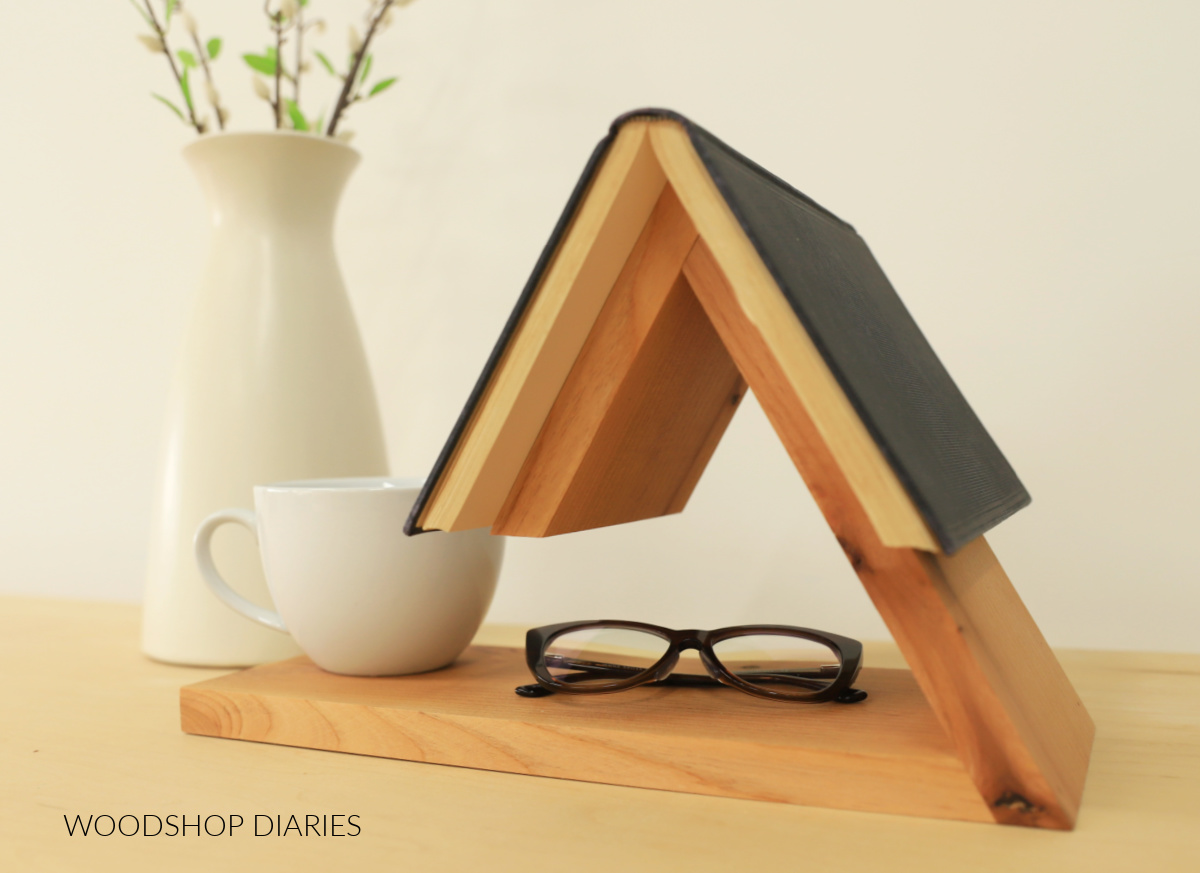
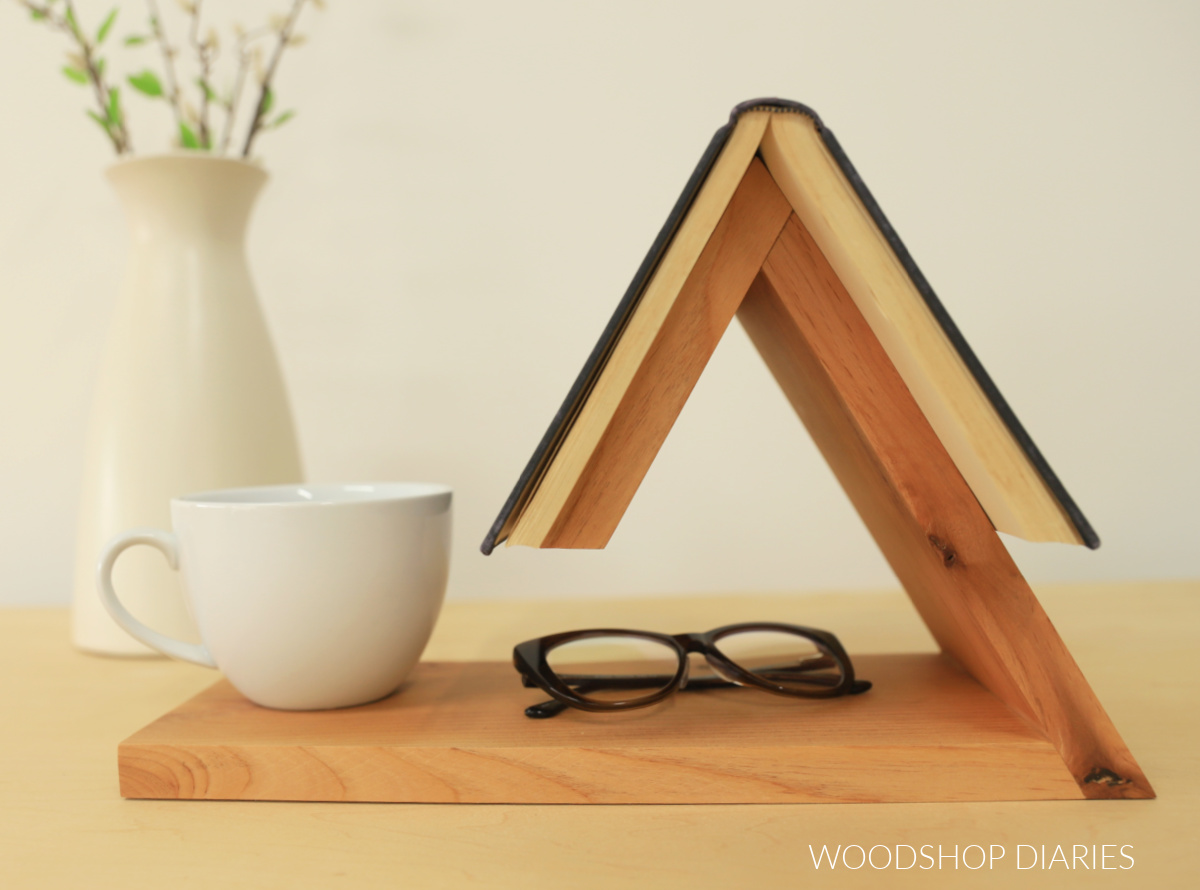
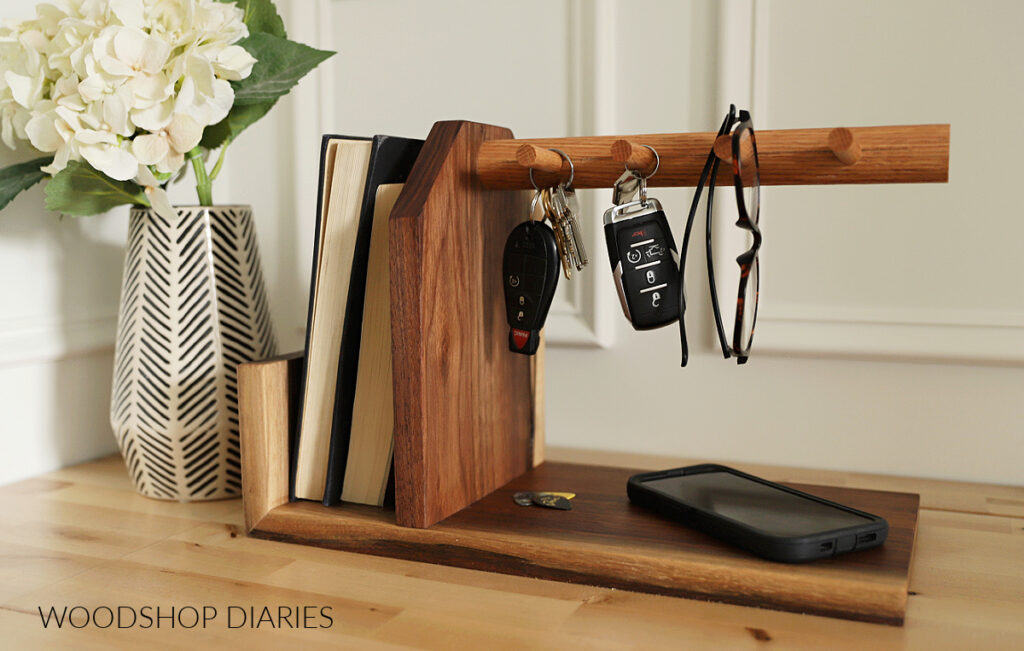
In this post, I’m sharing how to build a super simple wooden book holder for your nightstand or side table!
Not only does it hold your book’s place for you, it’s got space for your drink and a place for your glasses, highlighters, pens & pencils, too.
I’ve seen these book holders online selling for over $50 and that’s crazy to me because you can build it in about 15 minutes and with about $5 worth of lumber.
If you’re a bookworm yourself and want to make one for keeps, I don’t blame you.
But if you want to make an extra one, it makes an excellent gift idea, especially when paired with a new book!
Much more fun than a plain ole bookmark *wink wink* So if you’re ready to make one, let’s dive in!
*This post contains affiliate links. See website policies.
What to consider before building
This project is quick and easy to make. It’s very basic and I’d say it’s a beginner level build.
BUT, there are some angles, so if you’re brand new to the miter saw, you might want to practice on a few scrap pieces first.
RELATED: How to cut angles on a miter saw
What wood to use
You can use any wood species you’d like for this project. Pine, maple, walnut, oak, etc. You can even use ¾″ plywood if you wanted.
This project was made using a piece of alder wood 1×6 in size. However, if you wanted a deeper book holder, you could also use a 1×8 or a 1×10 board.
You only need about 3′ of board (a little less, actually), so I encourage you to check your scrap piles as you may already have everything you need!
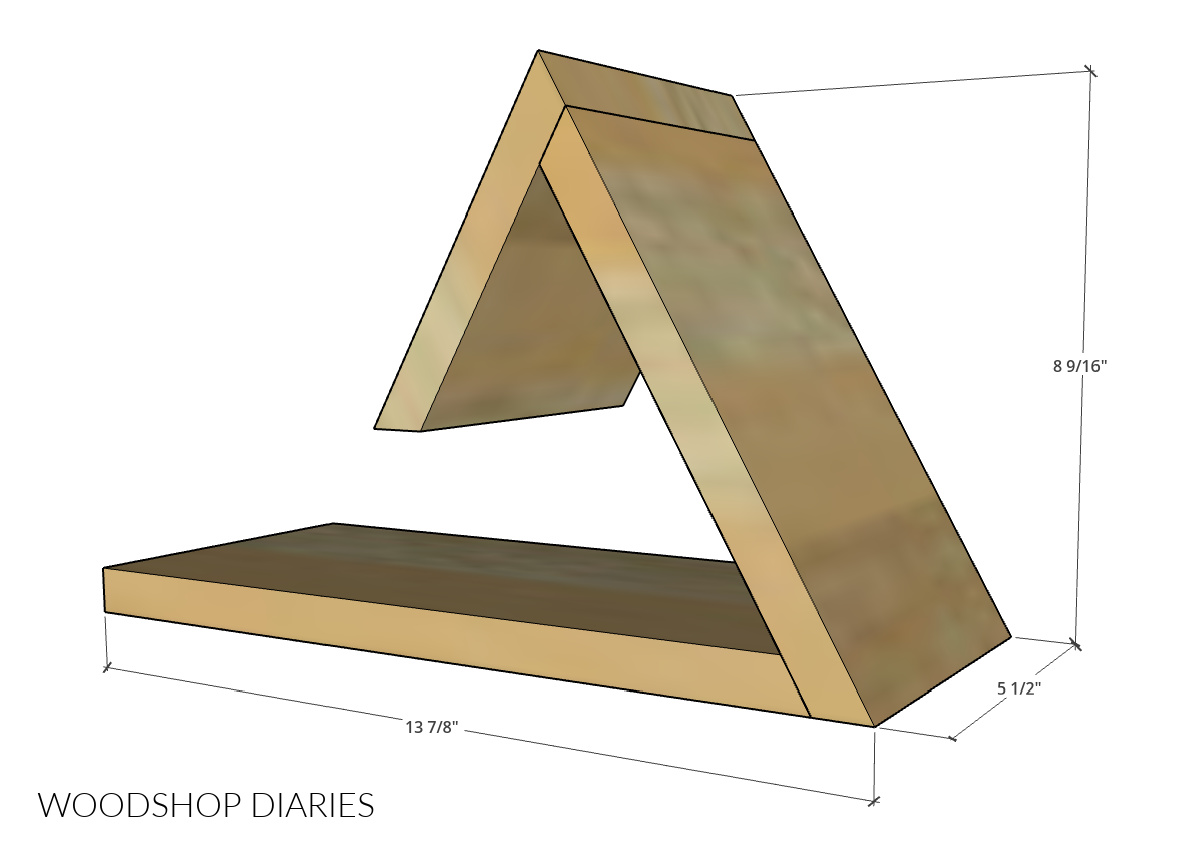
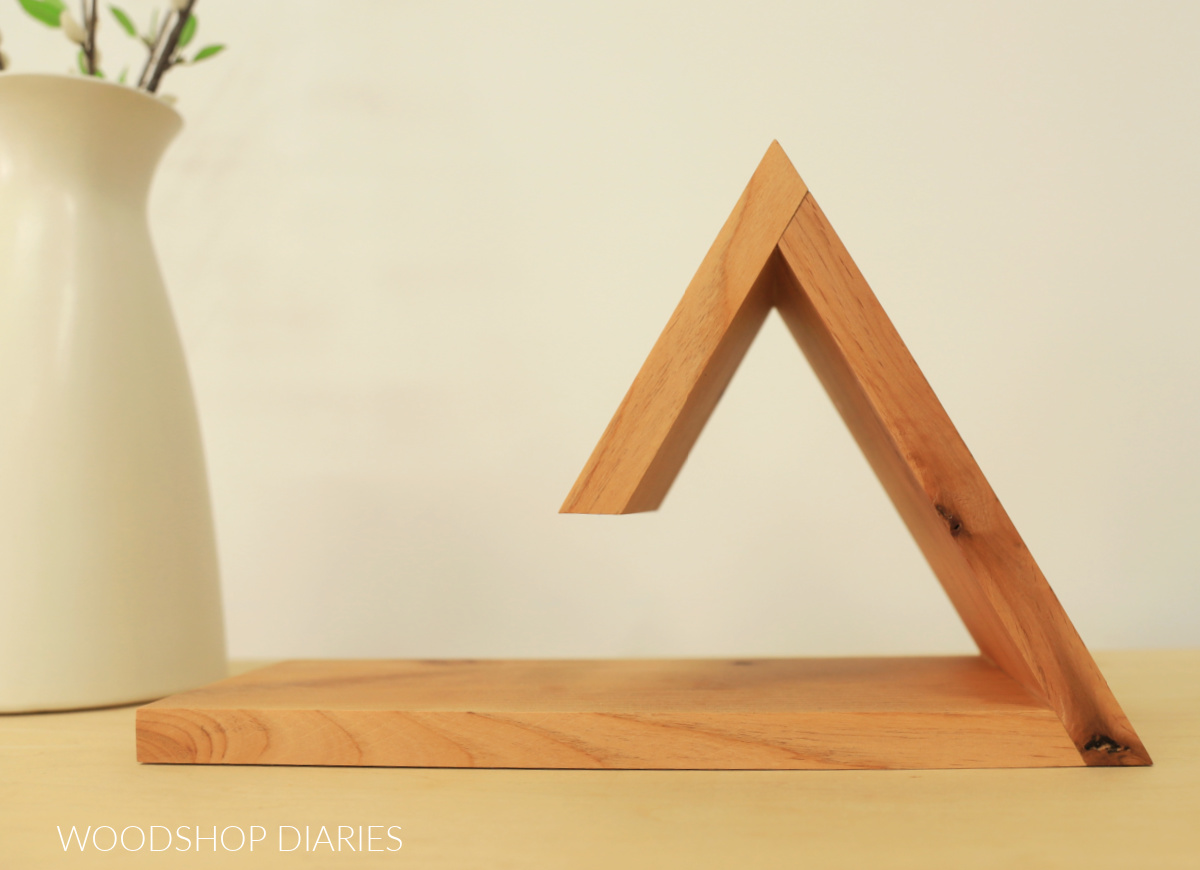
The overall size of this book holder/stand is 5 ½″ deep x 8 9/16″ tall x 13 ⅞″ long.
Enjoy DIY projects and woodworking plans? Sign up for priority access for the latest posts on Woodshop Diaries!
How to make a DIY book holder
If you prefer to watch, here’s a quick video showing how this simple wooden book holder came together.
Love watching how-to videos? Subscribe to my YouTube channel for plenty more where that came from!
Tools & Materials
Tools:
- Miter Saw
- Brad Nailer
- Orbital Sander
Materials:
- 1×6 board about 3′ long (could also use 1×8 or 1×10 instead)
- 1 ¼″ brad nails
- Wood glue
- Wood Finish of your choice (I used Furniture Butter)
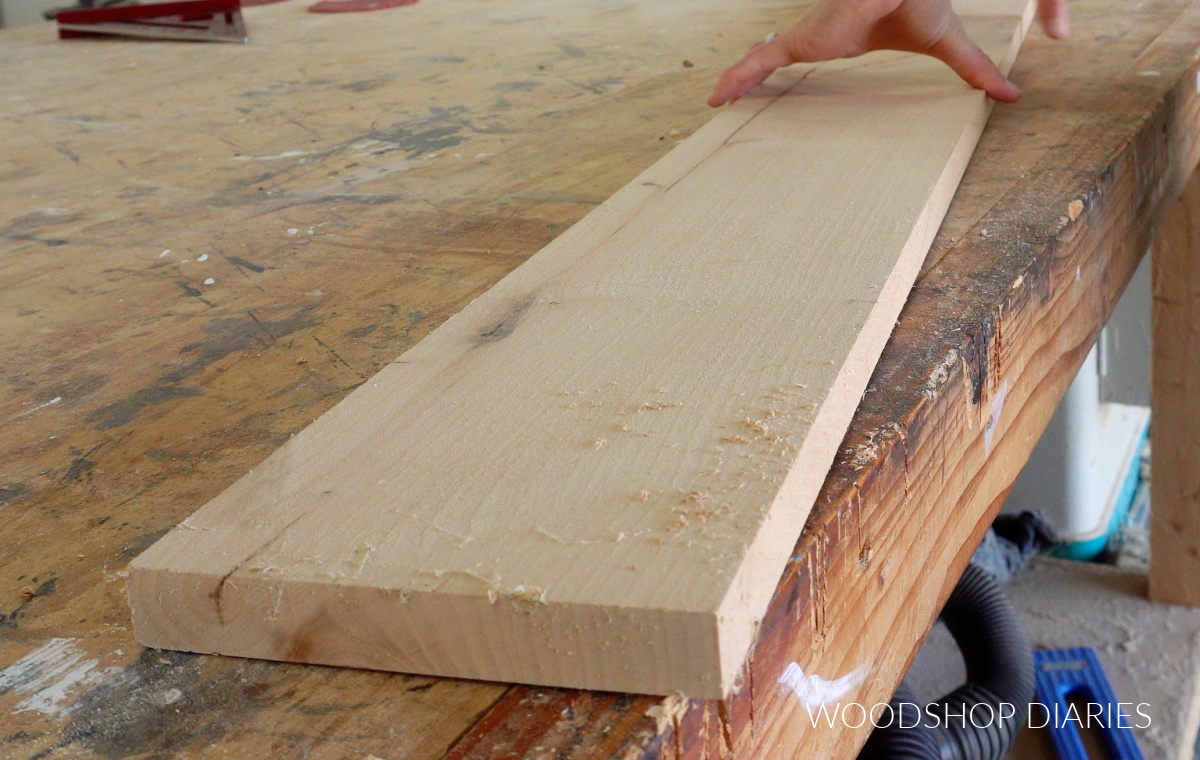
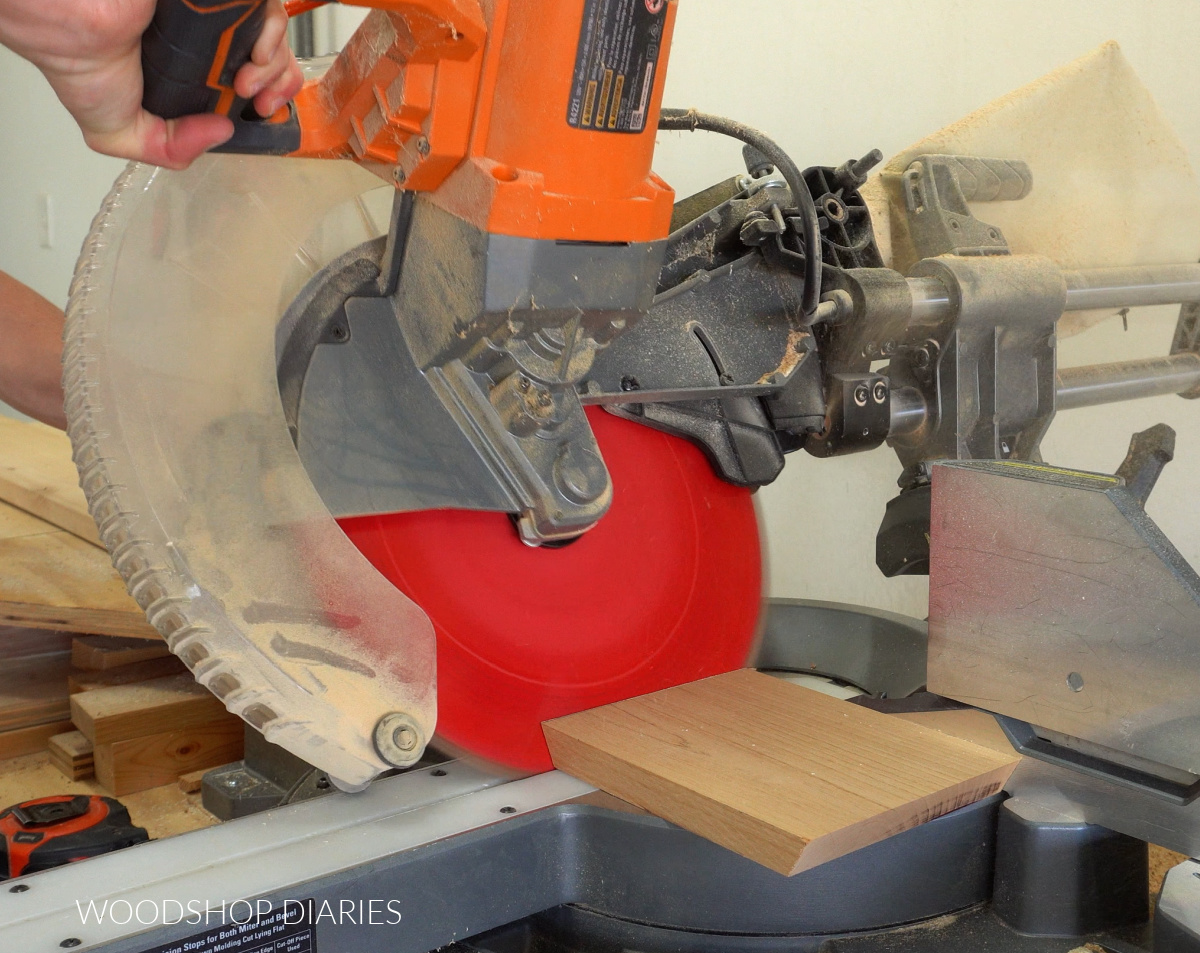
Step 1: Cut Book Holder Pieces
To make this book holder, I just needed to cut three pieces. Now, you can certainly adjust your sizing here to make your book holder larger or smaller.
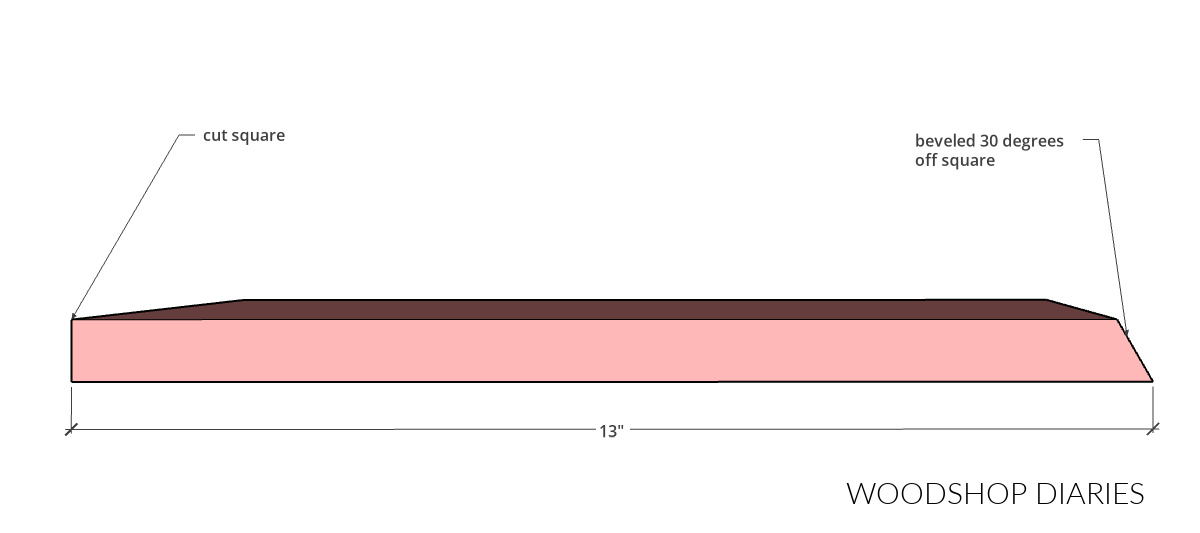
But I cut my bottom 1×6 piece about 13″ long with one end cut square and the other end beveled 30 degrees off square.
Then, I cut a piece of 1×6 to about 9″ long with both ends beveled 30 degrees not parallel to each other.
This is the tall side, so if you want a taller or shorter bookstand, adjust this length as desired.
Finally, I cut a third piece about 6″ long with both sides beveled just like the last one.
I intentionally cut this piece short so that it wouldn’t go all the way to the bottom, but if you’d like for it to, simply cut it the same length as the previous piece.
Once cut, I sanded each piece before assembling.
RELATED: How to sand wood
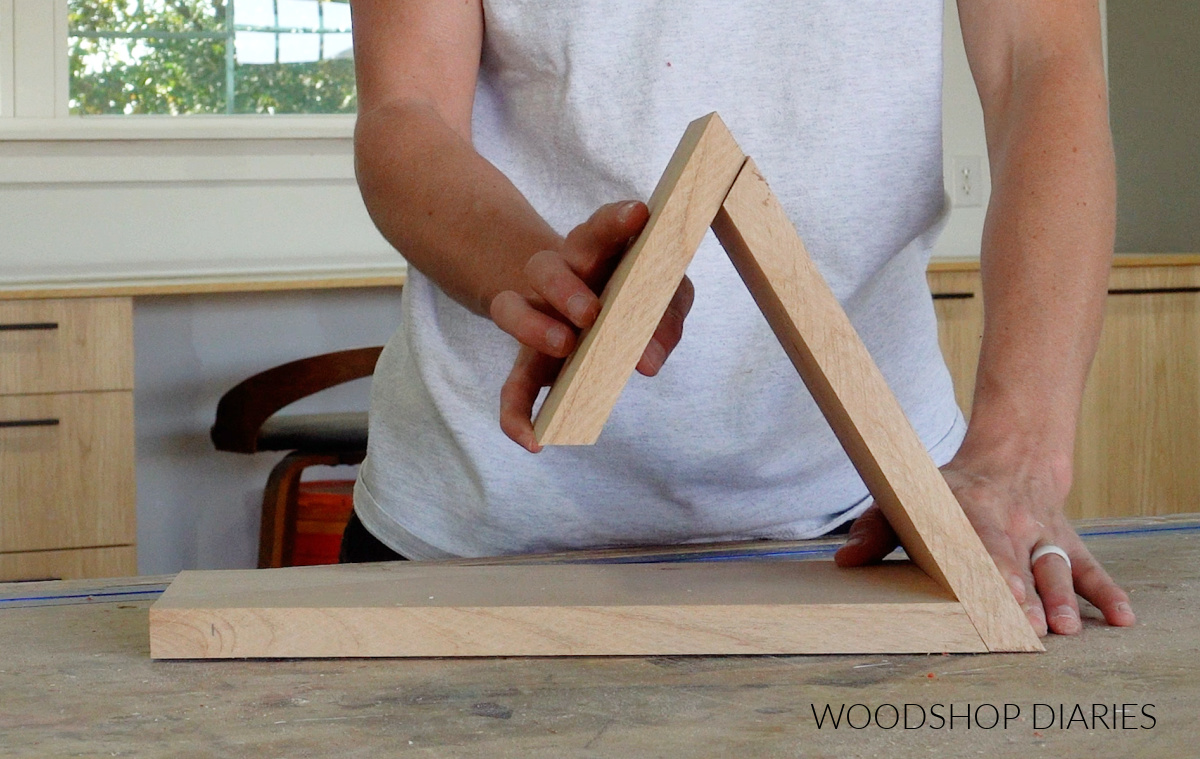
Step 2: Assemble Book Holder Stand
I attached the two smaller pieces together first. These are the pieces that make up the part that the book rests on.
So I applied wood glue along one end of the 9″ piece.
Then I lined it up with the shorter piece and brad nailed these together like shown below. Since these pieces aren’t at 90 degrees, be careful to angle the nail so that it will be fully seated in the wood and not pop out the end.
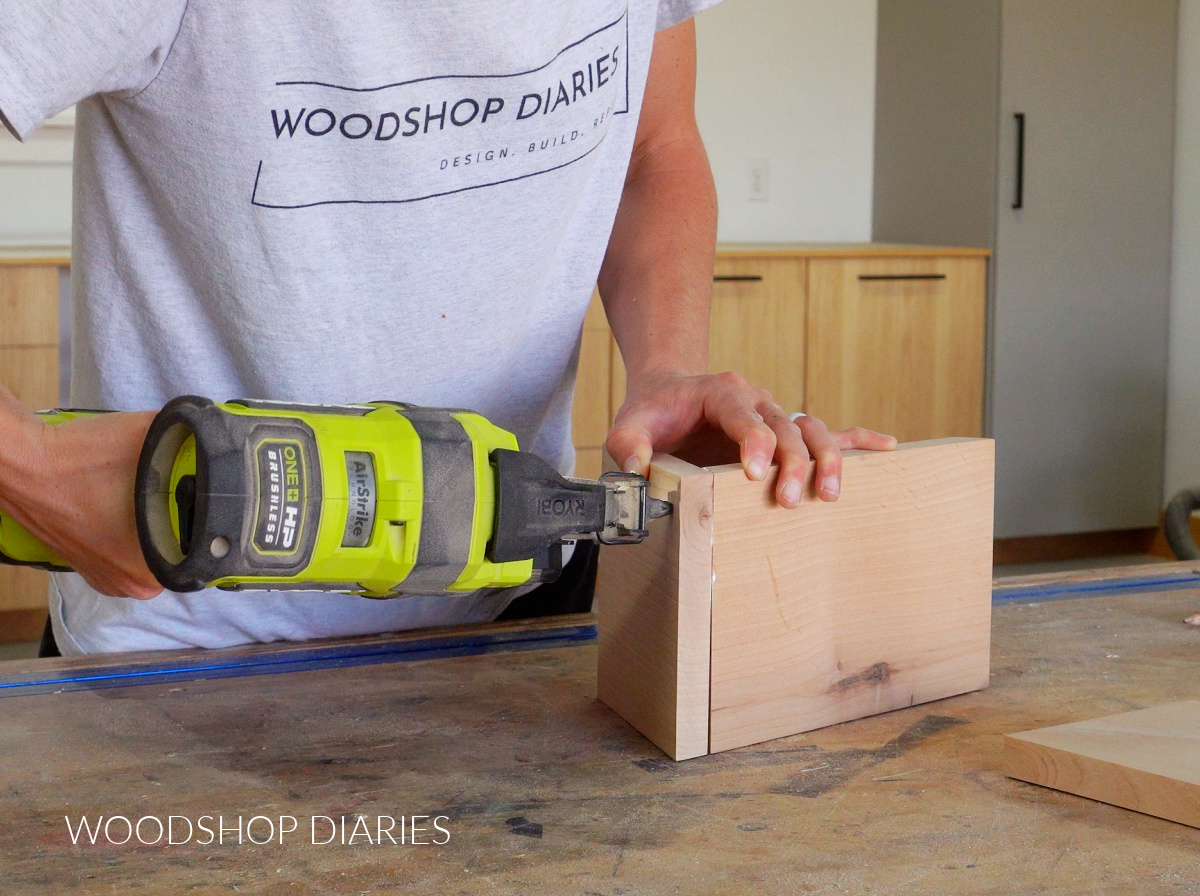
You can try to clamp these pieces before nailing, but the angle may be difficult to clamp. I found it easiest to hold them together and nail one side, then flip it over and nail the other.
Once nailed, I sanded the joint smooth and made sure to remove all glue squeeze out.
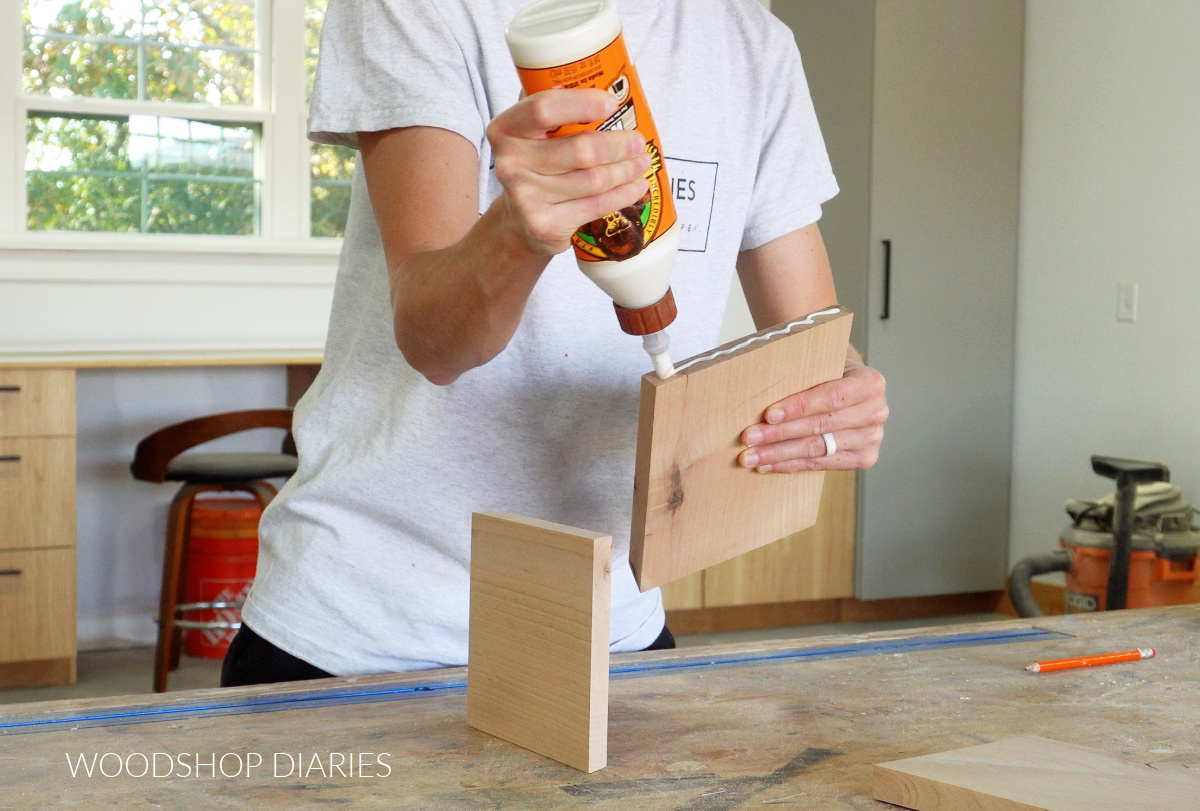
Step 3: Attach Stand to Bottom
Then, I applied a bead of wood glue to the beveled end of the bottom piece, and attached this assembly to it the same way–using a couple of brad nails.
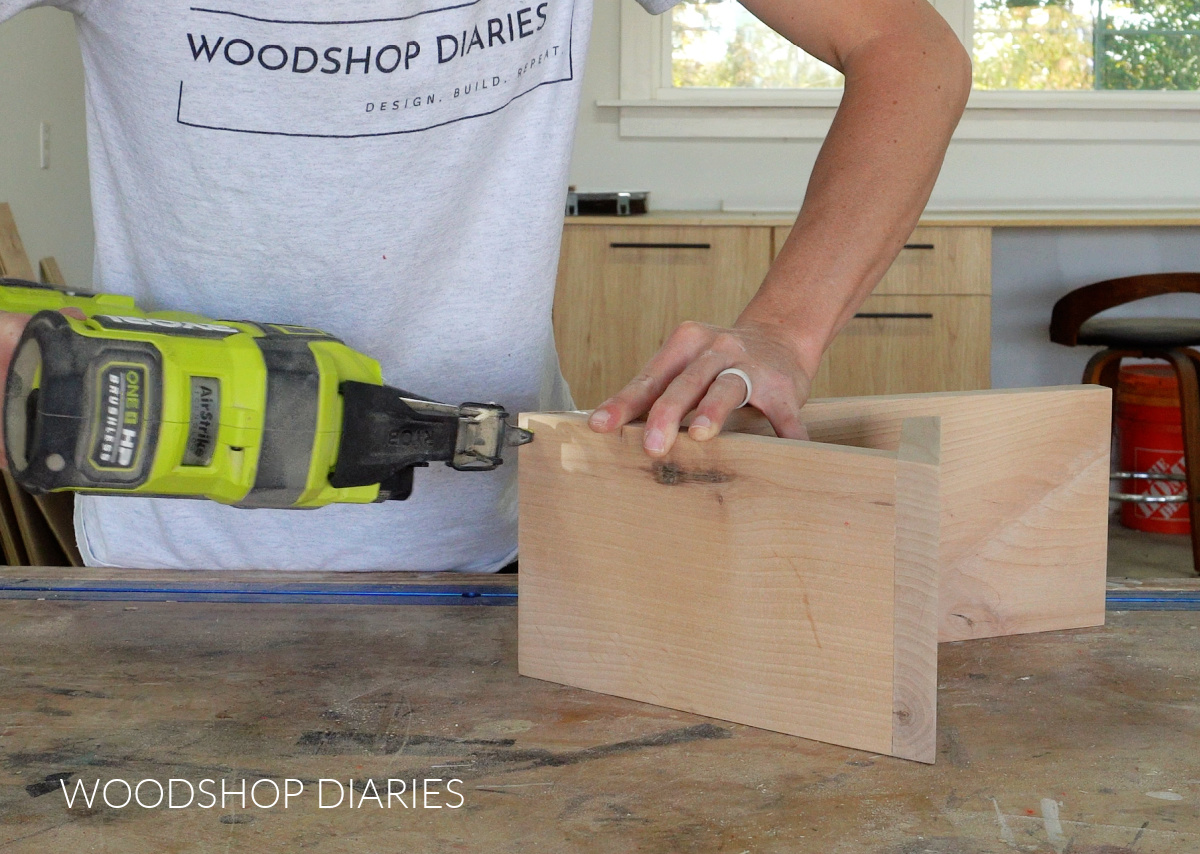
While the nails alone don’t add a ton of strength, the glue, once dry, will hold the pieces together firmly.
I sanded this joint as well and made sure all glue residue was wiped/sanded away.
Step 4: Finish
To finish up, I applied a tiny dab of wood glue into the nail holes and sanded these while it was still wet.
The glue mixes with the saw dust to help fill the holes, but you could also just use some wood filler as well.
Then, I finished this book holder with Walrus Oil Furniture Butter.
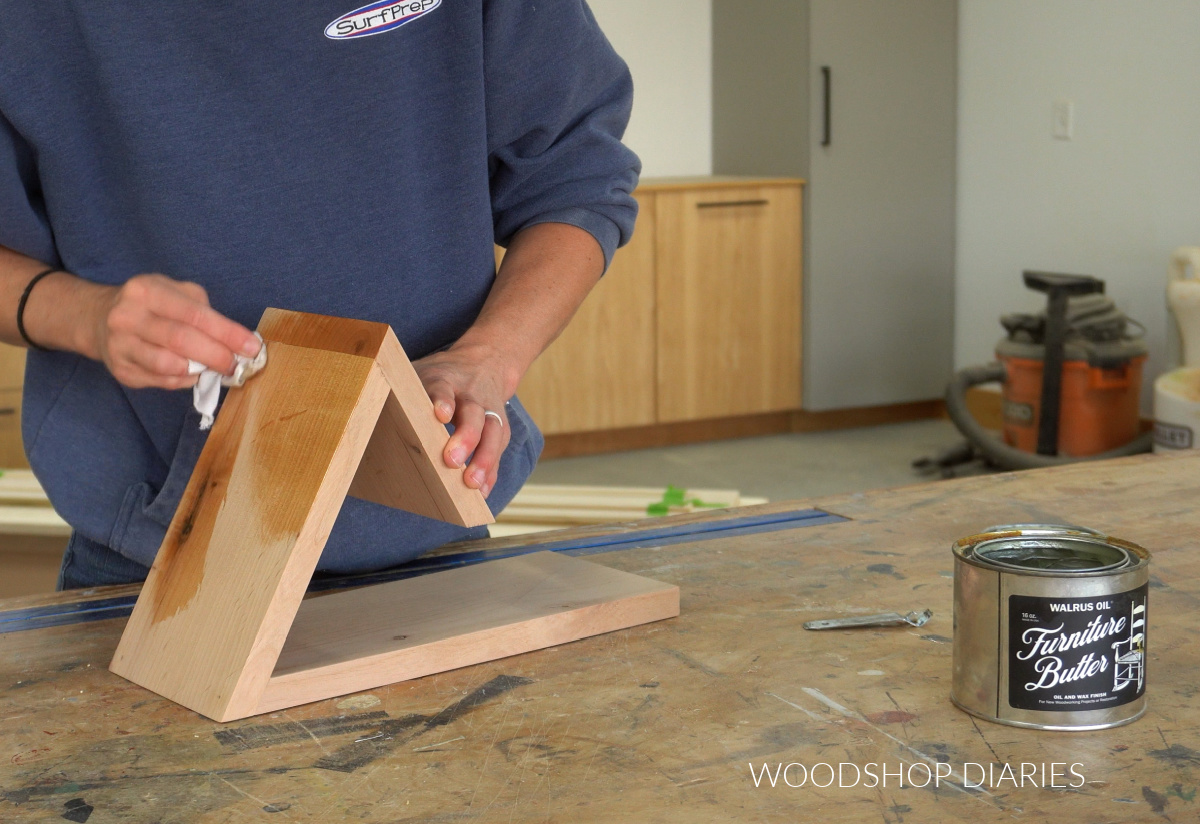
FYI: I love this stuff, but be sure to let it (or any other oil based finish) cure a few days before placing a book on it or it may leave behind some oil spots. The oils in this finish solidify once cured.
And now this simple book holder is a stunning new addition next to the bed, next to the chair, or wherever your favorite reading spot may be.
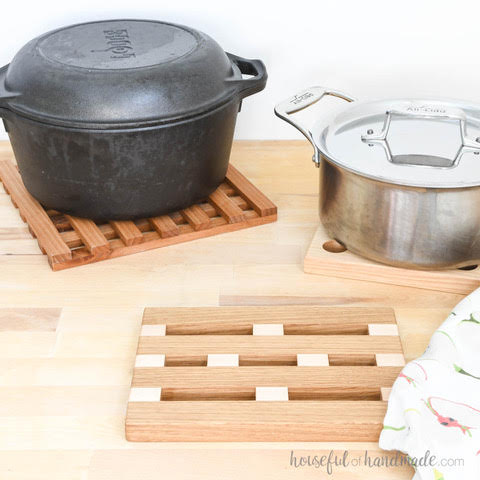
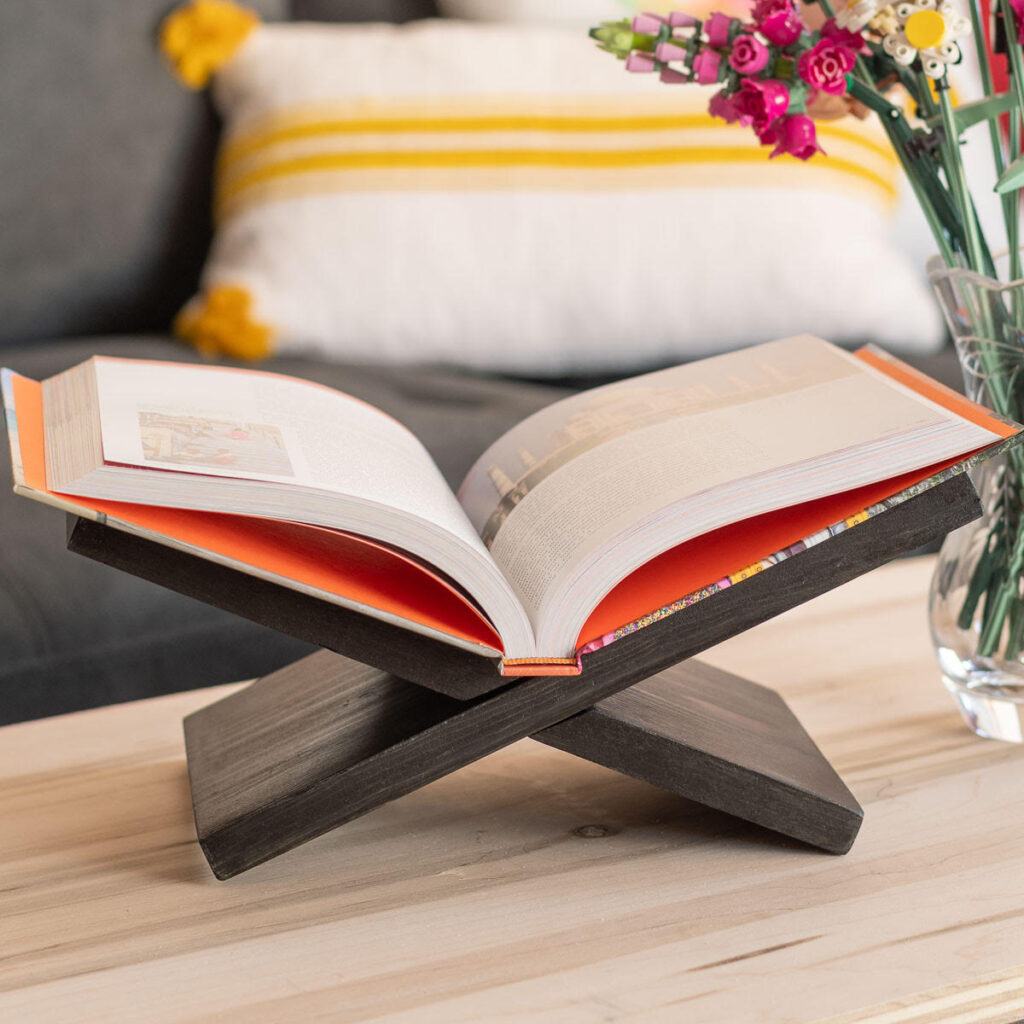
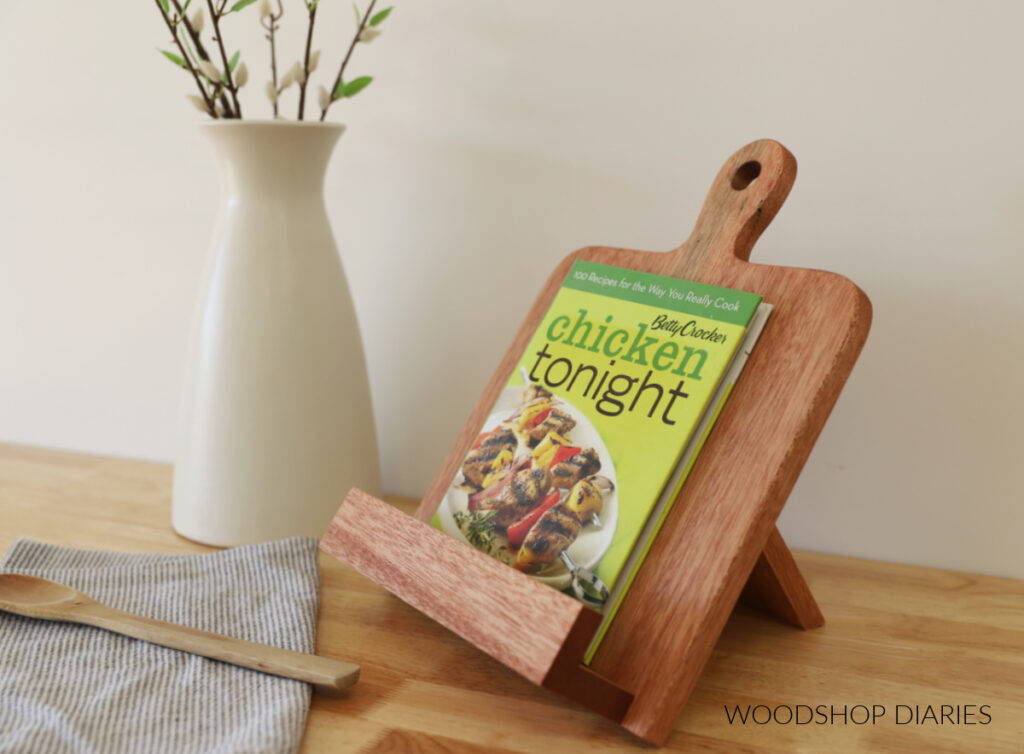
Looking for more handmade gift ideas?
With the upcoming holidays, I’ve teamed up with my friend, Kati, from Houseful of Handmade and Anika from Anika’s DIY Life to share some easy and fun gift ideas that you can make this season!
I’ve included their projects in the gallery below plus a few of my own (click on the images to see how to make each one).
Enjoyed this project and want to save it for later? Be sure to pin it or share it to your favorite social channel!

Until next time, happy building!