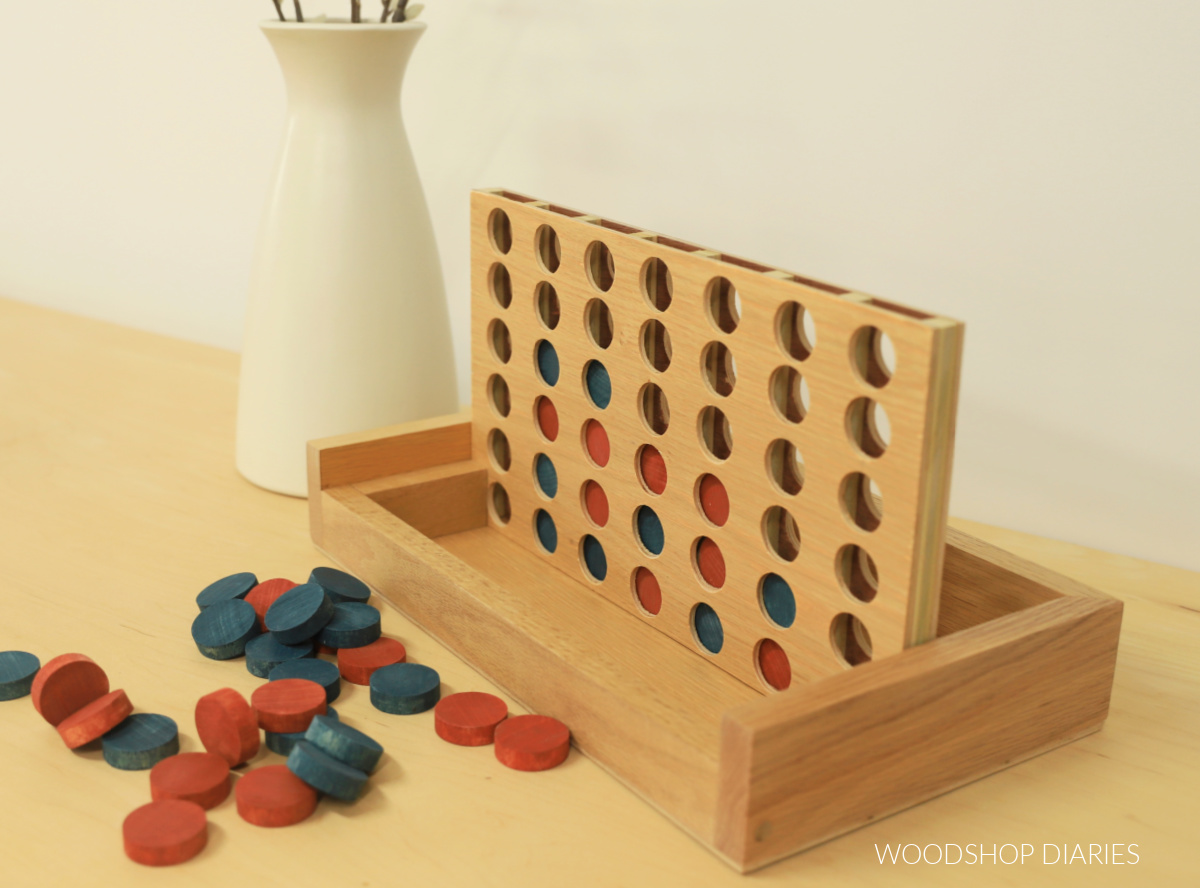
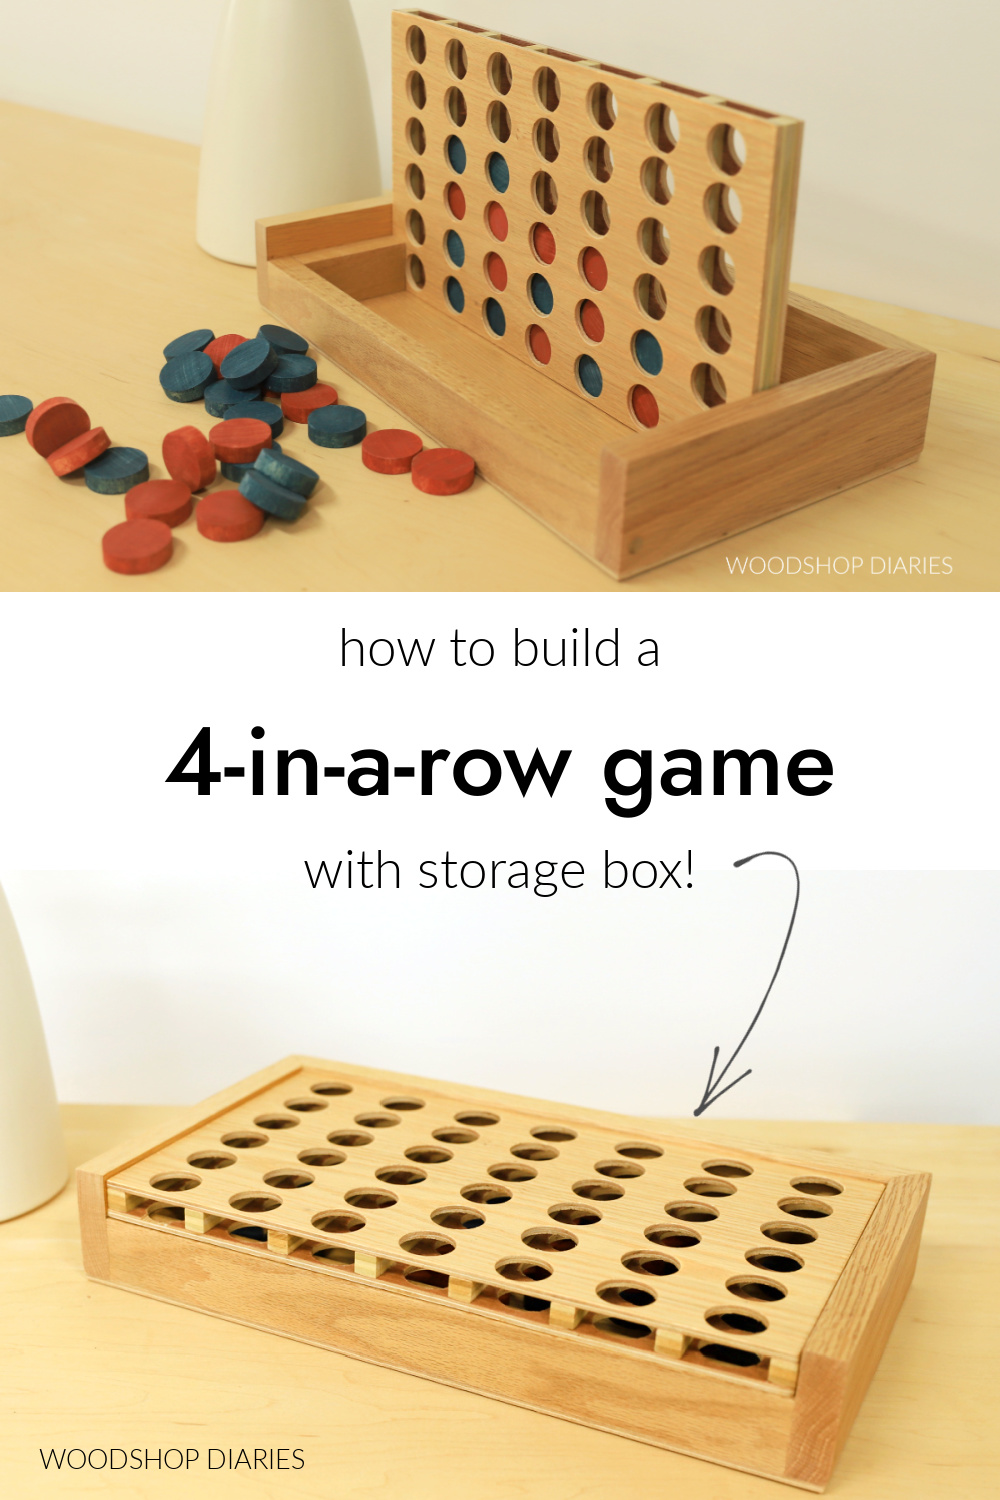
In this post, I’m sharing how to build a DIY wooden 4 in a row game with a storage box that doubles as a stand!
One of my favorite games growing up was Connect 4. I remember playing it with my cousins at every family get together.
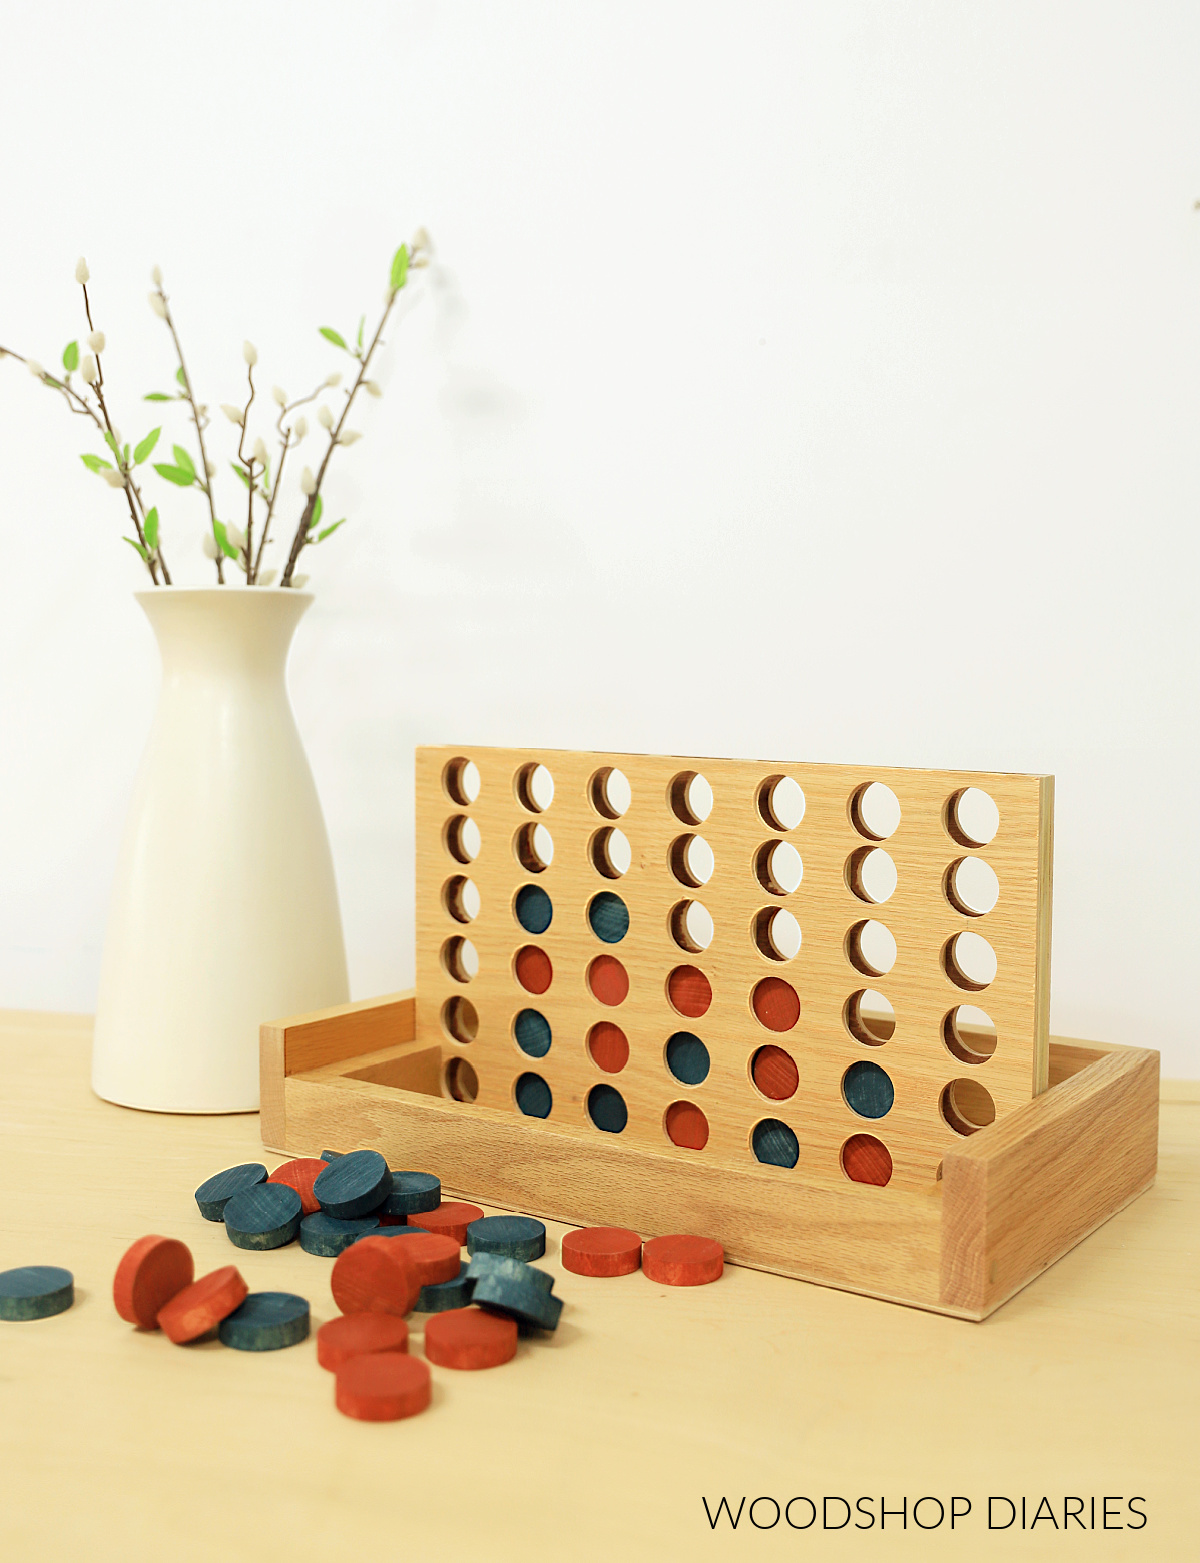
But I also remember it was so flimsy and such a pain to put together with the little plastic feet/stand.
This DIY version is a much more durable, easier to set up option that’s just as fun to build as it is to play.
Plus, it’s a super fun handmade gift idea for Christmas or birthdays–for both kids and adults!
If you’re ready to build one, I’ve got you covered with the how to below.
*This post contains affiliate links. See website policies.
A few notes before building
This is a great beginner project that is super fun to make. The game board assembly is pretty straightforward, but you can build the box a hundred ways.
Keep it simple with glue and nails, or opt for dovetails, splines, or box joints. Lots of options with this project, so take your time and enjoy the build!
Material Options
This project was made using scrap red oak plywood and red oak lumber. The game pieces were cut from a poplar dowel rod.
However, any type of wood you’d like to use for this project will work fine–pine, maple, birch, walnut, etc.
The ½″ square dowels can be substituted for ½″ plywood strips if you wanted to use that instead. See video below.
I encourage you to check your scrap pile for the materials needed and use what you have on hand. The pieces for this project are fairly small, so it’s likely you already have everything you need.
Built In Stand & Storage Box
This game is built with a storage box to hold the game board and pieces. When you’re ready to play, the box has a built in stand for the game board.
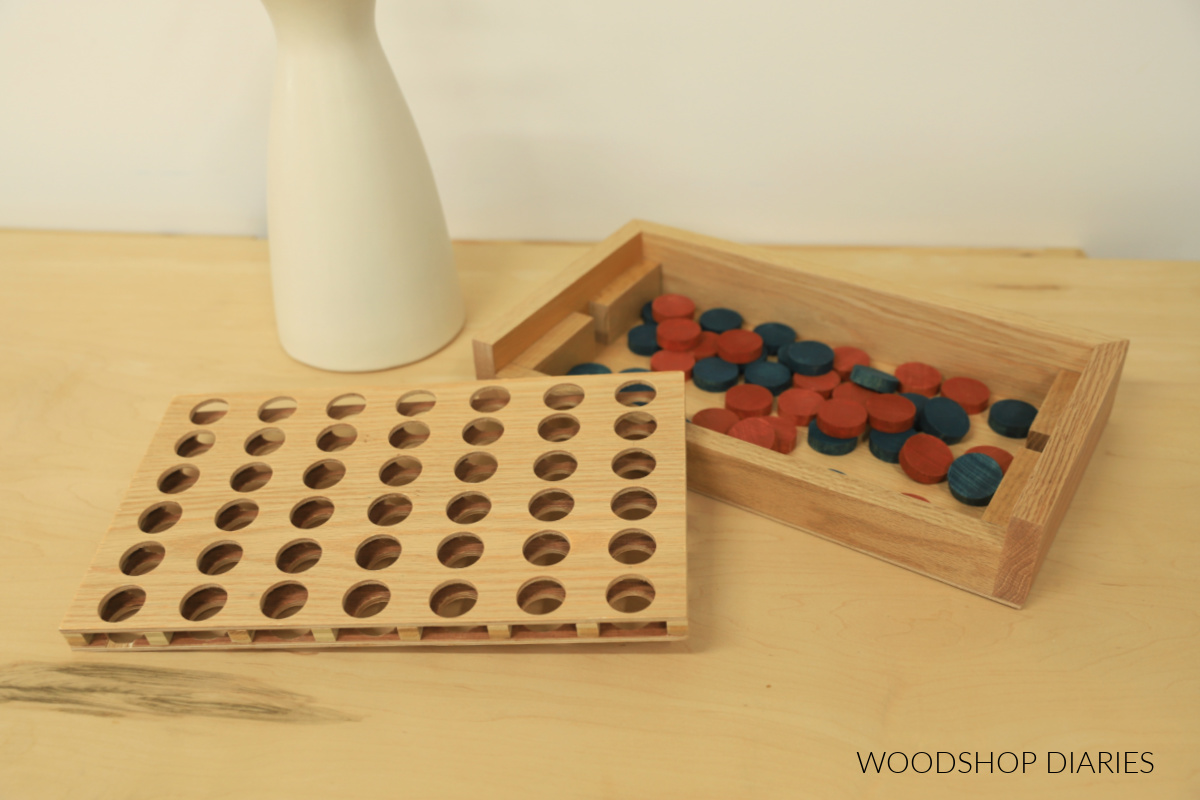
So it’s easy to set up, easy to put away, and easy to store when it’s not in use.
Enjoy DIY projects and woodworking plans? Sign up for priority access for the latest posts on Woodshop Diaries!
How to Make a Wooden 4 in a Row Game
If you prefer to watch, this quick video goes over the 4 in a row game building process so you can see it in action.
Love watching how-to videos? Subscribe to my YouTube channel for plenty more where that came from!
If you prefer to print, grab the printable building plans for this project here:
Tools & Materials
Tools:
- Miter saw
- Drill
- Clamps
- 1 ⅛″ Forstner Drill Bit
- Table or Circular Saw (optional to cut plywood)
Materials:
- ¼″ plywood (2’x4′ sheet OR scraps)
- 1×3 about 3′ long
- 1×2 about 3′ long
- ½″ square dowel (need about 72″ total length)
- 1 ⅜″ round dowel about 3′ long
- Wood Glue
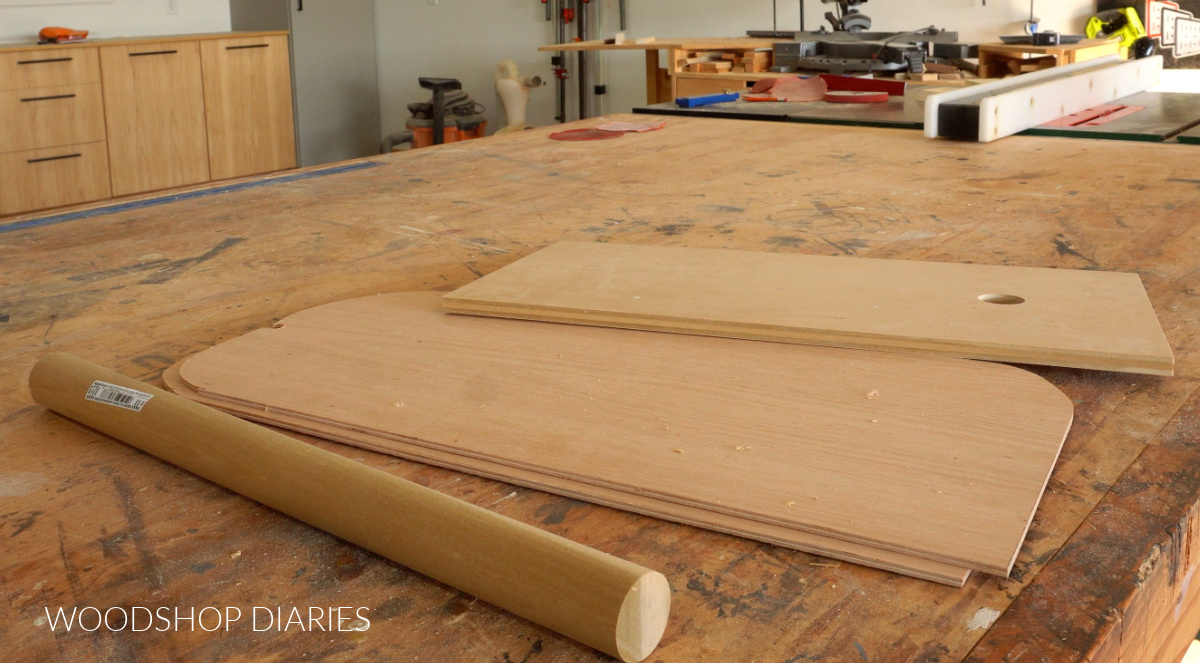
Step 1: Build Game Board
I made my game board using ¼″ plywood panels for the front and back and ½″ square dowels for the dividers. (Well, truth be told, I used ½″ plywood cut into ½″ wide strips–which is practically the same thing.)
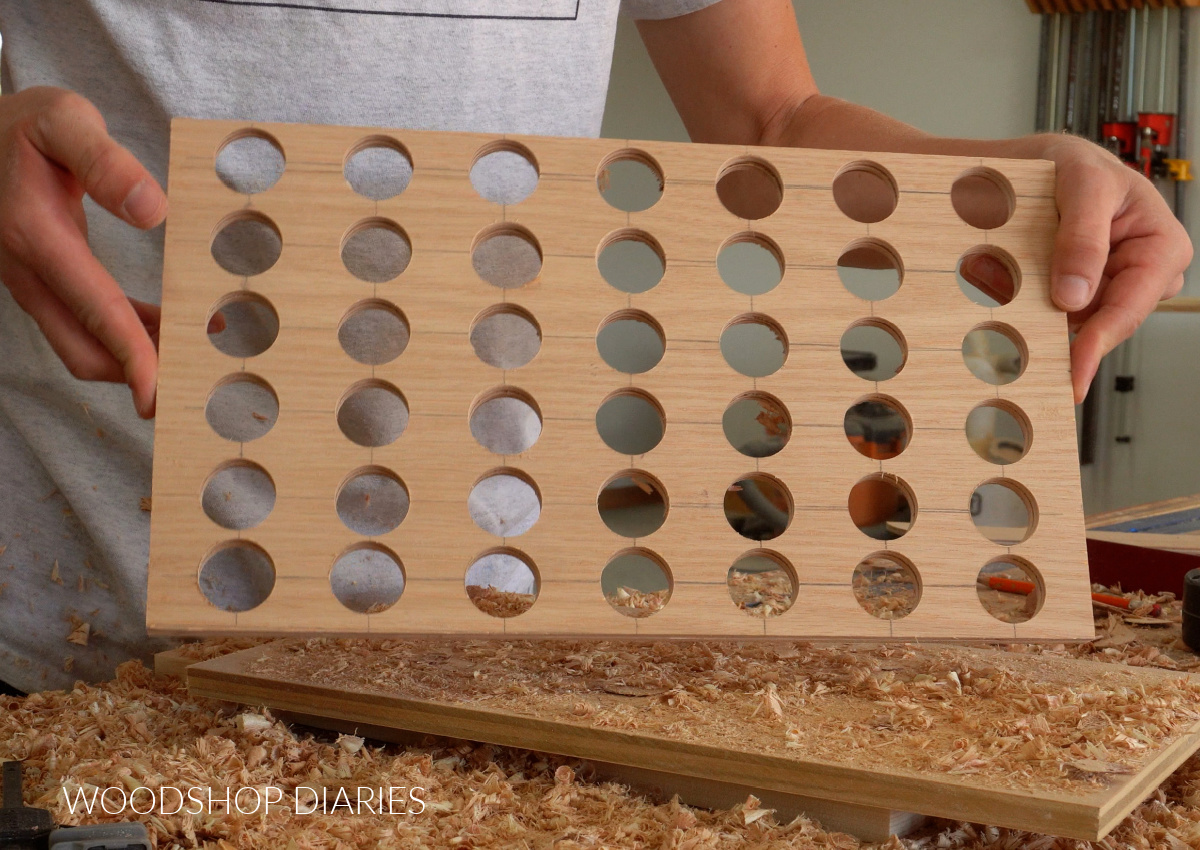
So first, I trimmed two ¼″ plywood panels to 8 ¼″ x 14 ½″.

Then, I marked out 7 vertical lines and 6 horizontal lines on one of these pieces. All dimensions can be found in the printable plans.
I clamped the two pieces of plywood together, then used a 1 ⅛″ Forstner bit to drill holes at the intersections of each my my lines.
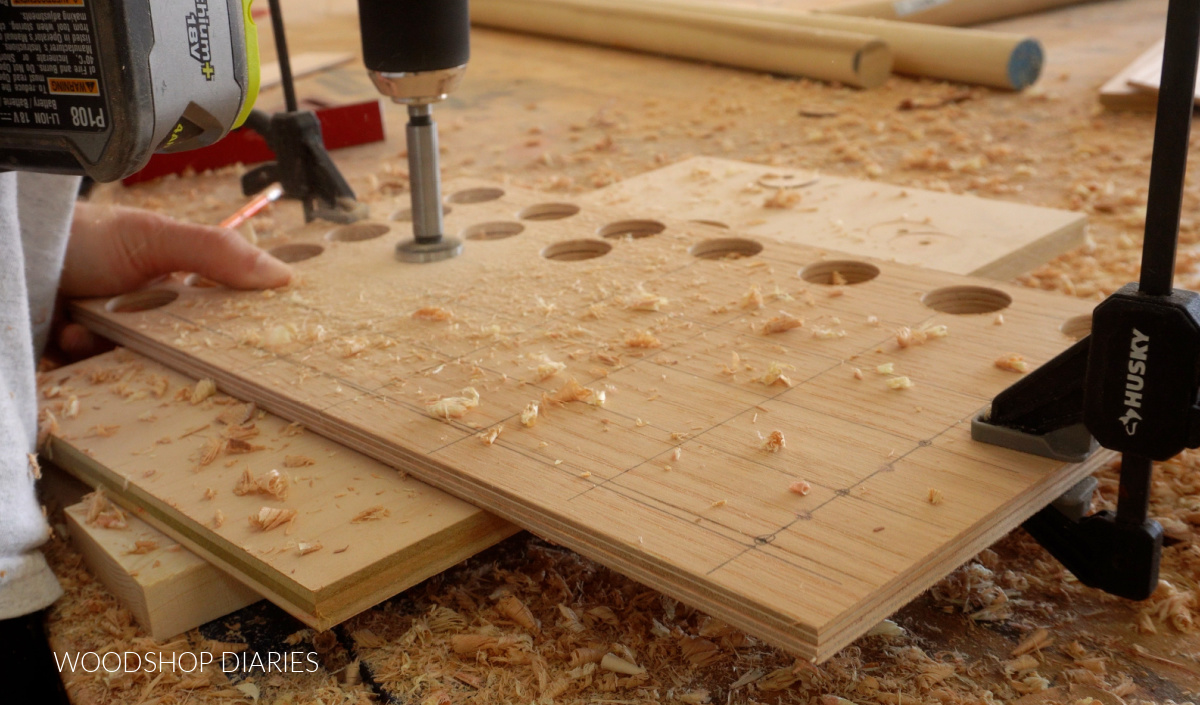
There should be 42 holes total on each panel. Clamping them together saves a little time since you can drill them both at once.
TIP: Use a piece of scrap wood under the panels while drilling. This helps prevent it from tearing out on the back side.
Then, I glued my ½″ square dowels onto the back side of one of the panels as the dividers. I used a scrap 1×2 (which is 1 ½″ wide) to evenly space these dowels.
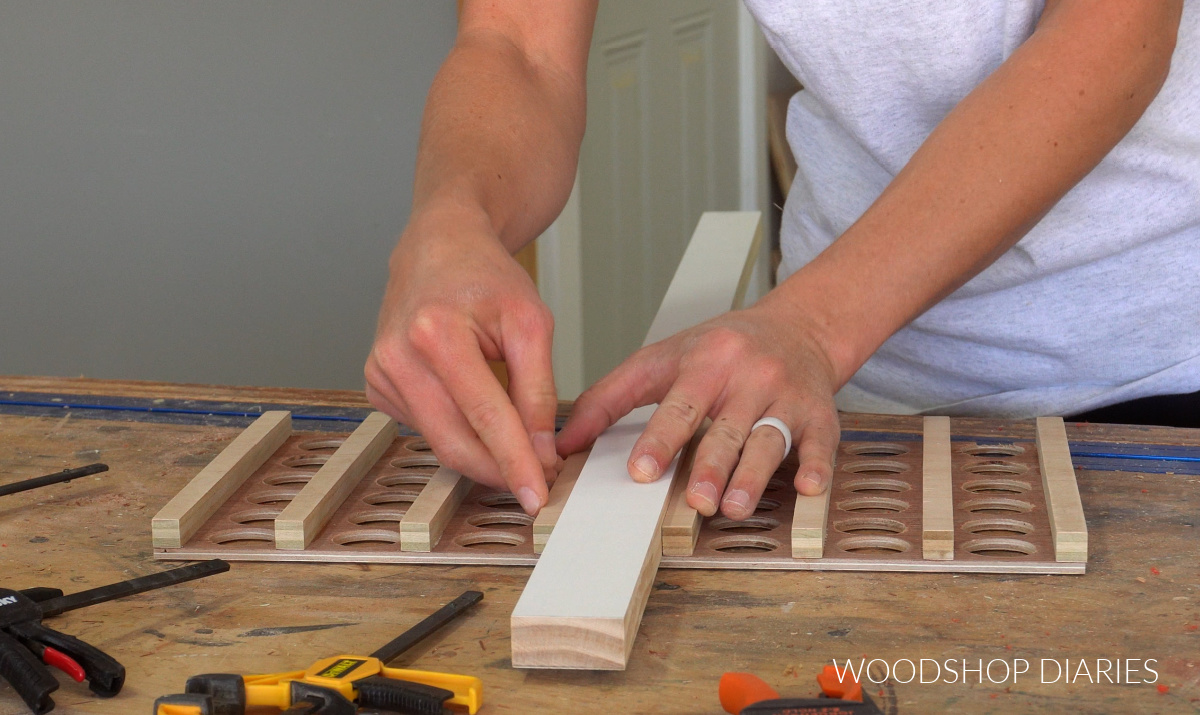
Once they were glued to one panel, I glued the other panel onto the other side to complete the game board.
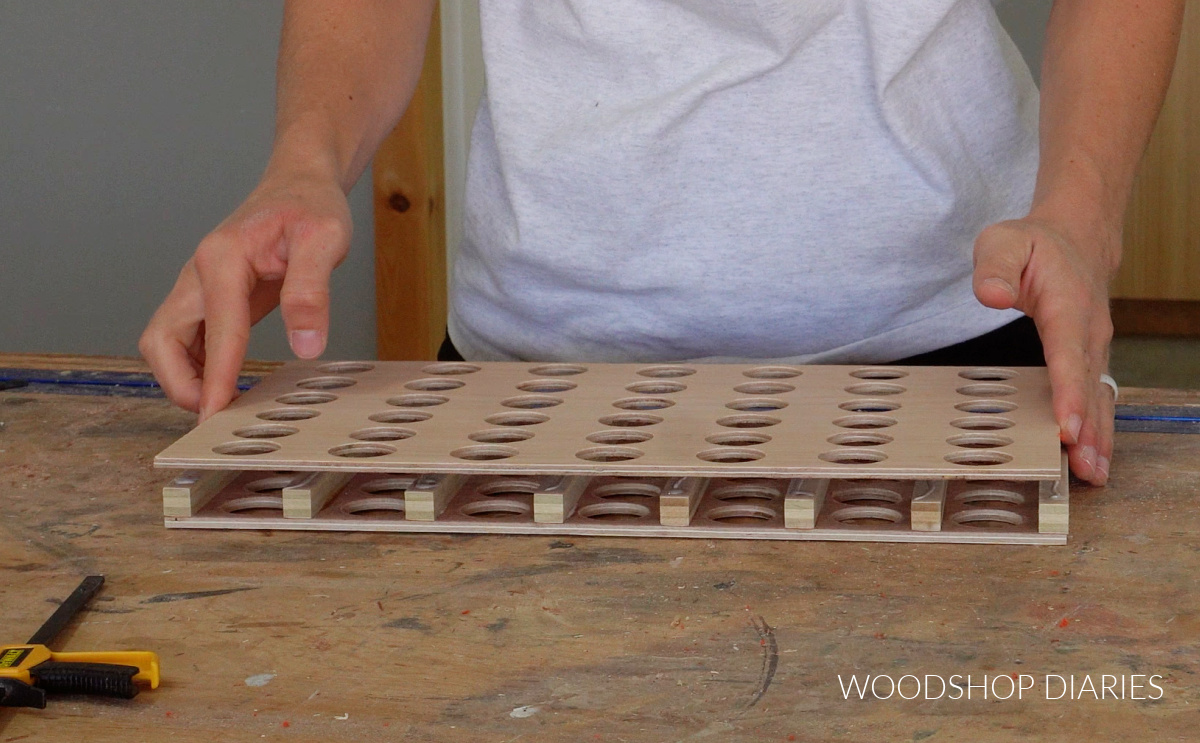
NOTE: It’s important that the dividers stay 1 ½″ apart. The game board pieces in step 4 are 1 ⅜″ diameter. This extra ⅛″ allows the pieces plenty of wiggle room so that they don’t get stuck when dropped into the game.
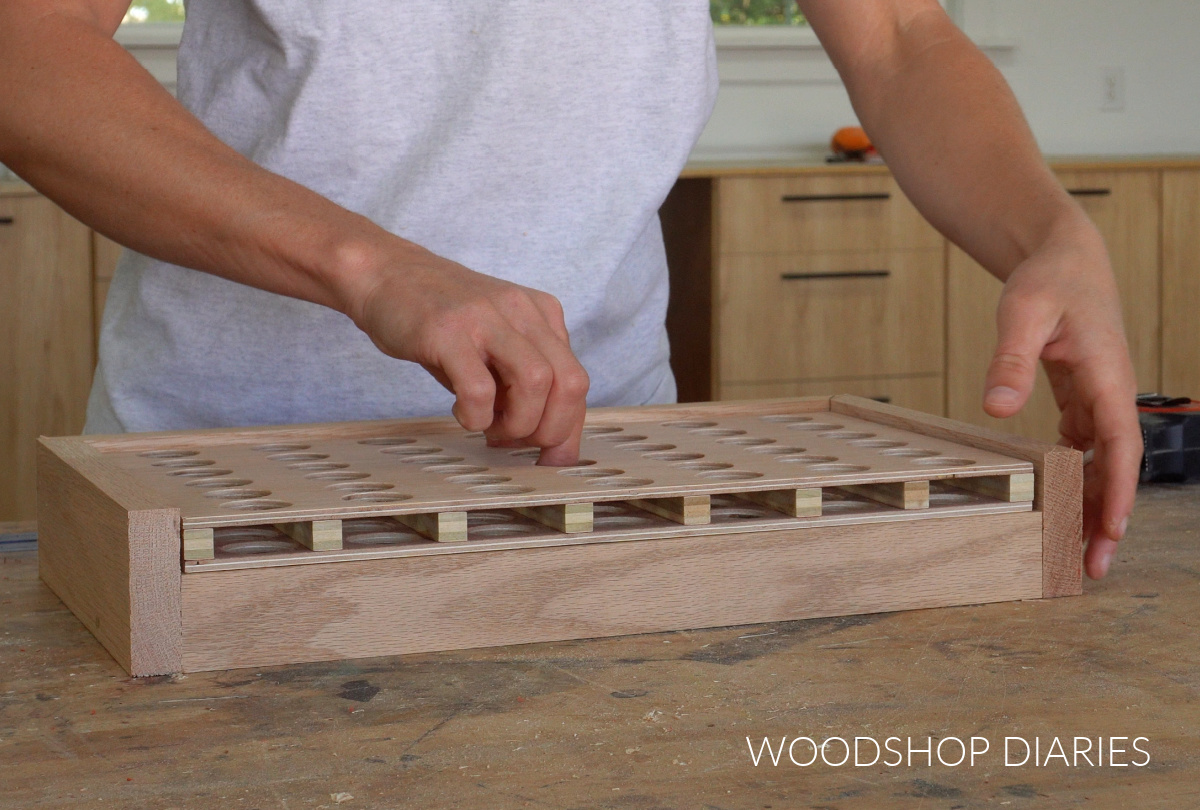
Step 2: Assemble Game Board Storage Box
While the glue dried on the game board, I went ahead and assembled the storage box/stand that it will go into.
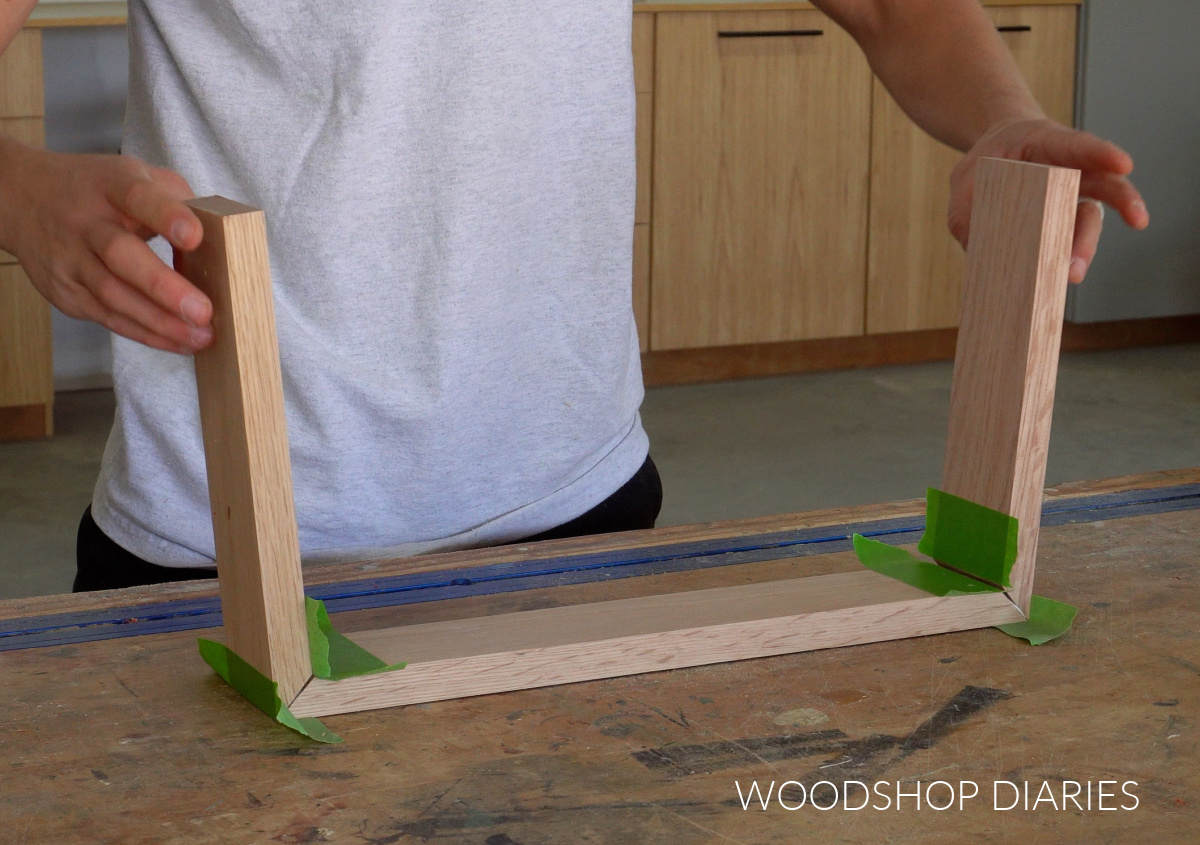
For this box, I used 1x3s for the sides and back and a 1×2 for the front.
I cut the sides and back so that when the pieces were together, the game board fit inside of them.
Then, I cut the 1×2 for the front so that it will rest under it.
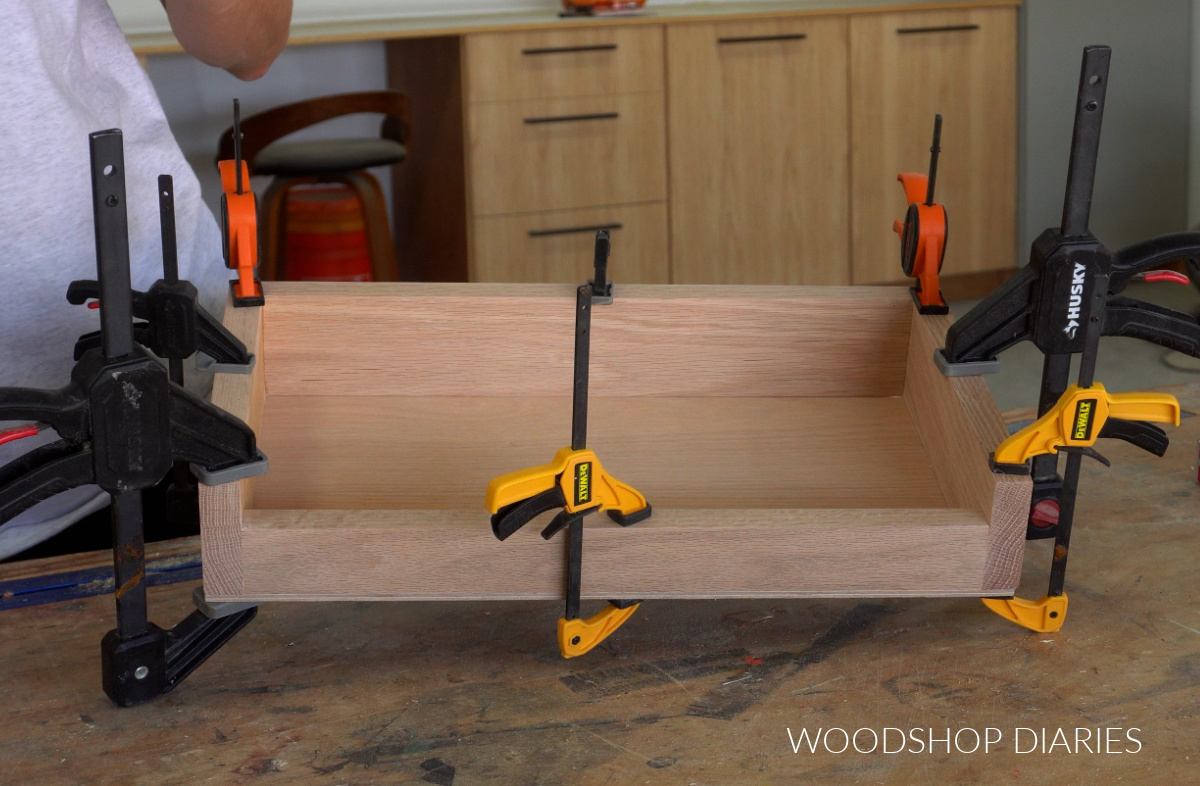
The 1x3s were cut so that the corners were beveled, so I glued these together first. Painters tape over the joints helps keep them tight during glue up.
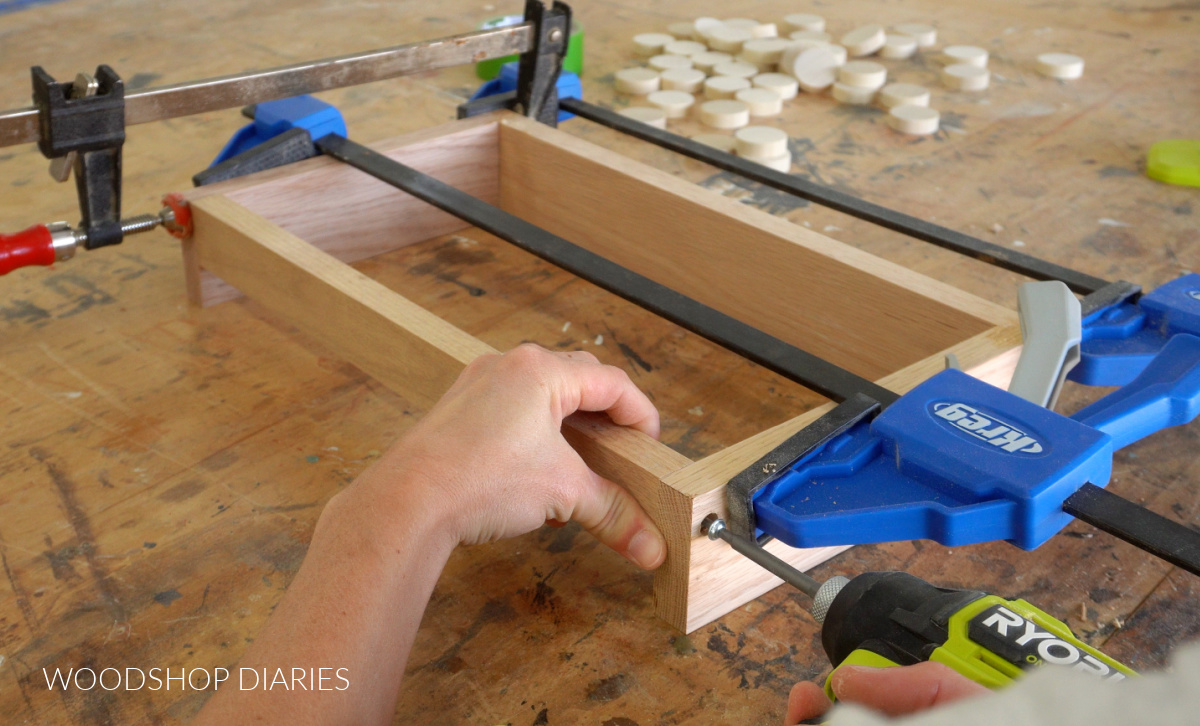
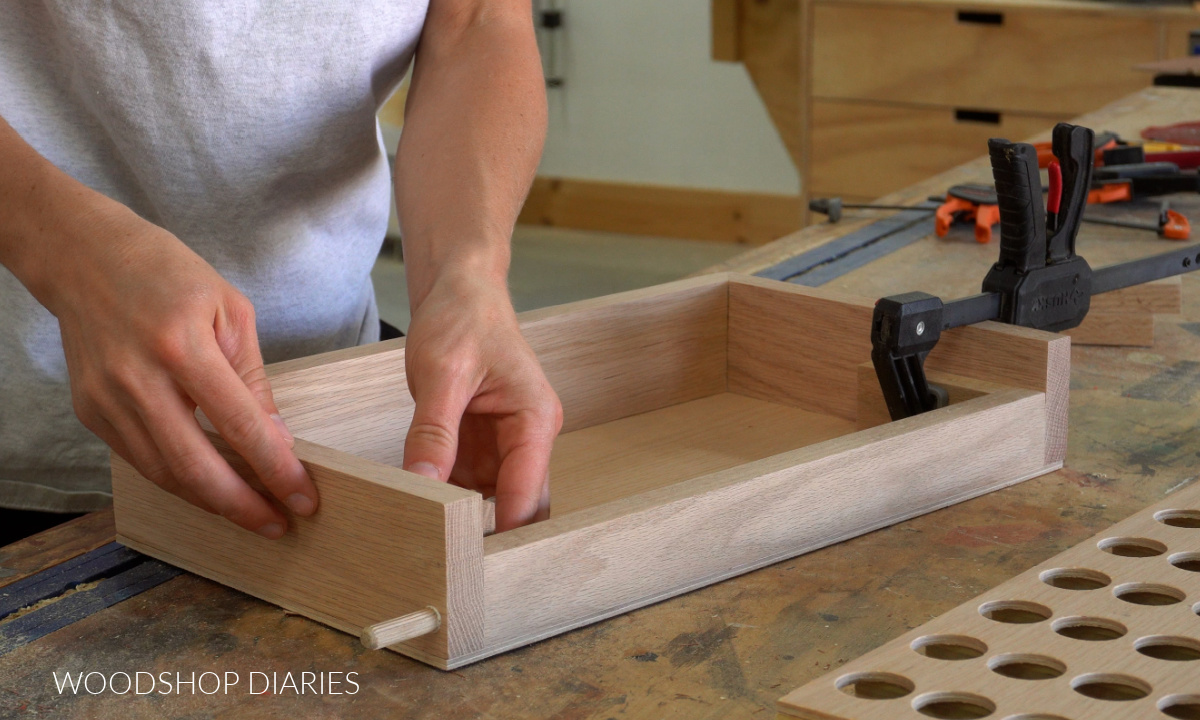
Then I screwed the 1x2s between the sides at the front and plugged the holes with a dowel.
NOTE: If you wanted to simply glue and nail the box together, that’s totally fine. Or if you wanted to build your box differently with dovetails or box joints, etc, that’s fine too.
Then I cut and glued a piece of ¼″ plywood onto the bottom of the box.
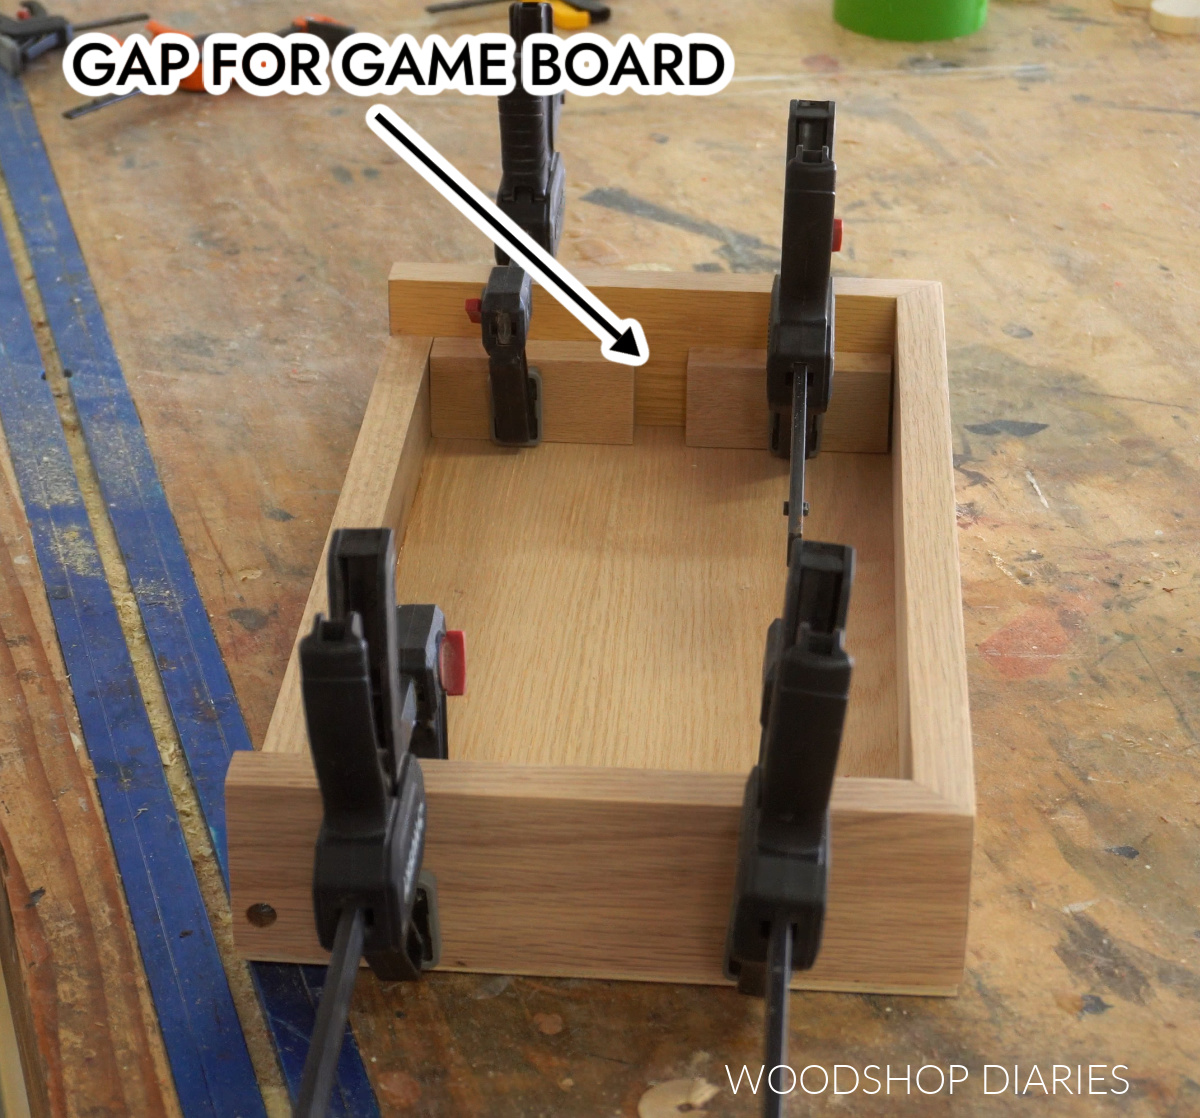
Step 3: Install 4 in a Row Board Stand Supports
Now the board and the box is together, but I needed to make a way for the board to stand upright in the box to play the game.
So, I cut two pieces of 1×2 to about 3″ long and glued them inside the box flush to the front.
Then, I placed the game board behind them and cut to fit two more 1x2s to glue inside the box flush to the back.
That gave me a “slot” or space between the blocks to slide the game board into to play the game.
Step 4: Cut Game Board Pieces
All that’s left is cutting the pieces to play the game with. For these, I used a 1 ⅜″ diameter dowel rod.
I sliced these into ⅜″ thick pieces. It helps to set up a stop block on the miter saw to make these cuts a consistent length.
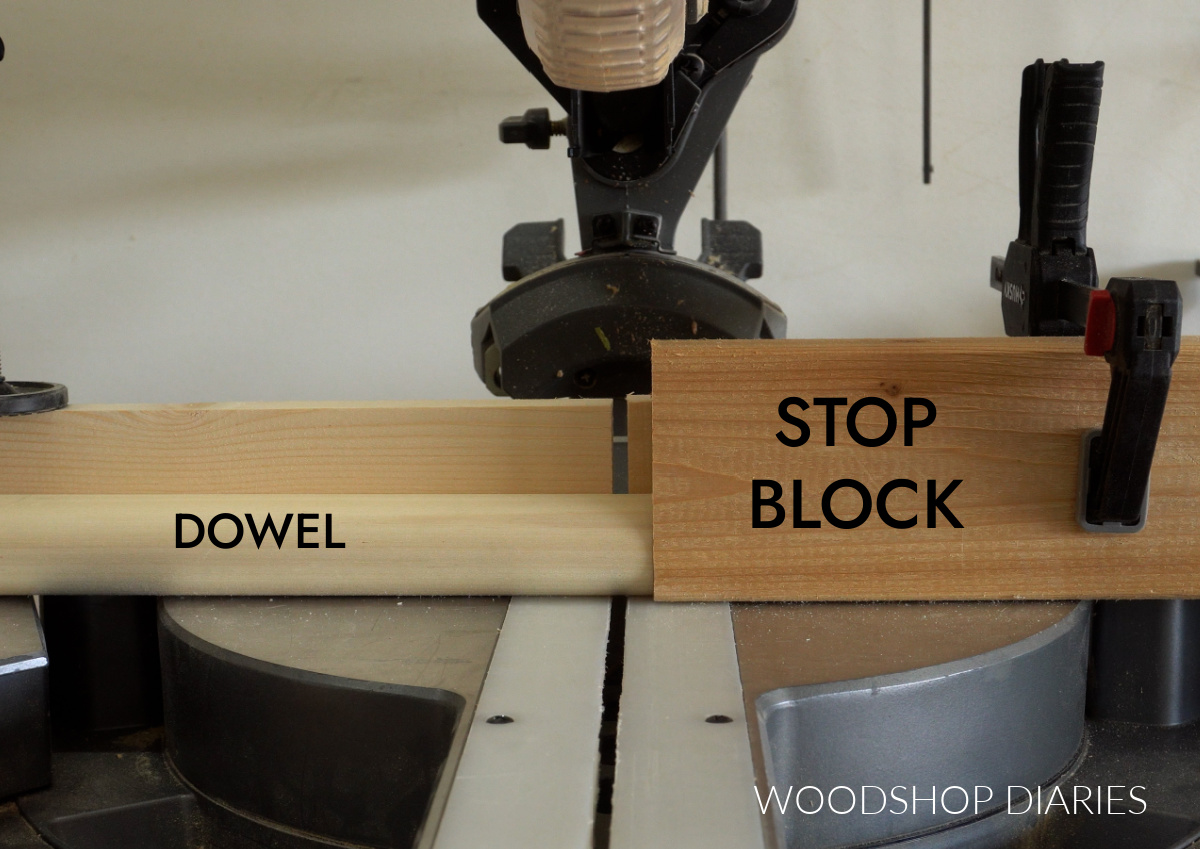
I cut 42 pieces (you probably don’t need that many to play the game, but that’s how many holes are in the game board).
To designate the different pieces, I stained half blue (Minwax Royal Pine Water Based Stain), and the other half red (Minwax Spice Water Based Stain).
Step 5: Finish & Play
To seal the box and game board, I applied a few coats of Minwax Polycrylic, and now this game is ready to play!
To set up, remove the game pieces from the box and slide the board into the slots.
To take down and store away, remove the game board from the slots, place the pieces inside the box, and place the game board on top.

The Basic Rules: One player gets the red game pieces, the other player gets the blue game pieces. Each player takes turns dropping a piece into the game board. The goal is to be the first player to connect 4 of your pieces in a row. They can be horizontal, vertical, or diagonal.
Looking for More easy DIY projects?
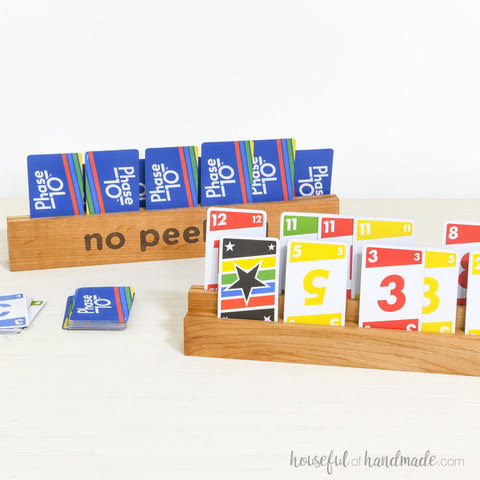
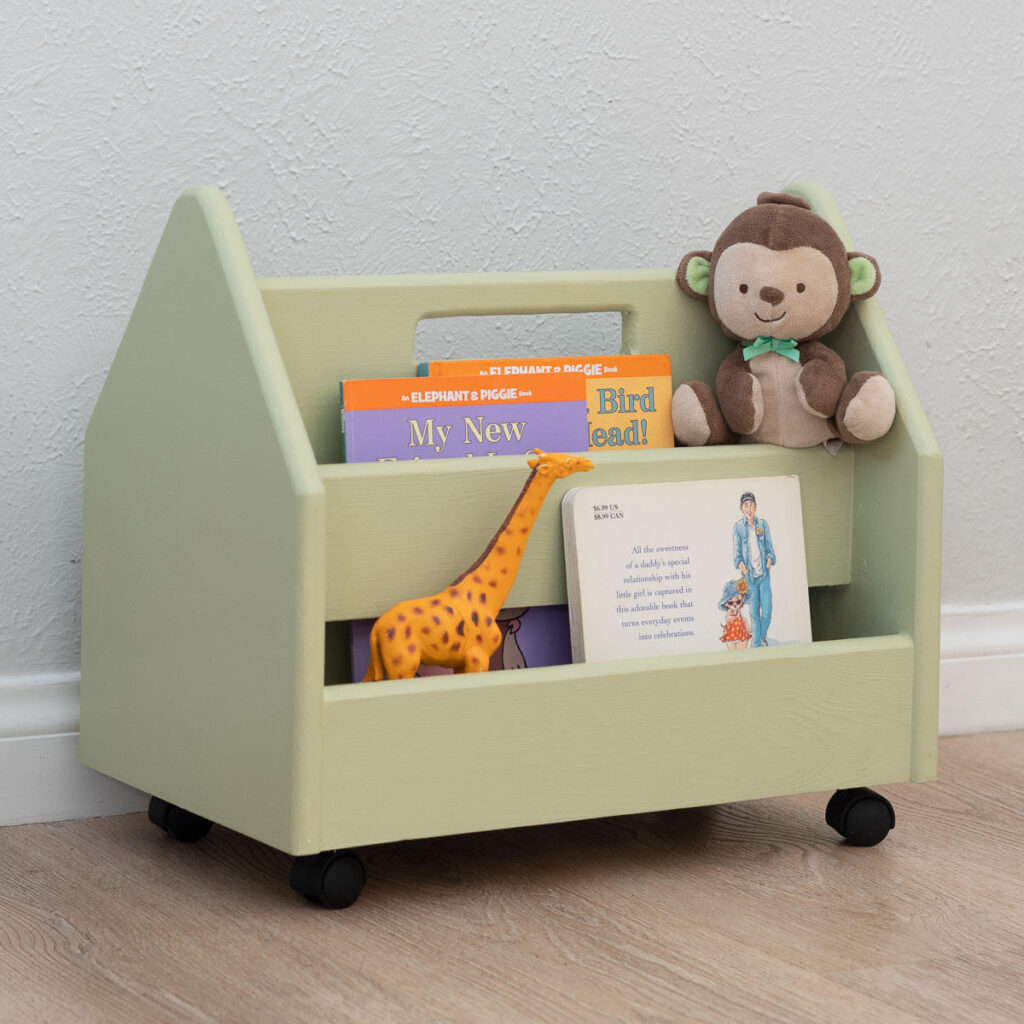
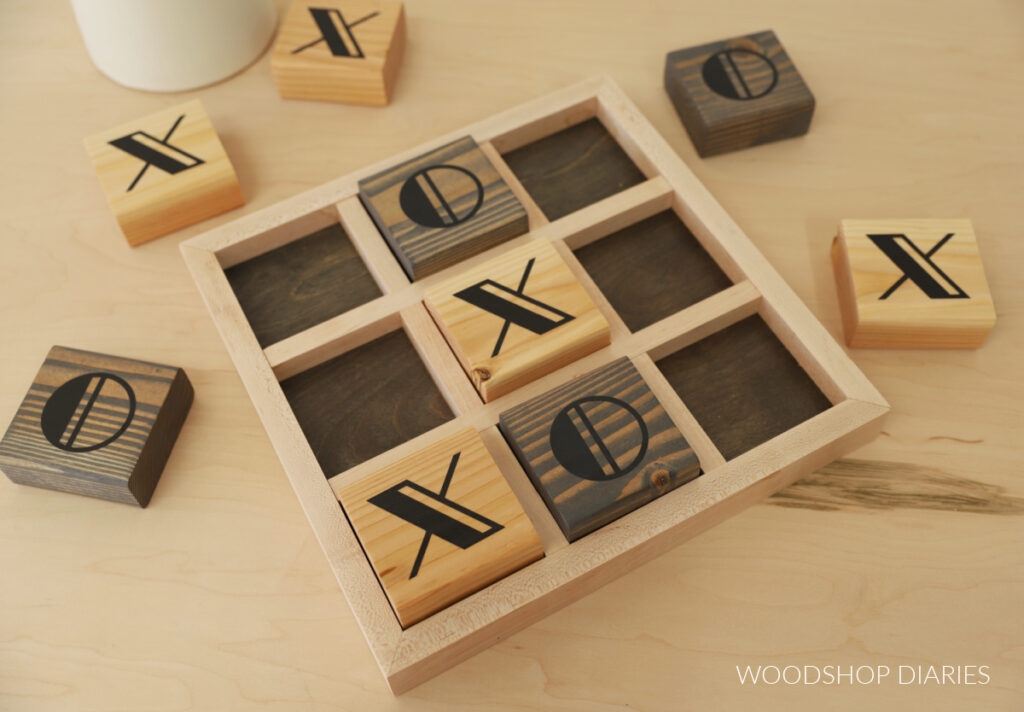
With the upcoming holidays, I’ve teamed up with my friend, Kati, from Houseful of Handmade and Anika from Anika’s DIY Life to share some easy and fun gift ideas that you can make this season!
I’ve included their projects in the gallery below plus a few of my own (click on the images to see how to make each one).
Enjoyed this project and want to save it for later? Be sure to pin it or share it to your favorite social channel!
Until next time, happy building!