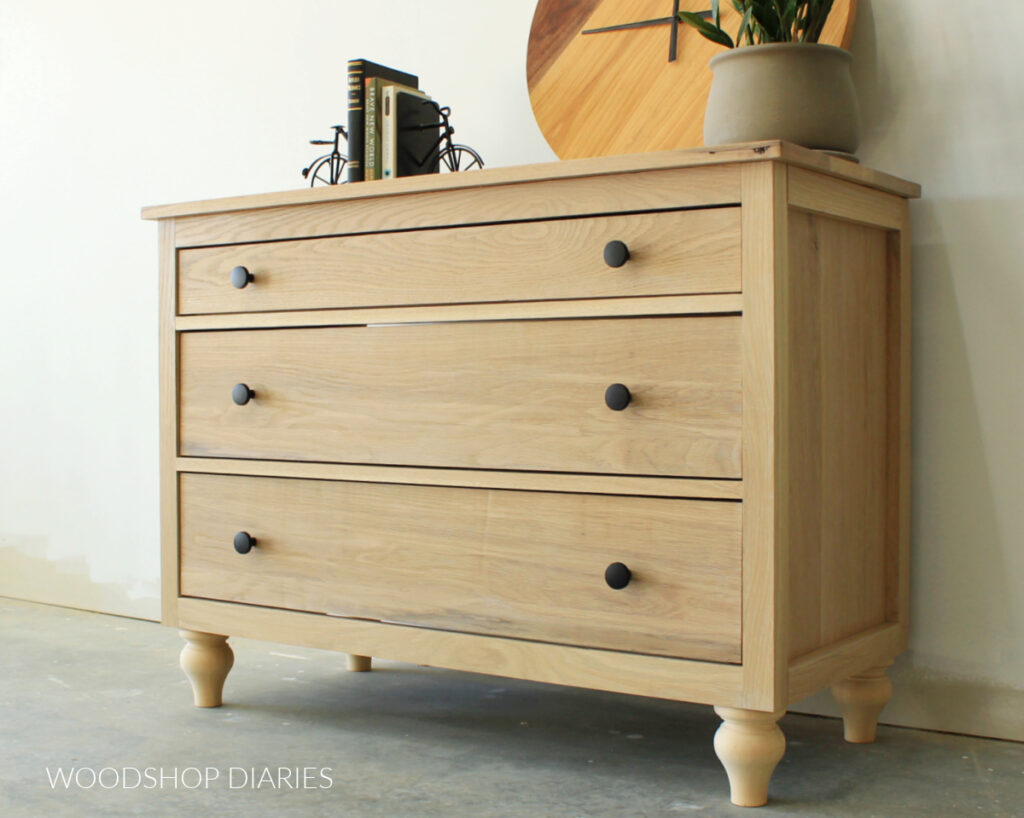
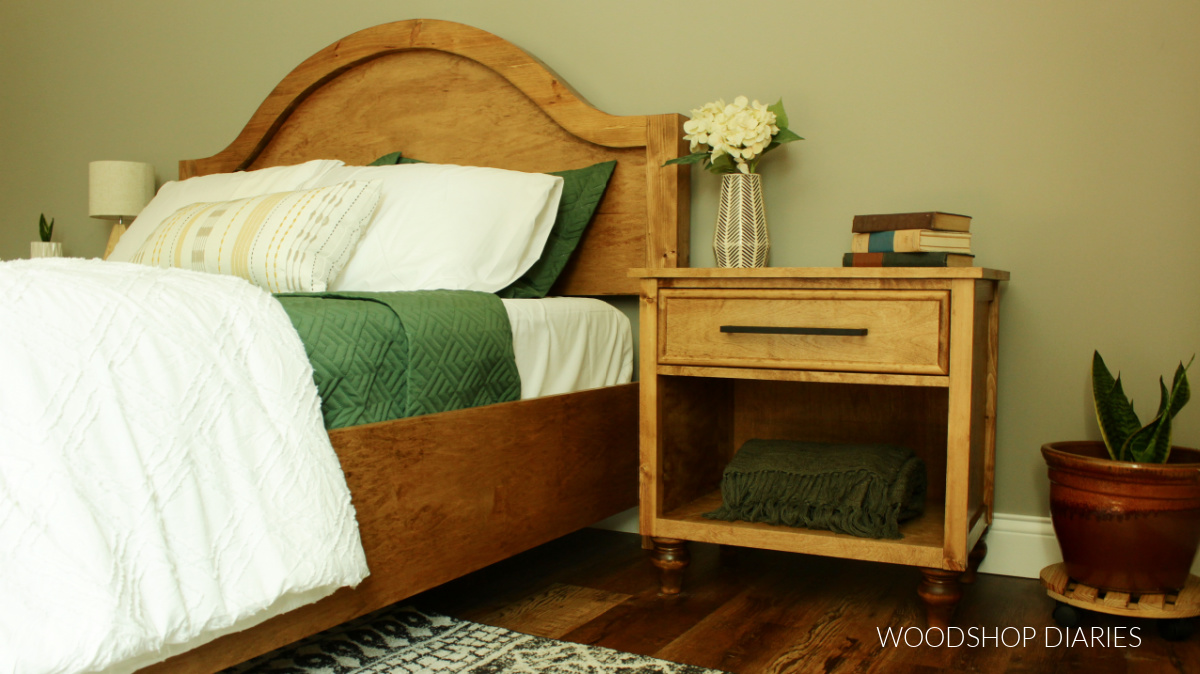
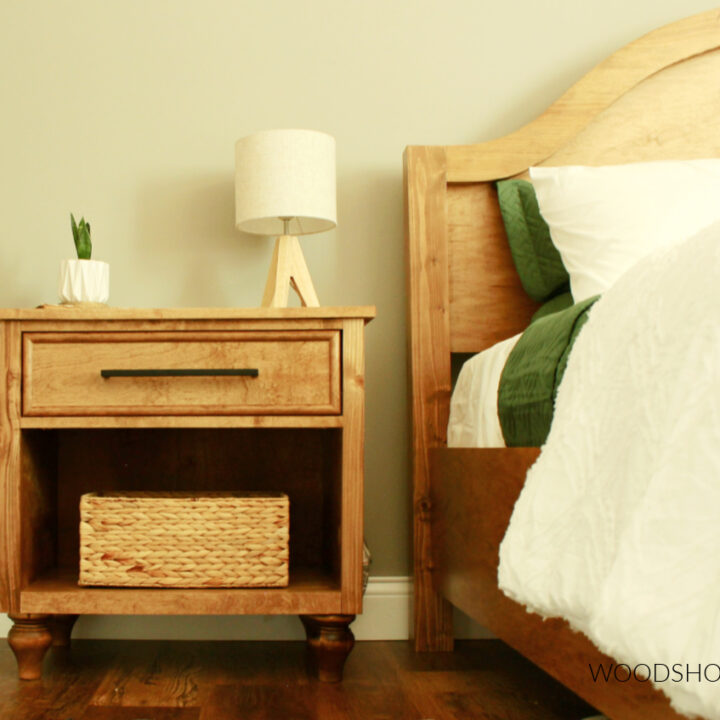
In this post, I’m sharing how to build a simple DIY one drawer nightstand with an open storage shelf and decorative feet!
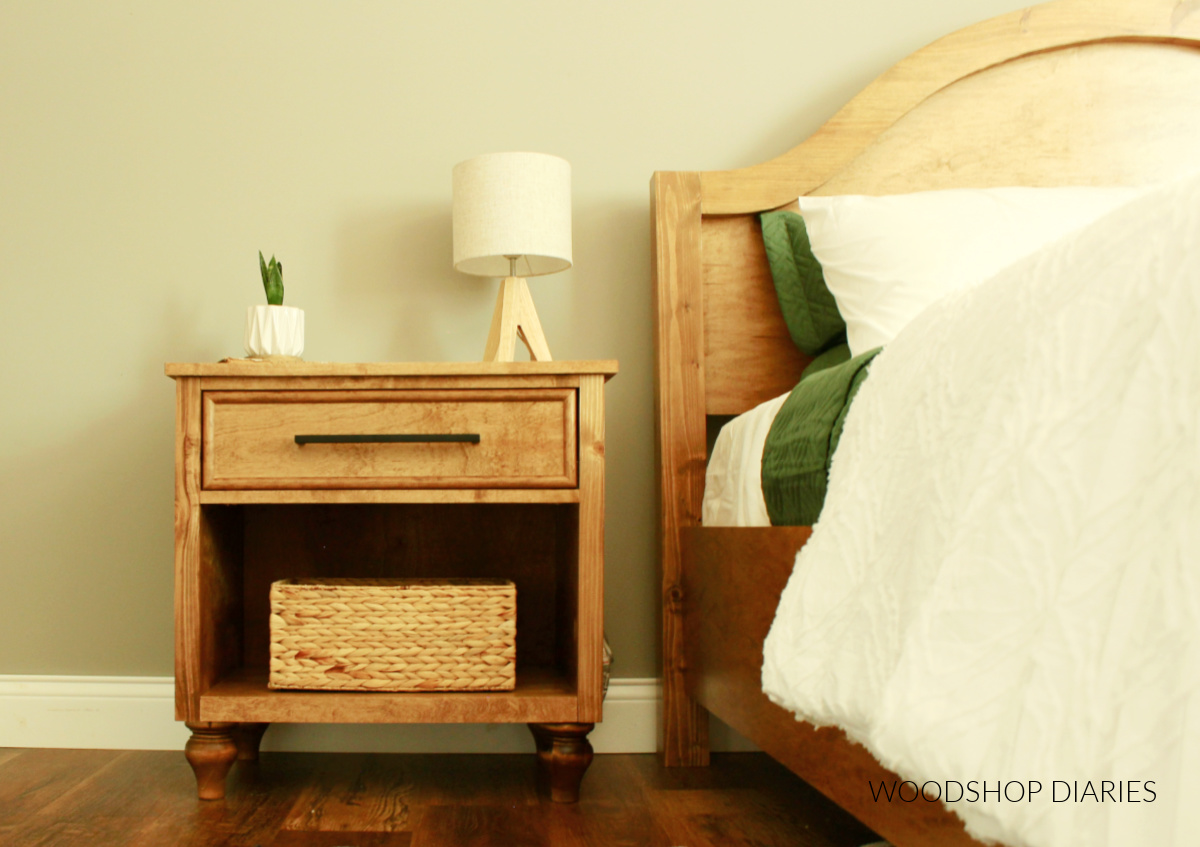
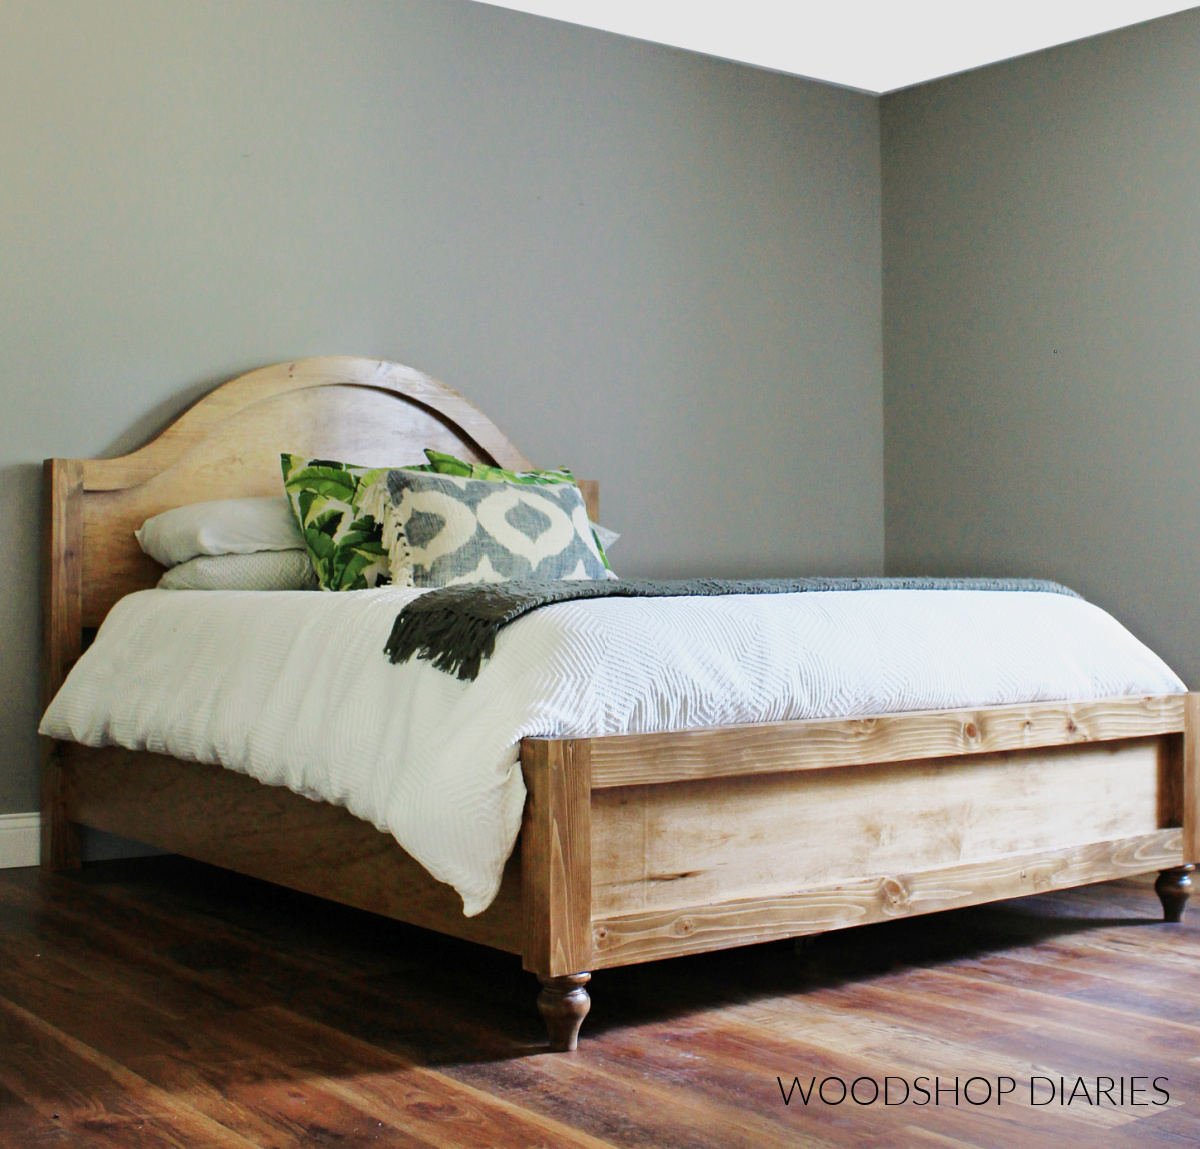
A few posts ago, I kicked off the start of a new matching bedroom furniture series by sharing a DIY bed frame with an arched headboard.
.
And now, I’m bringing you the matching DIY one drawer nightstand plans!
.
This simple bedside table design features a single drawer and a large open cubby for storage.
.
Tuck away remotes, jewelry, and keys in the drawer, and use the larger storage for books, blankets, or baskets.
.
Whatever you choose to store away, I’ve got the build plans and video for you below!
Notes About this DIY One Drawer Nightstand Project:
The plans and materials list below are for ONE nightstand/bedside table. To make a pair, simply double up on the lumber and hardware.
.
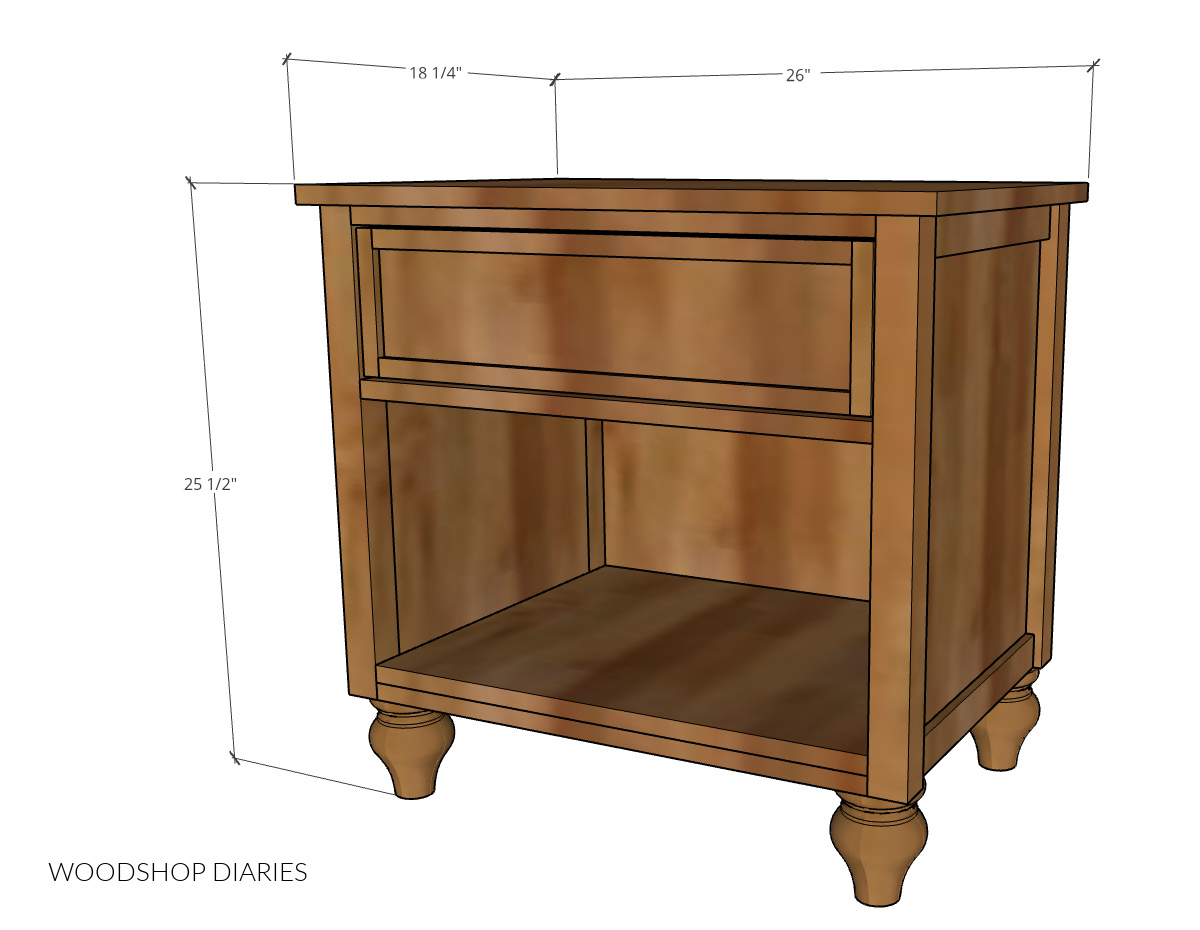
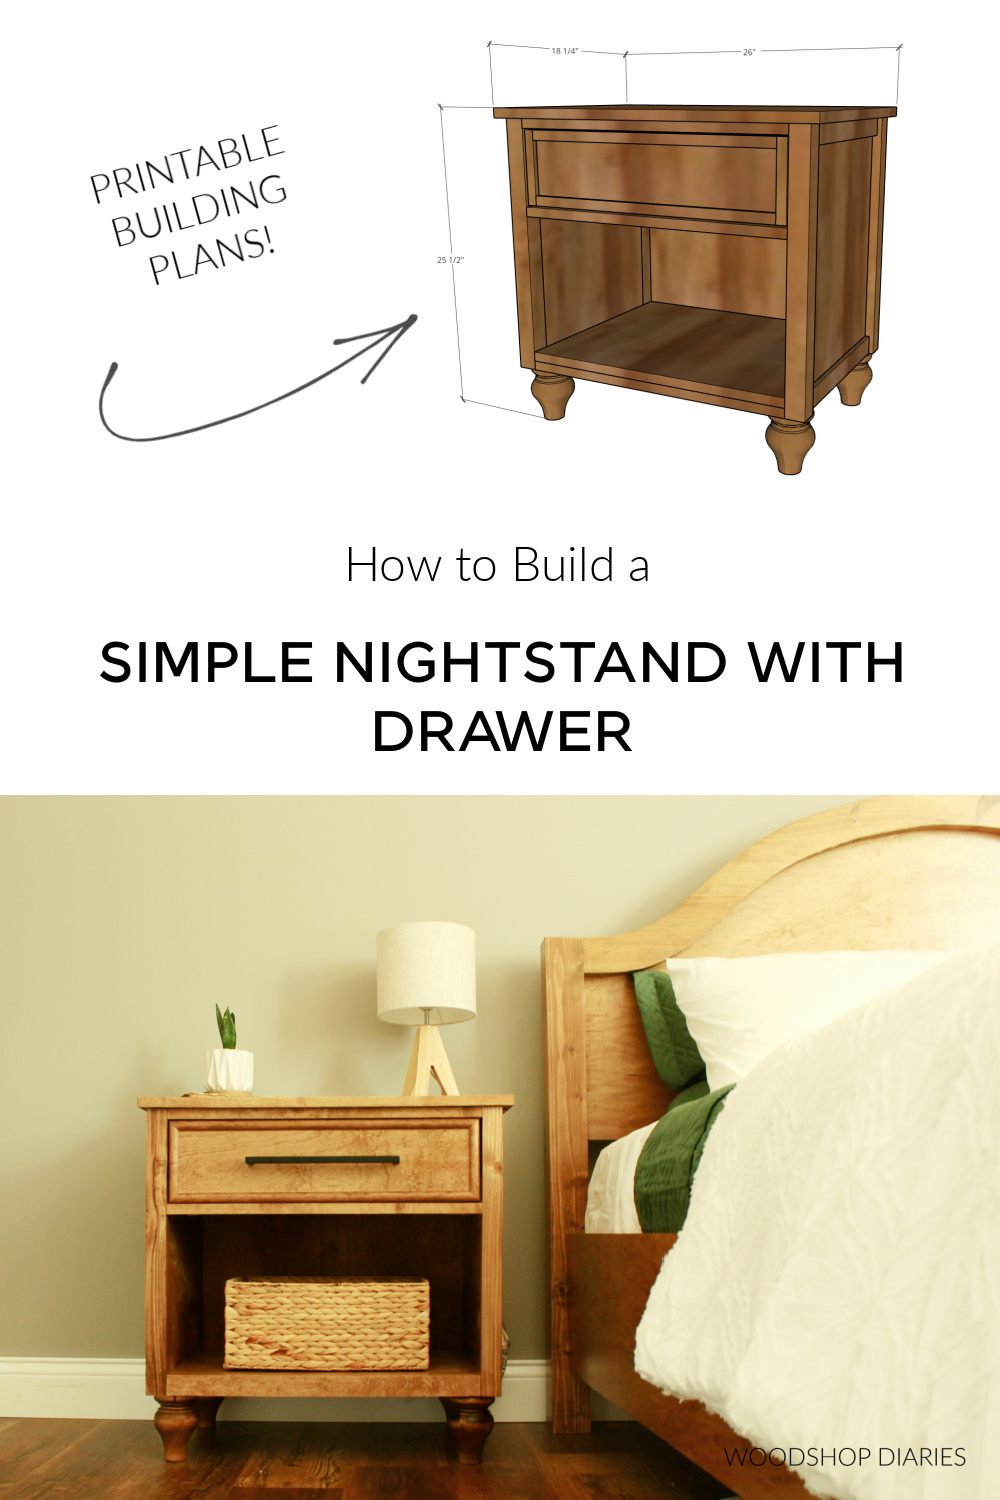
The overall dimensions of this DIY one drawer nightstand with storage cubby are 25 ½″ tall, 18 ¼″ deep and 26″ wide.
This was a fairly simple build, but you may find these posts and guides helpful throughout the build process:
.
Tools & Materials
*This post contains affiliate links. See website policies.
Tools:
- Circular Saw and straight edge (or cutting guides)
- Miter Saw
- Table Saw (optional)
- Drill/ Driver
- Brad Nailer (optional)
- Pocket Hole Jig
Materials:
- (1) 2x2x8 board
- (1) 1x3x8 board
- (1) 1x2x8 board OR ¼″ x 1 ½″ x 8 lattice trim (to trim sides)
- (1) 4’x4′ sheet ¾ ” plywood (note this is half of a full sheet)
- (1 2’x4′ sheet ¼″ plywood (note this is a quarter sheet)
- (1) 8′ stick half round or other molding to add to drawer front (optional)
- (4) 4 ¾″ tall furniture feet
- (4) threaded inserts for furniture feet
- (1) pair 16 ” drawer slides
- ¾″ & 1 ½″ Edge Banding (optional)
- Wood Glue
- 1 ¼″ pocket hole screws
- 1 ¼″ wood screws
- Wood finish (as desired)
How to Build a Simple One Drawer Nightstand
Now, we are ready to start building! I’ve got you covered with all the instructions, details, and printable plans below, but if you’re into videos, I’ve got that for you, too:
If you enjoyed the overview video and want to see it more in depth, you can check out the full length video on YouTube at the bottom of this post!
.
Grab the printable building plans for this one drawer nightstand with all the dimensions, cut list, and diagrams here:
Step 1: Assemble Side Panels
The side panels are made of 2x2s and ¾″ plywood panels. So, I cut 4 pieces of 2×2 and two plywood panels for each nightstand according to the cut list in the build plans.
.
Then, I drilled ¾″ pocket holes along the edges of the plywood panels.
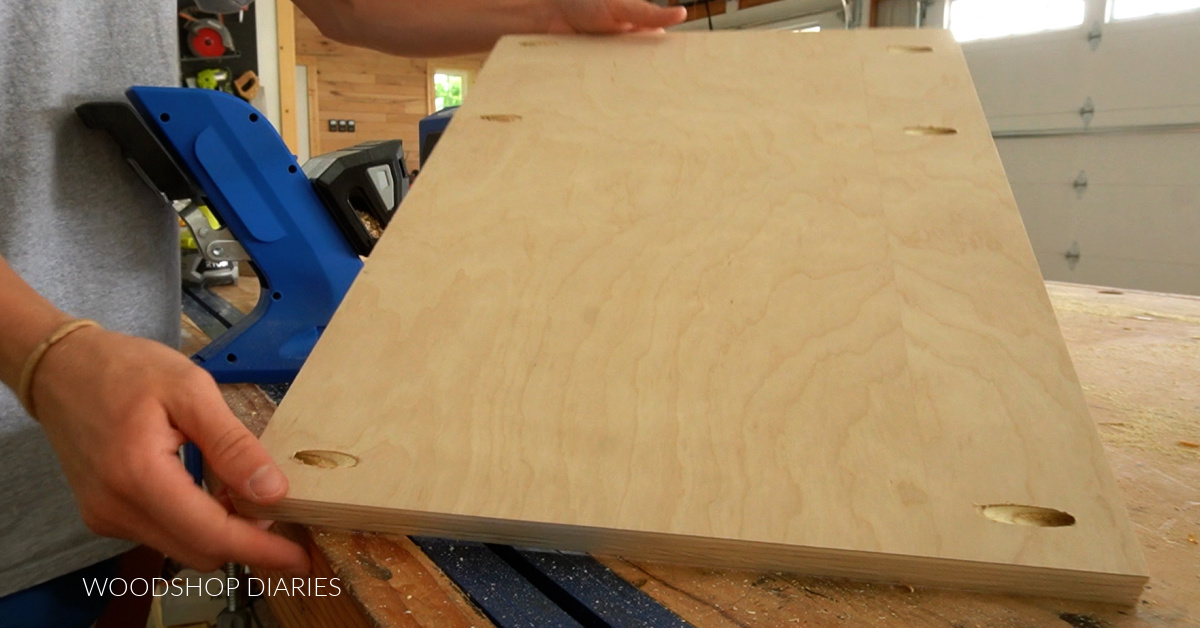
So that the pocket holes don’t show in the final product, I was careful to drill the top two pocket holes within 7 ½” of the top and the bottom pocket hole within 1 ½” of the bottom. These holes will all be covered later.
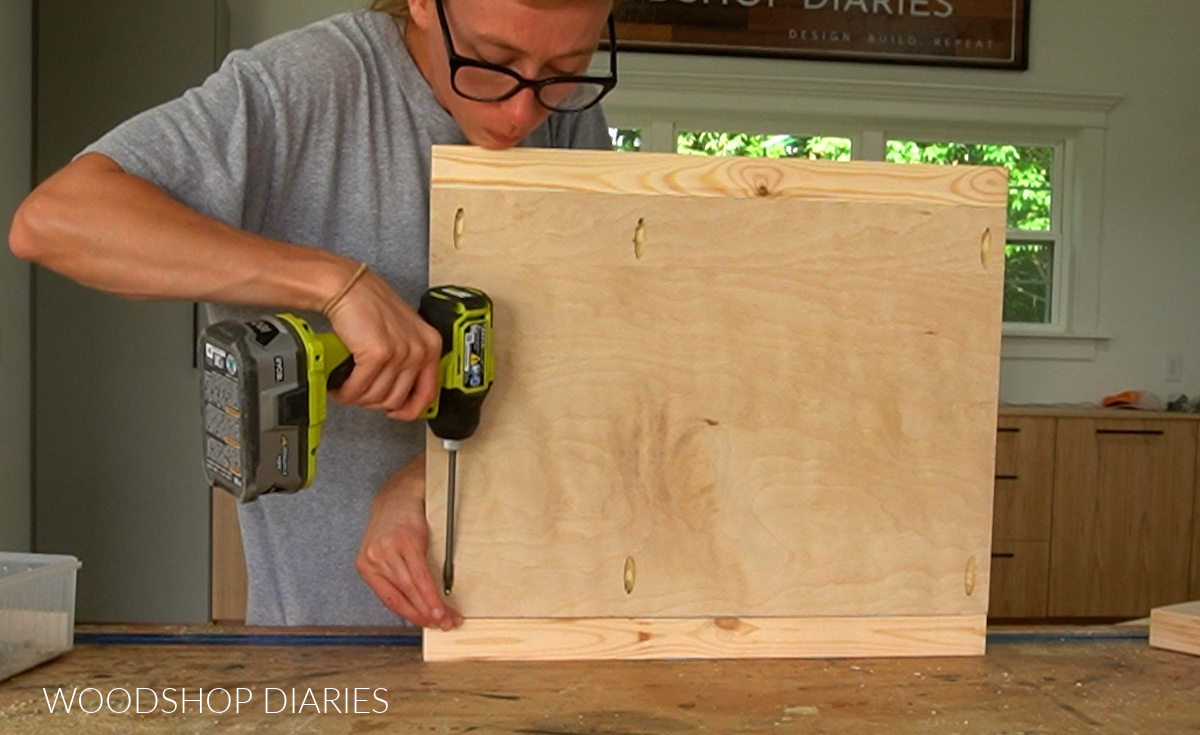
I assembled the sides using 1 ¼” pocket hole screws so that the panels were all flush across the inside.
Step 2: Assemble Bottom Panel
The bottom panel is cut from a piece of ¾″ plywood, but to make the front appear thicker and to give somewhere to install the threaded inserts for the feet later, glue a piece of 1×3 on the bottom flush to the front edge.
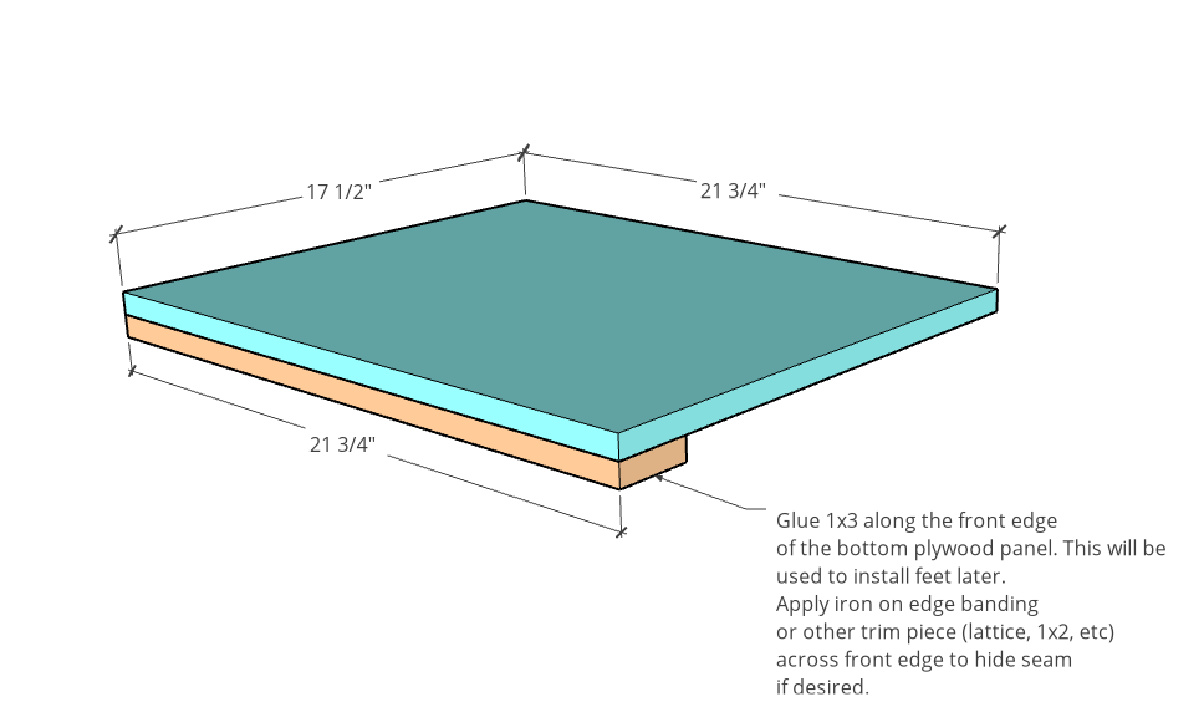
To hide the seam on the front, you can either apply 1 ½″ iron on edge banding, or glue/brad nail a piece of 1×2 or lattice trim across the front.
.
If you do add trim on the front, you’ll need to trim the same thickness off the back edge so that the bottom panel’s overall depth stays 17 ½″.
Step 3: Assemble Nightstand Body
I cut three 1x3s for the top supports and to add below the drawer and drilled ¾″ pocket holes into the ends of each piece and into the ends of the bottom panel from step 2.
.
Then, I used 1 ¼″ pocket holes to assemble the main nightstand body.
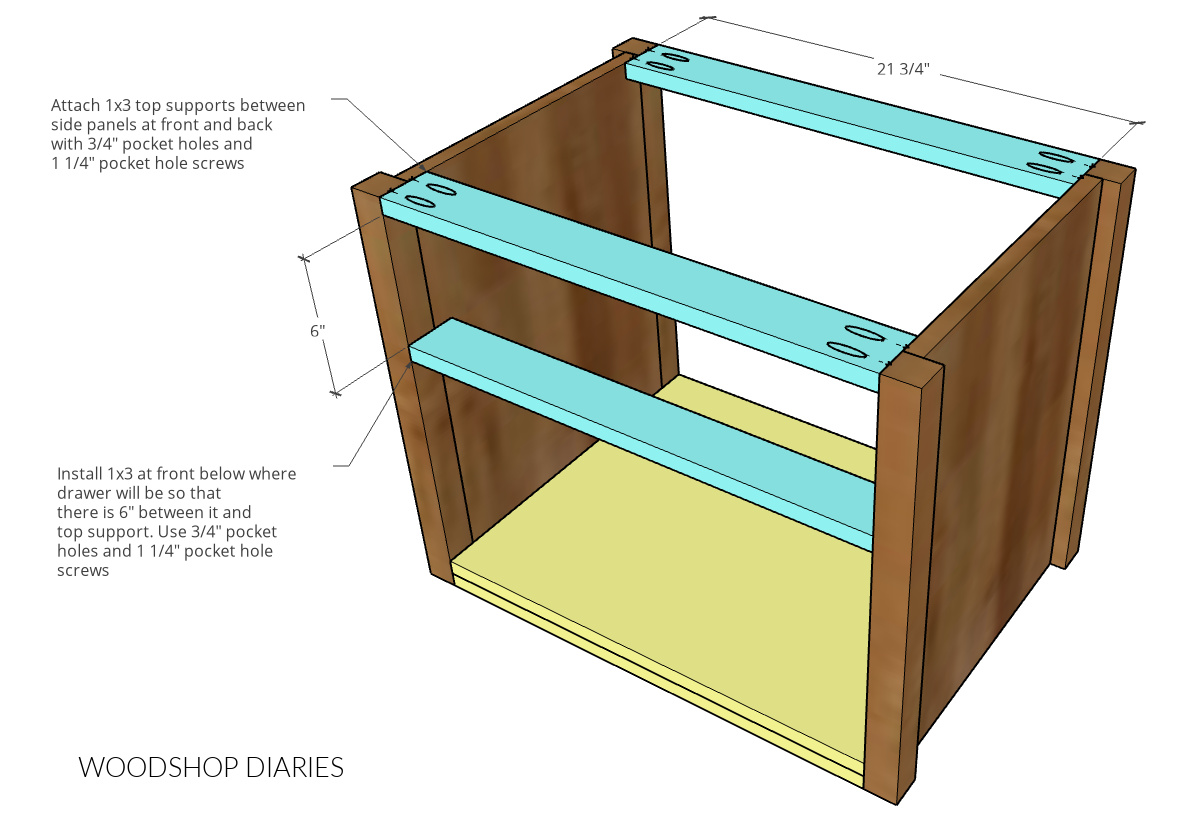
Two of the 1x3s go at the top–one at the front and one at the back. And the third is installed 6″ below the top support at the front.
.
This third piece is basically just a trim piece that goes underneath the drawer.
.
The bottom panel is flush to the bottom at the front, but I made sure the back side was ¾” up from the bottom.
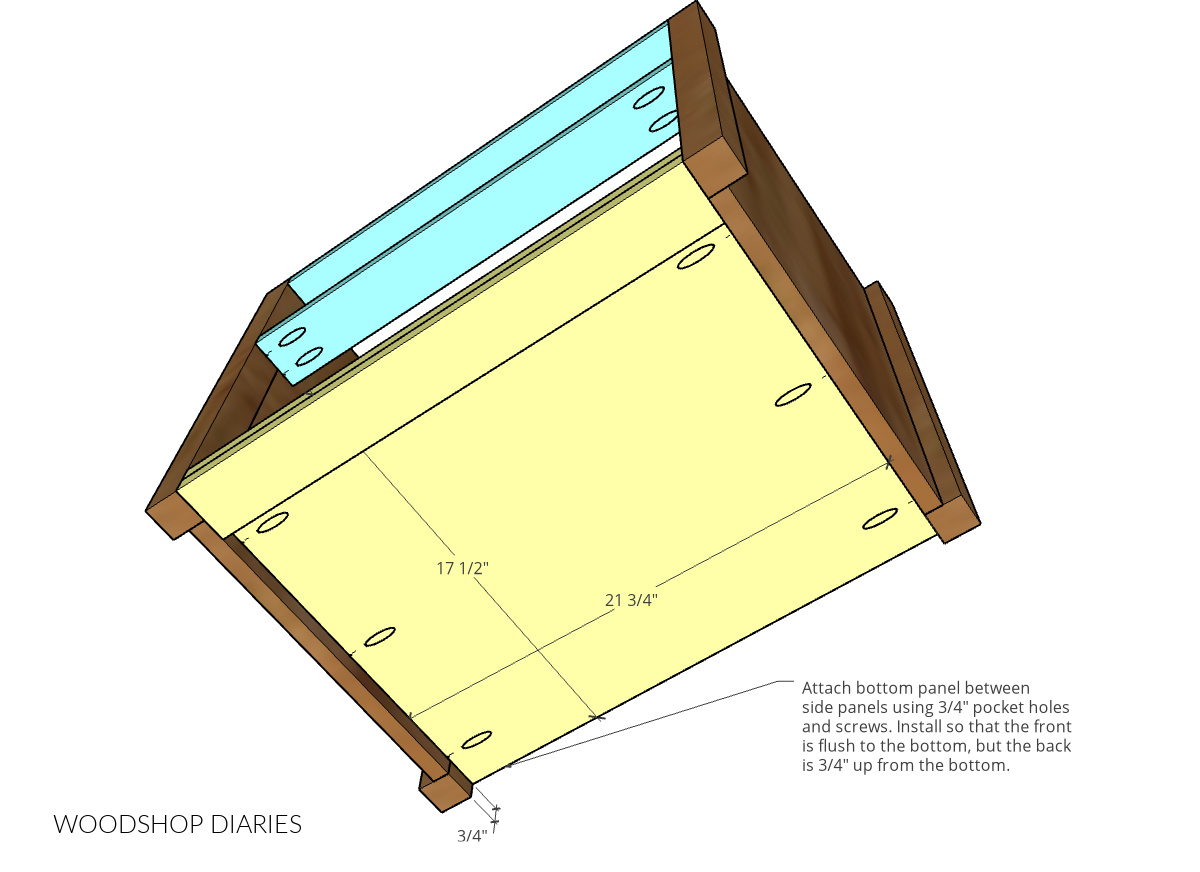
I made sure to keep the side panels correctly oriented so the top two pocket holes stay toward the top.
Step 4: Install Drawer Slides
I used 16” ball bearing drawer slides in these nightstands and installed them in the top section so that they were about 1 ¼” inset from the front edge.
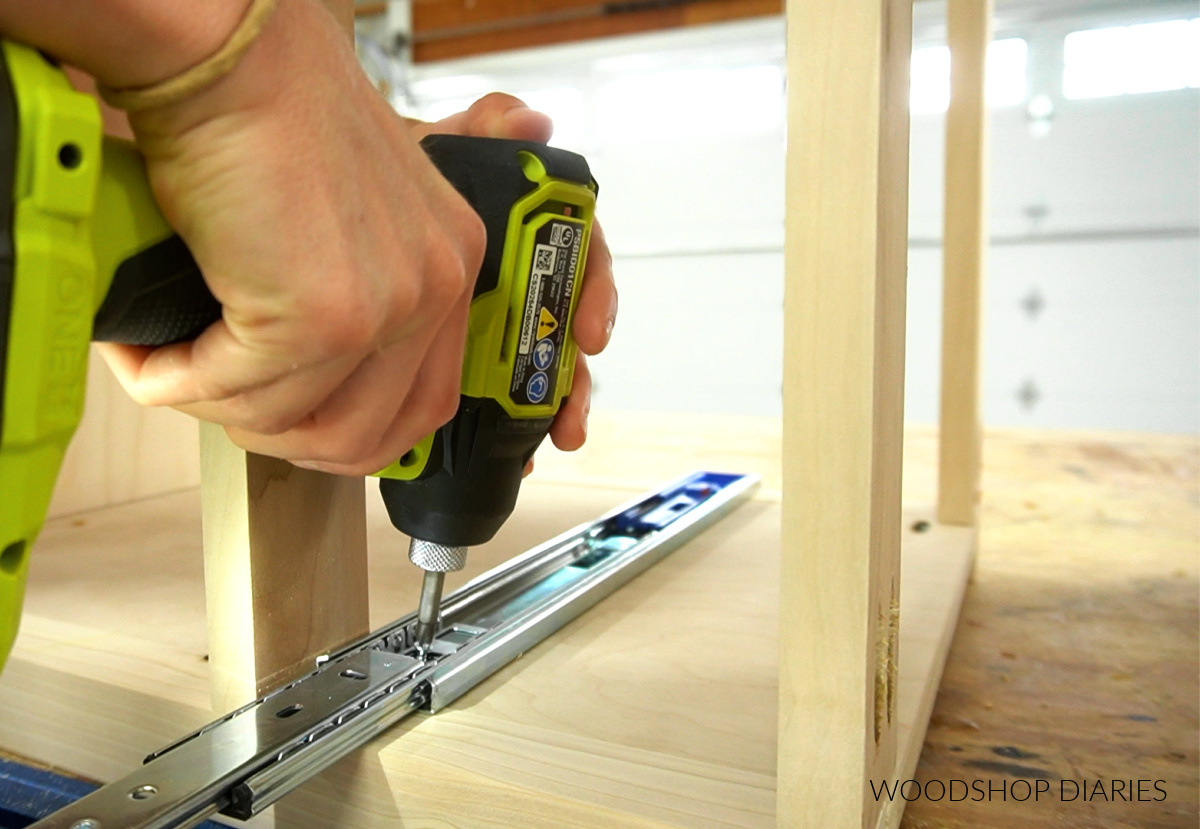
I’ve got a detailed guide on how I install drawer slides that will explain how exactly to attach these.
Step 5: Install Feet
The feet I used came with a threaded rod installed in the top. These will screw into a threaded insert.
.
But first, I had to install these inserts at each corner.
.
I cut the remaining 1×3 in half and glued them into the back corners. You can screw and nail these as well, but I recommend letting the glue dry before installing the inserts.
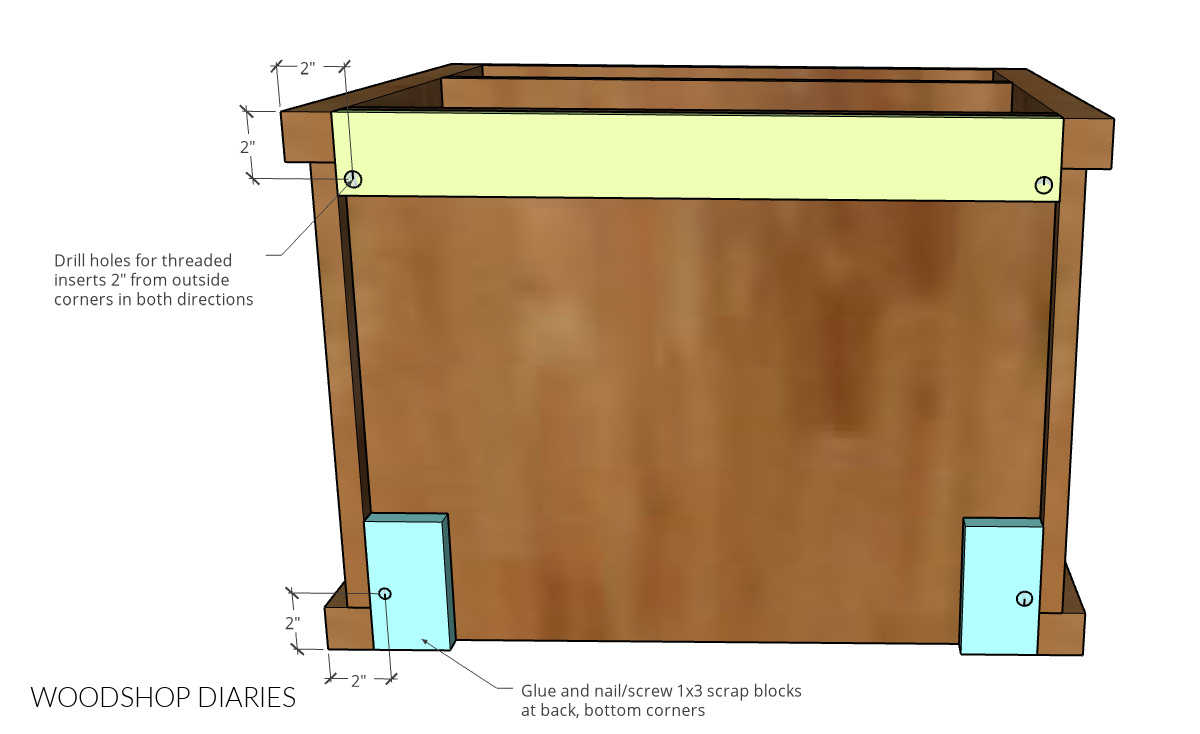
I marked 2” in from each edge at each corner and drilled a hole larger than the shank of the insert, but smaller than the threads—just like predrilling for a screw.
.
Then, I used the included wrench to screw these into the holes until they were flat to the surface of the wood.
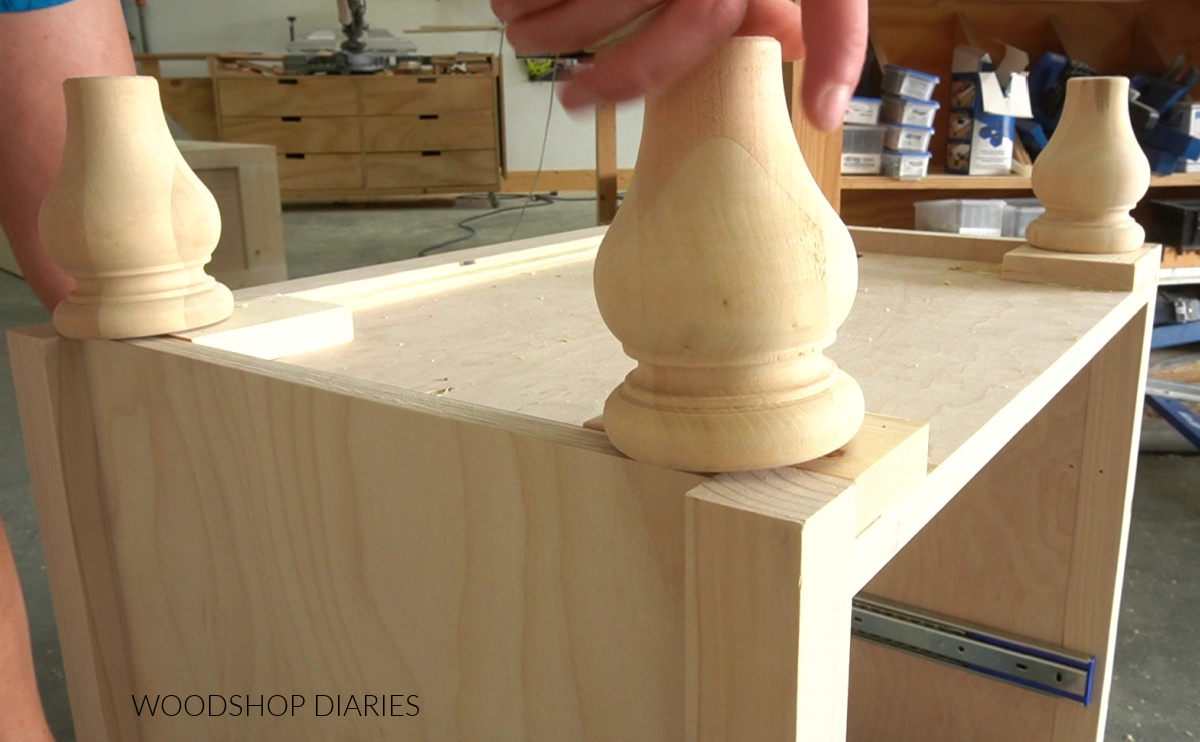
Then, I simply screwed these feet in.
Helpful Tip: If they don’t seem to bite into the threads, take some pliers and back out the threaded rod in the foot so it sticks out longer. Some of mine were pretty short.
Step 6: Build Drawer Box for Nightstand
Now, let’s move to my favorite part—the drawers.
.
I cut the drawer box pieces from the leftover ¾″ plywood according to the cut list in the plans.
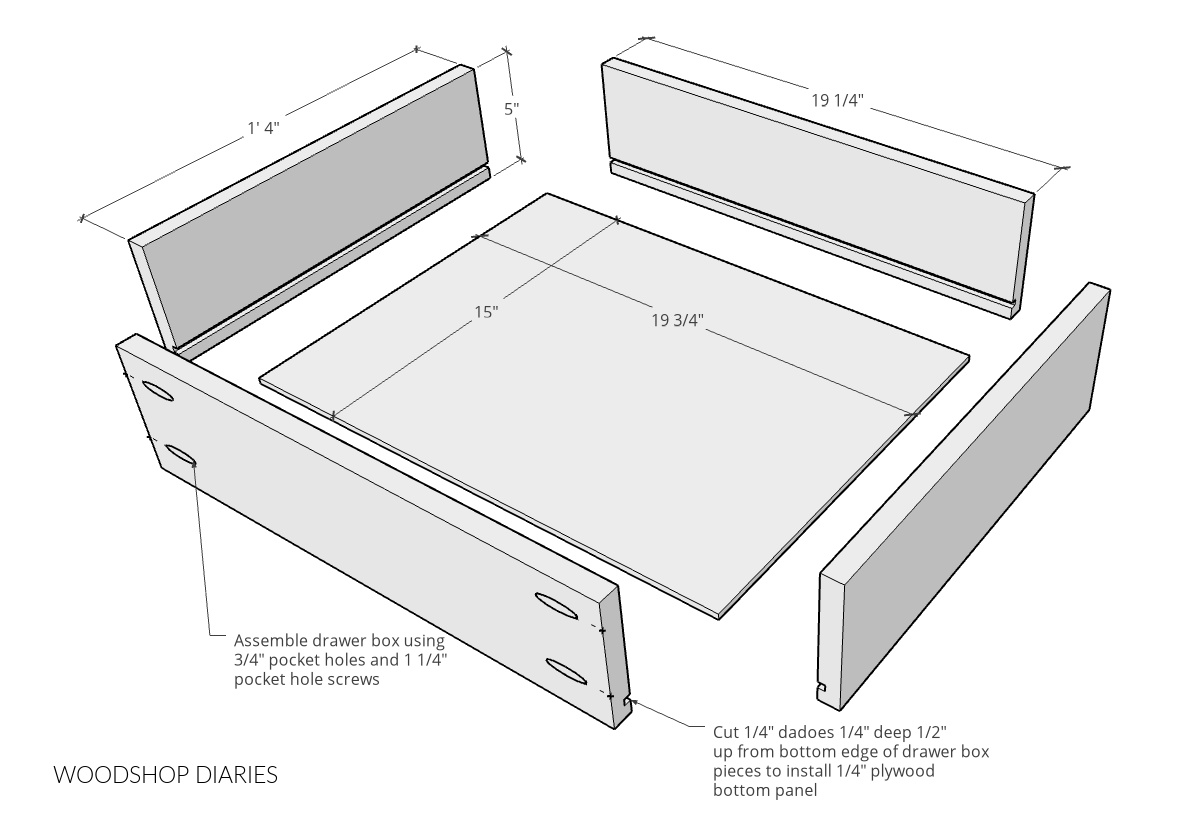
Then, I set up my table saw to cut dadoes in the drawer box sides to install the drawer bottom panel.
.
If you don’t have a table saw, you can also use a router instead, or skip the dadoes altogether and just glue and staple/screw ¼″ plywood bottom on after the box is assembled.
.
Check out this post on how to build drawers.
.
I applied iron on edge banding to the drawer box tops. Edge banding is optional, but it makes the plywood edges look a lot cleaner.
.
Then, I drilled ¾” pocket holes into the front and back pieces of the drawer boxes, then assembled using 1 ¼” pocket hole screws.
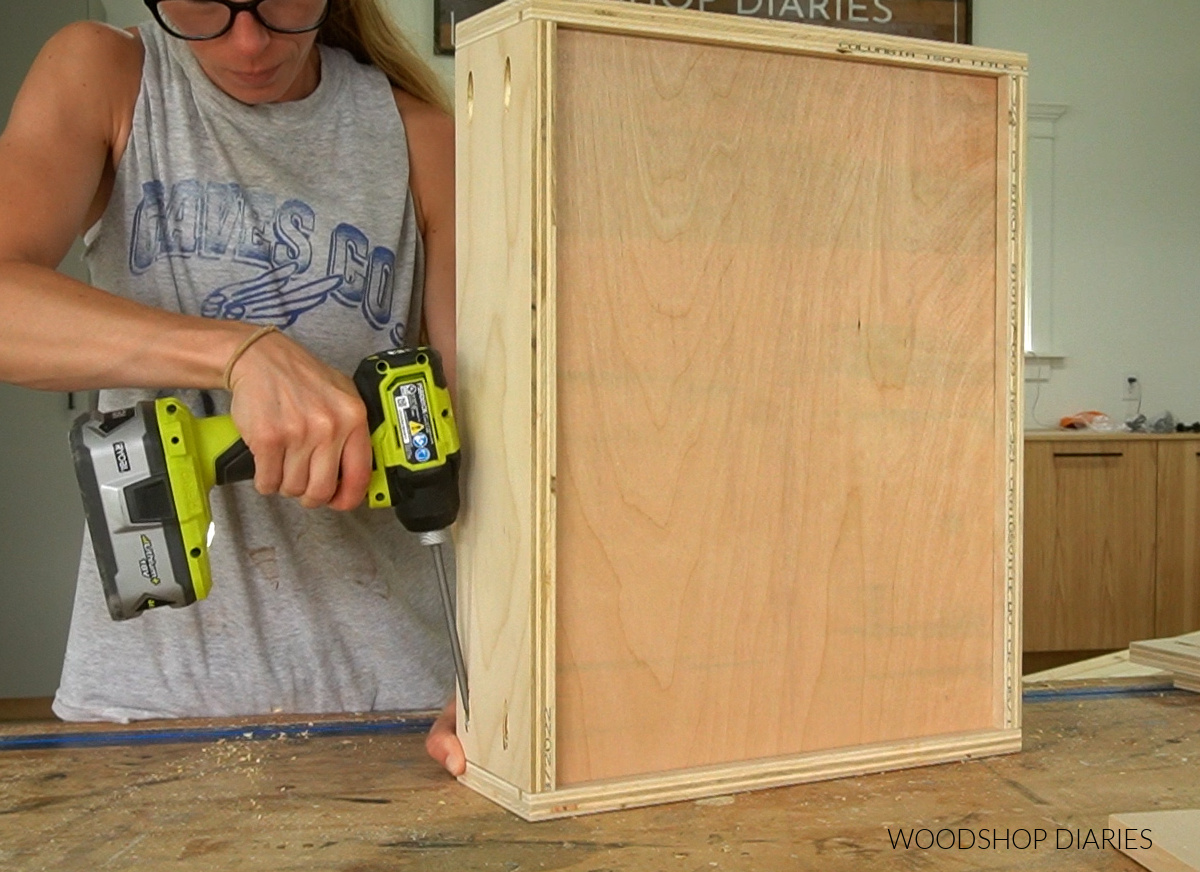
I cut and installed a ¼” plywood bottom panel to slide into these dadoes before adding the fourth side.
Step 7: Install Drawer Box
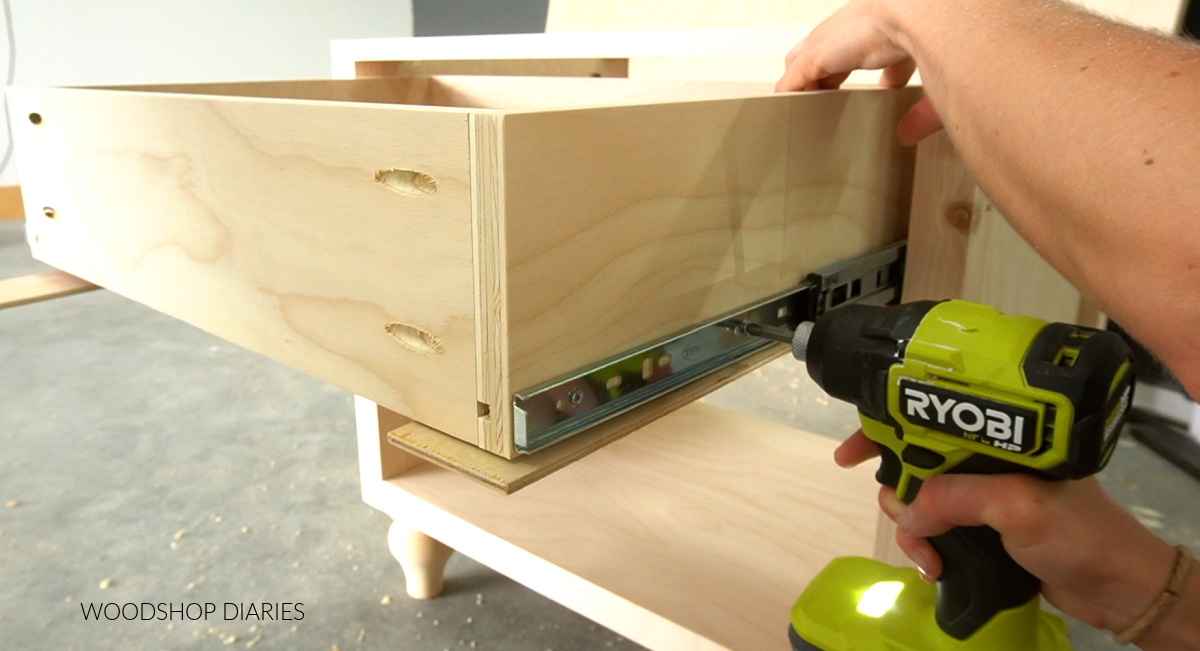
I installed the drawer box onto the slides in each nightstand so that it was 1 ¼” inset from the front edge to allow for the inset drawer front.
Step 8: Install Drawer Front
I cut the drawer front from ¾” plywood, but to dress it up a little, I added some half round molding along the front edges.
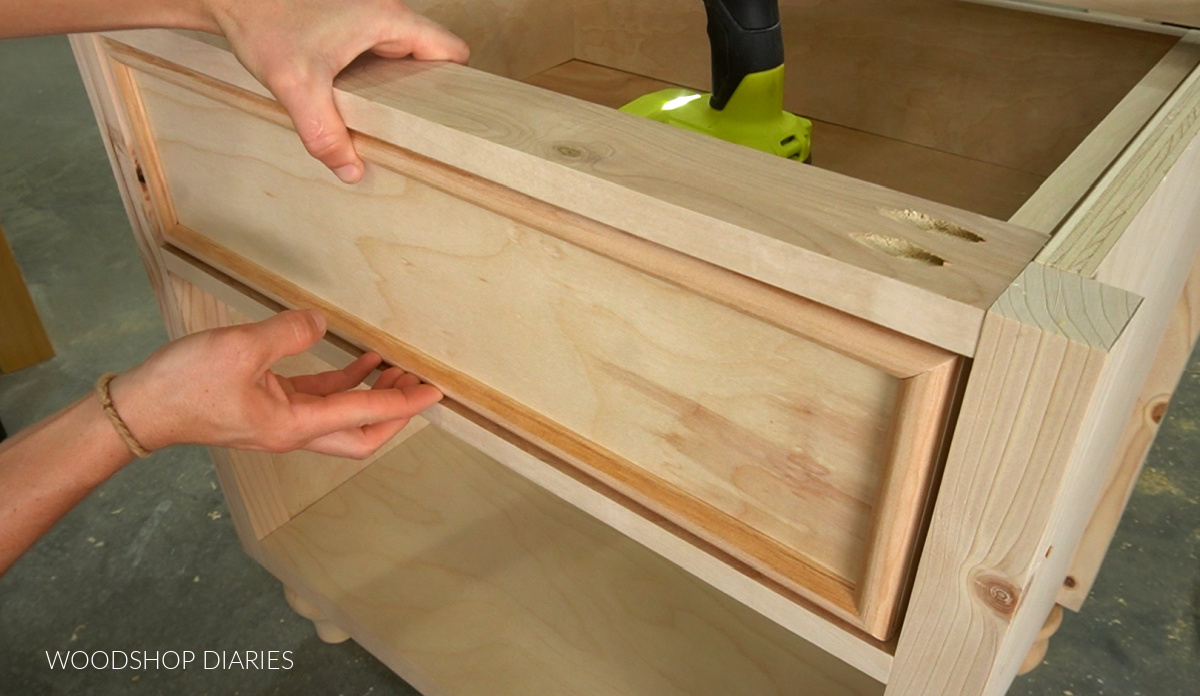
This is totally optional and you could use a different type of molding if you’d rather.
.
I mitered these corners 45 degrees and cut the pieces to fit, then used some fast dry wood glue to attach them.
.
I installed this front onto the drawer box using 1 ¼” screws from the inside so that there was about ⅛” gap around all sides of the drawer front.
Step 9: Add Top to Nightstand
To add the top, I needed to remove the drawer to access the supports.
.
So I used the little tabs on the slides to slide the drawer box out, then flipped the top upside down and the nightstand on top of it.
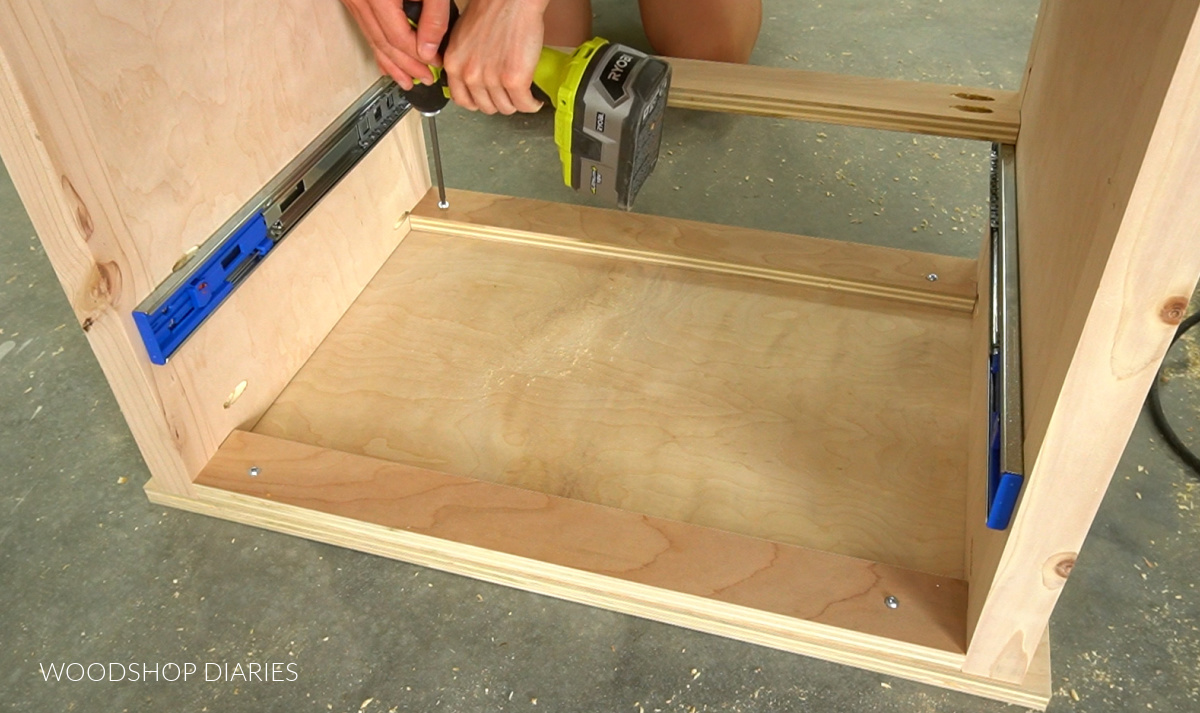
I centered it side to side and made sure the back edges were flush, then used 1 ¼” screws to secure it through the top supports.
Step 10: Add Trim to Bedside Table Sides
To finish up the sides, I cut some thin lattice trim to fit on the side panels at the top and bottom.
.
I used ¼” thick lattice trim for this because it added another dimension since it was thinner, but you could certainly use 1x2s here instead if you’d rather.
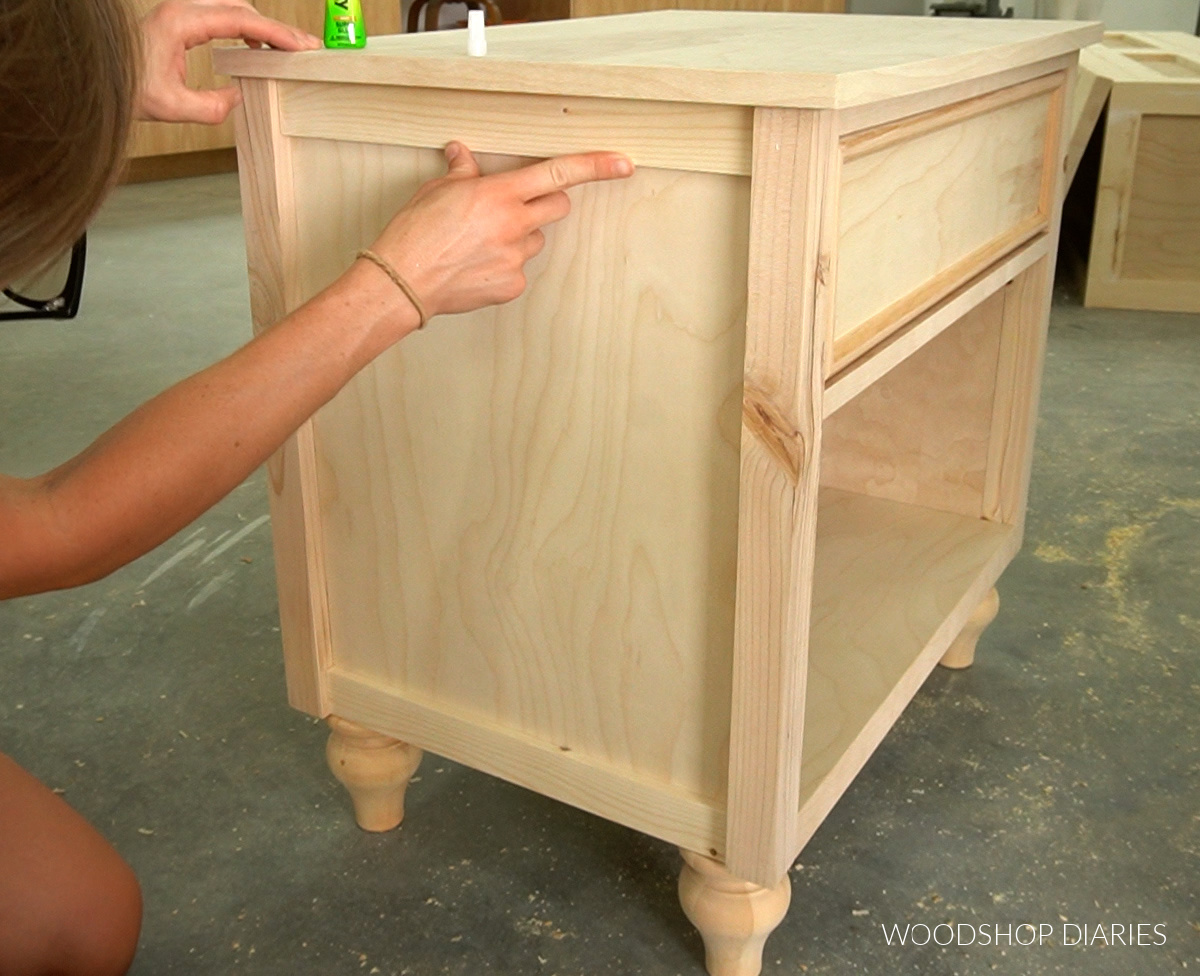
Again, I used fast dry wood glue to attach these, but regular wood glue would work as well with a few clamps to hold until it’s dry.
Step 11: Add Back Panel
I actually hadn’t originally planned on adding a back panel here, but after I finished building it, I decided to add one.
.
The back is totally optional…if you like it more open, you can skip it. But I cut a piece of ¼” plywood to cover the back side.
.
Before attaching, I stained everything first. Nothing is worse than trying to crawl into a tiny space and stain a back panel.
.
Well…there are probably worse things. But that’s pretty bad.
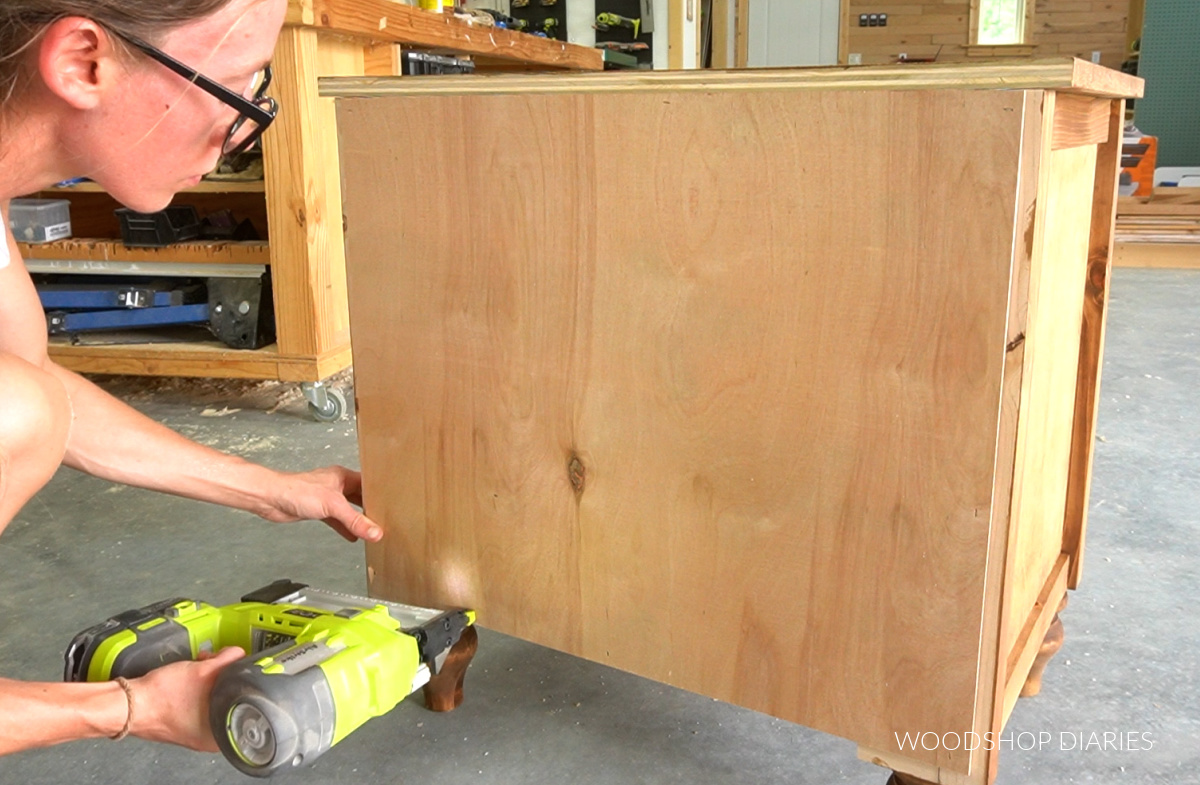
So stained these nightstands with Minwax Early American, then stapled this back panel in place. You can also glue and screw/nail this panel in place.
Step 12: Finish Nightstand with Drawer
The next day, I added a clear coat poly, and the handles, and that completed part 2 of this matching guest bedroom furniture series–the nightstands!
Looking for More Matching Furniture?
I’ve got at least one more piece in this matching set, so if you’re enjoying it, be sure to subscribe to the newsletter to receive priority access to new posts and plans so you don’t miss the rest of the series!
Don’t forget to grab the plans to build your own DIY one drawer nightstand and check out the full video tutorial on YouTube here:
If you’d like to save this for later, be sure to pin it or share to your favorite social channel!
Until next time, friends, happy building!
One Drawer Nightstand
How to build a simple DIY one drawer nightstand with an open storage shelf and decorative feet!
Materials
- (1) 2x2x8 board
- (1) 1x3x8 board
- (1) 1x2x8 board OR ¼" x 1 ½" x 8 lattice trim (to trim sides)
- (1) 4'x4' sheet ¾ " plywood (note this is half of a full sheet)
- (1 2'x4' sheet ¼" plywood (note this is a quarter sheet)
- (1) 8' stick half round molding
- (4) 4 ¾" tall furniture feet
- (4) threaded inserts for furniture feet
- (1) pair 16 " drawer slides
- 1 ½" Edge Banding (optional)
- ¾ " edge banding (optional
- Wood Glue
- 1 ¼″ pocket hole screws
- 1 ¼" wood screws
- Wood finish (as desired)
Tools
- Circular Saw
- Straight edge
- Miter Saw
- Table Saw (optional)
- Drill/ Driver
- Brad Nailer (optional)
- Pocket Hole Jig
Instructions
- Assemble side panels using 1 ¼" pocket hole screws.
- Assemble bottom panel.
- Assemble nightstand body using 1 ¼" pocket hole screws.
- Install drawer slides inset 1 ¼" from the front edge.
- Install feet.
- Build drawer box for nightstand using ¾" plywood according to the plan's cut list. Apply edge banding to the drawer box top for a cleaner finished look.
- Install drawer box.
- Install the drawer front. Dress up the drawer front by adding half round molding along the front edges.
- Add top to the nightstand by attaching to supports using 1 ¼" screws.
- Add trim to bedside table sides.
- Stain your nightstand.
- Add the back panel using ¼" plywood. Optionally you could leave the back open.
- Finish the nightstand by adding a clear coat of poly and handles to your drawer.


