In this post, I’m sharing how to install threaded inserts into your DIY furniture projects to attach wooden legs or feet!
Threaded inserts are used many times when installing furniture feet into projects.
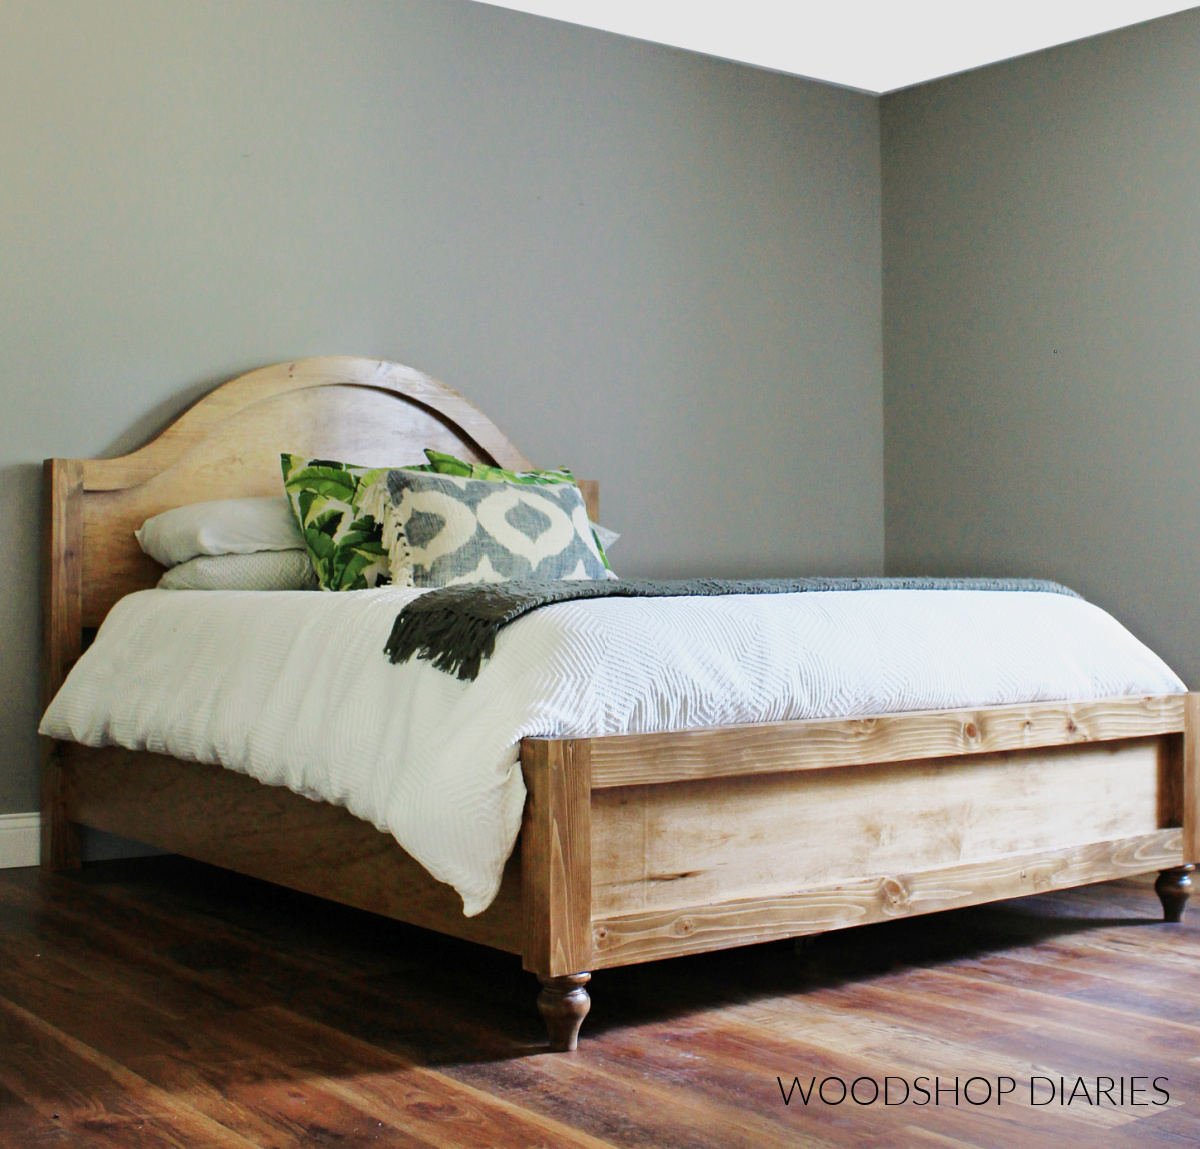
I’ve used them for installing the feet on the footboard of this bed.
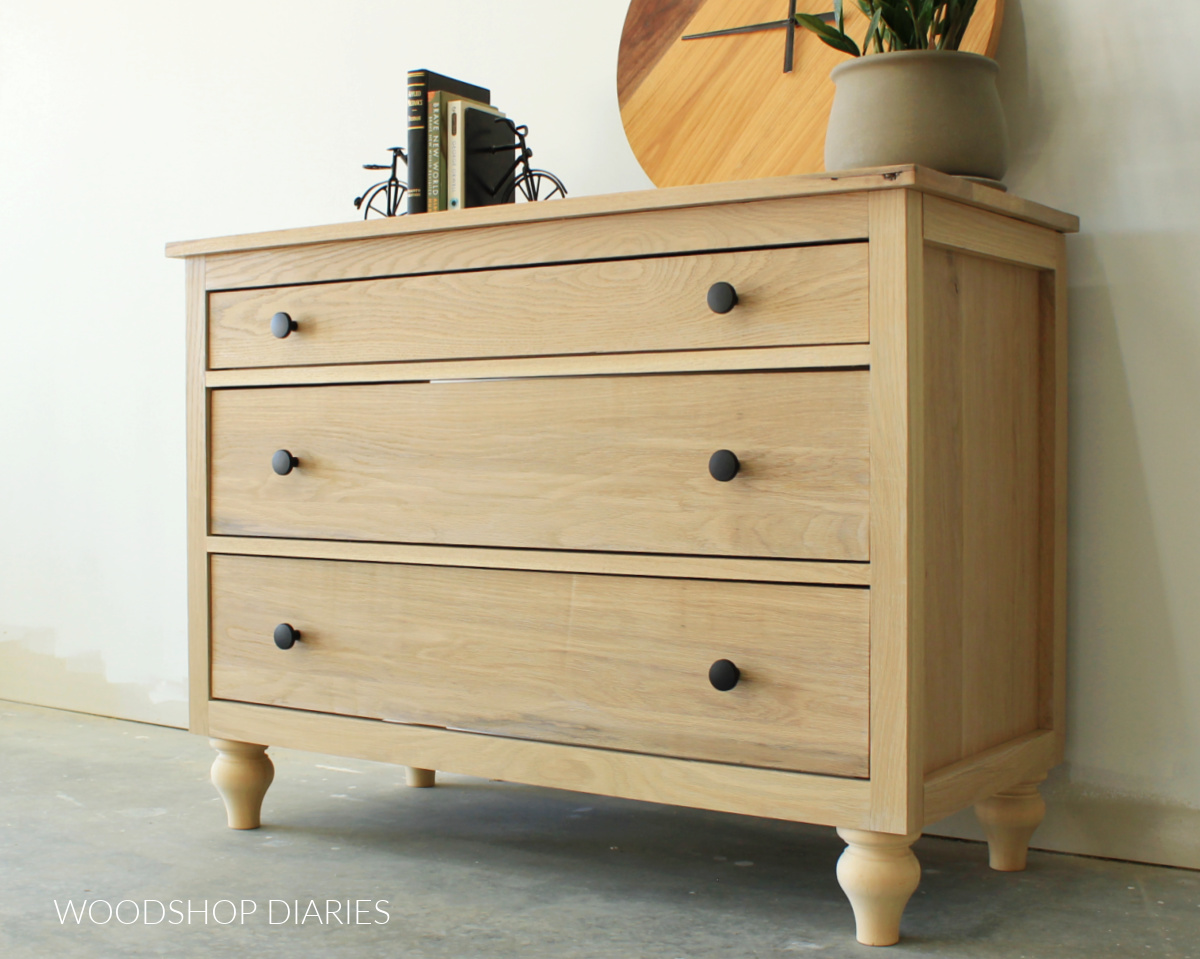
And on this 3 drawer dresser build.
But threaded inserts are also useful for adding levelers on projects or even for adding casters, etc.
There are many uses for threaded inserts, so let’s dive into how to install them.
What You’ll Need:
**This post contains affiliate links. See policies page.
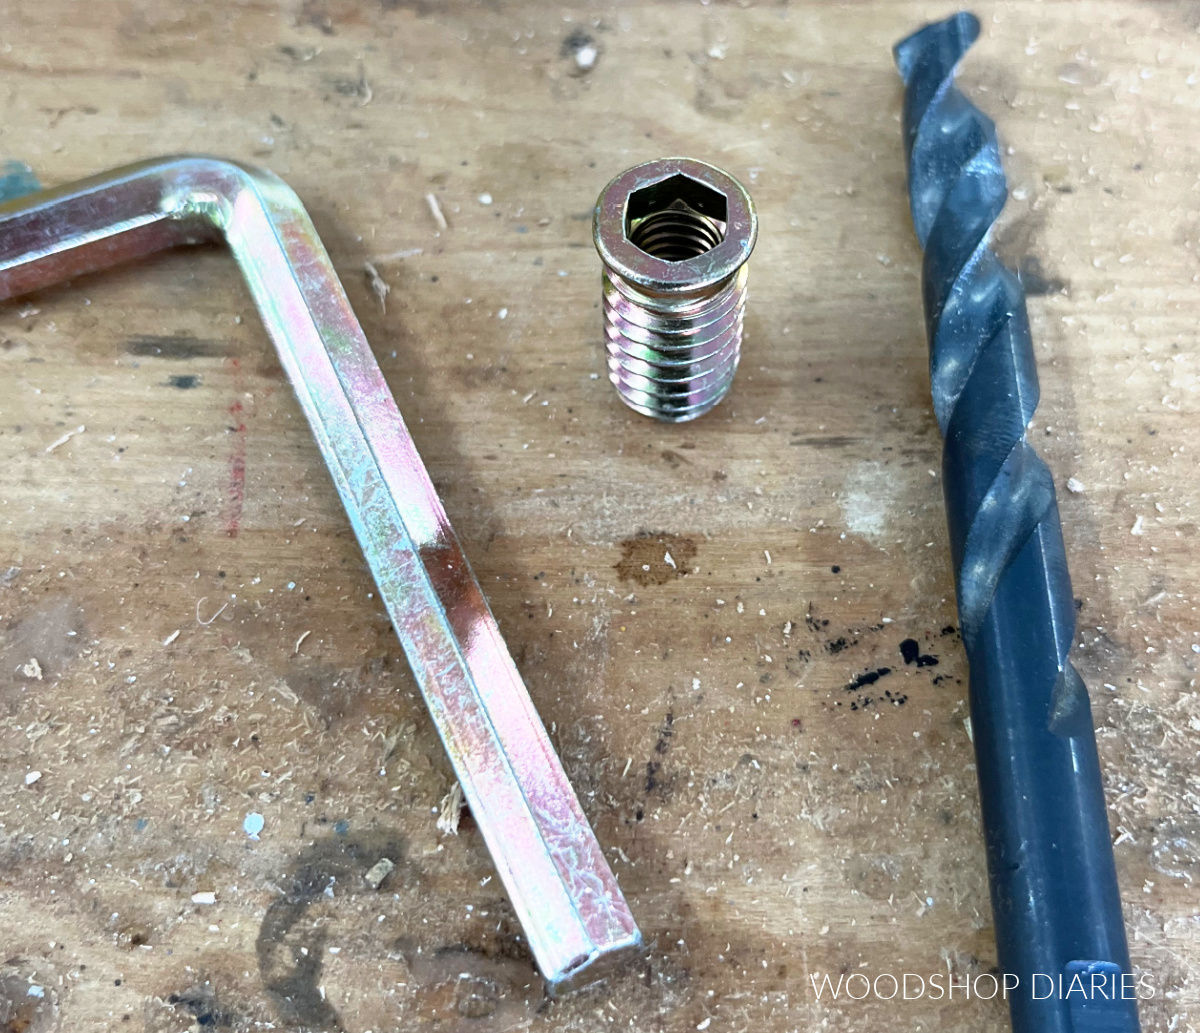
Tools:
- Drill
- Drill Bit (see step 1)
- Hex/Allen Wrench (likely this is included with the inserts you purchase)
Materials:
- Threaded inserts with hex socket
- Furniture feet, casters, etc with hanger/threaded bolts
What to Know Before Installing Threaded Inserts
Installing threaded inserts is a pretty simply process, but here are some helpful tips and things to consider before diving in.
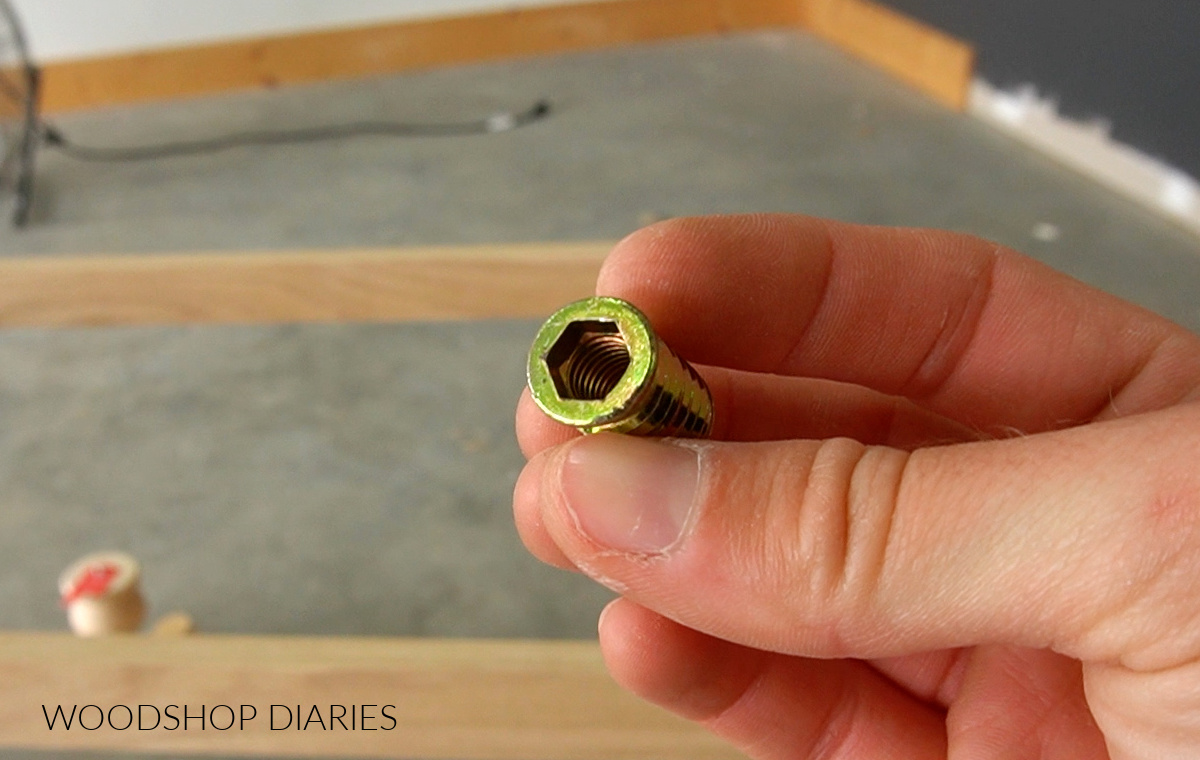
What Size Inserts To Use
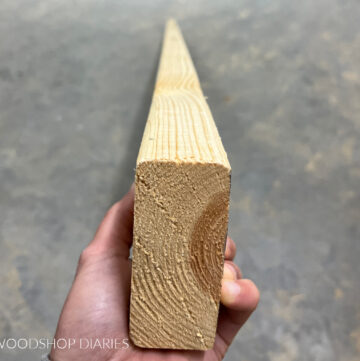
Many types of furniture feet, casters, and levelers come with a threaded rod sticking out the top.
In wooden furniture feet, these are called hanger bolts.
These threaded rods can be many different sizes, so it’s important to know the size of the bolt you are working with and make sure to purchase the same size inserts to fit them.
For example, in this dresser build, the feet came with 5/16-18 hanger bolts pre-installed.
So I purchased threaded inserts with inside dimensions of 5/16-18.
What Length Inserts to Use
Inserts come in different lengths.
In most cases, building basic furniture projects like nightstands and dressers, I’ve found about ¾″ long or even a little smaller works well.
But different applications will vary and it will also depend on the length of the bolt you’re installing into the insert as well.
If your bolt is 1″ long, you may want to use a 1″ long insert.
If your bolt is only ½″ long, there’s no need to use an insert that’s 1″ long.
Plywood vs Solid Wood
In order to install the insert into the project, you’ll need to make sure there is some wood in place to put it in.
In this dresser project, I had to add some scrap wood strips at the bottom to install the inserts into.
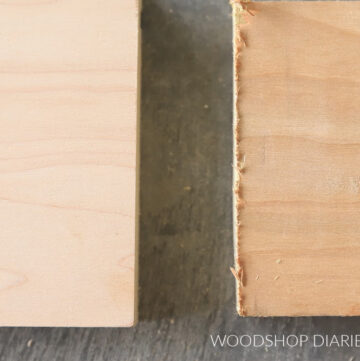
If you have to do this for your project, I highly recommend using solid wood and NOT plywood.
It is difficult (not impossible, but definitely challenging) to install threaded inserts into plywood as the plys will tend to crack and split apart.
I recommend avoiding adding threaded inserts into plywood.
How to Install Threaded Inserts
You can add threaded inserts to your furniture or building project to screw in some feet or casters in just a few minutes.
It’s definitely a fun and easy way to upgrade a project.
Here’s how to do it!
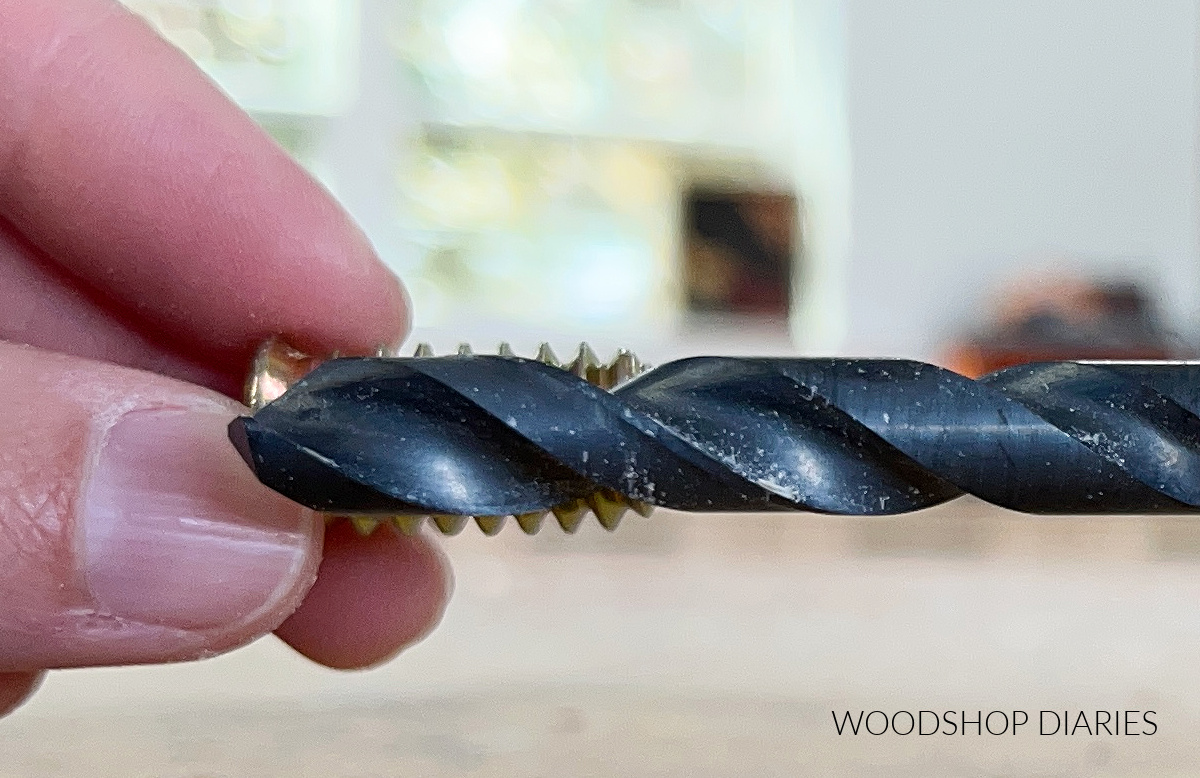
Step 1: Choose Drill Bit Size
Because not all inserts are the same size, not every instance will use the same size drill bit.
However, you want to choose a drill bit that is about the same size as the shank of the insert, but smaller than the threads.

This is just like predrilling a hole for a screw.
To figure out what size that is, I like to hold the drill bit in front of the insert and find one that covers the shank, but I can still see the threads behind it.
Step 2: Mark and Drill Pilot Hole
Mark where you want to install the insert. This will depend on what you’re installing it into and the size/shape of what you’re screwing into them.
If installing feet, make sure you drill the hole where you want the CENTER of the foot to go.
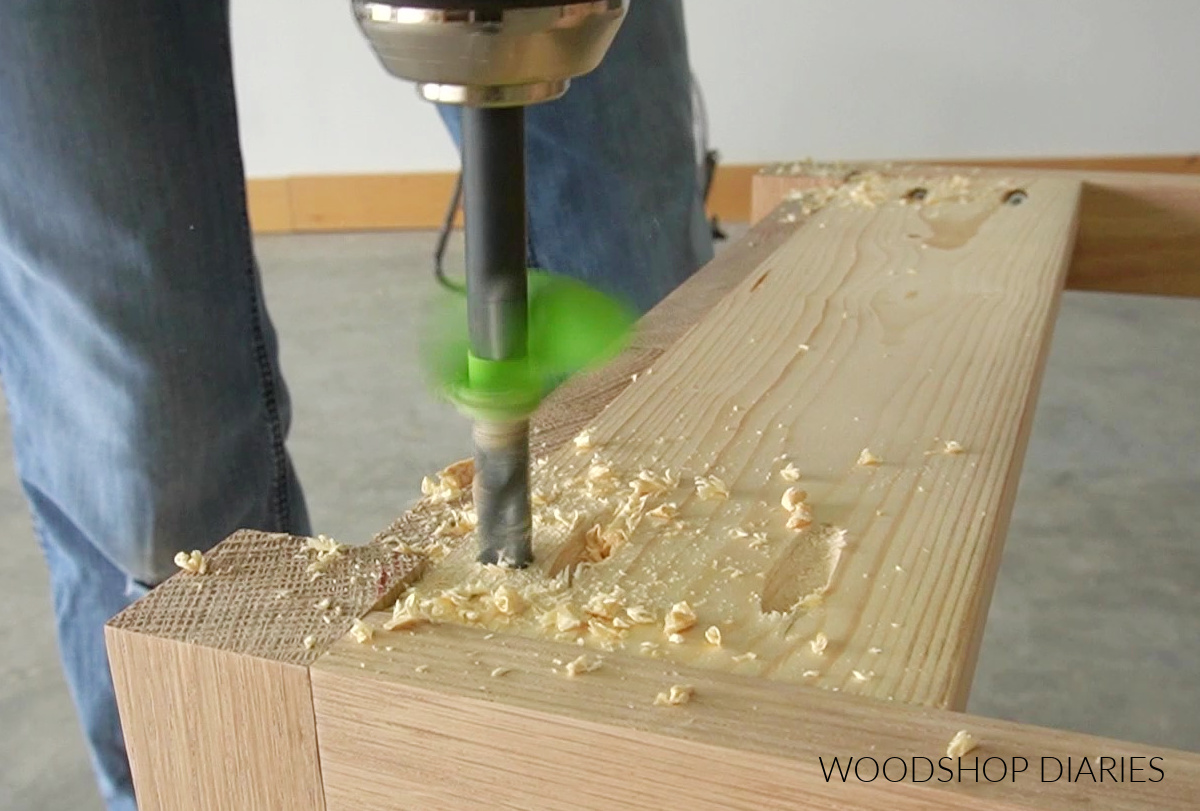
Drill a hole slightly deeper than the length of the insert and vacuum out the debris.
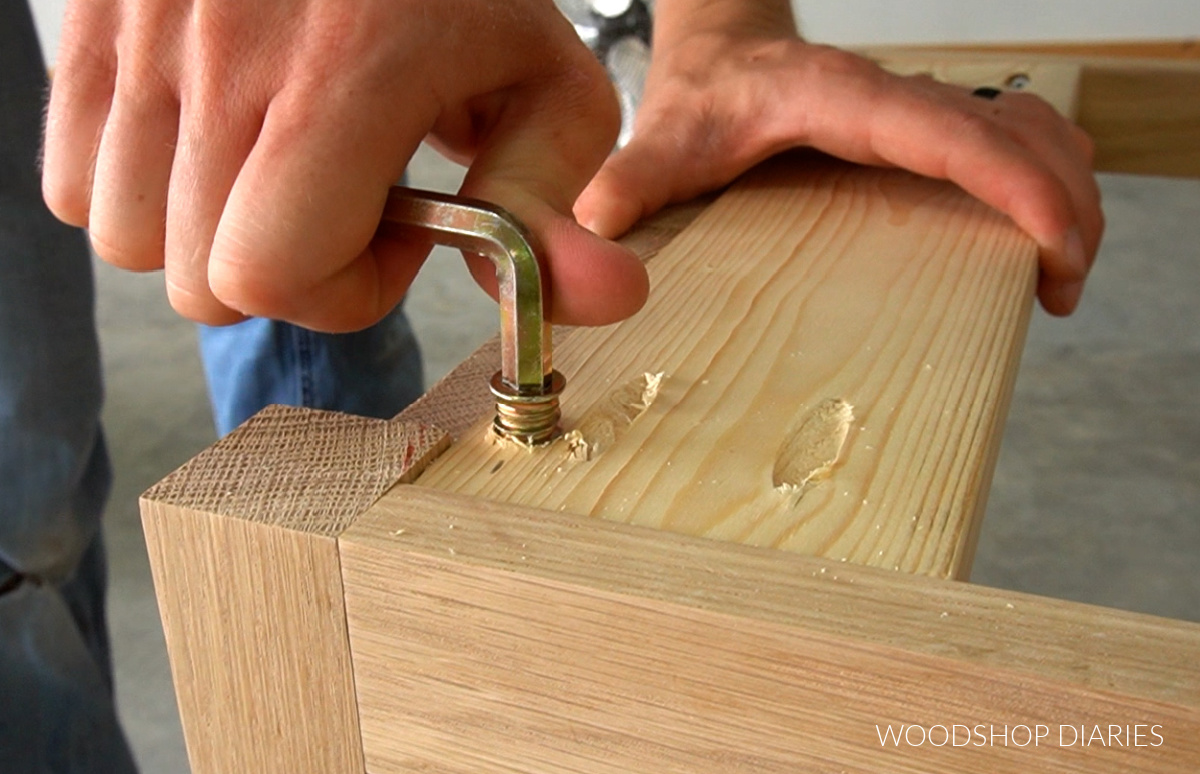
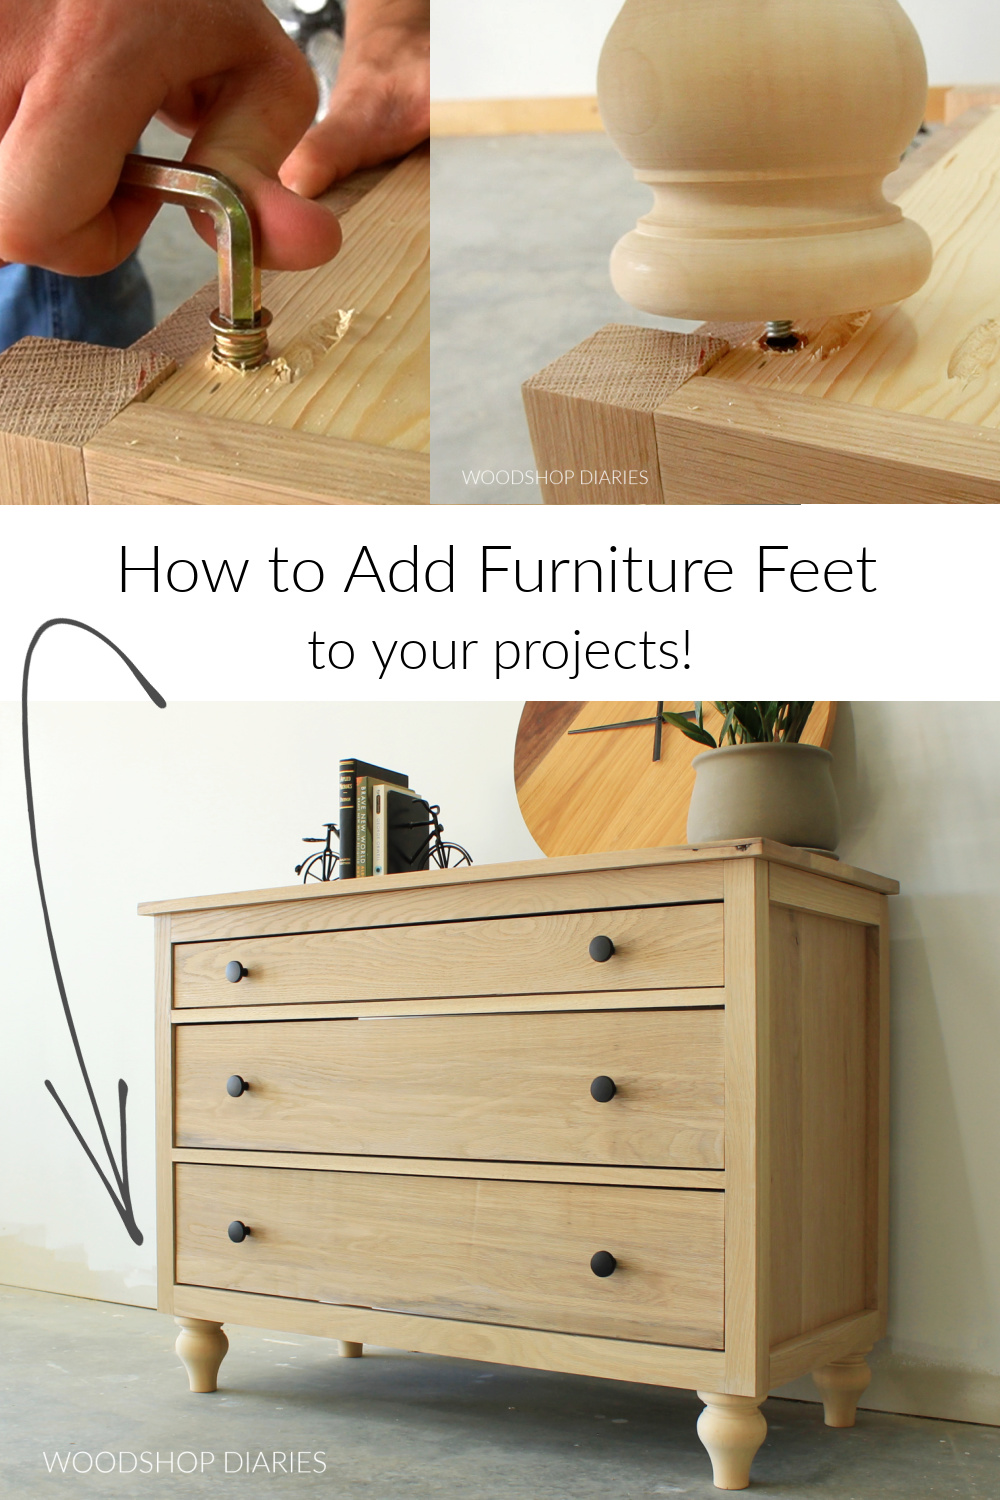
Step 3: Thread in Insert
Use the hex wrench included with the inserts OR an Allen wrench that fits to carefully thread the insert into the hole.
You can use a drill if you have a bit large enough–I don’t, so I just use a hex wrench and do it by hand.
Press down firmly to get it started and make sure it’s straight as it goes in and not crooked.
Drive the insert until it’s at least flush to the surface of the wood. It’s fine to go a little deeper than flush, if possible.
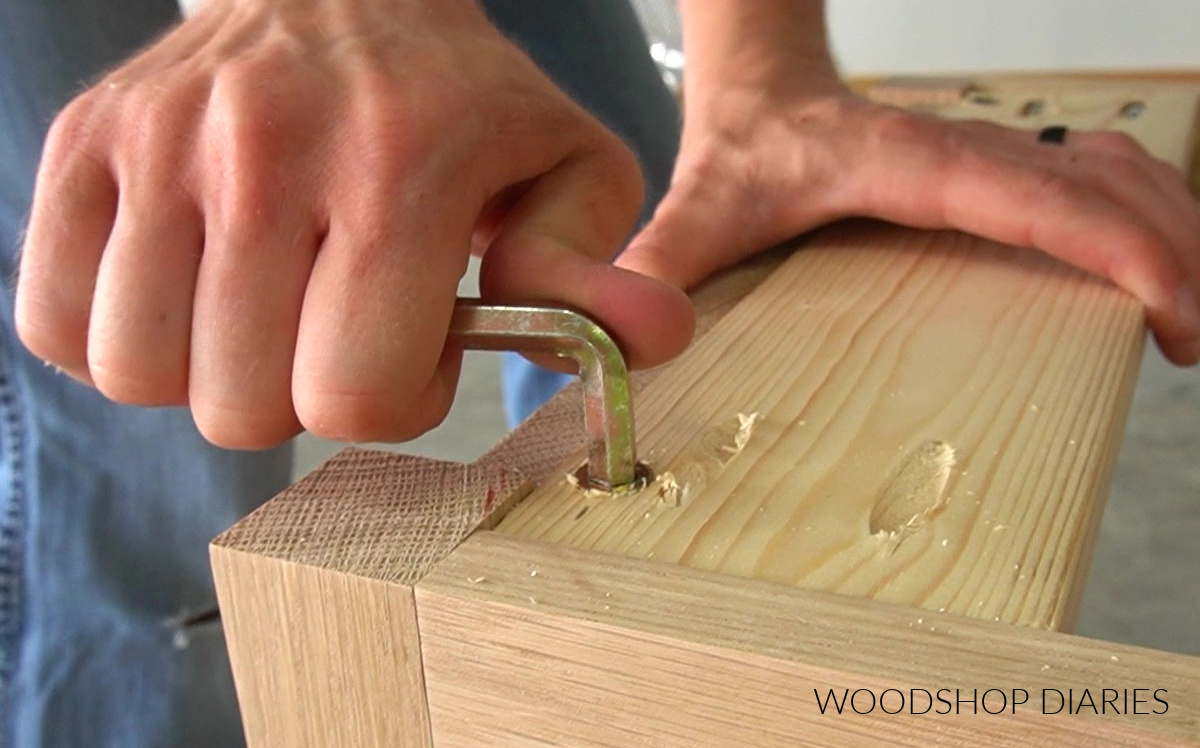
But, you don’t want it sticking out past the surface of the wood it’s installed into.
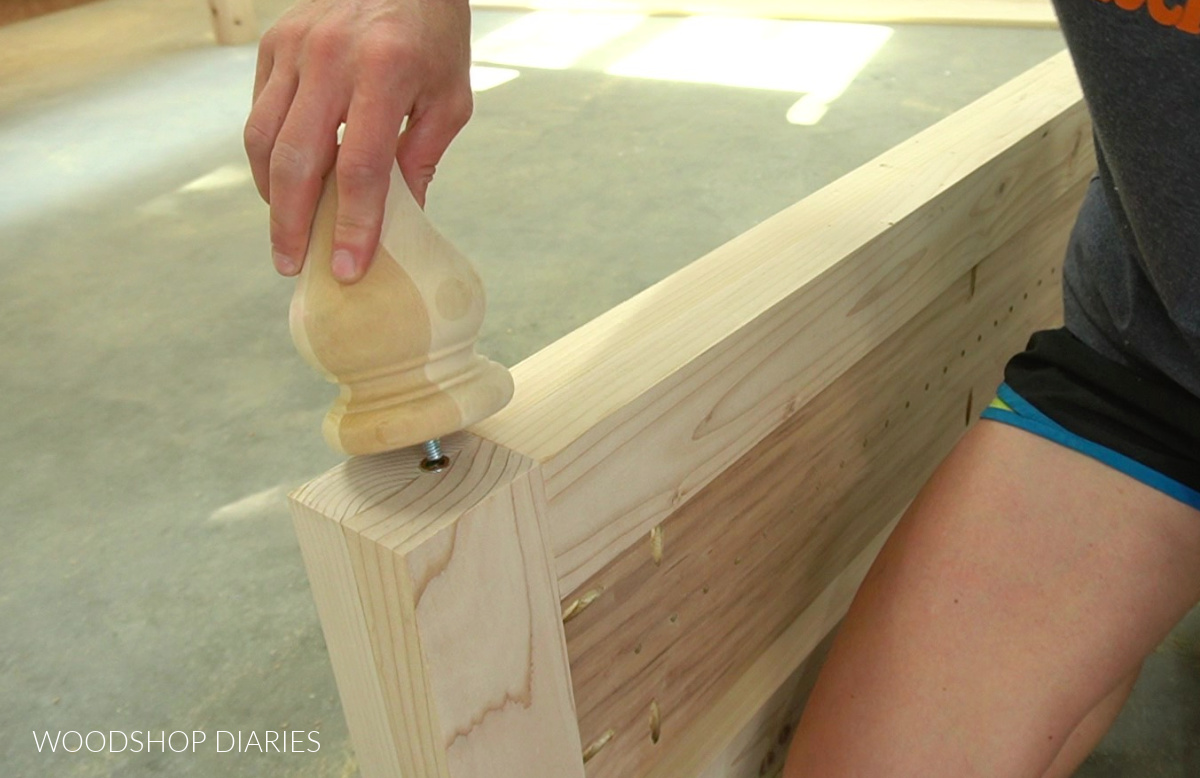
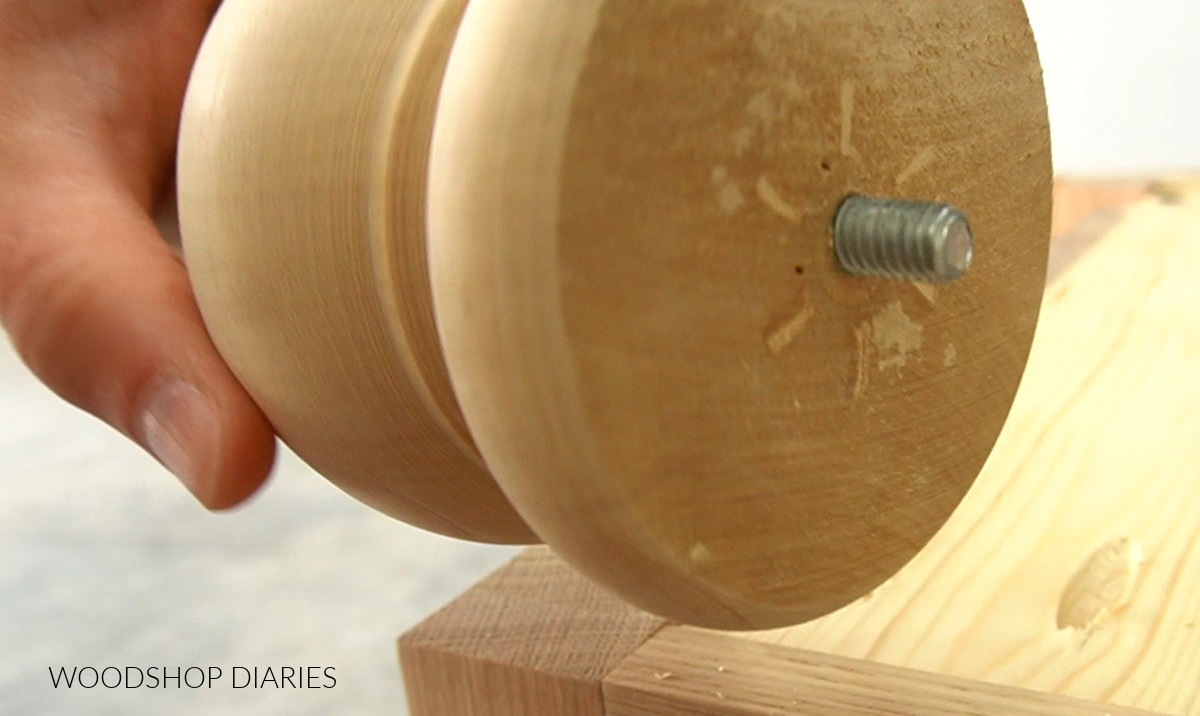
Step 4: Add Furniture Feet
Now, all you have to do is screw the hanger bolt or threaded rod into the insert.
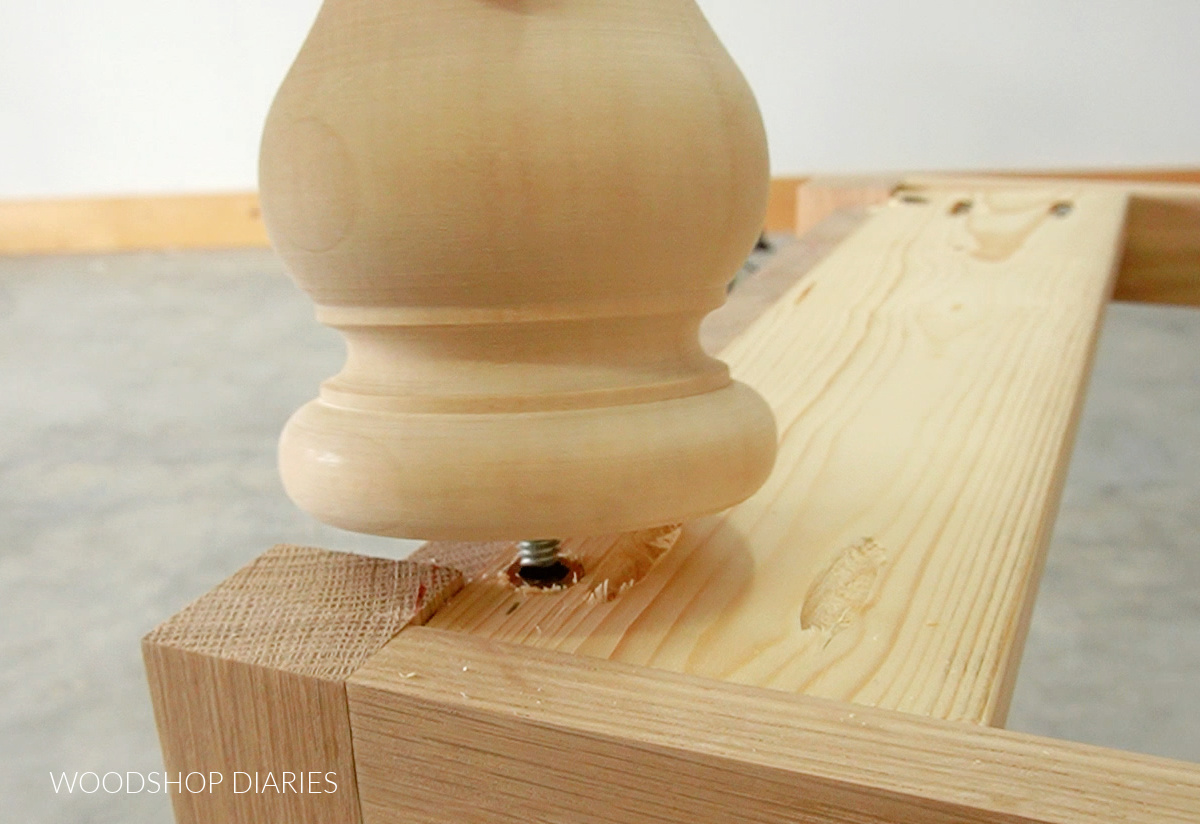
Like I mentioned before, these can be wooden feet, legs, levelers, casters, etc.
Screw these in until snug.
Alternative Ways to Install Furniture Feet
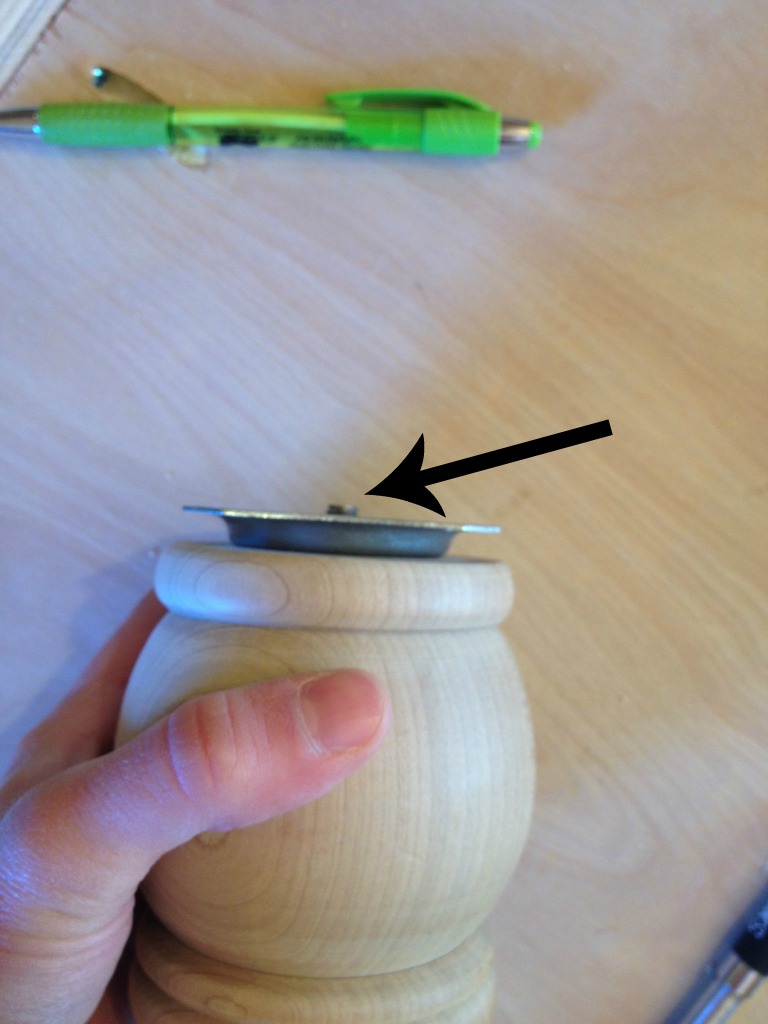
Instead of adding threaded inserts into the project, if you’d rather, you can use mounting plates.
These are SUPER easy to install, but can be a little pricey, especially if you need several of them.
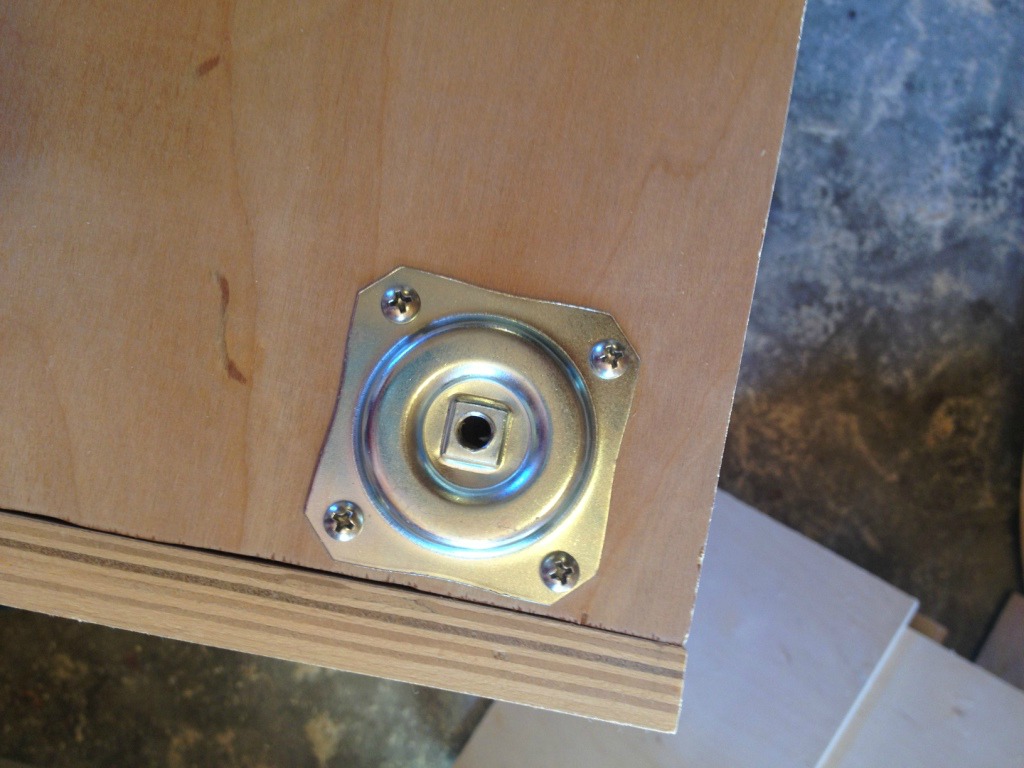
These come in both straight and angled versions so you can install your furniture feet straight up and down, or at a slight angle if you prefer.
You simply attach these plates to the bottom of your project using the screws that come with the plate, and screw the feet into them.
If your hanger bolts are long, you may have to trim the bolt, or drill out a hole underneath your plate for the excess bolt length to go into in order to screw them in tight.
The plate method is a great alternative, but I recommend using threaded inserts instead whenever possible.
Projects Ideas that Use Threaded Inserts
Ready to try it out for yourself?
Here are a few project ideas to practice installing threaded inserts on:

I hope you found this guide on how to install threaded inserts helpful! Head over to the Getting Started page for more woodworking basics, tool guides, and DIY ideas.
And be sure to subscribe to the newsletter for priority access when new projects, plans, and tutorials are posted!
If you’d like to save this for later, don’t forget to pin it or share to your favorite social channel!
Until next time, friends, happy building!